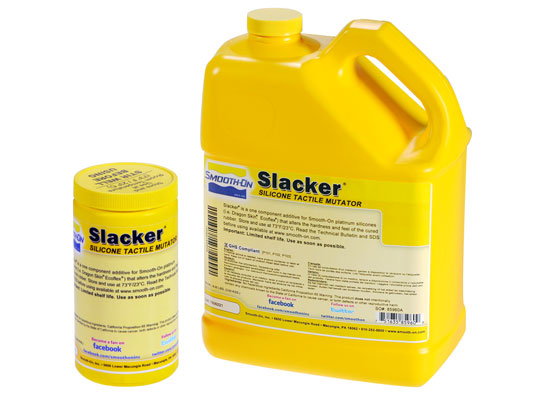
Slacker™
 *NOTE: Product Packaging May Vary
Slacker™ is a one component translucent clear fluid that is added to our translucent platinum-cure silicones such as Dragon Skin™ and Ecoflex™ products. Slacker™ will change the “feel” of the silicone rubber to a softer and more “flesh-like” material. It also alters the rebound properties of the silicone, making it feel more like human tissue. Silc-Pig™ silicone color pigments can be added to match a specific skin tone.
Slacker™ allows the user to vary the degree of tackiness to the cured silicone, allowing for the creation of self-sticking silicone appliances. The amount of tackiness is in direct proportion to the amount of Slacker™ added. Pieces created with Slacker™ will not exude silicone oil, eliminating a common problem with other softening methods.
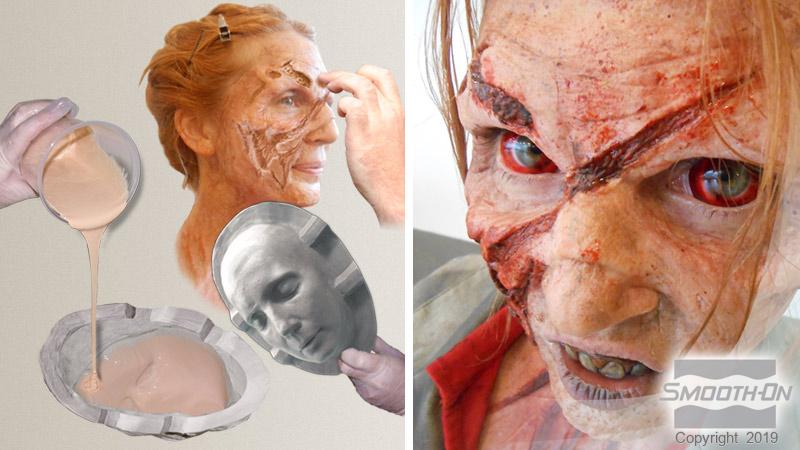
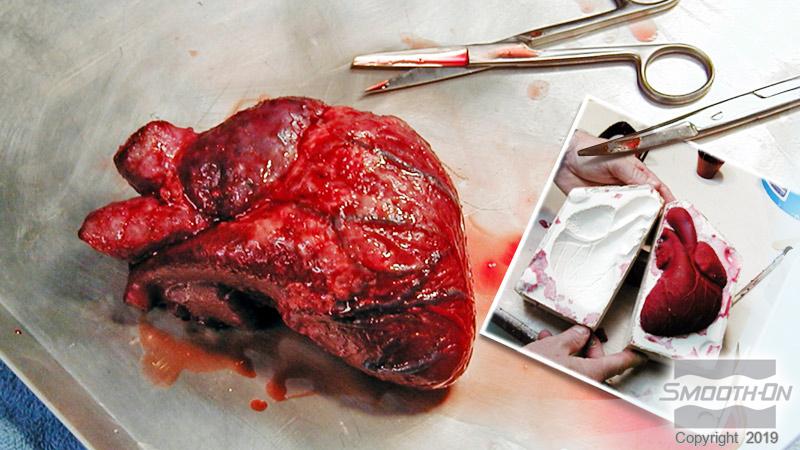
Slacker™ can be added in larger proportions to Smooth-On’s super soft and stretchy platinum silicones (for example, Dragon Skin™ FX-Pro™) to make silicone gel that can be used to create gel-filled silicone prosthetic appliances. Gel-filled appliances will flex, bend, and even wrinkle like human flesh. Silicone gels created with Slacker™ can also be used to create cushioning materials for medical applications (anaplastology). Use Skin Tite™ or Dermatac™ to temporarily, but securely, adhere silicone appliances to the skin.
Please note: Slacker™ should not be used with Ecoflex™ 00-10 or Ecoflex™ GEL.

Instructions
Temperature - Store and use all products at room temperature (73°F / 23°C). This product has a limited shelf life and should be used as soon as possible. Wear safety glasses, long sleeves and vinyl gloves to minimize contamination risk.
Apply a Release Agent - If casting Dragon Skin™ or Ecoflex™ with Slacker into a platinum silicone mold, apply Ease Release™ 200 to the mold cavity prior to casting.
MEASURING & MIXING...
For accuracy, we recommend weighing components using an accurate gram scale. Whether using an Ecoflex™ or a Dragon Skin™ product, the first step is to pre-mix Slacker™ with Part B thoroughly before adding Part A.
Example; Part B + Slacker – Mix thoroughly. Add required amount of Part A. If adding Silc-Pig™ pigment, Cast Magic™ Powders or other accessories to your mix, we recommend adding it to the pre-mix (Part B + Slacker™) before adding Part A. Application and desired level of stickiness or “tack” will vary. The chart on the following page can be used as reference to achieve your own desired effect.
Usage Example - 50 grams Dragon Skin™ FX-Pro™ part B + 50 grams Slacker; mix thoroughly. Add 50 grams Dragon Skin™ FX-Pro™ part A; Mix thoroughly. These mixing proportions will give you a 000-35 silicone with some tackiness.
Adding Color - Silc Pig ™ silicone color pigments can be added as needed. Mix Part B + Slacker™ + Silc-Pig™ and mix thoroughly. Add proper amount of Part A and mix all components thoroughly.
Mixing – Ecoflex™ or Dragon Skin™ silicones with Slacker™ added can be hand mixed. Aggressively hand mix for 3 minutes, making sure that you scrape the sides and bottom of your mixing container several times.
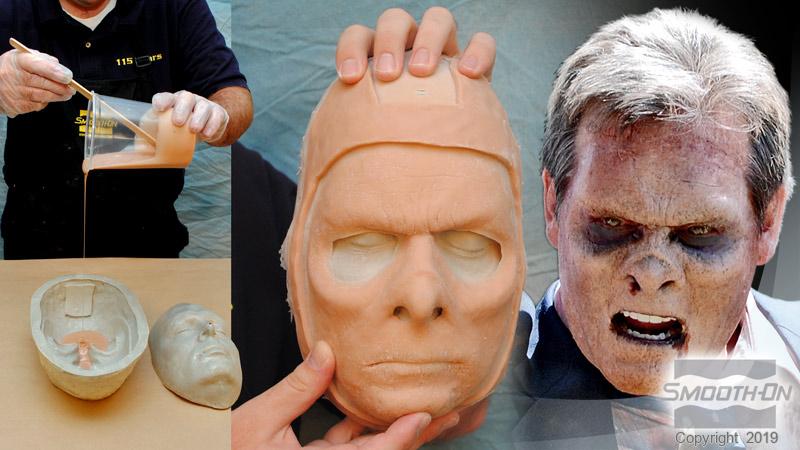
Pouring - For best results, pour your mixture in a single spot at the lowest point of the mold. Let the rubber seek its level in the mold. A uniform flow will help minimize entrapped air.
SILICONE GEL FILLED MAKEUP APPLIANCES...
Using An Encapsulator – When creating a gel-filled appliance, use a platinum silicone as your membrane for best results. Dragon Skin™ FX-Pro™ works very well as a membrane for gel filled appliances.
Applying A Mold Release – Appliances appliances made with Slacker™ can be cast into platinum silicone molds, urethane resin molds (Shell Shock™) or rigid gypsum molds. Ease Release™ 200 can be used as a mold release. Another release option is to apply a soap solution (1 part unscented dish soap to 2 parts 99% isopropyl alcohol works well) with a clean brush over all mold surfaces. Allow release to dry for at least 30 minutes.
ADHERING APPLIANCE TO THE SKIN...
After the casting is fully cured, the mold release should be removed. Soap based release can be removed using warm water, Ease Release™ 200 can be removed using isopropyl alcohol. Use Smooth-On’s Skin Tite™ or Dermatac™ to adhere appliance to the skin per the Technical Bulletins for these products. Adhere the piece to the skin. Theatrical makeup can be used to further blend and color the piece. We recommend that you do a small scale test on the back of your hand to ensure that you have no allergic reaction to silicone. If you notice any type of skin reaction, do not use product.
CURING & PERFORMANCE...
Curing - The cure time of the silicone will be take longer when Slacker™ is added. As platinum-cure silicones are heat sensitive, curing can be accelerated by applying heat. Do not cure rubber where temperature is less than 65°F /18°C.
Cure Inhibition - Platinum-cure silicone rubber may be inhibited by certain contaminants in or on the pattern to be molded (such as sulfur based clays, polyesters, certain wood surfaces, epoxies, urethane rubber and tin-cured silicone rubber) resulting in tackiness at the mold interface or a total lack of cure throughout the piece.
If compatibility between the rubber and the mold is a concern, a small-scale test is recommended. Apply a small amount of rubber onto a non-critical area of the mold. Inhibition has occurred if the rubber is uncured after the recommended cure time has passed.
USING SLACKER™ WITH DRAGON SKIN™ OR ECOFLEX™ SILICONE
ACCURATE GRAM SCALE REQUIRED
| Dragon Skin™ 10 & SLACKER™ | ||||
| Mix Ratio by Weight | Pre-Mix 100B+50 Slacker™, Then add 100A and Mix |
Pre-Mix 100B+100 Slacker™, Then add 100A and Mix |
Pre-Mix 100B+150 Slacker™, Then add 100A and Mix |
Pre-Mix 100B+200 Slacker™, Then add 100A and Mix |
| Shore Hardness | 00-30 | 000-50 | 000-20 | 000-7 |
| Tack | None | Slight | Slight to Very | Very |
| Dragon Skin™ 10NV & SLACKER™ | ||||
| Mix Ratio by Weight | Pre-Mix 100B+50 Slacker™, Then add 100A and Mix |
Pre-Mix 100B+100 Slacker™, Then add 100A and Mix |
Pre-Mix 100B+200 Slacker™, Then add 100A and Mix |
Pre-Mix 100B+400 Slacker™, Then add 100A and Mix |
| Shore Hardness | 00-35 | 00-22 | 000-51 | 000-21 |
| Tack | None | Slight | Slight to Very | Very |
| Dragon Skin™ FX PRO & SLACKER™ | ||||
| Mix Ratio by Weight | Pre-Mix 100B+50 Slacker™, Then add 100A and Mix |
Pre-Mix 100B+100 Slacker™, Then add 100A and Mix |
Pre-Mix 100B+150 Slacker™, Then add 100A and Mix |
Pre-Mix 100B+200 Slacker™, Then add 100A and Mix |
| Shore Hardness | 00-20 | 000-35 | 000-17 | 000-3 |
| Tack | Slight | Slight to Very | Very | Very |
| Ecoflex™ 00-50 & SLACKER™ | ||||
| Mix Ratio by Weight | Pre-Mix 100B+50 Slacker™, Then add 100A and Mix |
Pre-Mix 100B+100 Slacker™, Then add 100A and Mix |
Pre-Mix 100B+150 Slacker™, Then add 100A and Mix |
Pre-Mix 100B+200 Slacker™, Then add 100A and Mix |
| Shore Hardness | 000-55 | 000-35 | Not Recommended | Not Recommended |
| Tack | Slight | Slight to Very | ||
| Ecoflex™ 00-30 & SLACKER™ | ||||
| Mix Ratio by Weight | Pre-Mix 100B+50 Slacker™, Then add 100A and Mix |
Pre-Mix 100B+100 Slacker™, Then add 100A and Mix |
Pre-Mix 100B+150 Slacker™, Then add 100A and Mix |
Pre-Mix 100B+200 Slacker™, Then add 100A and Mix |
| Shore Hardness | 000-40 | 000-20 | Not Recommended | Not Recommended |
| Tack | Slight to Very | Very | ||
| Ecoflex™ 00-20 & SLACKER™ | ||||
| Mix Ratio by Weight | Pre-Mix 100B+50 Slacker™, Then add 100A and Mix |
Pre-Mix 100B+100 Slacker™, Then add 100A and Mix |
Pre-Mix 100B+50 Slacker™, Then add 100A and Mix |
Pre-Mix 100B+50 Slacker™, Then add 100A and Mix |
| Shore Hardness | 000-47 | 000-32 | Not Recommended | Not Recommended |
| Tack | Slight | Slight to Very | ||
Because no two applications are quite the same, a small test application to determine suitability for your project is recommended if performance of this material is in question.
Related Categories: Silicone Rubber - Platinum Cure, Skin Safe FX Materials
Related Series: Platinum Silicone Accessories – Take Your Silicone Rubber Further
How-To Articles
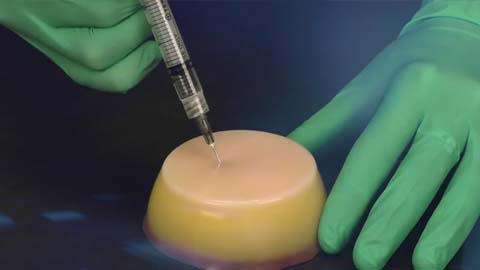
How To Make a Needle Insertion Trainer
There are many benefits to making your own needle insertion training pads vs. using pre-made pads.

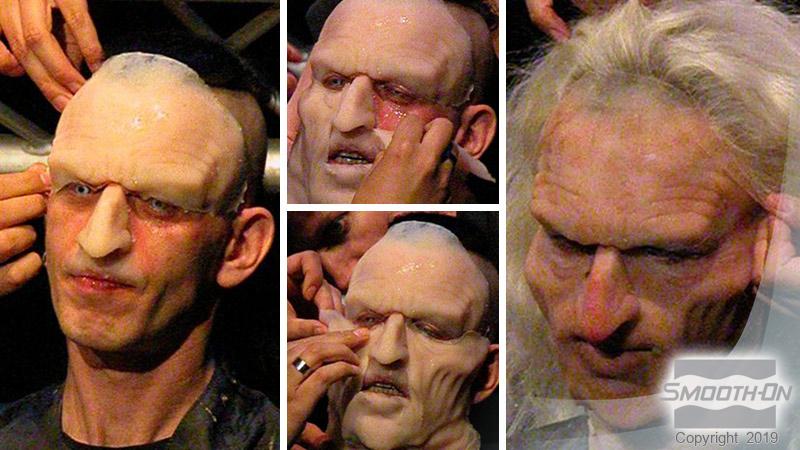
How to Make a Silicone Gel-Filled Zombie Prosthetic
How to create a silicone gel filled appliance, paint the piece, and adhere it to the actor.