How To Make a Concrete Stamp Using Urethane Rubber
Overview
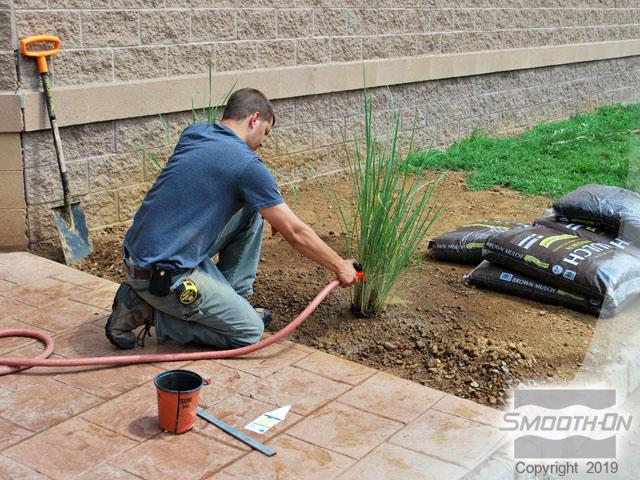
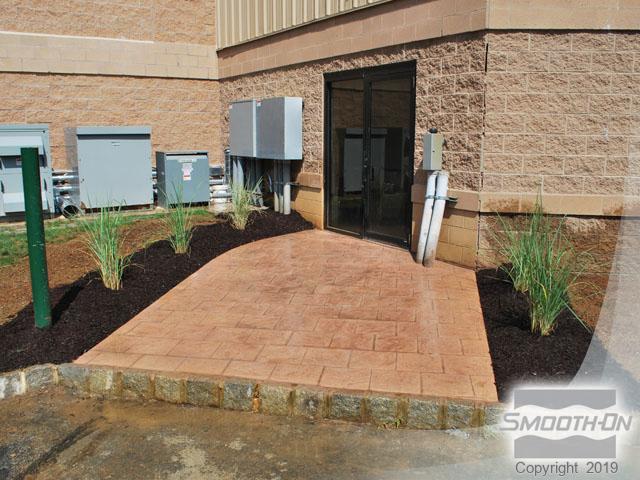
Project goal: transform a disused service entrance into an inviting stamped concrete walkway.
Kingdom Products (Throop, PA) knows the advantages of using rubber stamps to create concrete magic. Used on small and large projects, Kingdom Products has refined stamping concrete to an art. Among other advantages, stamping concrete allows Kingdom to deliver true value to their customers and maximize profits at the same time. What mold rubber does Kingdom Products use to make concrete stamps? Why Smooth-On, of course!
Advantages of Stamping Concrete:
- Limitless design options for creating custom shapes, colors and textures.
- Make your stamped concrete look exactly like brick, flagstone, river rock, wood and more.
- Project Versatility - stamp concrete indoors or out to beautify courtyards, pool decks, driveways, stairways, patios and more.
- Lower labor and material costs
- Time Savings – Complete any project in a fraction of the time vs. laying brick, stone, etc.
- Lasting Durability – concrete lasts for years and wears better than other options.
Special Thanks to Bart Sacco of Kingdom Products. Visit: www.kingdom-products.com
PMC®-780 is a high performance urethane rubber that offers exceptional strength, durability and abrasion resistance. Capture an impression of any stone surface, down to the finest detail. Cured rubber is firm yet flexible, making it ideal for most concrete stamp applications. PMC®-780 stamps that are properly cared for will last for years of service.
Materials Used in this Tutorial
- Stone Pavers
- Sonite Wax
- Paint Brush
- Melamine Board
- Oil-based Sulfur Free Clay
- Universal Mold Release
- Nylon Straps
- PMC-780
- Drill
- Drill Mixer
- Screws
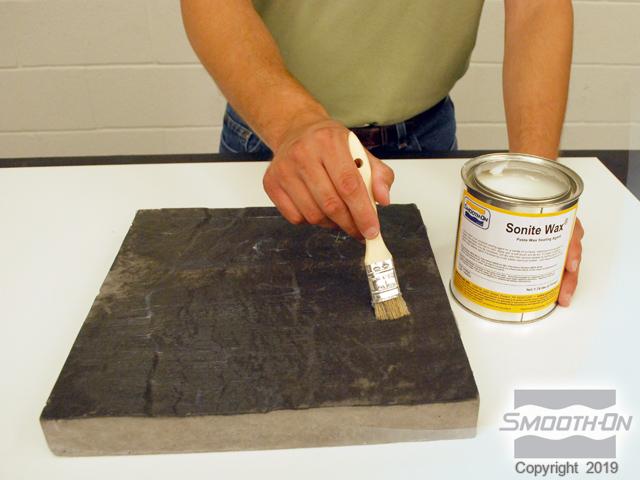
Step 1: Preparing Model for PMC-780 Dry
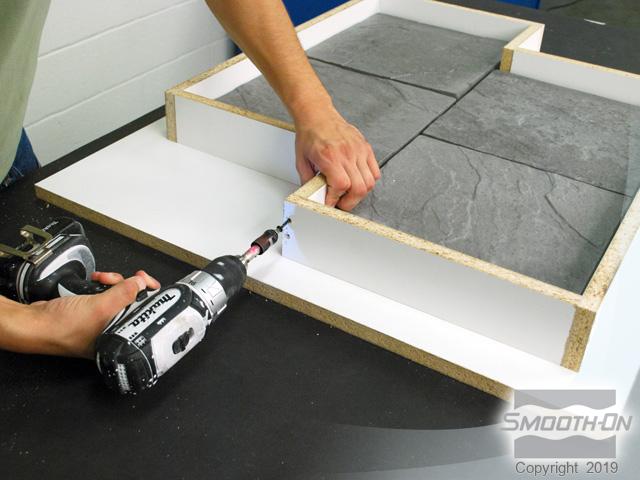
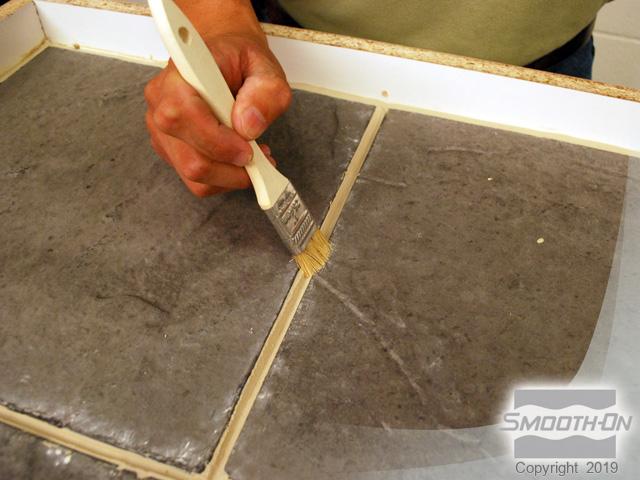
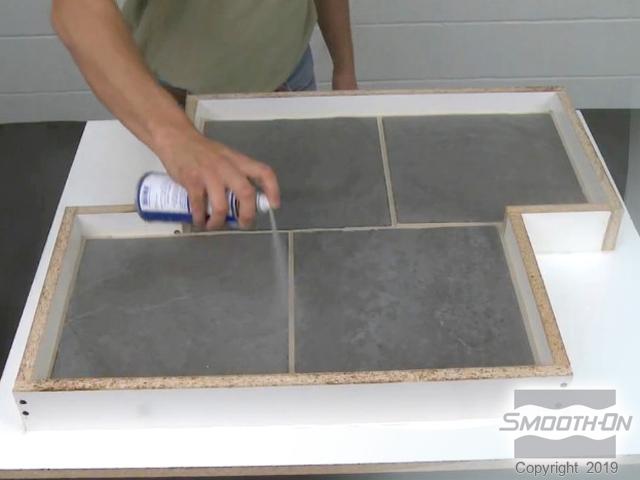
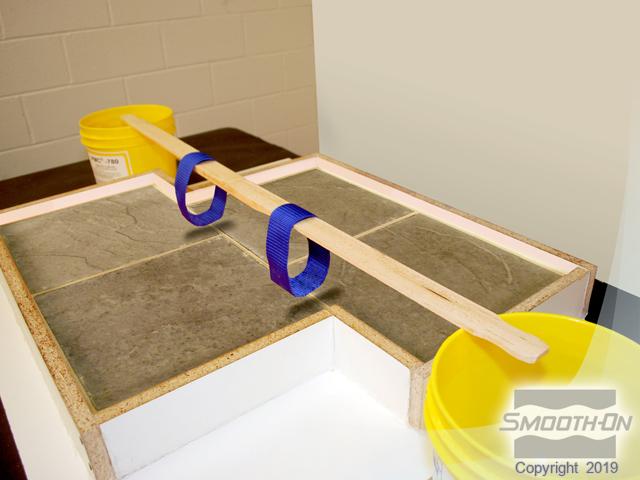
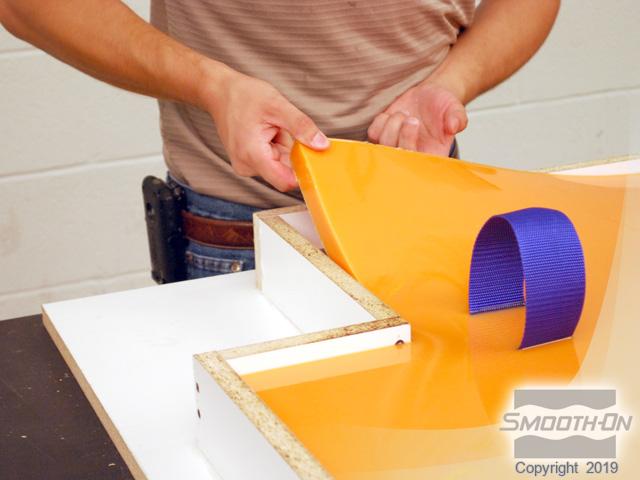
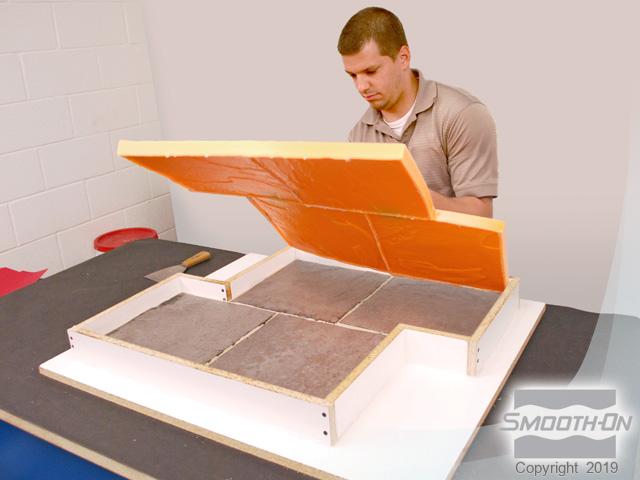
To create the stamp, four 12''x12''x1'' stone pavers are used as a model. The pavers must first be sealed with Sonite Wax®. Mold box is built around stones in an offset pattern. Textured grout is made with clay and a stiff brush. Universal Mold Release® is applied over the pavers and the mold box. Nylon straps are suspended. These serve as handles on the finished stamp.
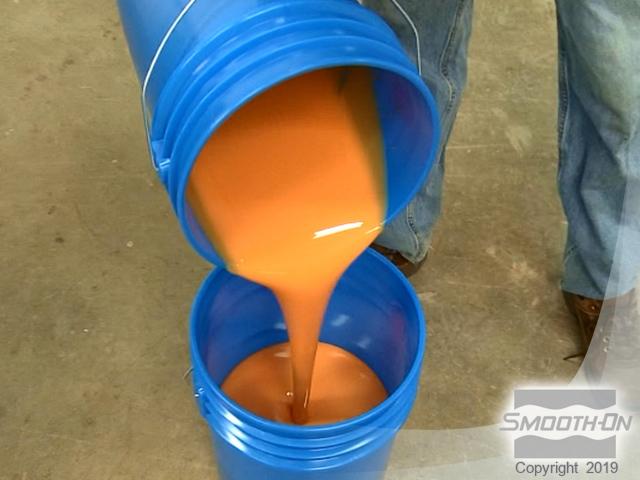
Step 2: Dispensing and Pouring PMC - 780 Dry
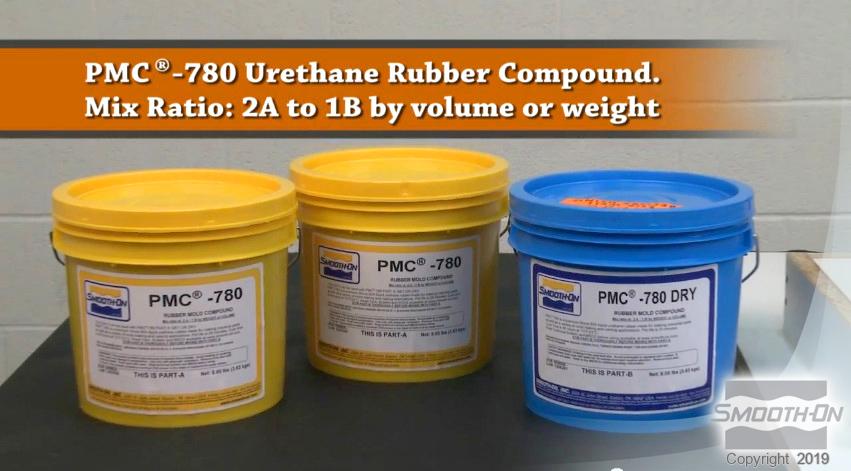
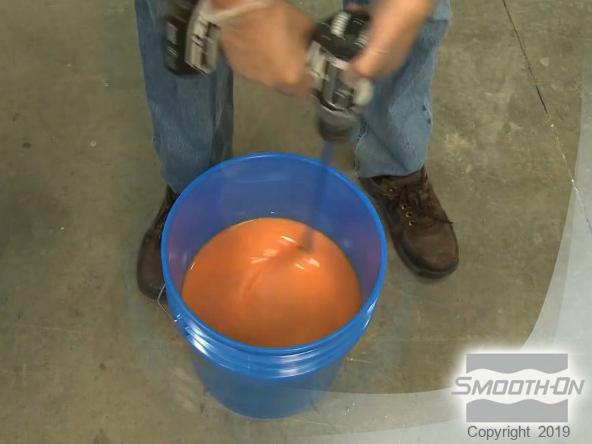
PMC®-780 Urethane Rubber Compound. Mix ratio is 2A:1B by weight or volume. PMC®-780 is pigmented orange using SO-Strong® color tints and is mixed thoroughly.
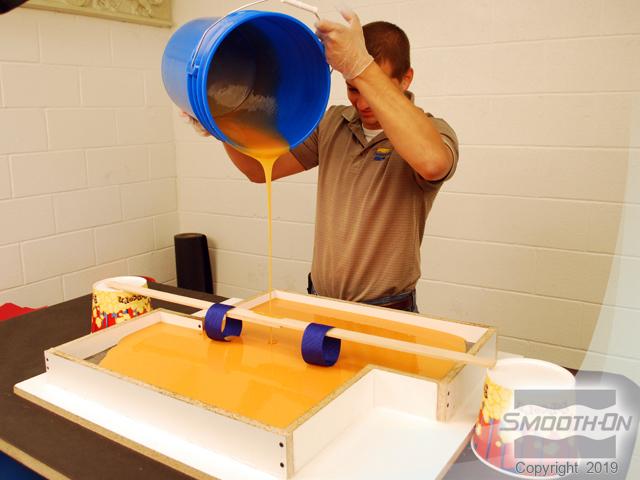
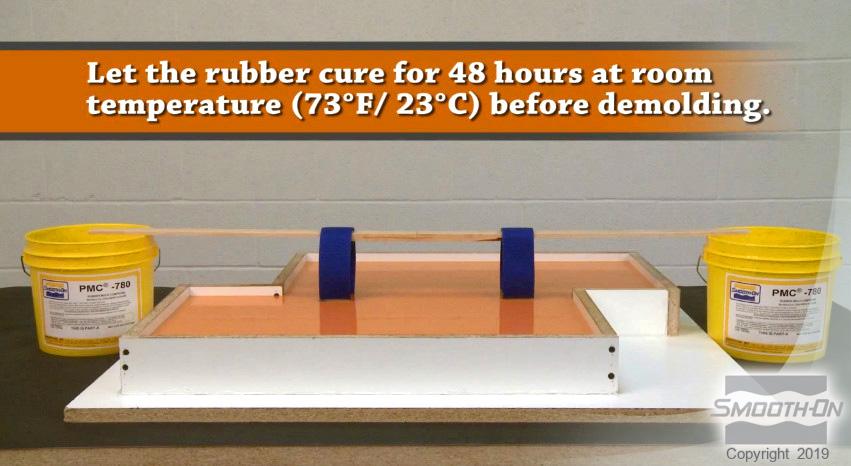
PMC®-780 is poured over the stone paver pattern. PMC®-780 is allowed to cure for 48 hours at room temperature (73°F, 23°C).
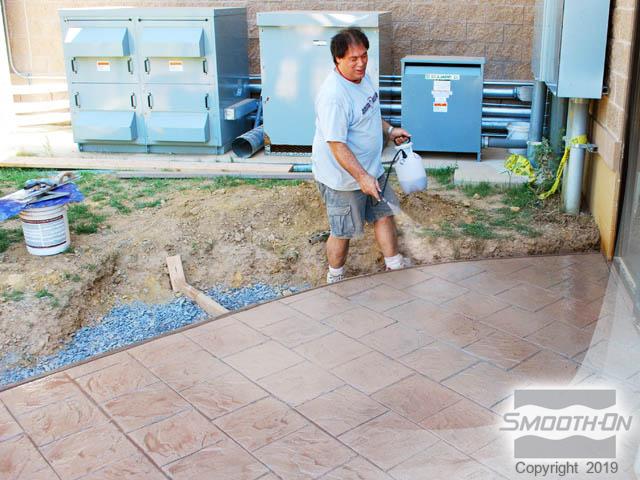
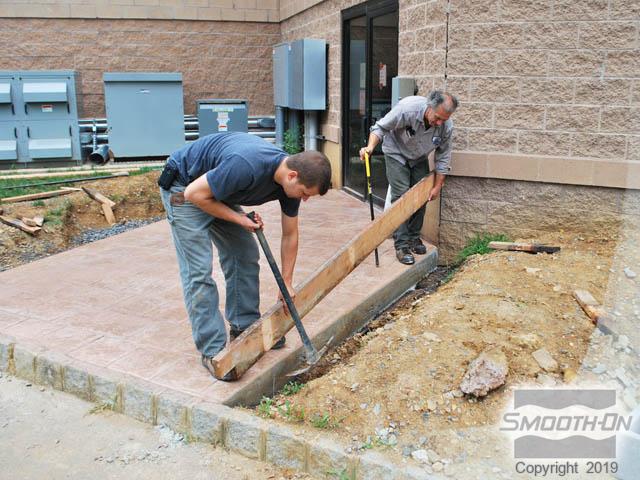
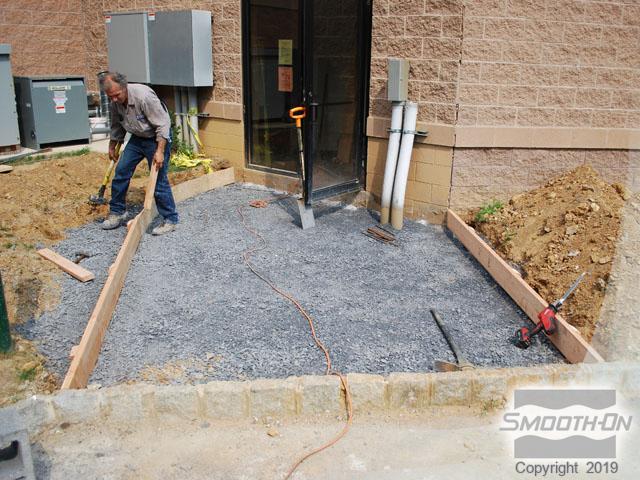
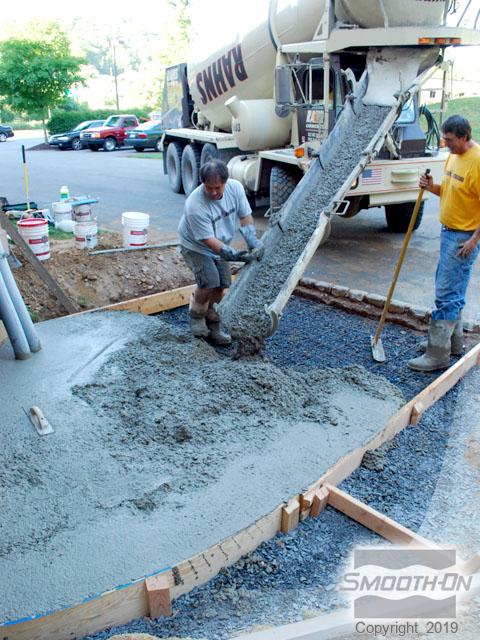
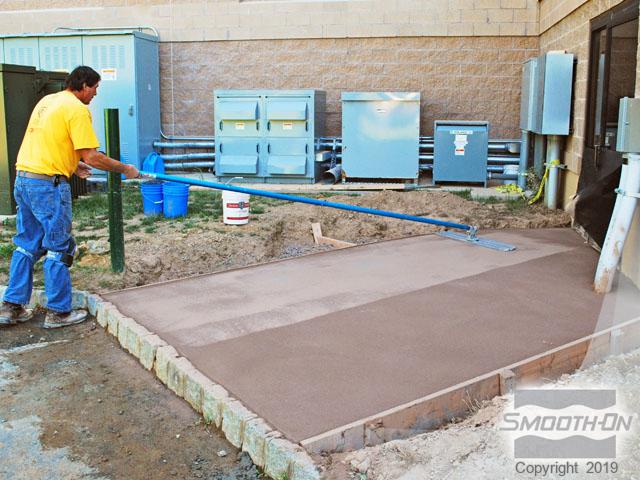
Step 4: Pouring and Preparing Concrete
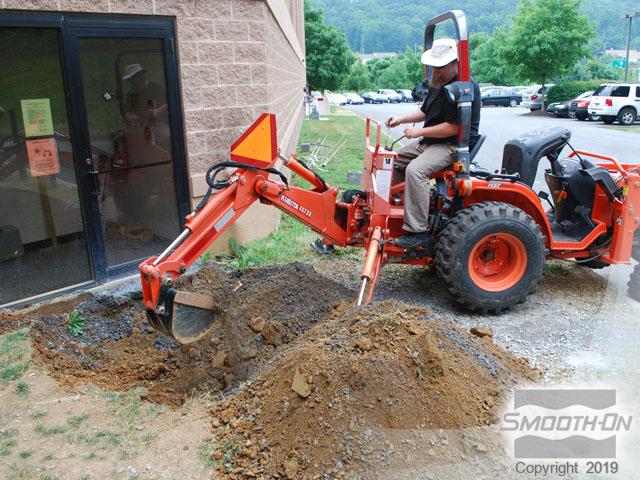
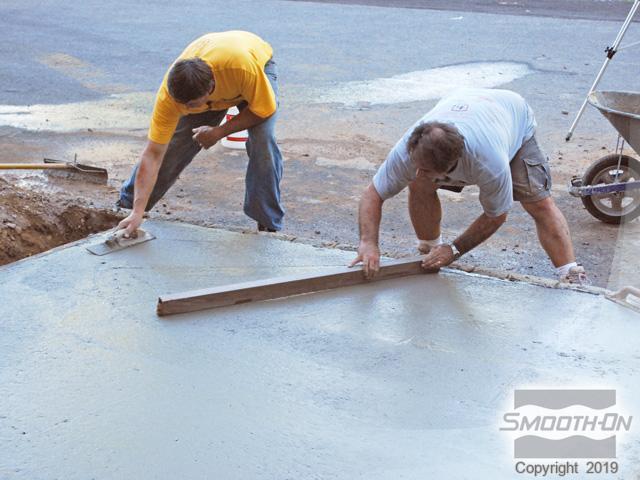
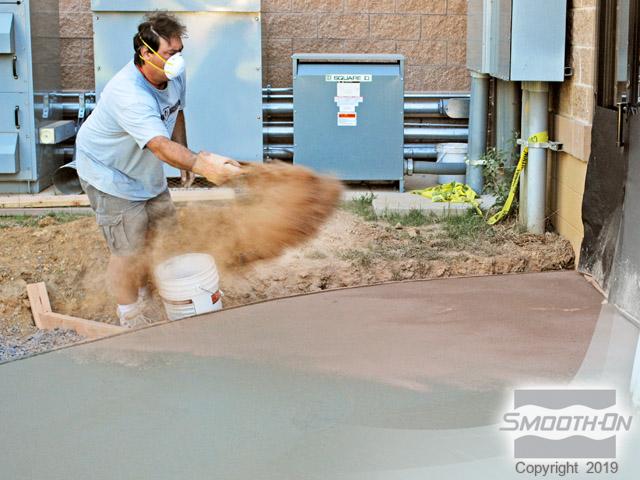
At the job site a backhoe is used to excavate the existing stone walkway. Wood is used to create form walls to contain the poured concrete. Ready mix concrete is poured at the job site. Concrete is screeded. A color hardener is applied prior to stamping. The color hardener is smoothed with a bull float.
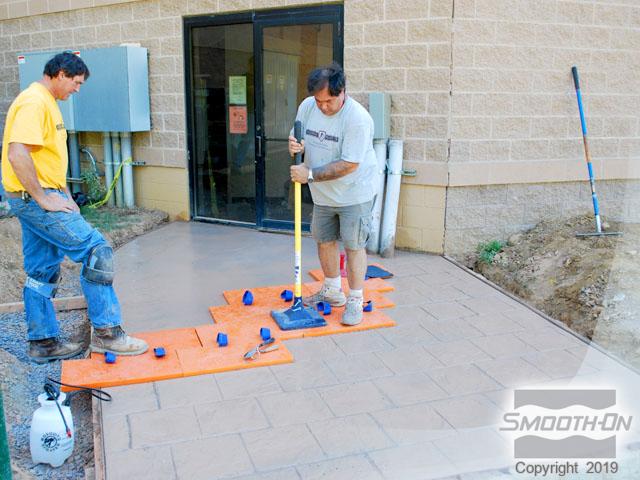
Step 5: Using PMC - 780 Stamps At Job Site
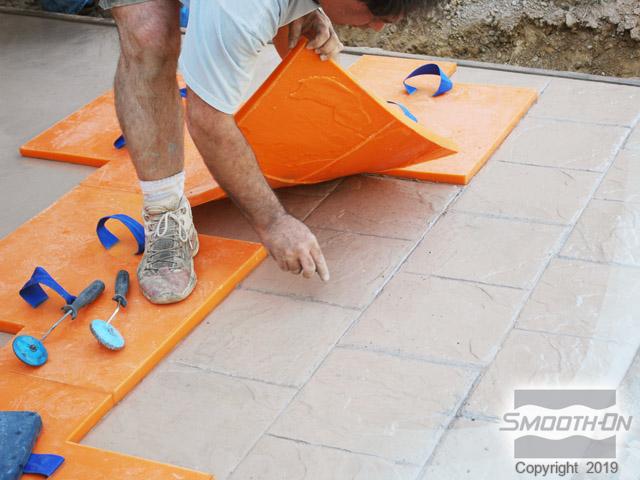
Multiple stamps are created and used for a single job. Stamps are positioned and hand-tamped to imprint the pattern on the elastic concrete slab surface.
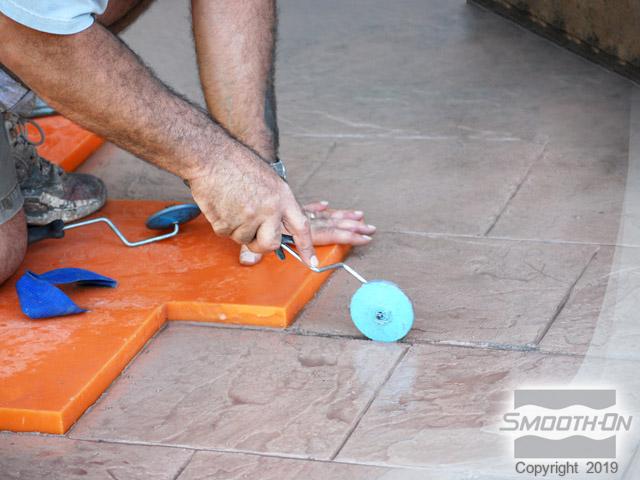
The imprinted texture reflects all of the detail in the rubber stamp. A special grout tool is used to fix minor imperfections.