Concrete Mold Making & Casting

Concrete casting pros from around the world know Smooth-On liquid rubber products as the industry standard for making rubber molds that have the abrasion resistance and tear strength needed to keep production moving. Casting concrete into rubber molds made with Smooth-On rubber lets you make perfect copies of any original every time! Make your own concrete molds, forms, texture and stamping mats.
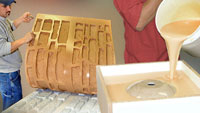
Smooth-On rubbers can be applied right at the job site. They can be brushed on, poured on, or sprayed onto a model. Molds are ready for casting in a day and last in production...saving you time, labor, and material costs.
Explore Our Concrete Catalog Online ›
Smooth-On also offers a variety of concrete additives and specialty bagged mixes. Forton VF-774 is a PCI-certified polymer additive used in GFRC mixes, producing better physical properties and longer life. In addition, concrete artisans have come to know Buddy Rhodes Products as an industry standard for high-performance concrete countertops and decorative elements.
Learn about our new Moldmaking For Production Casting Of Concrete Seminar here ›
Featured Step-by-Step How-To's
How to Make a Free-Form Concrete Sink
Watch how to make an elegant shallow free-form concrete sink from start to finish
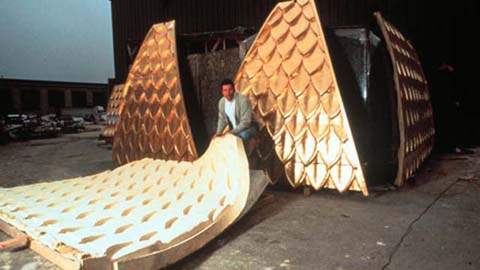
Concrete Casting On A Large Scale: Making "Green" Building Components on a Tight Deadline
Slaw Precast creates energy efficient wall panels for a new, state-of-the-art school building in New York City.
How To Make Concrete Countertops for a Trade Show Display
In this video we show you how we created new concrete countertops for a custom pergola display.
How To Make a Mold For Casting Concrete Tiles
Learn the steps needed to make a production countertop mold using Formlastic™
How to Make a Mold of a Rock for a Concrete Sink
Learn how to make a mold of a small boulder using Rebound 25 brush on silicone rubber.
How To Make a Bouldering Wall with Buddy Rhodes Vertical Mix™
Übergrippen Climbing Crag recently added a 100 foot long bouldering wall in their backyard
How to Make a Concrete and Epoxy Lagoon Aquarium Table
Learn how to use concrete in combination with clear epoxy resin to create an aquarium table.
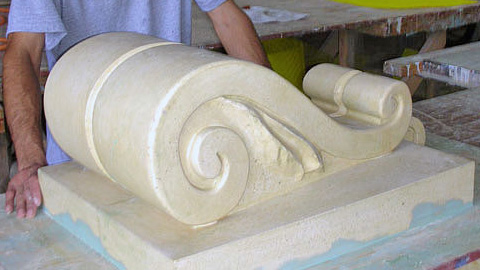
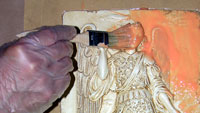
How To Restore an Historic Concrete Seal at Princeton University
Watch how John Paolini, from Paolini Cast Stone, restored an historic concrete seal
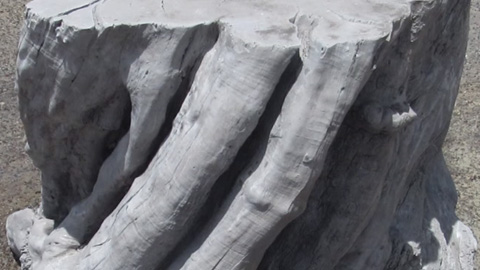
How To Reproduce Woodgrain Detail in Concrete
Rebound 25 platinum silicone captures all the woodgrain details and transfers them to the concrete casting.
View All How-To Videos and Galleries ›
What People Have Done With These Materials

Restoring Concrete Lions Using Spray Rubber
Repairing giant lions on The William H. Taft Memorial Bridge in Washington, DC
Restoring Large Concrete Panels At Garfield Park Field House
The Project: Replace large deteriorating dome panels at Garfield Park in Chicago.
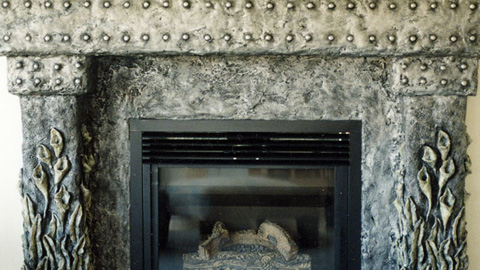
Adding A Creative Spark To Fireplace Surrounds
Colleen Boddez’ unique ability to fuse architecture and sculpture turns ordinary fireplace surrounds into extraordinary works of art, making them the centerpiece of any home.
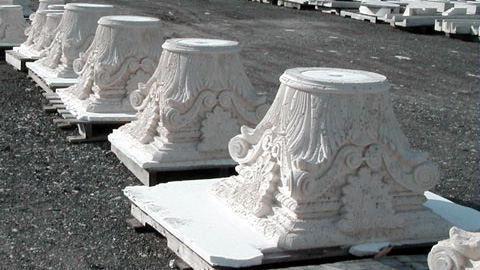
Caribbean Cast Stone Adds Touch of Class to Plaza In Puerto Rico
Caribbean Cast Stone, Inc. began construction on a new $10 million plaza in Rio Grande, Puerto Rico.
K & T Stoneworks on Top of Their Game with EZ-Spray™ Jr. Urethane
K&T Stoneworks of West Palm Beach, FL delivers the highest quality and most exquisite custom cast stone available.
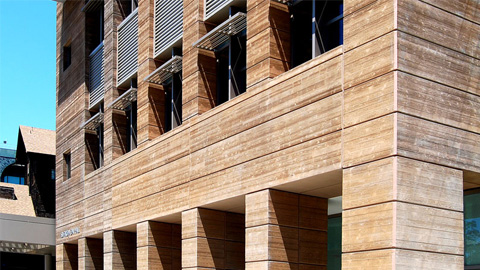
FORTON VF-774 GFRC Projects by Willis Construction Co. Inc.
Willis Construction is one of the leading Architectural Precast Concrete manufacturers and installers in the Western United States.

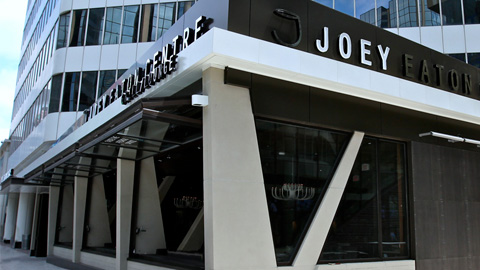
FORTON VF-774 GFRC Projects by Walters & Wolf Precast.
Walters & Wolf is a West-Coast leader in premier cladding services.
FORTON VF-774 GFRC Projects by Formglas Products Ltd.
With a 5 decade history, Formglas creates custom fabricated solutions for precision-engineered and sustainable architectural products.
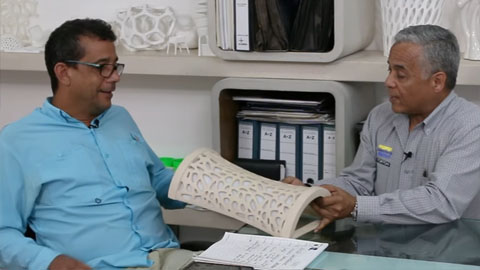
Customer Spotlight - Taller de Prefabricados
José Hormiga, owner of Taller de Prefabricados, invited us to his facilities and walked us through his history and some of his projects.

 Contact One of Our Concrete Specialists Today.