How To Make a Metal Cold Casting With Smooth‑Cast™ 325 Resin
Overview
"Cold-Casting" is a term used to describe the process of mixing metal powder with a resin to create castings that give the appearance of solid metal. The metal cold-cast process (also known as "bonded bronze") is faster and much less expensive compared with foundry casting of molten metal (lost wax process.) Different metal powders such as Bronze, Brass, Nickel Silver, Copper and Aluminum can be used depending on the desired effect.
To make a metal cold-casting, metal powder is mixed into the resin until the mixture is thick and creamy. The mixture is then brushed into the mold cavity until the resin cures. The gel coat is then back-filled with straight resin, resin mixed with metal powder, resin mixed with lead shot (for weight) or Foam-iT!™ 5 rigid foam to yield a light weight casting.
Specifics - Cold Cast Bronze Example - This step-by-step example will detail making a cold-cast metal casting using bronze powder. A "gel coat" layer is applied first to the rubber mold cavity. More resin is then poured directly on top of the gel coat (back filling.) The gel coat and back fill mixture is allowed to cure. The cured resin casting is removed from the mold and the bronze effect is brought forth by buffing the surface with steel wool.
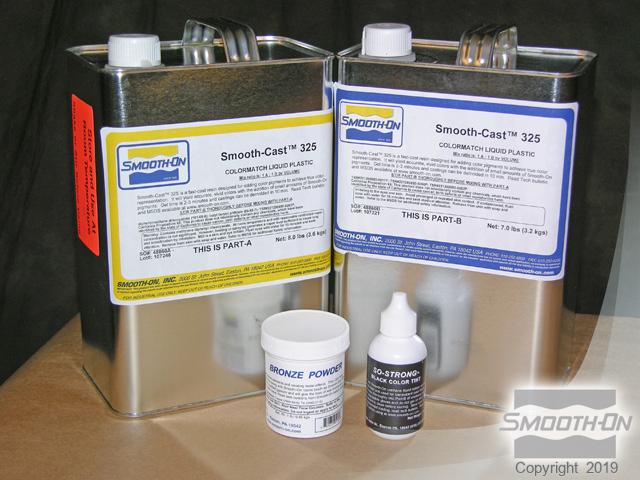
Materials Used in this Tutorial
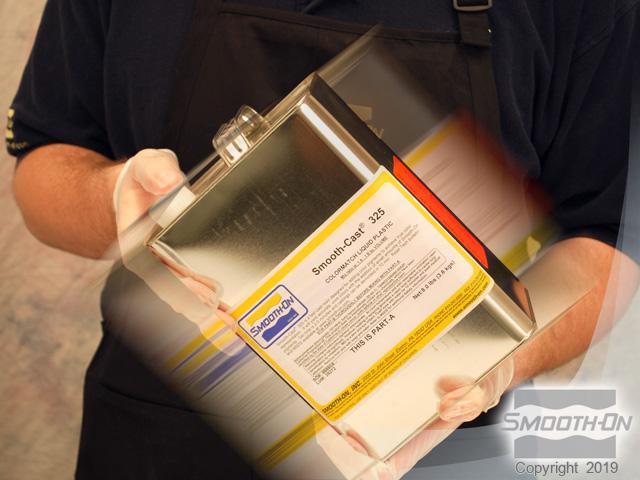
- Smooth-Cast 325
- OOMOO 30
- Ease Release 200
- Ease Release 205
- So-Strong Color Tints
- Metal Powders
- Paint Brush
- Paper Clip
- Mixing Containers
- Mixing Sticks
- Towel
- Mineral Spirits
- Medium/ Fine Steel Wool
- Black Shoe Polish
- Acrylic Spray
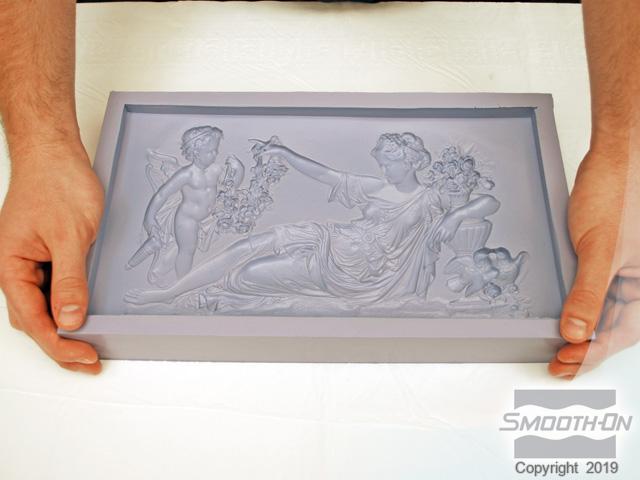
Step 1: Preparing Mold
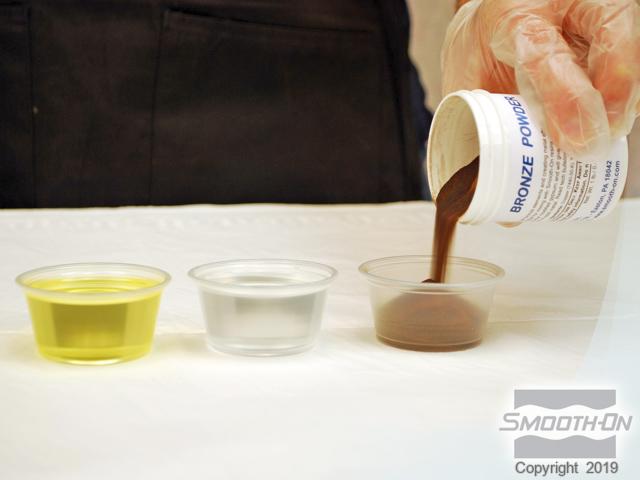
To start Smooth-Cast® 325 casting resin, SO-Strong® Black tint and Bronze powder are combined to make a ''Cold Cast'' Bronze Casting. Any metal powder (-325 mesh) can be used including copper, brass, nickel/silver, etc.
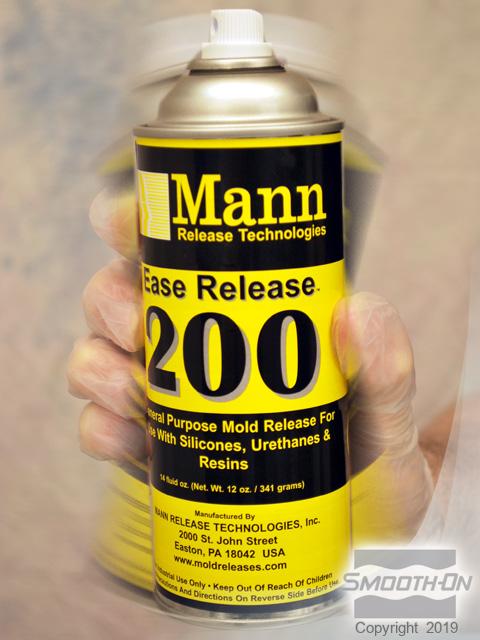
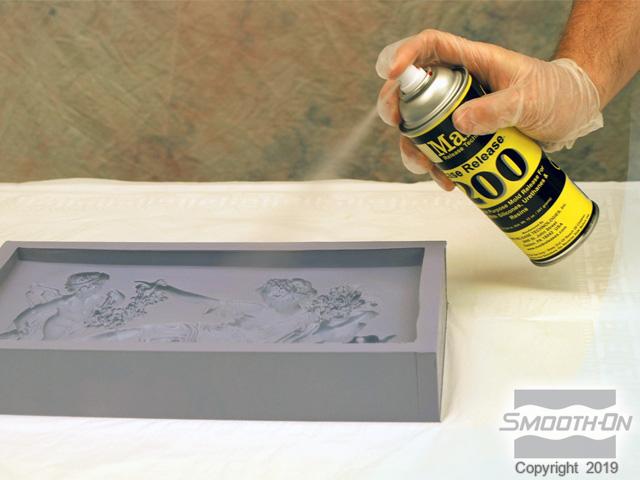
The mold for this piece is made from OOMOO® 30 silicone rubber. By using Mann Ease Release® 200 the mold will provide a clean release of the resin. Using release agent will also extend the life of a silicone mold. Spray a light coat of Ease Release® 200 into the mold. Brush the release agent into all corners of the mold and follow with another light spray coat.
Step 2: Mixing, Dispensing & Applying Smooth-Cast 325
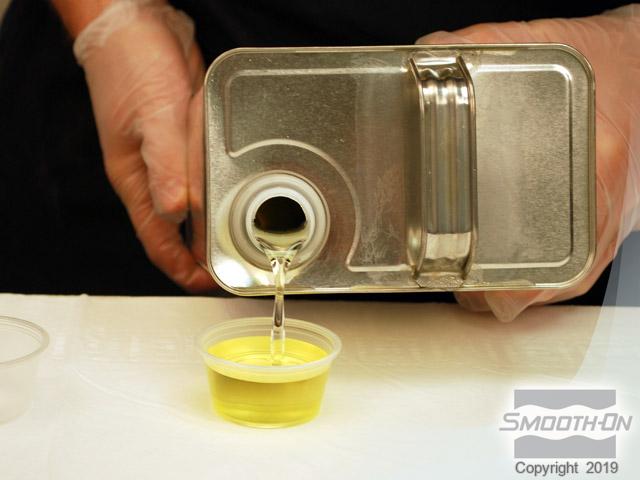
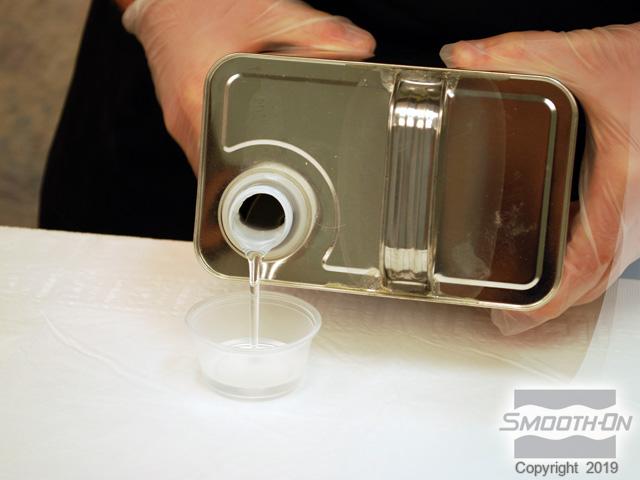
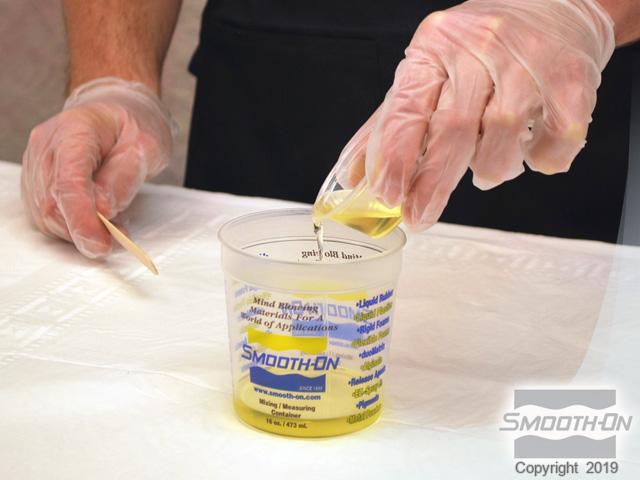
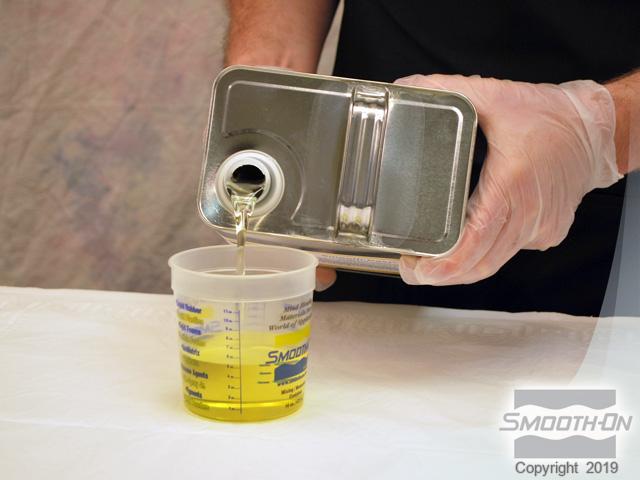
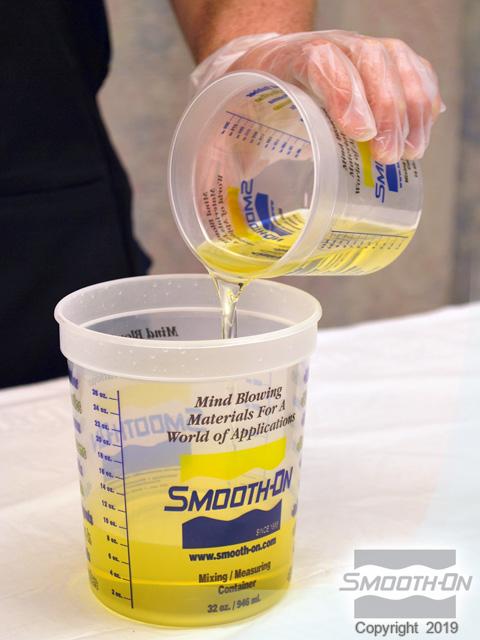
Stir or shake both Part A and Part B thoroughly before dispensing. Dispense the required amount of Smooth-Cast® 325 Part A into a measuring container. Then dispense an equal amount of Smooth-Cast® 325 Part B.
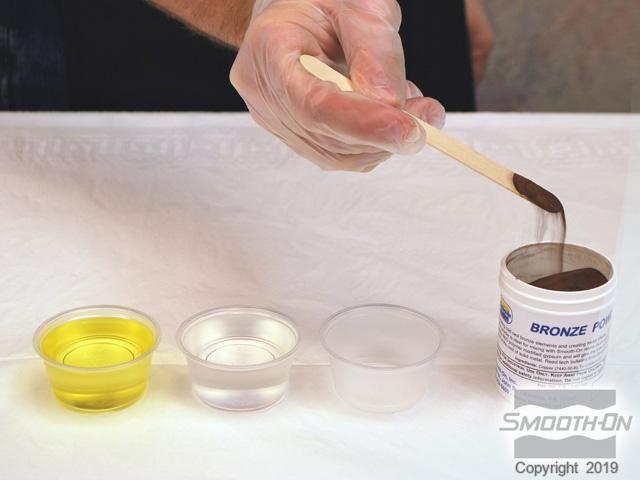
Smooth-On metal powders are -325 mesh and mix easily into Smooth-Cast® 325 resin. Dispense an equal volume of bronze powder. Equal amounts of Part A, Part B and bronze powder are ready to be combined.
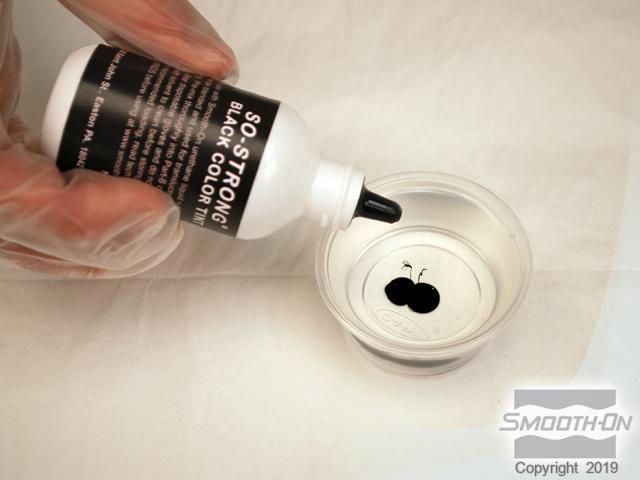
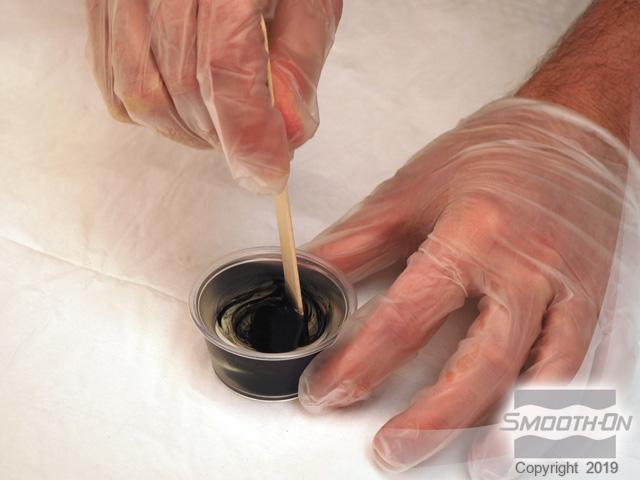
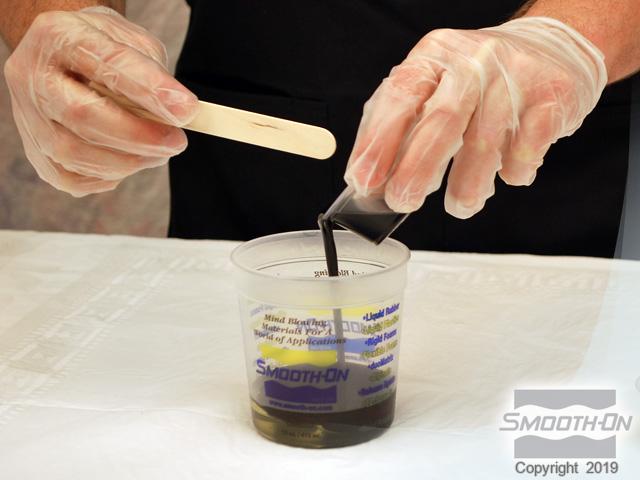
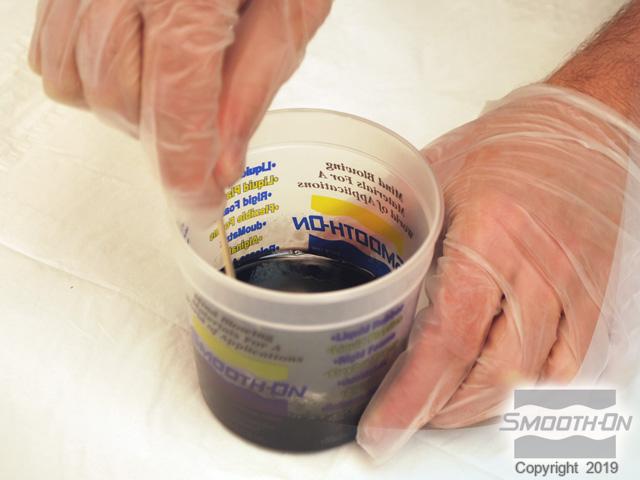
Two drops of So-Strong® Black tint are added to Smooth-Cast® 325 Part B. The tint is thoroughly mixed into Part B prior to combining with Part A. Part A is added to a clean mixing container. The tinted Part B is combined with Part A. Parts A and B are mixed thoroughly for 15 seconds.
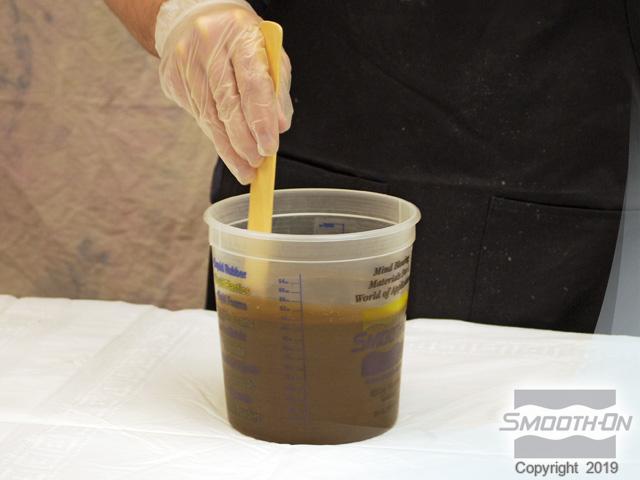
Sift in Bronze Powder to the resin and mix all components for 30 seconds. Continually scrape the bottom and sides of the mixing container while stirring to keep the metal powder from settling on the bottom.
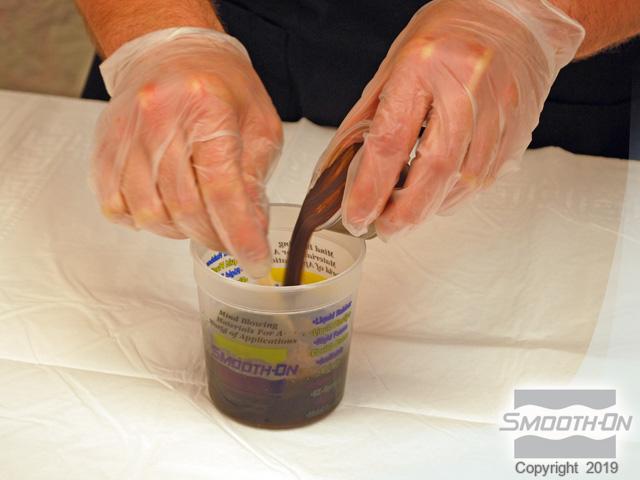
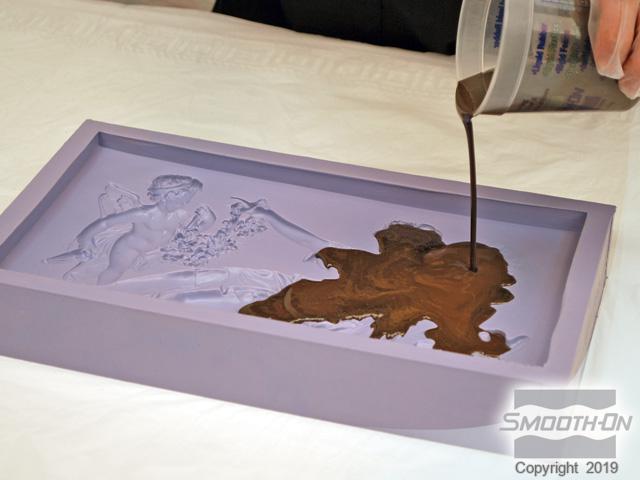
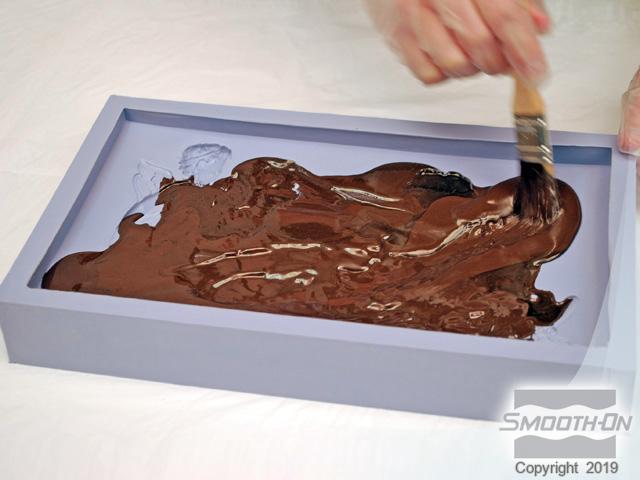
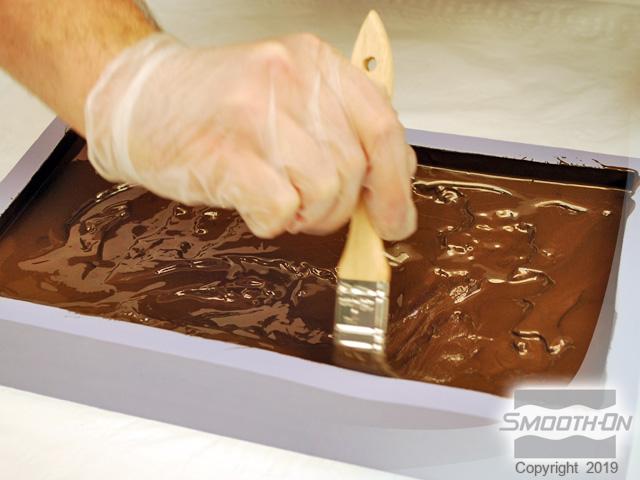
Pour the liquid into the mold cavity. Make sure you scrape any residual bronze powder from the cup. Immediately begin brushing the material around the mold cavity creating a ''gel coat.'' The mixture will continue to thicken as you brush. Once you feel the material starting to 'gel' or 'stick', stop brushing. Over brushing will result in a damaged casting.
After you stop brushing, allow the gel coat to partially cure for 5 - 10 minutes. Do not allow to fully cure, as delaminating may result between gel coat and back fill mixture.


Step 3: Back-filling With Smooth-Cast 325
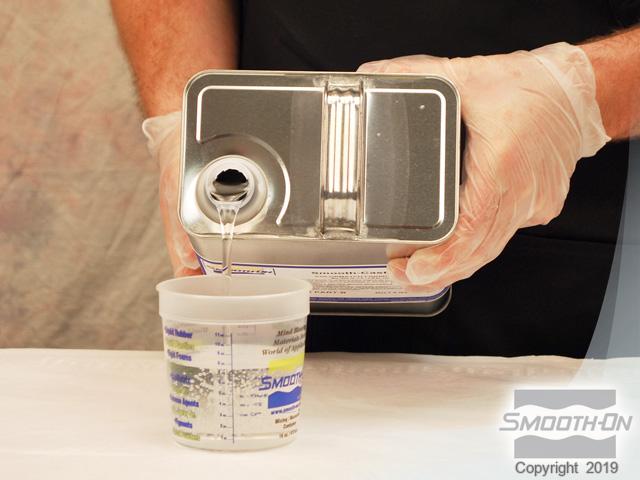
Measure equal amounts of Smooth-Cast® 325 Part A and Part B by volume.
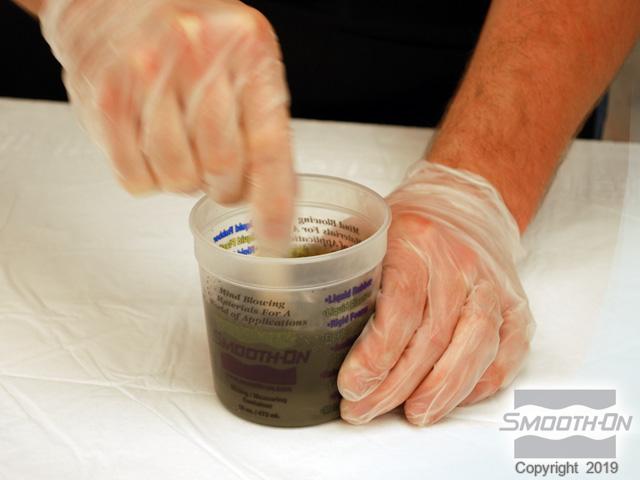
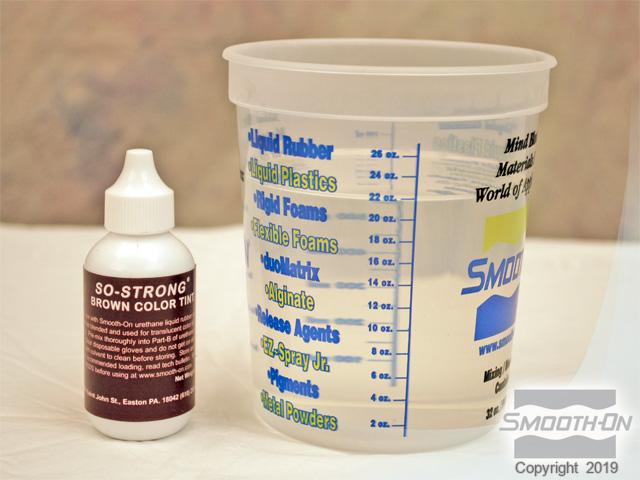
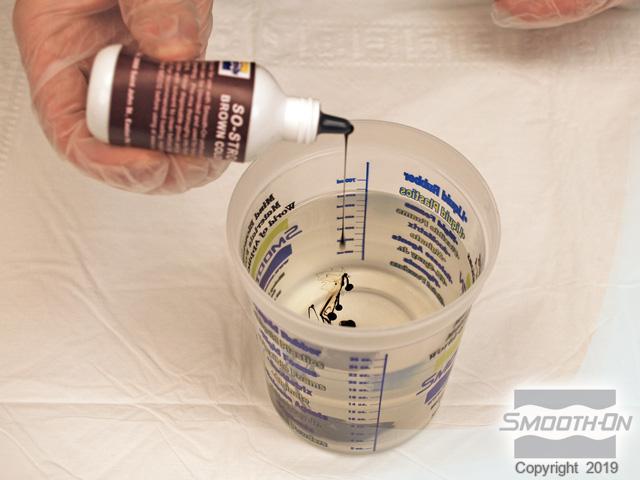
So-Strong® Brown tint will be used to match the base color of the bronze. Add a few drops of So-Strong® Brown tint to Part B and mix. The tint is thoroughly mixed into Part B prior to combining with Part A.
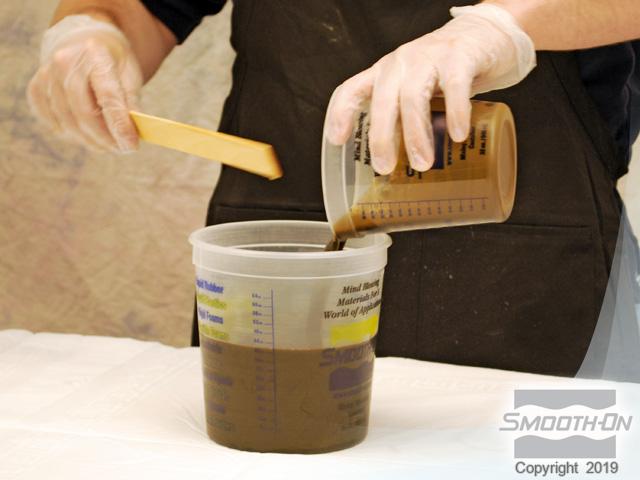
Smooth-Cast® 325 Part A is poured into a clean mixing container. The tinted Part B is combined with Part A. Mix the material thoroughly, scraping the sides and bottom of the container several times.
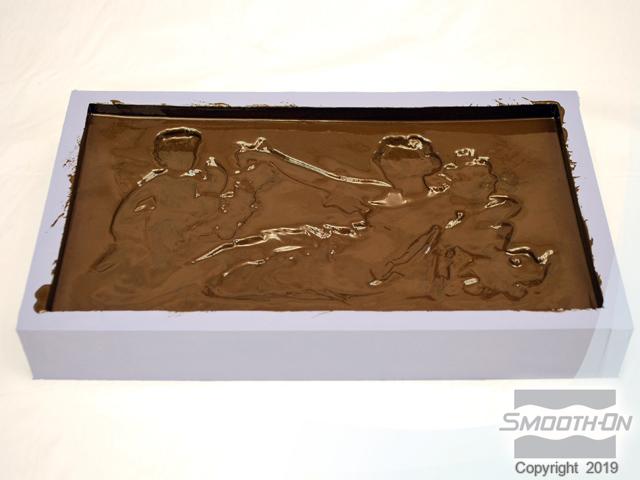
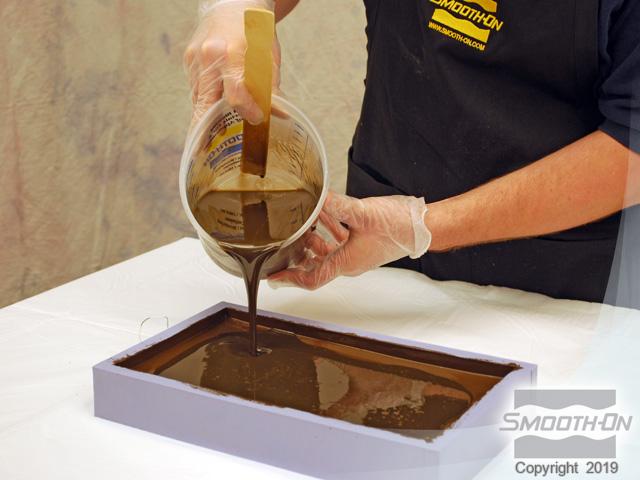
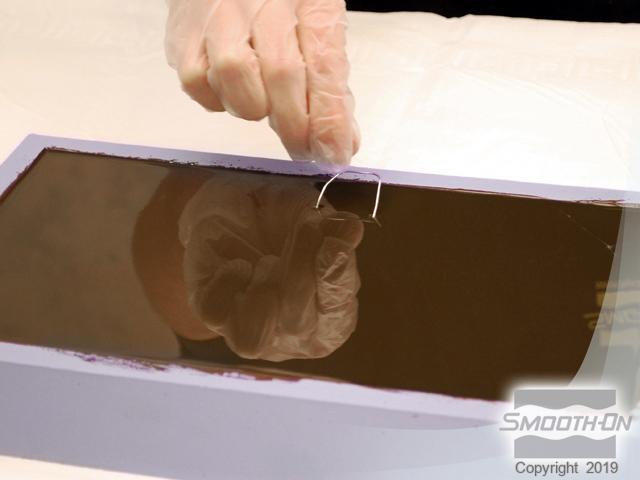
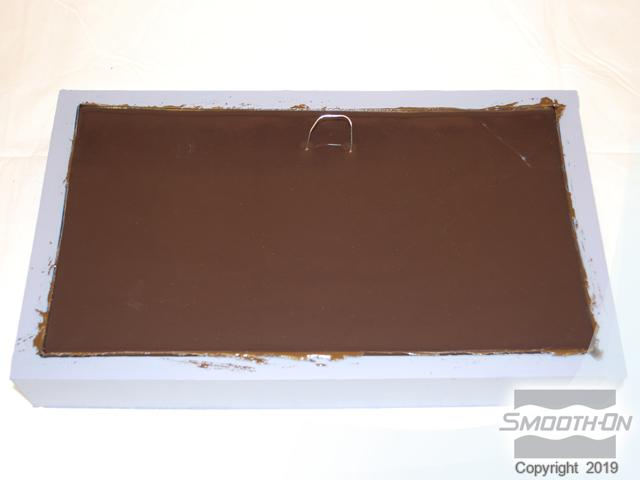
Pour the liquid into the center of the mold cavity until full. A bent paper clip or piece of wire can be carefully placed into the liquid resin to create a mounting hook. Once the resin cures, the piece will already be prepped to hang on a wall.
Allow the casting to cure for a minimum of 60 minutes before removing from the mold.

Step 4: Finishing
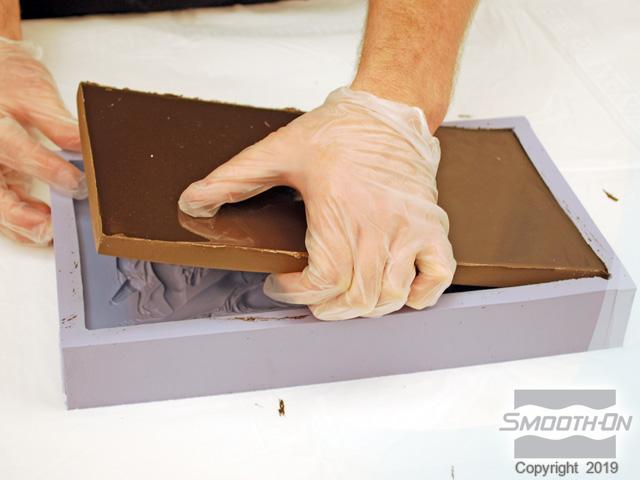
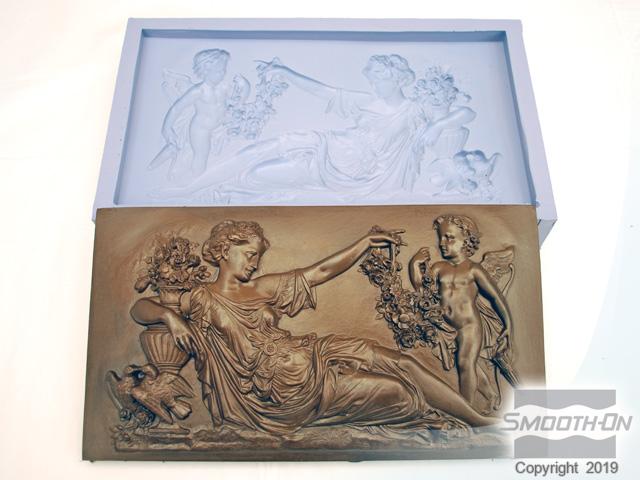
Carefully demold the casting. When first demolded, the casting will look somewhat dull. It must be properly burnished to bring out the metal luster.
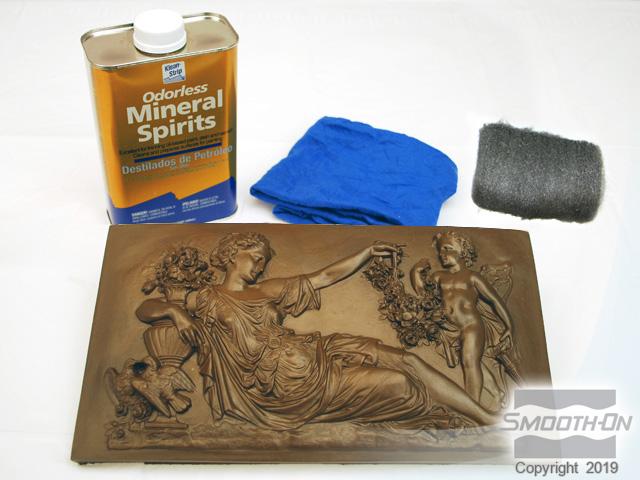
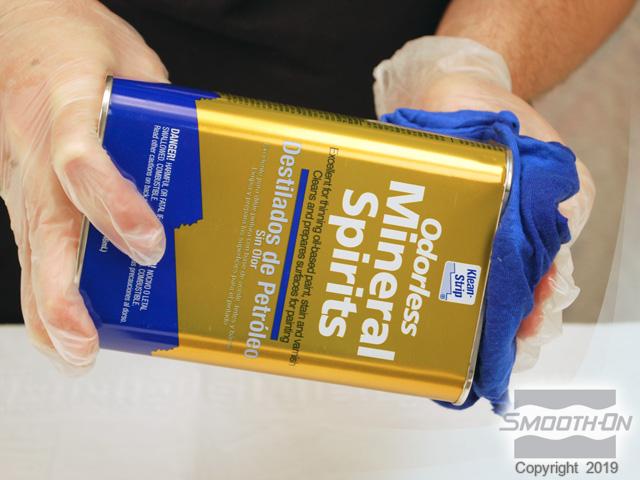
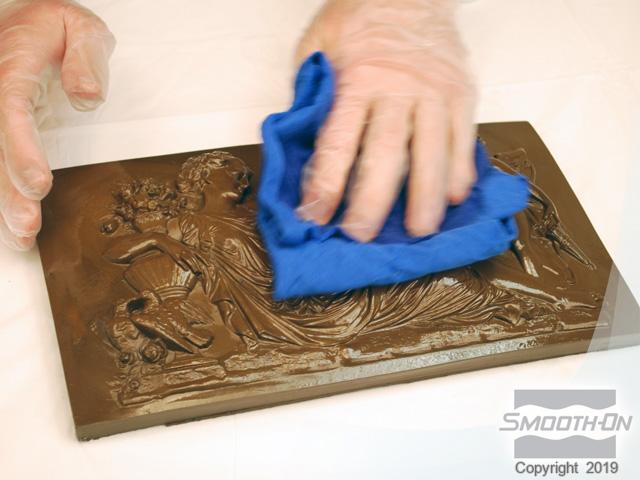
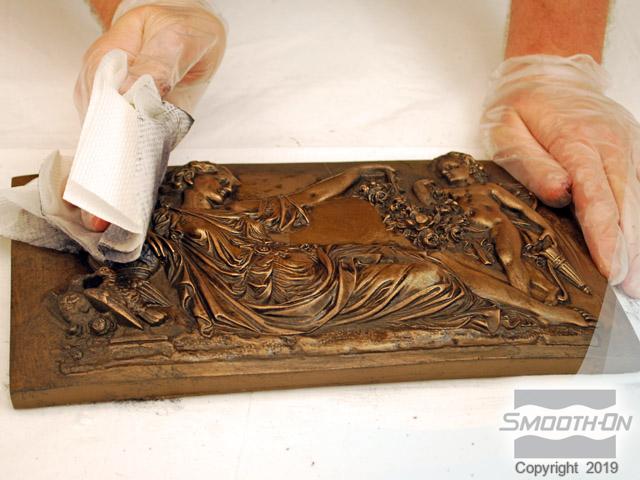
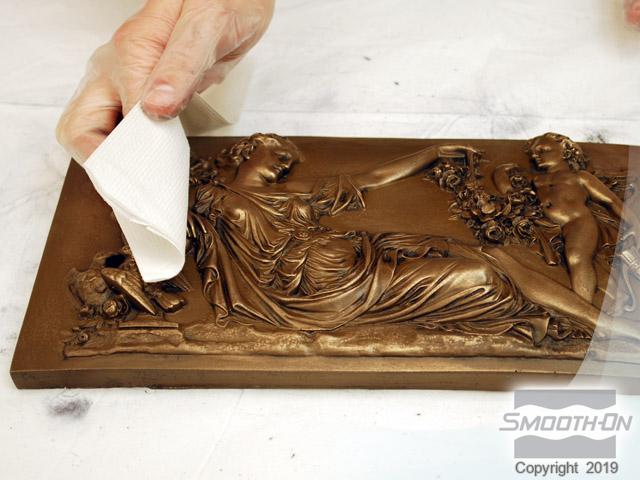
For best results, Mineral Spirits, medium/fine steel wool, and shoe polish are used to bring out the most realistic effect. Begin by wiping down the entire surface of the model with a towel soaked in mineral spirits. The mineral spirits will temporarily soften the plastic slightly and make it easier to bring out the metal shine when buffing with steel wool.
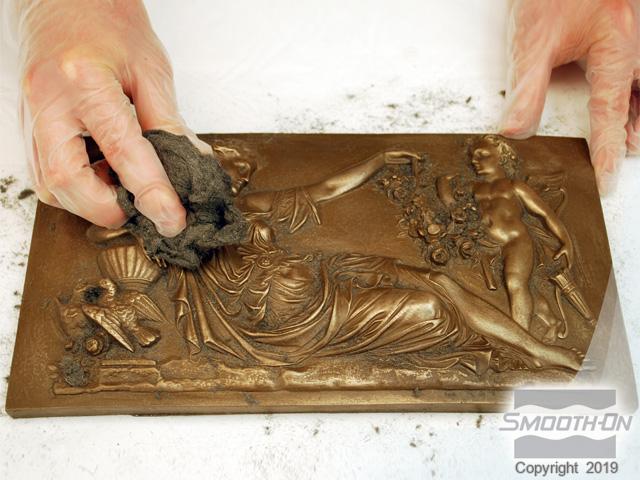
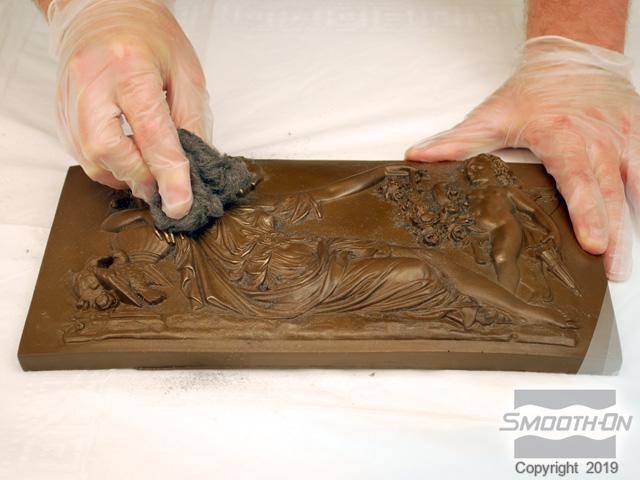
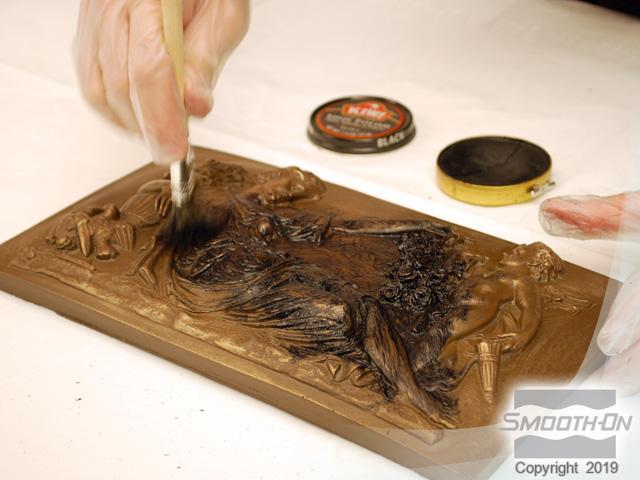
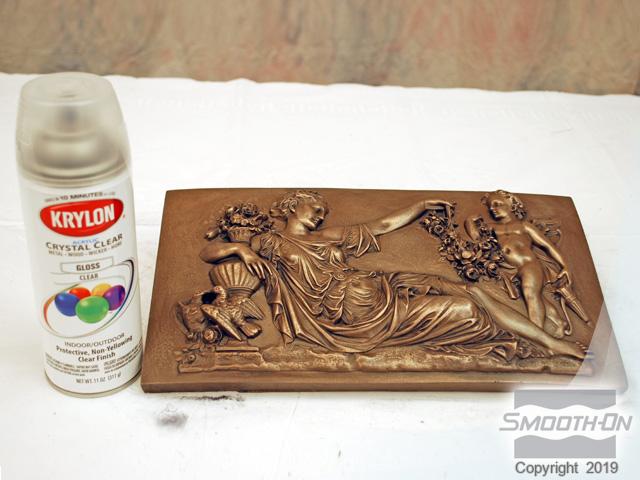
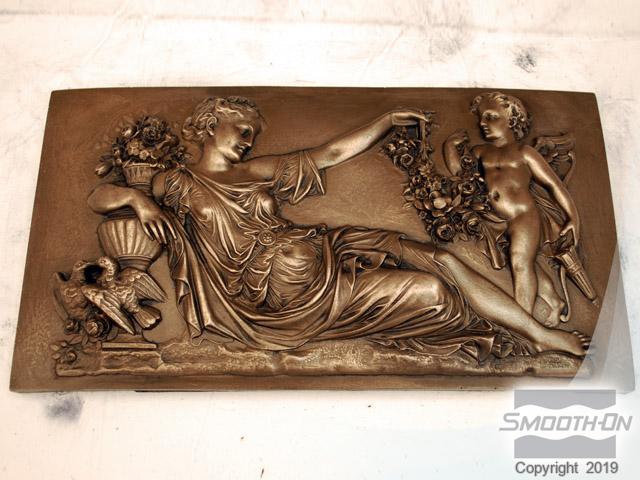
Abrade the casting using medium/fine steel wool until the desired metal shine and luster is attained. Abrade the casting using medium/fine steel wool until the desired metal shine and luster is attained. Highlight the surface with black shoe polish to add depth and dimension. Allow shoe polish to dry then buff with a soft cloth. To prevent the oxidation of the metal, acrylic spray can be used to protect the finish. Spray the polished piece with two coats of semi-gloss acrylic spray.