How To Vent a Silicone Mold to Eliminate Bubbles In Casting
Overview
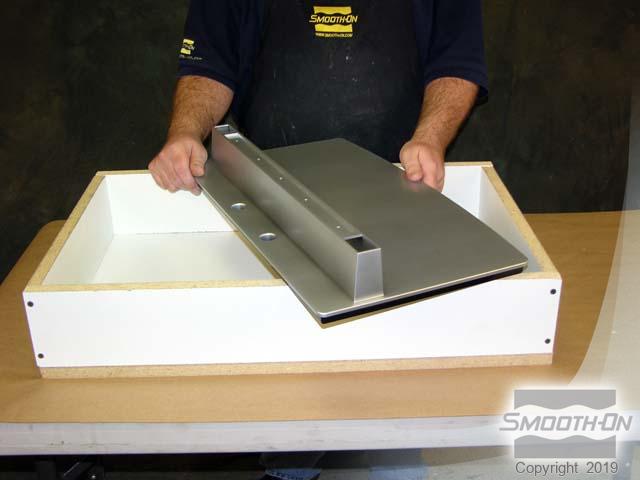
Jerry Ross, President of Ross Concepts in Dover, NJ, had to mold and cast a precise prototype of an LCD mounting platform. The application called for low long term shrinkage in the mold and very high tensile strength in the finished casting which will have a wall thickness of about 1/8" (.32 cm). Mr. Ross selected Mold Max® XLS, Shore 30A tin-catalyzed silicone that exhibits very low long-term shrinkage. He selected TASK® 4 as the casting resin because of the low viscosity (abiity to flow), strength when cured, and low shrinkage.
This particular prototype design posed challenges in getting the casting resin to flow to critical mold areas. Mr. Ross pre-planned to punch air vents into the cured XLS mold with brass tubing and an exacto knife. The vents would allow air to escape and minimize bubble entrapment in the finished TASK® 4 casting.
The following sequence chronicles Mr. Ross's process in successfully reproducing this model using an advanced mold making technique.
Materials Used in this Tutorial
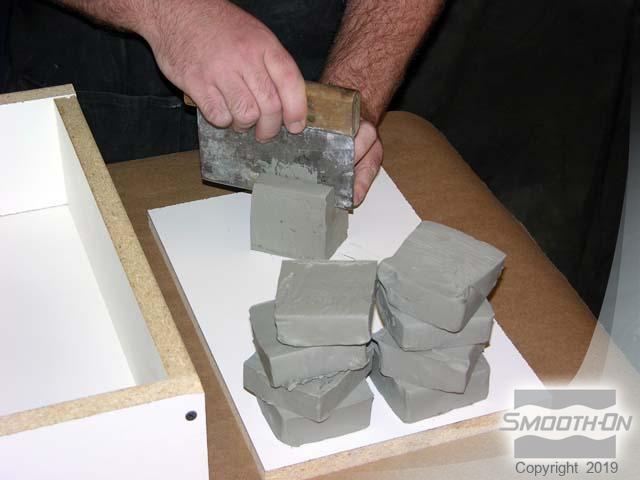
- Sulfur Free Clay
- Mold Max XLS
- Gram Scale
- Turbine Mixer
- Mixing Sticks
- Mixing Containers
- Vacuum Chamber
- Drill
- Screws
- Ease Release 200
- Task 4
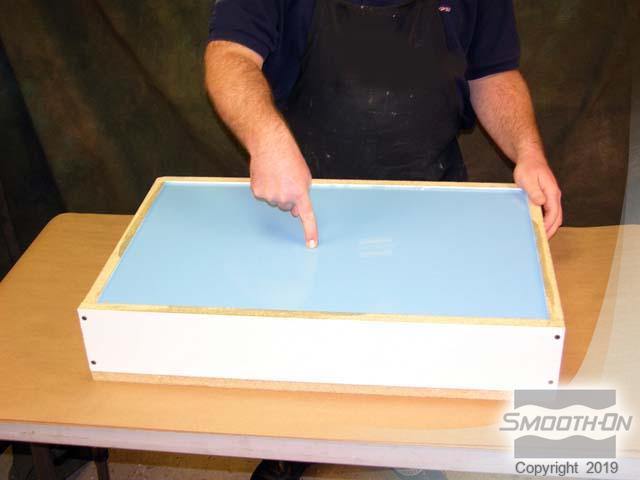
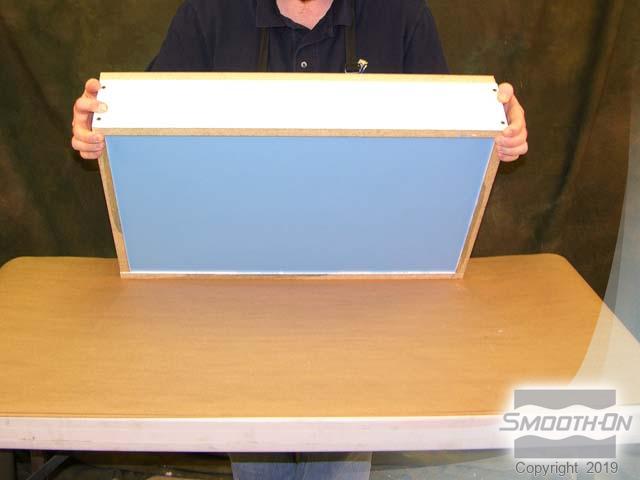
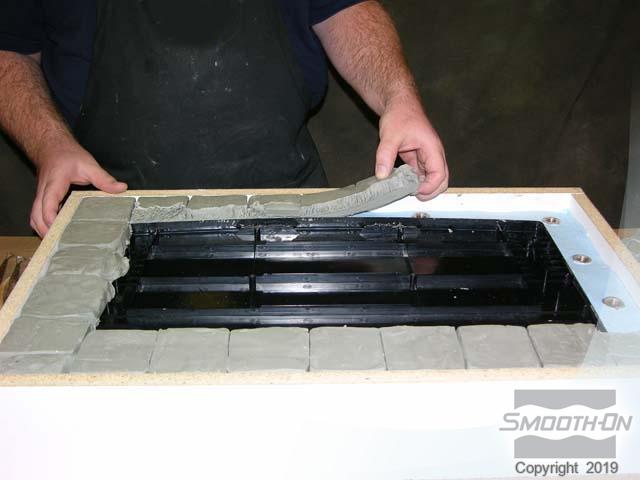
Step 1: Constructing Mold Box
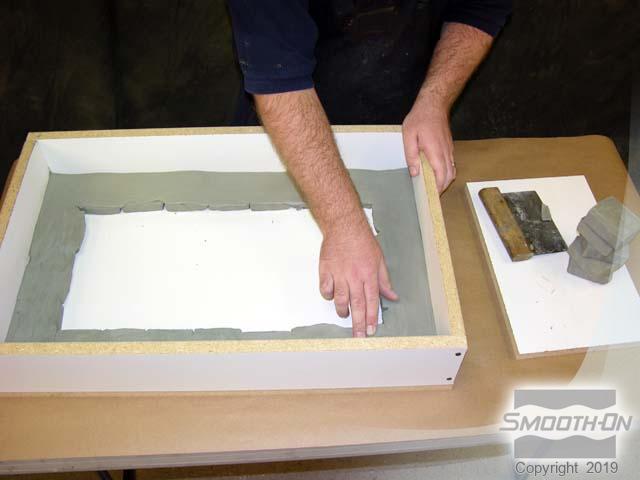
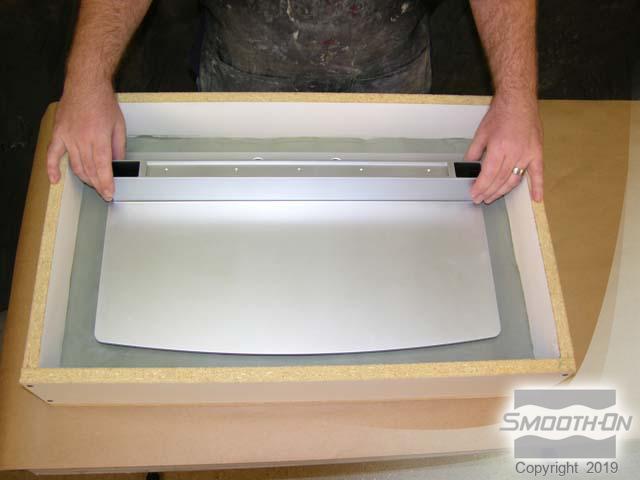
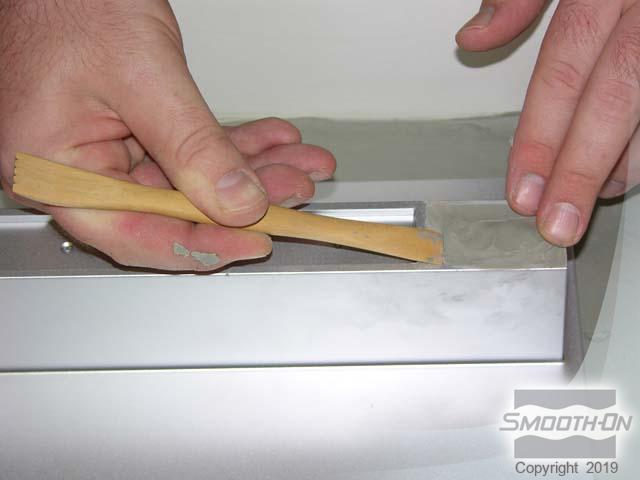
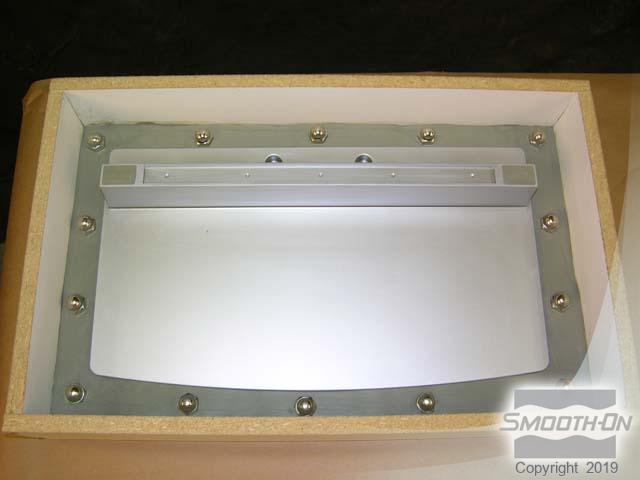
The first step is to prepare a mold box that will accomodate the original model. Be sure to factor a minimum 1/2'' (1 cm) clearance into the mold dimensions. Use sulfer-free clay segments to elevate the model 1/2'' (1 cm) from the mold box base board. Then, secure the model onto the clay perimeter base and fill holes in the model with clay. Smooth and level the modeling clay surface and edges. Nex, press acorn nuts into the clay around the perimeter of the model to create registration points for the mold halves. The bottom half is ready to have the first layer of rubber applied.

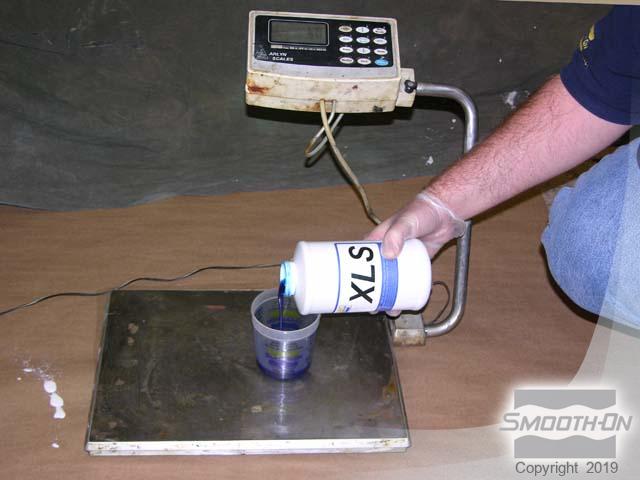
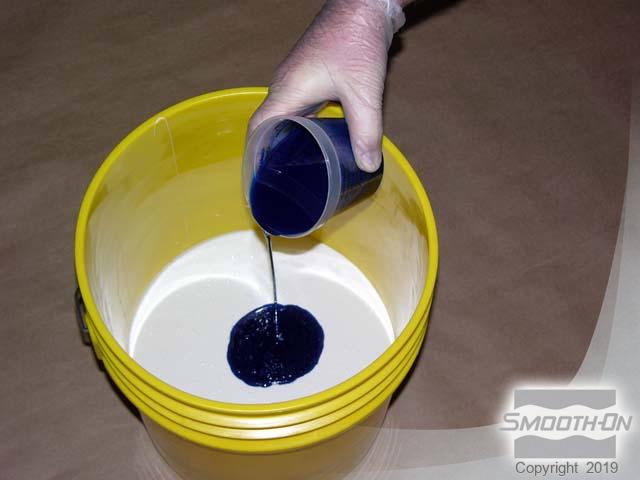
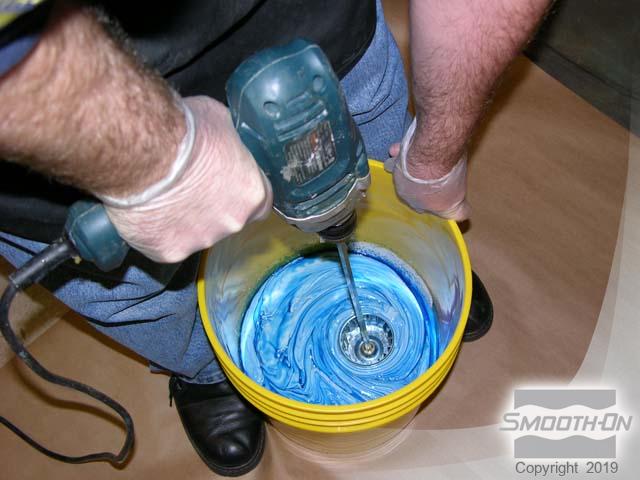
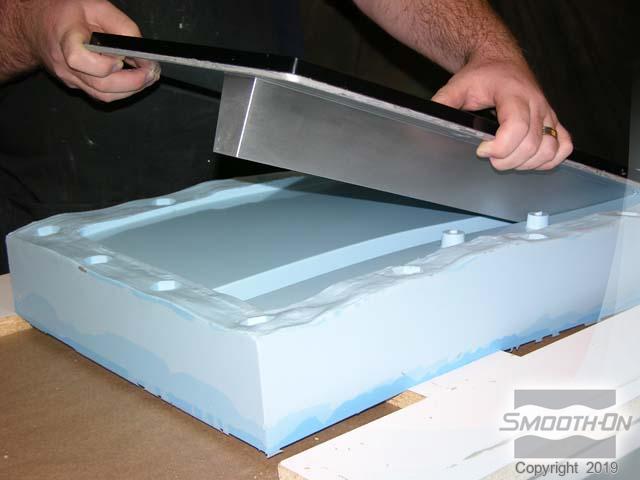
Step 2: Dispensing, Mixing, Vacuuming and Pouring Mold Max XLS
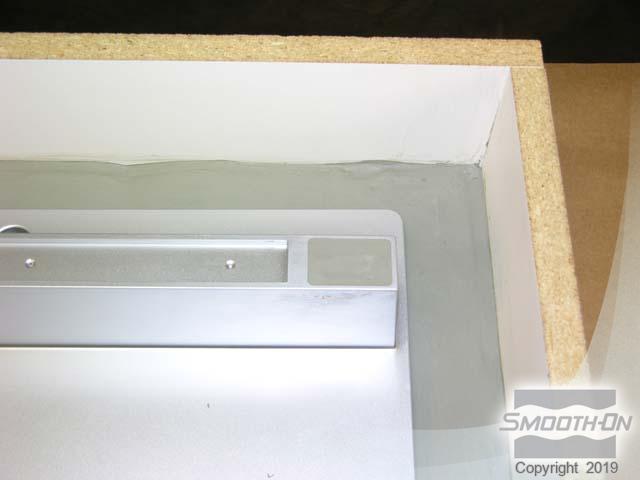
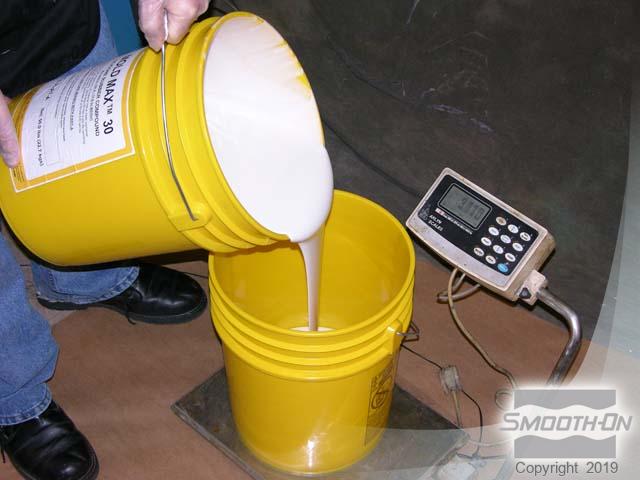
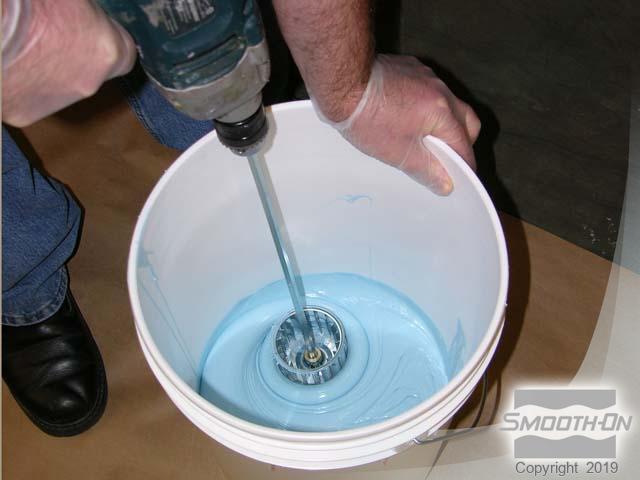
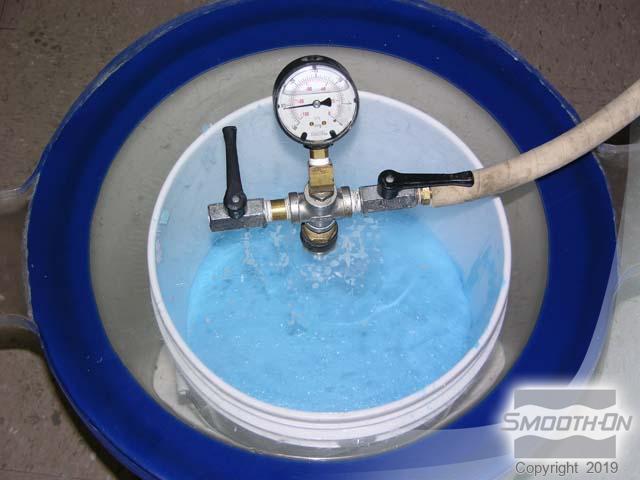
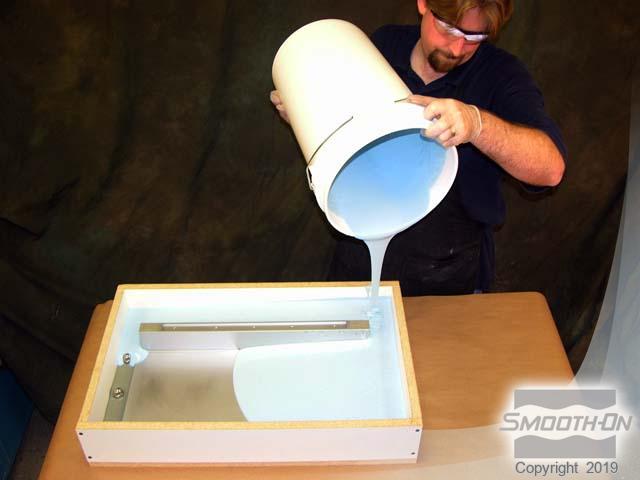
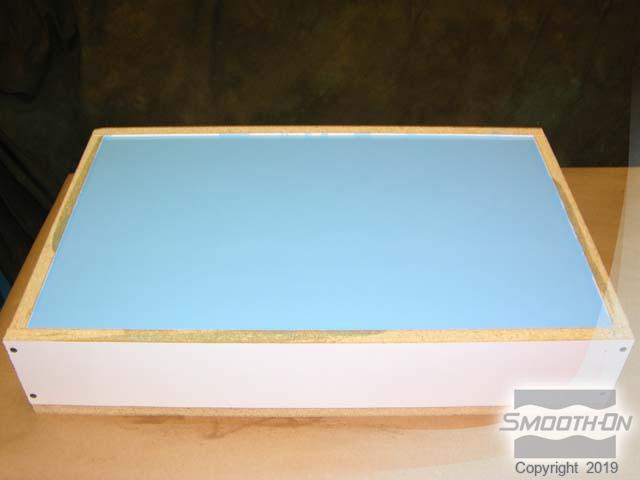
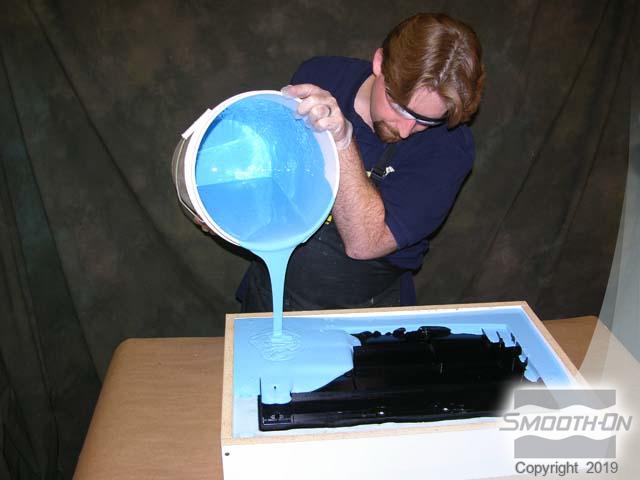
Weigh 100 Parts of Mold Max® XLS Part A and 4 Parts of Mold Max® XLS Part B. Combine Parts A and B in the mixing container and mix with a drill first, then by hand. To ensure proper mixing, pour the rubber into a second, clean mixing container and mix again. Then, vacuum the mixture at 29 inches of mercury. Pour the XLS® into the lowest corner of the mold box and allow it to rise over the model. Allow the XLS® rubber to cure for 16 hours, then test the mold to make sure that it has fully cured.
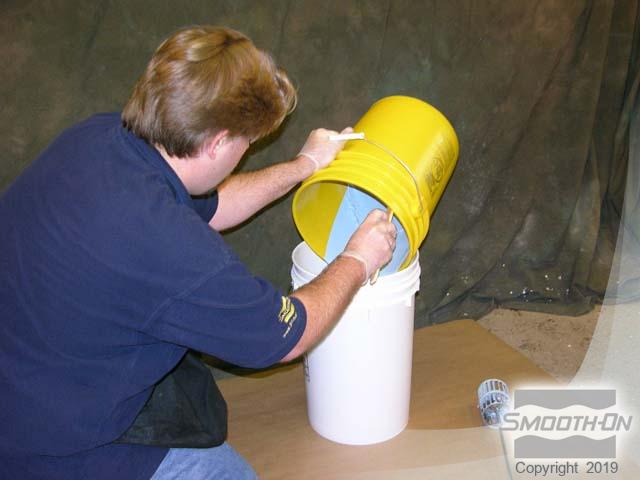
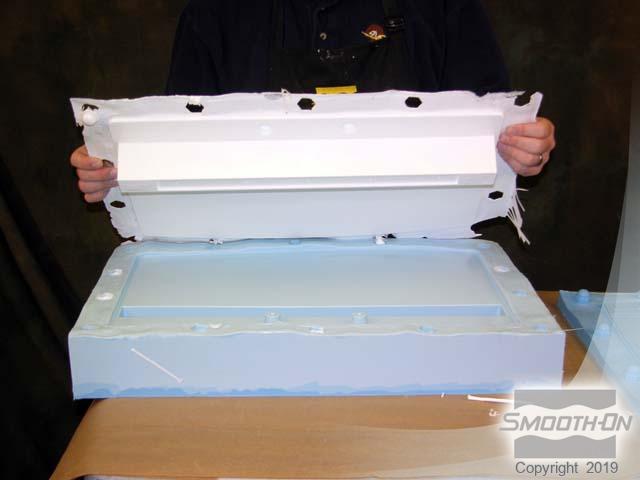
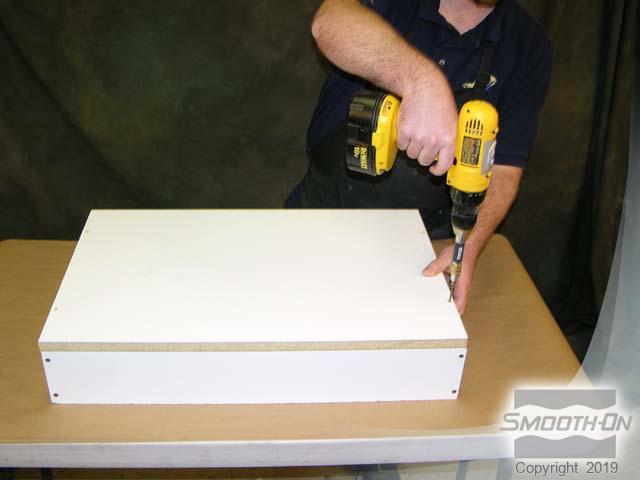
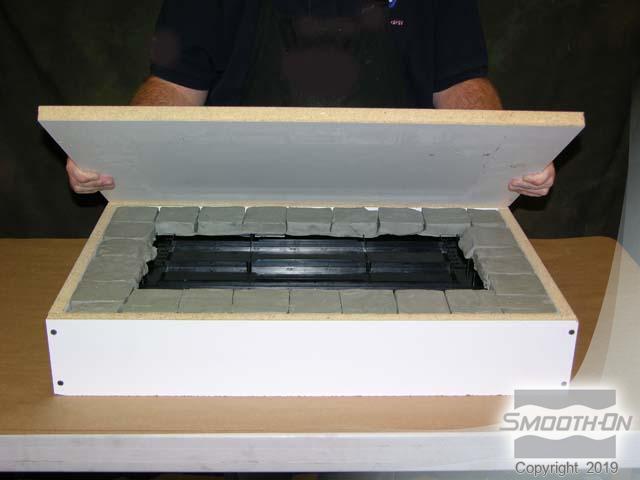
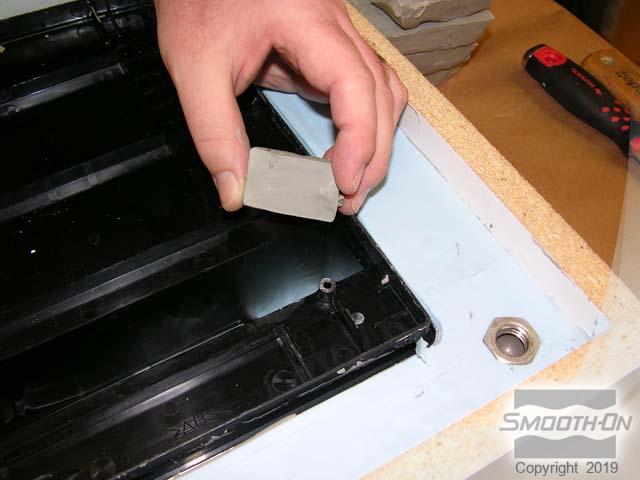
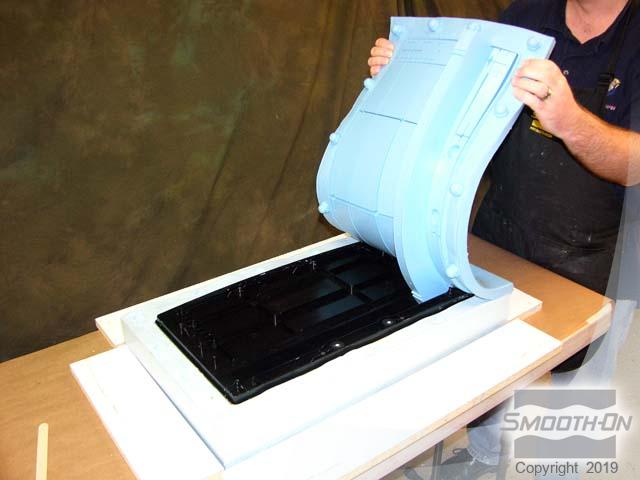
Step 3: Demold
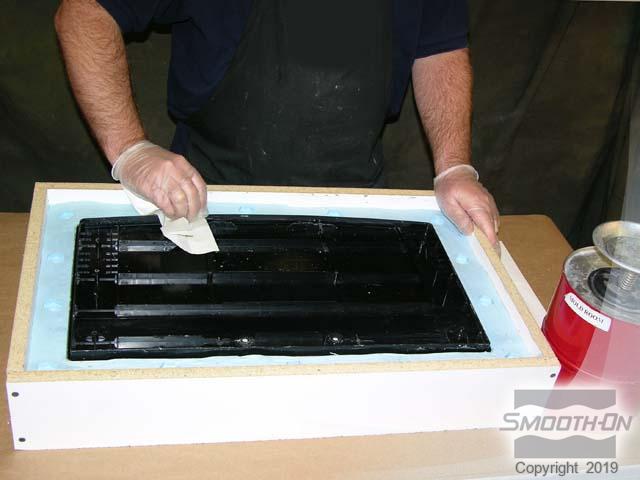
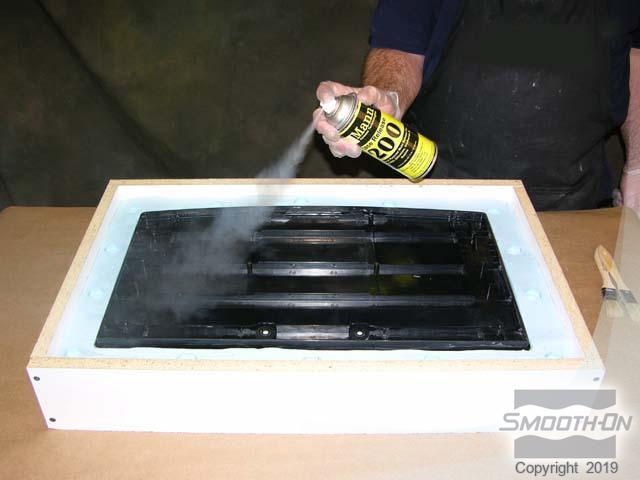
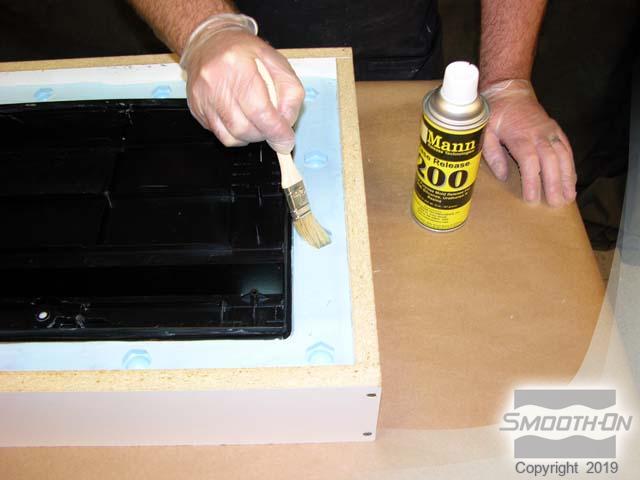
Turn the mold box over to prepare for demolding. Loosen the mold box screws using a drill and remove the baseboard and clay from the perimeter exposing the back of the model. Carefully remove the clay from the holes of the model as well. Next, remove the acorn nuts from the cured silicone. Once all of the clay is removed, clean the model with alcohol and spray Ease Release® 200 release agent onto the model and cured rubber, brushing it over all surfaces.
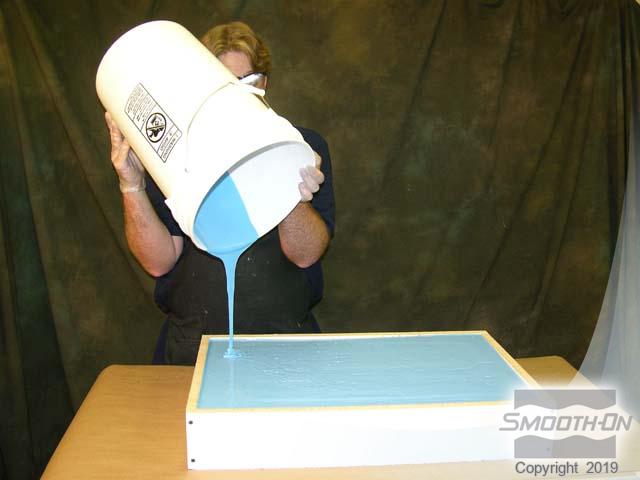
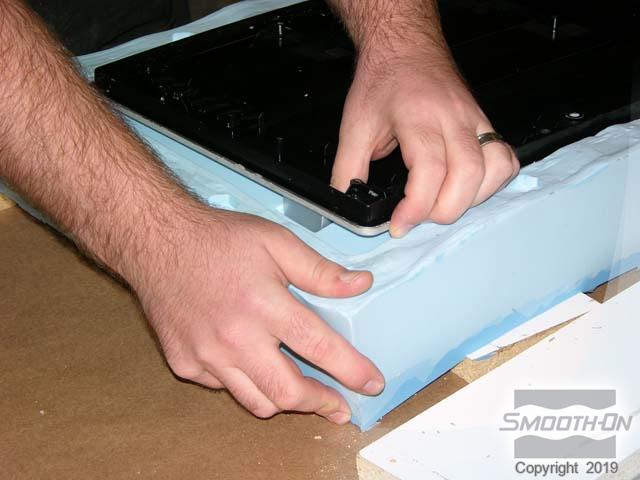
Step 4: Dispensing, Mixing, Vacuuming Pouring Mold Max XLS Part 2
Mix and vacuum more Mold Max® XLS and pour it into the second half of the mold over the model, filling the mold box. Leave the model to cure overnight.

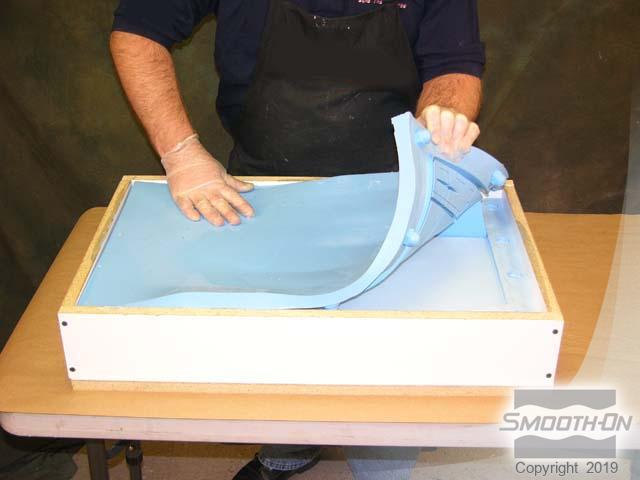
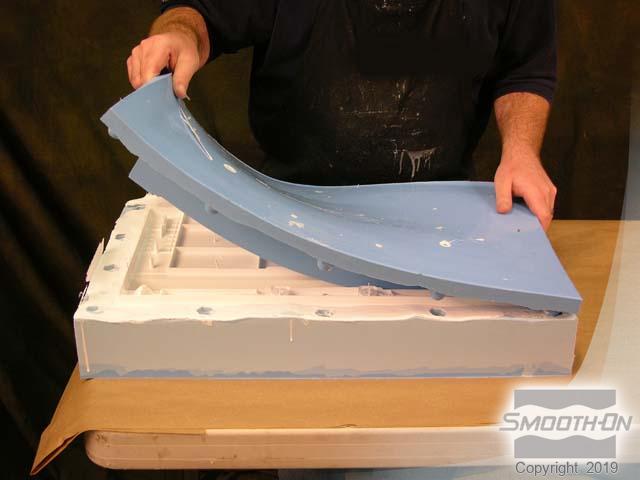
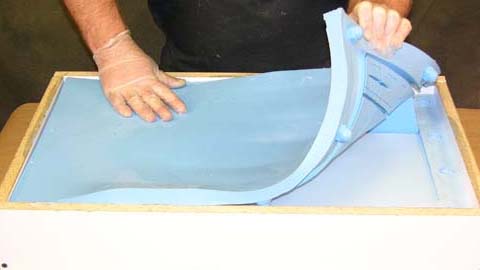
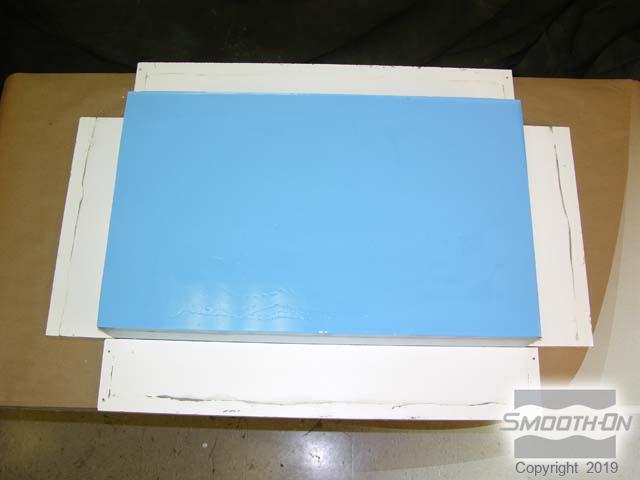
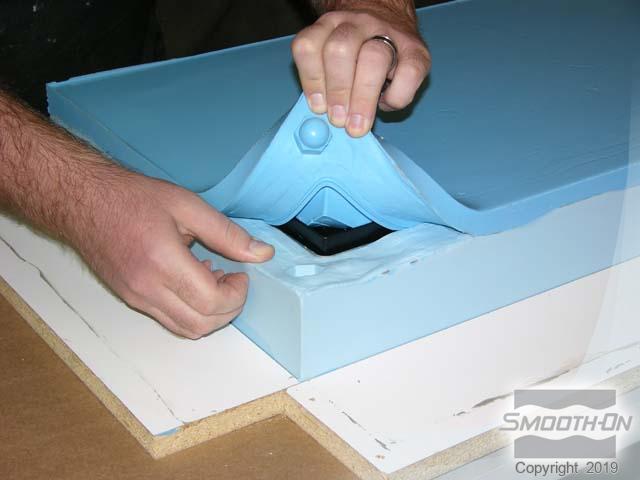
Step 5: Demolding
The next day, when the mold rubber is cured, remove the screws to begin disassembly of the mold box sides. Carefully separate the two halves of the mold and the original model. Once demolding is complete, post cure both mold halves in a hot bo for 4 hours at 200°F/93°C to drive off residual alcohol and water from the cured rubber. This step will prevent cure inhibition between the rubber and the TASK® plastic.


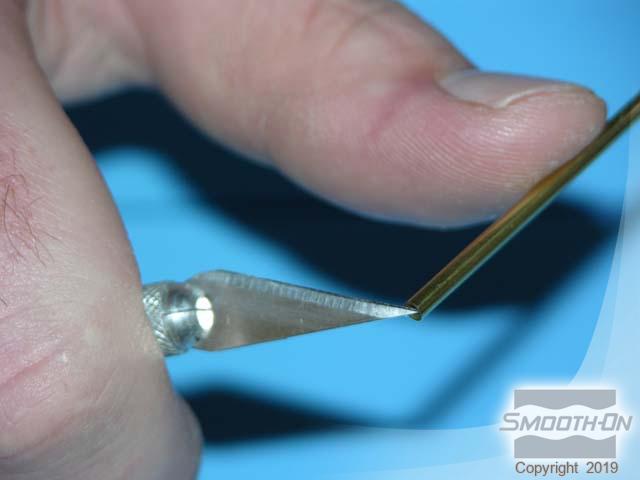
Step 6: Venting The Mold
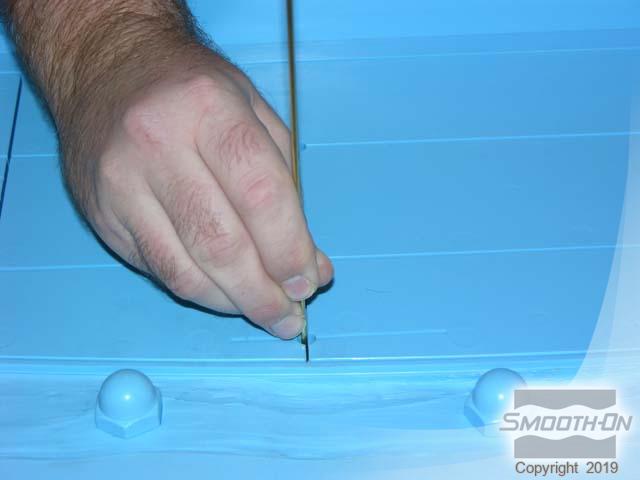
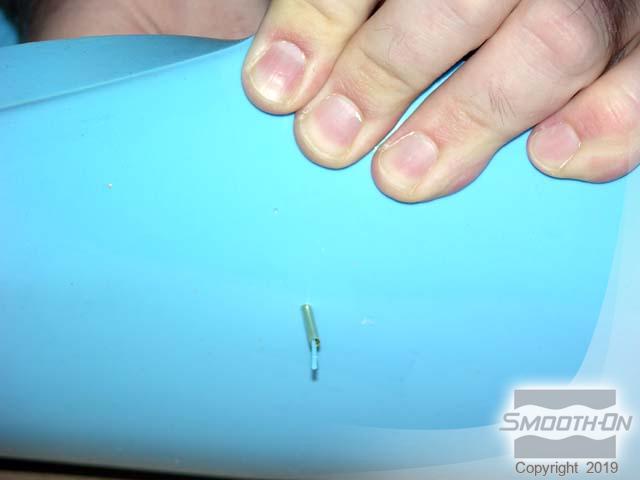
To begin this step, sharpen the end of a brass tube with an exacto knife. Then, carefully punch the brass tube through a pre-selected point on the top half of the mold. This point should be over the highest points in the top half of the mold. Continue to slowly force the brass tube through the rubber until it comes through the opposite side. A core of Mold Max® XLS will be removed as a result of the brass tube punching through.

Step 7: Preparing and Casting Task 4
Assemble the mold haves, making sure that the mold keys are aligned and locked.
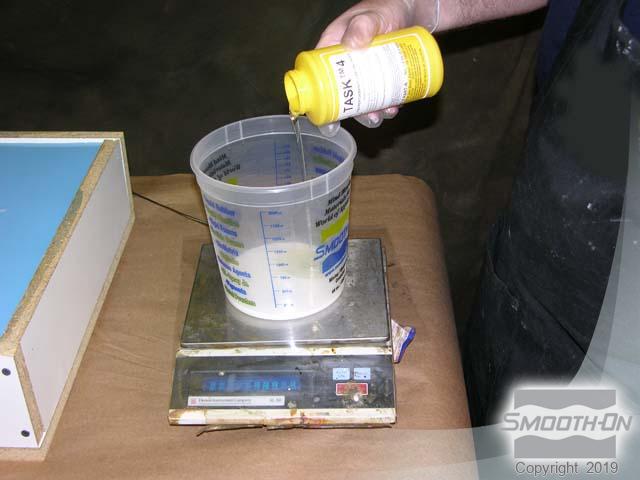
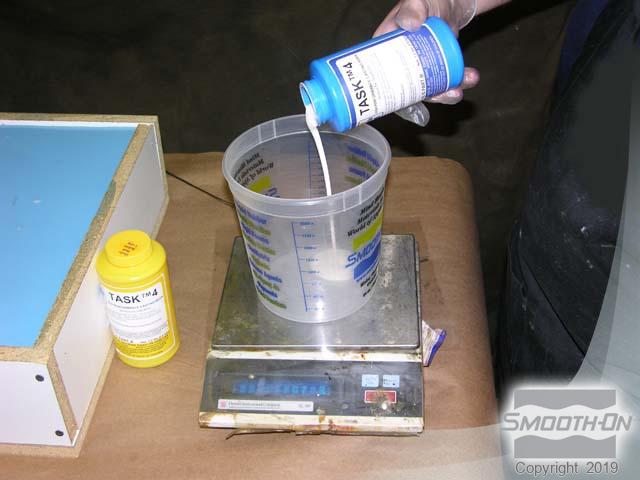
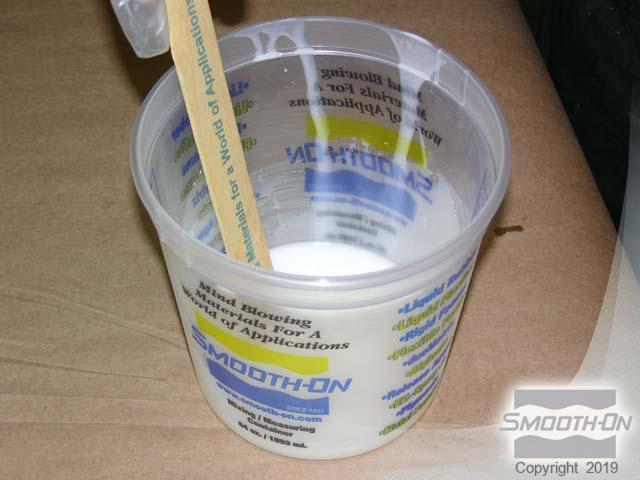
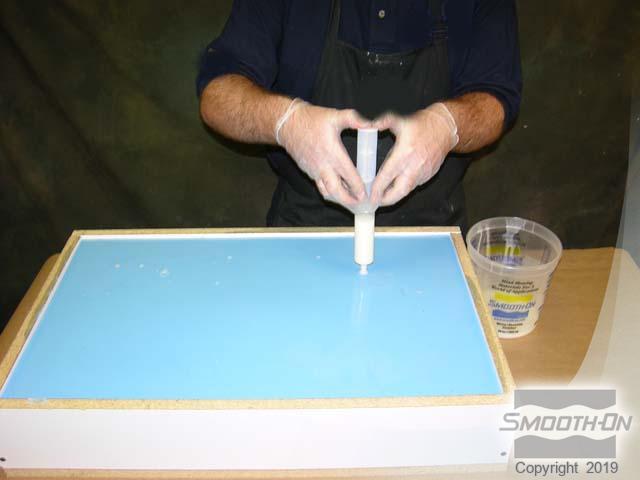
Dispense TASK® 4 Parts A and B by weight and mix the components together thoroughly. Using a syringe, inject the liquid plastic into the vent hole created in the previous step. Allow the mixture to seek its level within the mold. You will know the mold is filled when the liquid plastic becomes visible at the top of each vent hole. Allow the TASK®4 to cure overnight.
The next day, separate the mold halves to reveal the finished casting; a perfect reproduction of the original model! Remove the flashing around the casting perimeter with an exacto knife.