How To Make a Polysulfide Rubber Mold of a Masterpiece
Overview
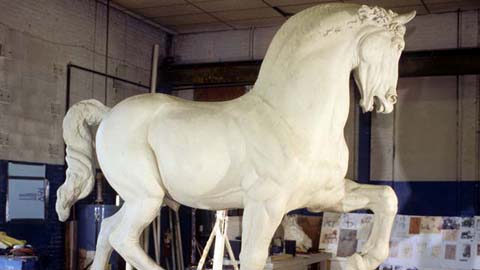
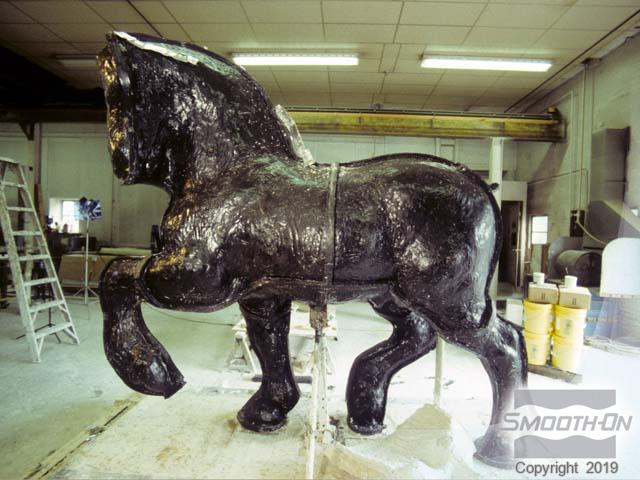
This is a continuation of a photo sequence that chronicles the mold making process for casting a da Vinci horse design that was never realized while the great master was still alive. To read the full story, click here.
FMC® Polysulfide rubber was used to make the mold of this model because the original model was sculpted in Roma Plastalina, a sulfur bearing modelling clay. FMC® Polysulfide rubber is not inhibited by sulfur which is present in modeling clays preferred by sculptors. No sealing agent or release agent was necessary prior to applying rubber to this model. Cured rubber is soft, stretchy and perfect for casting wax as part of the lost wax process that will ultimately result in the piece being rendered in bronze.
FMC® Polysulfide rubbers are also archival, meaning that the molds will last many years in a mold library.
Materials Used in this Tutorial
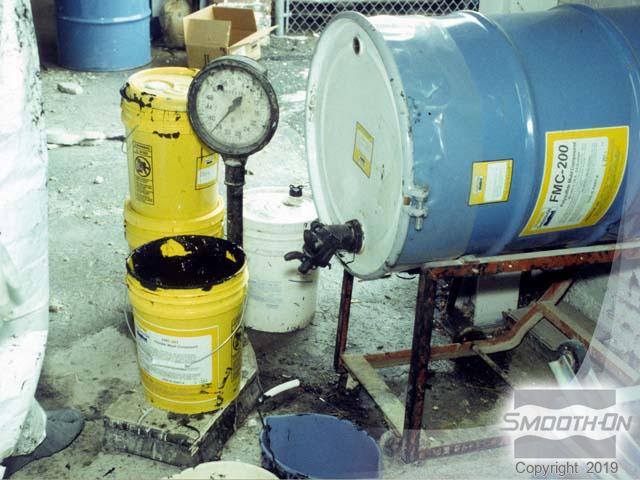
- FMC 200 Polysulfide rubber
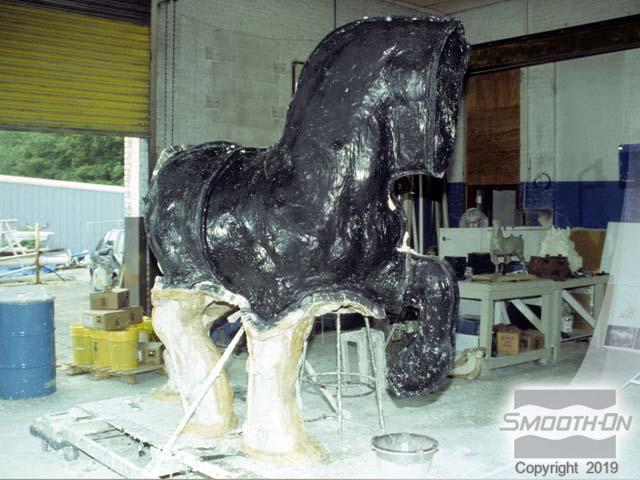
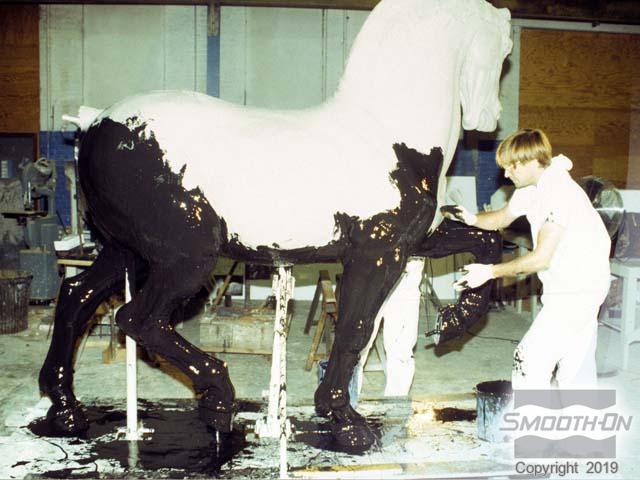
Step 1: Applying FMC Initial Coat
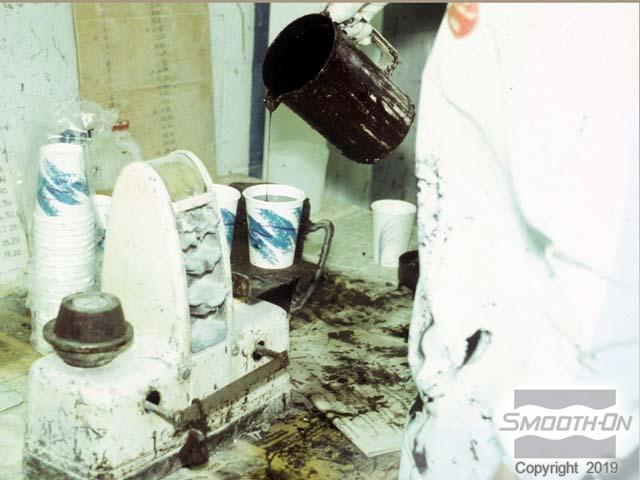
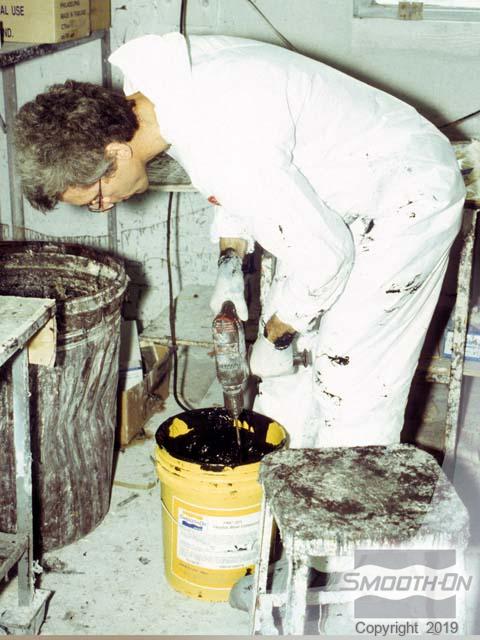
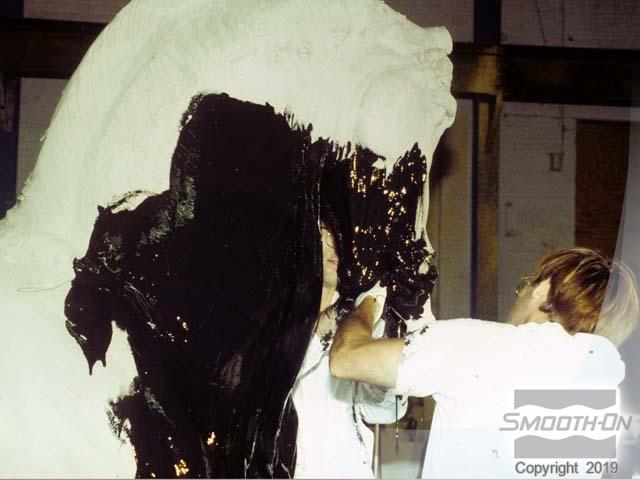
This da Vinci horse maquette was sculpted in Roma Plastilina. To begin, weigh out 100 parts of Part A and 12 parts of Part B of the polysulfide compound. Then carefully mix the FMC®-200 100A:12B. The initial layer is the 'print' or 'detail' coat and should be applied thinly. The rubber is easy to apply and should go on smoothly. Special attention is paid to the deep detail of the horse's mane with care being taken to work the rubber into the detail.
Apply the FMC® rubber to all surface area and allow the initial layer to become tacky before subsequent layers are applied.

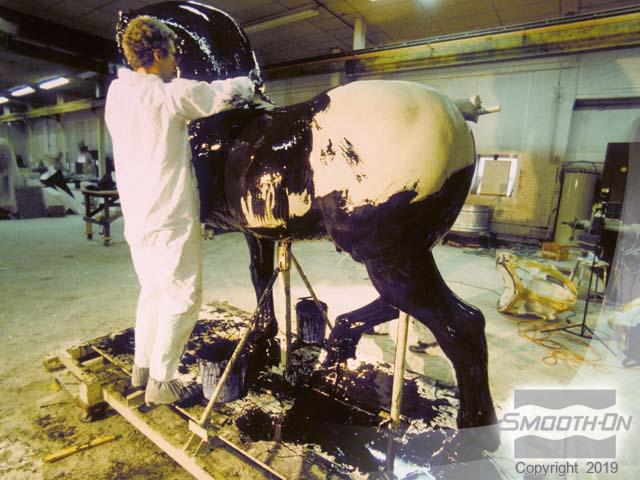
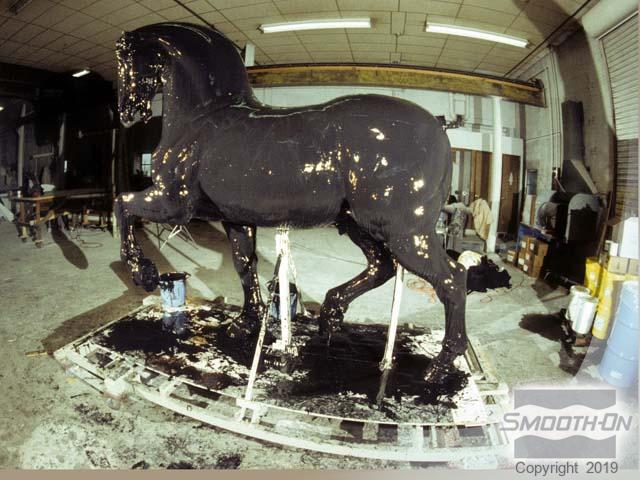
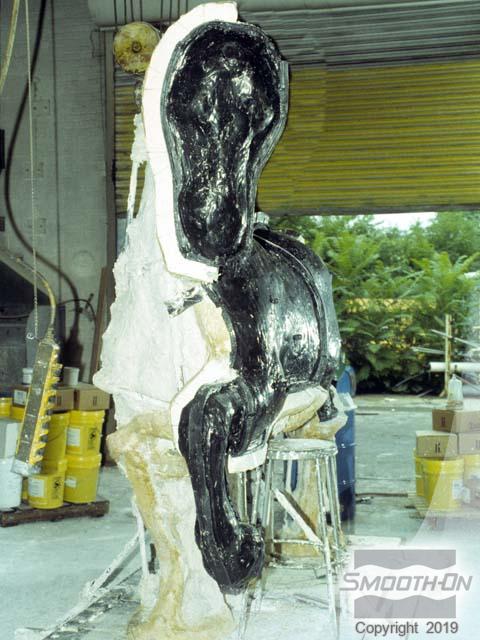
Step 2: Applying More FMC
Next, apply three heavier layers of FMC-200, allowing time in between each layer for the rubber from the previous layer to become tacky. Parting shims are incorporated in between layers 3 and 4.
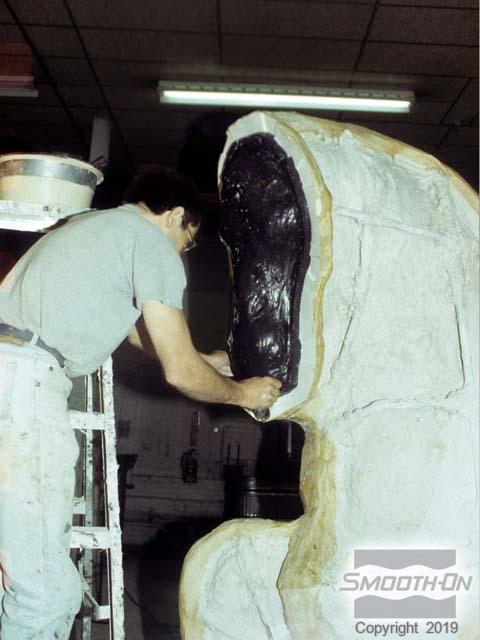
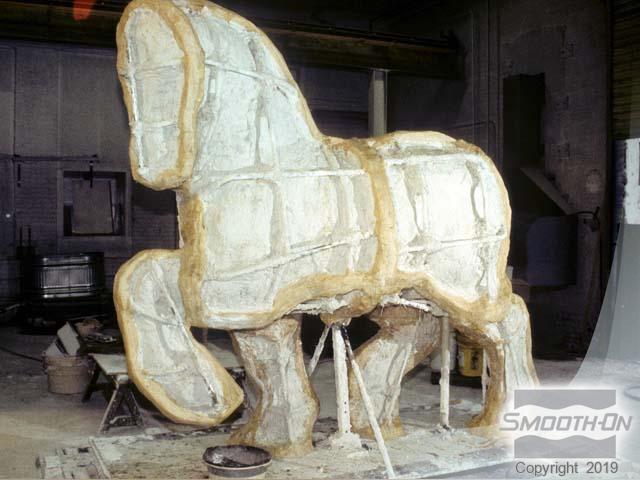
Step 3: Support Shell
Carefully apply plaster support shells, taking care to avoid mechanical lock between shell segments. After all of the shell segments have been applied to the body, the final segment is applied to the horse's face.