How To Make a Breakaway Glass Bottle Prop
Overview
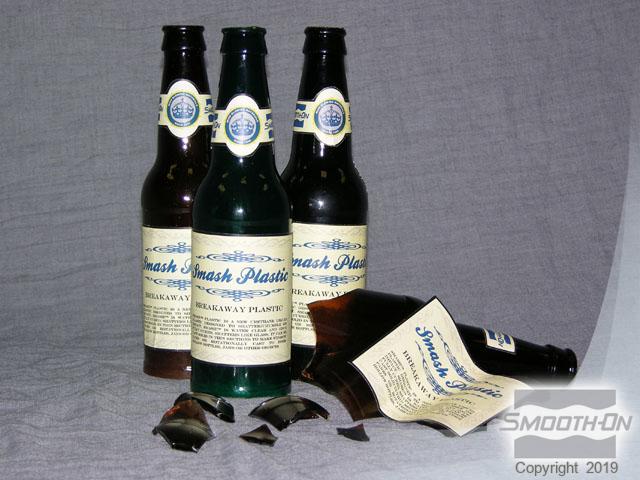
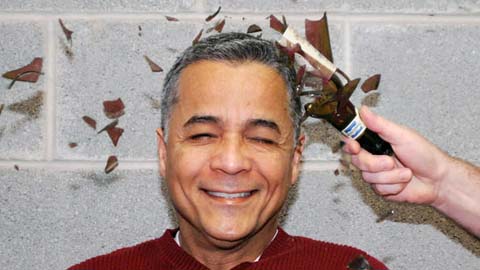
SMASH!® Plastic was developed for making breakaway glass bottles, windows, vases, jars, etc. It is easier to use and more consistent than other breakaway glass products making it the clear, economical choice. Used as directed, breakaway glass bottles made with SMASH!® Plastic look just like glass, break just like glass and sound just like breaking glass.
Making a breakaway glass bottle starts with making a silicone rubber mold of a real bottle. The rubber mold can then be used for casting SMASH!® Plastic to make the breakaway glass bottle.
Casting can be done two ways:
1. The liquid SMASH!® Plastic can be rotationally cast inside the rubber mold. As the liquid plastic builds layers and gradually cures against the mold walls, the plastic cures to a uniform thickness. The disadvantage of rotational casting is that it should be done using a rotational casting machine for best results and this equipment is expensive. Hand rotational casting involves a steady hand and a lot of trial and error resulting in inconsistent results and wasted material.
2. The second involves using silicone rubber to make what is called a two-piece “cored mold”. There are two advantages to this method, first the castings are easier to make verus hand rotational casting. And second cured SMASH! castings have a uniform wall thickness. The disadvantage is that finished castings lack a bottom, but to is rarely noticeable on a stage or in a film.
The following gallery takes you step by step through the process of making a two piece cored silicone rubber mold of a beer bottle and then using that mold to make a breakaway bottle using SMASH! Plastic.
Note: Making a two-piece cored mold is an advanced mold making technique. Previous mold making experience is recommended before attempting.
Materials Used in this Tutorial
- Cardboard Mailing Tube
- Glass Bottle
- Utility Knife
- Glue Gun
- Melamine Board
- Super Seal
- Sulfur Free Clay
- Ease Release 200
- Mold Max 30
- Mixing Sticks
- Mixing Containers
- Hot Pot
- Wax
- Razor Knife
- Propane Torch
- Accurate Gram Scale
- Universal Mold Release
- So-Strong Colorants
- Smash Plastic
- Mold Max 10
Step 1: Preparing Model
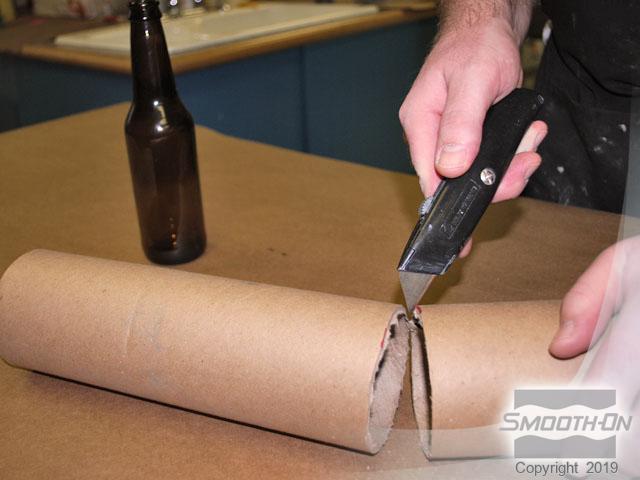
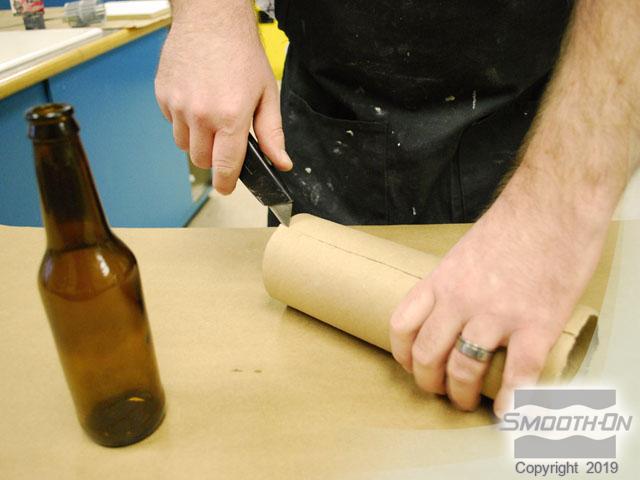
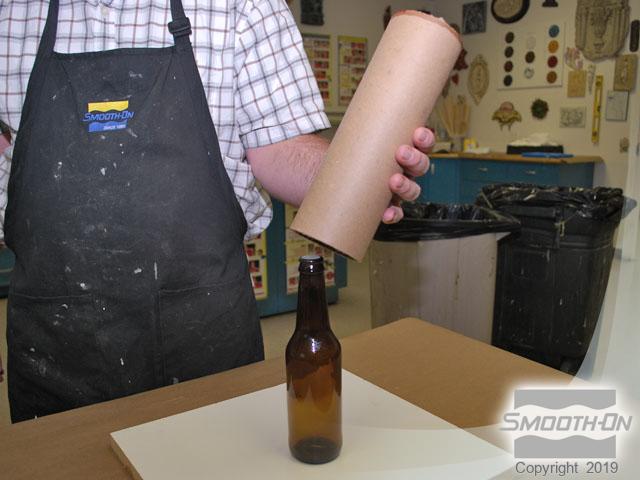
Remove the label from a glass beer bottle; this will be your original mold. To contain the mold rubber, a cut line is marked 1'' over the top of the beer bottle on a cardboard mailing tube. Use a utility knife to carefully cut along the cut line, and then cut the tube lengthwise to allow access to the interior.
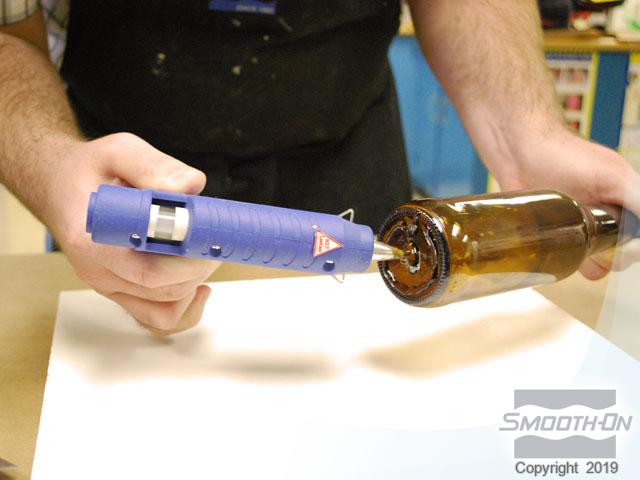
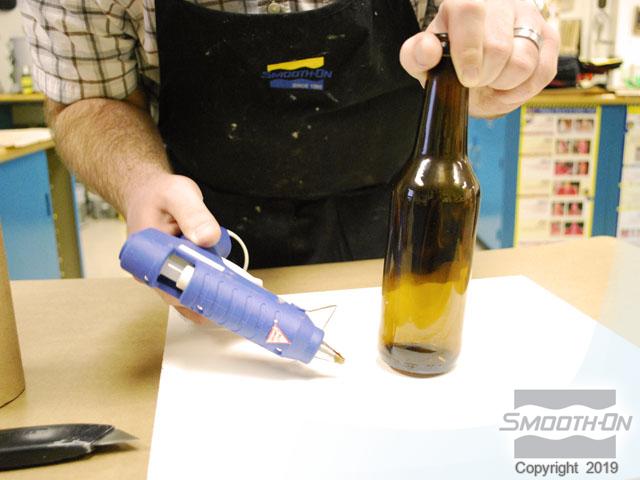
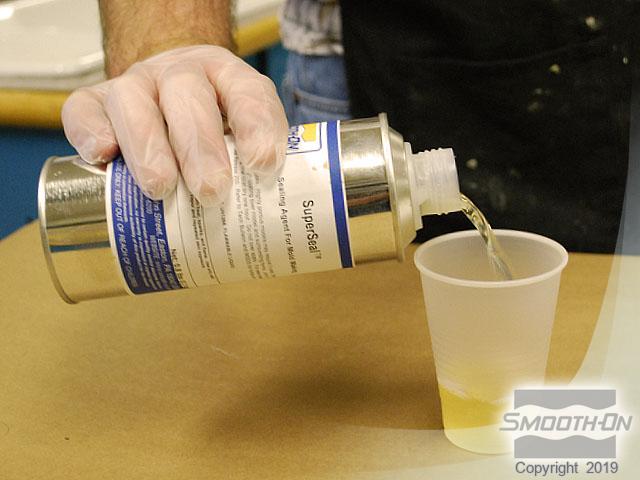
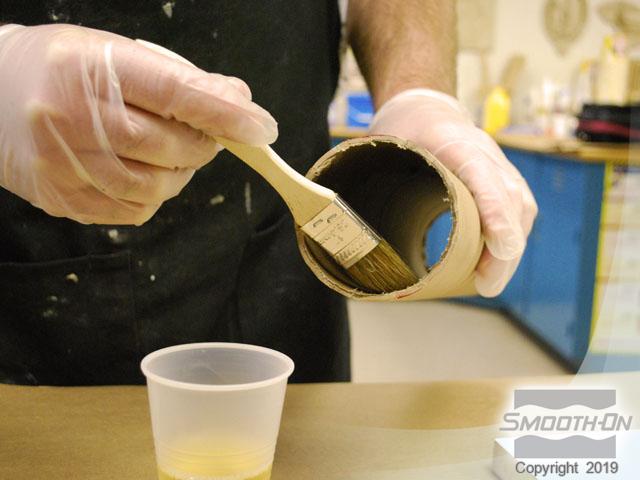
Hot glue the glass beer bottle to the melamine baseboard. The bottle must be held in place until the glue cools. Superseal should be dispensed into a plastic cup and applied to the interior of the cardboard tube.
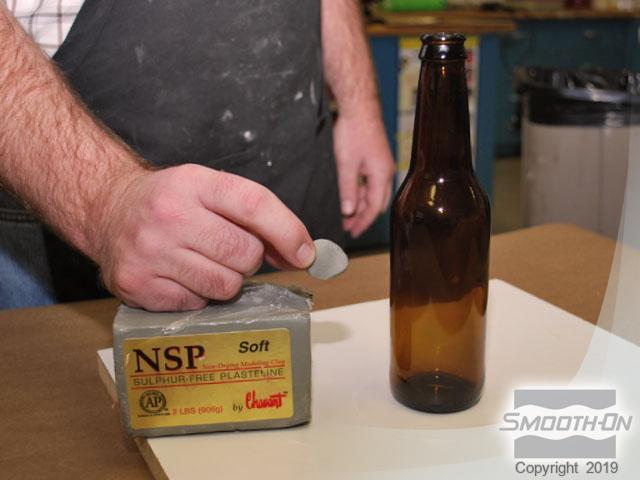
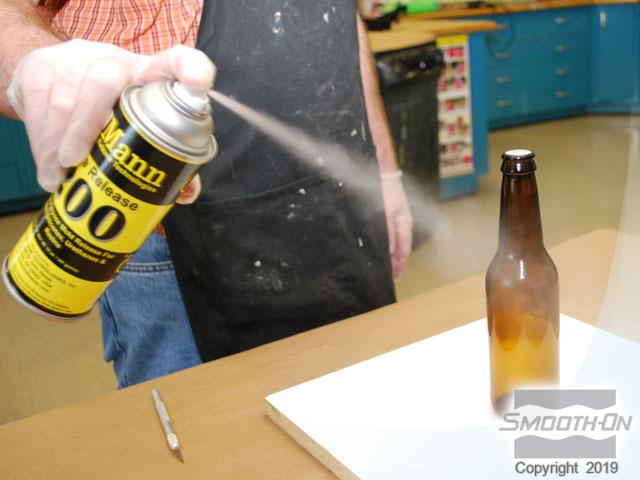
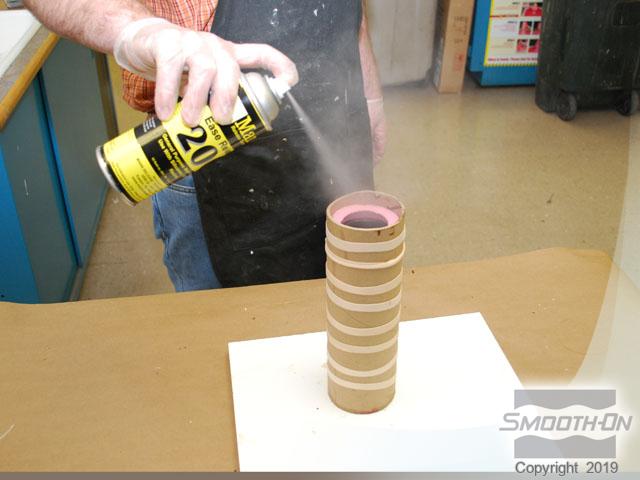
A small amount of a non-sulfur based clay will be used for the next step. Apply the clay over the pour spout of the bottle, to create a seal. Important: Silicone rubber can bond to glass. Apply a thorough coating of Ease Release 200 as a separator. Now place the tube over the bottle, being sure to take care when centering the tube around the bottle.


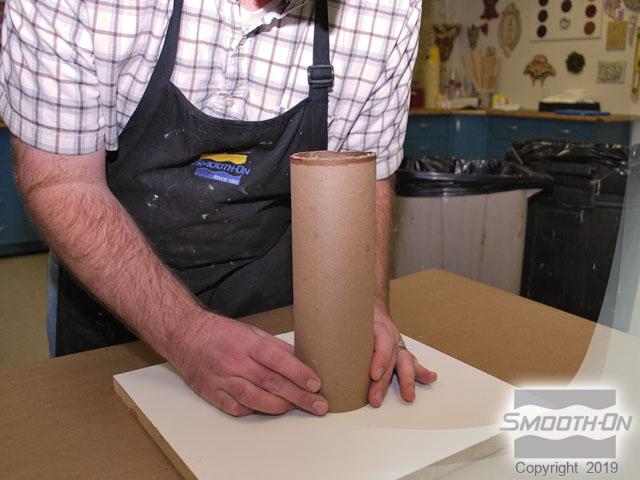
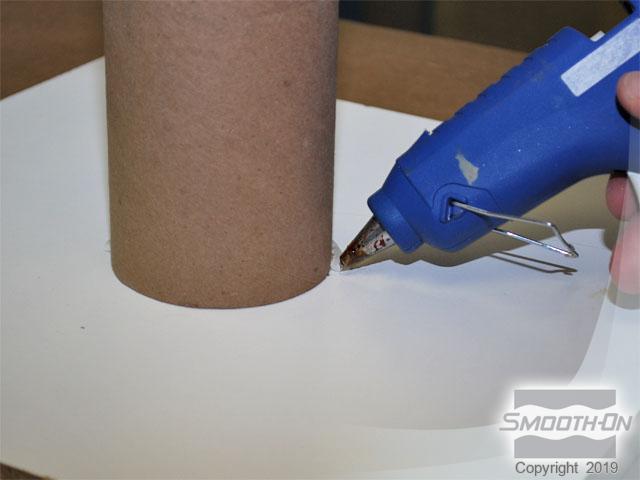
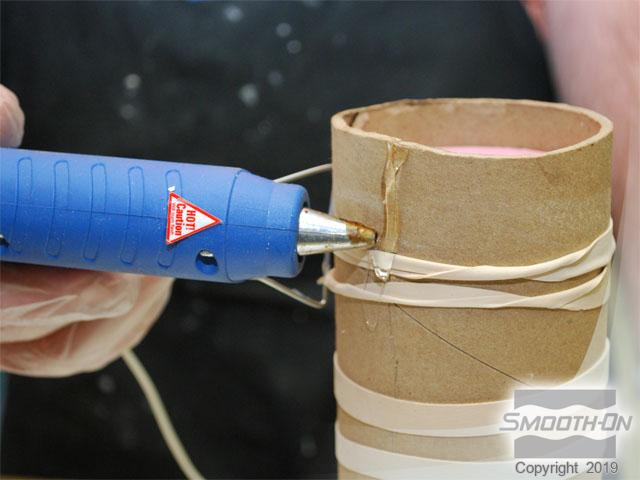
Step 2: Gluing The Tube Down
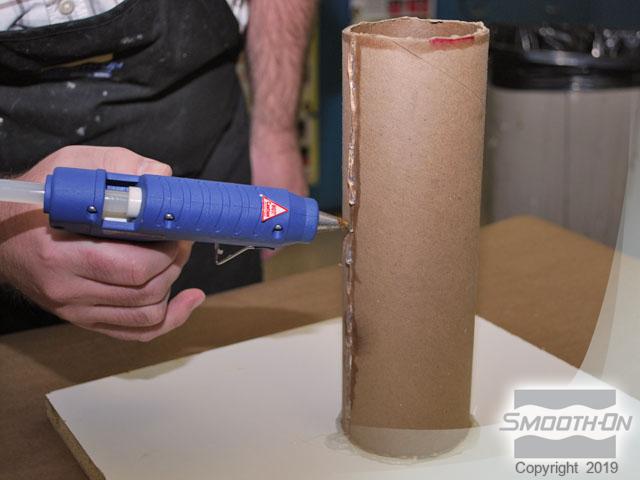
Hot-glue the tube to the melamine base board, and then seal the lengthwise cut in the tube with hot glue.
Step 3: Dispensing and Pouring Of Mold Max 30
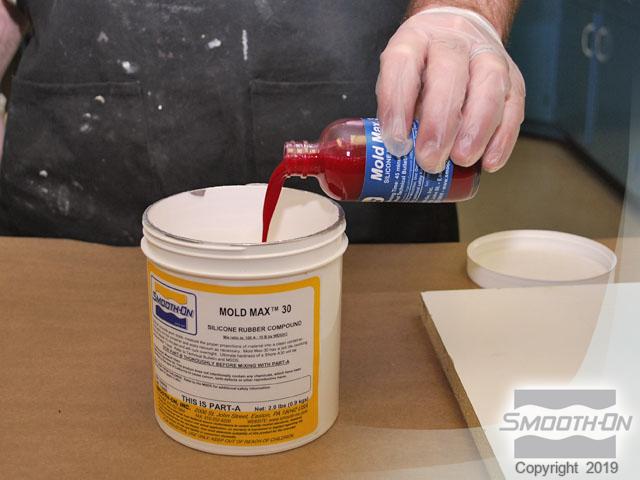
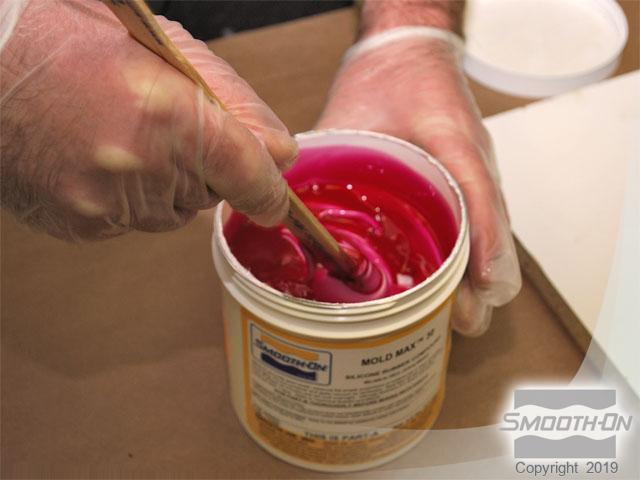
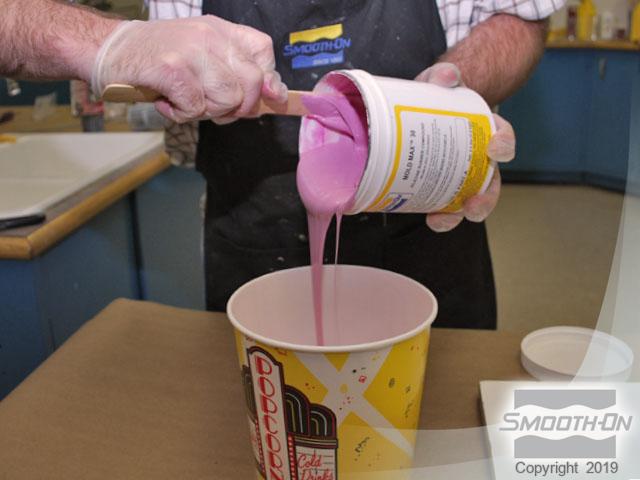
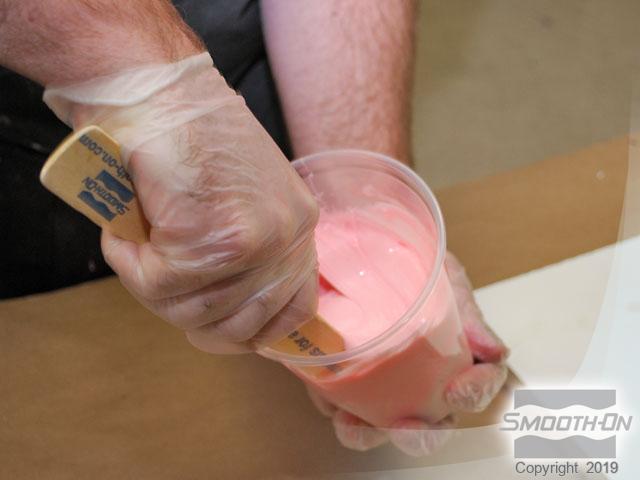
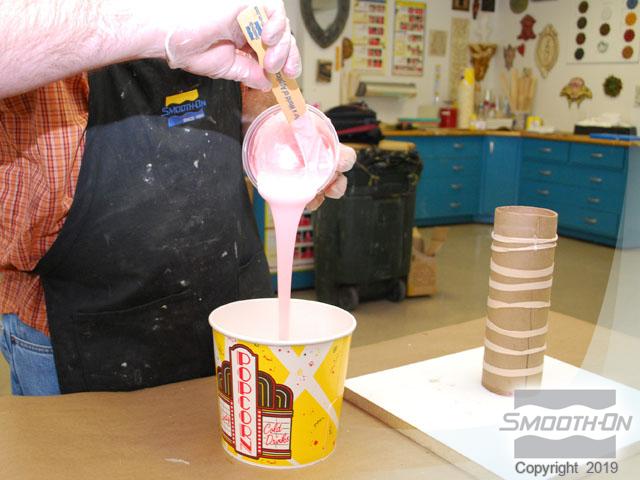
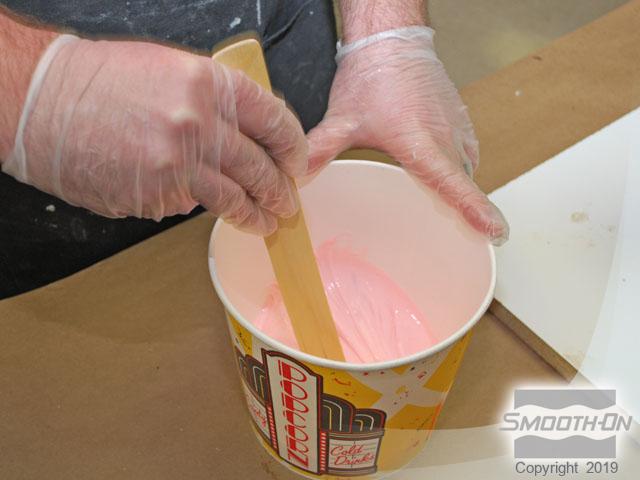
Both parts of the Mold Max 30 silicone are pre-mixed before dispensing. After dispensing the materials into measuring cups, they are combined and mixed thoroughly. Pour the mixed material into a clean bucket for a double mix and pour. This material is then mixed using a new, clean mixing stick.
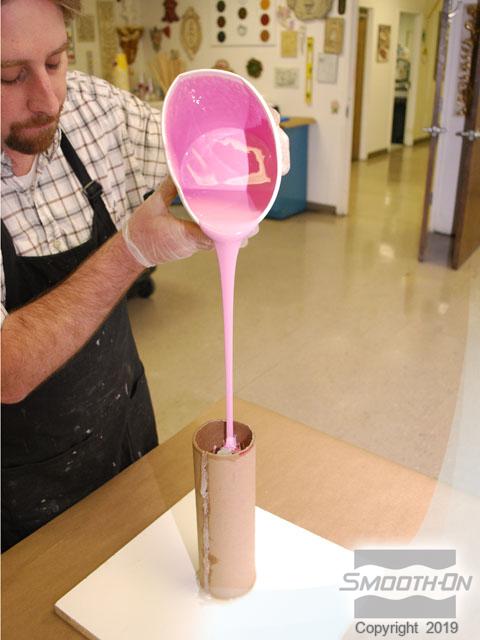
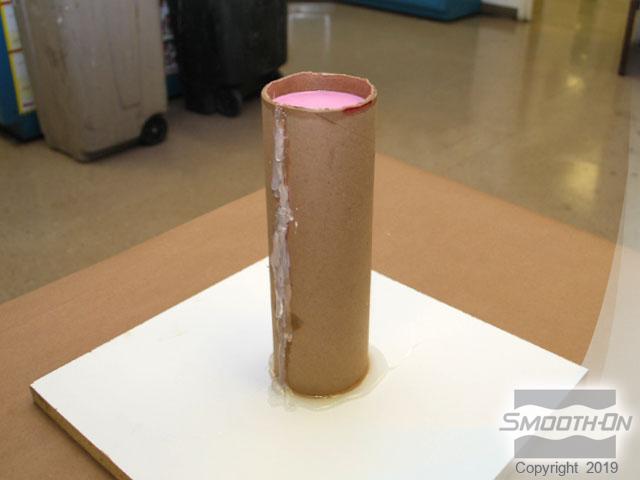
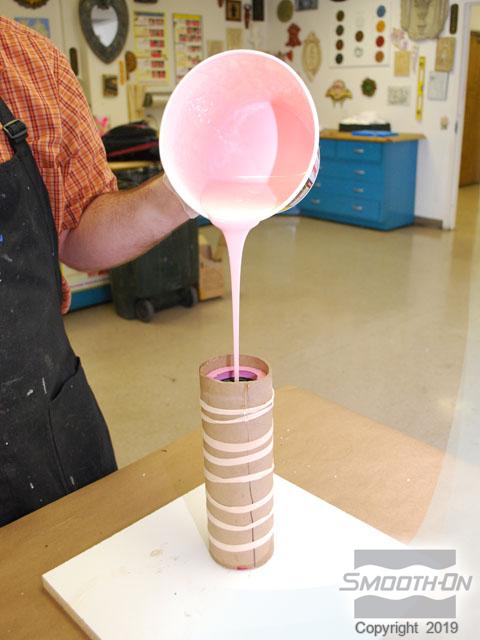
The material is poured in a thin stream over the bottle, to a level of 1/2'' over the bottle's top.
The Mold Max 30 silicone is allowed to cure overnight.

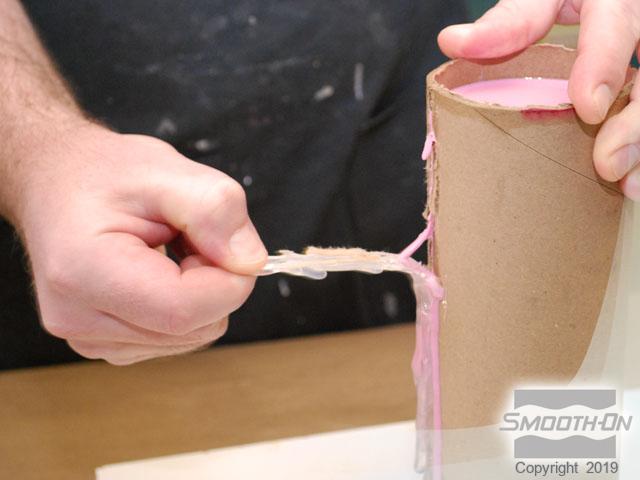
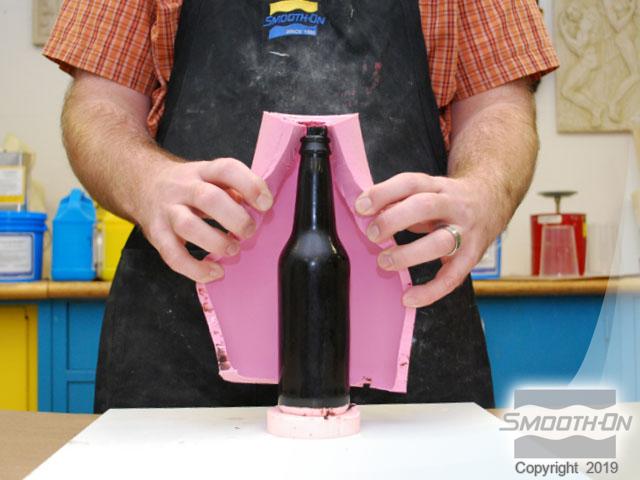
Step 4: Demold Mold Max 30 From Model
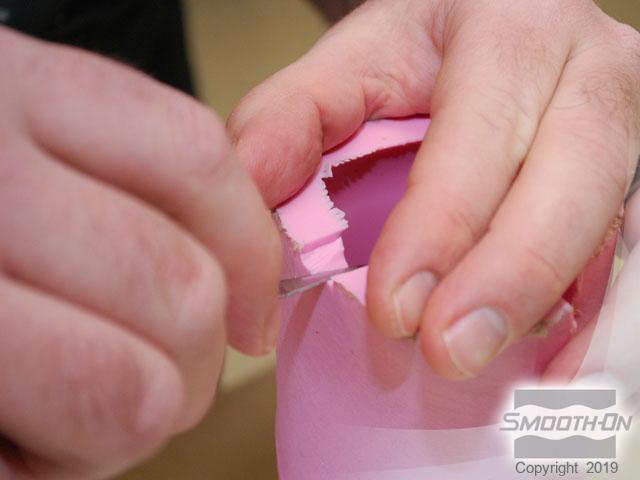
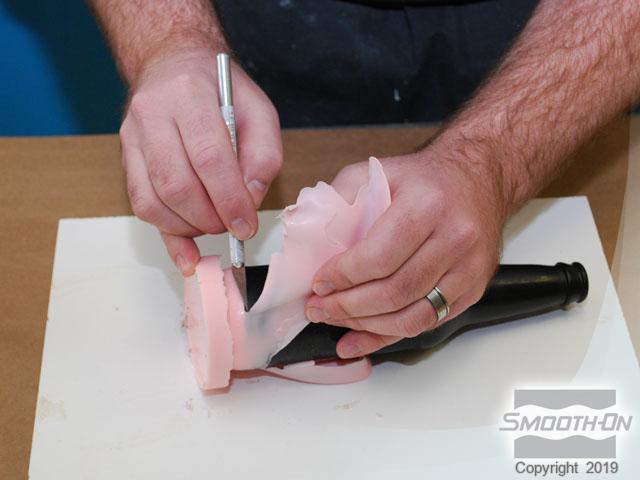
After the silicone cures, remove the hot glue from the cardboard tube. Flex the cardboard tube to reveal the silicone mold. Using a razor knife, carefully cut open the silicone mold about 3/4 of the way down, to a point where the rubber can be separated and the casting removed. Remove the bottle from the cut Mold Max 30 silicone mold. Cut a registration notch into the top mold, which will act as a registration point for the silicone core.
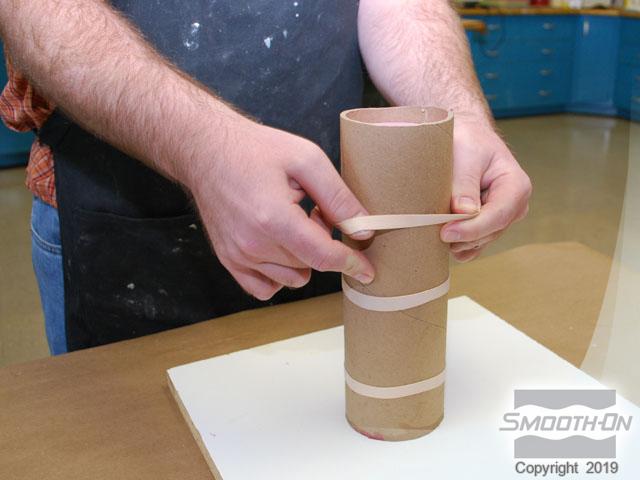
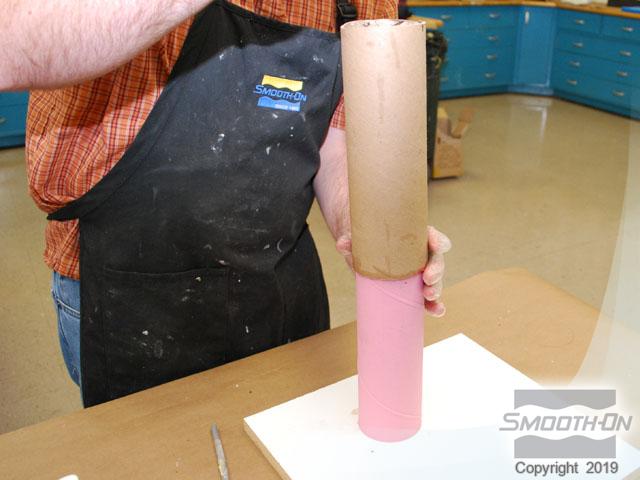
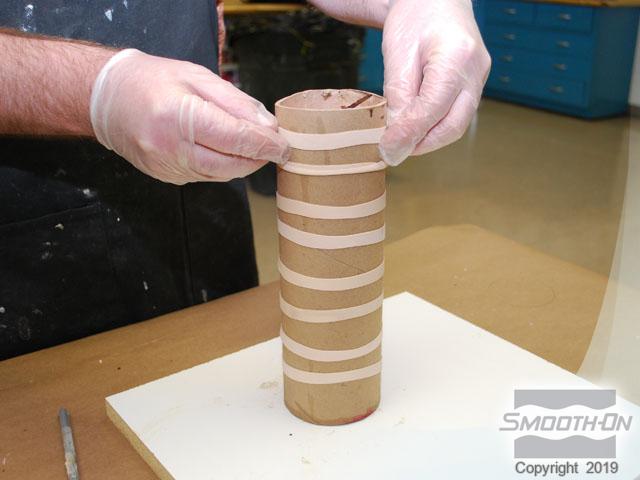
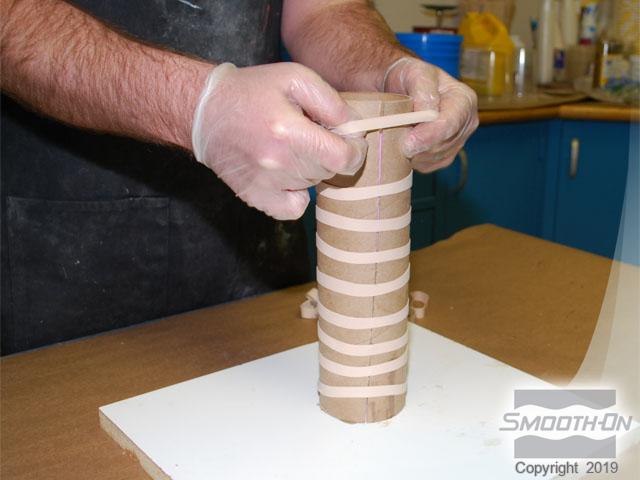
Step 5: Preparing Mold and Casting Wax
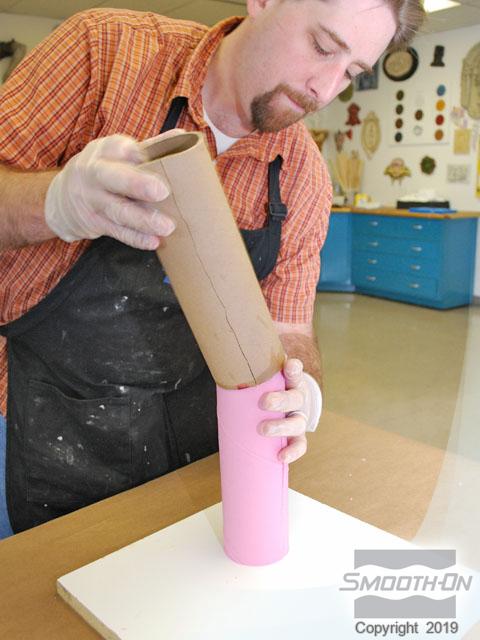
Replace the cardboard tube around the silicone mold, using rubber bands to hold the mold together tightly.
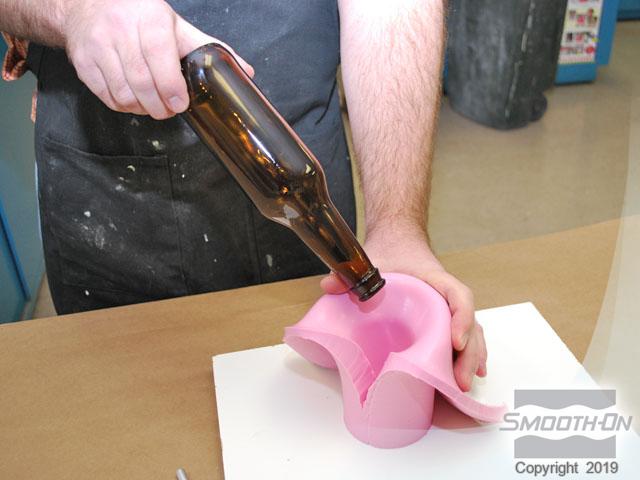
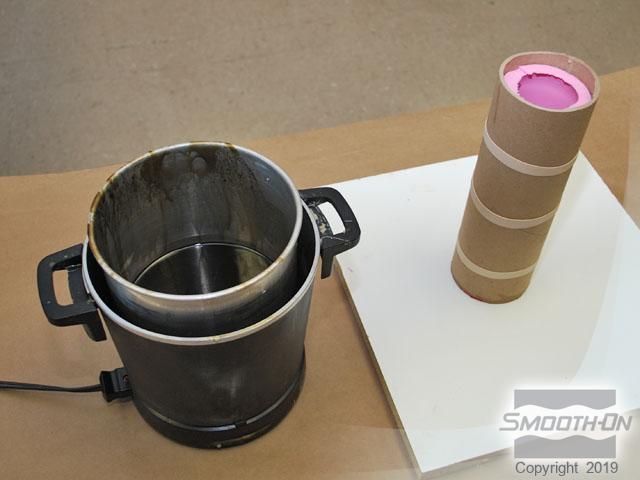
Melt wax in a 'hot pot' until it is liquid, then carefully pour the hot wax into the silicone mold and allow to cool slightly.
After approximately 1 hour, pour the excess wax out, leaving a hollow wax coating or 'skin' casting on the inside mold cavity.

Step 6: Demolding Wax From Mold Max 30 Mold
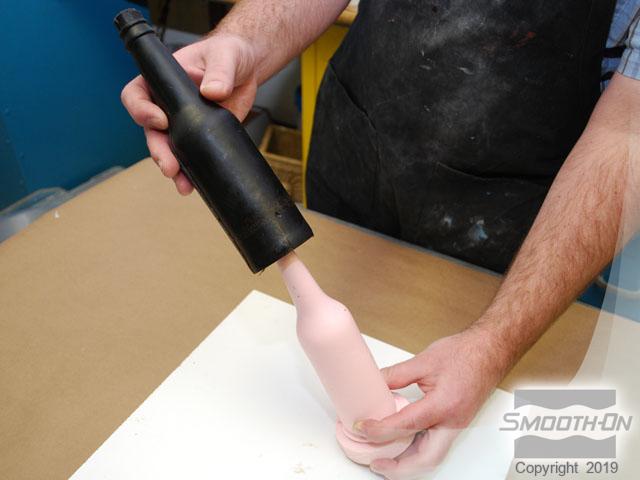
After 1 hour, the wax will have completely cooled and the cardboard support can be removed from around the rubber mold.
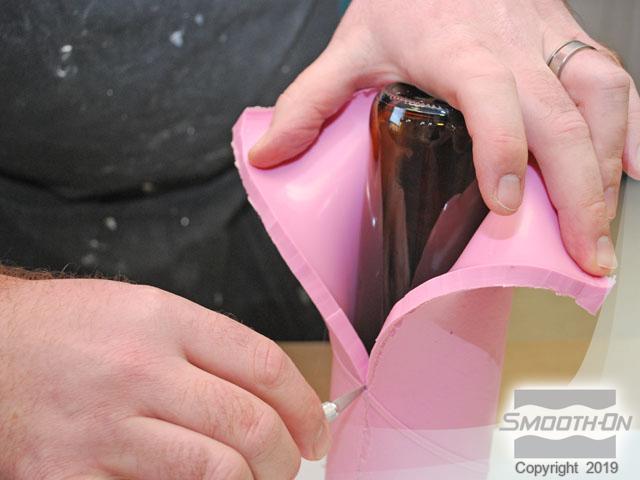
Carefully remove the wax skin casting of the bottle from the mold. Remove residual wax flashing with a razor knife.
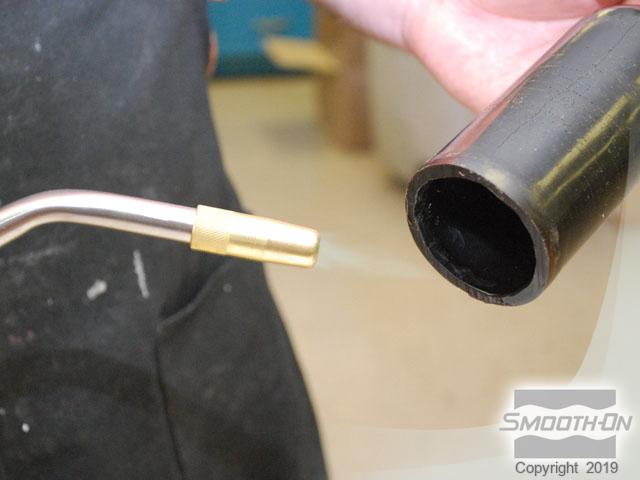
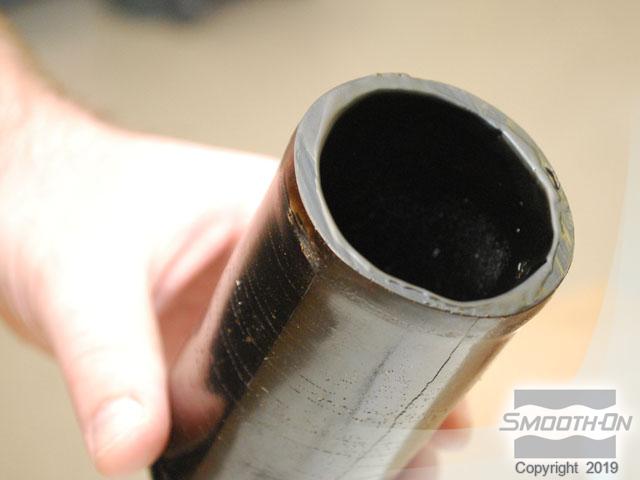
Heat the bottom of the wax using a propane torch. This will result in a smooth bottom on the hollow wax casting.
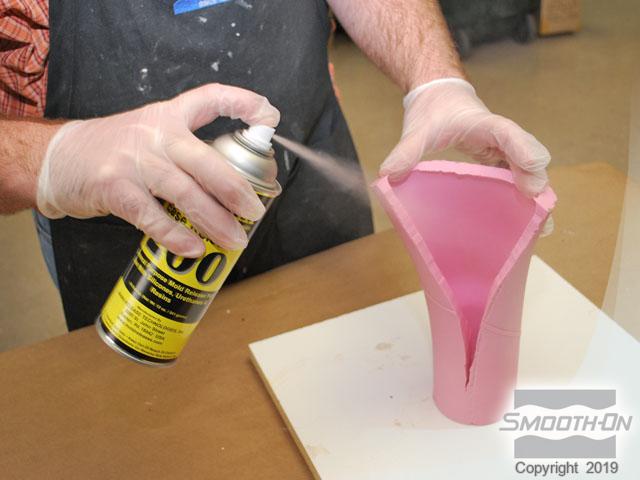
Step 7: Preparing Mold For Next Casting
Spray the interior of the mold with Ease Release 200. Replace the wax casting in the mold and then replace the cardboard tube. Again, apply rubber bands to hold the mold together tightly.
Spray the silicone surfaces with Ease Release 200. Apply hot glue to the top of the cardboard support to seal the cut and prevent liquid rubber from escaping.
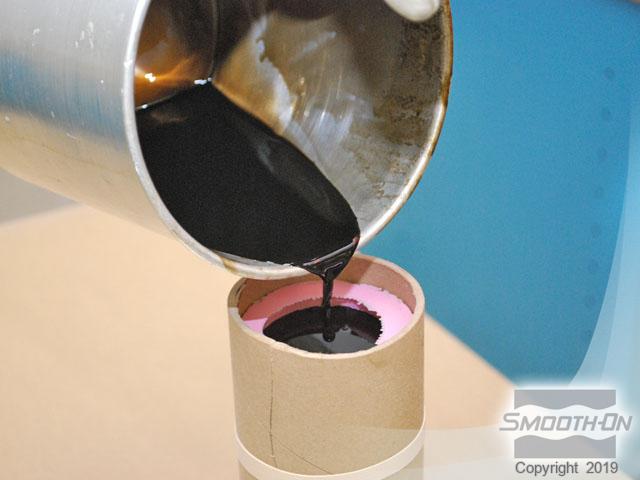
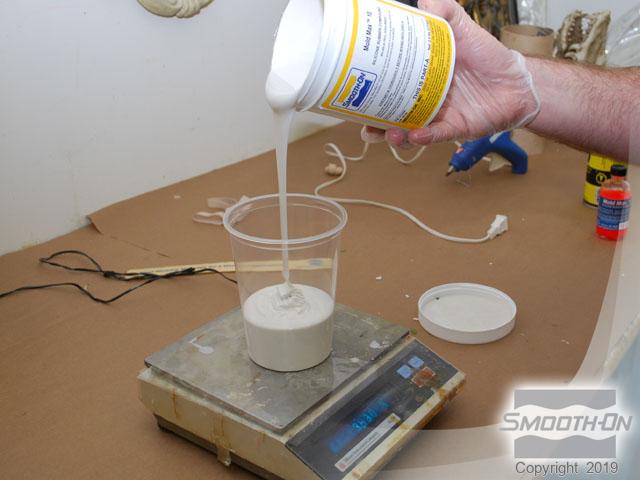
Step 8: Dispensing and Pouring Mold Max 10
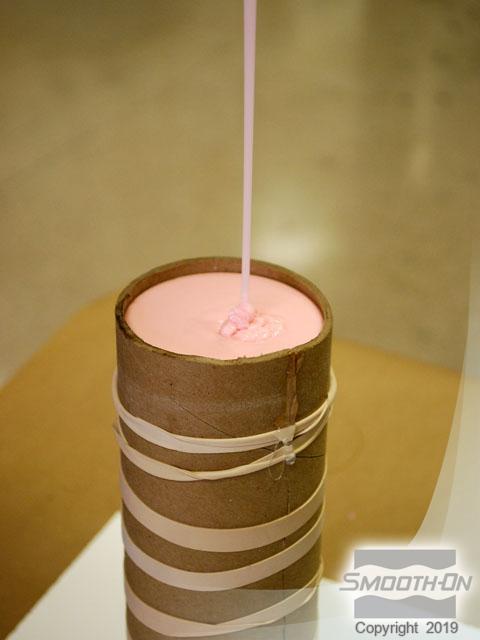
Measure out Mold Max 10 silicone. The mix ratio of Mold Max 10 is 100A:10B. Mix the Mold Max 30 thoroughly. Pour the mixed silicone into a new, clean bucket, and mix again using a clean, new stick. Then pour the Mold Max 10 into the hollow wax casting. Pour the material to the top of the tube, over the previous silicone.
Allow the rubber to cure overnight. The next day you can remove the rubber bands from the cardboard tube.
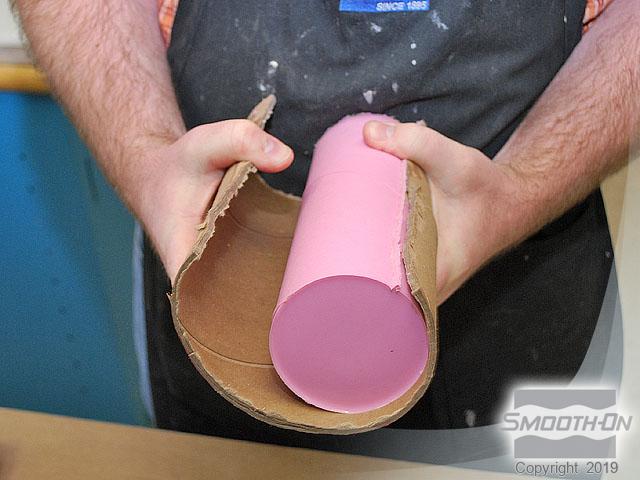
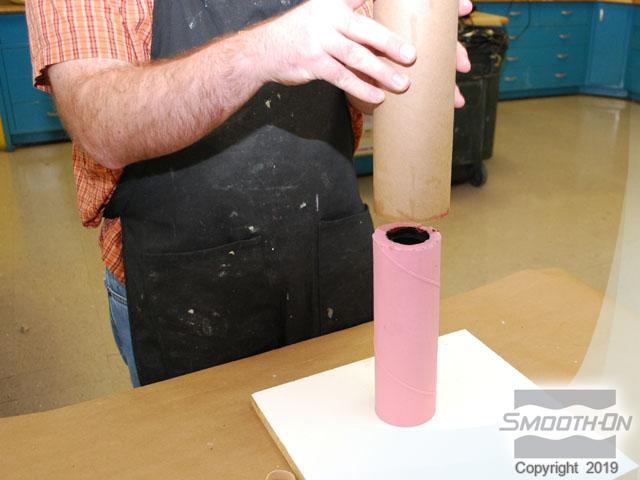
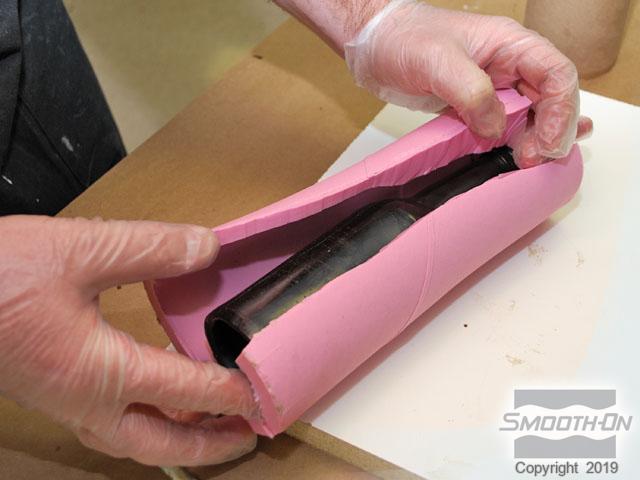
Step 9: Demolding
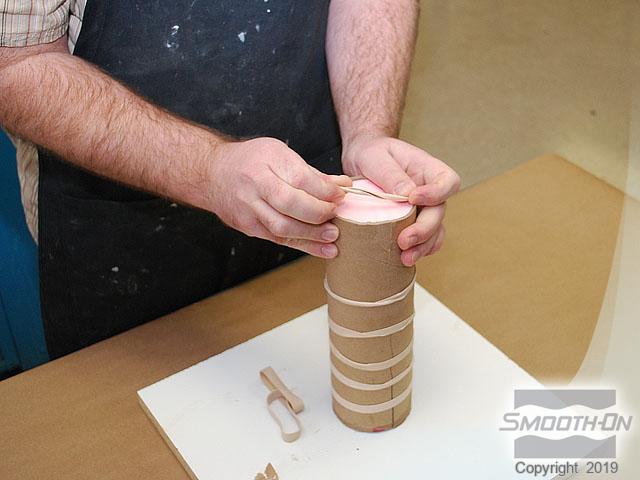
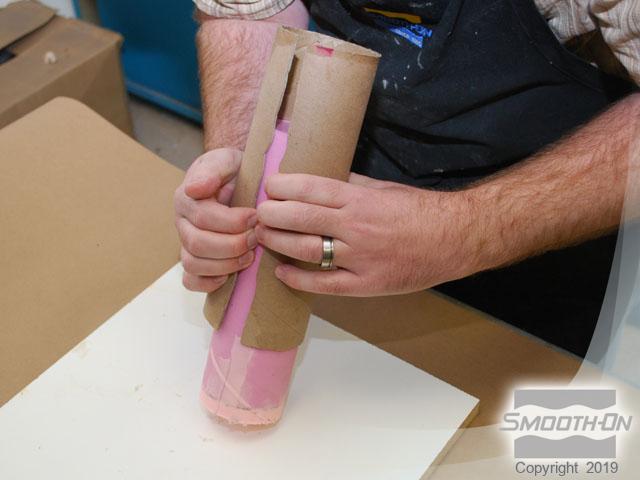
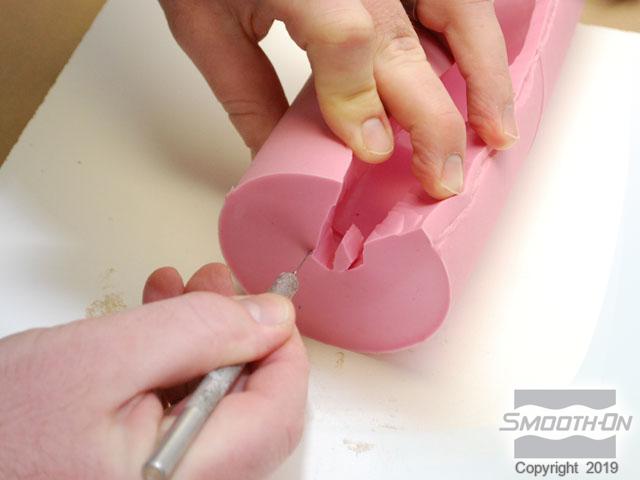
Remove the cardboard tube and carefully separate the Mold Max 10 core from the Mold Max 30 outer mold. Some Mold Max 10 may leak into the Mold Max 30 mold. The excess Mold Max 10 flashing can easily be removed with a razor knife. The Mold Max 10 rubber core is separated from the hollow wax skin.

Step 10: Preparing Mold for Casting
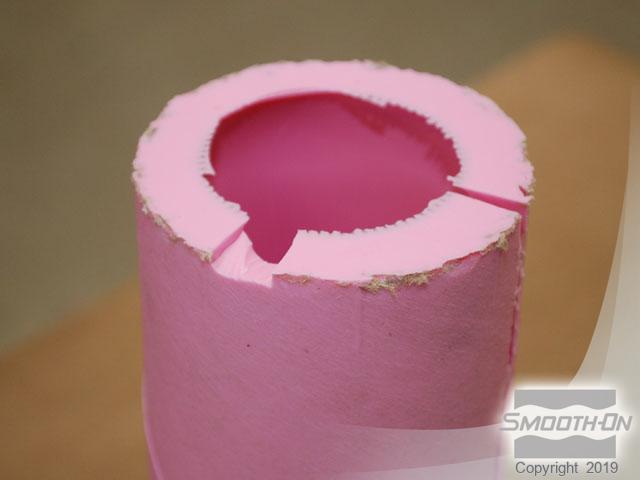
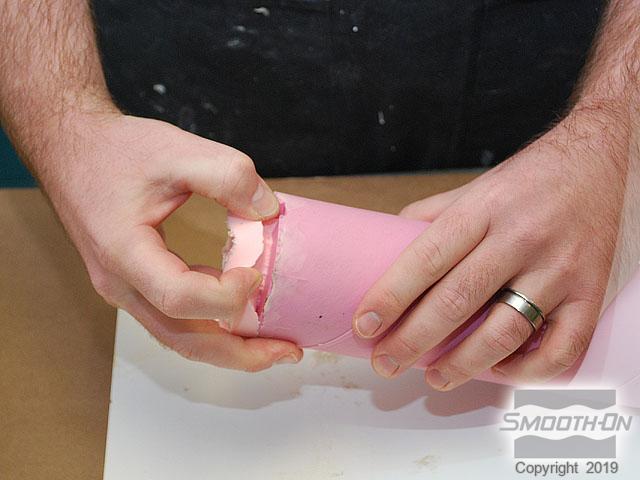
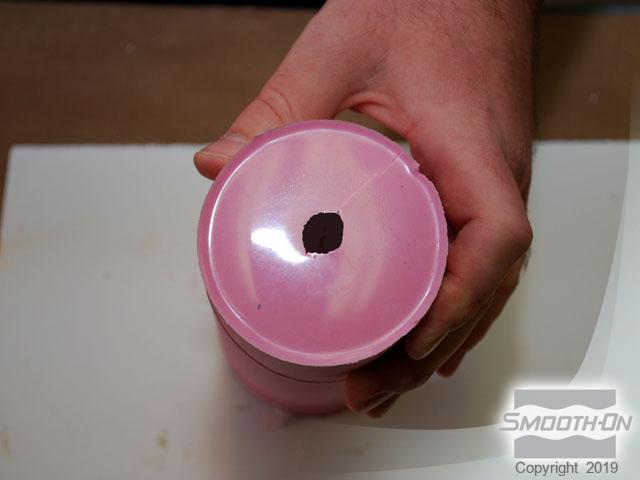
Cut a 1'' (2.5 cm) pour hole at the top of the mold in the center. This hole gives you access to the mold cavity for pouring the liquid SMASH! plastic.
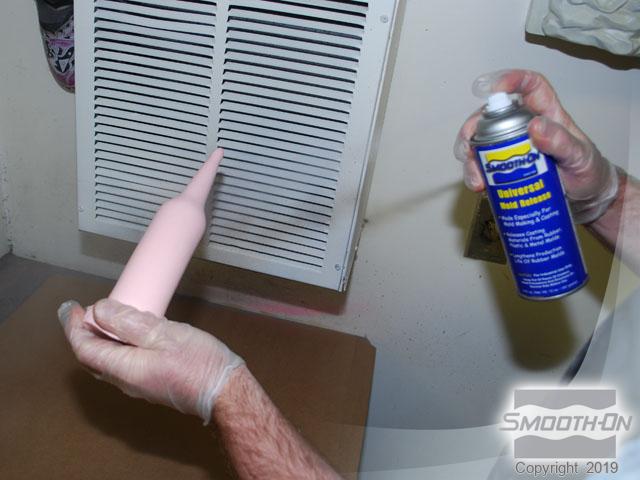
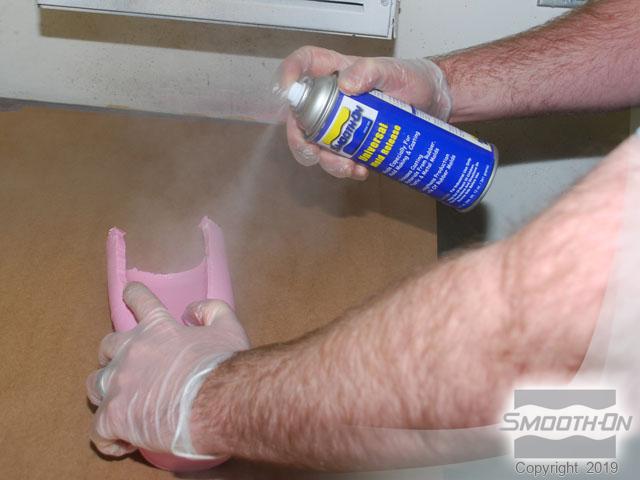
Prior to casting SMASH! Plastic into the mold structure, apply Universal Mold Release to the rubber core. This release agent will give the finished SMASH! Plastic a gloss finish. Also spray the inside of the Mold Max 30 mold with Universal Mold Release.
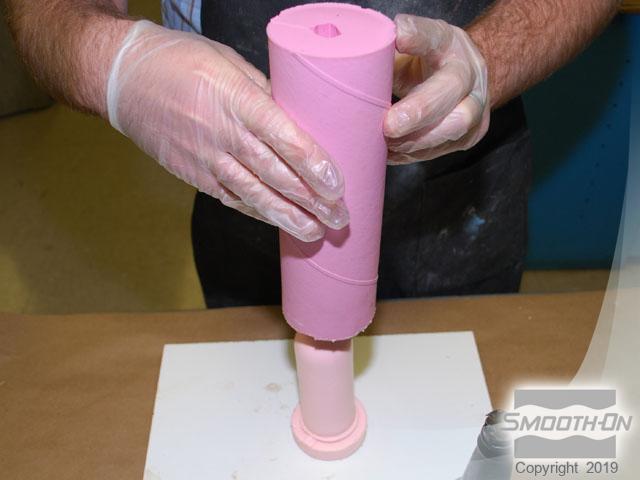
Place the outer Mold Max 30 around the Mold Max 10 core and then use rubber bands to hold the mold together.
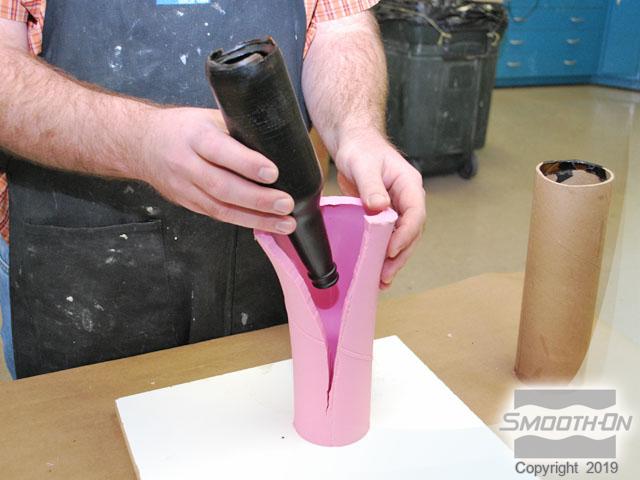
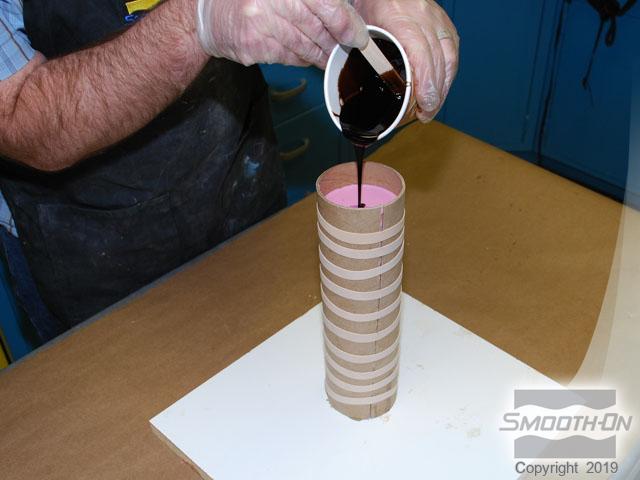
Step 11: Dispensing and Casting SMASH Plastic
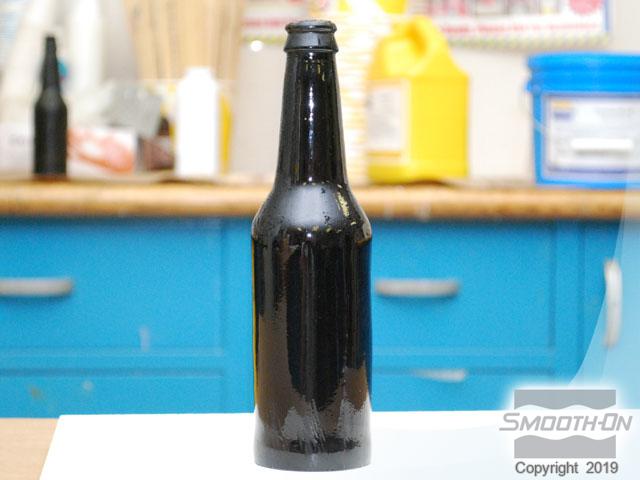
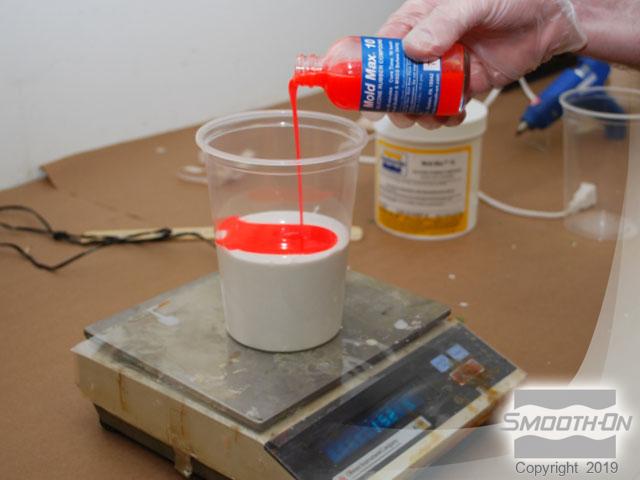
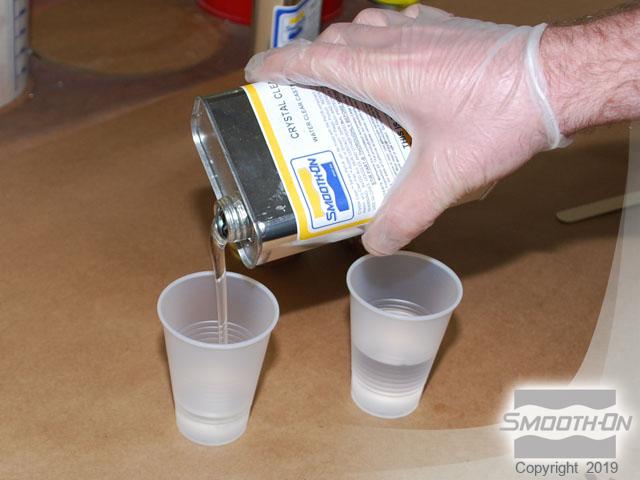
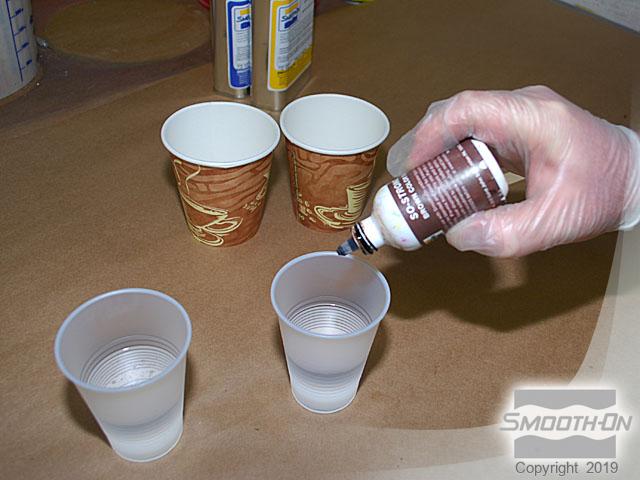
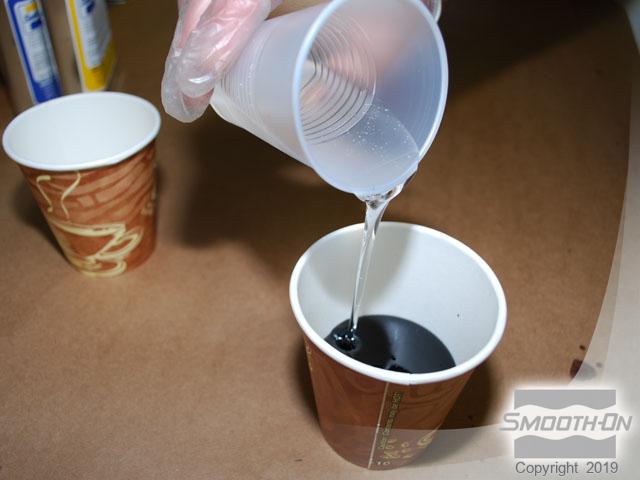
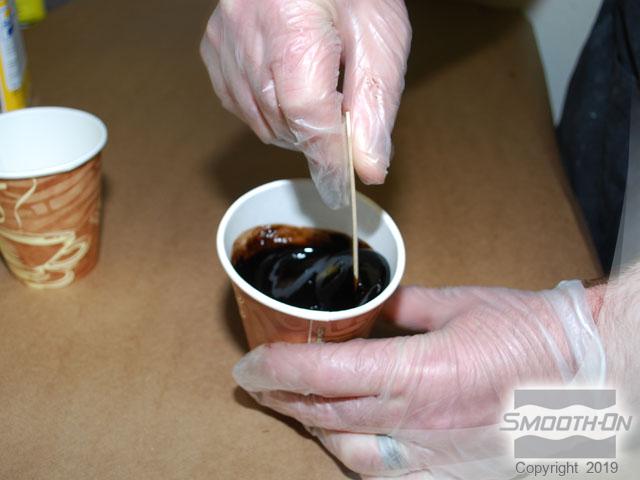
The SMASH! plastic is measured 1A:1B by volume. Add So-Strong brown pigment to Part B of the SMASH! plastic. Combine the SMASH! parts A and B and mix thoroughly.
Pour a thin stream of SMASH! plastic into the mold, to reduce air bubbles. After curing for 90 minutes at room temperature, the SMASH! bottle is demolded.
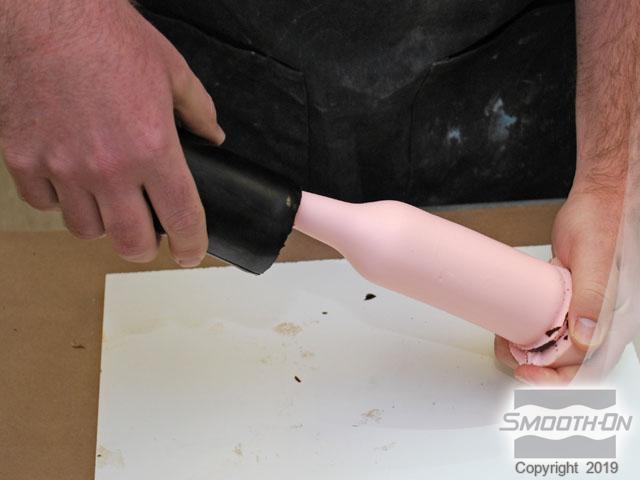
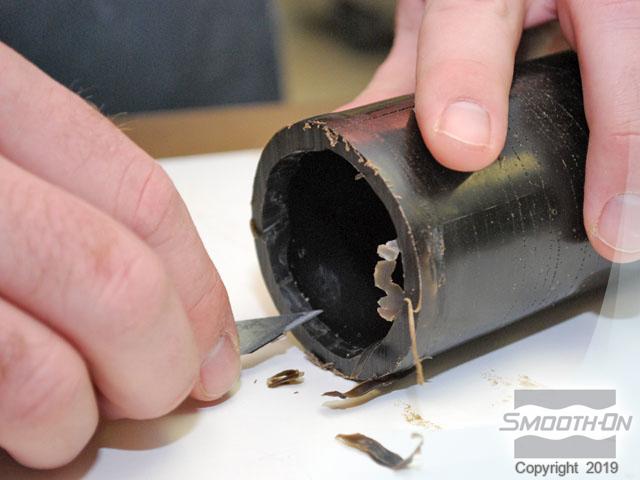
Step 12: Demolding and Finishing
Carefully remove the Mold Max 10 core from the fragile SMASH! casting. Then carefully sand the bottom of the SMASH! bottle flat. Leave the breakaway bottle to harden overnight to become fully brittle. Now adhere labels to the breakaway bottle. It is difficult to tell they are not the real thing!