How To Use EpoxAmite™ to Create Carbon Fiber Composite Parts

Overview
The Pro: Nordan Composite Technologies, Patchogue, New York
Nordan is a world renowned fabricator of performance composite parts for racing cars. Established in 1989, their reputation for supplying the highest quality custom parts in the auto aftermarket industry put Nordan on a rapid growth trajectory. They invested in a variety of industry standard and custom equipment that gives them unique fabrication capabilities and as Nordan's capability and confidence with composites grew over the years, their expertise was sought out by companies in the marine, aerospace and other industries.
Today, Nordan specializes in cost effective, precision prototyping and production runs using a wide range of composite materials.
Always remaining current on the latest material technologies and techniques, Nordan recently discovered Smooth-On's EZ~Spray™ Silicone 20 vacuum bagging silicone as a way to reduce labor and material costs for production runs. They also started working with the EpoxAmite™ 100 laminating resin system to produce composite spoiler parts.
The following chronicles their process for creating a spoiler for a BMW racing car.
Click here to read the EZ~Spray™ Silicone 20 Technical Bulletin
Materials Used in this Tutorial
- EZ-Spray™ Silicone 20
- EpoxAmite™ 100 Laminating Epoxy
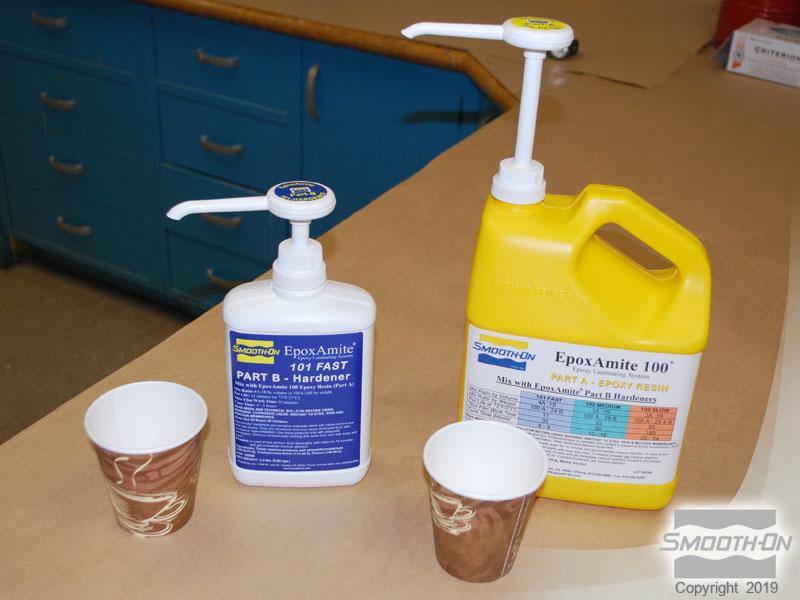
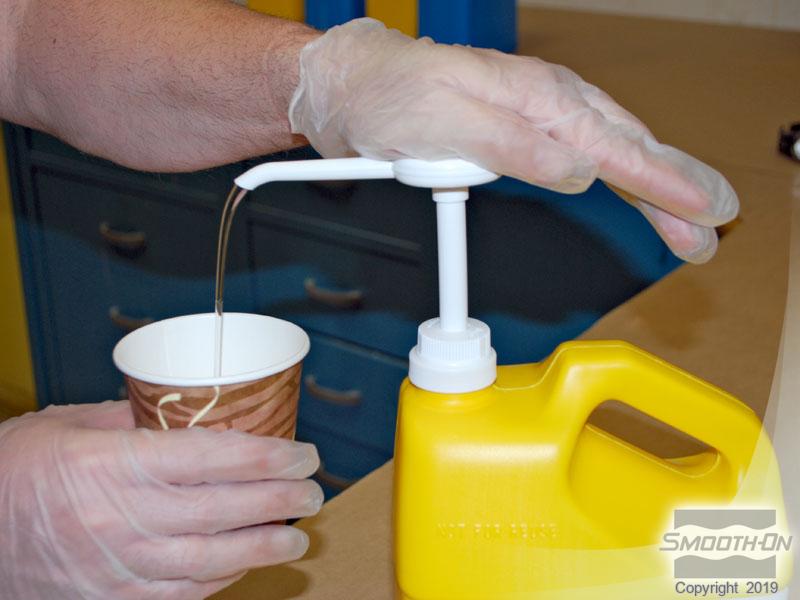
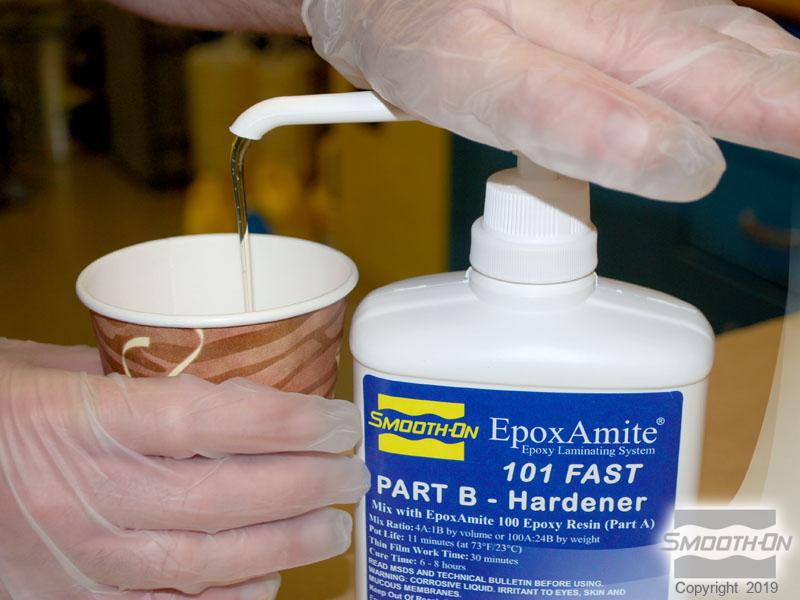
- EpoxAmite™ Dispensing Pumps
- EZ-Spray™ Jr. Gun
- PVC Piping
- Fiber Glass
- Carbon Fiber
- Mesh Fiber
- Marker
- Vacuum Pump
- Peel Ply
- Rollers
- Brushes
- Mixing Containers
- Mixing Sticks
Step 1: Creating Fiberglass Tool
Performance car parts are often made of composite materials. Reinforcements such as S-Glass, E-Glass, Kevlar and Carbon fibers are combined with EpoxAmite™ Epoxy Laminating Resin to produce extremely strong yet lightweight parts.
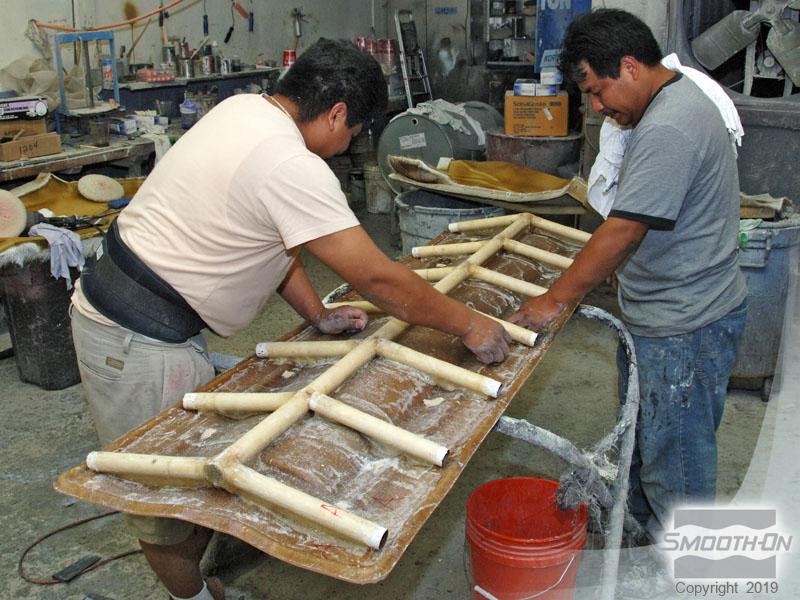
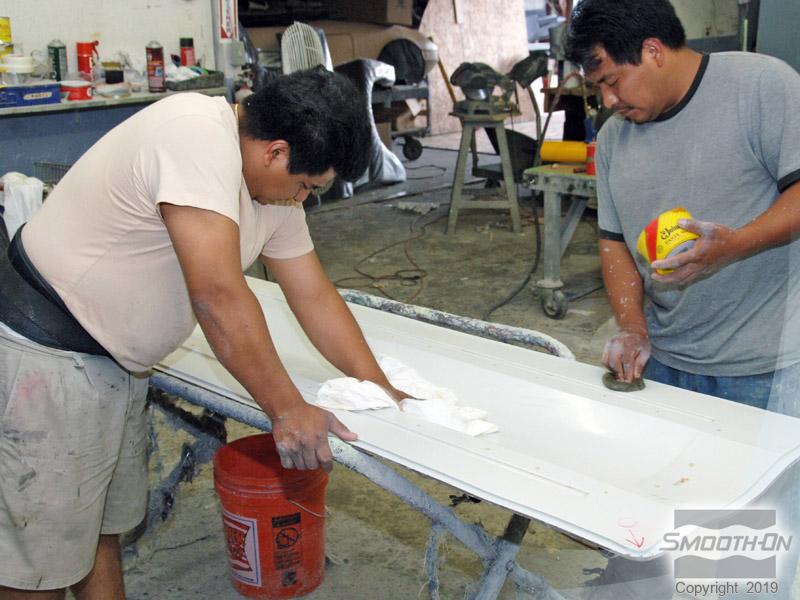
The original model is prepared for the mold making process. This model is one half of a rear spoiler wing. A gel coat is sprayed over the original model. The gel coat is backed with fiberglass and resin for added strength. PVC piping provides support for the tool. The tool is now completed, prior to creating the vacuum bag.

Step 2: Creating Vacuum Bag With EZ-Spray™ Silicone
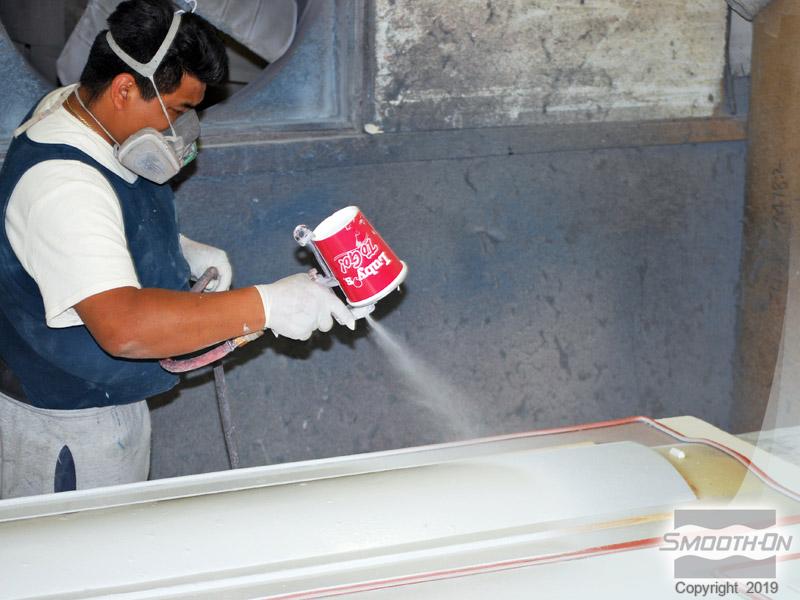
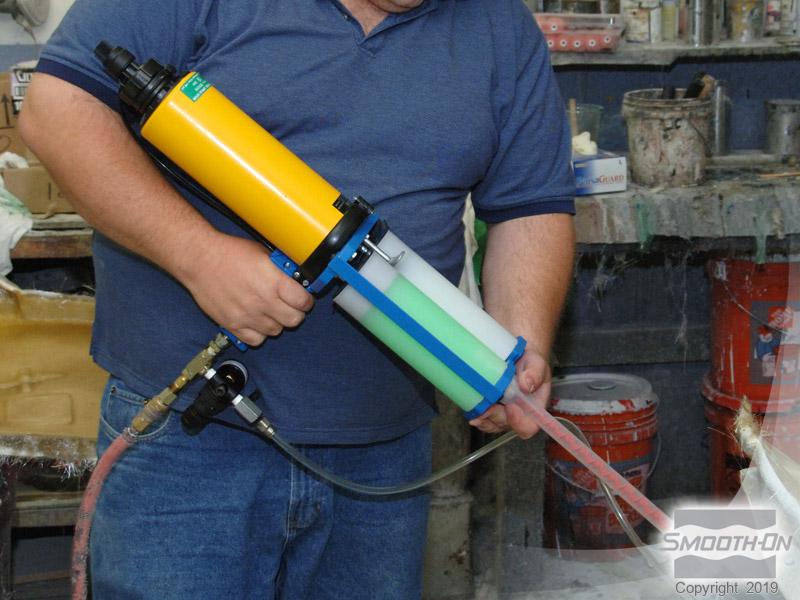
First, EZ~Spray™ Silicone 20 cartridges are prepared and then loaded into an EZ~Spray ™ Jr. Gun. With the spray tip at the end of the static mixing tube removed, EZ~Spray™ Silicone 20 is meter mixed into the gasket on the tool.
Once the gasket is filled, the spray tip is re-attached to the end of the static mixing tube. EZ~Spray™ Silicone 20 can now be sprayed over the tool. EZ~Spray™ Silicone 20 is sprayed over the tool in a thin, even coat. More EZ~Spray™ Silicone 20 is applied to the tool, gradually building an even thickness.
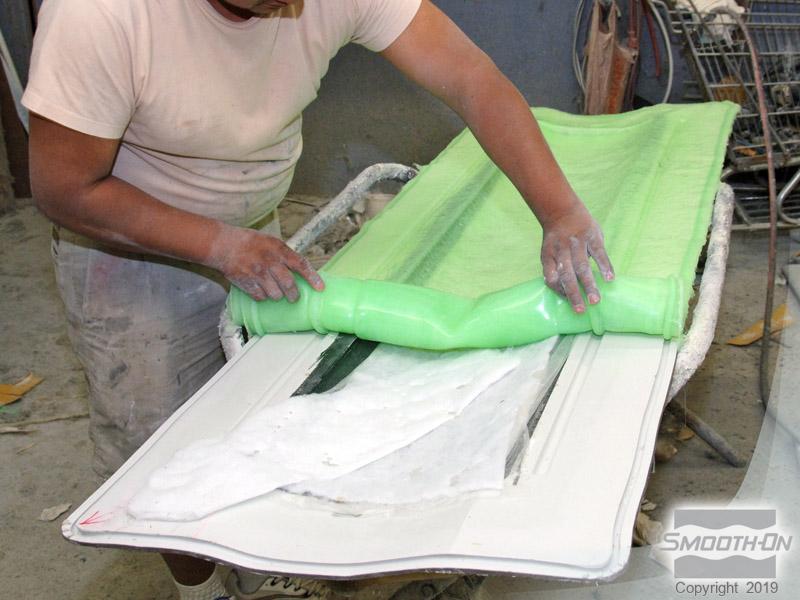
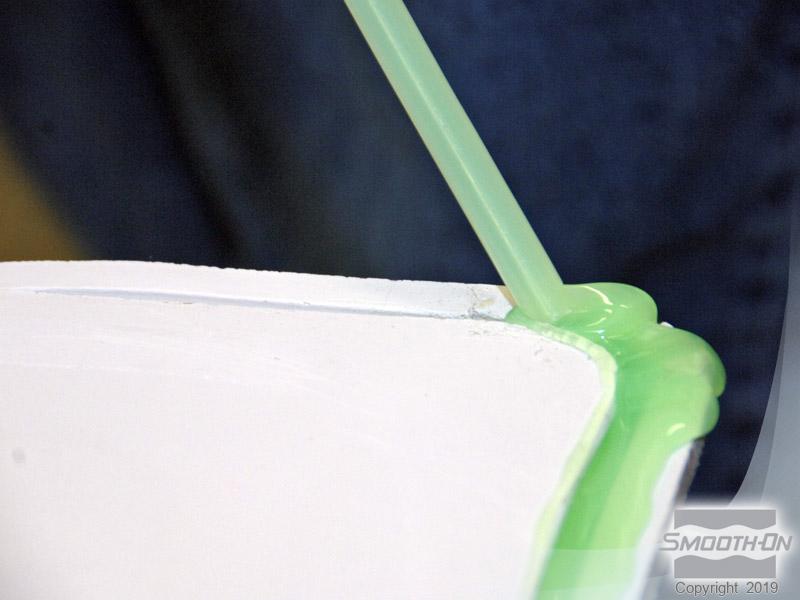
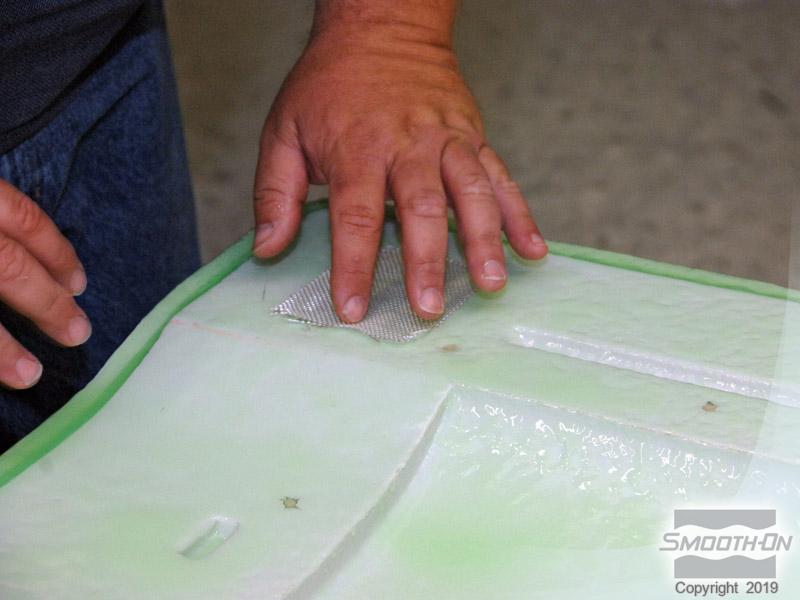
A piece of mesh fiber is applied to the tacky silicone. This embedded fiber patch will reinforce the location of the vacuum port. More EZ~Spray™ Silicone 20 is applied over the tool, including the embedded fabric patch. EZ~Spray™ Silicone 20 can be sprayed in very thin sections, yet is extremely strong and tear-resistant. The completed vacuum bag is approximately .25'' (6.4 mm) thick.
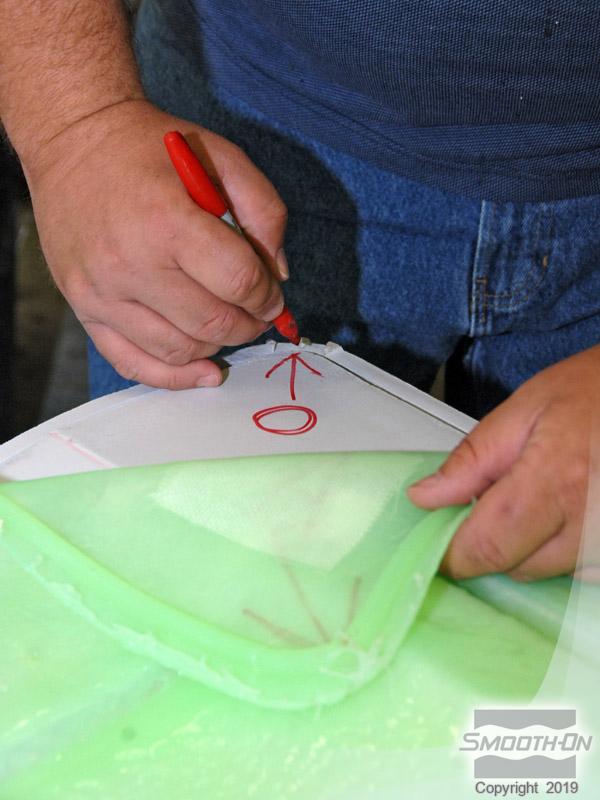
A red arrow is drawn on both the tool and the silicone bag to ensure proper realignment. The completed silicone vacuum can be easily rolled away from the tool. The flexible silicone will retain its shape perfectly.


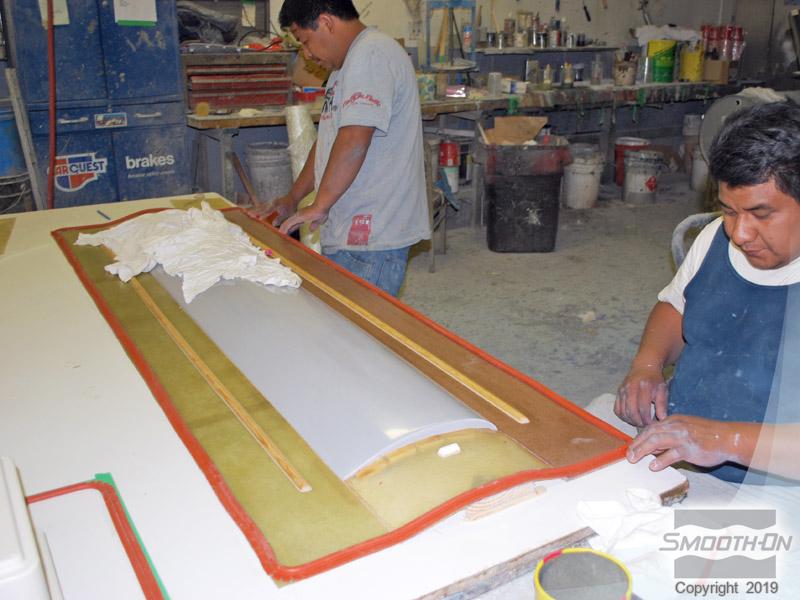
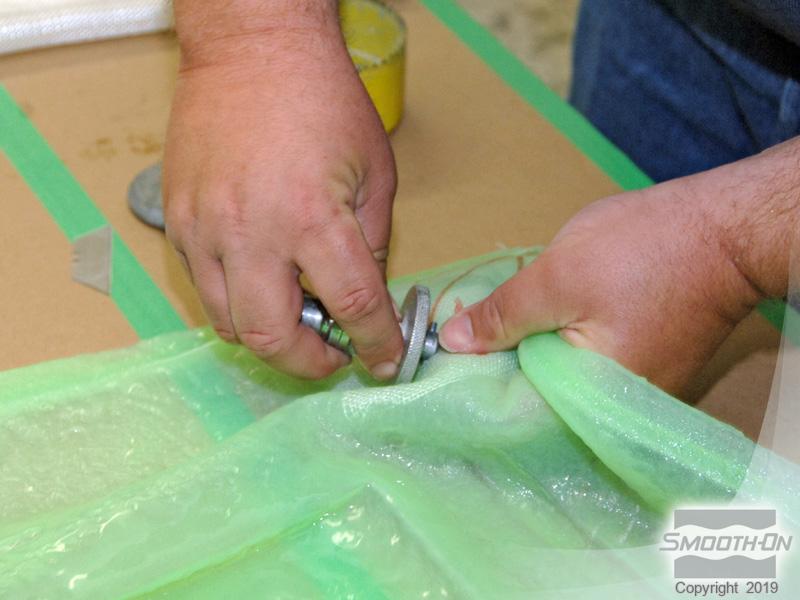
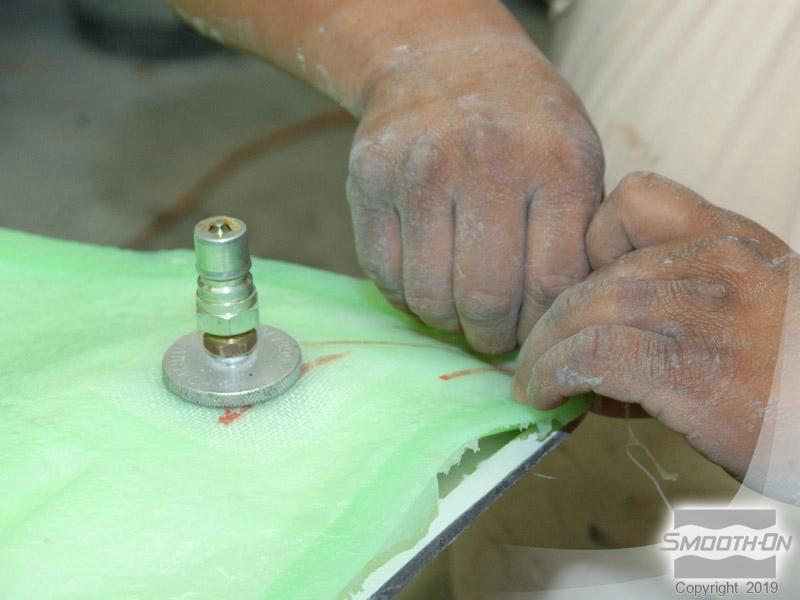
Step 3: Finishing Vacuum Bag
A small incision is made for the vacuum port through the embedded fabric patch. The port is attached. The vacuum bag with the attached port is ready to be repositioned on the tool. A release agent is applied to the tool surface. The tool is also cleaned and polished prior to making the part. This helps reproduce the glossiest possible finish.

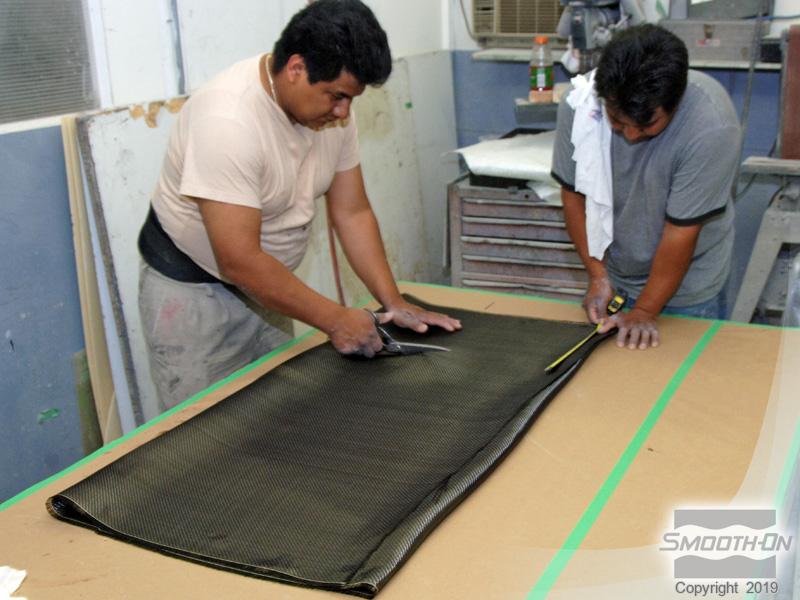
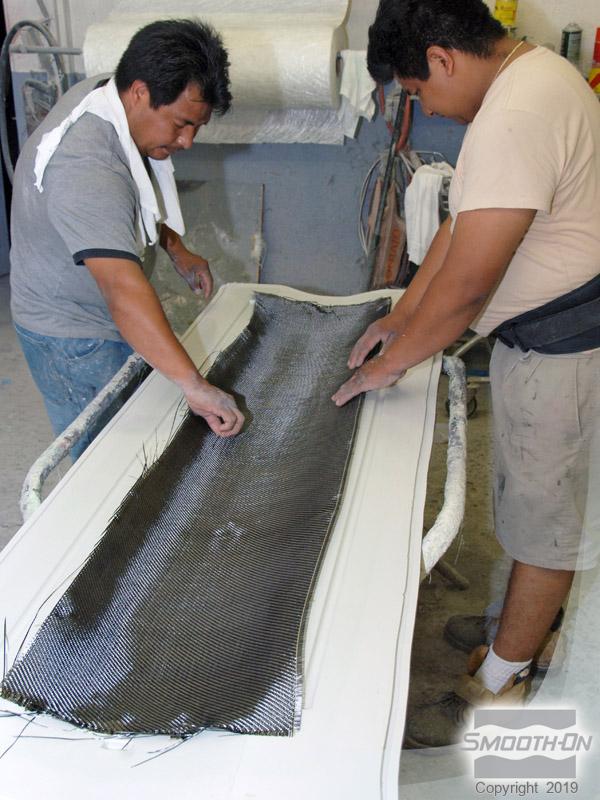
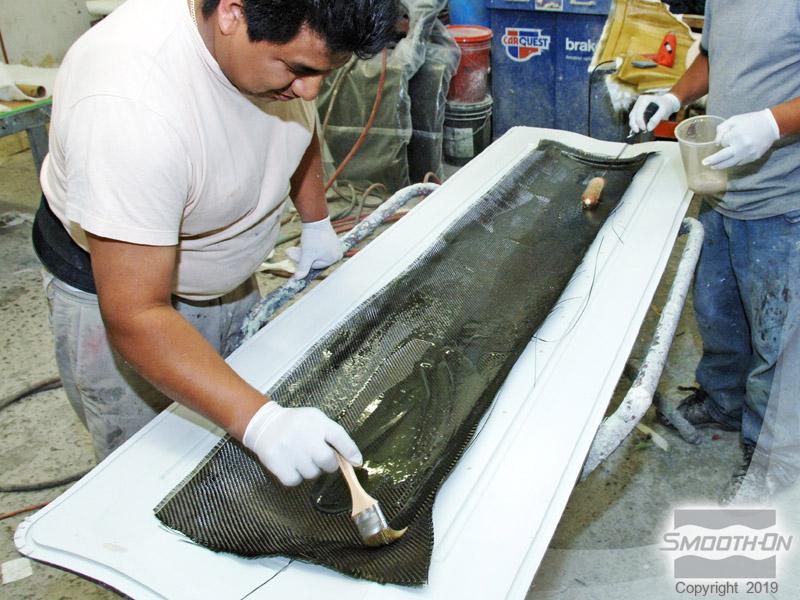
Step 4: Positioning Carbon Fiber
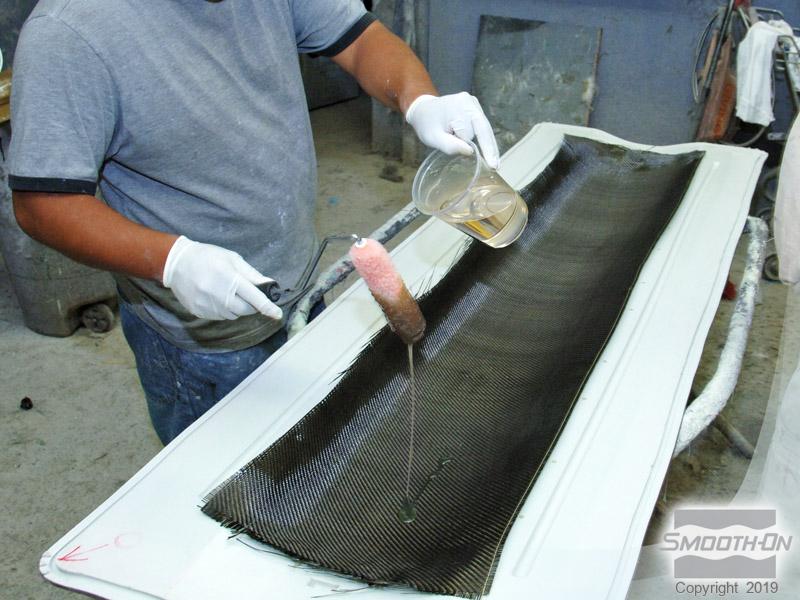
Sheets of carbon fiber are cut to size. One layer of carbon fiber is laid into the tool. Smooth-On's EpoxAmite™ Epoxy Laminating Resin was used to make the part. This low viscosity liquid easily impregnates many types of fibers and mat materials. The carbon fiber is positioned in the tool.
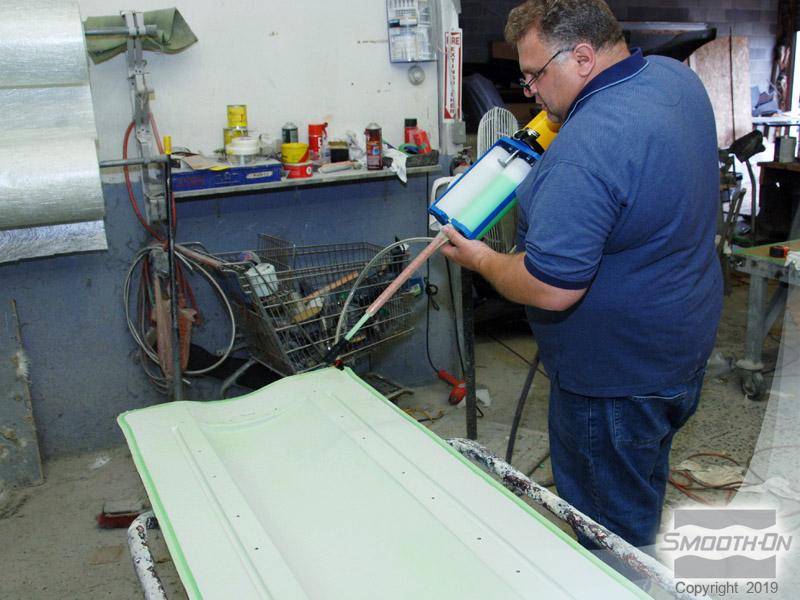
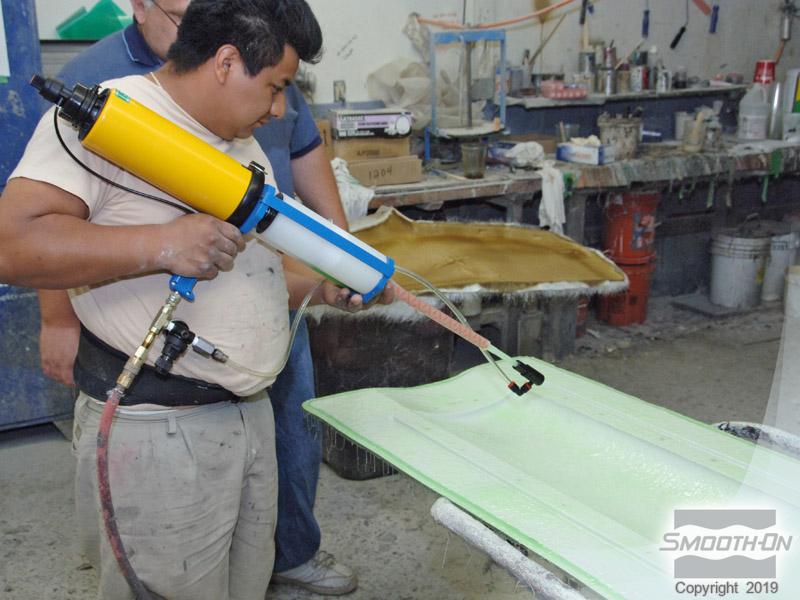
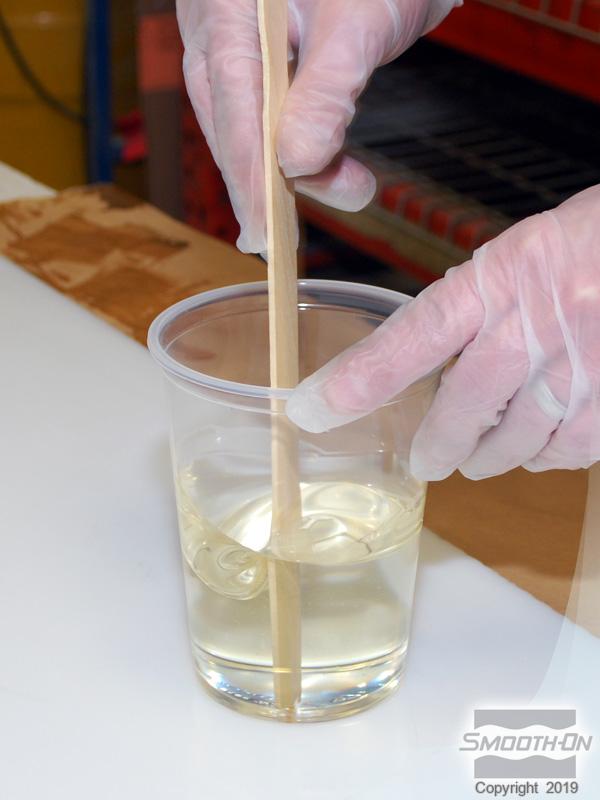
Step 5: Mixing/ Dispensing EpoxAmite™
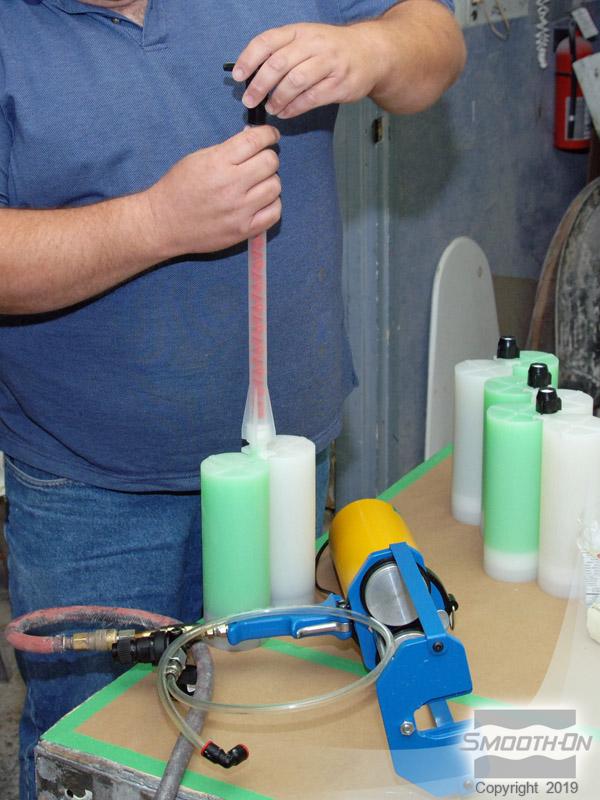
Each part of EpoxAmite™ is dispensed via pre-calibrated pumps. One pump from the Part A container is the correct portion for one pump from the Part B container. Parts A and B are mixed thoroughly. It is important to scrape the sides and bottom of the container several times to ensure a thorough mix.
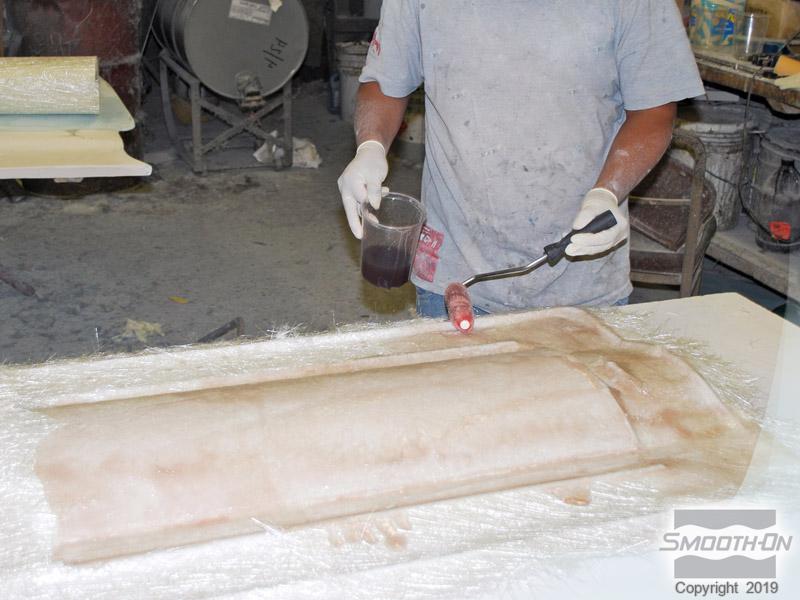
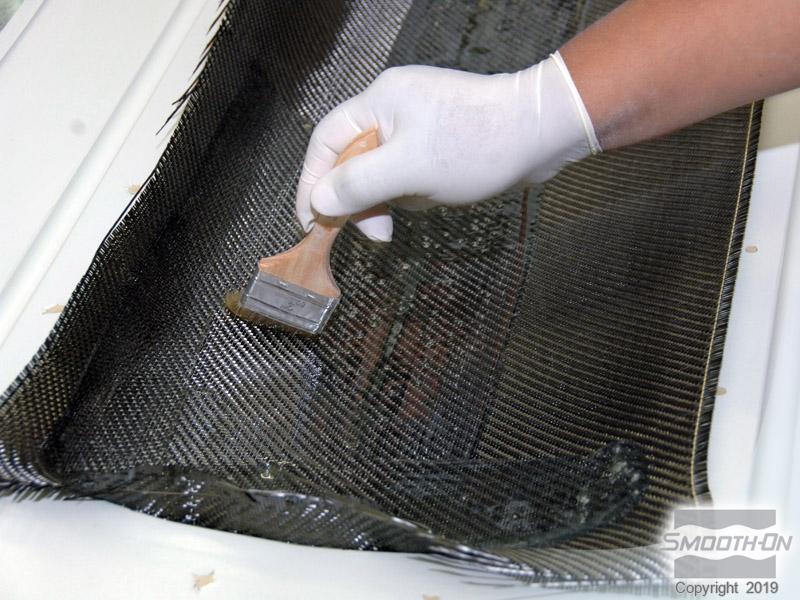
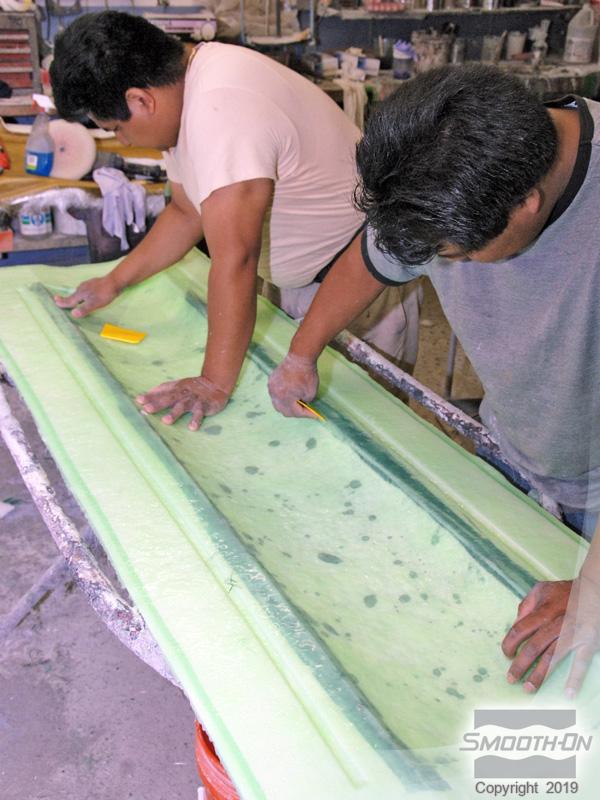
The EpoxAmite™ is poured over the carbon fiber mat. Enough material is used to saturate and impregnate the fibers. EpoxAmite™ is spread with rollers and brushes. EpoxAmite™ easily impregnates the carbon fiber.
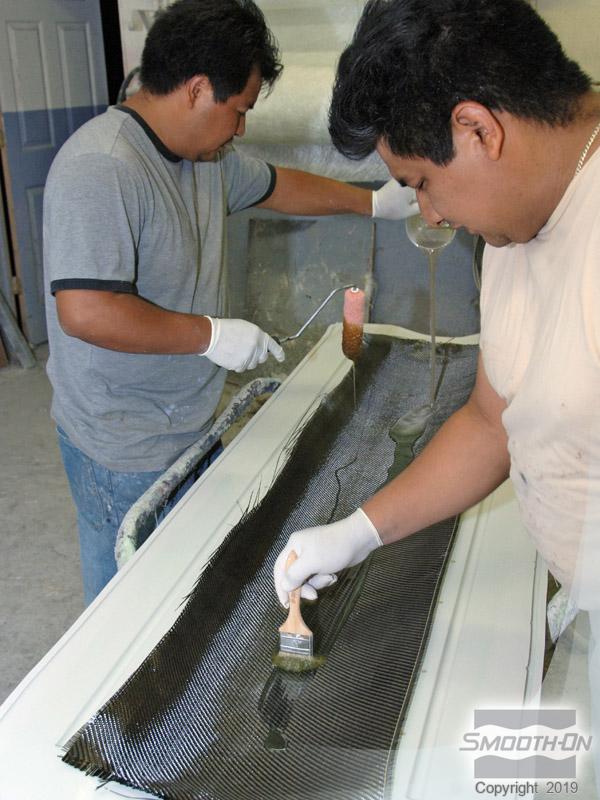
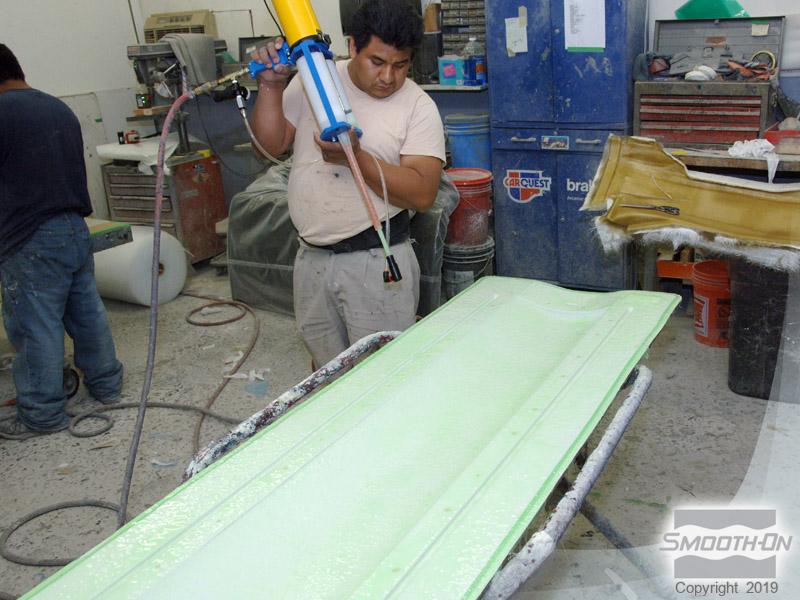
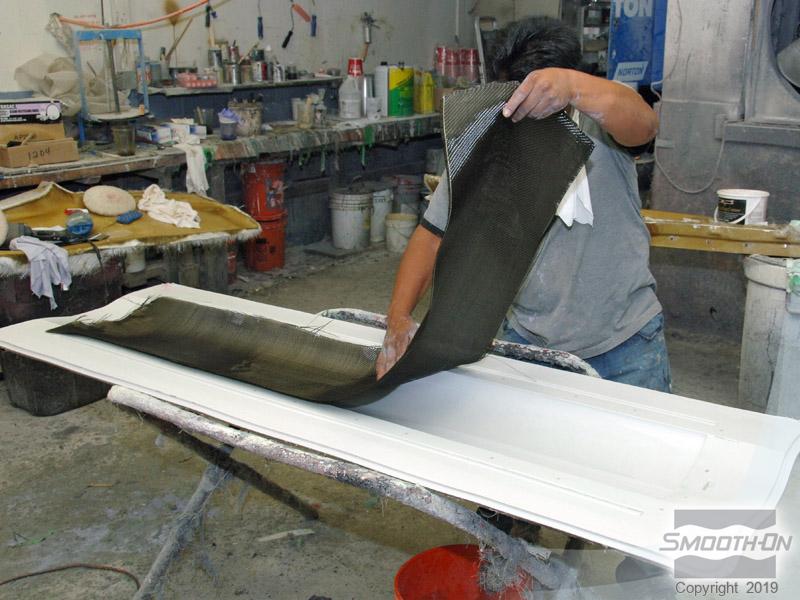
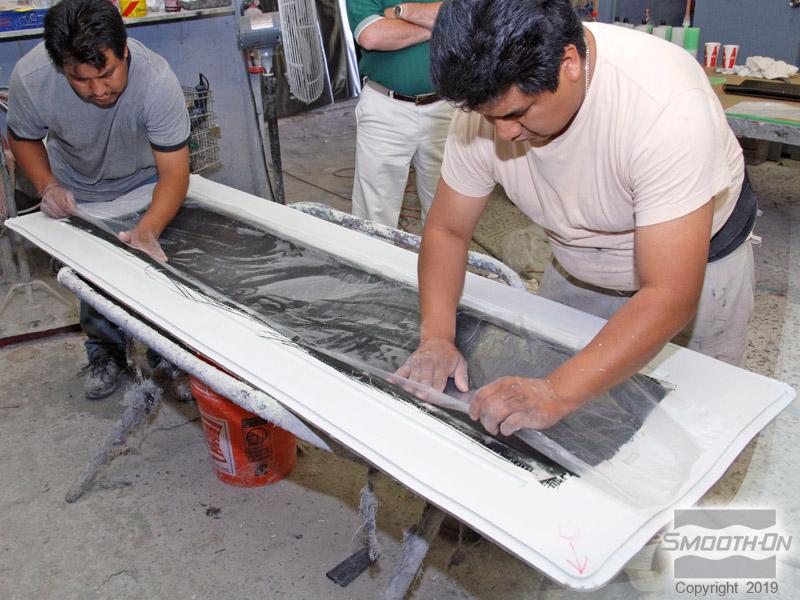
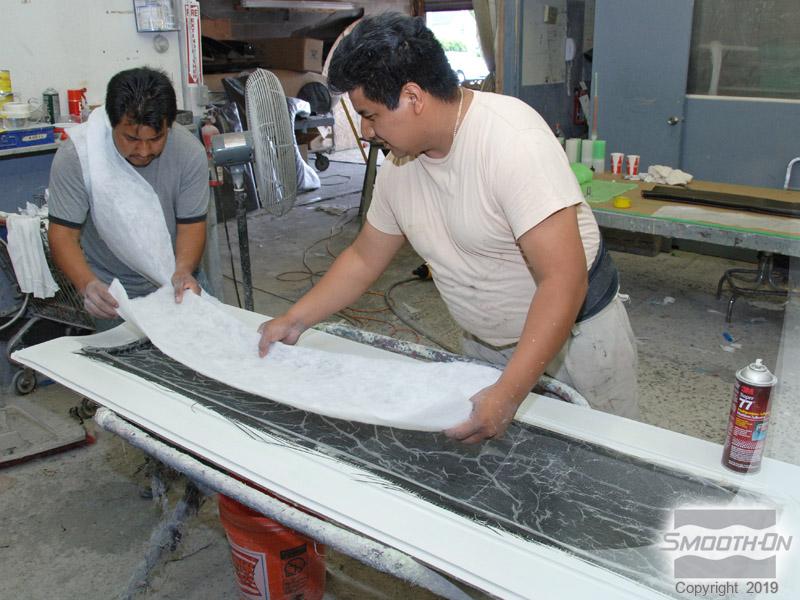
Step 6: Applying Additional Layers of EpoxAmite™
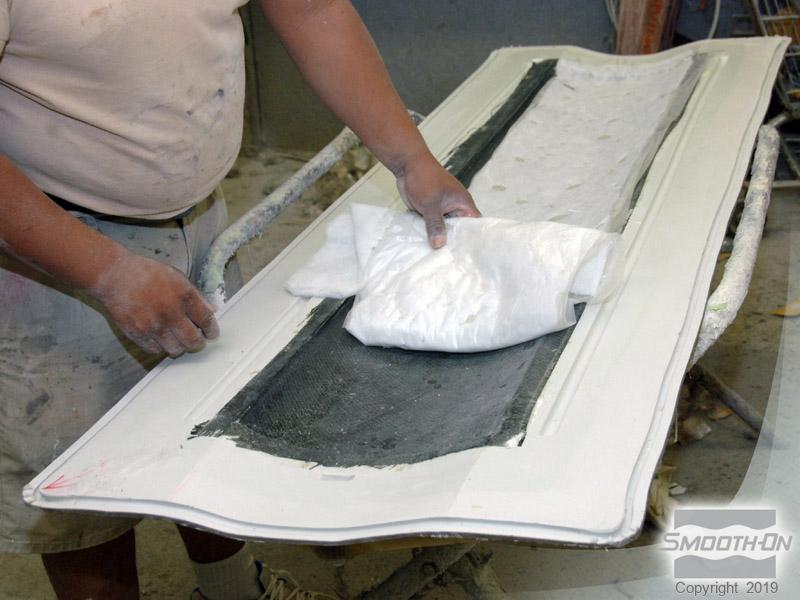
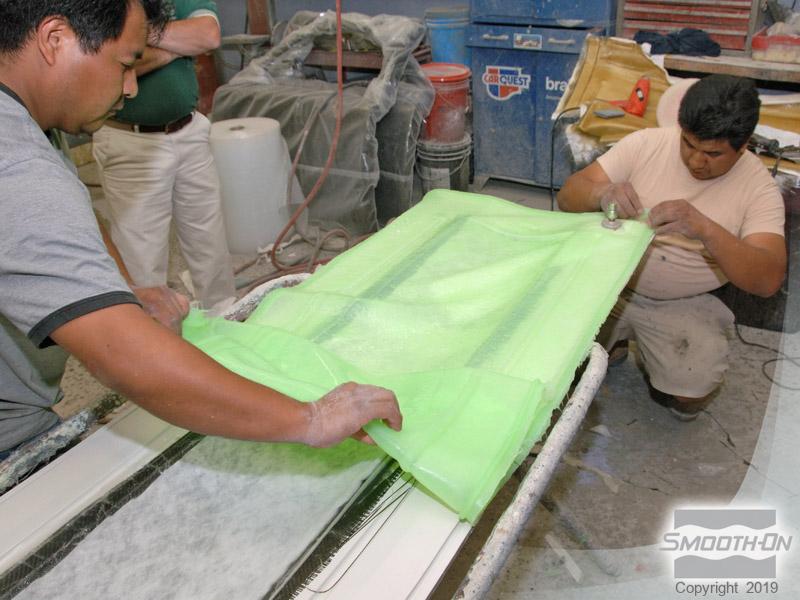
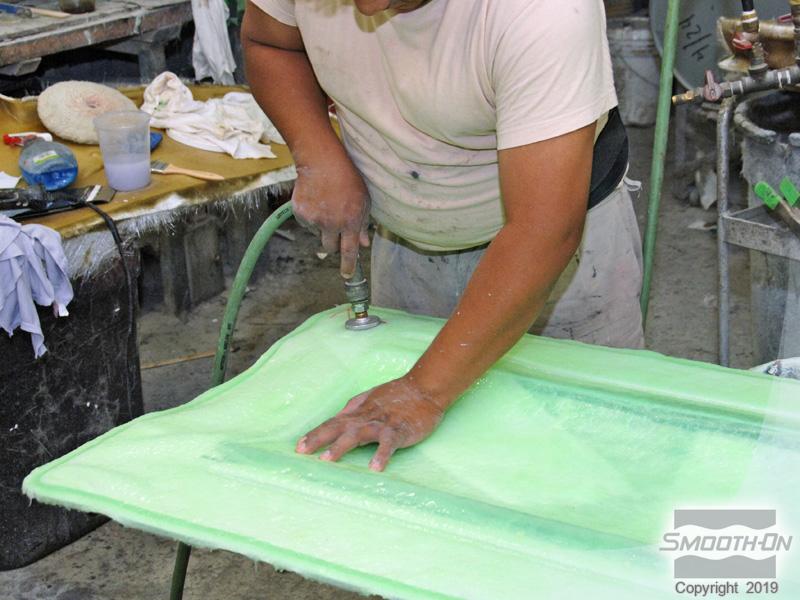
Additional layers of mat are layered to create the part. EpoxAmite™ is used between each layer. Peel ply is applied over the carbon fiber. Next, a breather fabric is placed over the peel ply.The EZ~Spray™ Silicone 20 vacuum bag is repositioned.
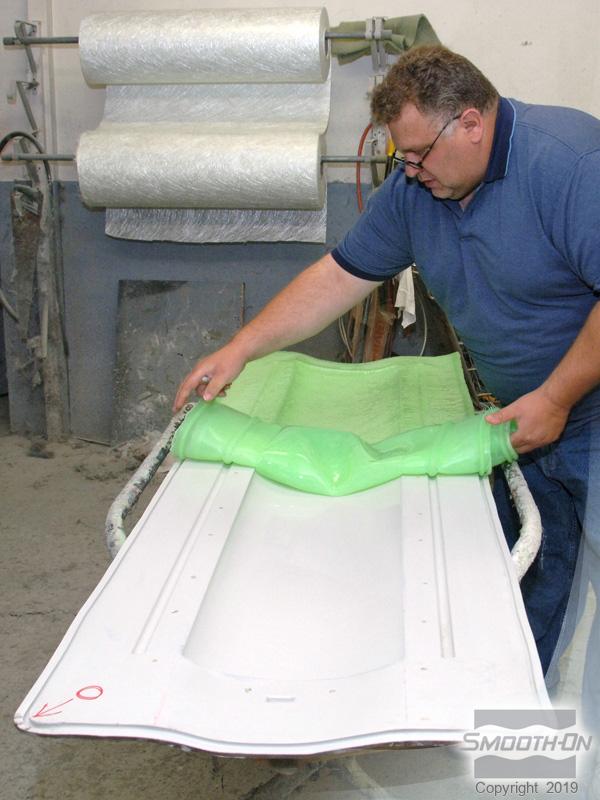
The built in silicone gasket is pressed into the tool. This ensures proper alignment and a full seal. The vacuum hose is connected to the vacuum port. The vacuum pump must be capable of pulling 29 inches of mercury. Any small air voids are worked away from the part. The EpoxAmite™ is allowed to fully cure while under vacuum, eliminating imperfections.
Once the EpoxAmite™ has fully cured, the EZ~Spray silicone vacuum bag can be removed.


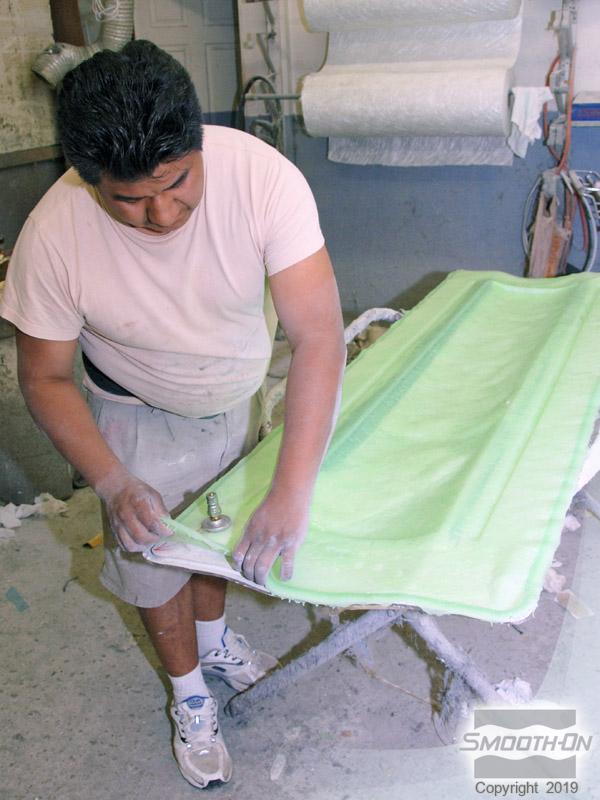
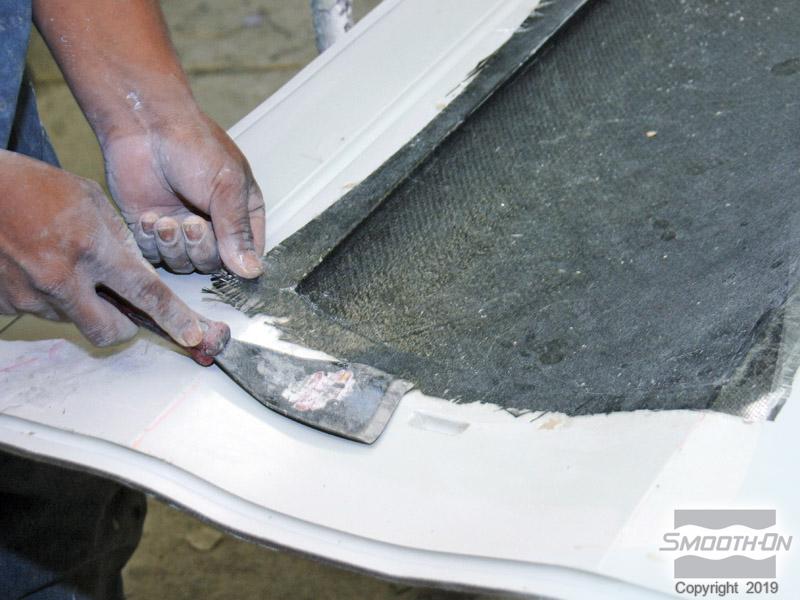
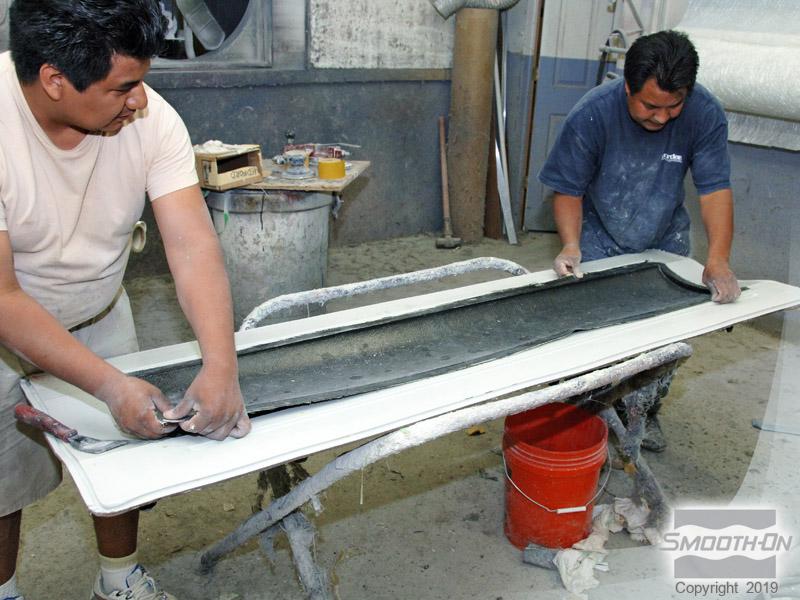
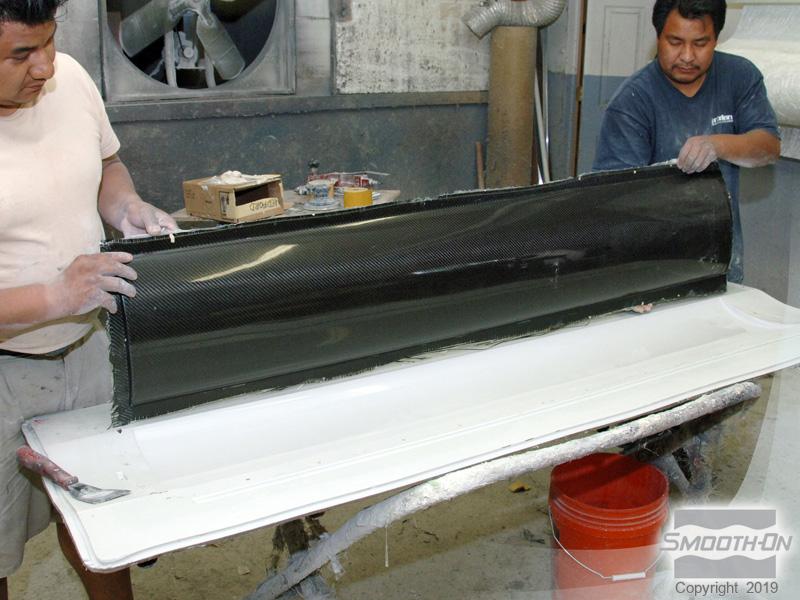
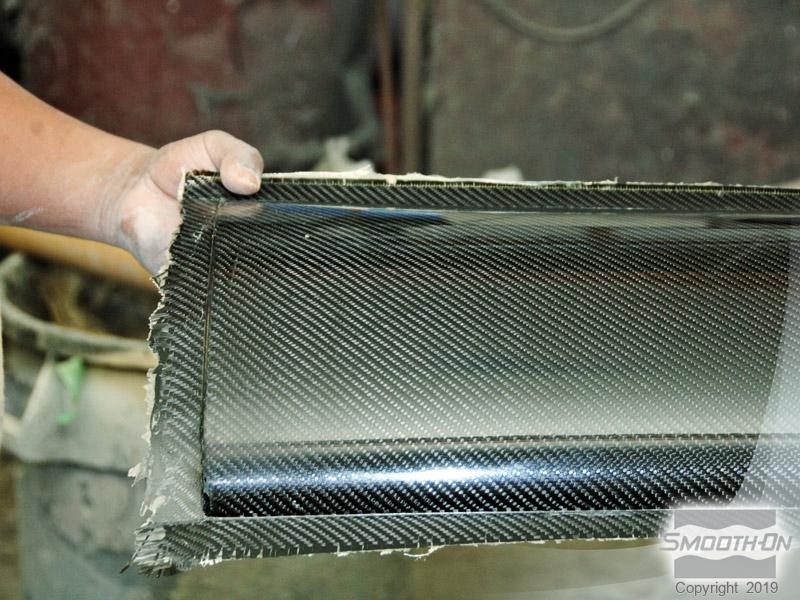
Step 7: Demold
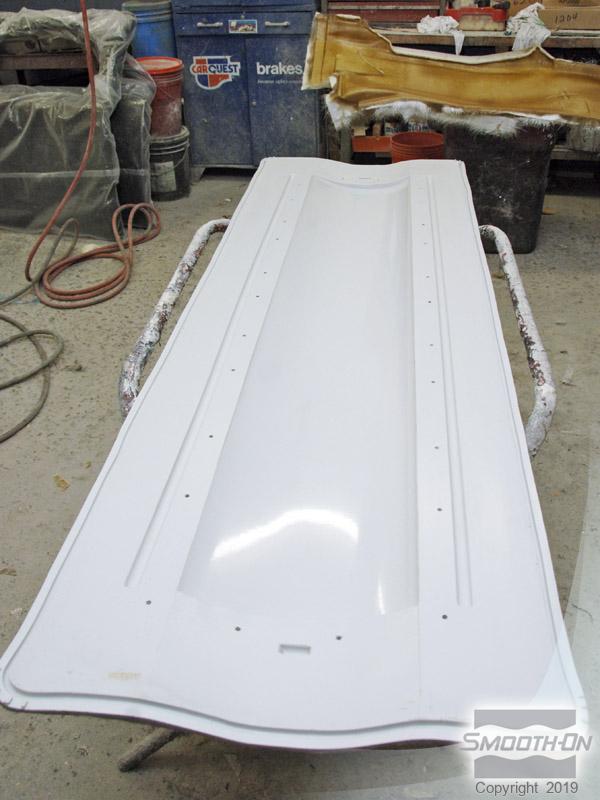
The silicone vacuum bag is rolled away from the part. It can then be stored until next use. The peel ply and breather fabric are peeled away from the part. The part is carefully pulled away from the tool. The curvature in the tool has been perfectly reproduced with the carbon fiber part. Cured EpoxAmite™ displays exceptional physical and performance properties. It can be sanded, shaped, machined, drilled, tapped and painted.