How To Make a Quick Silicone Wound Prosthetic
Overview
Dragon Skin® FX-Pro® is a soft, stable, high performance platinum silicone rubber specifically designed for creating silicone makeup appliances and fake skin effects.
What Makes Dragon Skin® FX-Pro® Unique?
- Soft - Shore 2A hardness allows for softer appliances using less SLACKER® deadening agent
- Low Viscosity - combined with long working time reduces bubbles and makes pouring easier
- Cures Dry - will not leach silicone fluid
- Long Working Time - 10-12 minute working time is good for larger pours or injections
- Fast Cure - 40 minute cure time allows for quick turnaround of castings or molds
- More Workable - Do More - has a ‘gel’ stage - slushing the material into prosthetic molds is easier
In this demonstration, a fake wound resin mold is made using Smooth Cast® 300 liquid plastic. Dragon Skin® FX-Pro® silicone is pigmented and mixed, then poured into the plastic flat mold. The piece is then applied to the skin using Skin Tite® silicone adhesive. Perfect for homemade Halloween costumes, theatrical stage makeup, and even Hollywood special effects.
The process is quick, under 1 hour from beginning to end. Application and clean up are very easy and the results can be extremely realistic fake scars and wounds.
Materials Used in this Tutorial
- Smooth Cast® 300
- Dragon Skin® FX-Pro®
- Skin Tite®
- Silc-Pig®
- Universal Mold Release
- Non-Sulfur Clay
- Plastic Base
- Wooden Tool
- Metal Scraper
- Vinyl Gloves
- Mixing Containers
- Mixing Sticks
- Isopropyl Alchol
- Paint Brush
- Sand Paper
- Baby Powder
- Scissors
- Cotton Swab
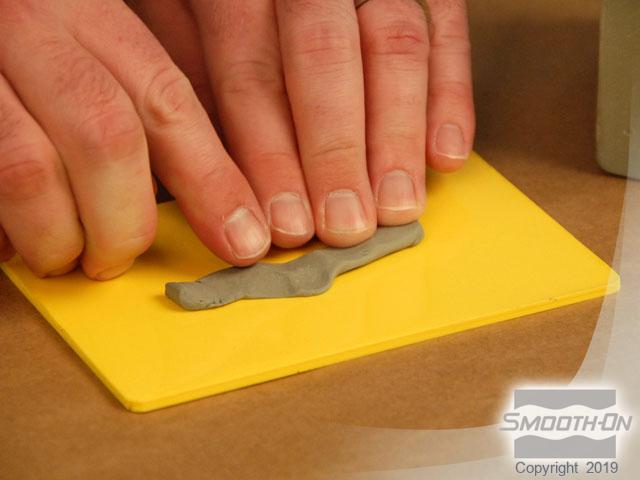
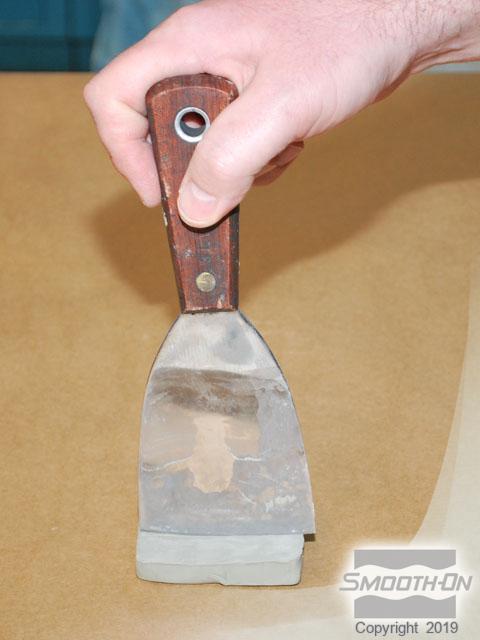
Step 1: Sculpting the Wound
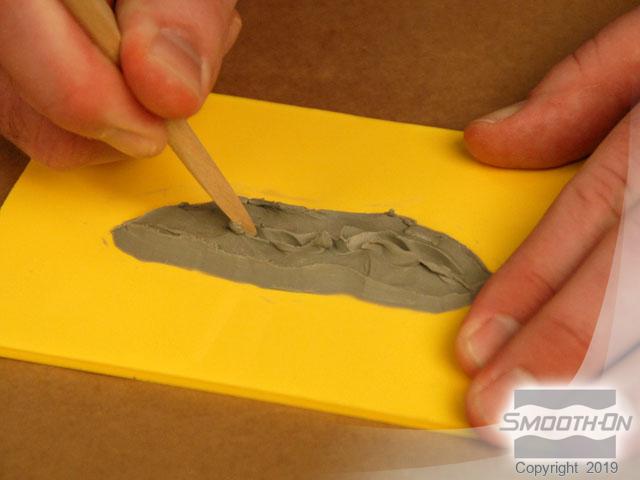
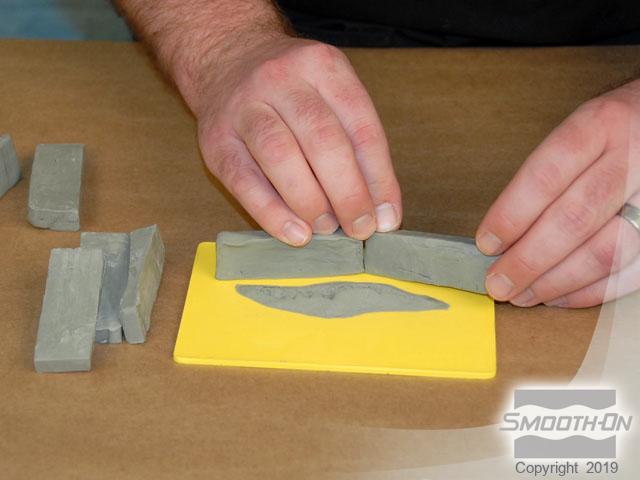
The original wound will be sculpted out of non-sulfur clay, on a plastic base.
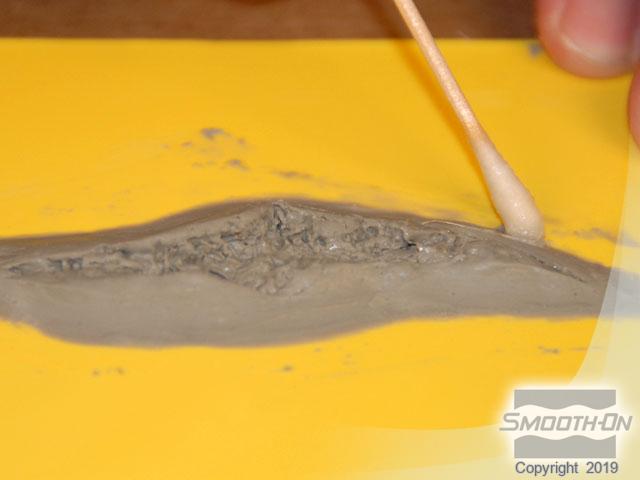
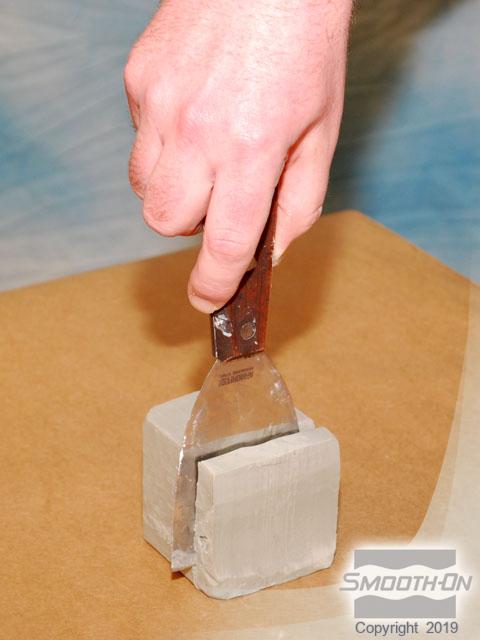
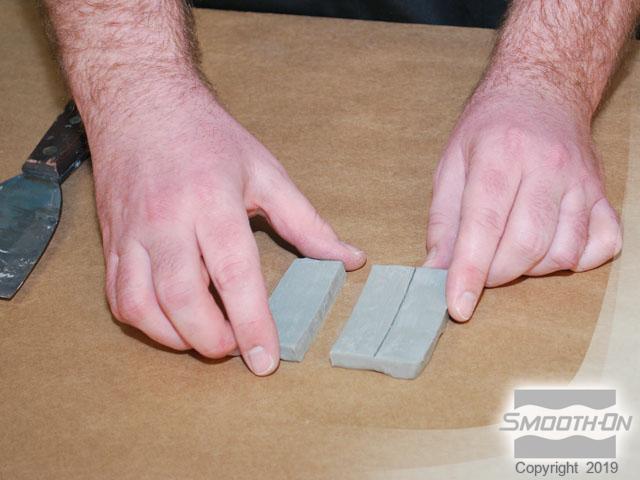
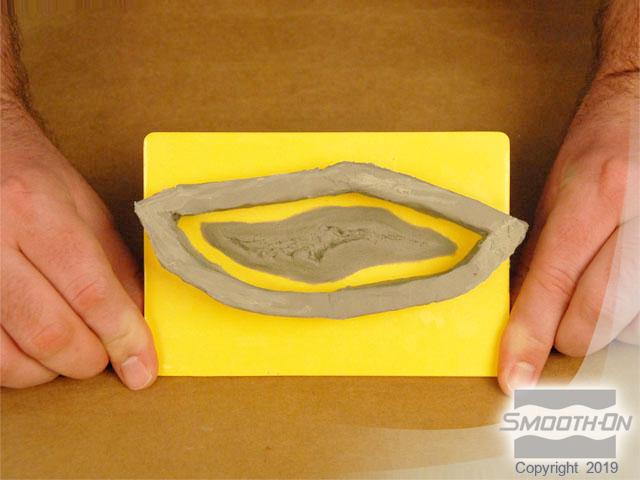
To begin, place a small amount of clay on the base. Then create the detail of the fake wound by using a wooden tool. You can smooth the edges of the clay sculpt by using a cotton swab. Now, you can slice clay pieces that approximately 3/8" thick by using a metal scraper. Then cut the flat pieces into strips. Multiple strips will be used to construct a mold wall. Press the clay strips onto the surface of the platic base to create a water-tight containment field.

Step 2: Creating a Negative Using Smooth-Cast 300
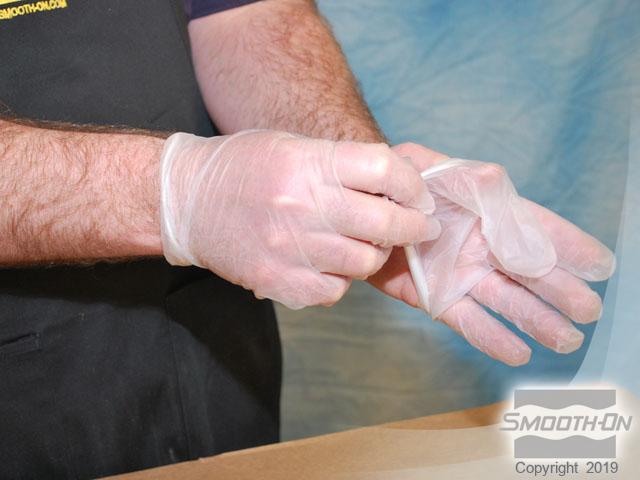
Wear vinyl gloves for the remainder of the moldmaking process.
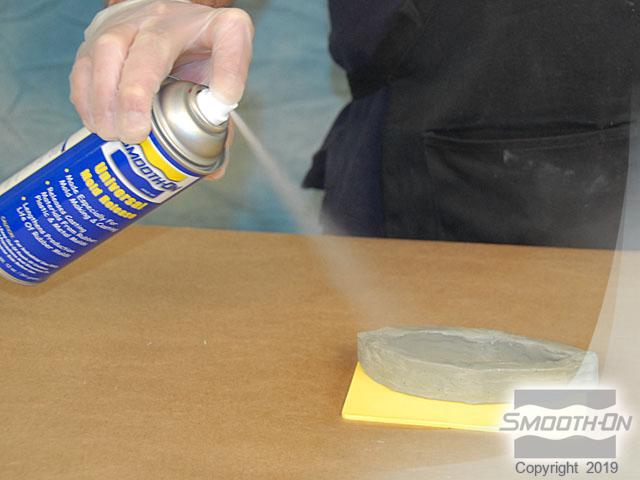
Spray Universal Mold Release® onto all surfaces of the sculpture.
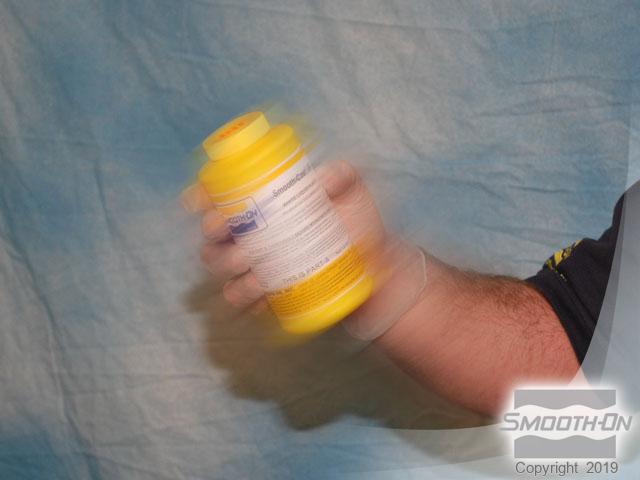
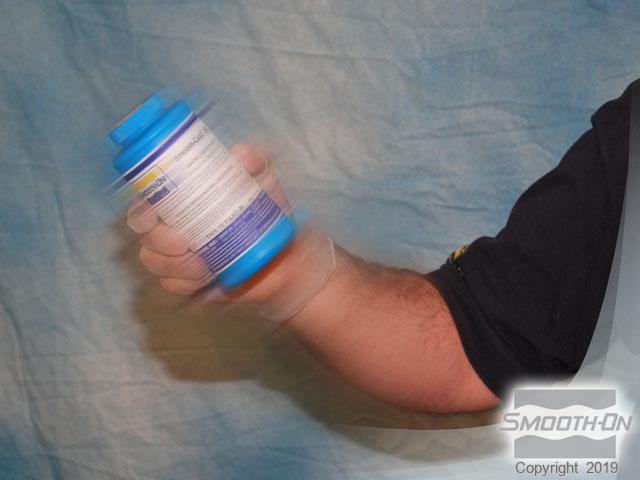
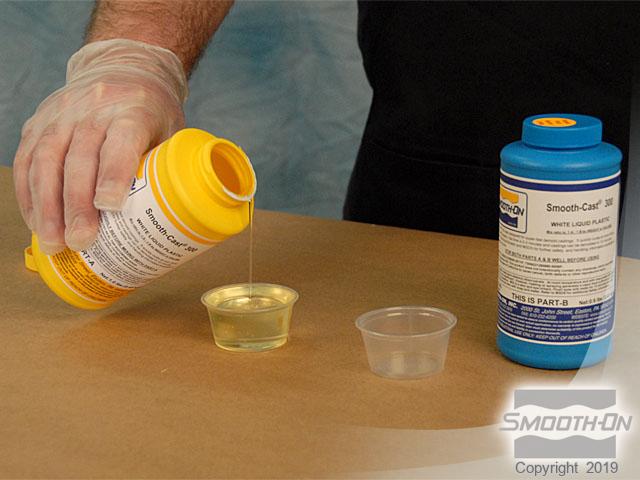
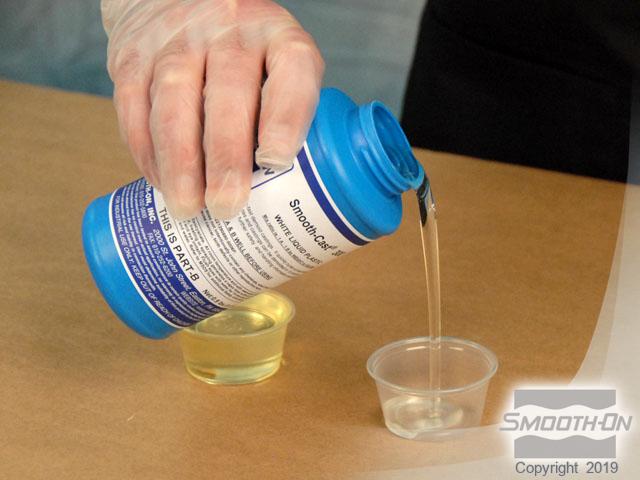
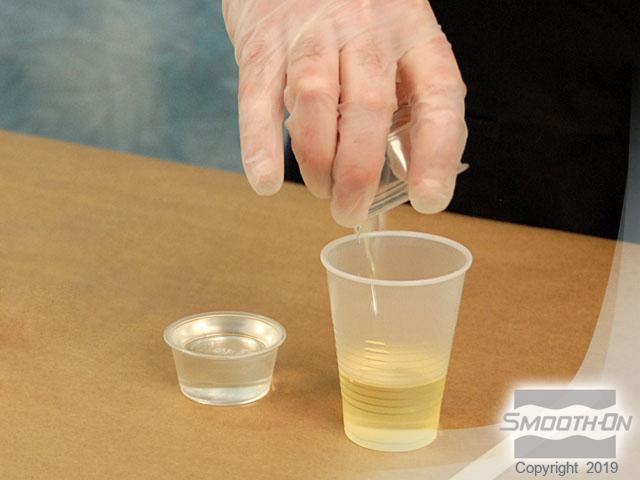
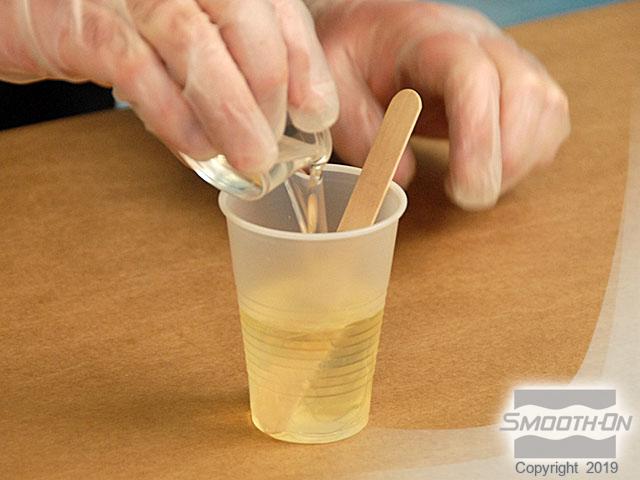
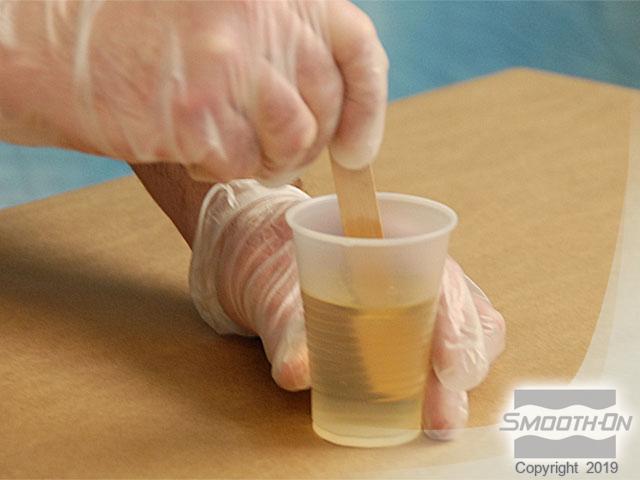
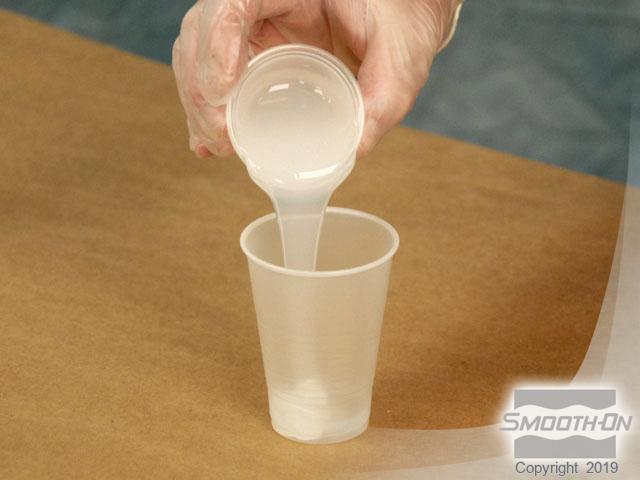
To pre-mix Smooth Cast® 300 part A shake the container and then shake part B to pre-mix. Next, dispense Smooth Cast® 300 part A into a small measuring cup and then an equal amount of Smooth Cast® 300 part B into a seperate small measuring cup. Now you can pour the Smooth Cast 300® Part A into a mixing container and add Part B. Make sure you mix the liquid plastic thouroughly.
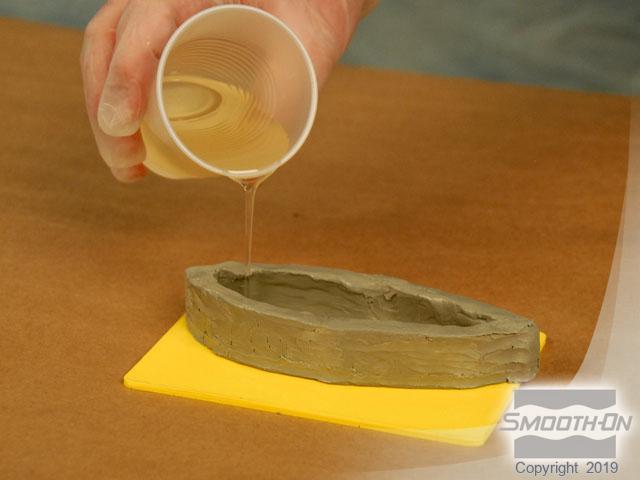
Pour the low viscosity Smooth Cast resin over the sculpt and after a few minutes the plastic will begin to cure.
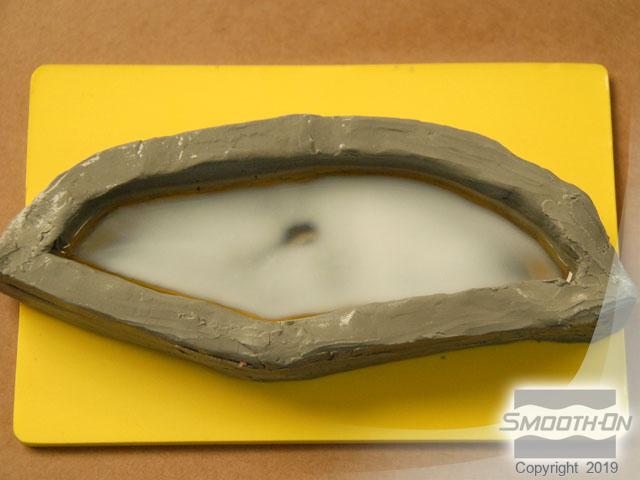
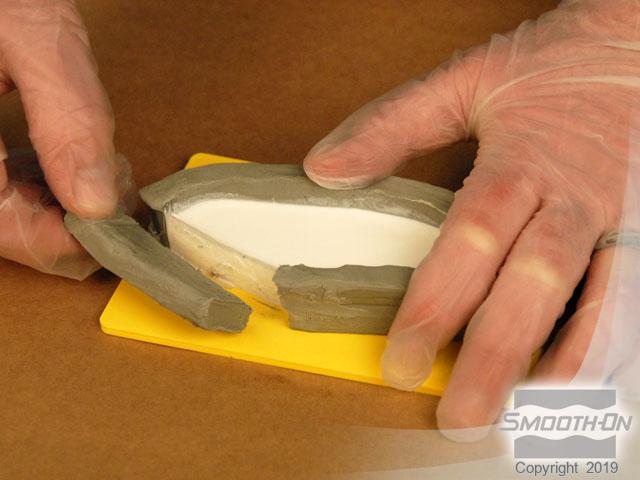
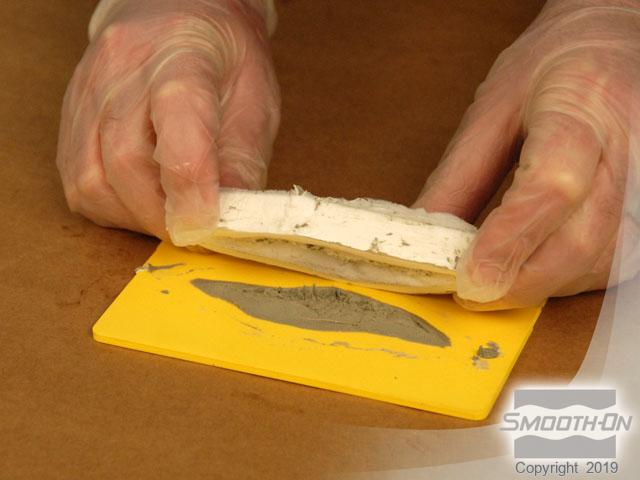
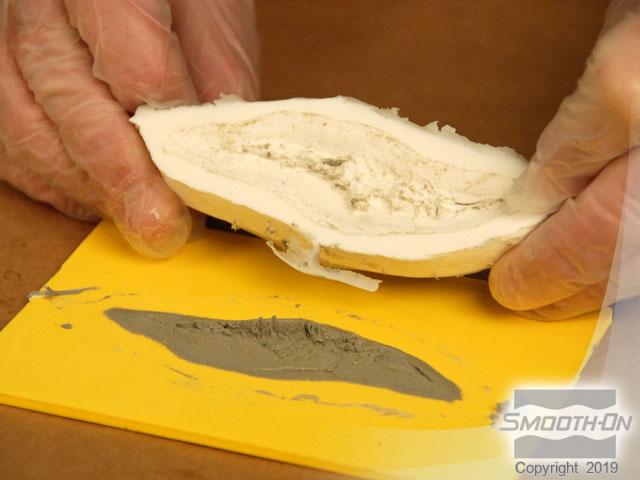
Step 3: Demold
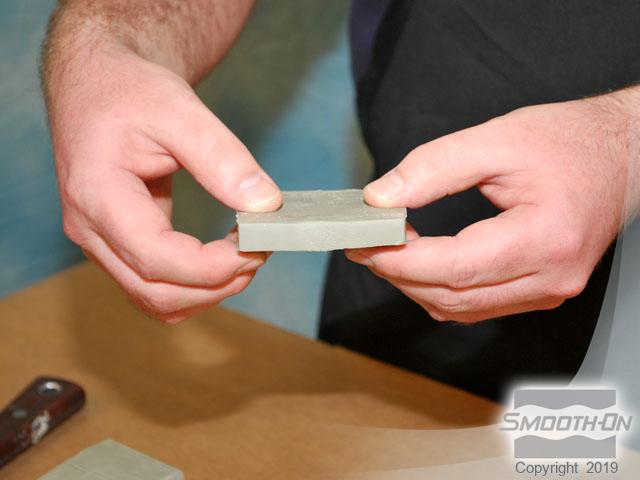
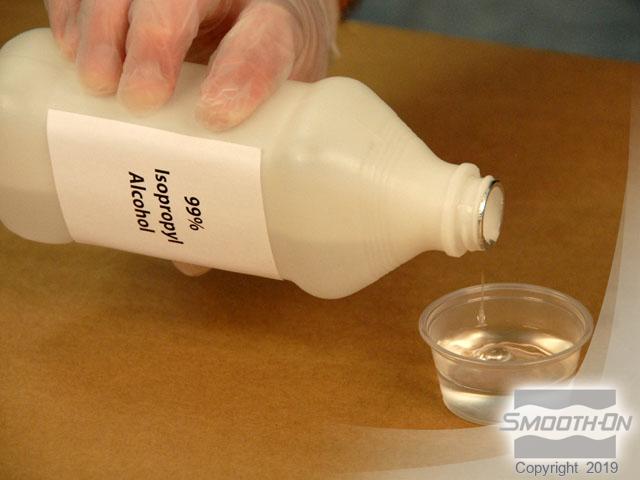
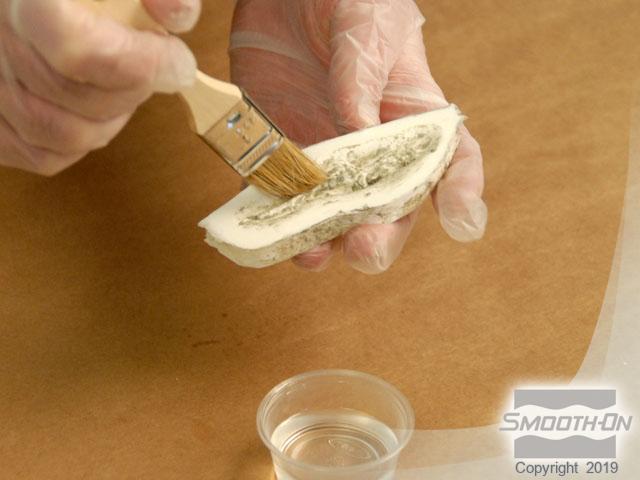
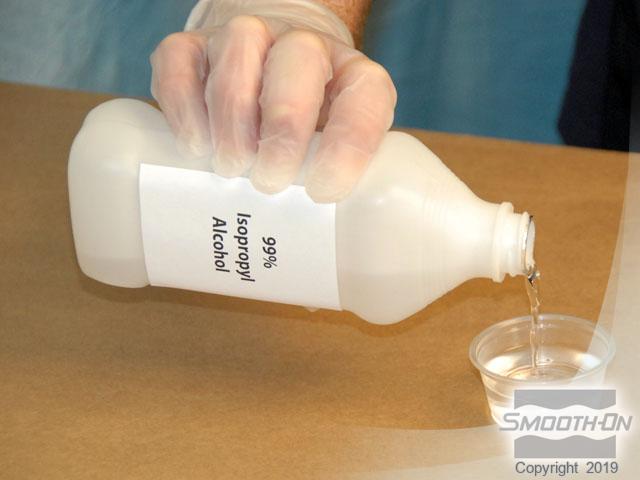
Smooth-Cast® 300 will cure in 20 minutes, and then the clay mold wall can be removed. The resin mold can now be removed from the sculpt while capturing excellent detail. Pour a small amount of 99% isopropyl alchol into a cup and use a clean brush to remove the remaining clay out of the resin mold. Sand the edges of the mold until smooth and then the finished flat resin mold is clean and ready for silicone casting.
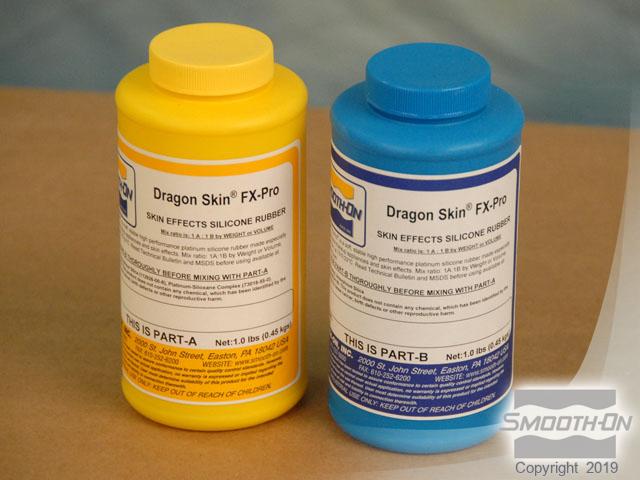
Step 4: Cast Prosthetic Using Dragon Skin FX-Pro
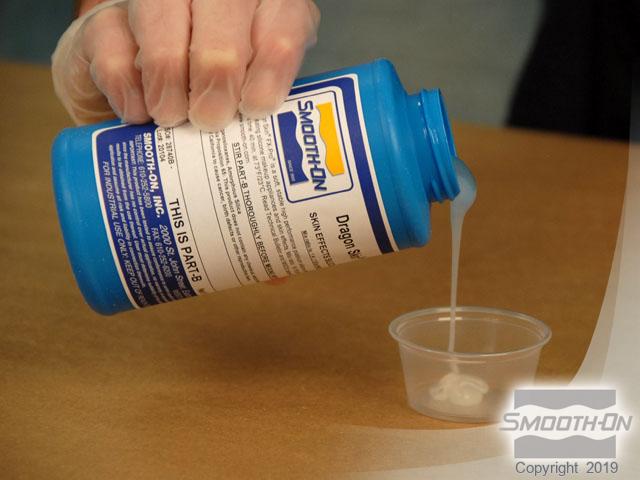
Dragon Skin® FX-Pro® silicone is a 1A:1B by volume platinum cure silicone designed for skin effects.
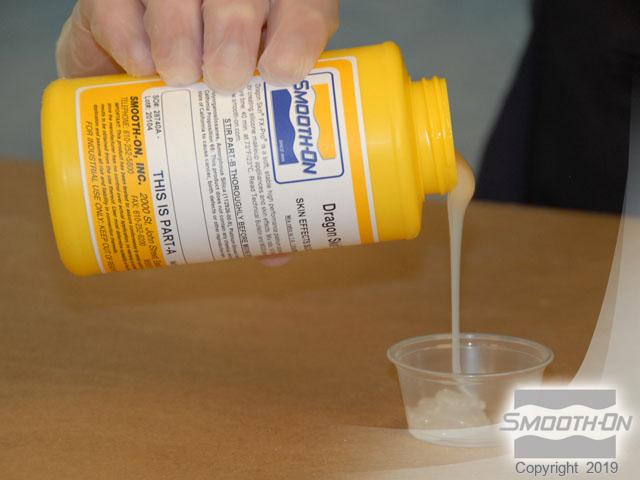
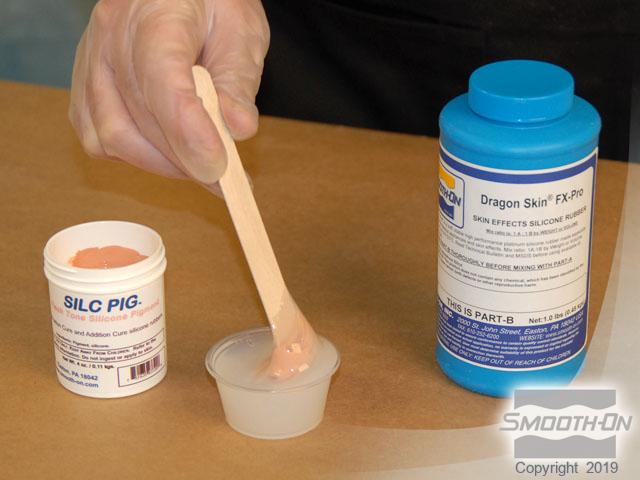
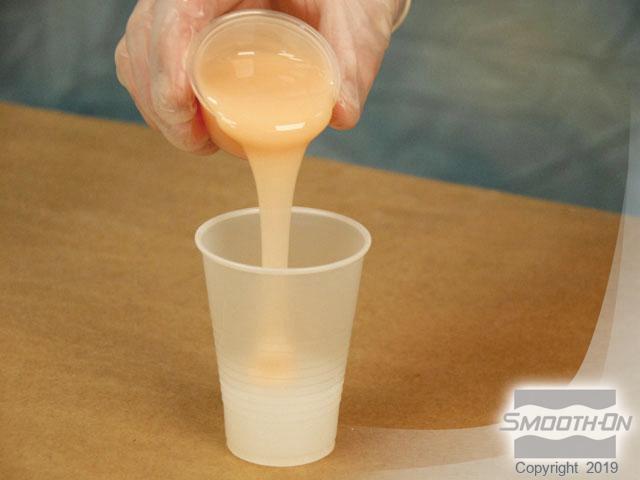
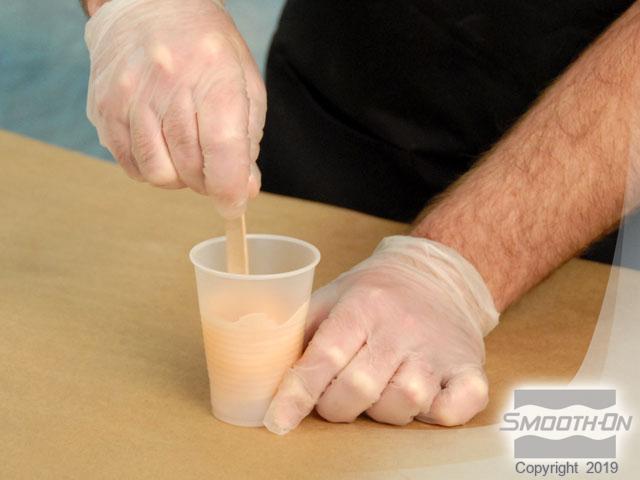
Begin by dispensing Dragon Skin® FX-Pro® part A into a measuring cup. Then dispense an equal amount of Dragon Skin® FX-Pro® part B into a measuring cup. Add a small amount of Silc Pig® Flesh Tone pigment to the Dragon Skin® FX-Pro® part B. Thoroughly pre-mix the Silc Pig into the part B.
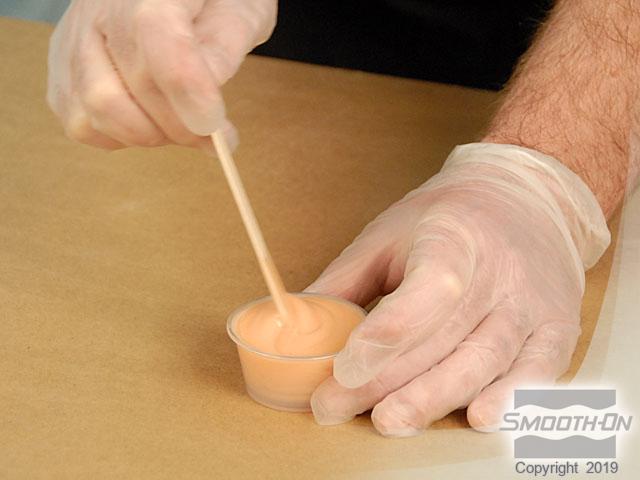
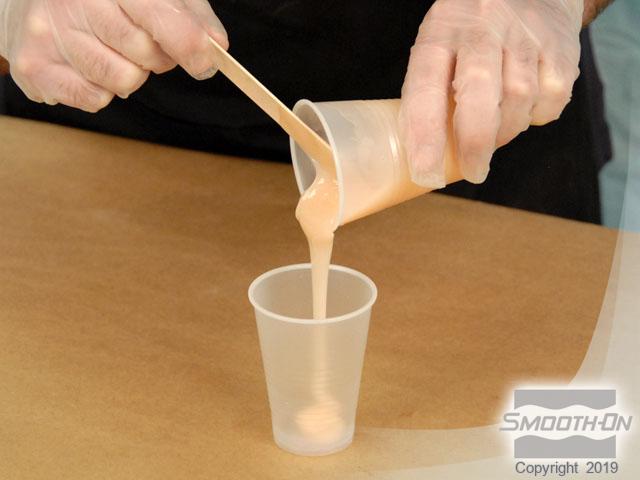
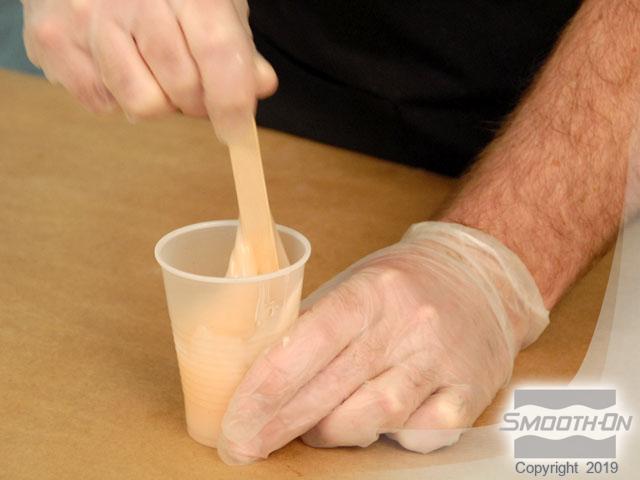
Now that the Dragon Skin FX Pro® is pre-mixed, you can pour part A into a mixing cup. Then add the pigmented Dragon Skin® FX-Pro® part B is added to the part A and mix the silicone thoroughly. After 1 minute of mixing, pour the material into a new cup (double mix and pour technique). Mix the material again using a new stick. This helps ensure a complete mix.
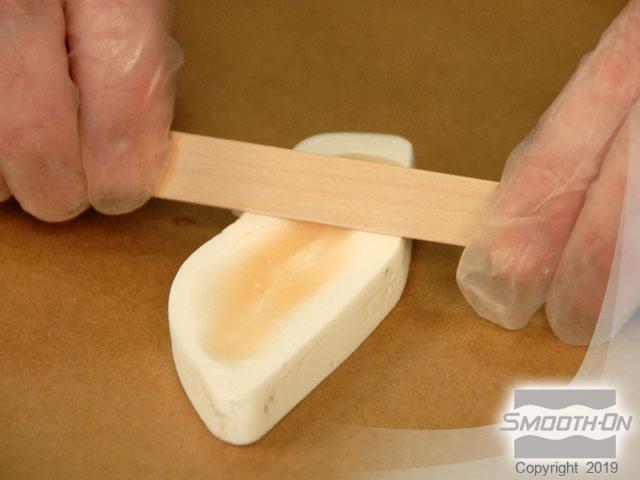
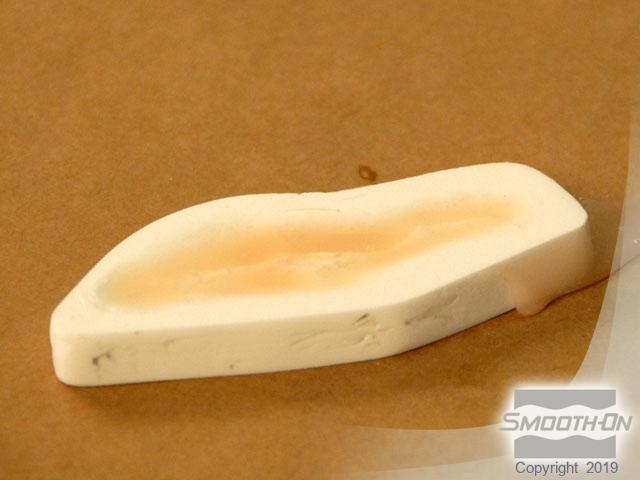
Pour the mixed Dragon Skin® FX-Pro® as a thin stream into the resin mold. No release is necessary. Scrape away any excess silicone by using a wooden stick. Leave the material to cure for 40 minutes.

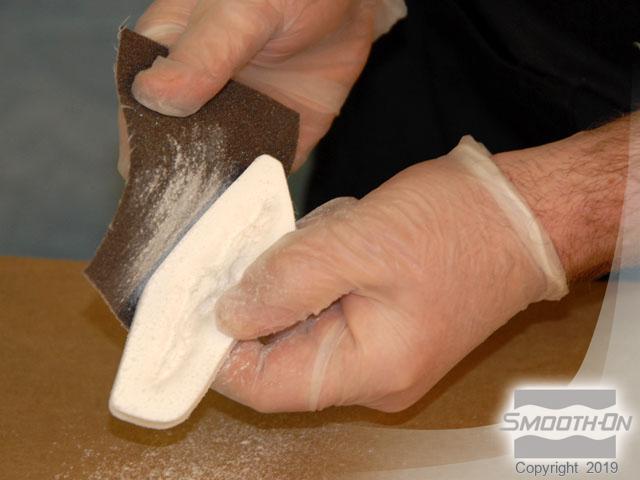
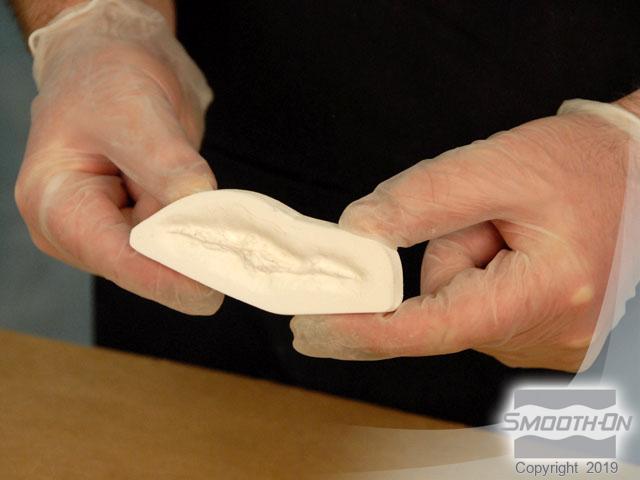
Step 5: Demold Dragon Skin Prosthetic From Mold
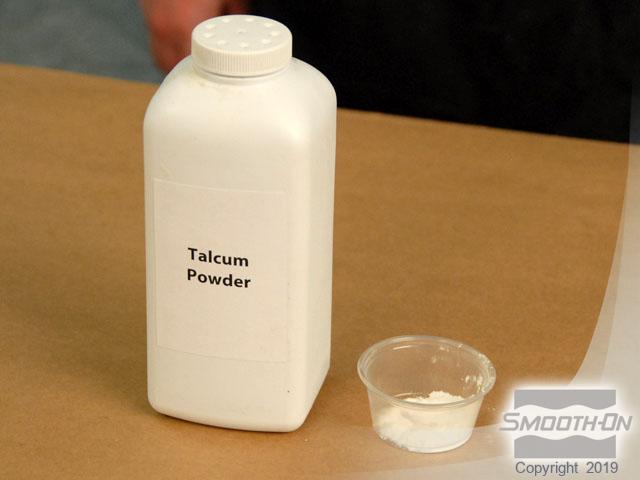
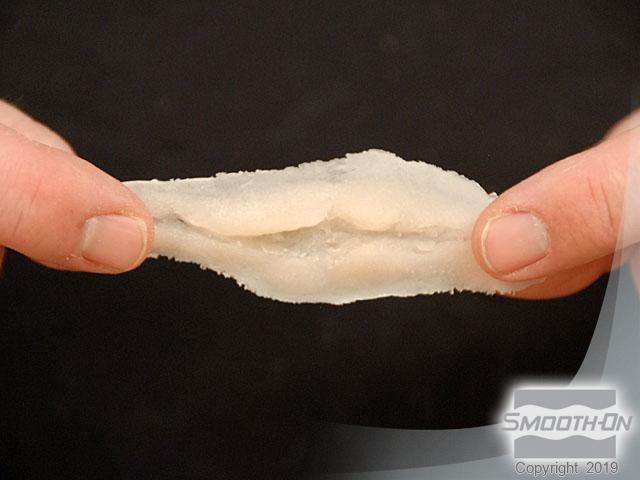
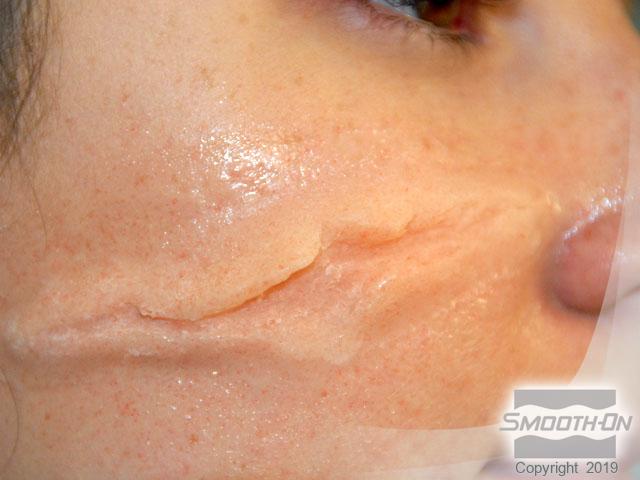
Dispense a small amount of talcum powder and apply it to the back of the silicone appliance gently. This helps keep the piece from clinging to itself. Use the brush to help remove the silicone piece from the mold. The demolded piece has very thin edges, is translucent like skin, and is very flexible (Shore 2A hardness).


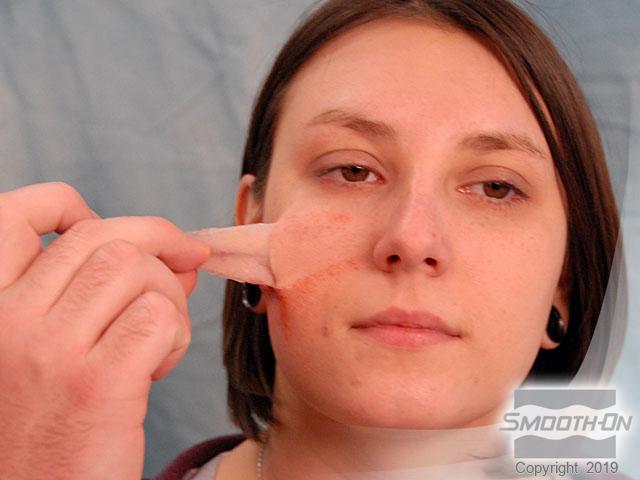
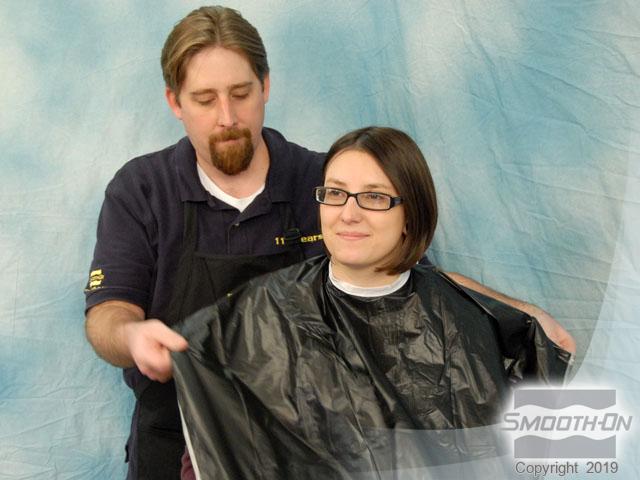
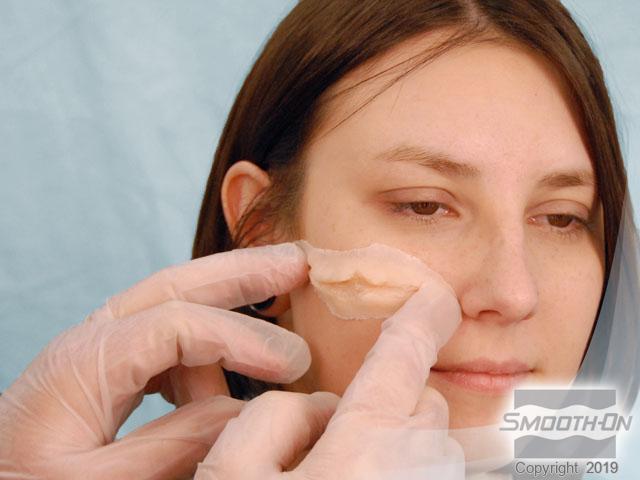
Step 6: Applying Prosthetic
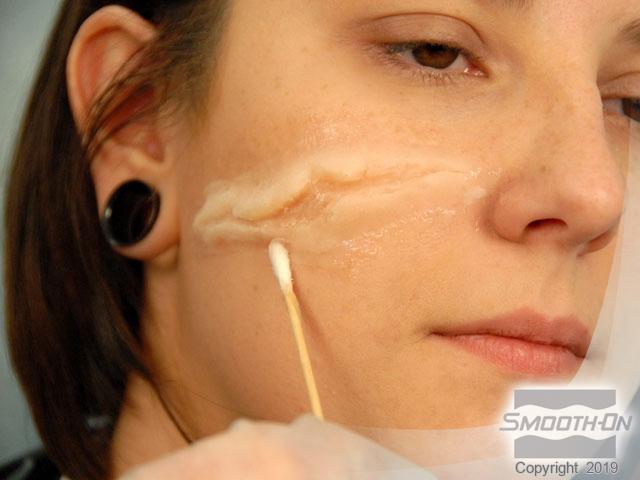
Place a protective smock on your model. Test the placement of the piece by holding it up to your models's face.
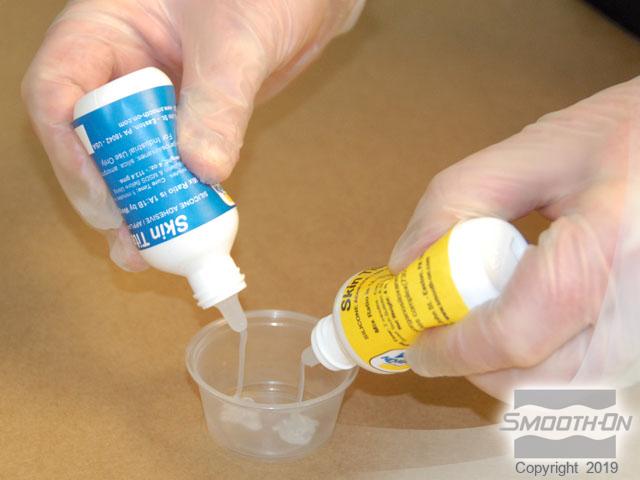
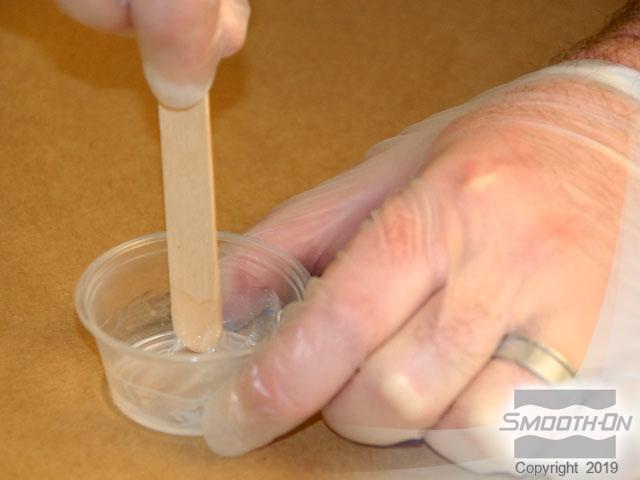
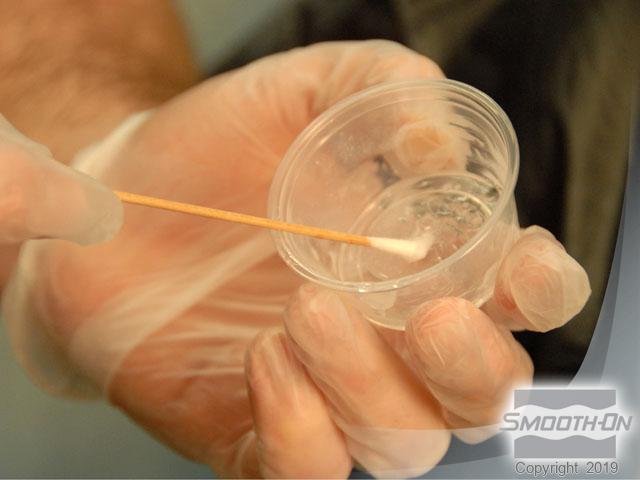
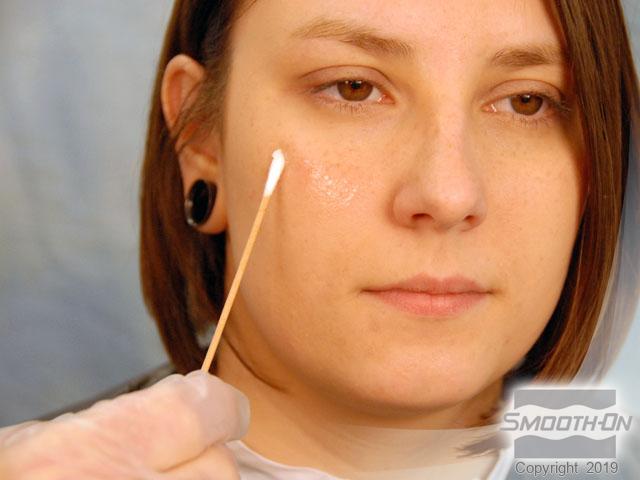
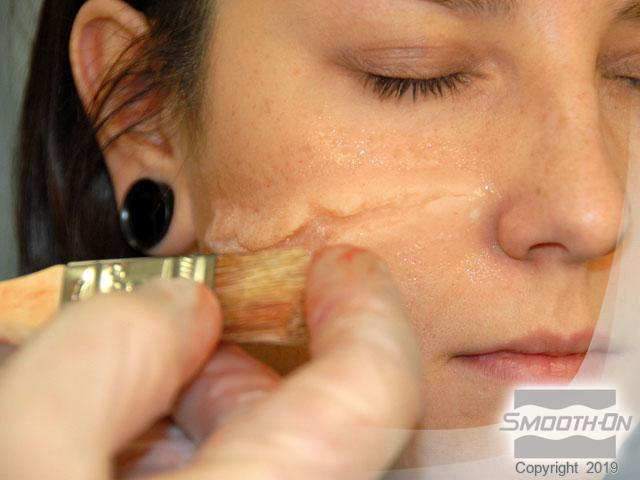
Now dispense equal amounts of Skin Tite® parts A and B into a mixing cup and mix thoroughly. Collect a small amount of Skin Tite® adhesive on a cotton swab and apply in a thin layer to the model's skin. Press the edges of the piece down gently using a cotton swab.
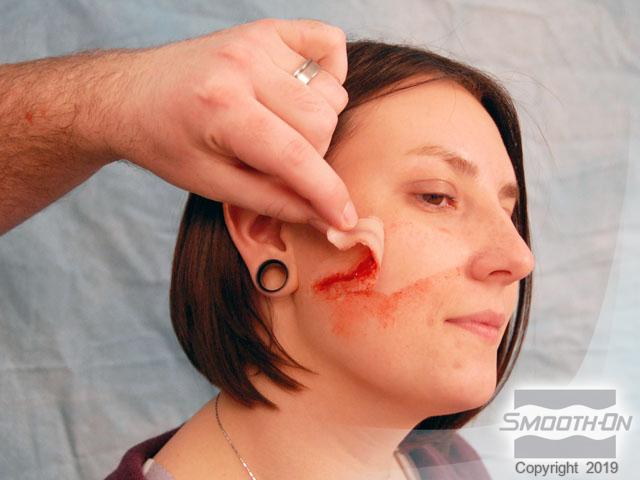
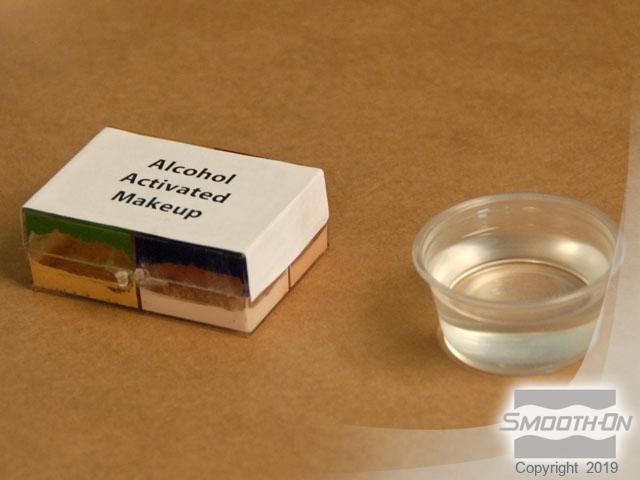
Step 7: Coloring Prosthetic
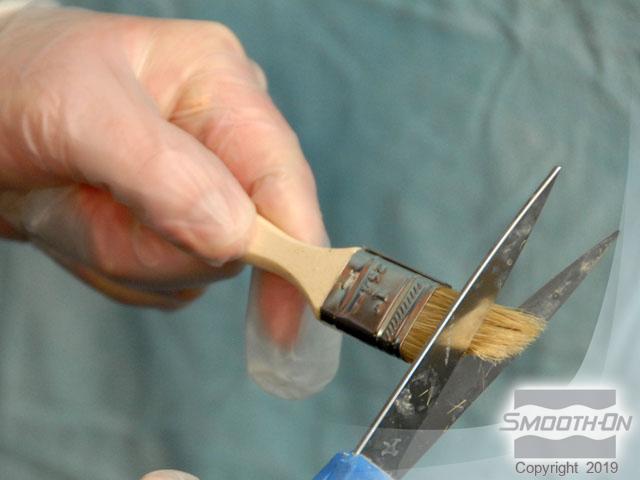
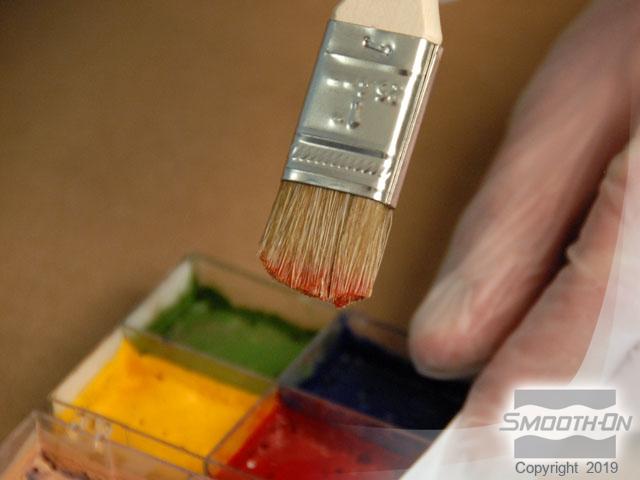
Begin by pouring a small amount of 99% isopropyl alcohol into a cup. Then cut a clean chip brush down to create stiffer bristles.
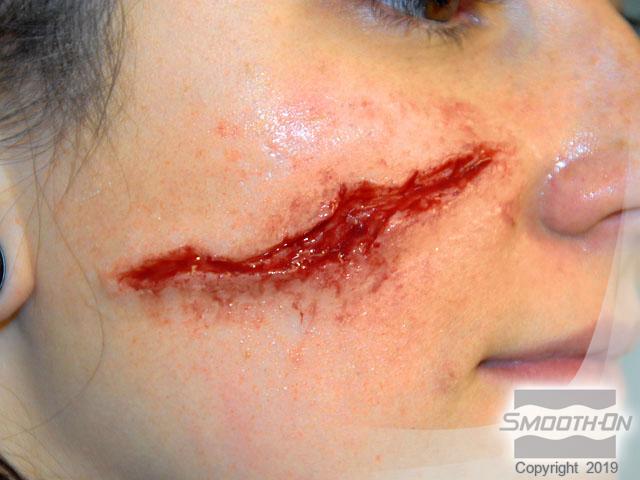
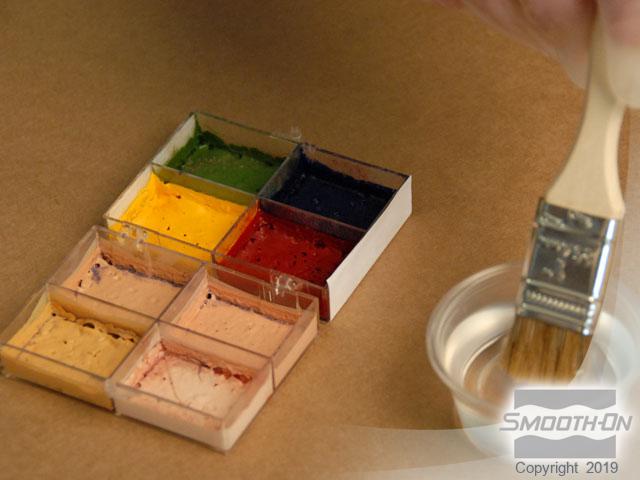
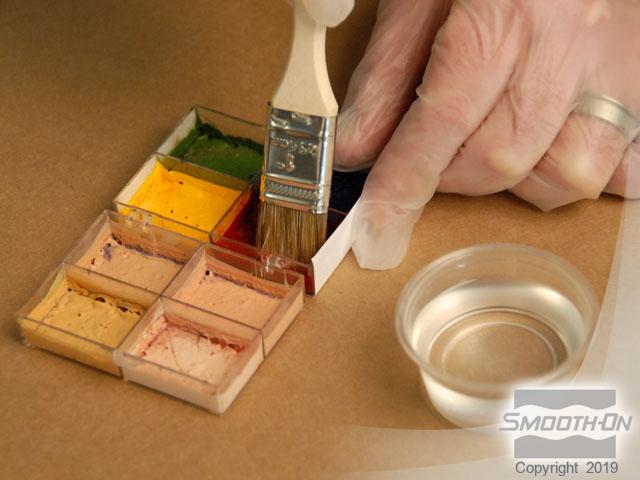
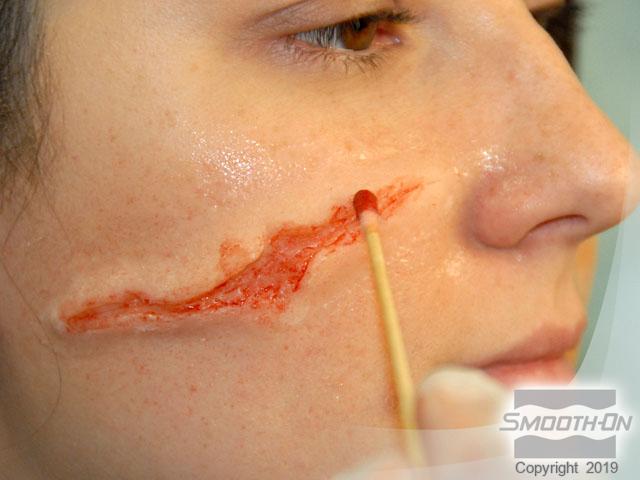
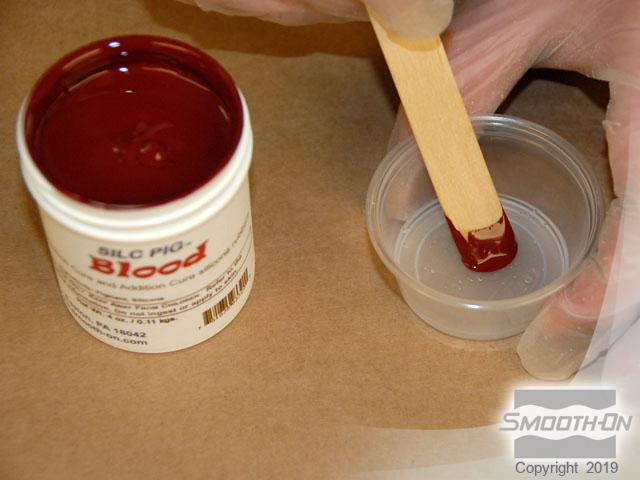
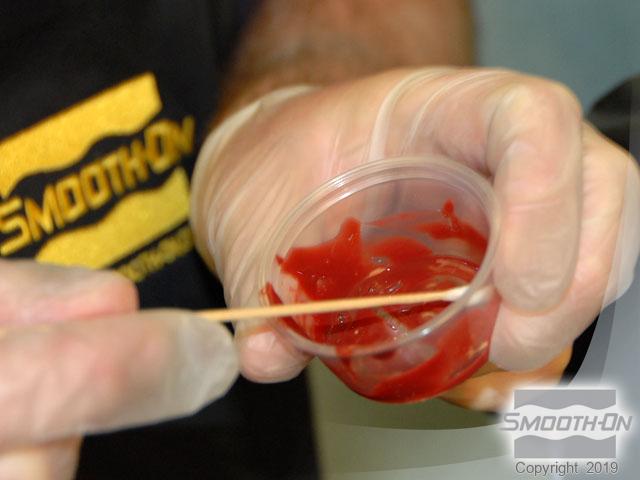
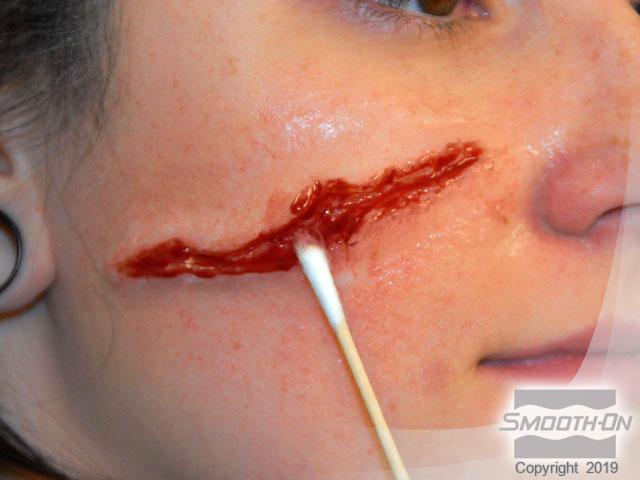
Alcohol activated makeup will be used to color the silicone piece and help the appliance match the skin of the model. Apply a small amount of alcohol to the brush and then place in some red alcohol activated makeup. The alcohol activated makeup is translucent. Splatter the makeup onto the skin surface by 'flicking' the brush bristles. The makeup helps to blend the piece into the surrounding skin color. Use more red makeup to color the interior of the wound appliance. Combine a small batch of Skin Tite® with Silc Pig® Blood pigment and collect it on a cotton swab. Apply the Skin Tite® to the interior of the wound creating a 'wet blood' look.
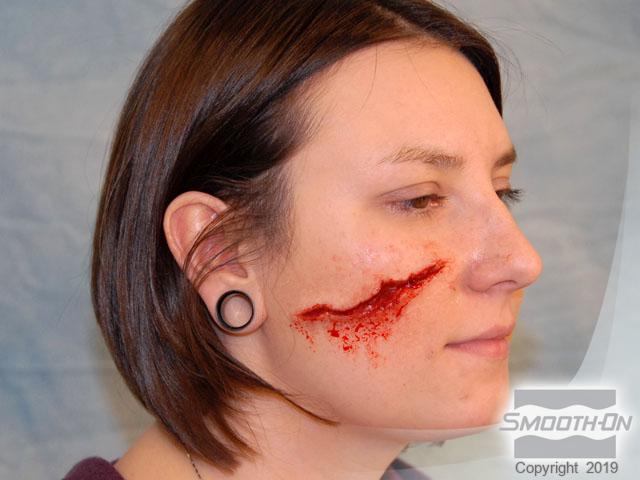
The finished appliance looks and moves like real flesh.
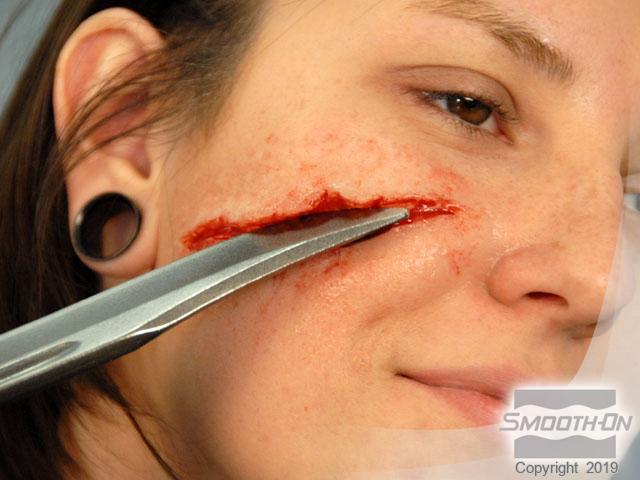
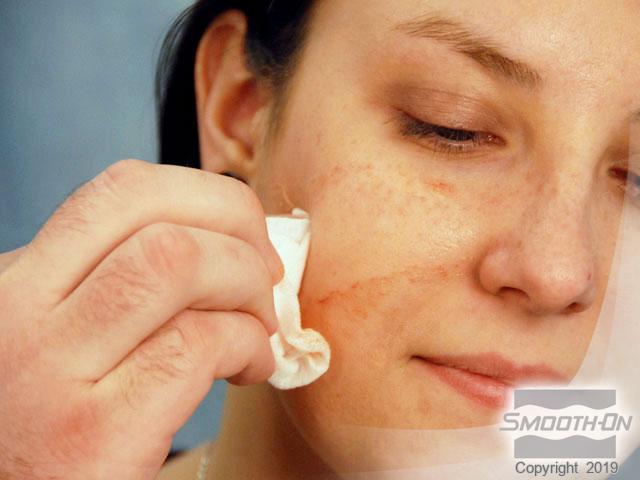
Step 8: Final Look
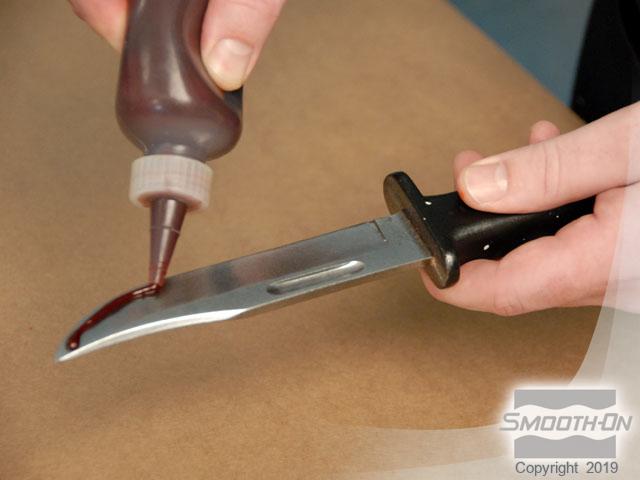
The finished appliance looks and moves like real flesh. Apply a small amount of theatrical blood to a fake knife. The effect is completed by pretending to slice into the model's skin. The appliance will hold to the surface of the skin for a very long time, often for hours.