How To Create a Urethane Resin Makeup Prosthetic Mold
Overview
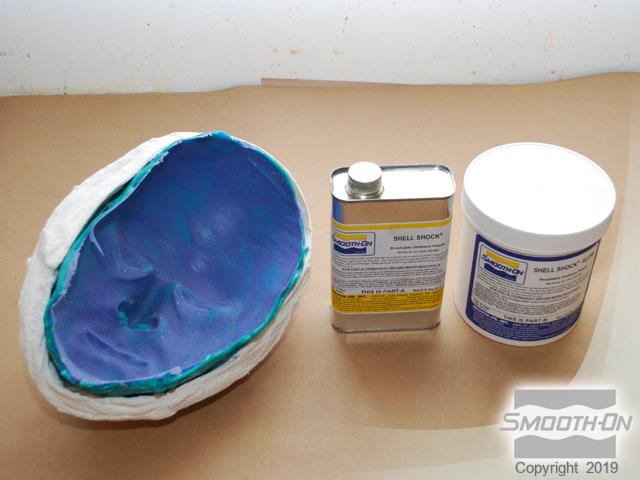
Shell Shock® brushable plastic and Plasti-Paste® trowelable plastic can be used in combination to create a rigid, strong, inexpensive mold. A mold created from these materials is lightweight, very strong, and can be used for casting platinum silicones directly.
This sequence outlines the construction of a mold to cast silicone f/x makeup appliances. The mold is based on a lifecasting of a model created with Body Double® lifecasting silicone rubber.
To view the casting, painting and application of a silicone prosthetic cast into this mold, CLICK HERE to view our how-to video.
Materials Used in this Tutorial
- Shell Shock
- Plasti-Paste
- Dragon Skin FX Pro
- Drill
- Paint Brush
- Sanding Block
- Mixing Sticks
- Mixing Containers
- Accurate Gram Scale
- Universal Mold Release
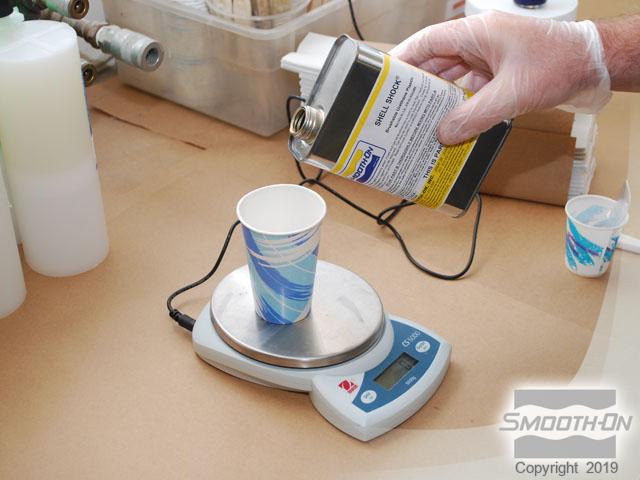
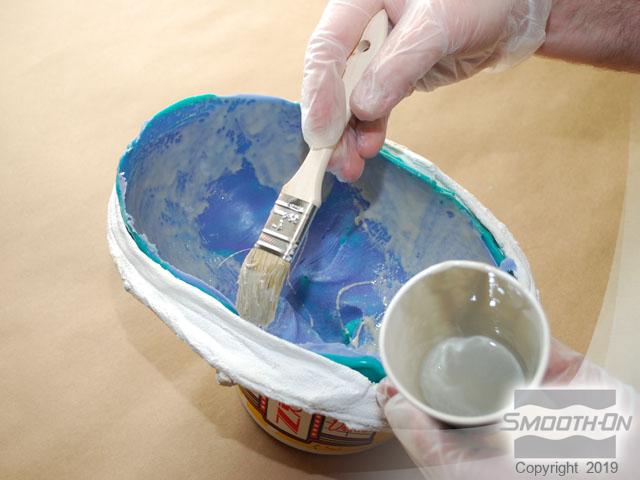
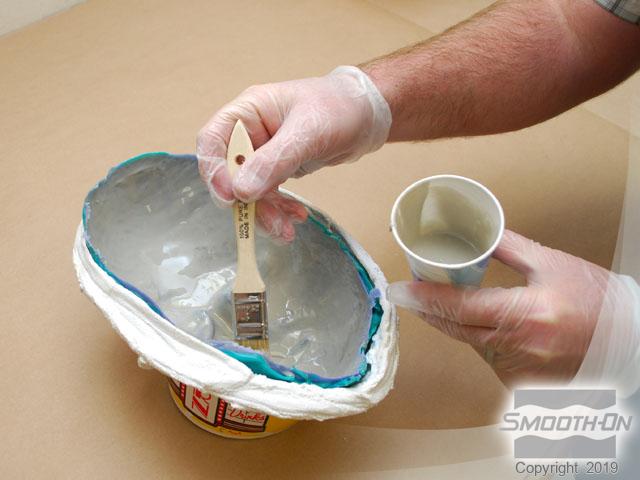
Step 1: Dispensing and Applying Shell Shock
A Body Double® mold taken from our model will be used, along with Shell Shock brushable plastic. Measure out the Shell Shock® Parts A and B. The mix ratio is 1A:5B by weight. Then mix the Shell Shock® thoroughly. A thin layer of Shell Shock® is stippled into the Body Double® silicone mold... apply another layer of Shell Shock®.
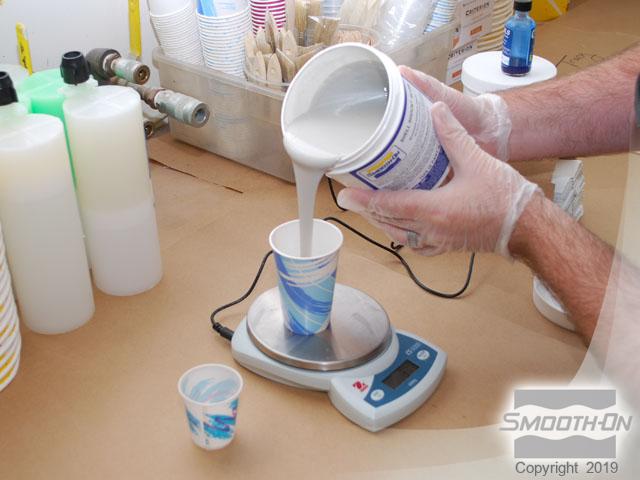
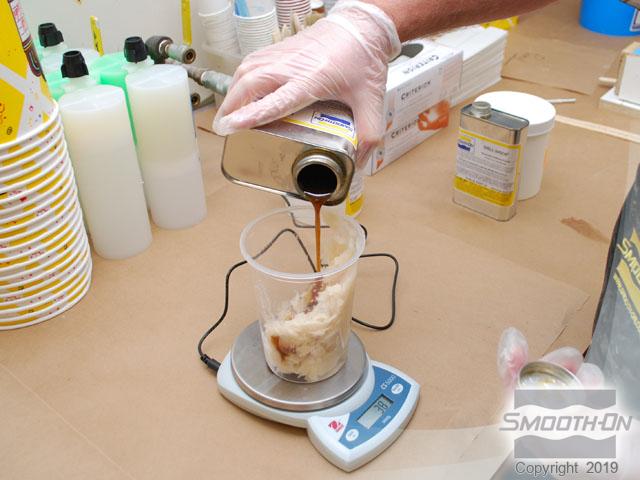
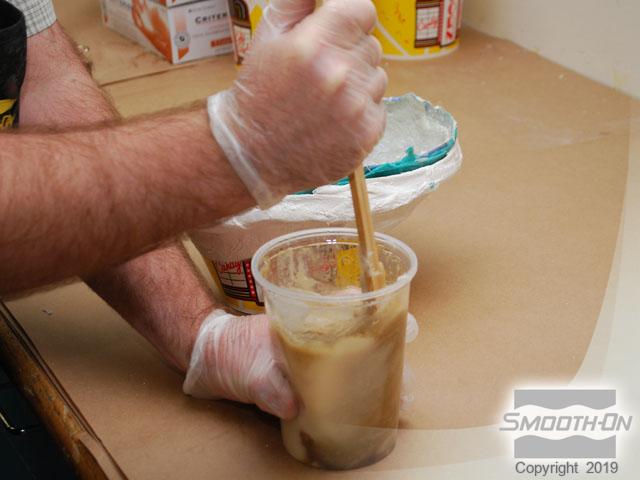
Step 2: Dispensing and Applying Plasti-Paste
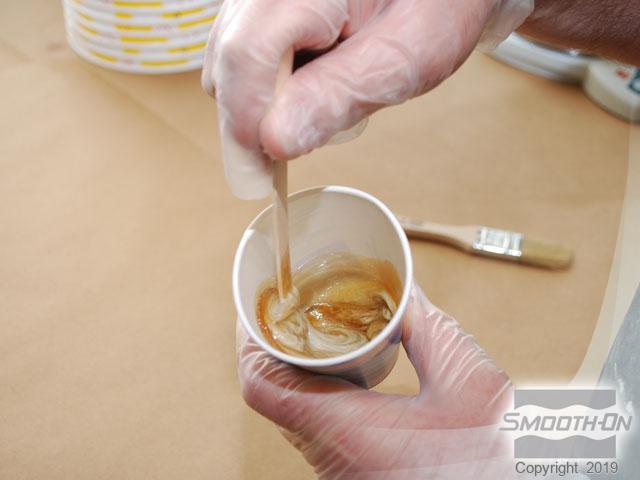
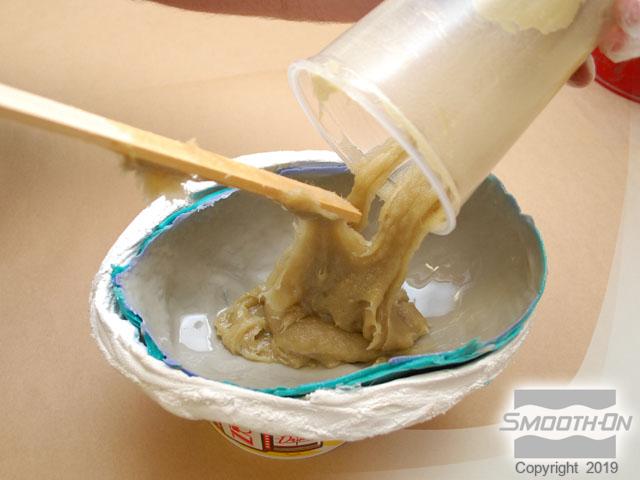
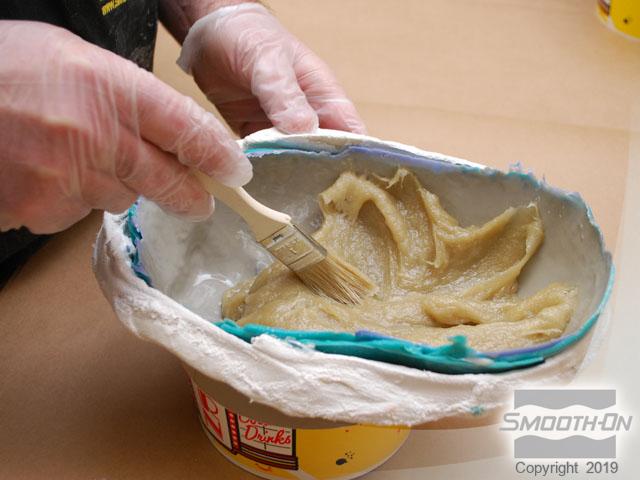
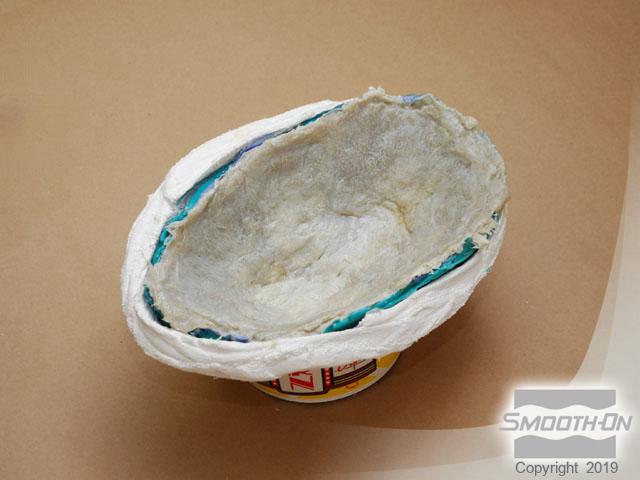
Measure out Plasti-Paste® II trowelable resin. The mix ratio is 41A:100B by weight. Mix the Plasti-Paste® II thoroughly. Apply the Plasti-Paste® II to the Shell Shock® to add strength. Continue adding additional layers of Plasti-Paste® II until a 3/8'' thickness is achieved. Allow the material to cure for 90 minutes.
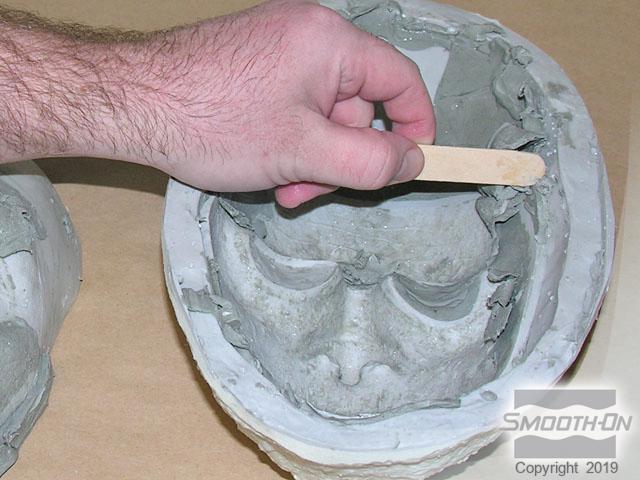
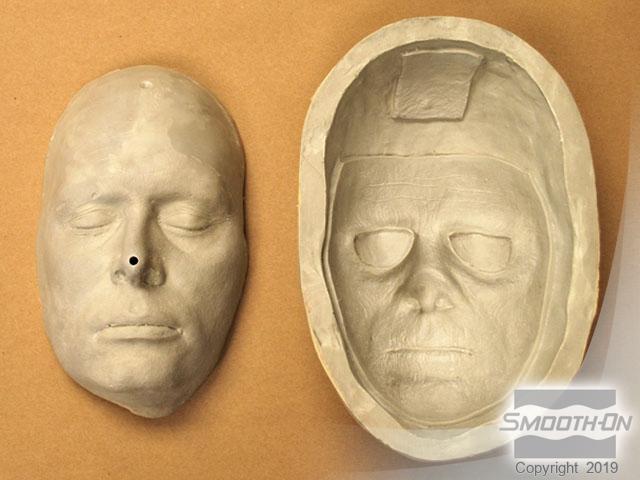
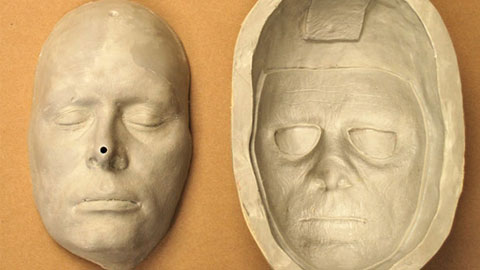
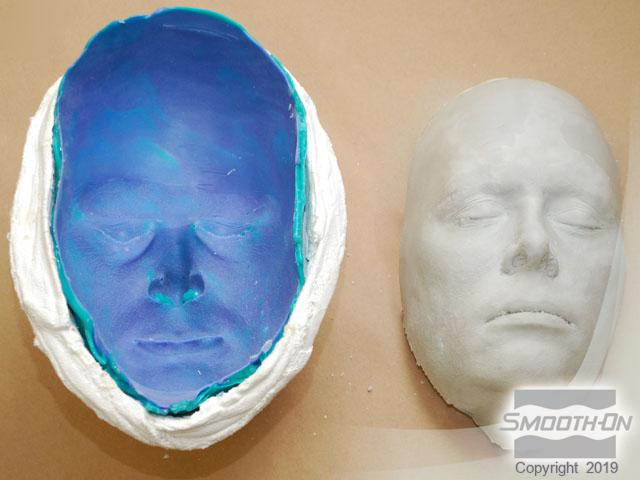
Step 3: Demold/ Clay Sculpting of Appliance/ Preparation
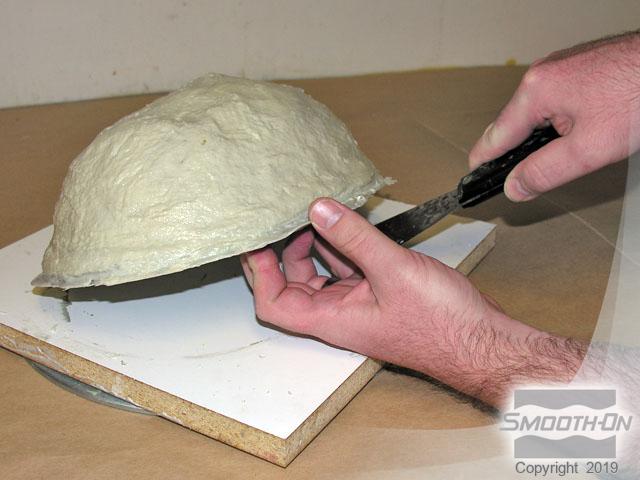
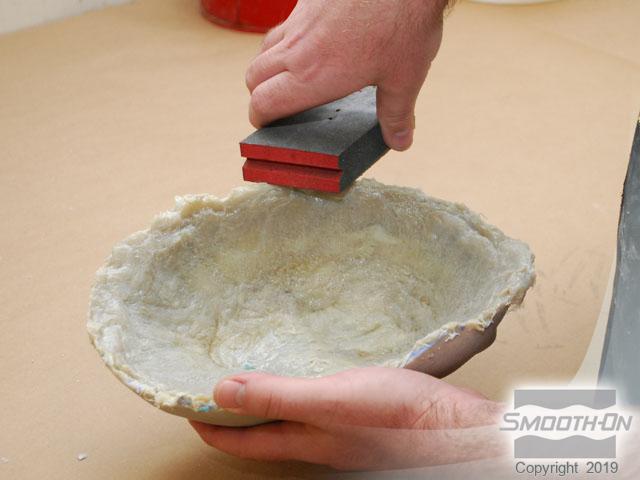
Once the casting is demolded, sand the edges so that they are smooth. The finished casting should reflect a perfect detail of the model.
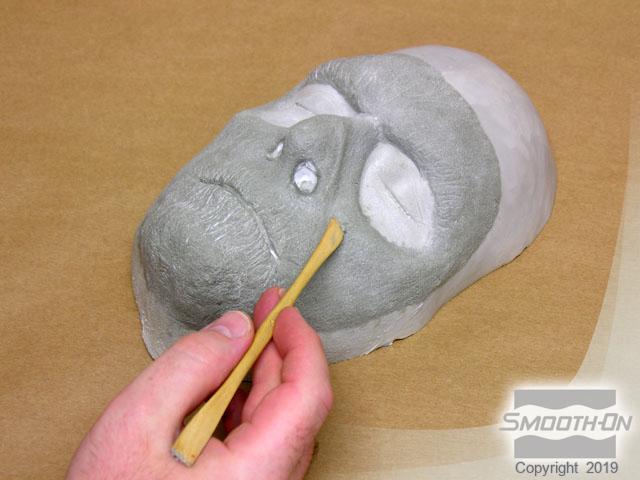
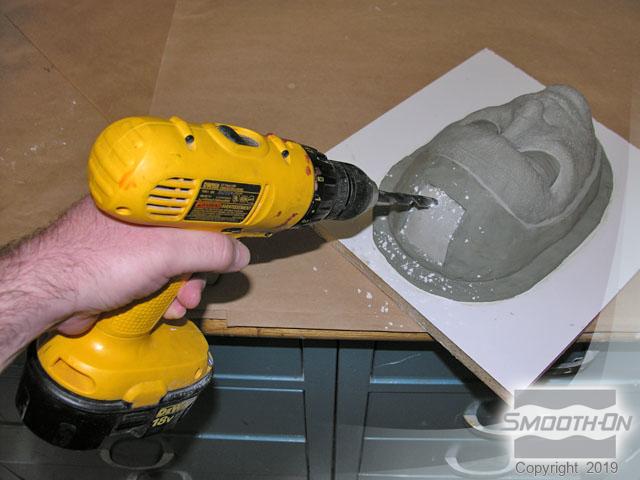
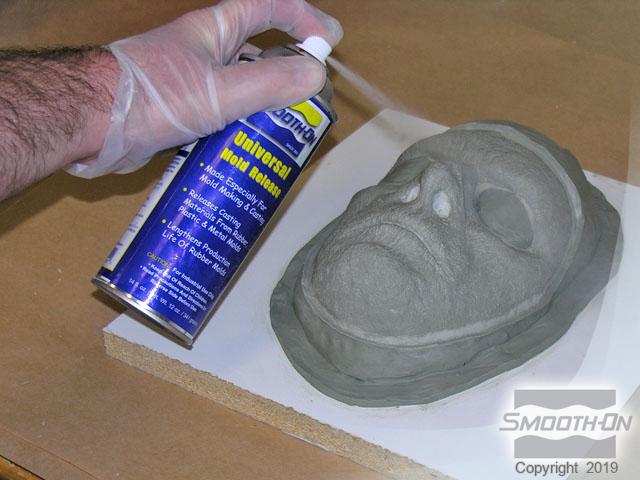
A zombie style appliance is sculpted on the casting using sulfur-free clay. A 'cutting edge' is sculpted around the appliance. This will provide thin edges when casting silicone into the mold. Drill a registration indentation into the casting. Apply Universal Mold Release® over the entire surface.
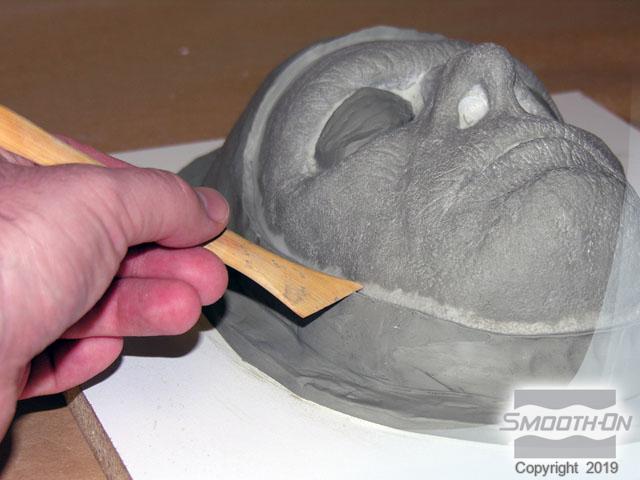
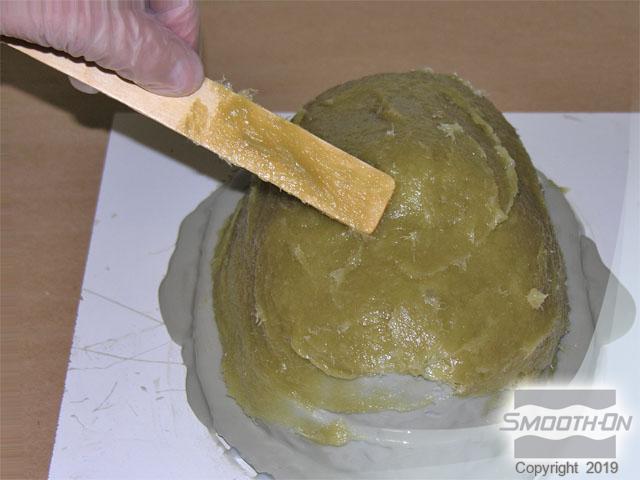
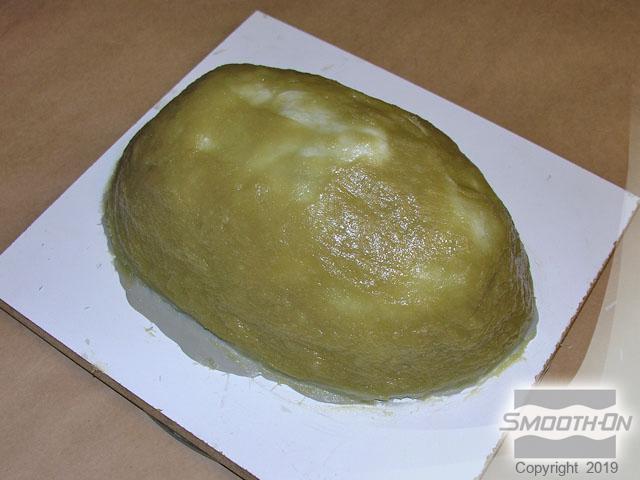
Step 4: Dispensing and Applying Of Shell Shock and Plasti-Paste to Sculpture
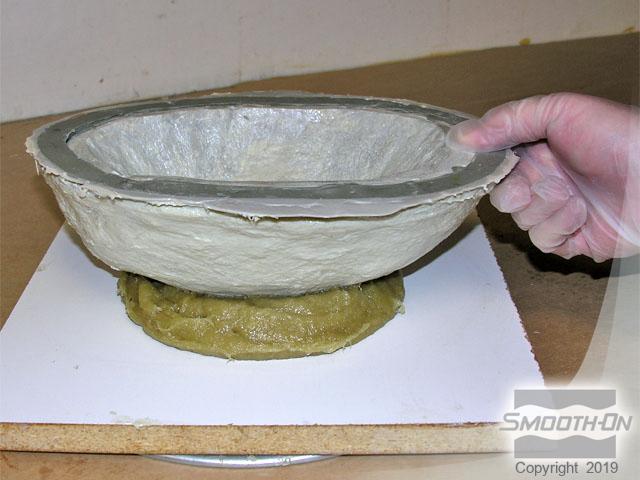
Brush a thin layer of Shell Shock® on the sculpture and casting and then apply another layer of Shell Shock®. Apply Plasti-Paste® II over the sculpture until a 3/8'' thickness is reached. Allow the mold to cure overnight for ultimate strength.


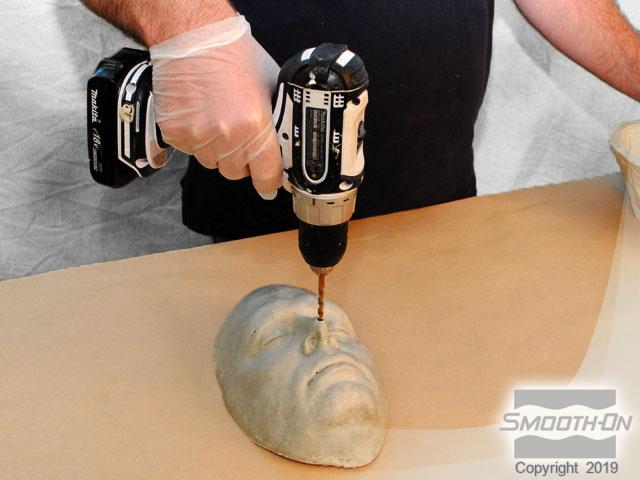
Step 5: Demold and finishing
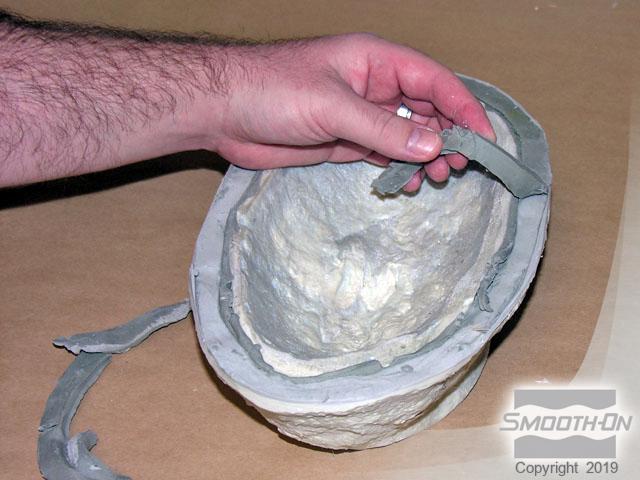
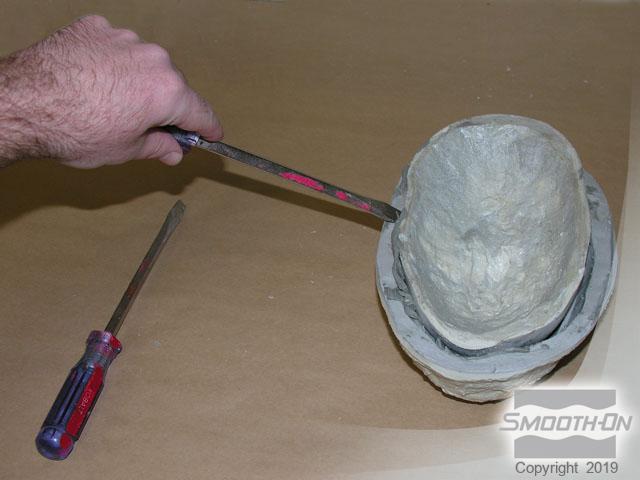
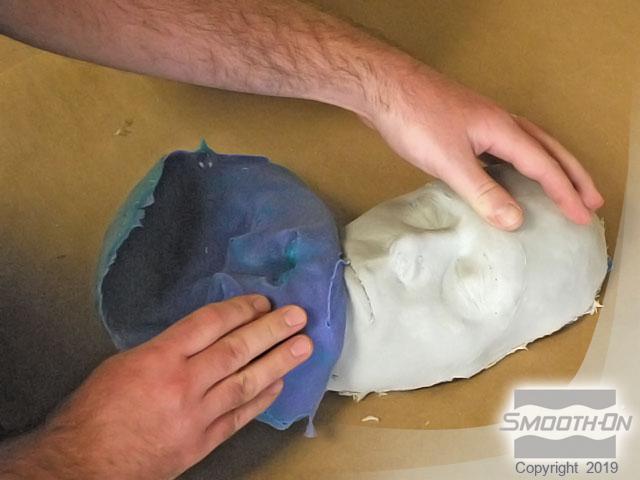
Remove the mold from the baseboard. Use a small batch of Plasti-Paste® II to create a base for the mold. Remove any clay that is exposed. Slowly pry apart the mold halves using screwdrivers and use wooden tools to remove any remaining clay residue. Drill a vent hole in the positive (life casting) to help reduce air bubbles in cast silicone pieces.
The mold is ready for use. To view the casting, painting, and application of a silicone prosthetic cast into this mold, Click Here, to view our how-to video.