How To Make Finger Corals Using Smooth Cast™ Plastic
Overview
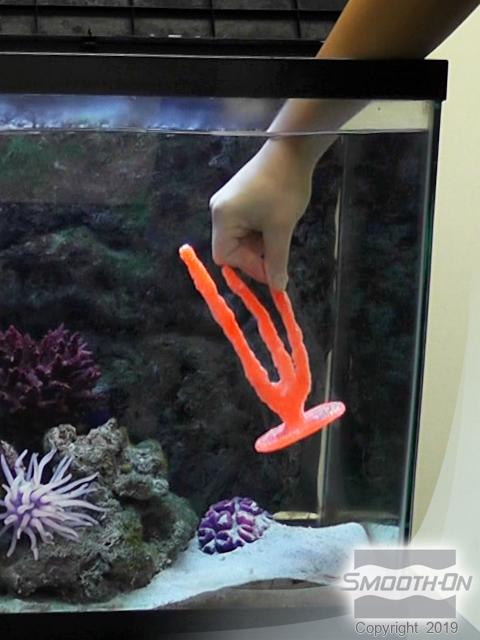
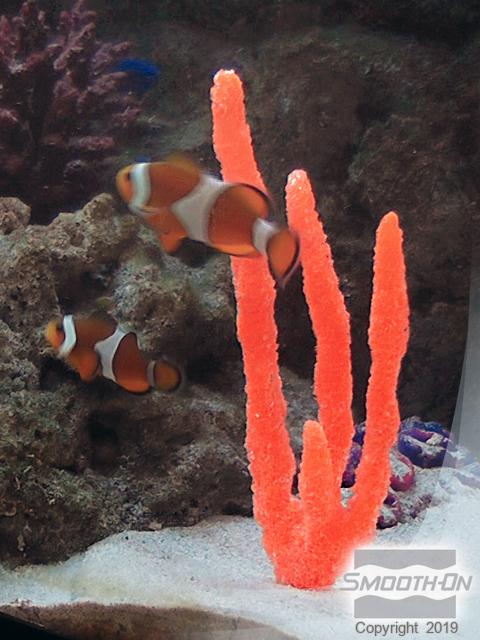
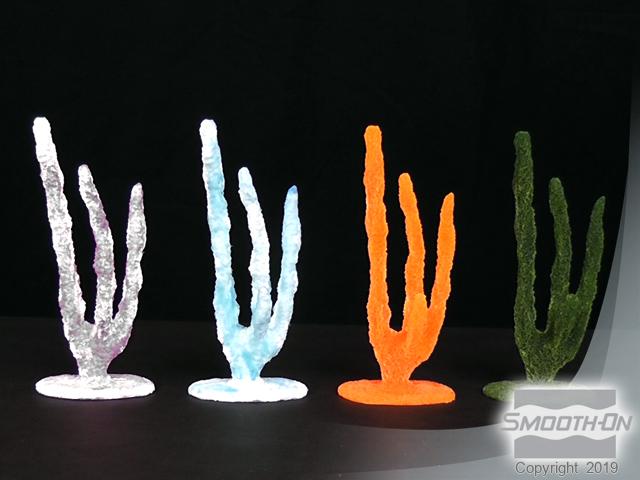
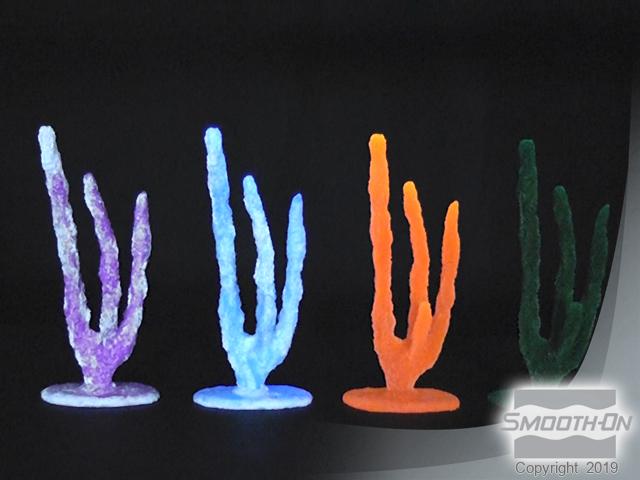
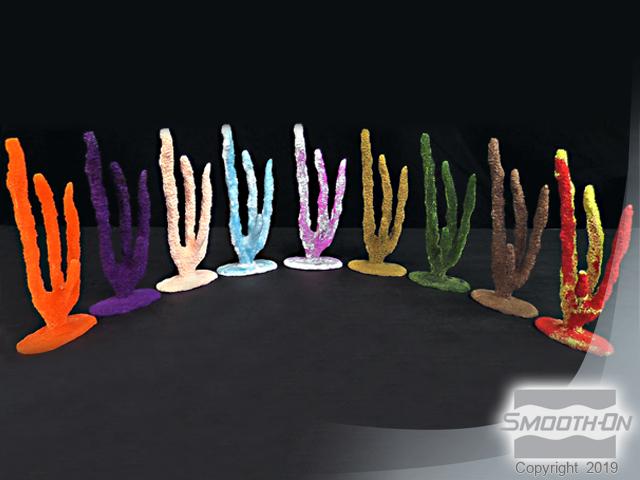
You can create perfect copies of any piece of original coral using mold rubber and liquid plastic. Using different colors, you can create a limitless variety of casting effects to make plastic coral display pieces that are one-of-a-kind and unique to your aquarium.
Advantages/Benefits to Making Your Own Custom Finger Coral:
- Custom design
- Easy maintenance
- Will last indefinitely
- Eliminates reef harvesting
- Low cost
- Aquarium-safe (will not harm fish, invertebrates or other sea life)
- Chemically inert
Materials Used in this Tutorial
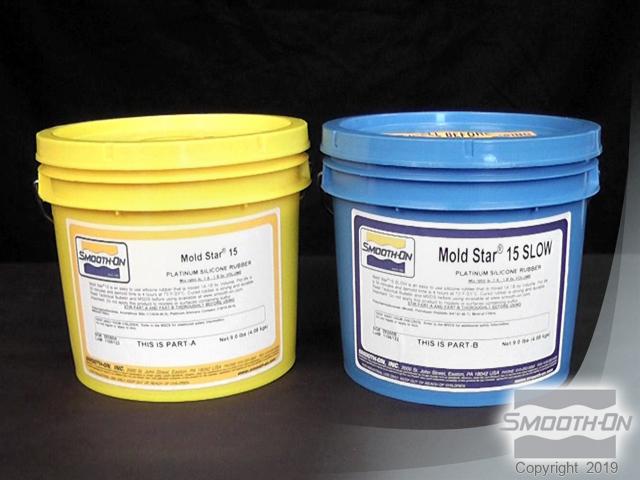
- Mold Star 15
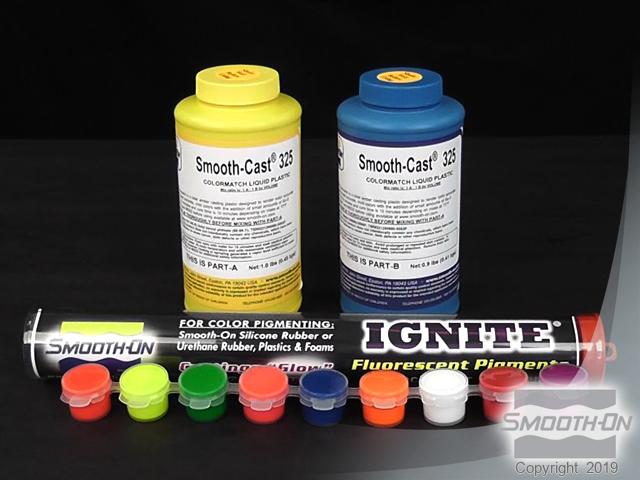
- Smooth-Cast 325
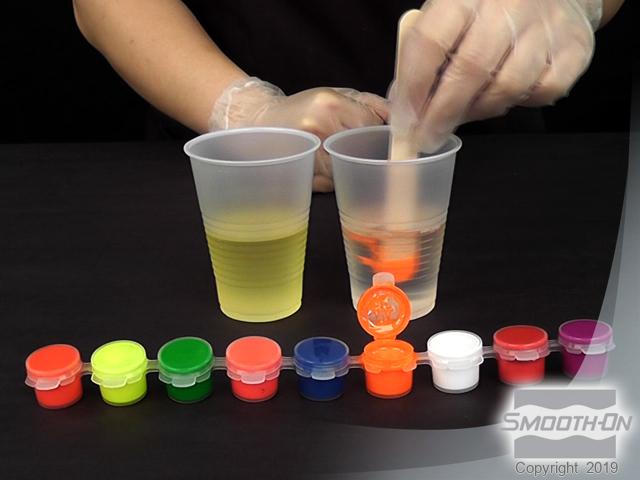
- Ignite Fluorescent Color Pigments
- Clear Acrylic
- Non-Sulfur Modeling Clay
- Popsicle Stick
- Razor Knife
- Sharpie
- Isopropyl Alcohol
- Dish Soap
- Paint Brush
- Hot Glue
- Mold Straps
- Mixing Containers
- Mixing Sticks
Step 1: Preparing Model for Molding
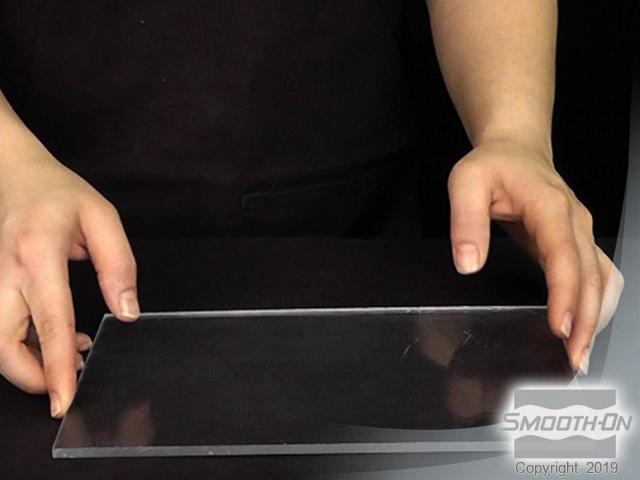
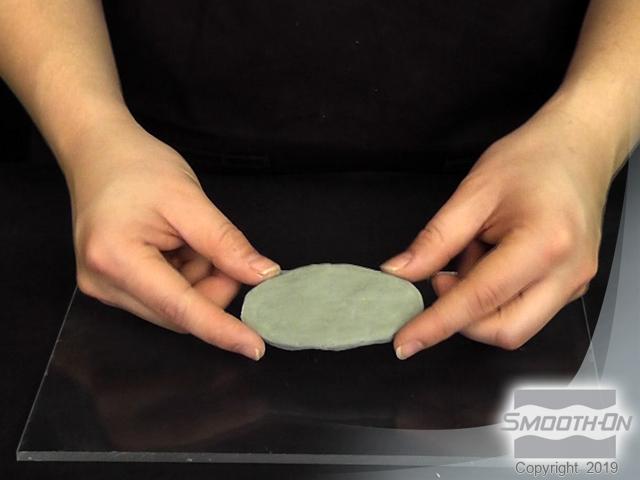
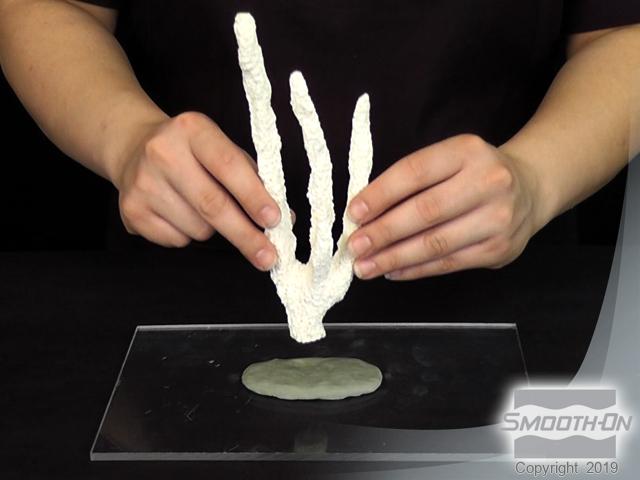
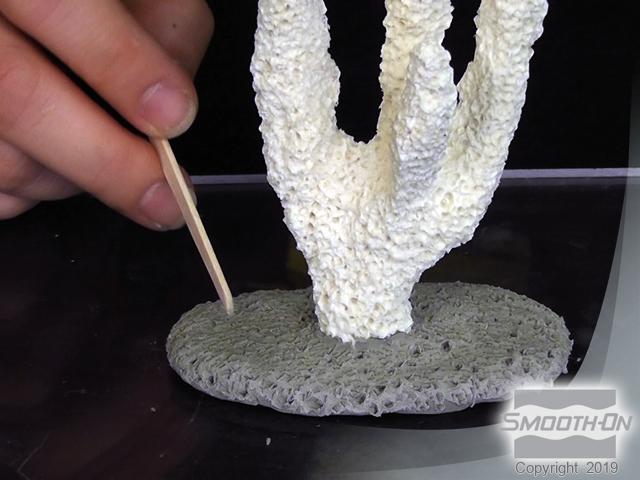
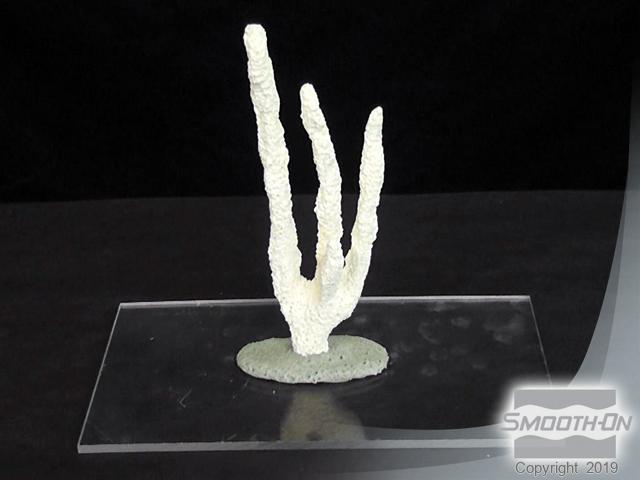
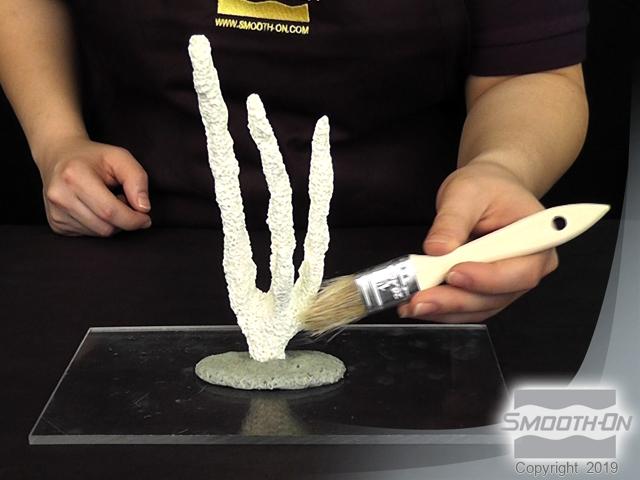
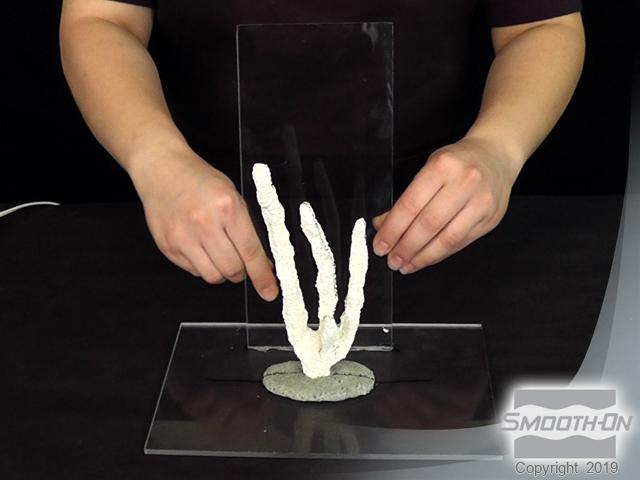
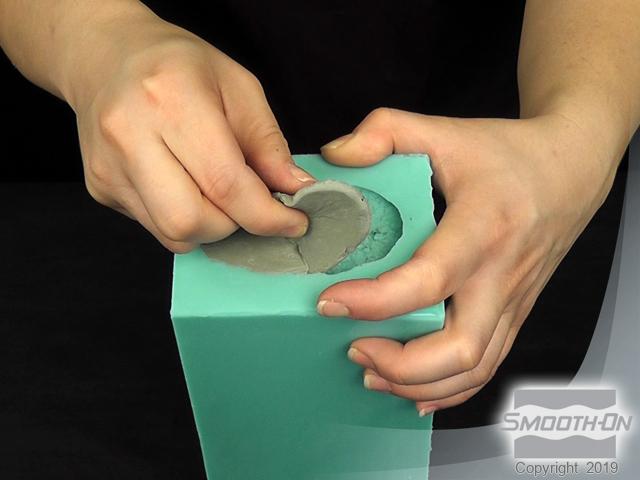
Begin with an original finger coral model. Use a rigid piece of clear acrylic as a mounting board. Since the coral model is not free standing, a base needs to be created out of non-sulfur based modeling clay.
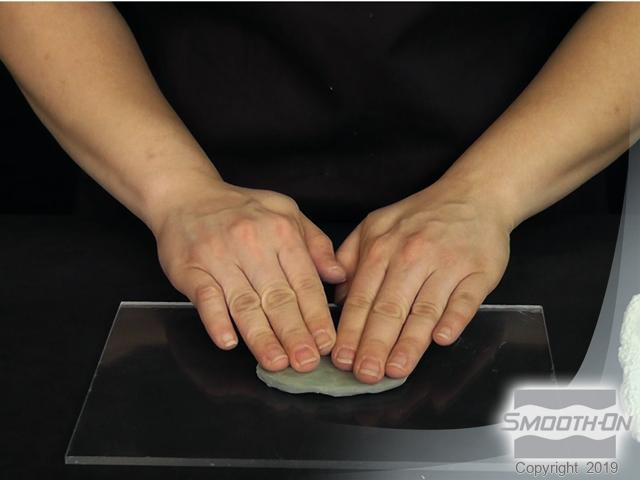
The clay base will stabilize and balance the model during mold making process. Create an oval pancake shape, proportional in size to the coral model, out of clay and pressed it till it is secured to the acrylic board. Center the coral model and embedd it into the modeling clay. To add texture to the clay base use a broken popsicle stick. Texture in clay base can be made to match texture in finger coral.
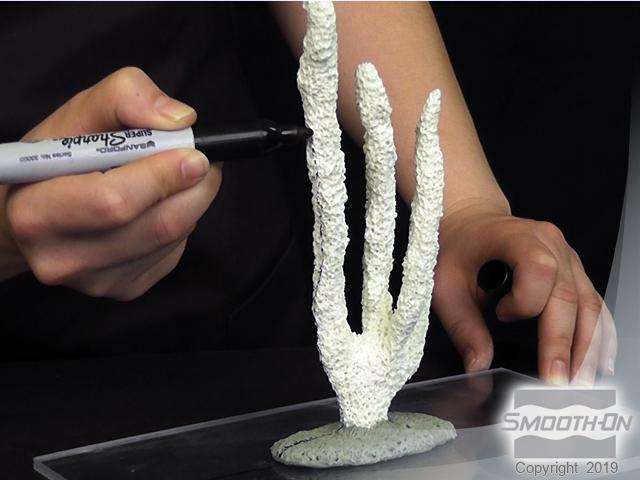
Pour liquid mold rubber over the model and allow it to cure as a solid block of rubber. Once the rubber cures, extract the original model by cutting the block of rubber using a razor knife. The cut line must be marked on the model before pouring rubber. Use a Sharpie permanent marker to draw a parting line on the original where you intend to cut the mold when it is time to demold the original.
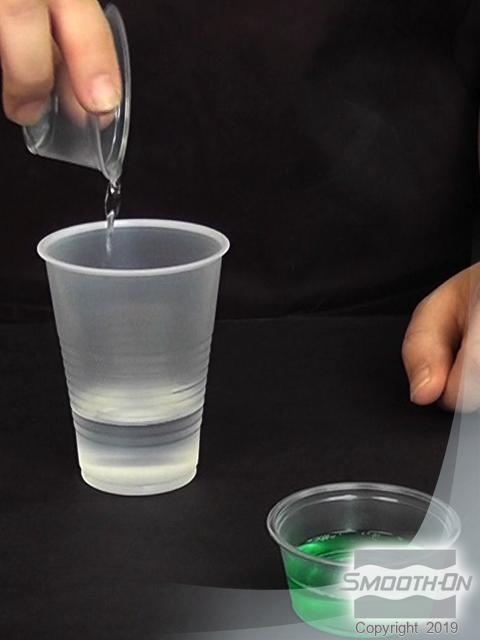
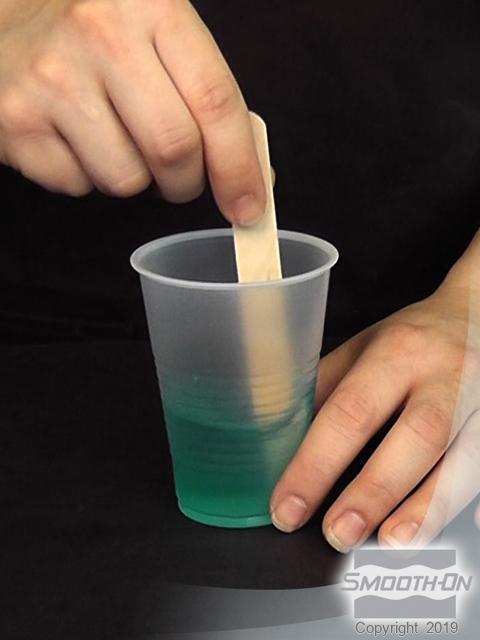
Since the original has a lot of detail, a soap-based release agent will get into the crevices better. Combine 2 parts isopropyl alcohol and 1 part dish washing soap. Mix the alcohol and soap together until blended thoroughly. Stipple the release agent into the detail of the original model. Let dry a minimum of 30 minutes. Use a brush to lightly stipple the agent to the surface of the original.
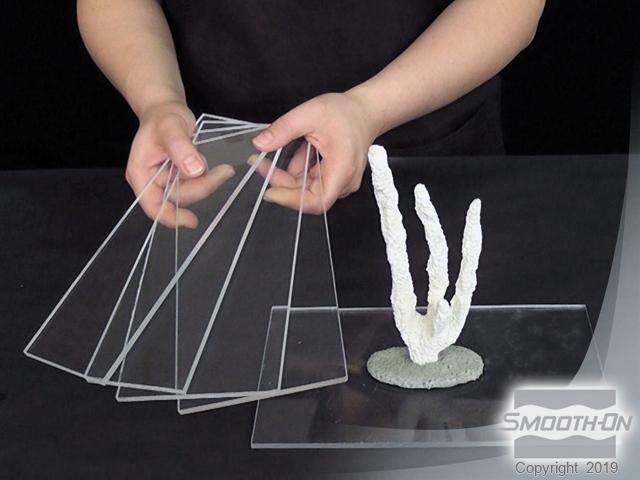
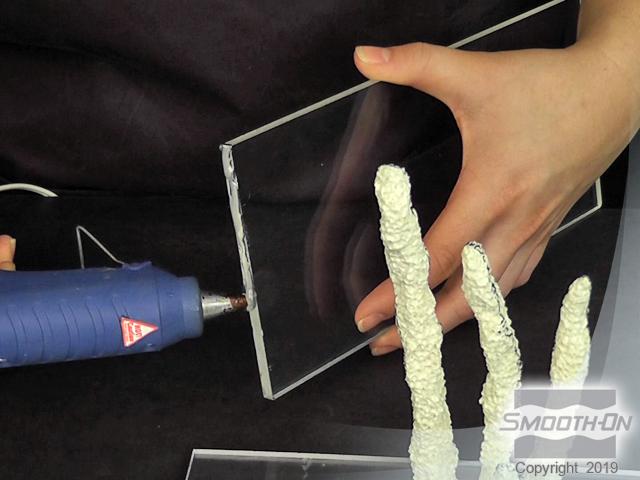
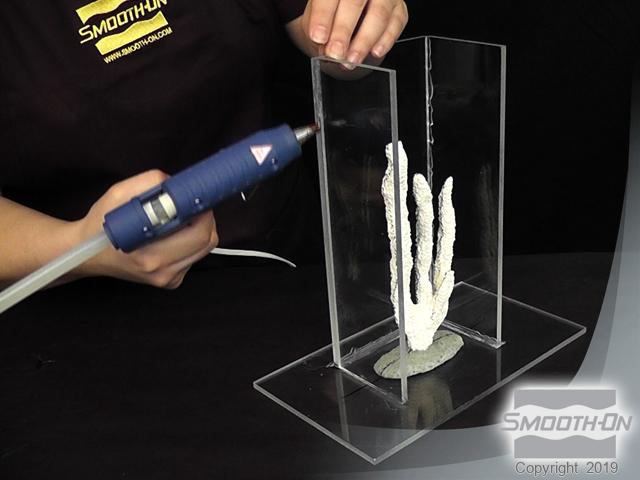
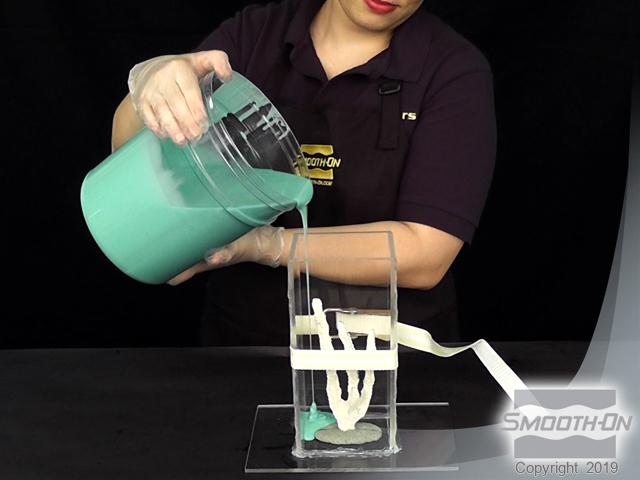
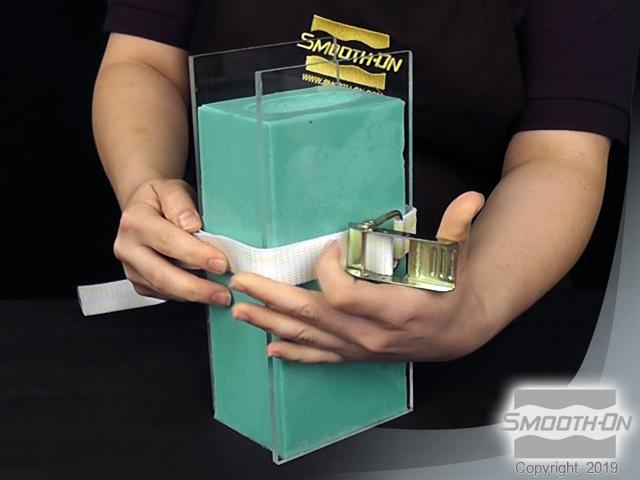
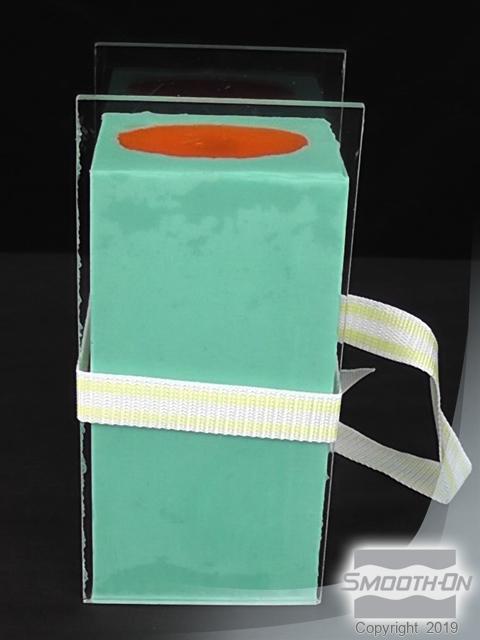
Use acrylic to build the mold box. Position the mold box sides so that the walls are at least ½ inch (1 cm) away from outer most points of the coral model. Leave 1/2 inch (1 cm) clearance over the highest point of the model. Hot glue the edges of the mold walls to the base board. Be sure the walls are completely sealed to prevent the silicone from leaking out of the seams. Continue hot gluing until all the walls are built.
Use a mold strap reinforce glue line and hold all mold walls together. When the mold is sealed and strapped, it ready for the mold rubber to be poured.
Step 2: Mold Making with Mold Star™ 15 Slow
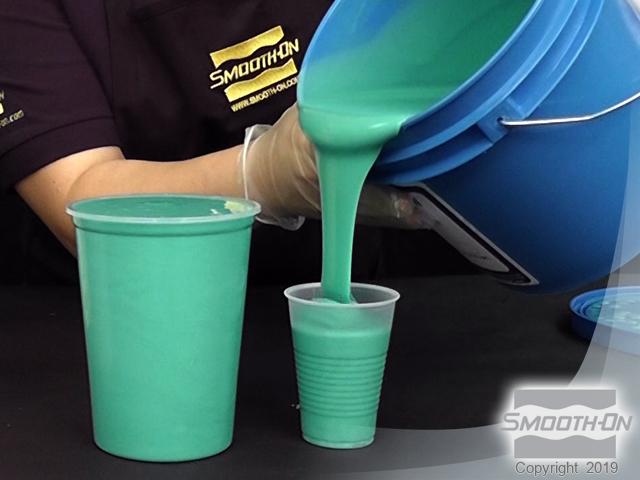
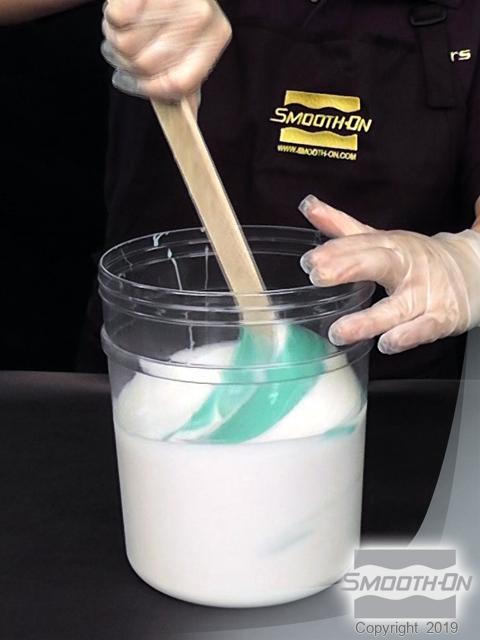
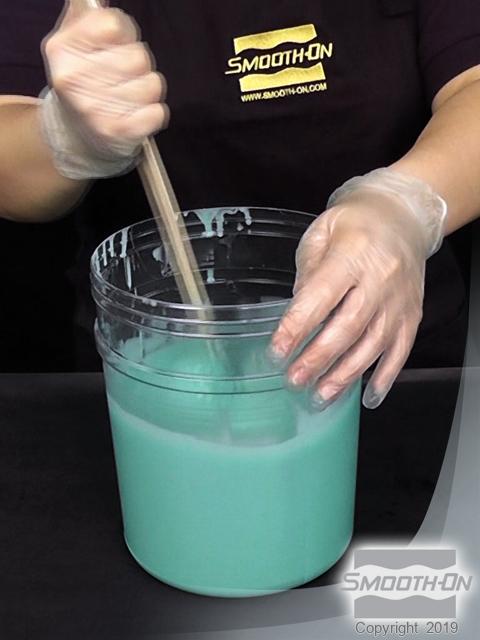
Use Mold Star™ 15 to make the mold. It is mixed 1 part A to 1 part B by volume. Dispense part A and then dispense an equal part of B. Combine both parts A and B into a larger mixing container and mix thoroughly until there are no color streaks. Mold Star 15 has a pot life of 50 minutes. It does not need to be vacuum degassed.
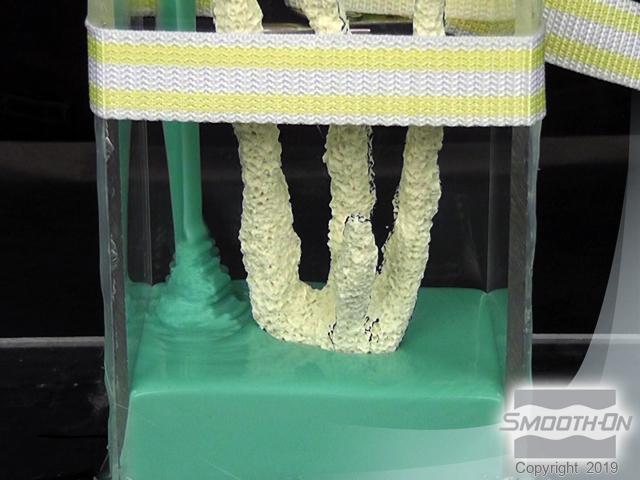
Pour the rubber into the lowest part of the mold box in a long, thin stream in a single spot and let it rise over the model, finding its own level.

Step 3: Demolding Mold Star 15 Slow
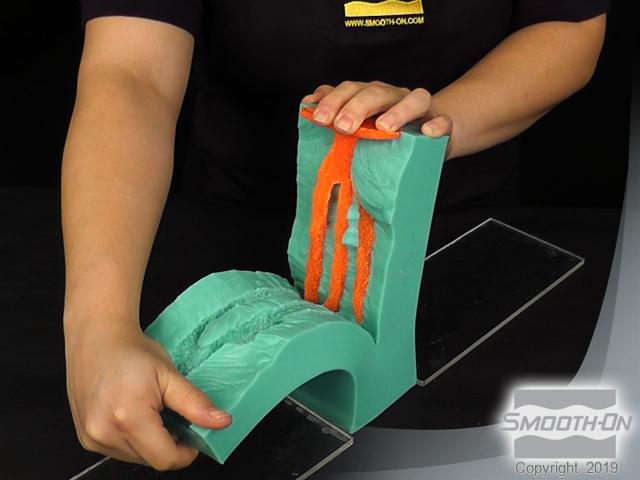
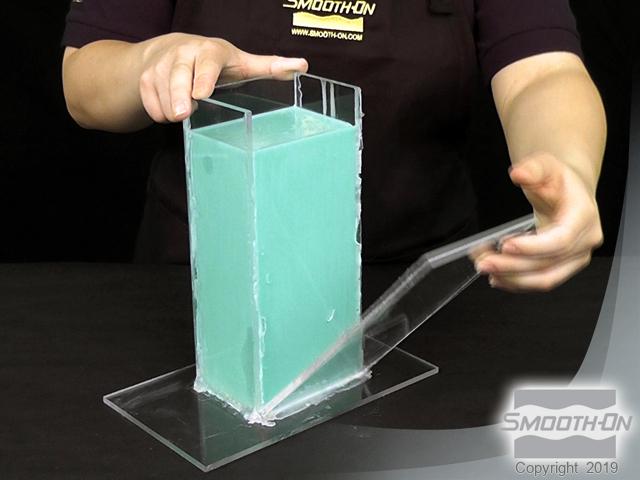
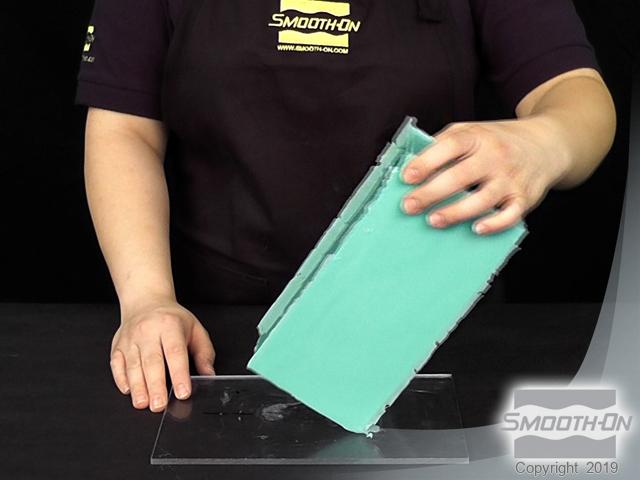
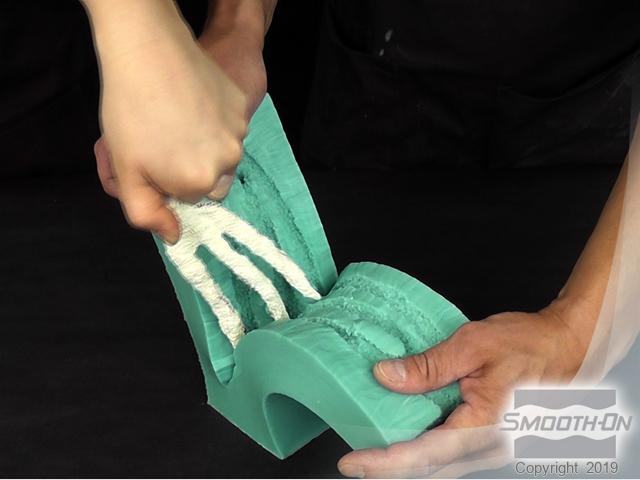
After the rubber cures for 4 hours, remove the mold walls and lift the entire mold to separate it from the base. Now, remove clay base.
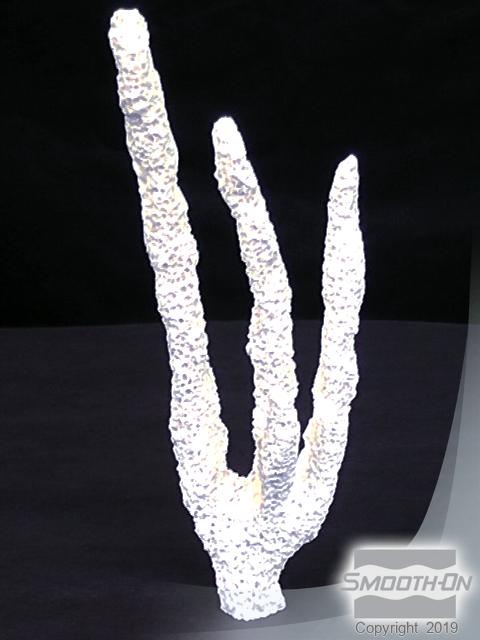
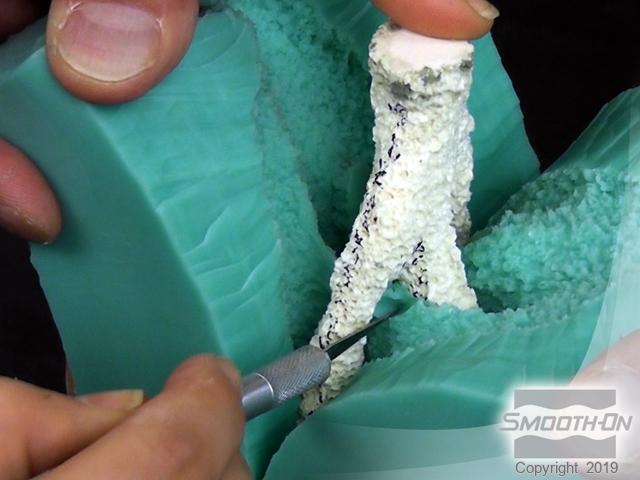
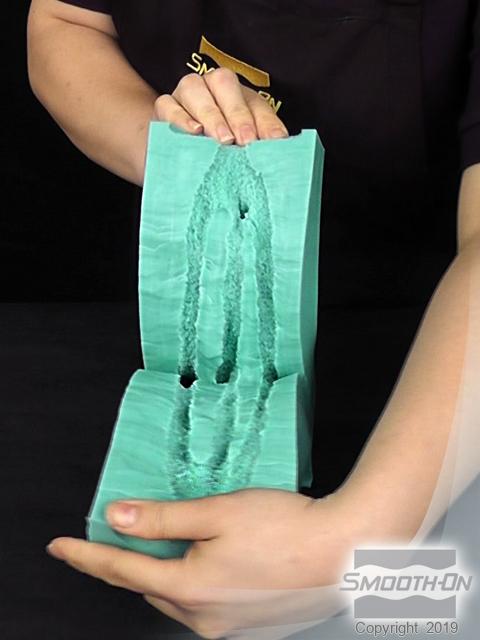
You will need to cut your mold open in several areas in order to demold your original piece. It is helpful to have a friend help hold the mold open while cutting. Follow the guide lines that you drew on the original model. You will need to cut in between each finger to allow for an easier demold. Continue cutting just enough so that you can demold your original. The mold captured all the detail from the original model.

Step 4: Preparing Mold for Casting
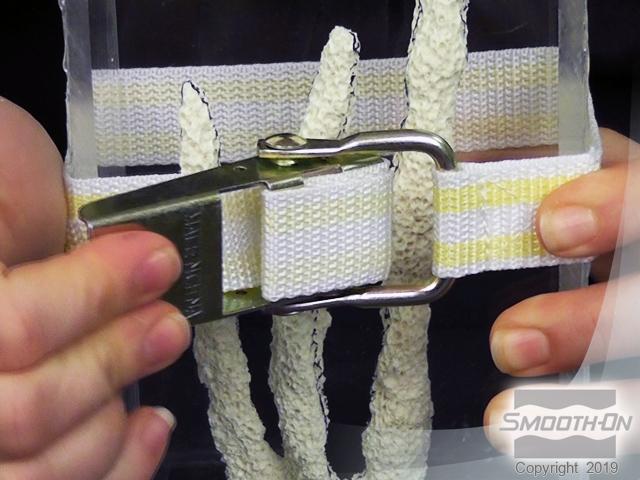
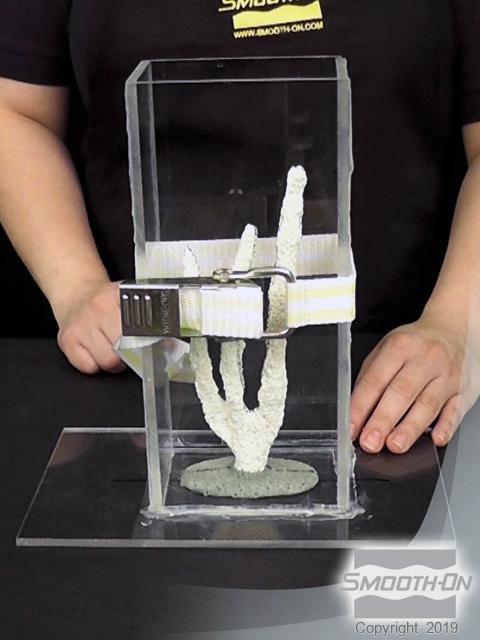
For rigid support, place 2 of the molds walls on either side of the mold, pressing the seams together tightly. Strap the acrylic mold walls to hold the mold together tightly with even pressure. The mold is now ready for casting.

Step 5: Casting with Smooth-Cast 325 and Ignite Colorants
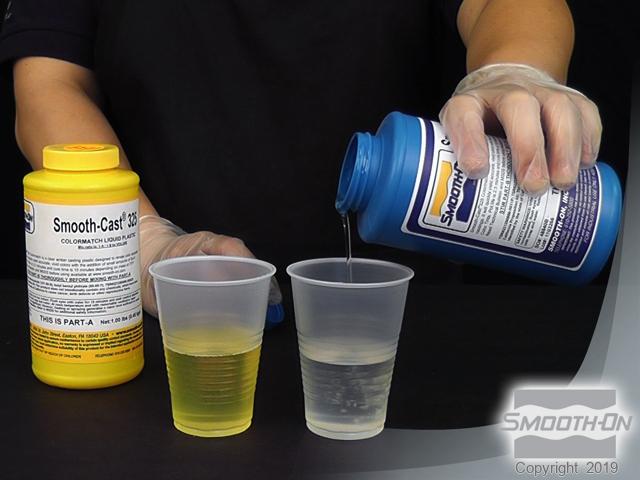
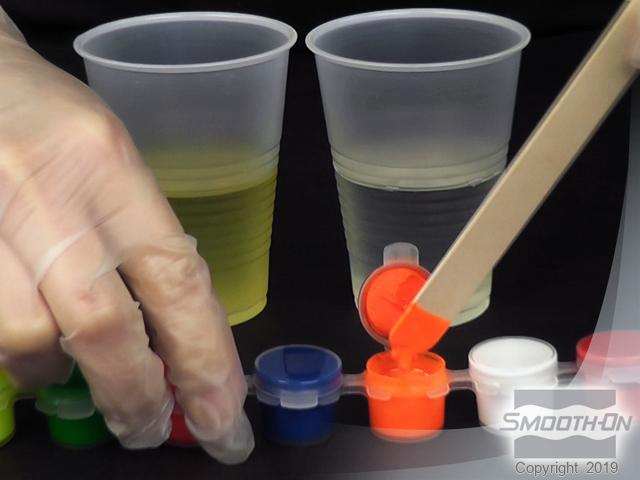
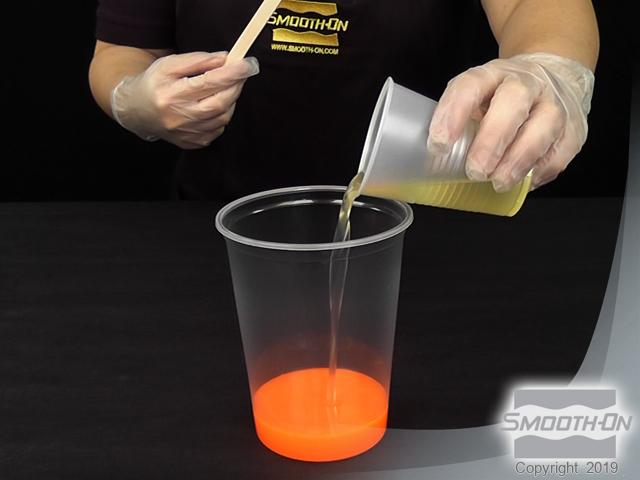
Smooth-Cast 325 COLORMATCH urethane resin and Ignite fluorescent color pigments are used to make the casting. Dispense part A and then dispense an equal part of B. Pre-mix the Ignite orange pigment. Mix the Ignite orange into part B until there are no color streaks. Transfer pigmented part B into a larger mixing container. Pour part A into part B.
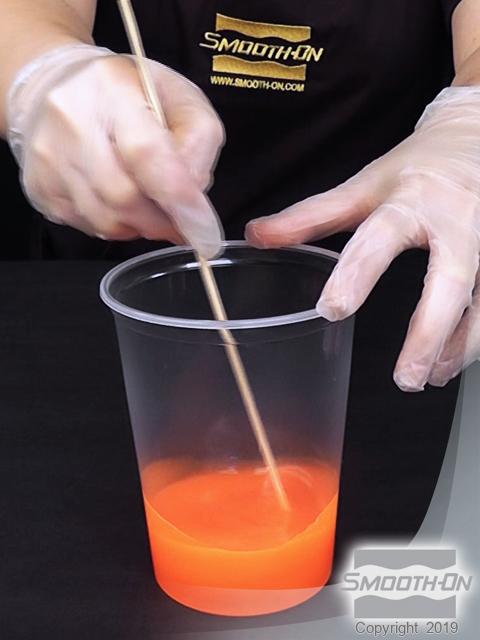
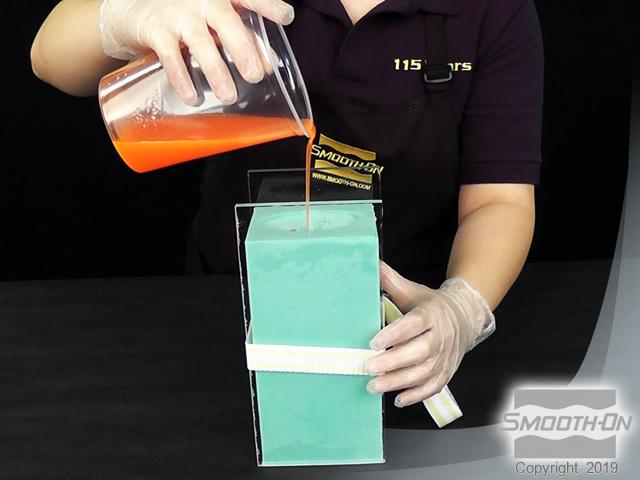
Thoroughly mix parts A and B together for 90 seconds. Smooth-Cast 325 has a 2.5 minute pot life. Pour resin into mold cavity. Let cure for at least 20 minutes.

Step 6: Demold
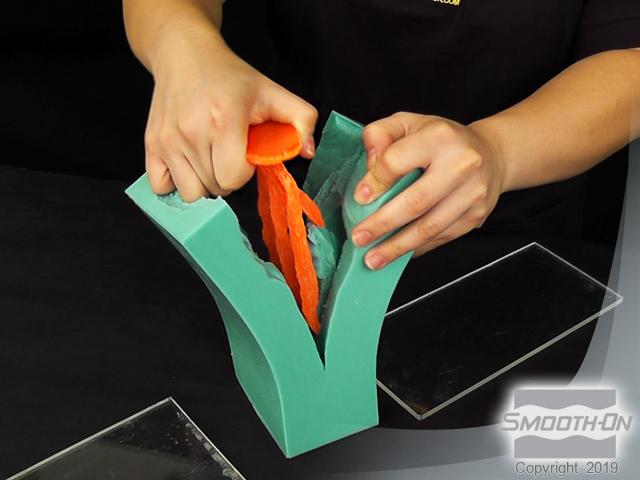
Remove the mold strap and acrylic mold walls. Mold Star 15 has good tear strength and easily flexes open. Slowly pull and wiggle your casting out of the mold. Demolded casting is an exact replica of the original.