High Tech Materials Create a Horrific Zombie

Overview
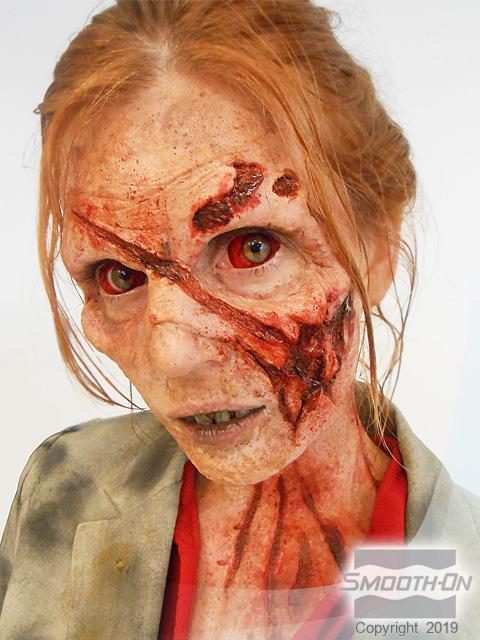
Zombies are more popular than ever in TV shows, movies, Zombie-walks, Zombie Parties and more. The materials used to make today’s Zombie effects are strong, last a long time and yield hyper-realistic effects. In this gallery, a silicone zombie facial prosthetic is created and applied by makeup artist Daniel Phillips. The process of creating the mold and casting utilized the newest materials in makeup moldmaking technology; Epoxamite epoxy resin, Free Form AIR epoxy dough, Mold Max 30 and Dragon Skin FX Pro silicone with SLACKER additive.
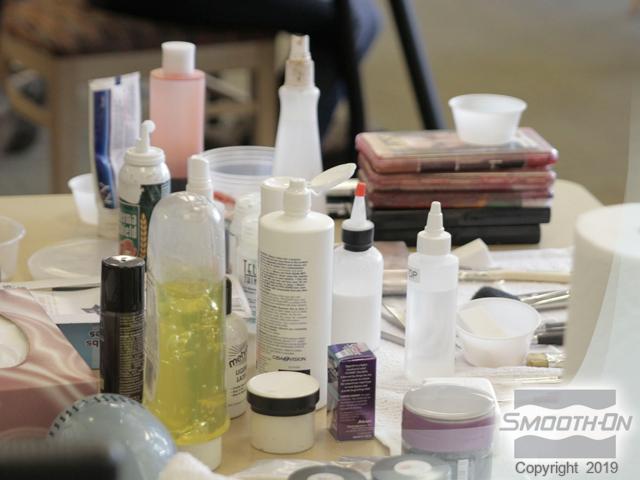
Materials Used in this Tutorial
- Mold Max 30
- Plasti-Paste II
- EpoxAcoat Grey
- Free Form Air
- Dragon Skin FX-Pro
- SLACKER
- Skin Tite
- Silc Pig
- Ease Release 200
- Thi-Vex
- Gram Scale
- Sculpting Tools
- Mixing Containers
- Mixing Sticks
- Paint Brushes
- Chip Brush
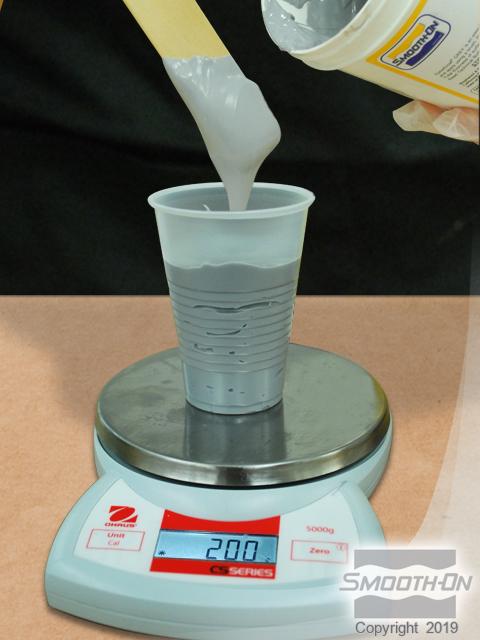
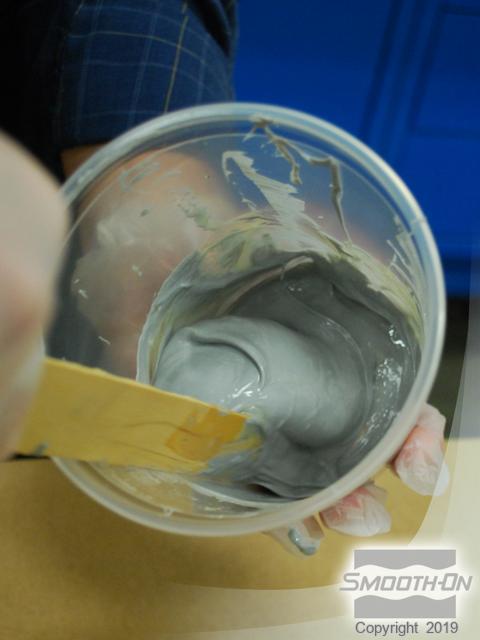
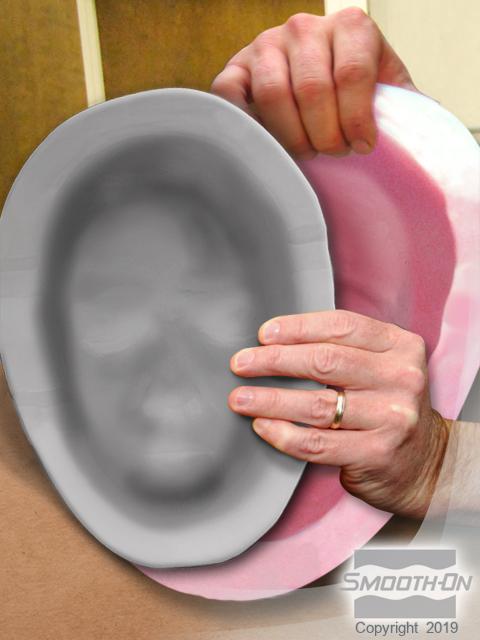
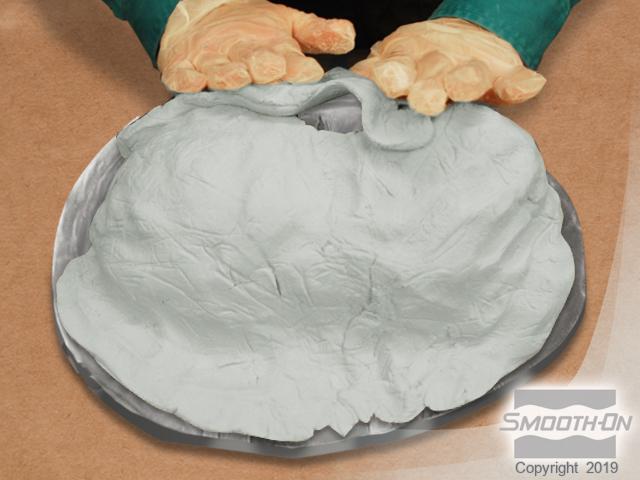
Step 1: Applying Mold Max 30
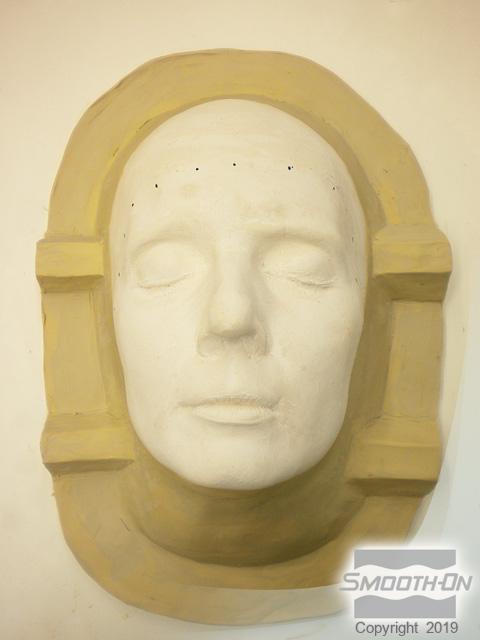
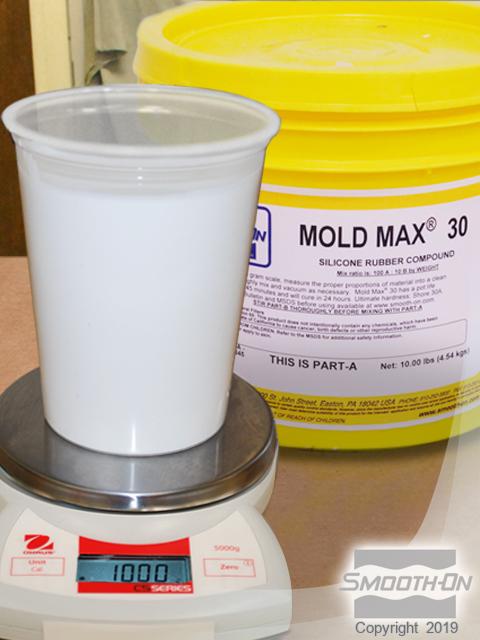
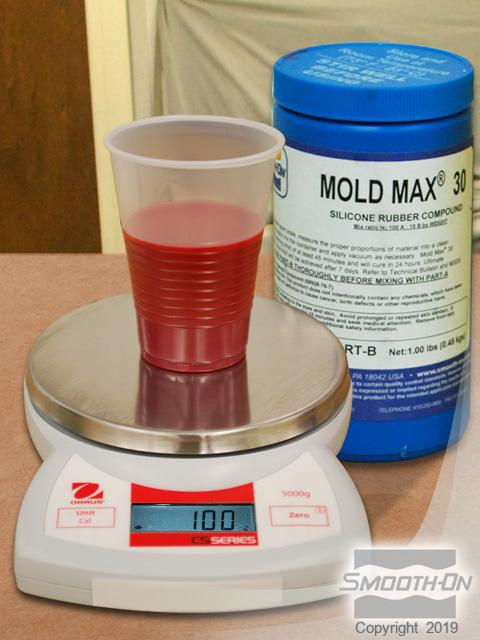
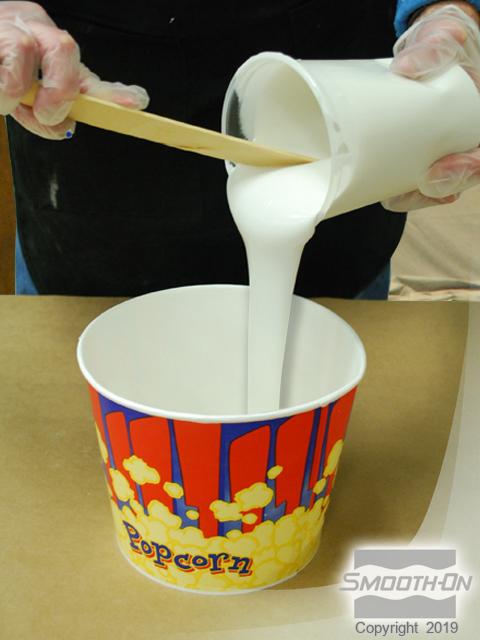
A plaster positive of the model’s face should be backed with clay, both for support and as a mold making key. Use Mold Max® 30 silicone rubber to create a mold of the plaster/clay positive. The mix ratio for Mold Max® 30 is 100A:10B by weight. For this application 1,000 g of Part A and 100 g of Part Be are measured using an accurate gram scale.
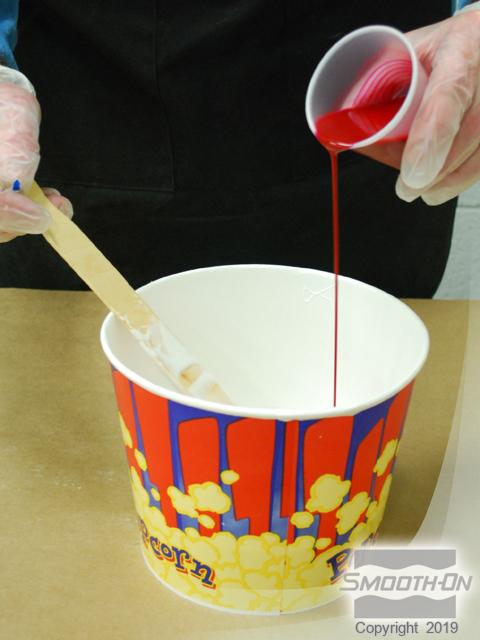
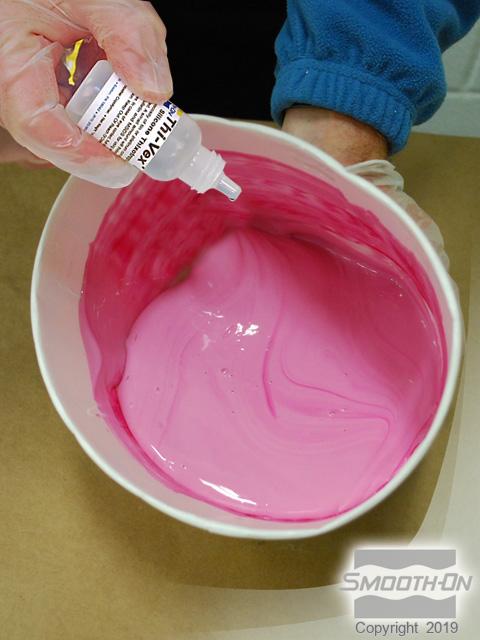
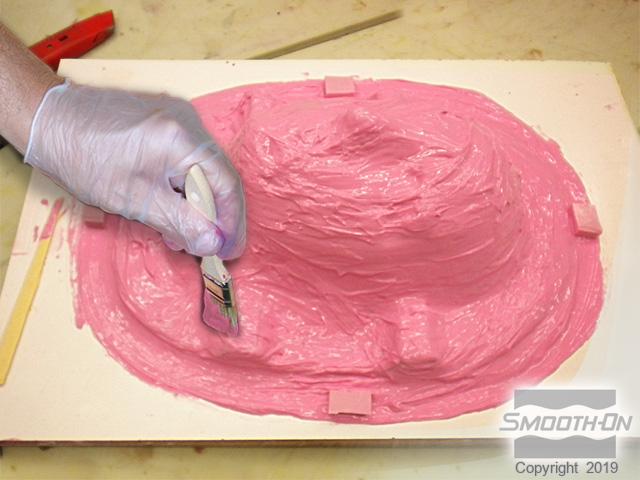
Pour Part A into a larger mixing container, then add Part B and mix thoroughly, scraping the sides and bottom of the container until a uniform color is reached. Add Thi-Vex® Silicone Thickener and mix to allow the rubber to become brushable. A mold of the lifecast is made by brushing the Mold Max® silicone onto the surface of the positive; attaining a thickness of 3/8''. Allow to cure completely.

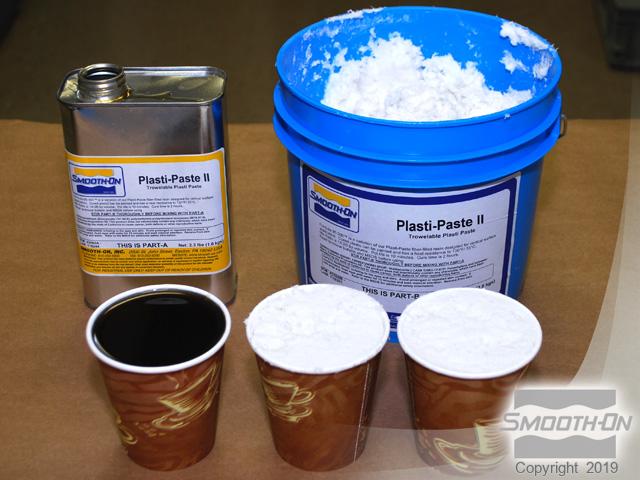
Step 2: Applying Plasti-Paste
Use Plasti-Paste® II to create a support shell. It is measured 1 part A to 2 parts B by volume, and applied as 2 layers; mixing each separately. Mix the first application of Plasti-Paste® II thoroughly, being sure to scrape the bottom and sides of the container as you mix. Apply a liberal layer of Plasti-Paste® II to the outside surface of the Mold Max® mold, covering the entire surface. While the first layer is still tacky, mix and apply the second layer.

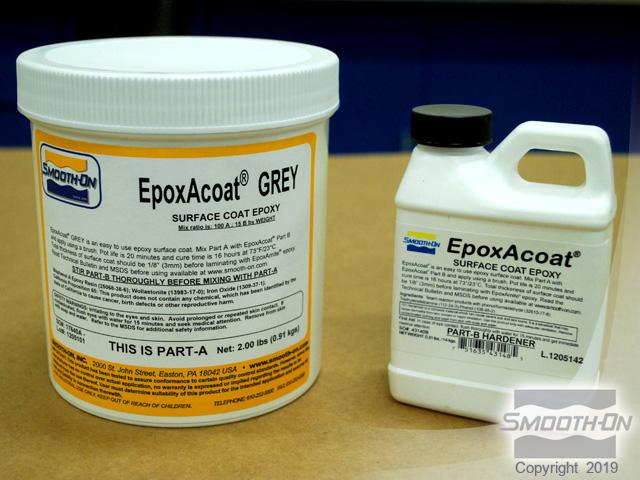
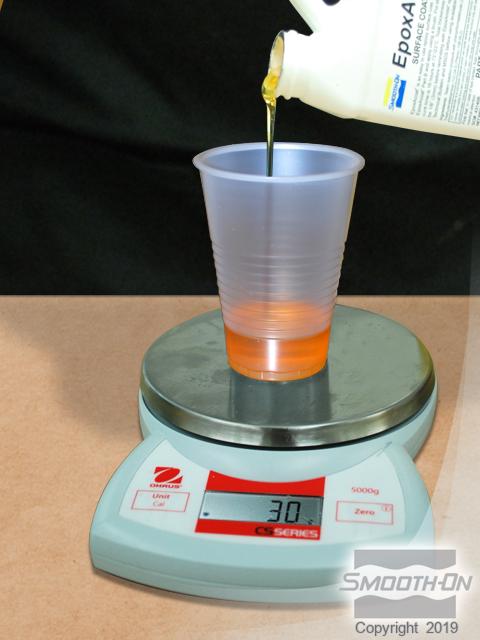
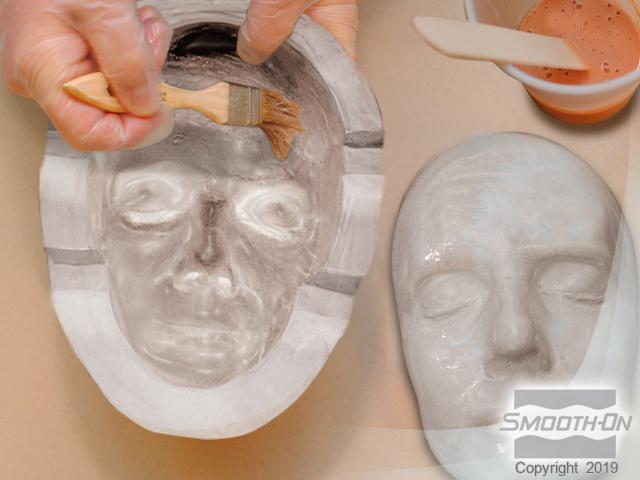
Step 3: Applying EpoxAcoat Grey
After the second layer of Plasti-Paste® II has cured, two thin coats of EpoxAcoat® GREY epoxy will be used to create a hard epoxy casting in the Mold Max® mold. EpoxAcoat® GREY epoxy is mixed 100 parts A to 15 parts B. For this application 200 g of Part A and 30 g of Part B are measured using an accurate gram scale. Brush EpoxAcoat® Grey into the cured Mold Max® silicone mold. Once this layer is "tacky hard", mix a second layer and brush on over the first layer.
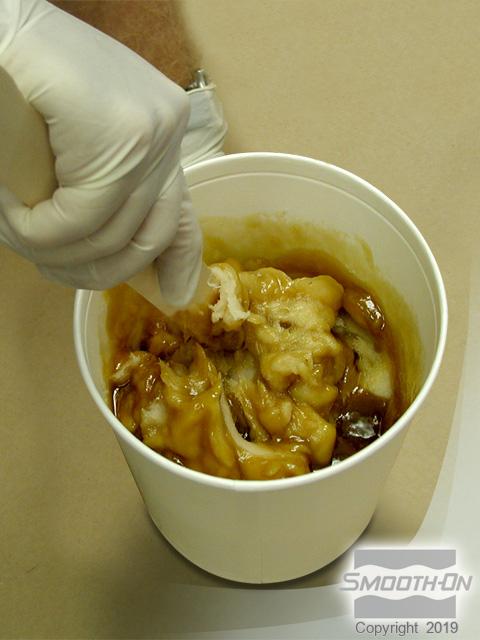
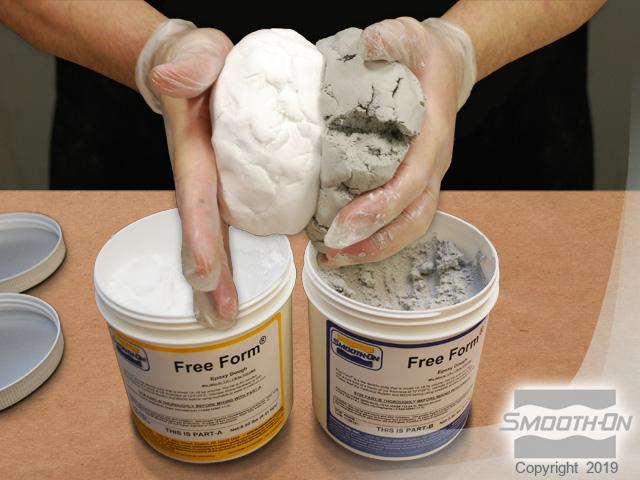
Step 4: Applying Free Form Air
Free Form® Air epoxy dough is mixed thoroughly in equal parts by volume, until the color of the putty is uniform. While the second layer of EpoxAcoat® epoxy is still ''tacky hard'', apply Free Form® Air to provide support. Once cured, demold the epoxy casting from the Mold Max® mold and prepare for the appliance sculpture.

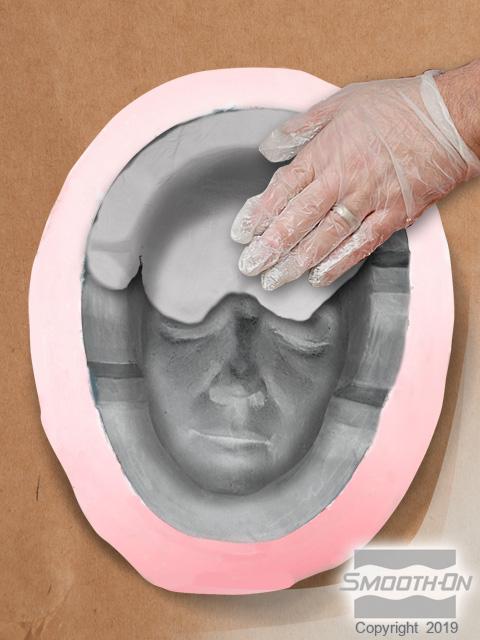
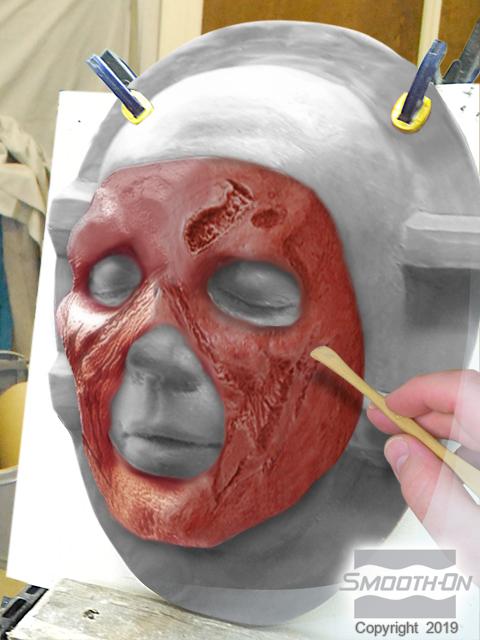
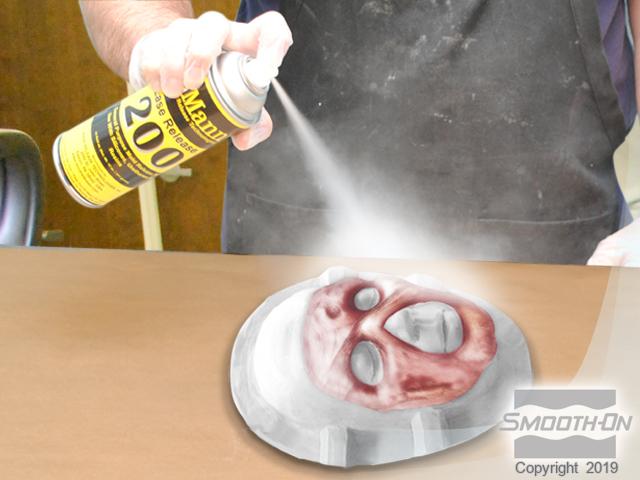
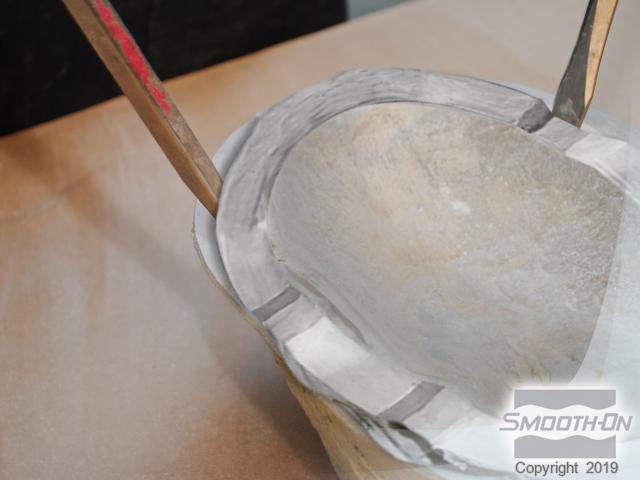
Step 5: Creating Zombie Face Appliance
Apply clay to the casting, then sculpt to create the zombie face appliance model. Once the face appliance sculpture is finished on the epoxy casting, apply Ease Release® 200 release agent. Allow it to dry and then repeat. Mix and apply EpoxAcoat® to the sculpt to make a 2-part mold.
Mix equal parts of Free Form® Air epoxy putty thoroughly and apply to the tacky surface of the EpoxAcoat® Grey for support. Let it cure for 4 hours. After curing, carefully separate the epoxy shells and clean out the initial clay appliance sculpture.
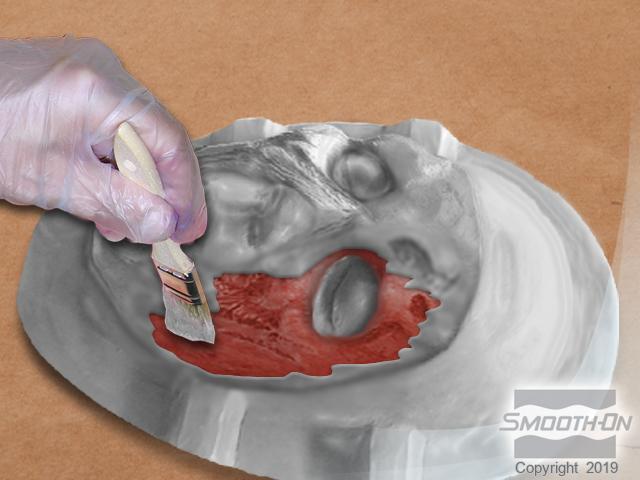
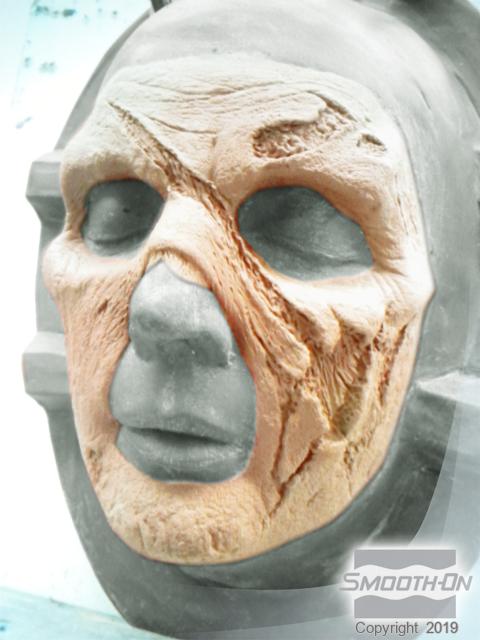
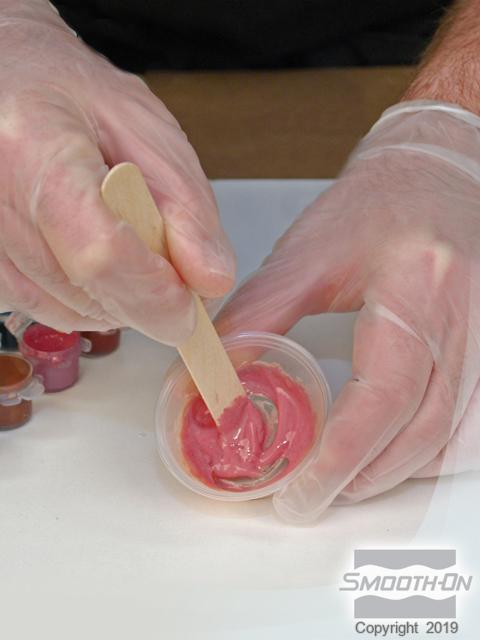
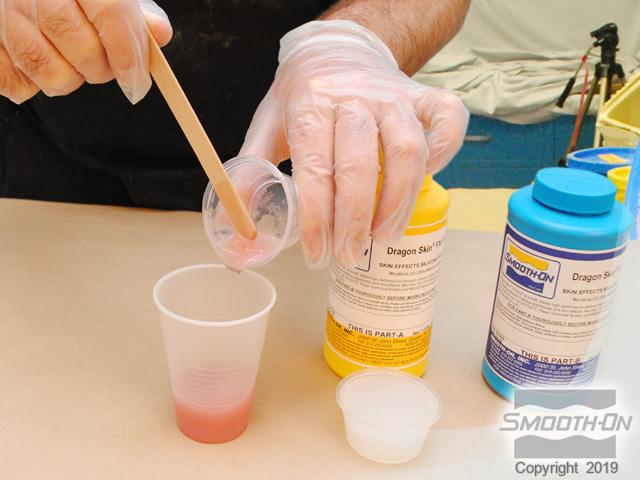
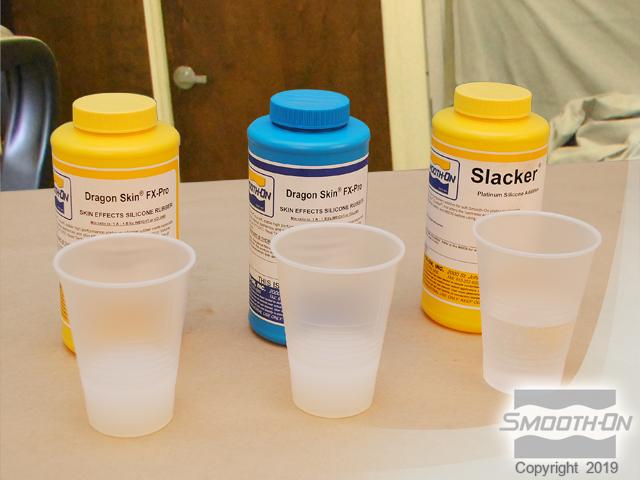
Step 6: Casting with Dragon Skin FX Pro
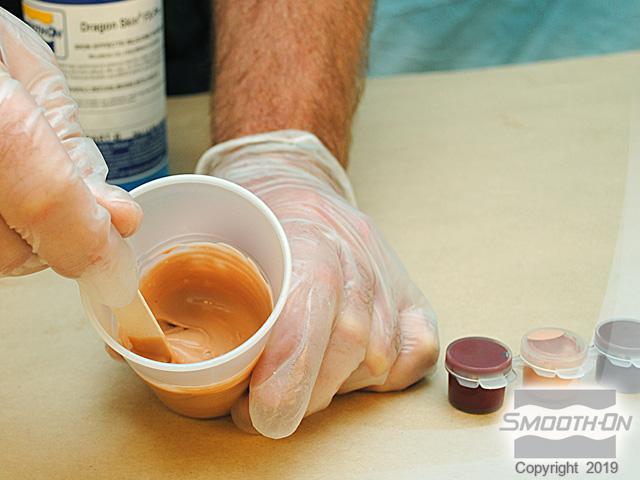
Use Dragon Skin® FX-Pro® to create the surface layer for the facial appliance. The mix ratio of Dragon Skin® FX-Pro® is 1:1 by weight or volume. Combine Silc Pig® Blood pigment with Dragon Skin® FX-Pro® part B. Then, combine and mix Parts A and B thoroughly. Stipple a layer of Dragon Skin® FX-Pro® on the mold positive and negative using a disposable brush.
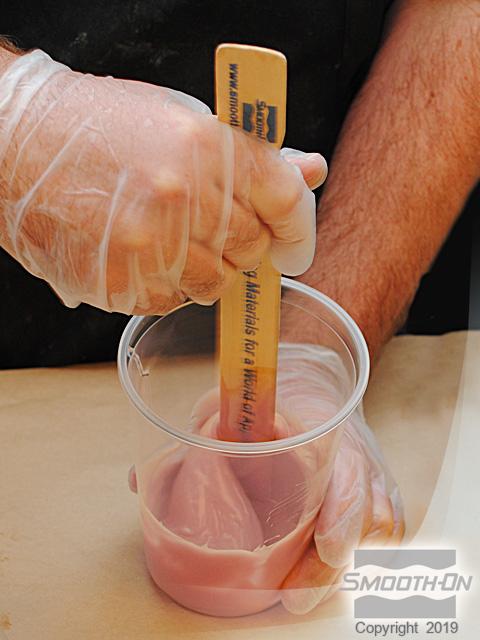
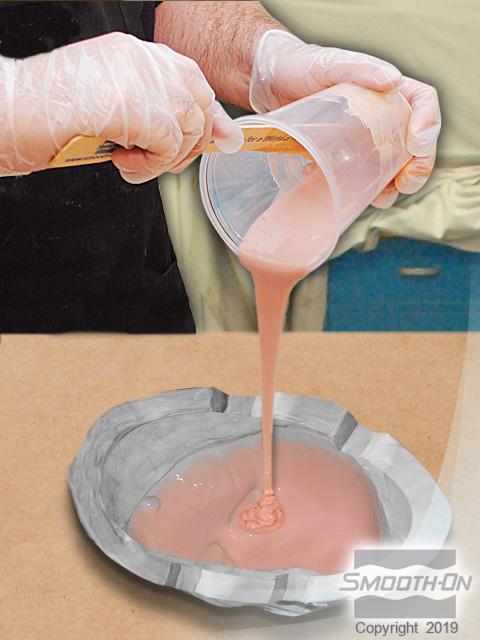
Next, combine 50g FX-Pro® Part A with 50g FX-Pro® Part B and 100g SLACKER® to produce a soft silicone gel. Again, combine Silc Pig® pigments with Dragon Skin® FX-Pro® part B to simulate the flesh tone of the model. Combine and mix all of the material components thoroughly.
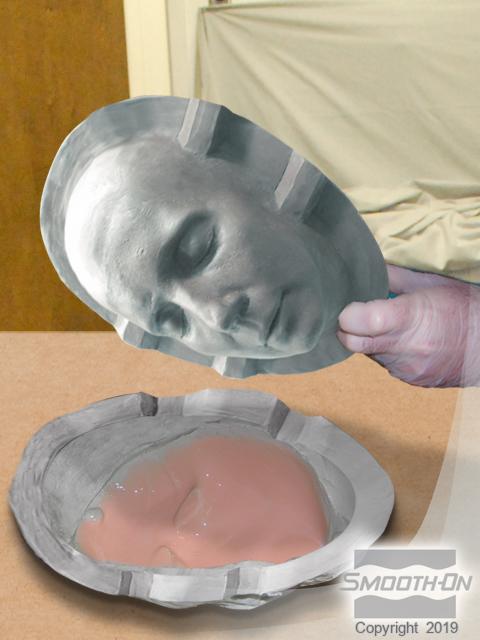
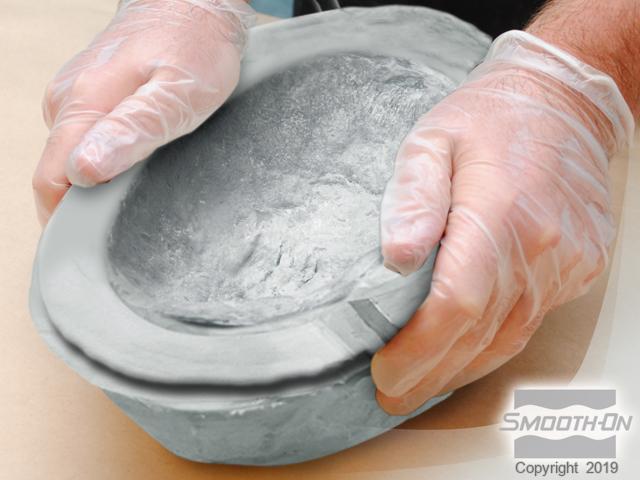
Slowly pour the material into the mold in a thin stream to eliminate air bubbles. Align the parts and put them together to sandwich the silicone appliance for proper curing. Close the 2-part mold tightly and allow the FX-Pro® to cure for 1 hour.
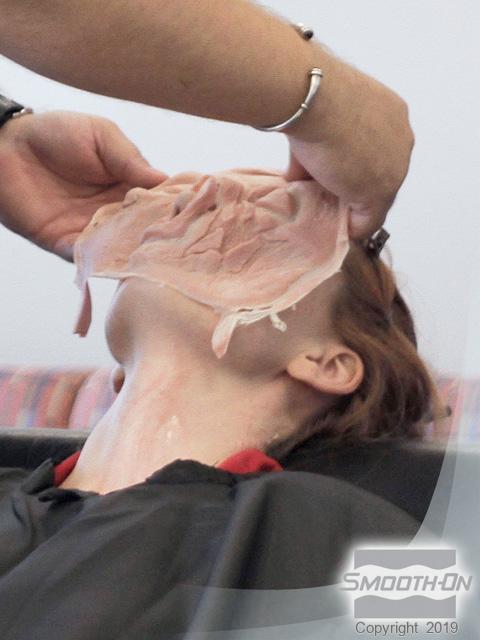
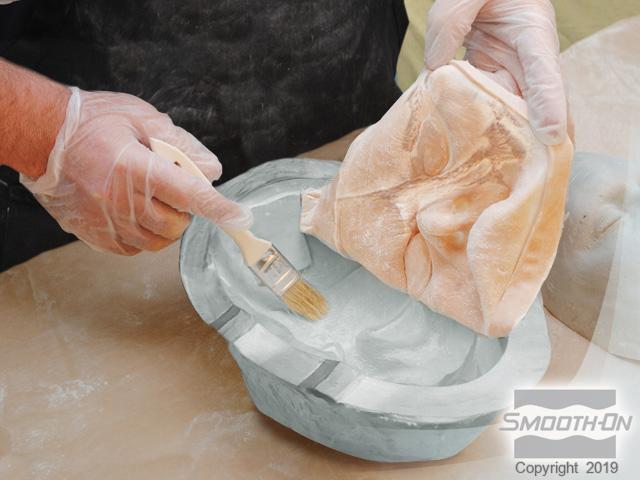
Step 7: Demold and Apply
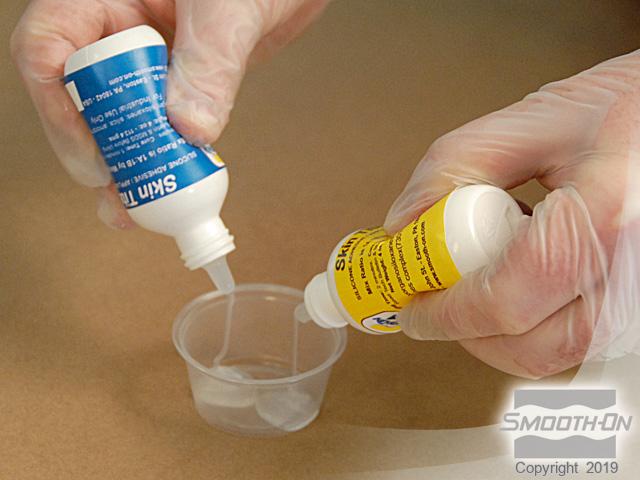
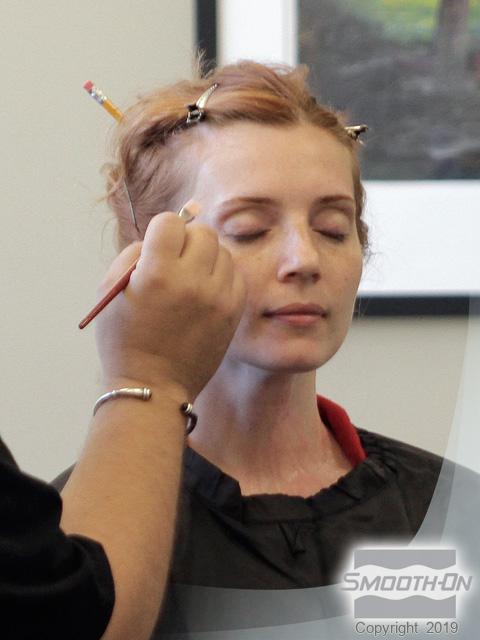
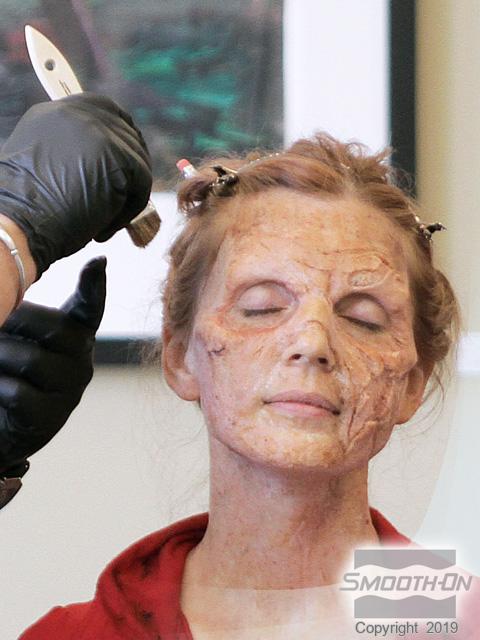
After 1 hour, open the mold and remove the cured FX-Pro® piece. Guide the appliance out of the negative mold using a brush and talcum powder. Next, dispense Skin Tite® silicone adhesive in equal parts and mix thoroughly. Apply the Skin Tite® adhesive to the face in preparation for the zombie appliance, then carefully adhere the finished appliance to the face.
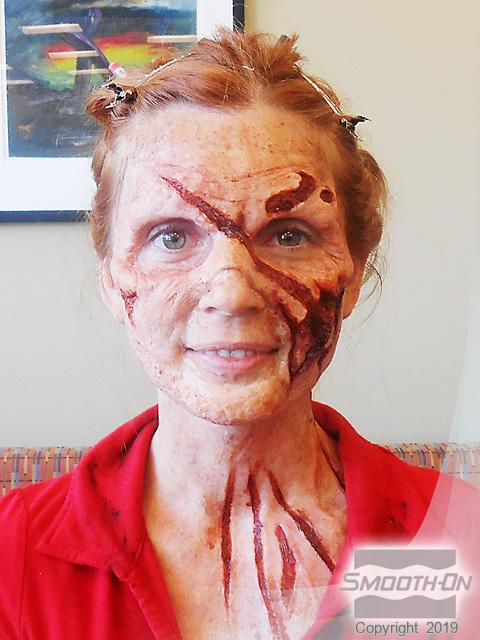
Once the appliance is properly adhered to the model, finish the effect by adding makeup. To aid in blending, spatter makeup on the face and appliance using a chip brush. With the makeup complete, the final step is to fit the model with zombie contacts and rotted teeth. Your zombie is now ready for a night on the town.