How To Reproduce a Native American Gravestone
Overview
A-B Man was a Lanape Indian native to what is now Northampton County near Allentown, Bethlehem, and Easton, Pennsylvania. He lived from 1704 – 1804 and is the only known Lenape Indian Revolutionary War veteran buried among 282 veterans in the county.
“At the age of 75, he carried messages for General George Washington and served as a scout in the Revolutionary Army”, said Donald R. Repsher, a retired Presbyterian minister of Moore Township and amateur historian. "When he reached [General John] Sullivan's army [in 1779], he joined others of his people who were scouting and protecting the army from being caught and attacked. He was probably about 5-foot 8-inches, tough as nails, even at the age of 75," Repsher said.
“As he neared the end of his life, he carved his own gravestone which was customary at the time. He included symbols that are deeply personal to his own life and probably unknowable to others. On the stone are several pictographs including a turtle, an eagle with spread wings, an image of an Indian man and a line drawn from a medicine wheel that may represent the doorway between heaven and earth.”
The original gravestone has stood at A-B Man’s grave since his death in 1804. After standing for more than 200 years in the elements, Man’s original carvings were worn away and were barely recognizable.
Northampton County officials wanted to make a reproduction of the headstone for display at a local museum and were given permission to take it off site to have a mold and casting made. They contracted the services of Chris Blumquist, a local professional mold maker.
To follow is a chronology of the mold making and casting process.
Materials Used in this Tutorial
- Sulfur Free Clay
- Universal Mold Release
- Brush-On 40
- So-Strong Colorant
- Sonite Wax
- Plasti-Paste
- Paint Brush
- Mixing Containers
- Mixing Sticks
- Smooth-Cast 320
- Brown Stain
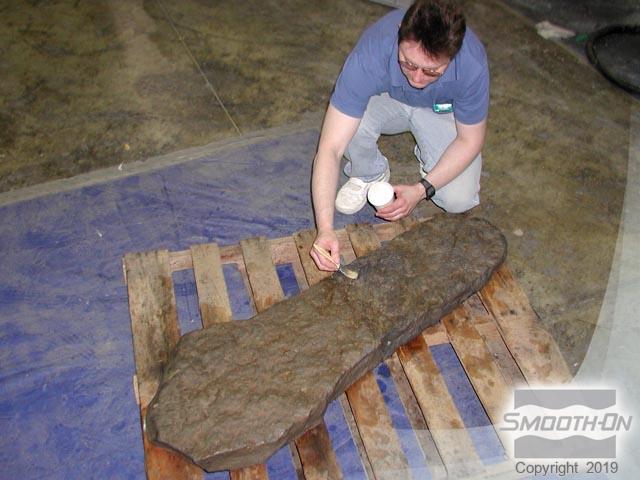
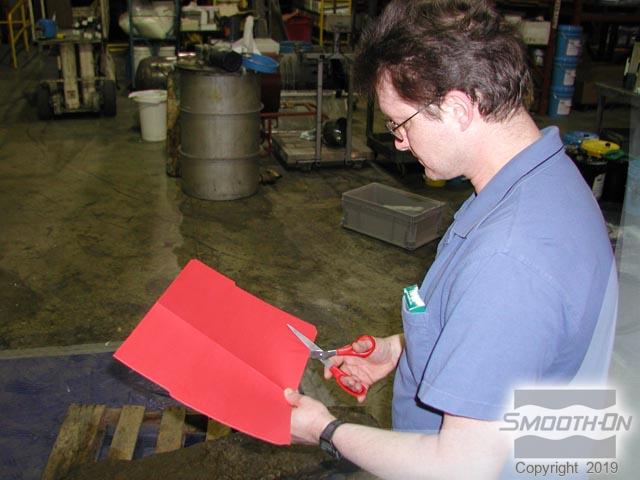
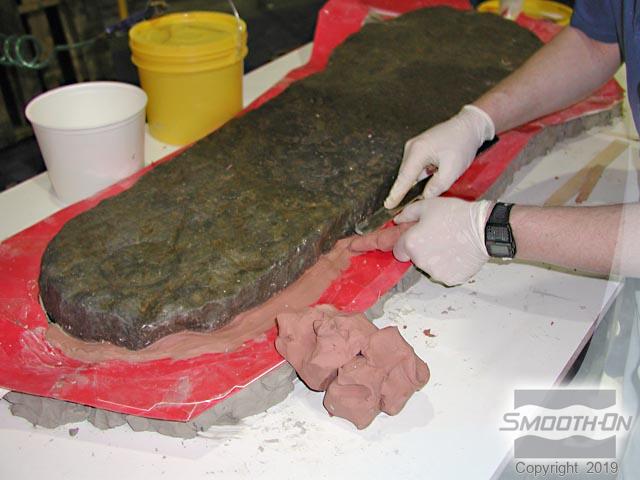
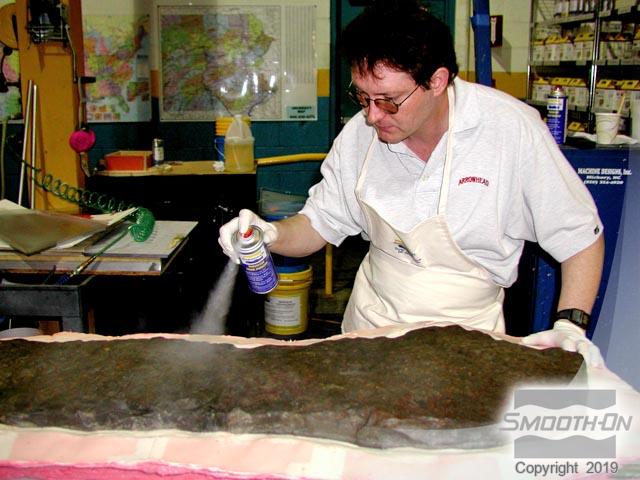
Step 1: Preparing Model
The gravestone is first sealed with Sonite Wax®. Paper is then cut and placed on top of the water-based clay platform to protect the mold rubber from moisture. Oil-based clay is used to form a seal around the edge of the gravestone. Universal® Mold Release agent is applied over the entire surface.
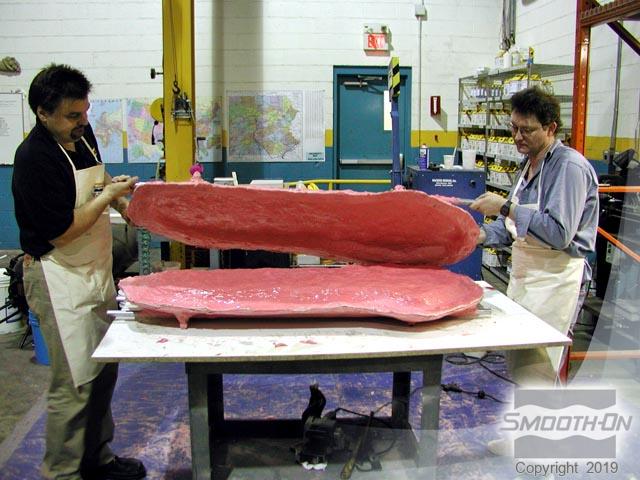
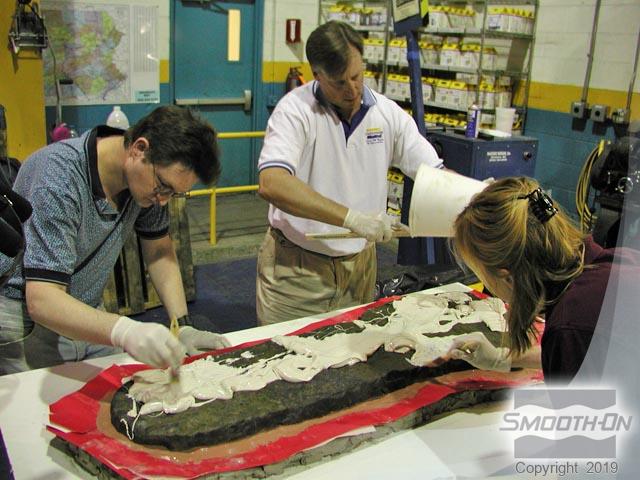
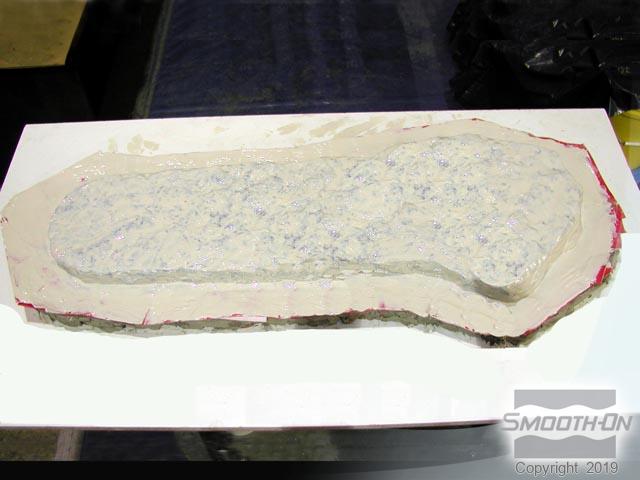
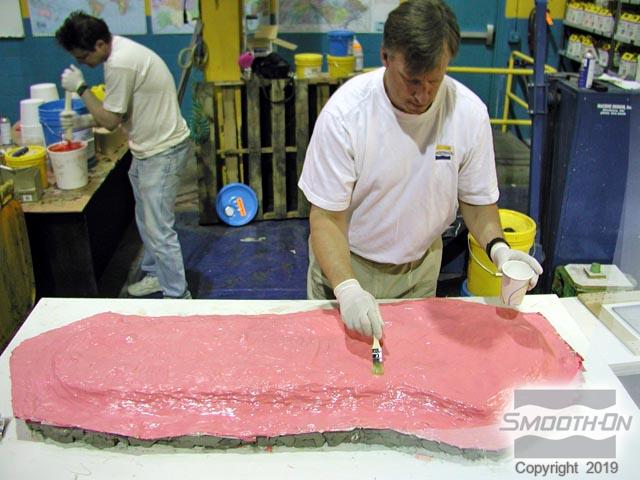
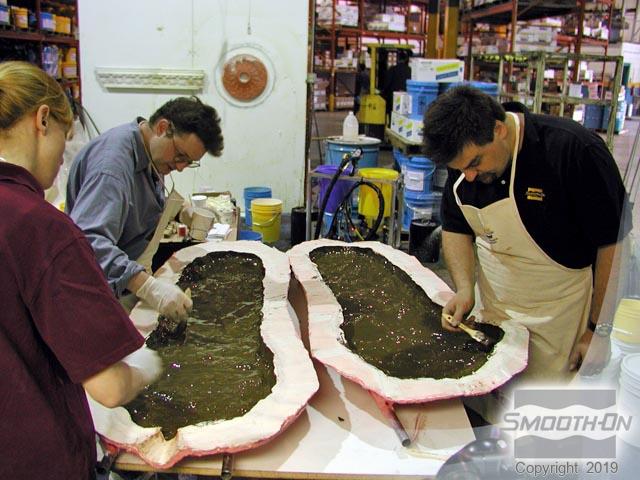
Step 2: Applying Brush-On 40
Brush-On® 40 mold rubber is then applied. The first coat is worked carefully into the details. The second layer is tinted with So-Strong® color tint to help ensure even coverage is achieved. Then, a third non-tinted layer is applied. The fourth and final coat is again tinted with So-Strong® color tint and applied.
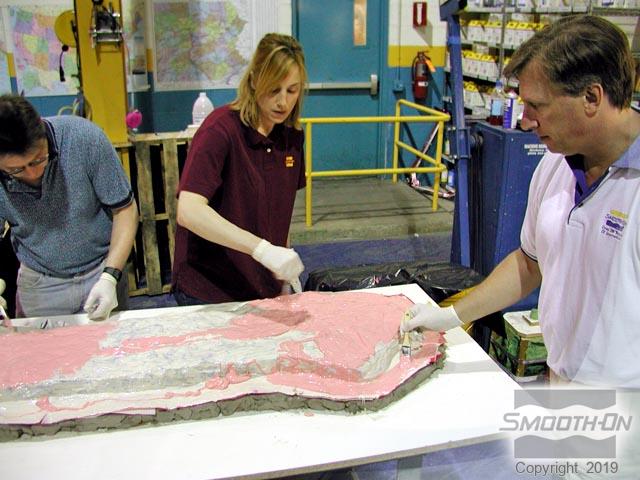
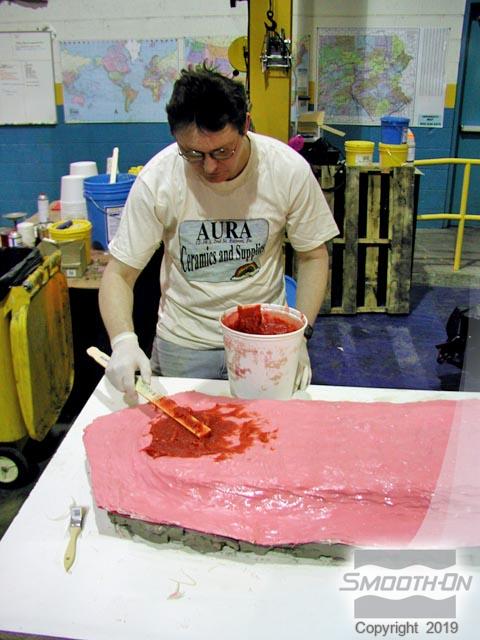
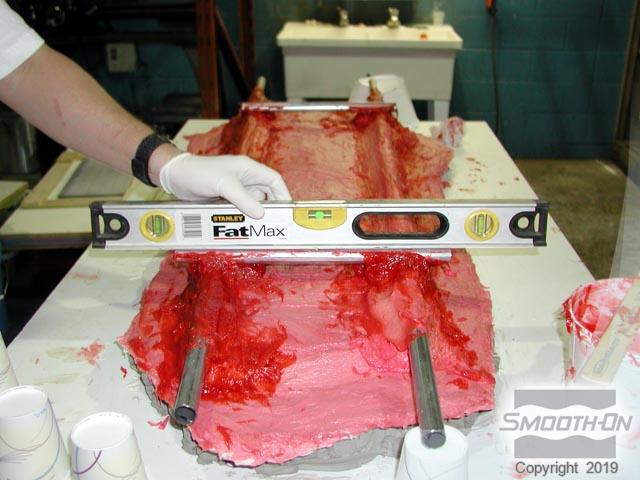
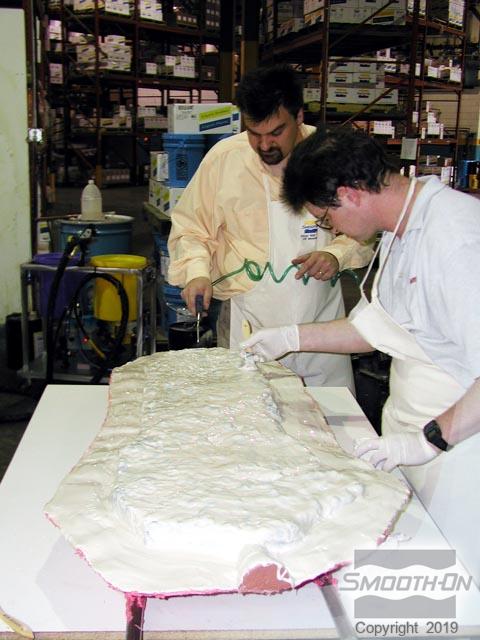
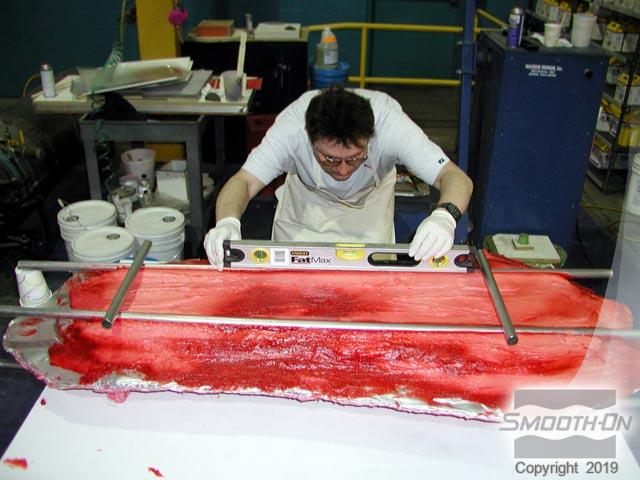
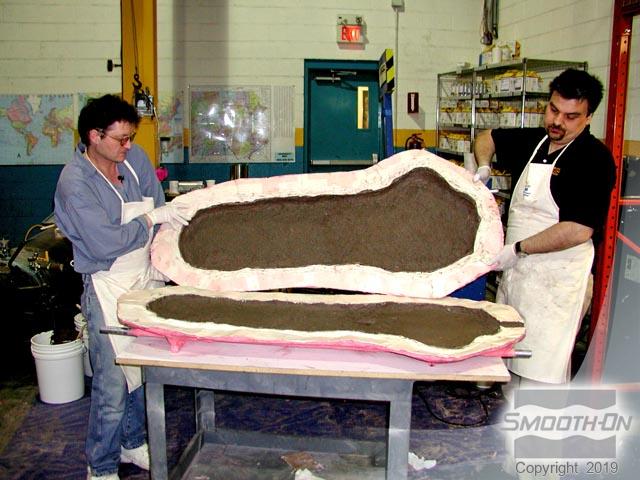
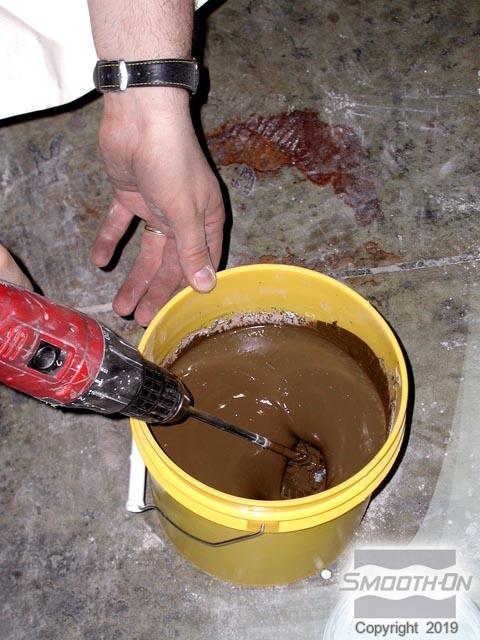
Step 3: Preparing, Dispensing, and Applying Plasti-Paste
Sonite® Wax is brushed over the entire surface of the mold to prevent the mother shell material from sticking to the rubber mold. Plasti-Paste® mother mold material is then spread over the entire surface. The Plasti-Paste® is tinted with So-Strong® color tints. Once the Plasti-Paste® sets up metal conduit is embedded in the support shell with more material and levelled. The conduit provides strength to the shell and also acts as handles.
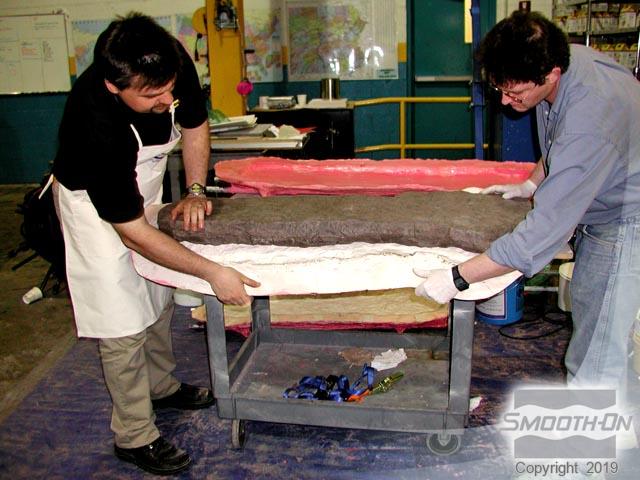
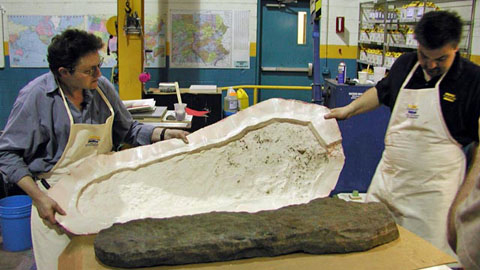
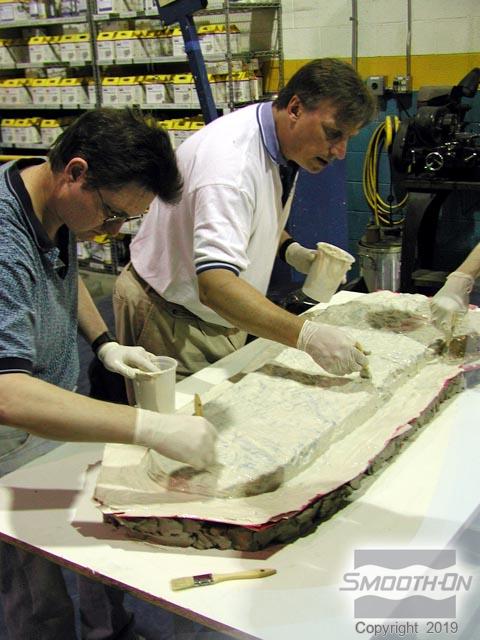
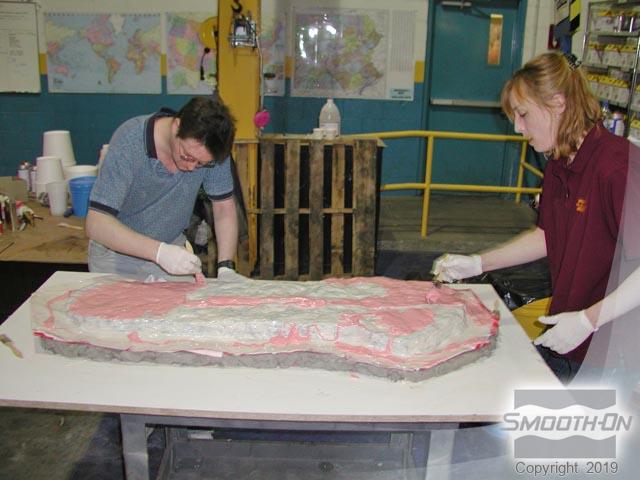
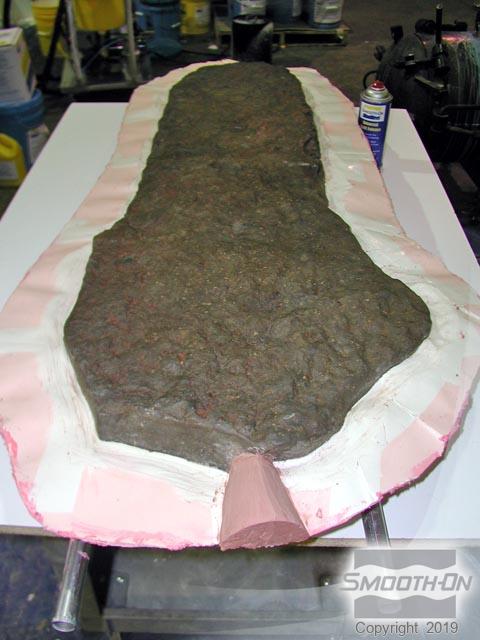
Step 4: Applying Molding Material and Support Shell to 2nd Side of Model
The Mold is flipped over to expose the other half. The clay is removed and cleaned thoroughly, and the surface of the stone and the flanges of the mold are coated thoroughly with Universal® Spray Release. The same procedure is repeated for the second side of the mold and mother shell. Metal conduit is used again in the construction of the support shell.
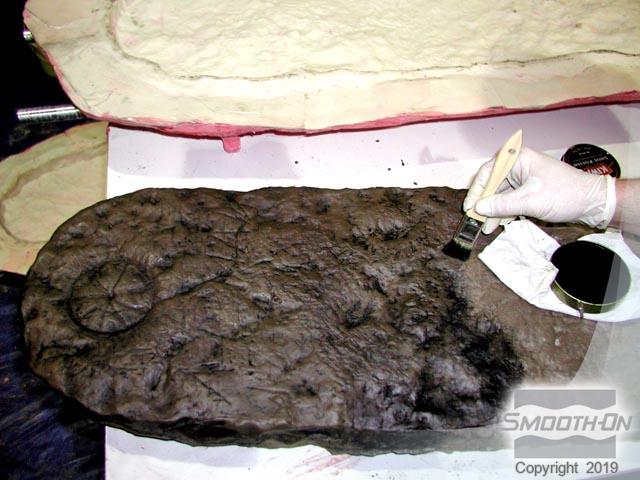
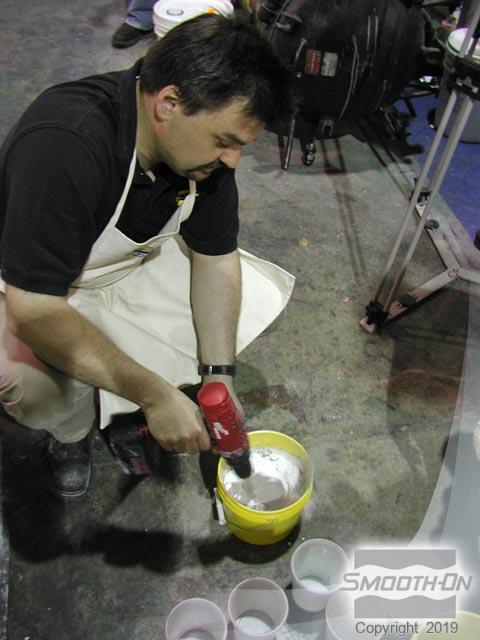
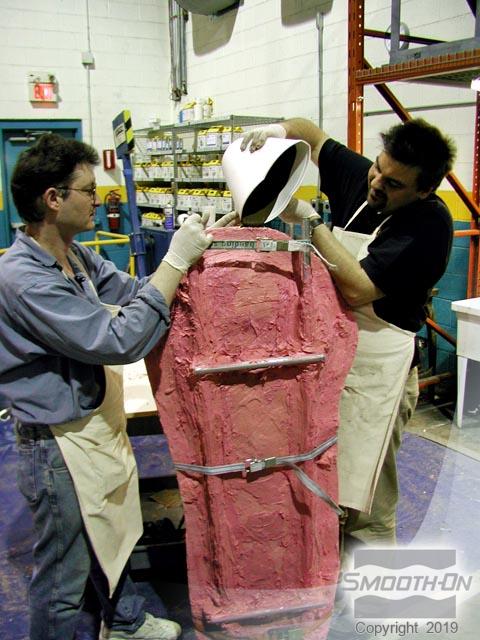
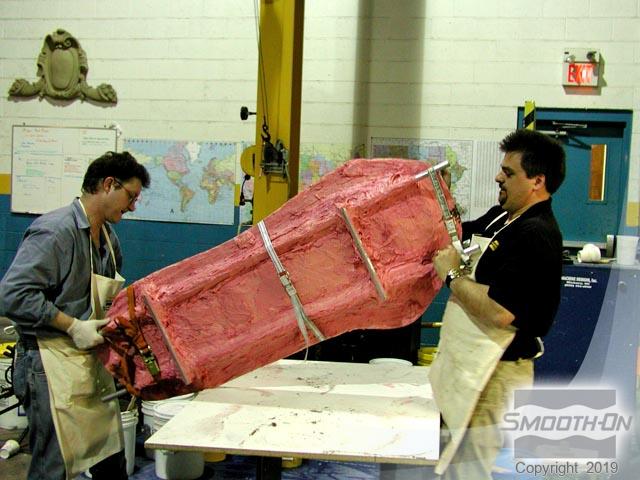
Step 5: Casting Smooth-Cast 320
Material is brushed into both halves of the mold and the mold is put back together and strapped tightly. SmoothCast® 320 resin is mixed with pigment. Then, the resin is poured into the mold to give a ''back coating'' providing additional strength and also to adhere the two halves. Finally, the mold is rotated to distribute the resin evenly.
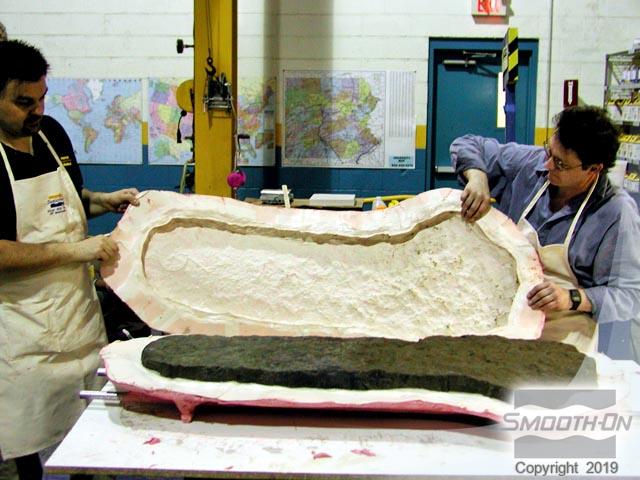
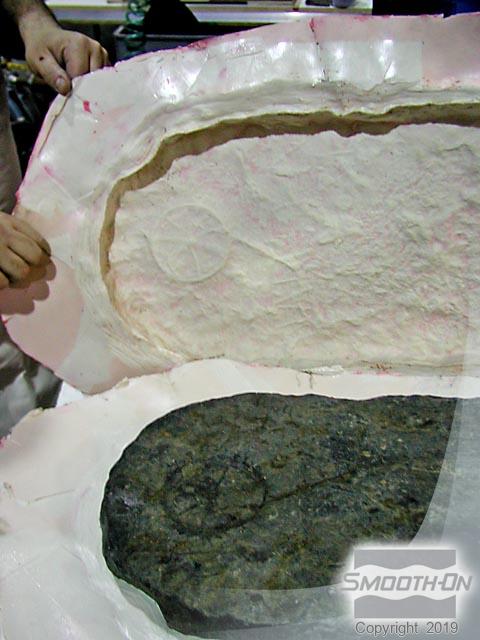
Step 6: Demolding and Finishing Casting
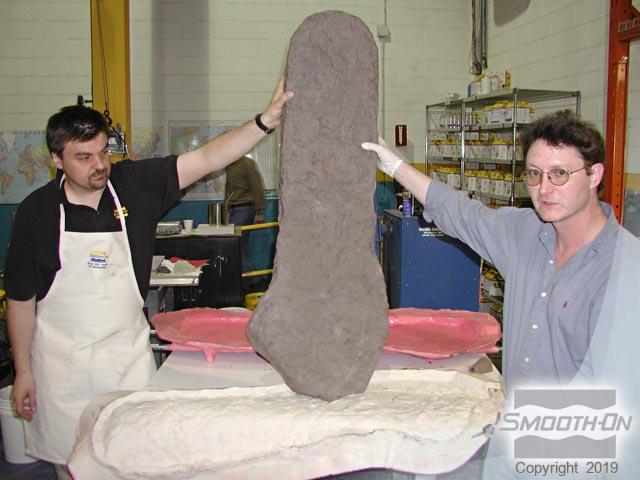
After the resin has cured, the casting is demolded. First, the mother shell is removed. Then, the top half of the rubber mold is removed, revealing the casting. The casting is then peeled away from the flexible rubber mold. Demolding is complete and the casting reflects perfect detail.
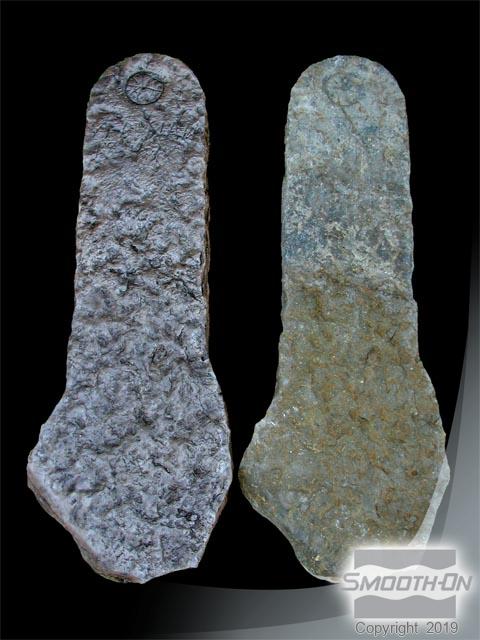
Smooth-On's Joe Domic (left) and Aura's Chris Blumquist (right) display the final casting. Brown stain is applied to give the casting a more realistic appearance, and to enhance the detail. The enhanced casting makes it easier for an 'untrained' eye to appreciate the detail. The replica is found on the left and original gravestone on the right of the final picture.