How To Make a Silicone Glove Mold and Faux Wood Casting
Overview
Dragon Skin™ 10 Very Fast is a high performance platinum cure silicone rubber that can be mixed 1A:1B by weight or volume and cures at room temperature with negligible shrinkage to a Shore 10A. Cured Dragon Skin™ is very soft, very strong, and very “stretchy”. It will stretch many times its original size without tearing and will rebound to its original form without distortion.
This stretchiness makes Dragon Skin™ 10 Very Fast ideal for creating one piece glove molds. A Dragon Skin™ mold can be turned completely inside out without risk of tearing. This means castings can be removed without cutting the mold, leaving no visible flashing common with many mold configurations.
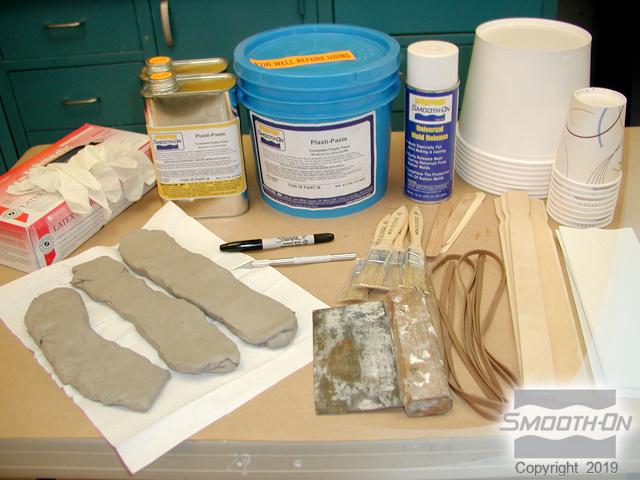
Materials Used in this Tutorial
- Dragon Skin 10 Very Fast
- Ease Release 200
- Thi-Vex
- Plasti-Paste
- Silc Pig
- Mixing Sticks
- Aluminum Foil
- Mixing Containers
- Hot Melt Glue Gun
- Paint Brushes
- Knife
- Universal Mold Release
- So-Strong
- Smooth-Cast 300
- Ure-Fil 5
- Shoe Polish
- Sonite Wax
- Sulfur Free Clay
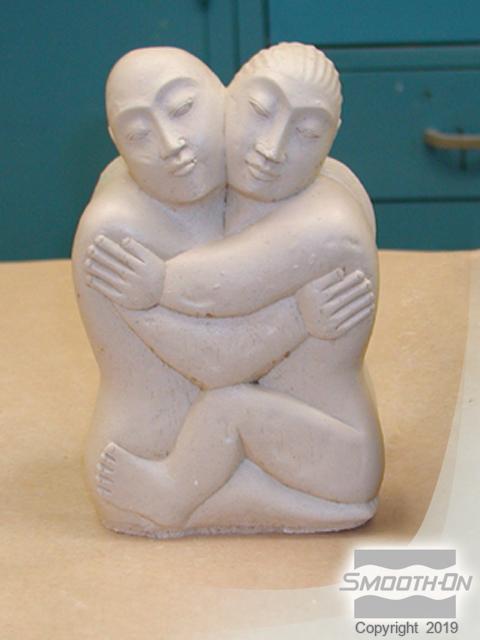
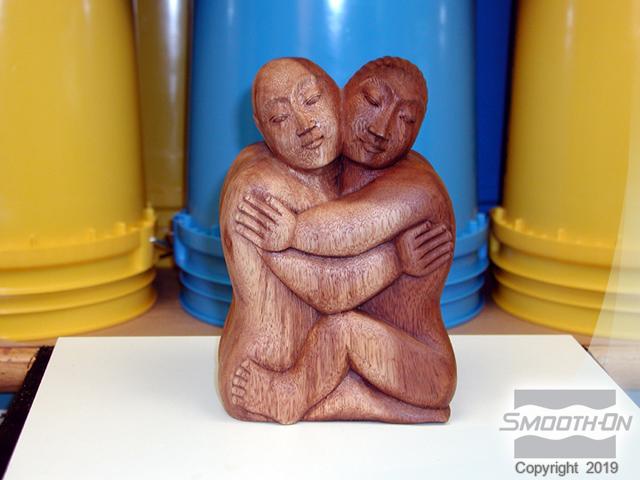
Step 1: Preparing Model
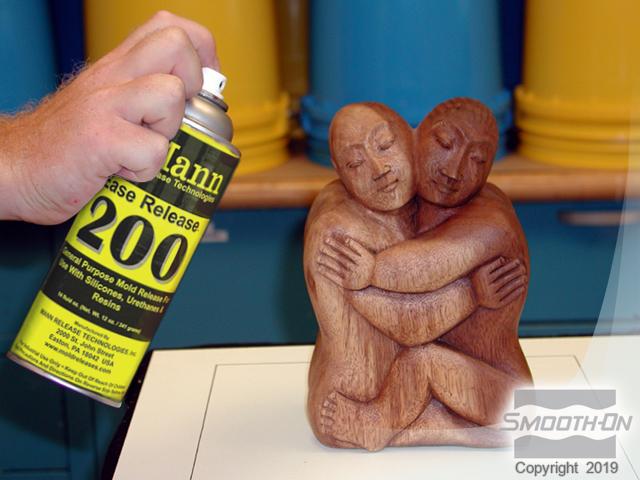
The original is a carved wood model. In most cases when reproducing a wooden original, it is important to also reproduce the woodgrain. Gather all materials, including accessories, prior to beginning the mold making process. Begin by securing the original model to a melamine board using hot melt glue. Next, spray the original model with Ease Release™ 200 release agent. This will aid in removing the cured silicone mold from the original.


Step 2: Dispensing, Mixing and Applying First Layer of Dragon Skin 10 Very Fast
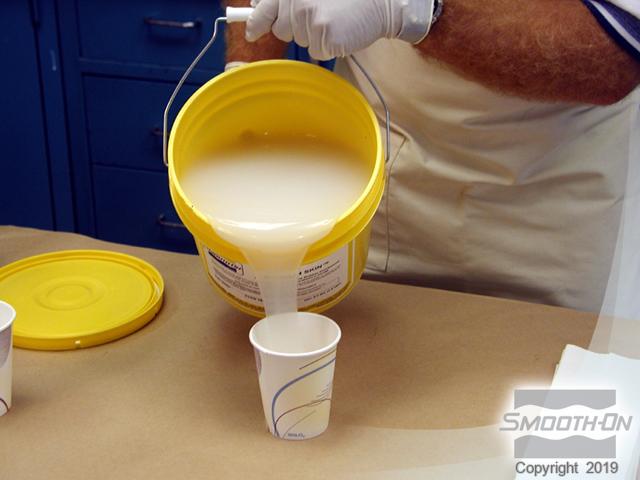
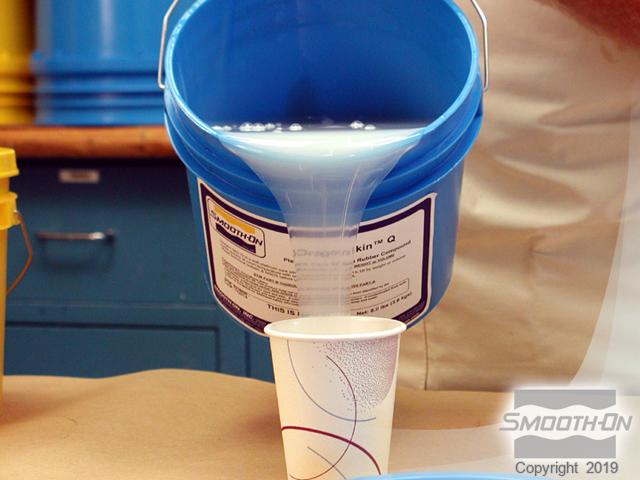
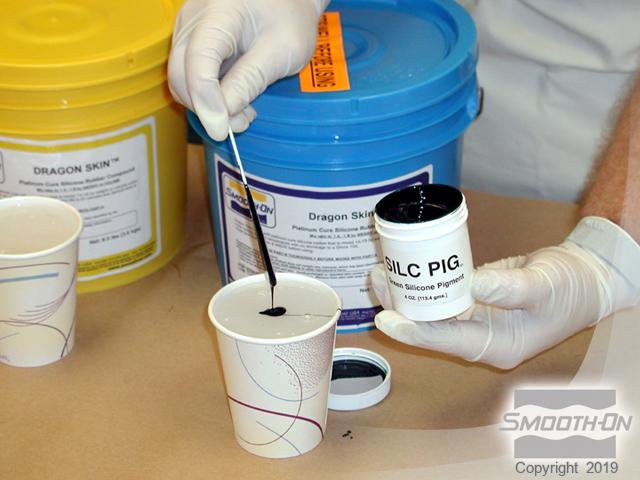
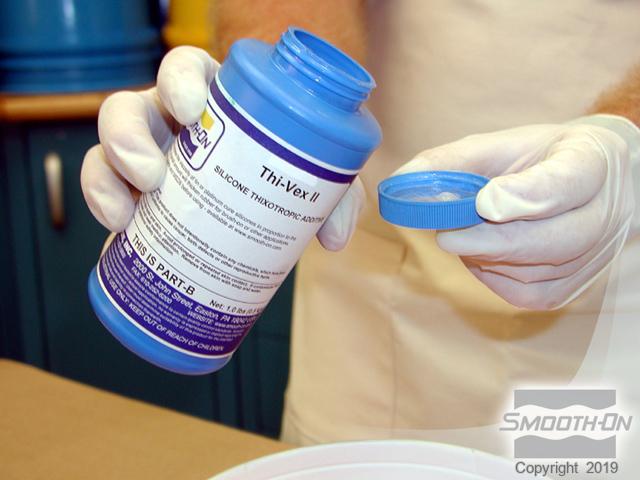
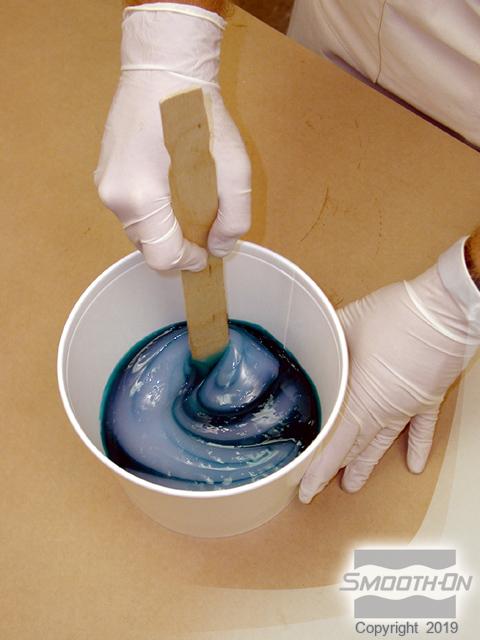
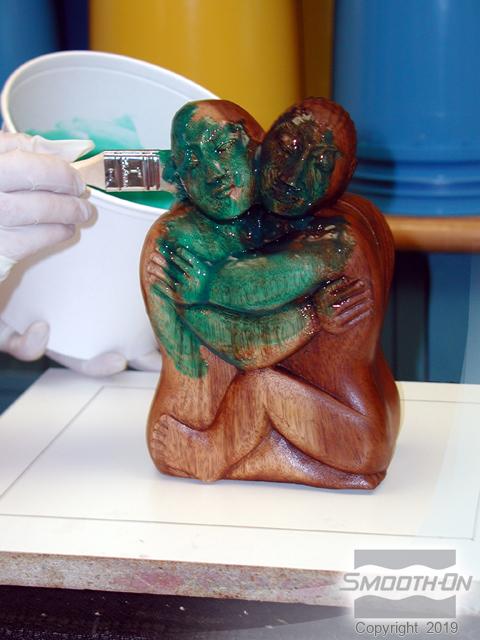
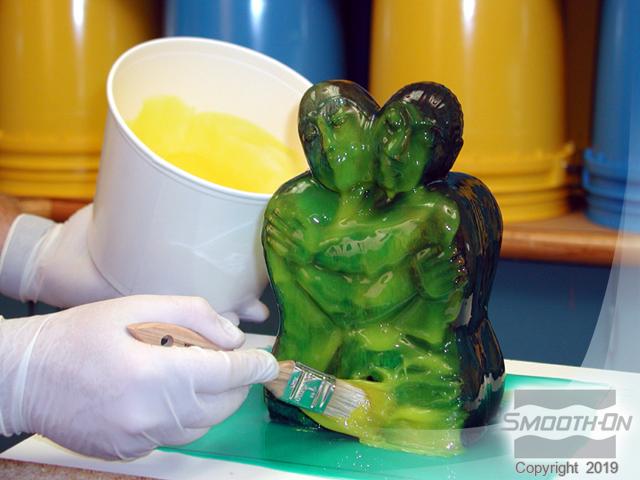
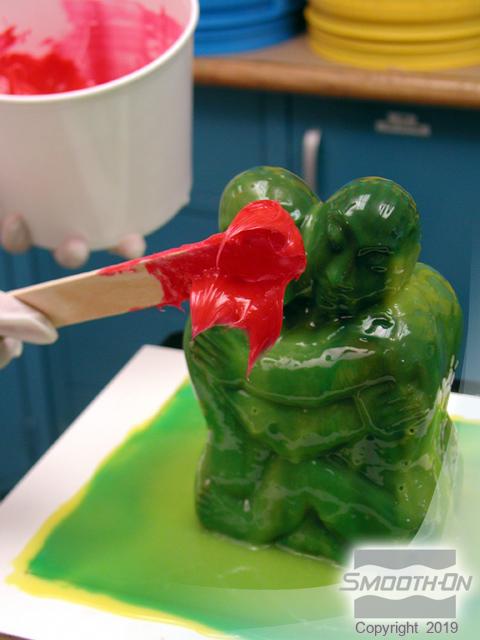
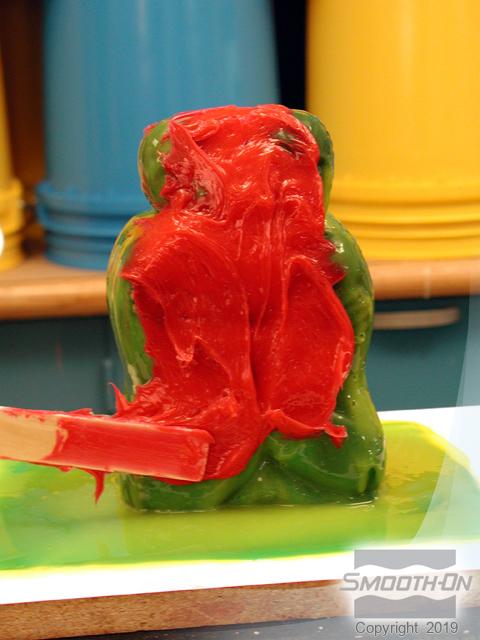
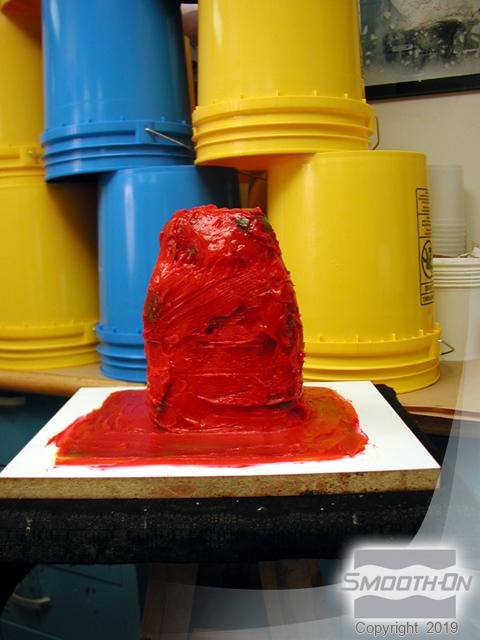
Measure out Part A of Dragon Skin® 10 Very Fast silicone rubber. It is important to use the very fast set version when making a brush on mold, as this will drastically speed up the mold making process. Measure out an equal volume of Part B. Dragon Skin® is translucent in its natural state, which can sometimes make it difficult to ensure thorough coverage over an original model. Adding a small amount of Silc-Pig® silicone pigment will eliminate this problem. A small amount of THI-VEX® II silicone thickening agent is added to the mixture. This will help the silicone stay on vertical surfaces. Combine all components and mix thoroughly, until there are no color striations present. Apply Dragon Skin® 10 Very Fast to the original model. The first layer of a brush-on mold should be thin to help eliminate any chance of bubble entrapment. Apply Dragon Skin® 10 Very Fast over the entire model and begin building a flange 3'' (8 cm) around the base of the model. Allow rubber to cure until tacky (approximately 20 minutes).
Step 3: Dispensing, Mixing and Applying Second Layer of Dragon Skin 10 Very Fast
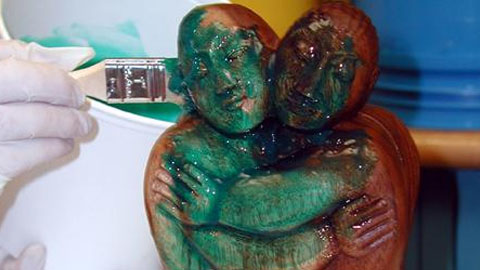
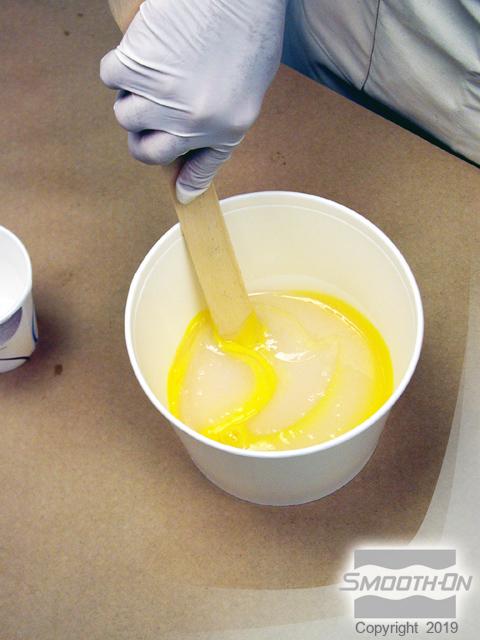
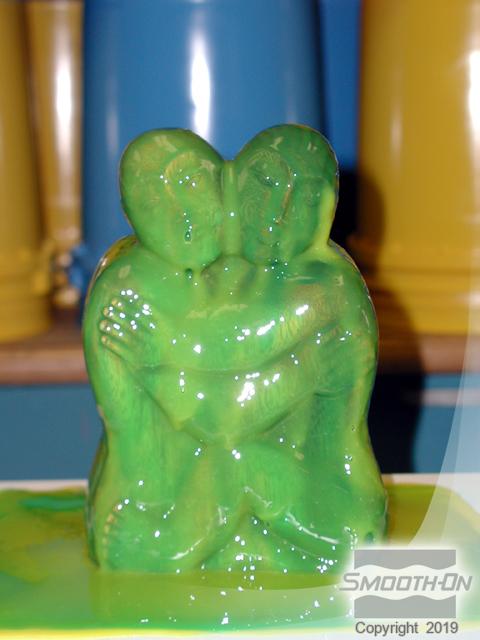
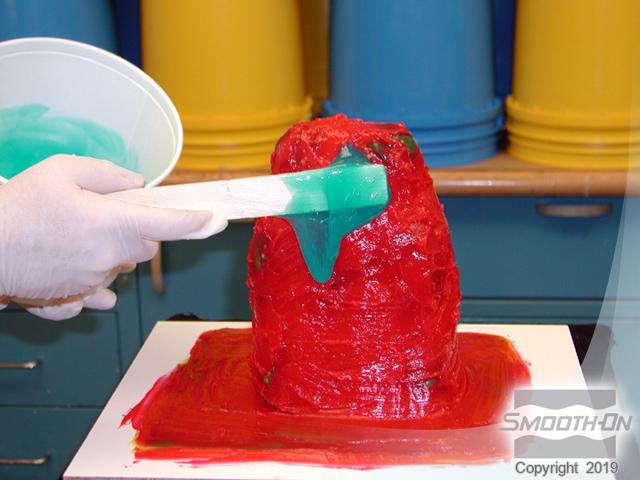
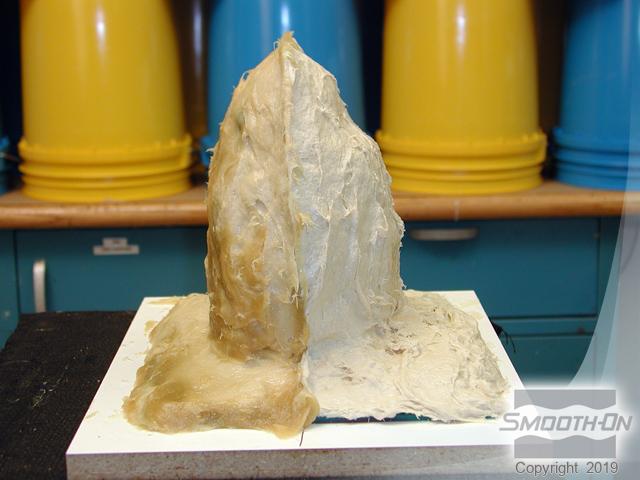
Mix a second thickened batch of Dragon Skin™ 10 Very Fast. Adding a different Silc-Pig™ pigment to alternate layers will help ensure thorough coverage over the entire model. Apply a second coat of Dragon Skin™ 10 Very Fast. The yellow Silc-Pig™ contrasts well with the previous layer. The second layer can go on thicker than the first. Completely cover the model and continue building flange. Allow rubber to cure until tacky (approximately 20 minutes).
Step 4: Dispensing, Mixing and Applying Third and Final Layer of Dragon Skin 10 Very Fast
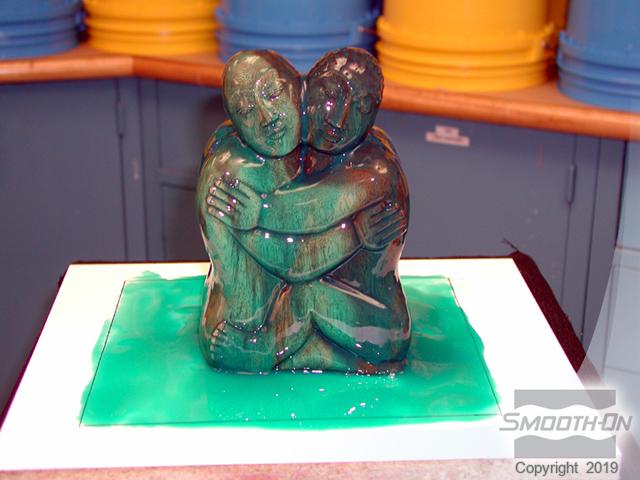
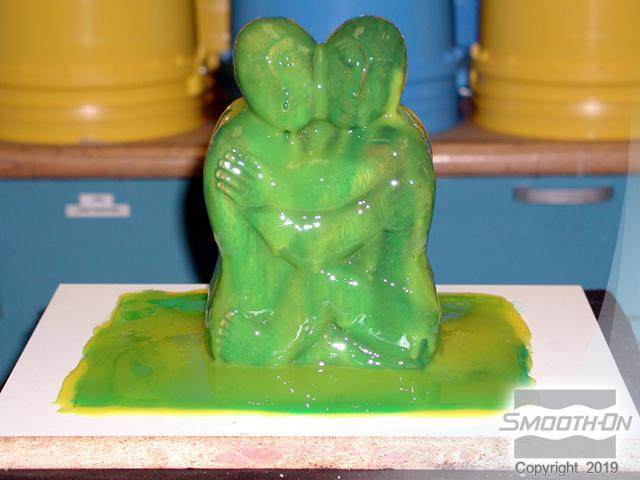
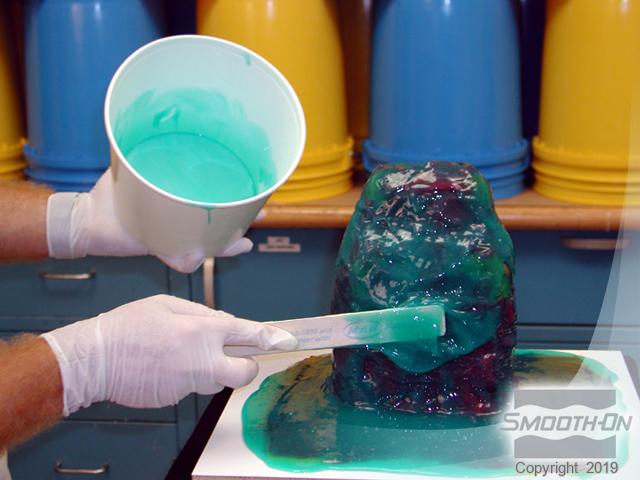
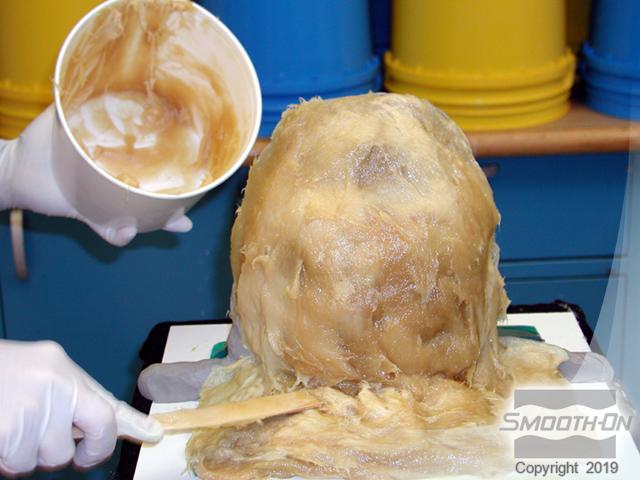
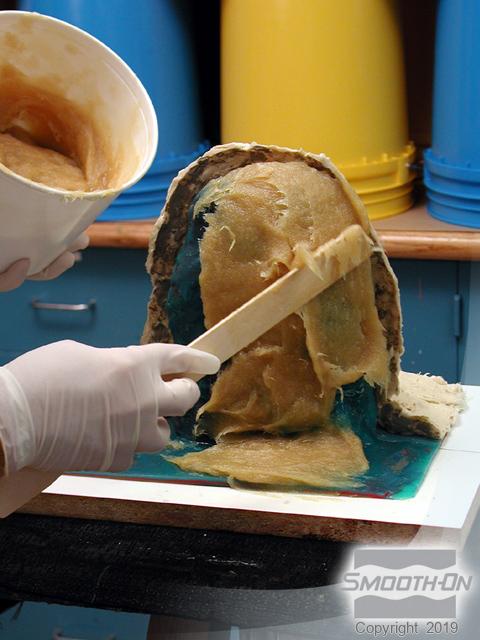
Mix a third batch of Dragon Skin™ 10 Very Fast silicone, adding additional THI-VEX™ II thickening agent to this layer. Using much thicker material means the mold can be built up faster. Use a stick to trowel the thickened rubber over the previous layer. Cover entire model and continue building flange. Allow rubber to cure until tacky (approximately 20 minutes).
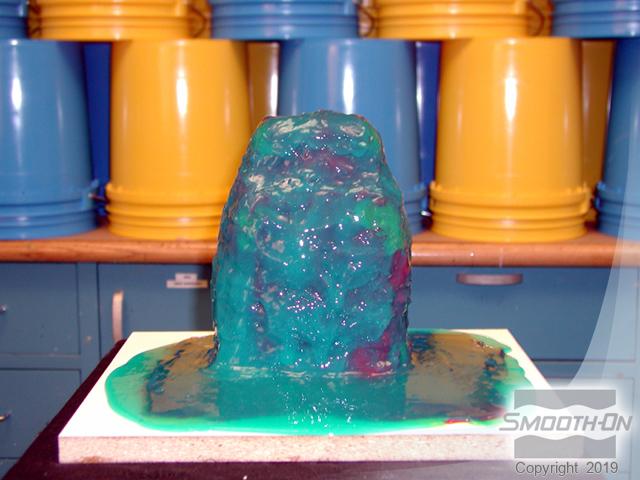
Mix a final batch of Dragon Skin™ 10 Very Fast with some THI-VEX™ II added. Brush this batch over all other layers. This layer will further build thickness, but will also smooth out the surface of the mold, making application of a support shell easier. Ultimate mold thickness should be approximately 3/8'' (1 cm). Allow rubber mold to completely cure (approximately 60 minutes).
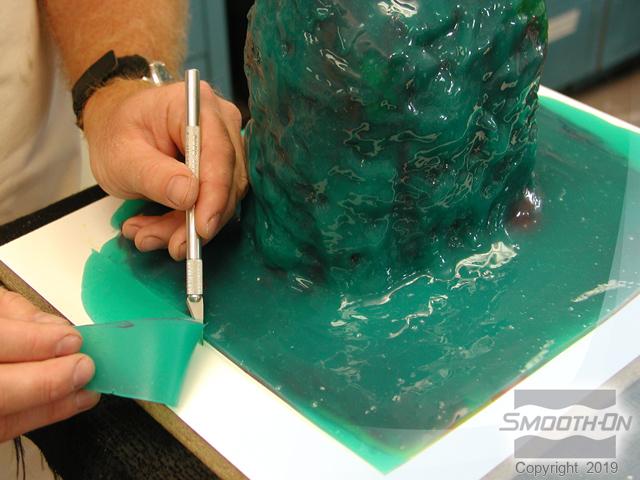
Step 5: Preparing Mold For Support Shell
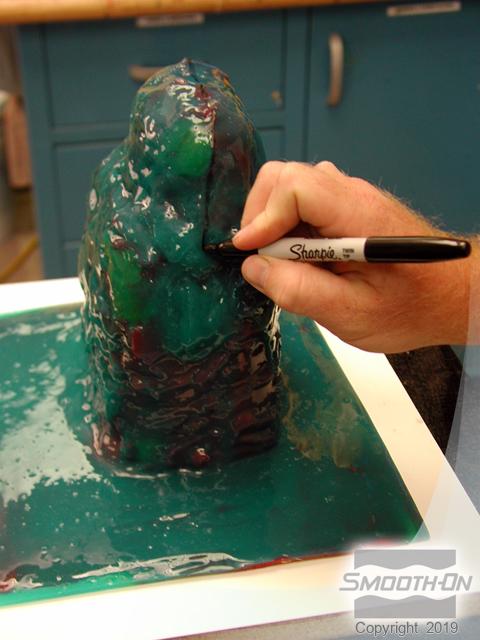
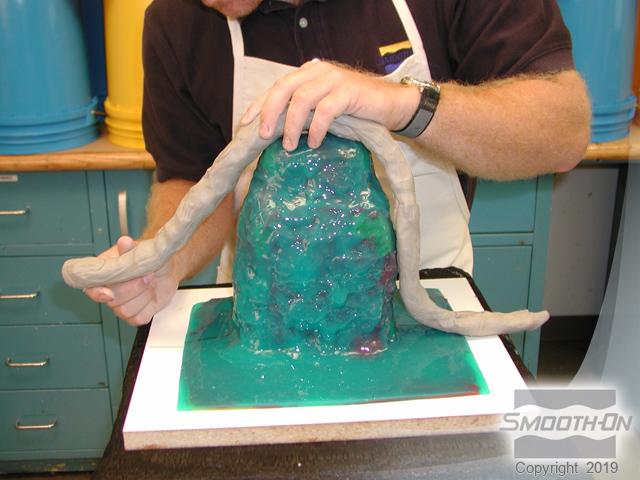
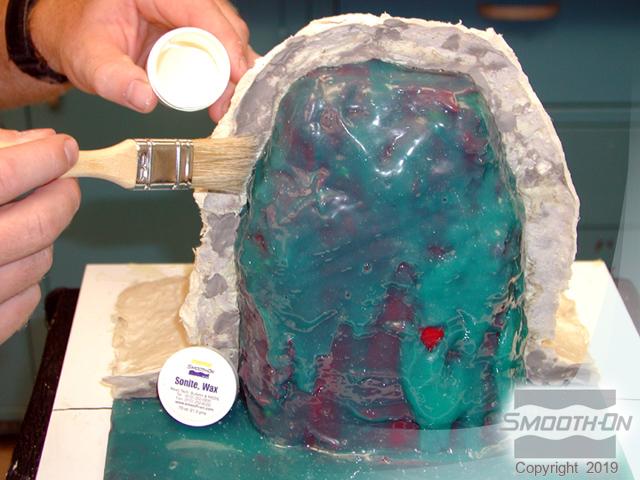
Prepare the mold for application of the support shell by trimming back the flange to a straight edge around the entire mold. Gather materials used to create the two piece support shell. Begin by planning out where the support shell will split to prevent mechanical lock. Then, draw a line over the high points of the model. Using water clay, create a shim along this line. This shim will act as a separation line between the two halves of the shell. Brush Smooth-On's Sonite™ Wax over all of the surfaces that Plasti-Paste™ will come in contact with, including the base board.
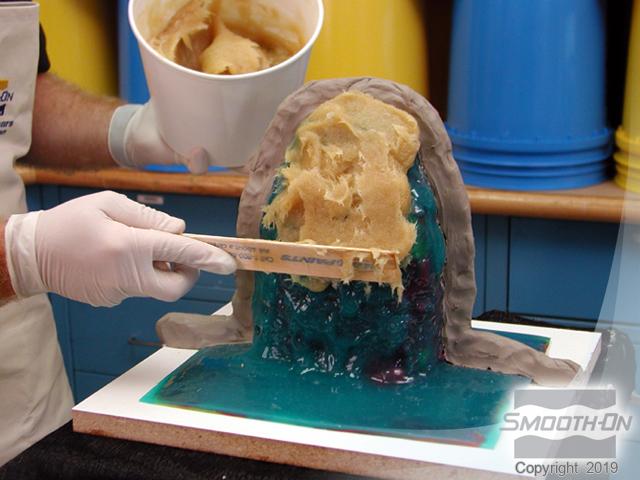
Step 6: Constructing 1st Half Of Support Shell
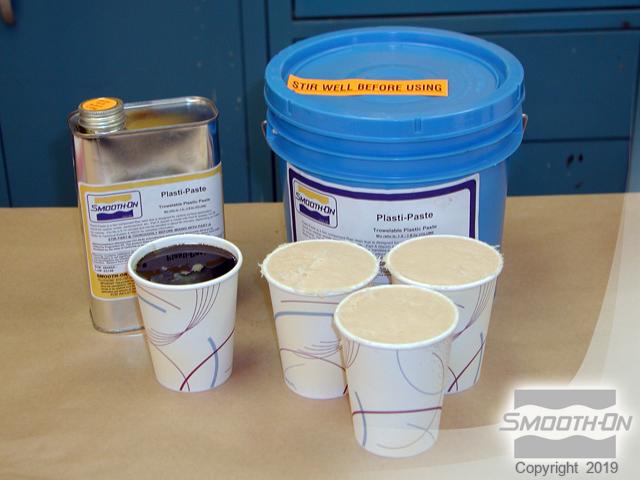
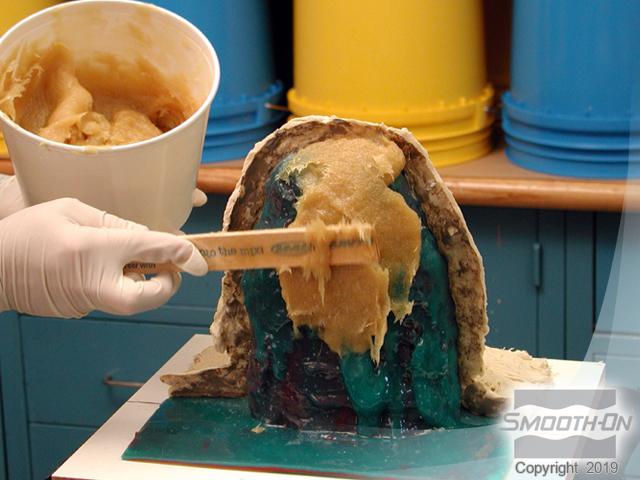
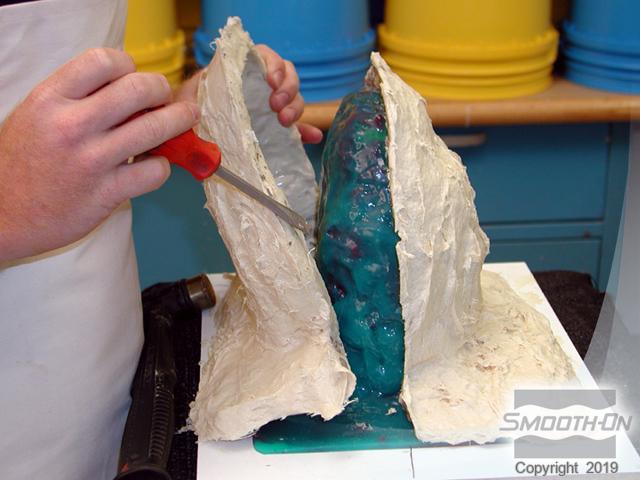
Smooth-On's Plasti-Paste™ filled urethane plastic is designed for use as a support shell. It is mixed in a ratio of 1 Part A to 3 Parts B by volume. Mix and apply Plasti-Paste™ over the rubber mold and build the Plasti-Paste™ support shell to an ultimate thickness of 3/8'' (1 cm). After the first half of the Plasti-Paste™ shell has fully cured (about 90 minutes), remove clay in preparation for application of the second half.

Step 7: Constructing Second Half of the Support Shell
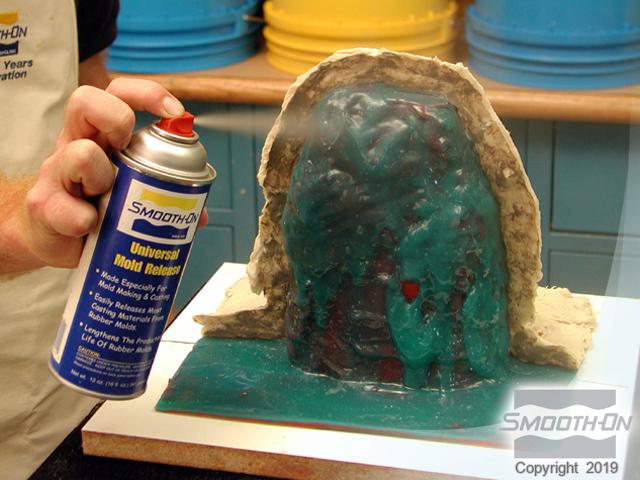
Plasti-Paste™ will stick to itself and other surfaces vigorously, so it is important to use a release agent to separate the two halves of the shell. Begin by applying Smooth-On's Sonite™ Wax to any surface that the fresh Plasti-Paste™ will come in contact with. Follow the application of Sonite™ Wax with a spray coat of Universal Mold Release™. Then, mix and apply a second batch of Plasti-Paste™, building the Plasti-Paste™ support shell to an ultimate thickness of 3/8'' (1 cm). Allow the Plasti-Paste™ shell to fully cure (approximately 90 minutes).
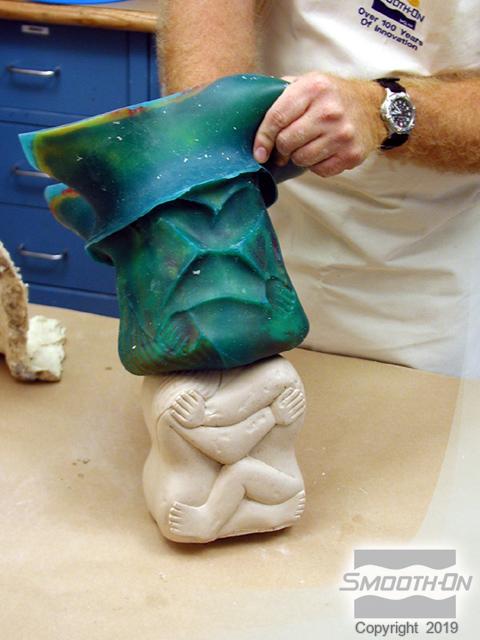
Step 8: Demolding Model From Mold
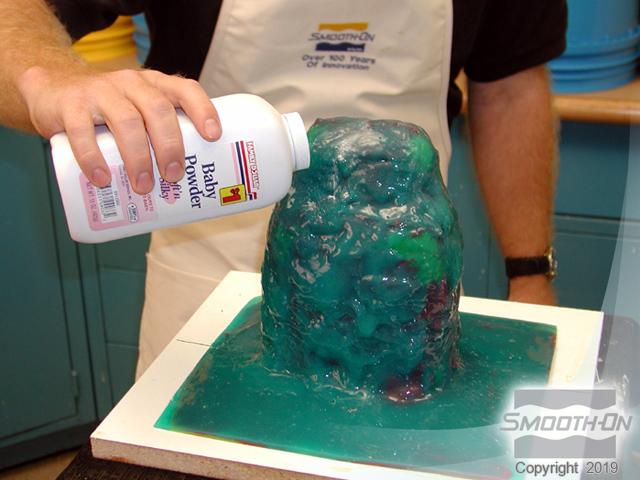
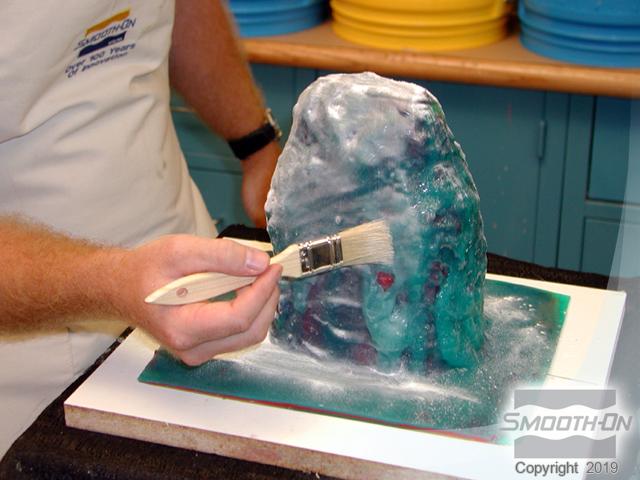
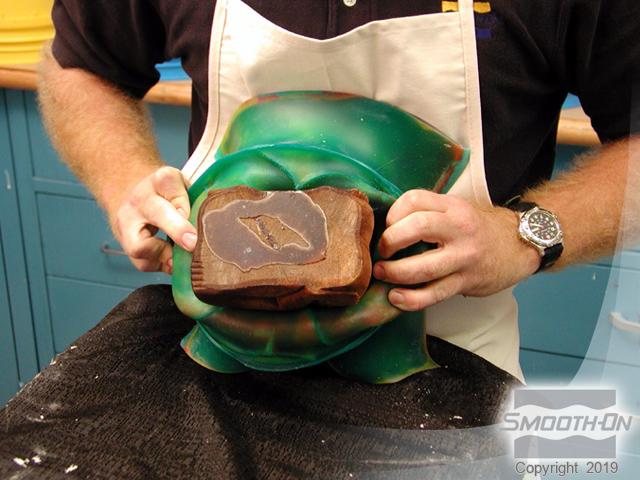
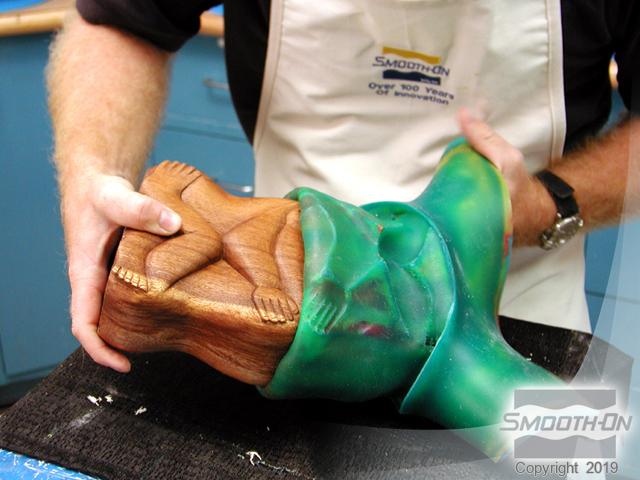
Once the Plasti-Paste™ has cured, the support shell can be removed. Before peeling back the rubber mold, apply some talc powder to the outside surface of the mold. The talc powder will make removing the Dragon Skin™ mold easier by reducing friction on the surface of the rubber. Begin removing the Dragon Skin™ by peeling it back from the base. Continue rolling the rubber mold over on itself. Dragon Skin™ is soft and stretchy enough to be completely inverted, like a glove.
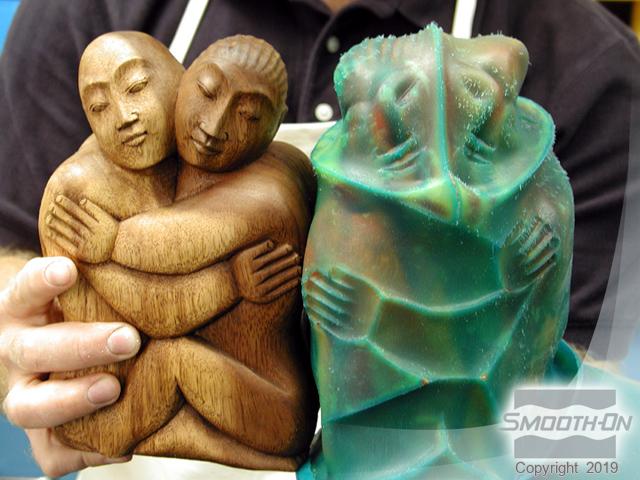
The Dragon Skin™ rubber will reflect perfect detail captured from the original piece. Because the silicone is so stretchy, there is no need to cut the mold in order to remove the original.
Step 9: Preparing and Casting Smooth-Cast 300
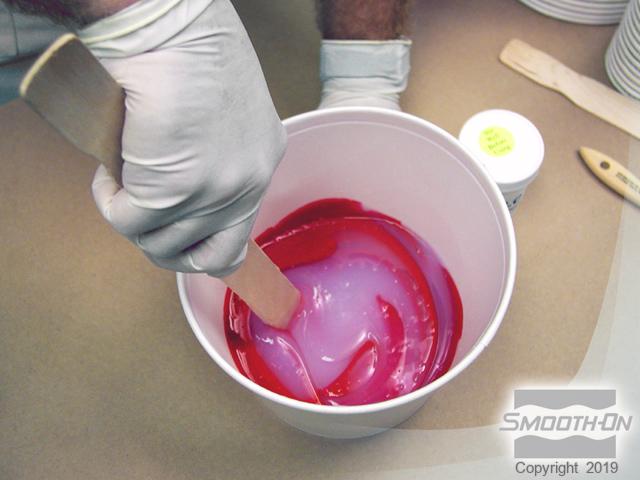
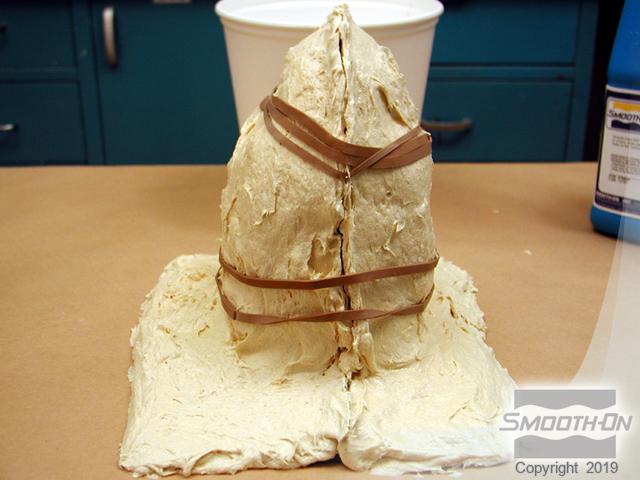
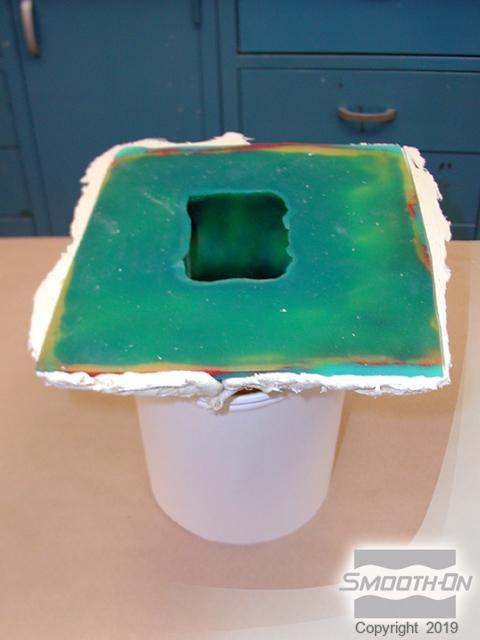
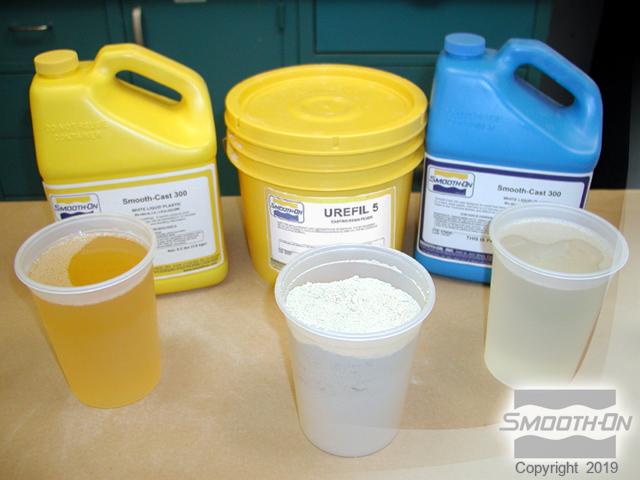
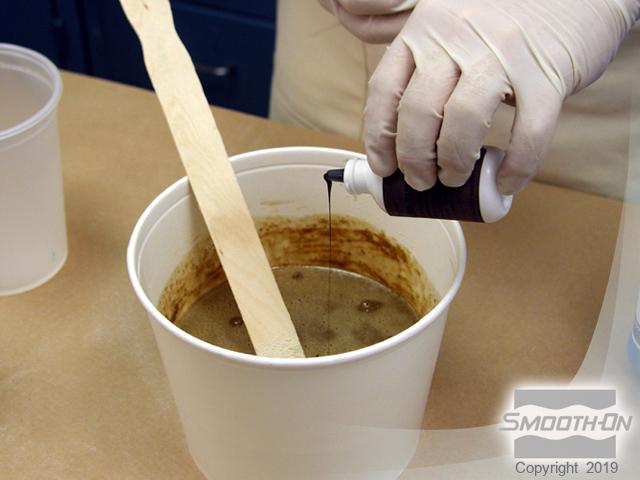
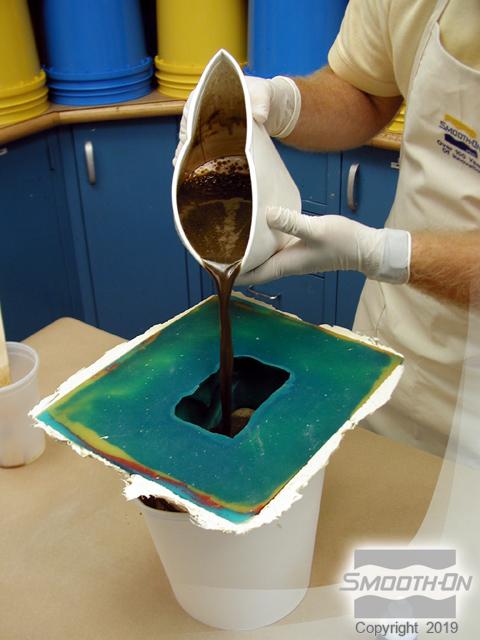
Re-seat the Dragon Skin™ mold into the Plasti-Paste™ support shell. Rubber bands are used to bind the two halves of the shell together. Invert the mold and place it into a bucket. Once the mold is level, the casting process can begin. When reproducing woodgrain, it is important to use the appropriate combination of resin and filler. Smooth-On's Ure-fil™ 5 is combined with Smooth-Cast™ 300 to create a woodgrain finish. The proper mix ratio is 1 Part A to 1 Part B to 1 Part filler by volume. Combine all elements. Adding SO-Strong™ Brown pigment will result in a casting closer in color to the original. Mix all elements thoroughly until no color striations are present. Once thoroughly mixed, pour the resin/filler mixture slowly into the mold.
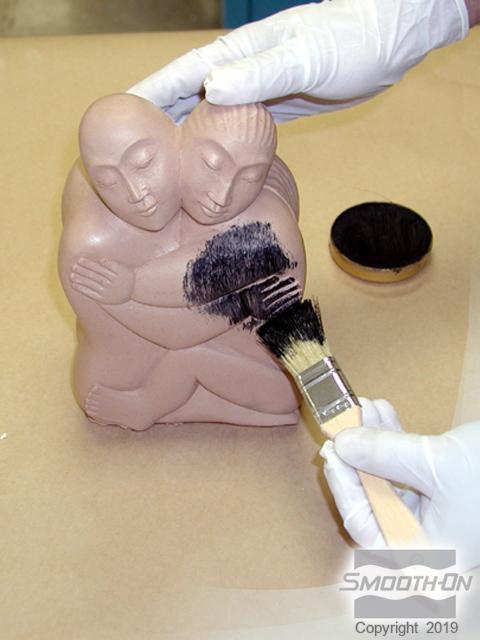
Step 10: Demold and Finishing Casting
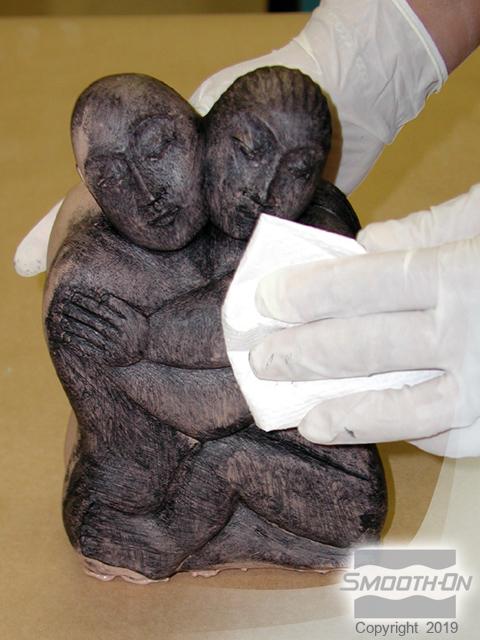
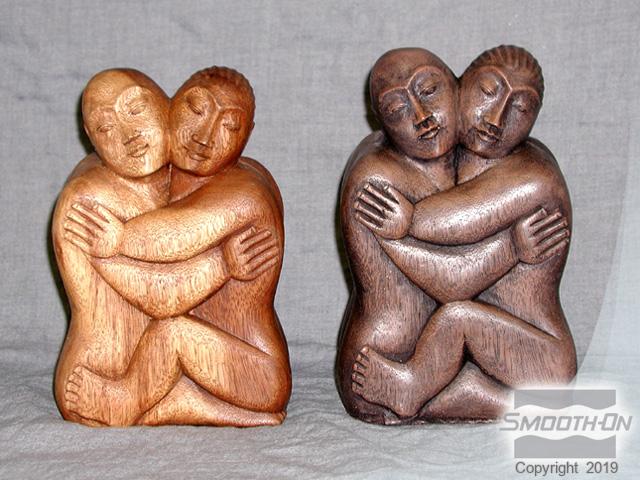
Once the Smooth-Cast™ resin has cured (about 10 minutes) the Dragon Skin™ silicone mold can be removed from the casting. Cured casting is a dull tan color, but the woodgrain is still present in the piece; it simply needs to be highlighted. In this case, brush black shoe polish into the surface of the piece. Allow the shoe polish to sit for a short period, then use a paper towel to wipe off any excess. The shoe polish will remain in the details and deeper areas of the casting.
Follow up with a spray of clear acrylic lacquer, and the finished pieced is ready to be displayed alongside the original. The woodgrain has been reproduced to perfection and the casting looks just like real wood!