How to Make a Full Head Mold with Body Double™
Step 3: Applying Body Double™ Materials
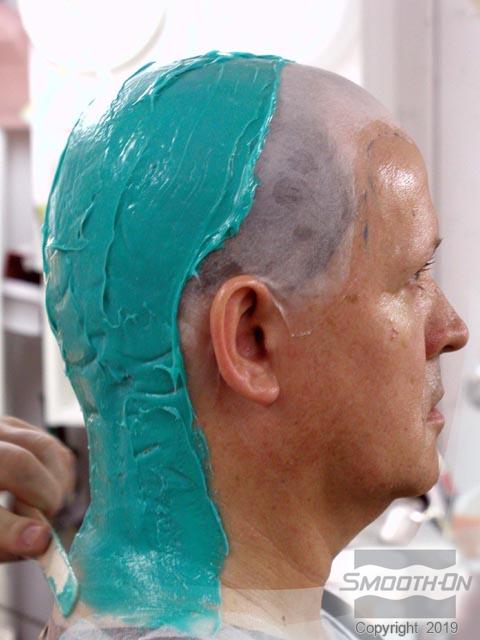
Prepare any exposed skin surfaces by applying a thin layer of Body Double™ Release Cream. This will hold hairs down so they don't get encapsulated. Then, mix and apply Body Double™ FAST SET from the top of the head down. Our mold is being built to separate into two separate pieces without the need to cut it with scissors. The parting line is created by 'sculpting' the Body Double™ silicone rubber.
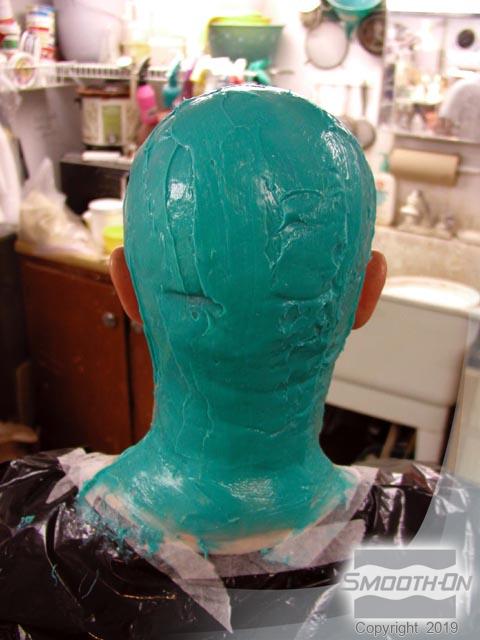
Create a second batch of Body Double™ Fast Set - this time with Thi-Vex™ II Silicone Thickening Agent added in order to provide a thicker consistency. Apply this to the first layer to build-up the mold thickness. After two layers of Body Double™ FAST SET have been applied to the back of the head, apply plaster bandages to create the support shell (or mother mold) for the back half of the mold.
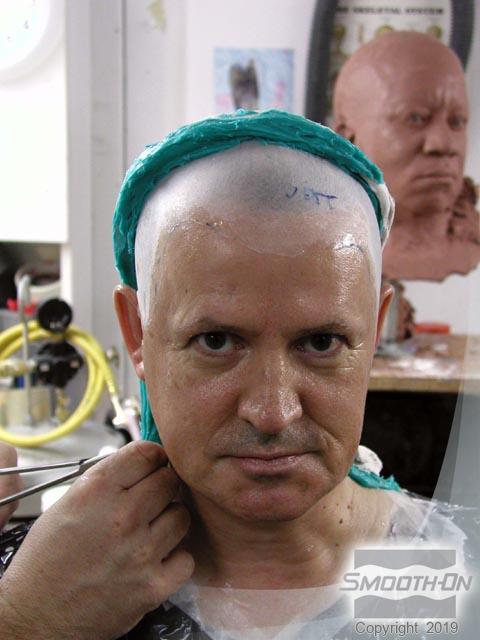
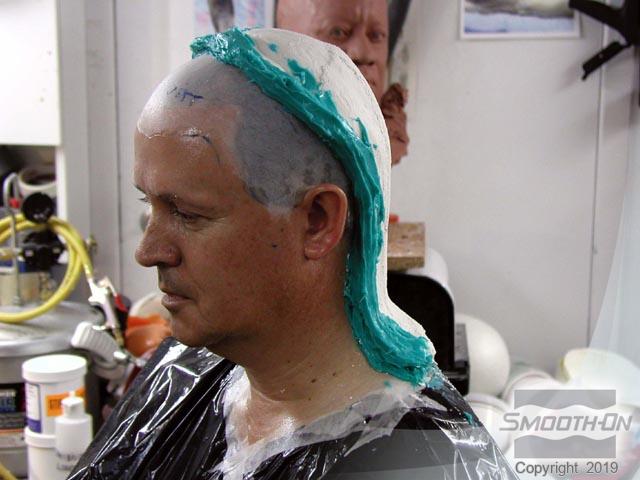
Once the plaster bandage has been adequately applied on the back side, mix more Body Double™ FAST SET with Thi-Vex™ II silicone thickener and apply it to the exposed strip of silicone. This new batch of Body Double™ FAST SET permanently bonds to the existing silicone. Apply the Body Double™ FAST SET to slightly overlap the plaster support shell to help create a tight seam for later casting.