How to Make a Full Head Mold with Body Double™
Overview
Body Double™ Silicone Rubber is used by both professionals and hobbyists to make ultra-high definition impressions directly off the human body. In their cured state, body molds made using Body Double Silicone Rubber exhibit virtually no shrinkage. Furthermore, Body Double molds will maintain their dimensional stability for many years, even after being cast many times. Body Double is skin safe and certified by an independent laboratory.
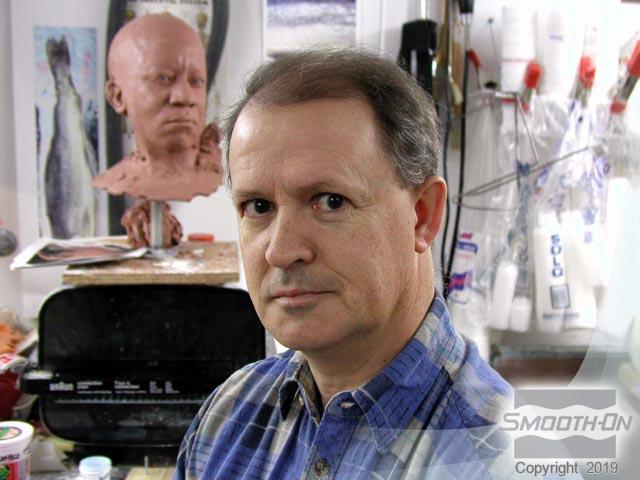
When Guy Louix-XVI of HI-Realism Mannequins by Guy Louix-XVI SFX (Ottawa, Canada) is called upon to fabricate ultra-high realism mannequins from lifecasts for museums, he chooses Body Double Silicone Rubber because he knows the ability of the rubber to pick up the finest detail on his models' skin. Such was the case recently for Guy when he was contracted by the Canadian War Museum to provide numerous lifelike mannequins for recreated battle scenes from WWI & WWII.
By choosing Body Double to make his lifecasting body molds, Guy saves countless hours that would be spent resculpting his lifecasts.
"Frequently in lifecasting projects, when either alginate or other silicones are used, the mold material tends to entrap air in undercut areas like around the lips and eyes. When that happens I have to take time to correct these imperfections in my castings, then make a new mold! When I began using Body Double, especially the Standard Set, it gave me time to work it into the detail so that my molds come out virtually flawless. Now I don't have to resculpt or make a second mold. The Body Double mold is all I need. It's amazing how much time I have shaved off my project turn-around time!" - Guy Louix-XVI
There are two versions of Body Double available: STANDARD SET & FAST SET. There are only three distinct differences between the two versions:
- Pot Life – the amount of time you have to work with the material to get Part's A & B mixed thoroughly and applied before it gels. The STANDARD SET has a 5 minute Pot Life; the FAST SET has a 90 second Pot Life.
- Cure Time – how long it takes for the silicone rubber to fully cure. The STANDARD SET has a 25 minute Cure Time; the FAST SET has a 6 minute Cure Time.
- Color – the STANDARD SET has a purple color when thoroughly mixed; the FAST SET has an Aqua Green color when thoroughly mixed. We gave them different colors so users will know which version they are working with.
It is possible to incorporate both versions of Body Double into one mold, especially in situations where a longer Pot Life in the silicone rubber is desired in order to pick-up ultra-high definition on the surface of the skin, such as facial features. In the sequence below, Guy has chosen to utilize both versions of the silicone in the mold of his model Jaques.
Other processing options when working with Body Double include the opportunity to mix in Smooth-On's Silicone Thinner to give the Body Double a looser consistency (which is very useful on a first coat) and Thi-Vex™ II to give the Body Double a more buttery consistency (useful in building up undercuts).
Materials Used in this Tutorial
- Mixing Sticks
- Mixing Containers
- Body Double Fast Set
- Body Double Standard Set
- Body Double Release Cream
- Bald Cap
- Isopropyl Alcohol
- Plaster Bandages
- Thi-Vex
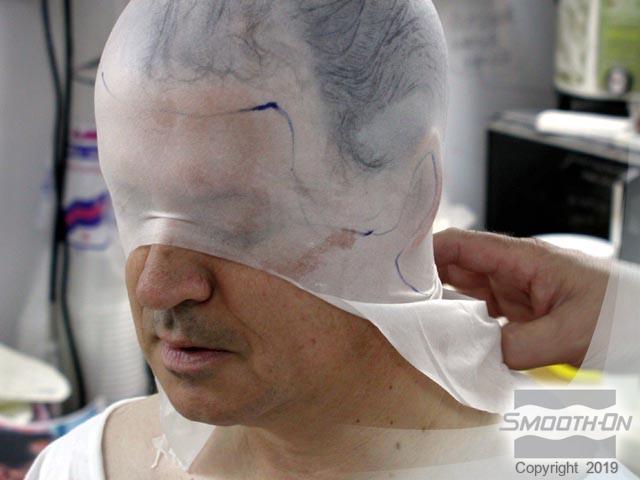
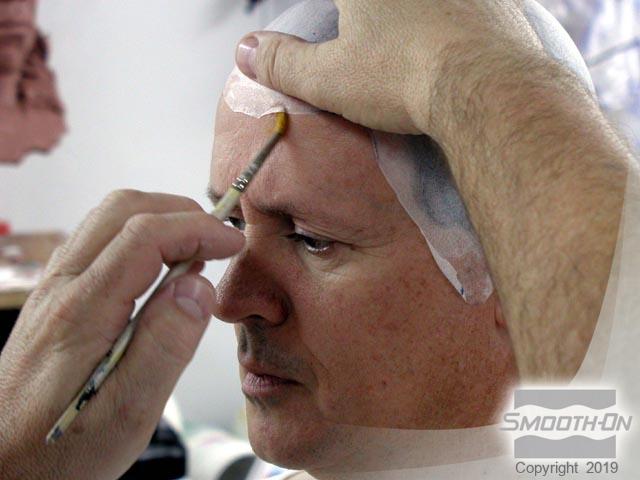
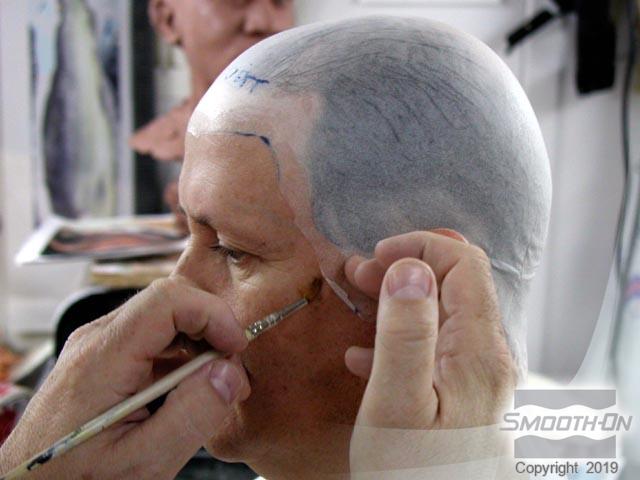
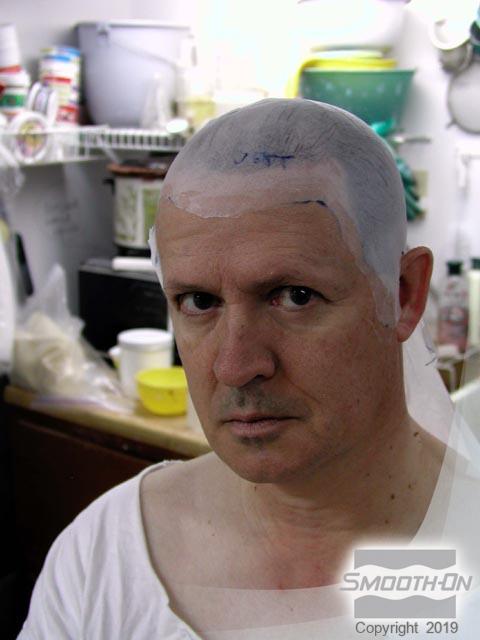
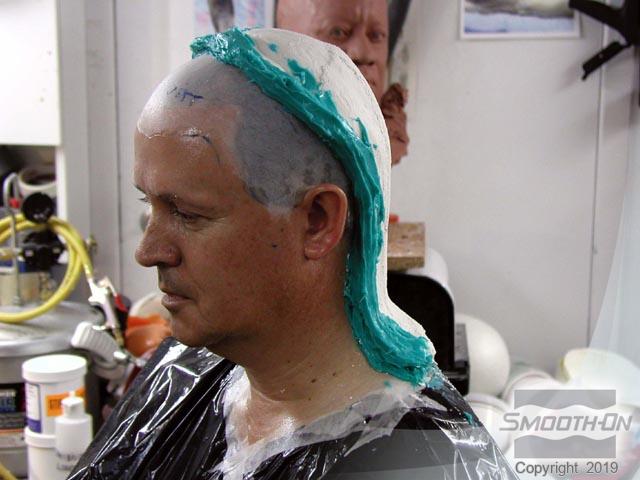
Step 1: Preparing Model
Begin by first putting the bald cap in place in order to protect the model's har, blending the edge of the bald cap with isopropyl alcohol. Make sure all edges are securely blended and the bald cap is in place properly.
Step 2: Preparing Materials
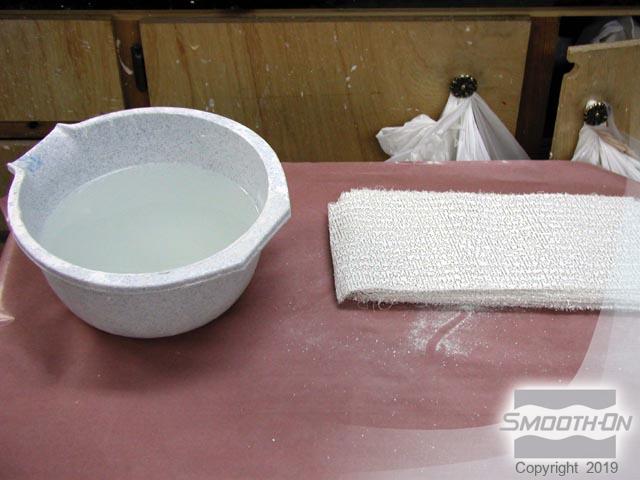
Below we have our Body Double® Lifecasting silicone rubber PRE-MEASURED. Each measurement of Part's A & B represents a separate batch of material that will be mixed & applied. Our plaster bandages are also PRE-CUT. To save time during the moldmaking process it is recommended that all moldmaking materials & supplies be measured out before hand.

Step 3: Applying Body Double™ Materials
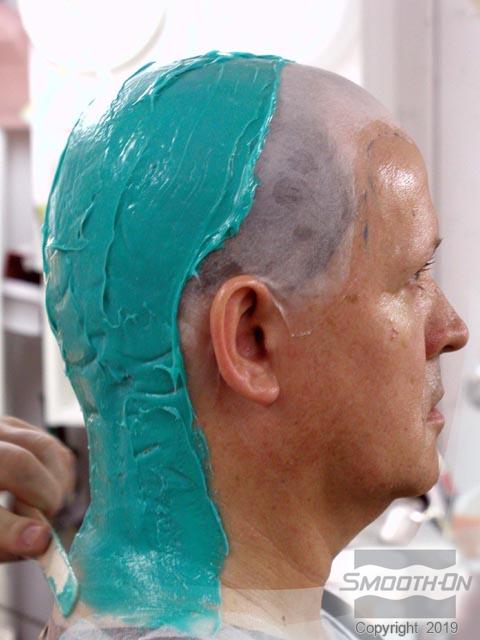
Prepare any exposed skin surfaces by applying a thin layer of Body Double™ Release Cream. This will hold hairs down so they don't get encapsulated. Then, mix and apply Body Double™ FAST SET from the top of the head down. Our mold is being built to separate into two separate pieces without the need to cut it with scissors. The parting line is created by 'sculpting' the Body Double™ silicone rubber.
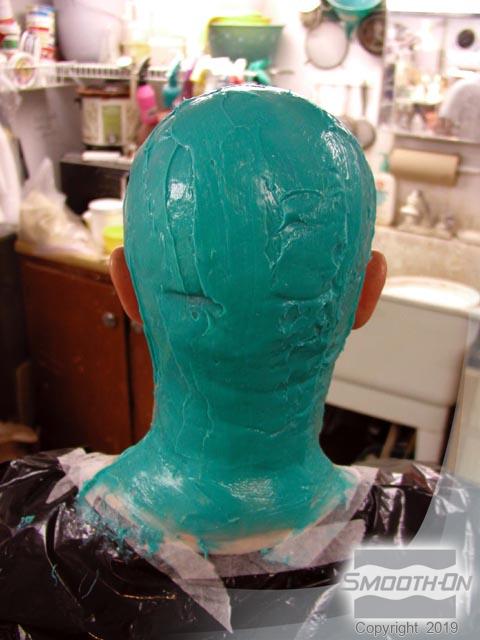
Create a second batch of Body Double™ Fast Set - this time with Thi-Vex™ II Silicone Thickening Agent added in order to provide a thicker consistency. Apply this to the first layer to build-up the mold thickness. After two layers of Body Double™ FAST SET have been applied to the back of the head, apply plaster bandages to create the support shell (or mother mold) for the back half of the mold.
Once the plaster bandage has been adequately applied on the back side, mix more Body Double™ FAST SET with Thi-Vex™ II silicone thickener and apply it to the exposed strip of silicone. This new batch of Body Double™ FAST SET permanently bonds to the existing silicone. Apply the Body Double™ FAST SET to slightly overlap the plaster support shell to help create a tight seam for later casting.


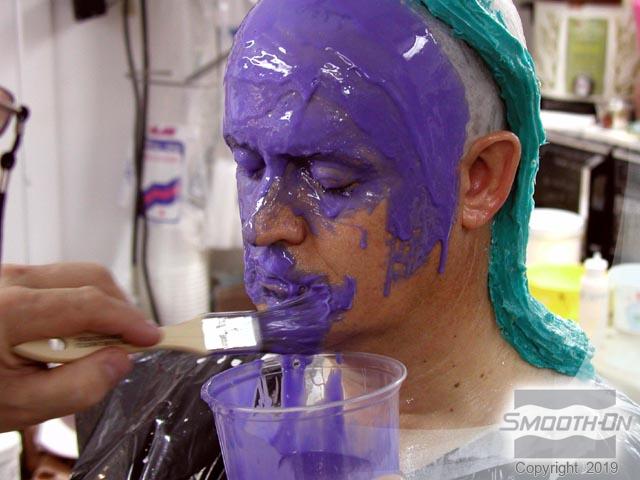
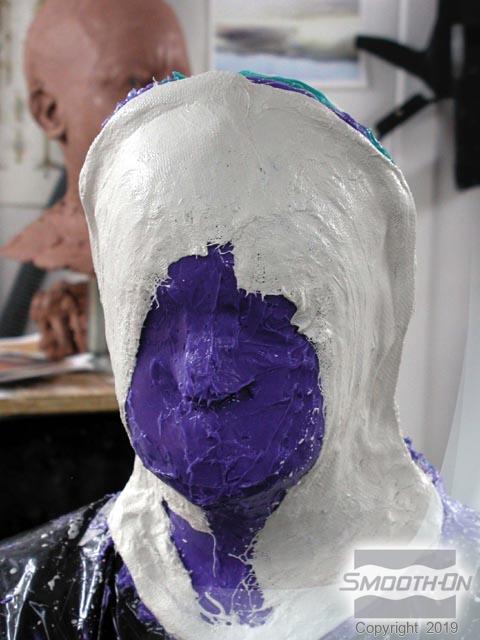
Step 4: Applying Body Double® Materials To The Models Face
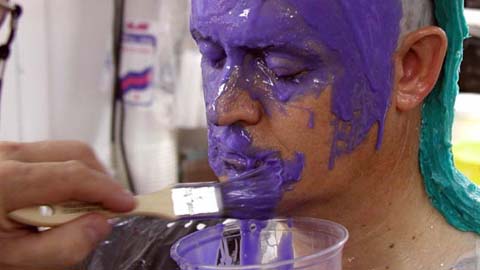
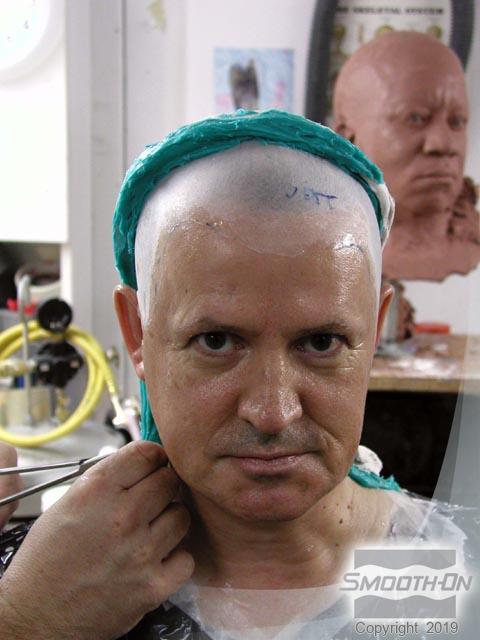
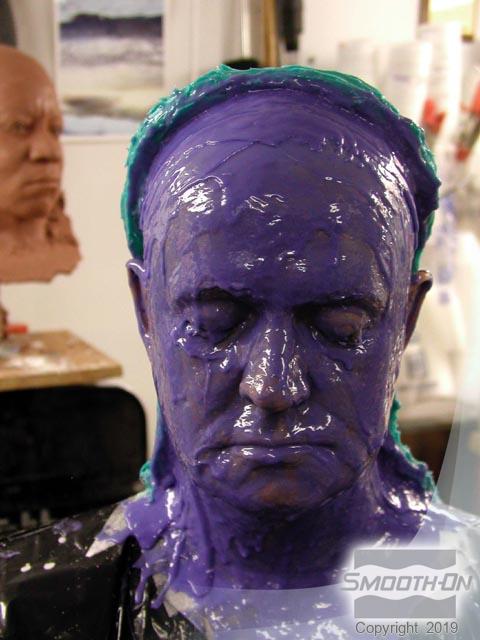
Apply Body Double® STANDARD SET to the face. This batch has Silicone Thinner added into the mix to loosen-up the consistency of the silicone rubber. This will ensure that the material picks up even the most minute detail on the skin. Apply the first layer of Body Double® STANDARD SET from top to bottom and left to right.
NOTE: Do not lay the material up against the FAST SET yet; also leave the ears exposed for as long as possible so that your model can hear.
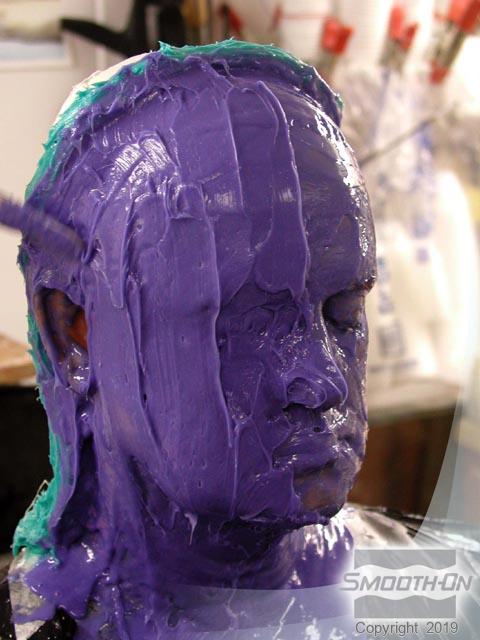
Now apply the second layer of Body Double® STANDARD SET, which should be applied directly onto the first layer after the first layer develops a tacky surface.We now have two layers of STANDARD SET applied. Once the second layer gets tacky, apply a third layer of STANDARD SET with Thi-Vex® II silicone thickener added to give the mold thickness (or structural integrity).
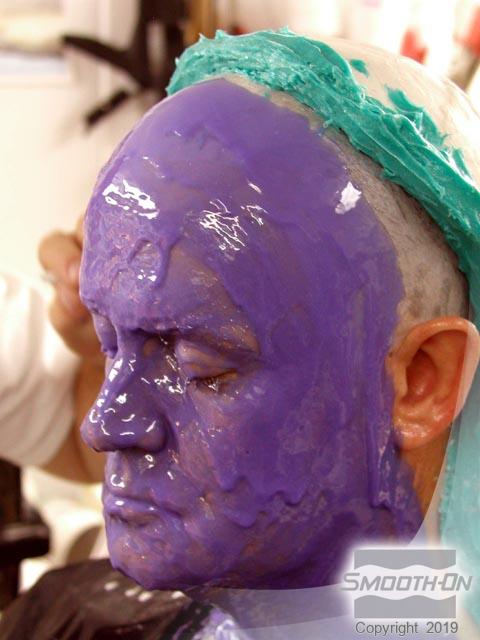
Step 5: Adding Thi-Vex™ II into Body Double™ Standard
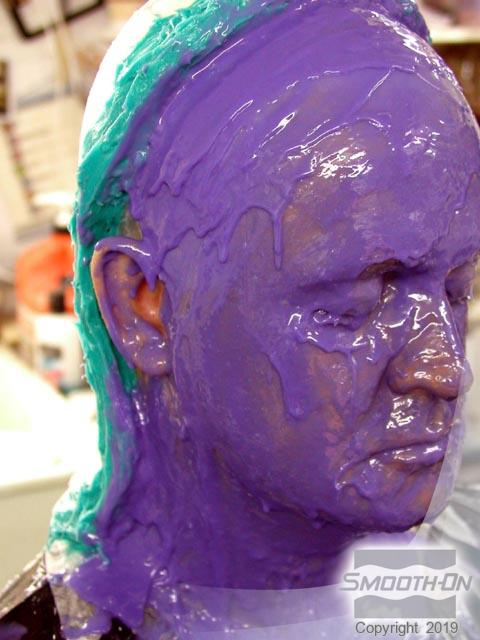
The below pictures show Body Double™ STANDARD SET with Thi-Vex™ II added in. Notice the thicker quality in the silicone rubber. Continue to leave the ear canal open for communication purposes. Body Double™ silicone rubber will bond exceptionally well to itself, so when we add rubber into the ears, there will be no problem getting the rubber to bond to itself.
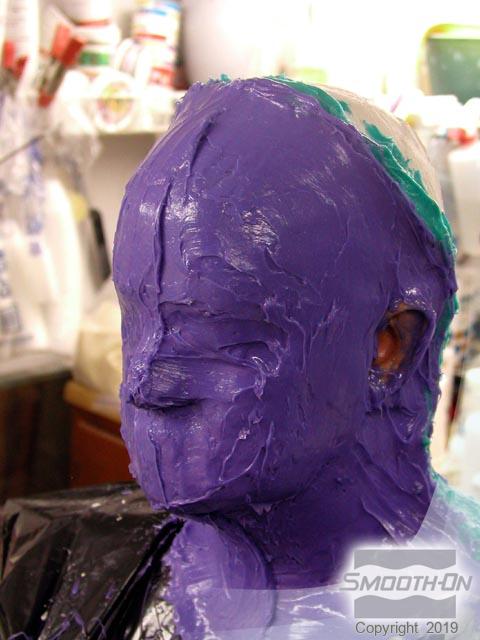
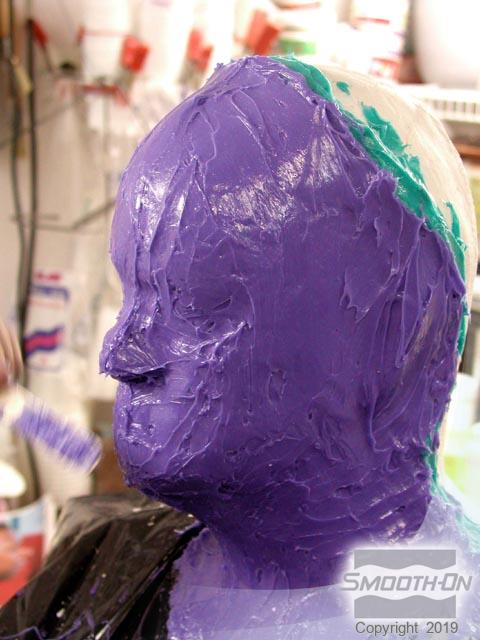
Apply two layers of Body Double™ STANDARD SET with Thi-Vex™ II silicone thickener added in to the facial areas. After applying these two layers to the facial areas, mix small batches of STANDARD SET with Thi-Vex™ II to apply to the ear canal.
NOTE: Prior to applying Body Double™ to the ear canal be sure to coat the ear with Body Double™ Release Cream.

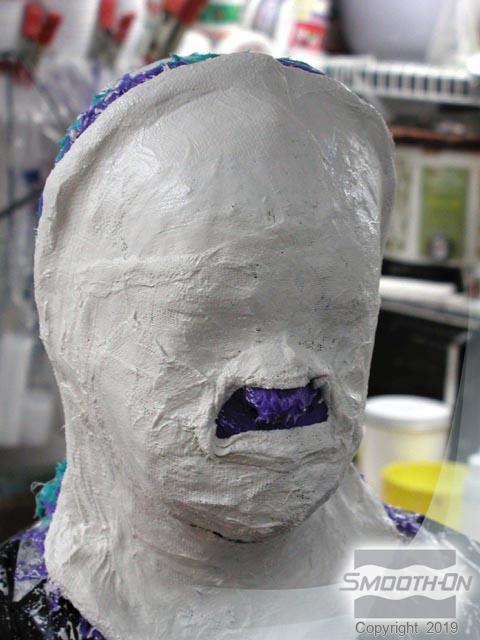
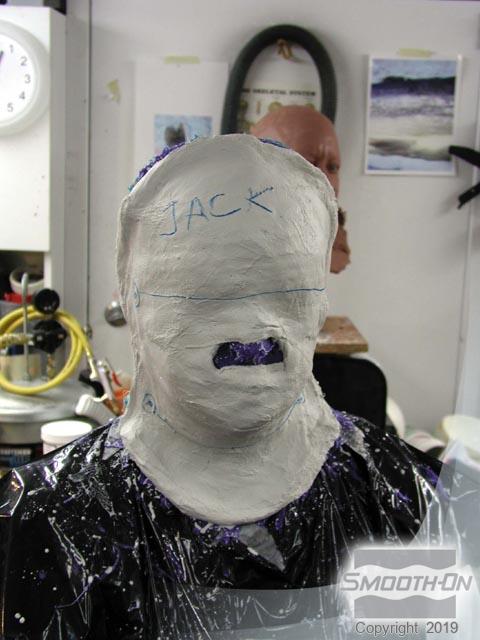
Step 6: Applying Plaster Bandages
After the STANDARD SET has cured beyond the tacky stage, apply the plaster bandages to create the support shell for the front half of the mold. When applying the plaster bandages, be sure NOT to cover the breathing holes for the model. (In the application shown below, the model is breathing through his nose.)
After the plaster bandages have been completely applied, it is necessary to let the bandages cure solid. This will usually take about 7 - 10 minutes.
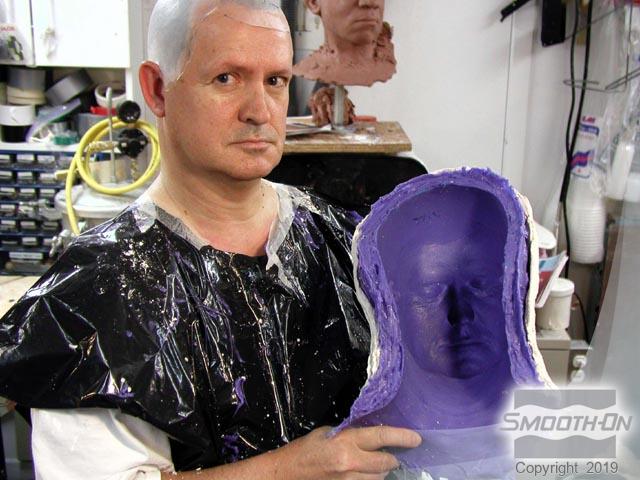
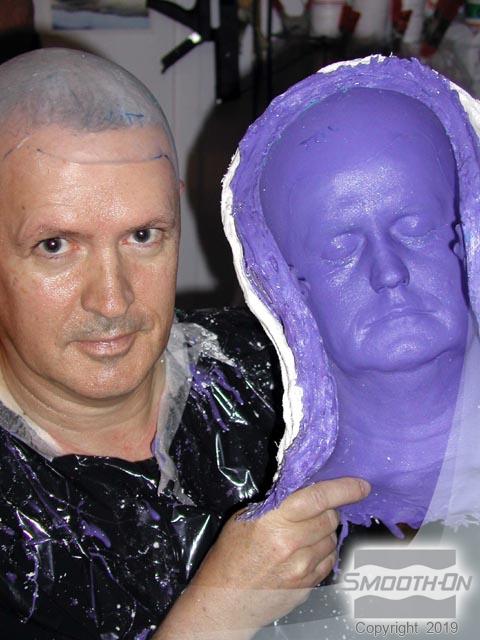
Step 7: Demold
Once the plaster bandages have cured, remove the front support shell followed by the front half of the Body Double® silicone rubber mold. With careful preparation and precision usage of Body Double® silicone rubber, a full front/back head mold for body casting is produced and the model is safe.
NOTE: After the mold is completely removed, the nose holes in the rubber mold are plugged with more Body Double®.