How To Build a Hot Box Oven For Heat Curing Materials
Overview
We’ve come up with a way to easily build a cheap “hot box” to any size you want. Our design will create convection currents and maintains constant temperatures, resulting in even heating of materials, which is exactly what you need. The foam board and other materials needed to build the hot box can be found at Home Depot or other DIY stores.
Materials Used in this Tutorial
- 2” (5 cm) Foil Insulation Board, Heater
- 1” (2.5 cm) Drywall Screws
- Glass Thermometer
- Duct Tape
- Table Saw & Jig Saw
- Drill With 1” Hole Saw
- Screwdriver Bit
- ¼” Drill Bit
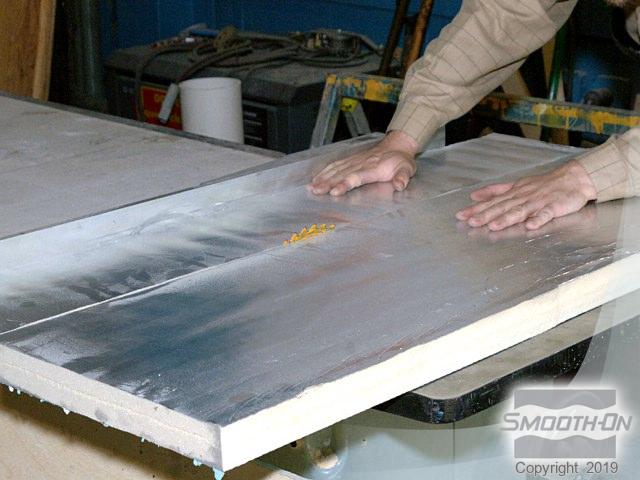
Step 1: Cut, Measure and Assemble The Box Section
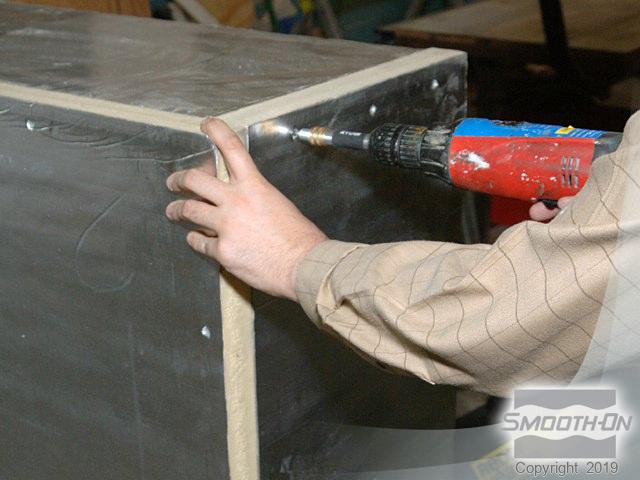
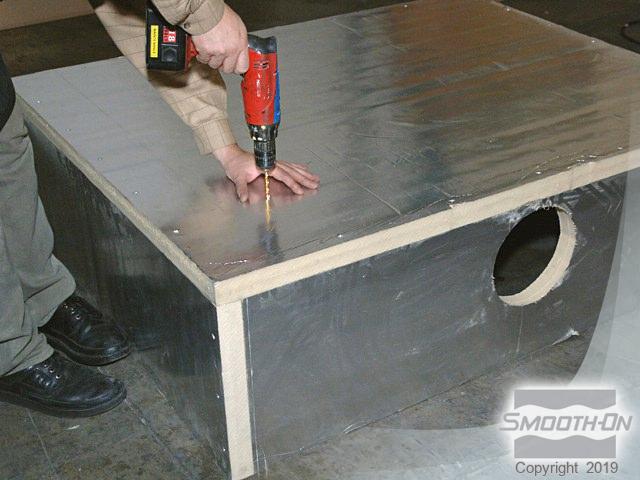
First, carefully cut the foil-back to size using a table saw. Use 1” (2.5 cm) screws to assemble the box.
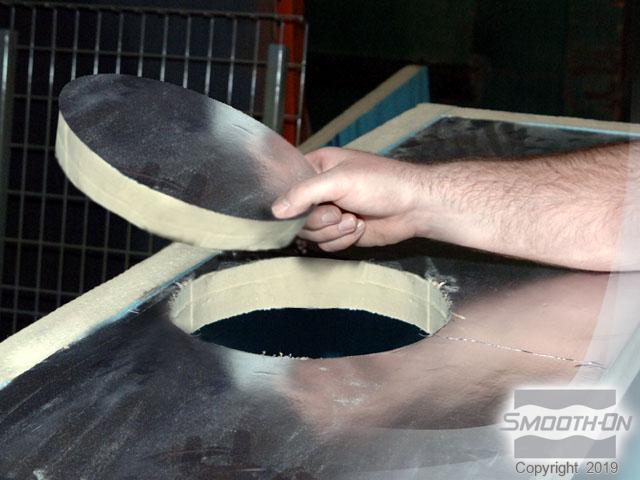
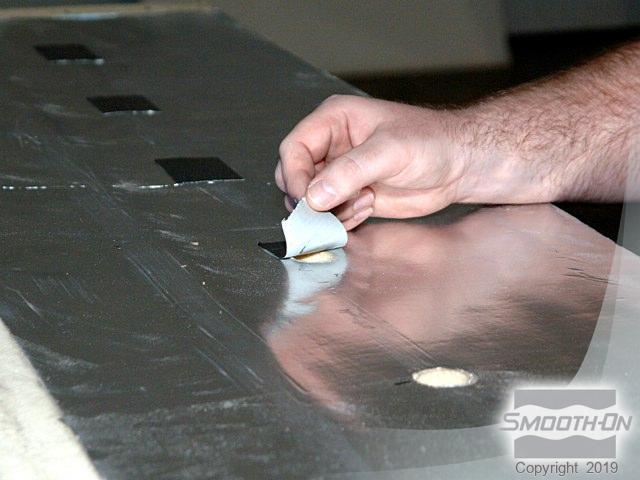
Step 2: Creating the Ventilation
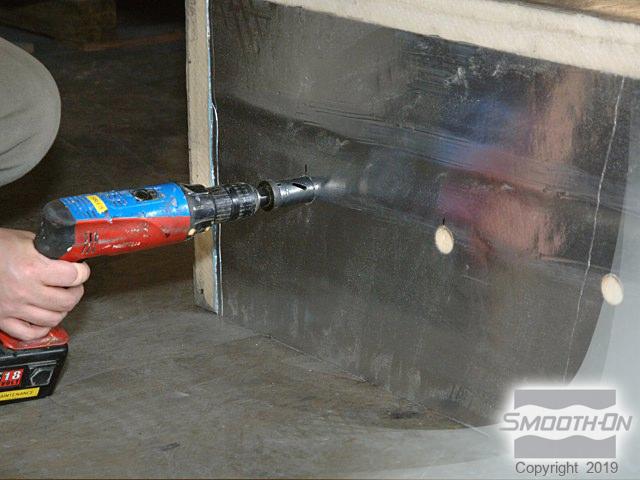
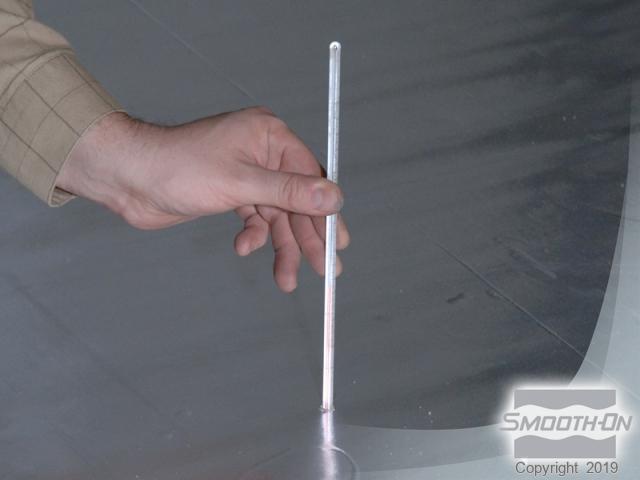
Use a jig saw to cut a port in the front panel to accomodate the blower end of the heater. Add multiple vent holes into the sides of the box. These will be sealed with duct tape and can be later opened/closed to vary and control the temperature. Next, drill a 1/4” hole for the thermometer, which is needed to monitor temperature. Thermometers can be purchased through a scientific equipment supply house.
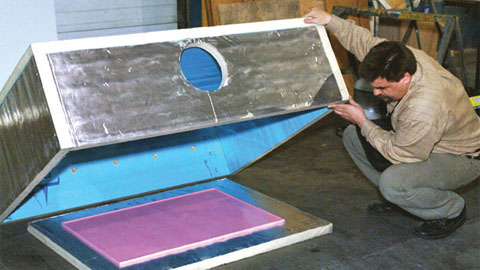
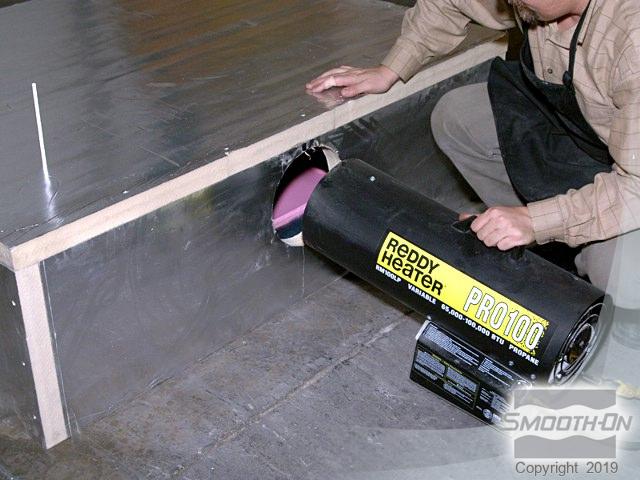
Step 3: Finishing the hot box oven
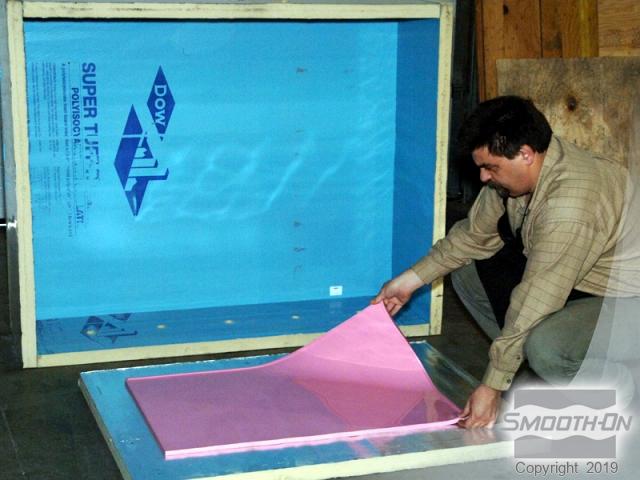
Place a mold in the center of a baseboard to insulate the mold from the concrete floor. Note: DO NOT place the mold or casting directly on a wood floor, table etc. Only use the Hot Box on a concrete floor or slab.
Fit the heater into the box port. This heater produced an ambient temperature of 203°F (95°C) in 5 min. Monitor the temperature while the heater is operating. The temperature can be controlled by adding or removing duct tape.
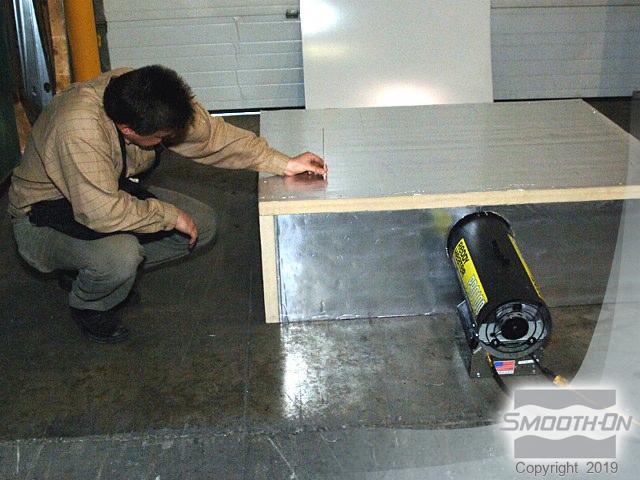
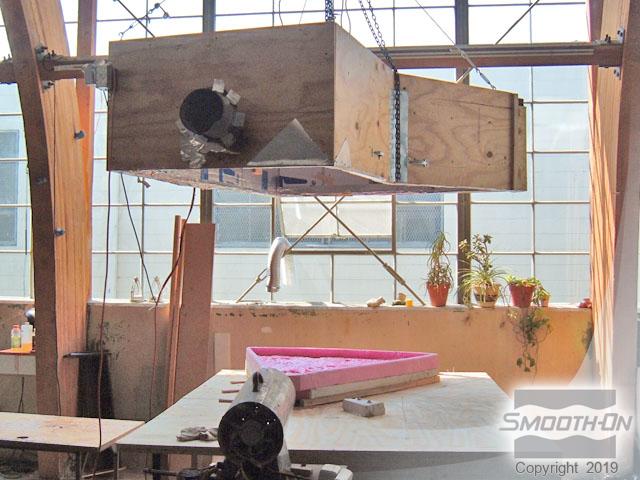
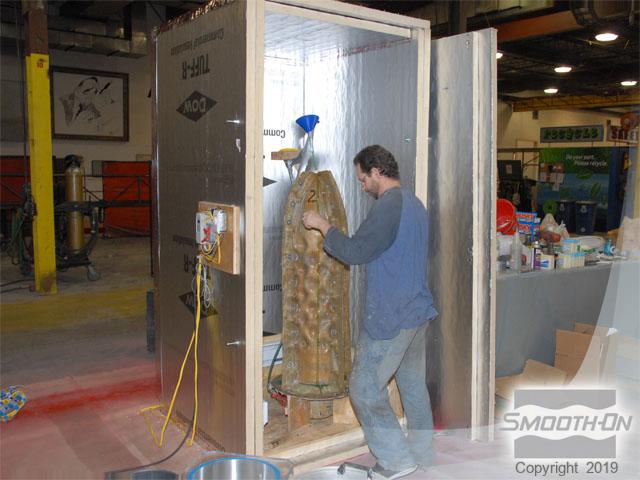
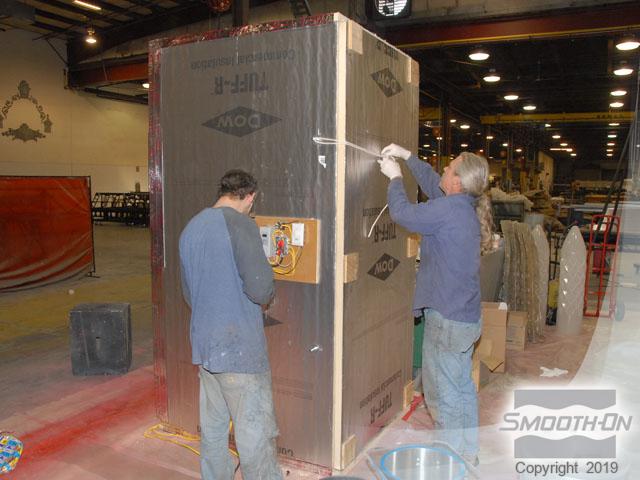
Step 4: Using Your New Hot Box
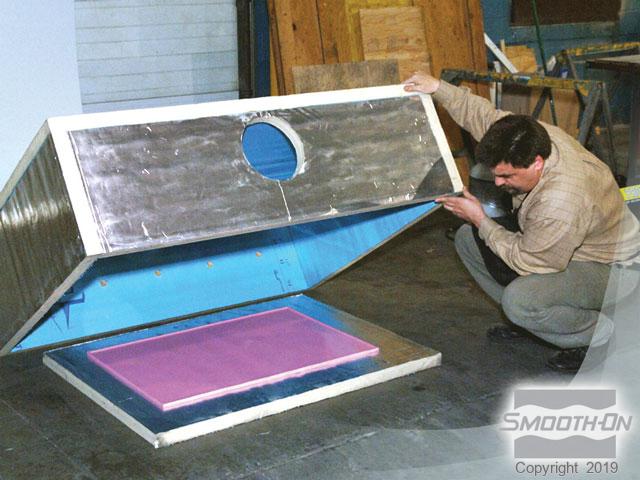
This type of oven can be reconfigured to many sizes. In this example, a custom built oven is lowered over a large Mold Max® silicone mold. This vertical hot box is large enough to accommodate very tall molds for Crystal Clear® castings. This large hot box is controlled via a digital thermostat. Post curing using heat is crucial in this application, as the pieces will be installed outdoors.