How To Make a Concrete Sink ‑ From Design To Production
Overview
Background - For a small business, finding and converting an opportunity in difficult economic times can seem like the ultimate challenge. When developing property in a down economy, the smallest details matter immensely and can mean the difference between a quick sale and hanging on to the property indefinitely.
The Project - In Mexico City, Mexico, a 600 unit condominium high-rise is being built to attract upscale buyers. A team of fabrication talent came together to create unique concrete décor elements with an aquatic theme. Custom designed concrete sinks, concrete showers and more will enhance the “wow” factor of these units to entice prospective buyers.
Materials Used in this Tutorial
- CAD Software
- CNC Router
- Foam-iT 8
- Spray Adhesive
- Primer
- Sulfur-Free Clay
- Plasti-Paste II
- Mixing Sticks
- Mixing Containers
- Mold Star 30
- Concrete
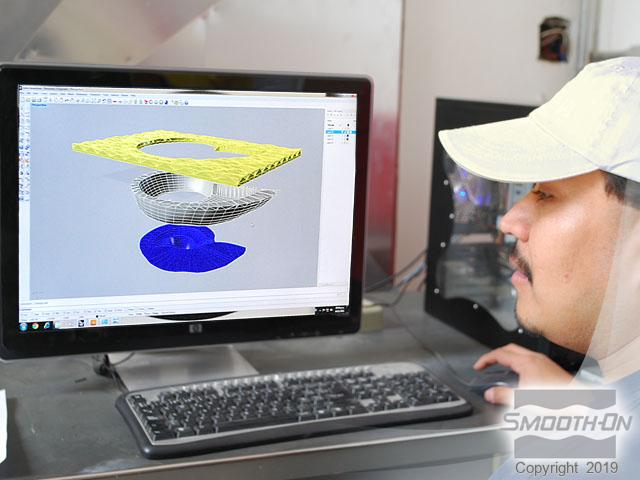
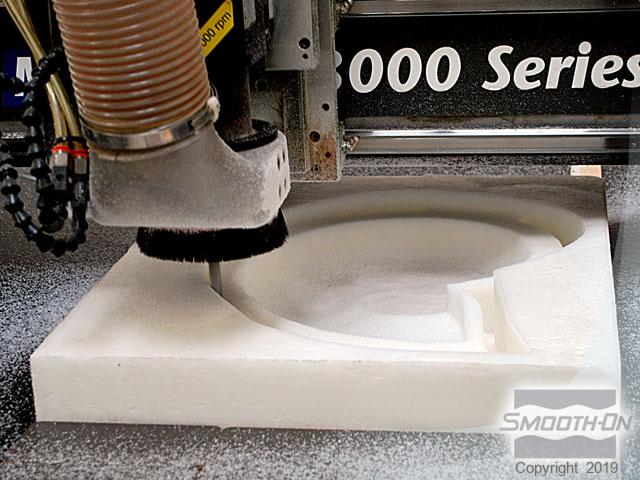
Step 1: Design
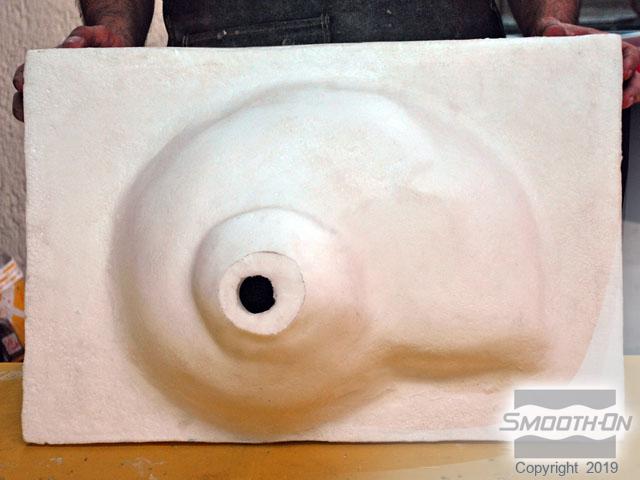
A Nautilus Fossil Shell was used as the basis for the sink design. Using the latest CAD software, the concept was converted to a 3-D rendering. Instructions for creating the 3-D pattern are transferred to a CNC router, which then carves blocks of Foam-iT!® 8 rigid urethane foam.

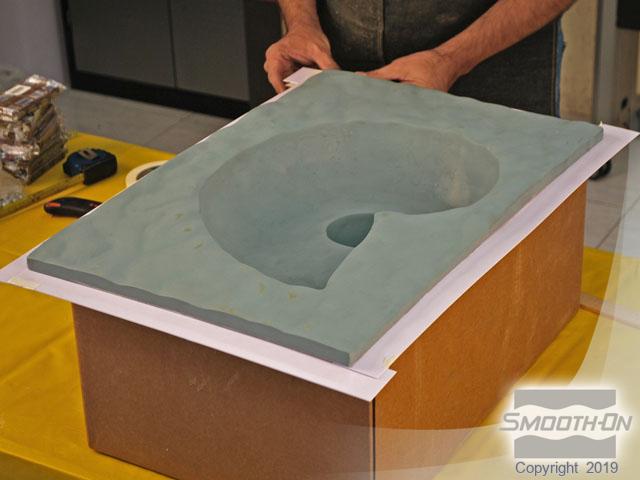
Step 2: Preparation of Foam
Spray adhesive is used to adhere these foam segments together. The CNC model was sealed with grey primer to prepare it for mold making. The cavity is formed using sulfur-free modeling clay.
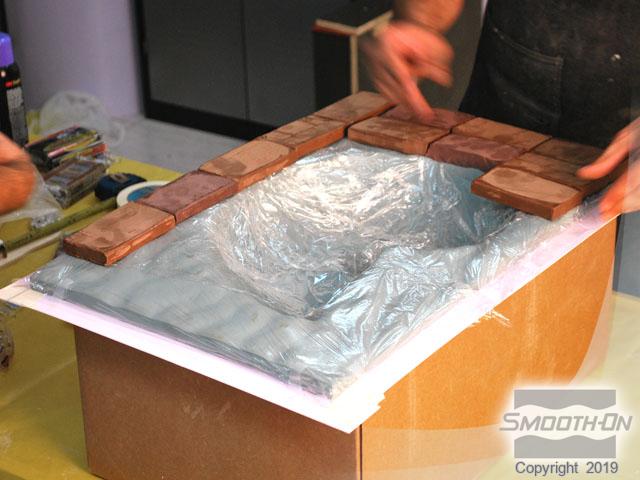
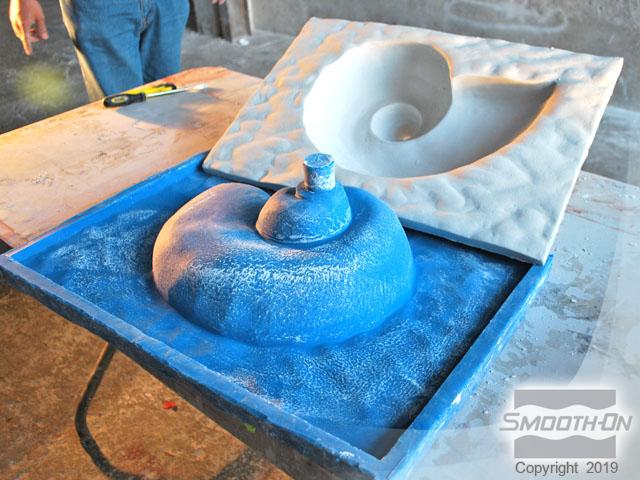
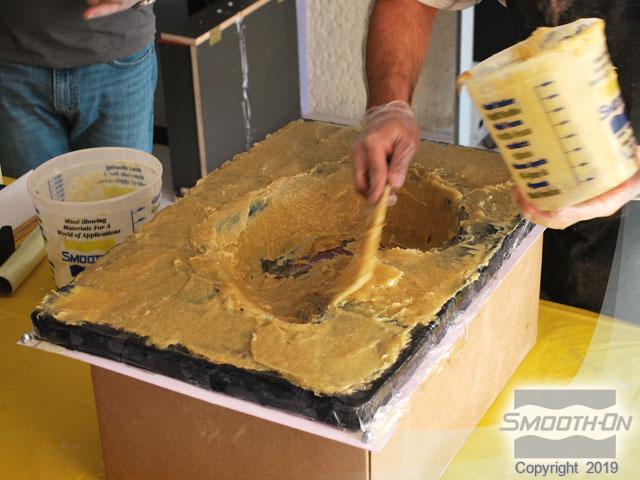
Step 3: Applying Plasti-Paste II
Plasti Paste® II urethane plastic is applied over the clay to form the first half of the rigid support shell.
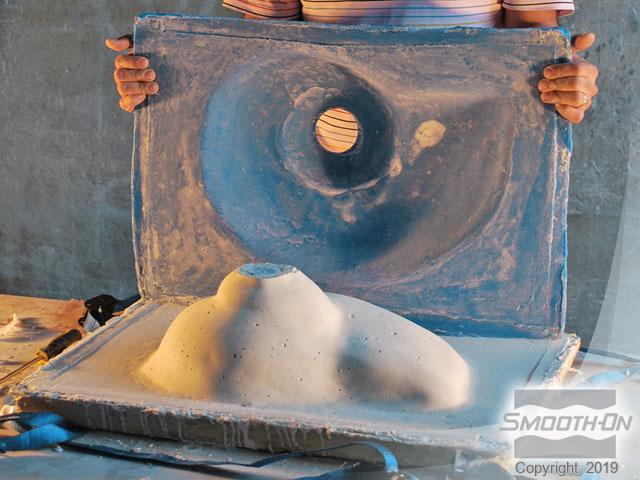
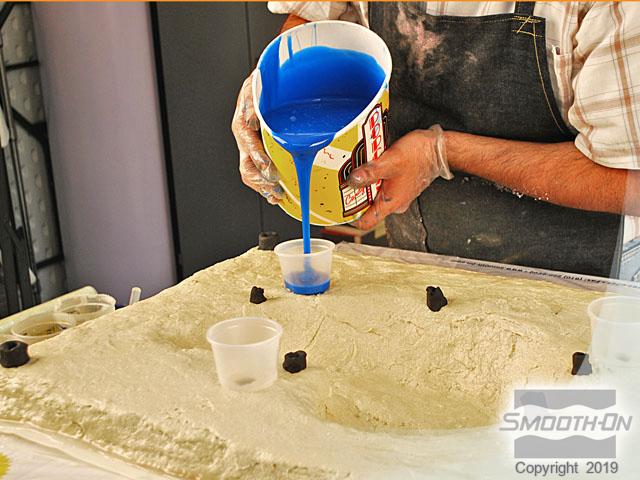
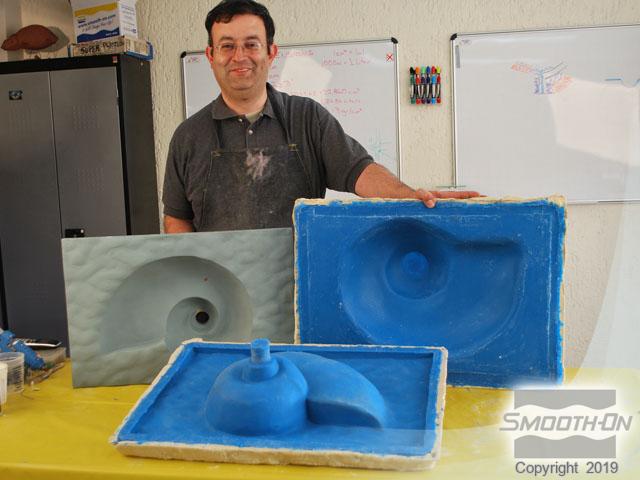
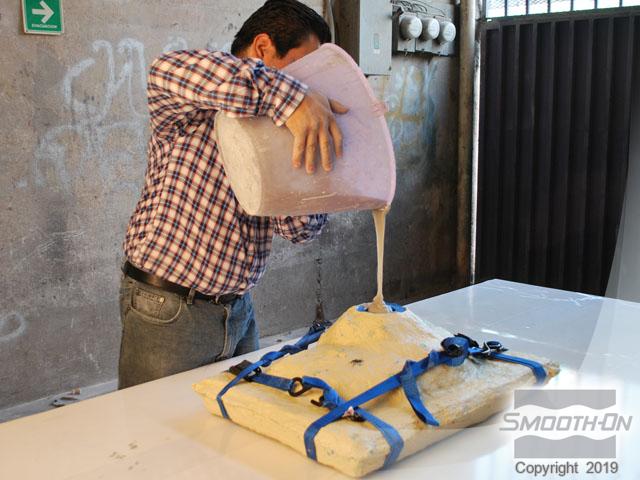
Step 4: Dispensing, Applying, and Demolding Mold Star™ 30
Mold Star™ 30 silicone is mixed and poured into the cavity mold structure. Mold Star™ 30 cures in 6 hours and the other half of the cavity mold is poured. Mold Star™ 30 captures perfect detail and the mold is ready for production concrete casting.
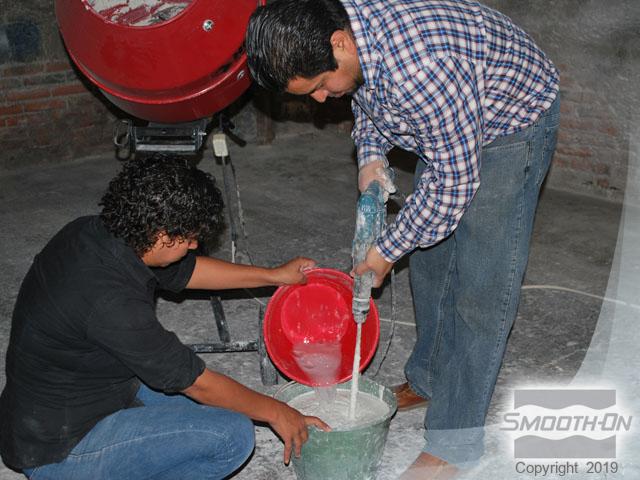
Step 5: Dispensing & Casting Concrete
The custom concrete mix includes an acrylic blend, fragrance (for scent) and phosphorescent die (glow-in-the-dark). The acrylic mix design is blended and added to a mixing machine. The mix is poured into the mold cavity. The acrylic mix design lowers the viscosity for easy pouring.

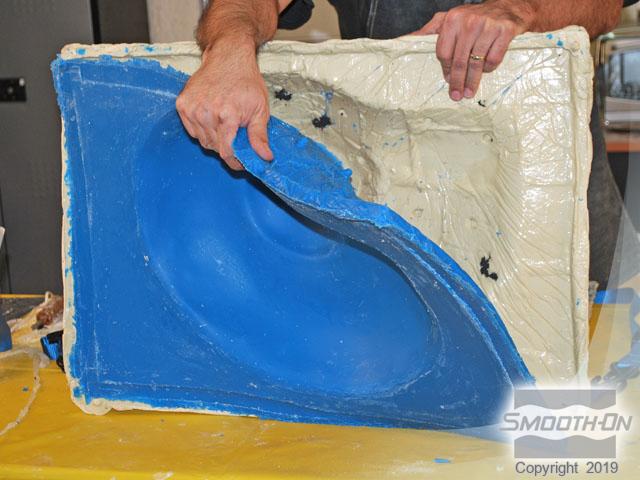
Step 6: Demold & Finishing
The concrete is allowed to cure for 4 hours. The top half of the mold is removed revealing the cured casting. After 6 hours, the sink is ready to be installed. The Mold Star® 30 mold is ready to cast again. The sink gives off a pleasant scent when the concrete comes in contact with water. It also glows in the dark to guide night time visitors.