How To Make a EZ~Brush™ Silicone Reusable Vacuum Bagging Demo
Overview
EZ~Brush™ Vac Bag Silicone Rubber Offers Several Advantages Over Conventional Vacuum Bagging Materials
- Reusable Bags Reduces Labor Costs Up To 90%
- Reusable Bags Can Be Used To Quickly Produce Many Parts
- Easy to Mix and Apply
- EZ~Brush™ Bags Resist Attack from Chemically Harsh Resins
- Better Heat Resistance up to 500°F / 260°C
- Non-hazardous; No Odor
- Using EZ~Brush™ Bags Are Eco-Friendly; Reusable Bags Eliminates Bag Film Waste
Materials Used in this Tutorial
- EZ-Brush Vac Bag Silicone
Step 1: Creating an EZ-Brush Vacuum Bag
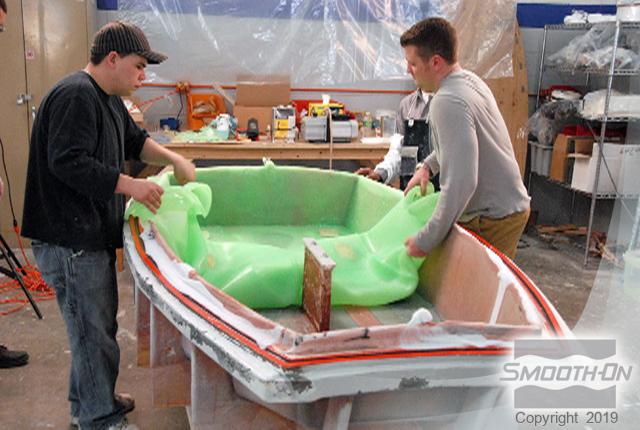
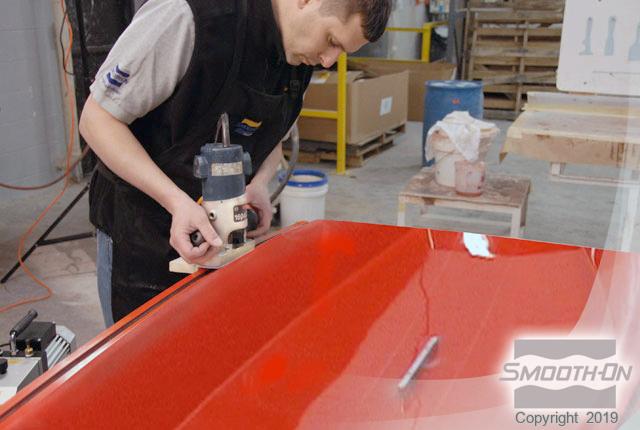
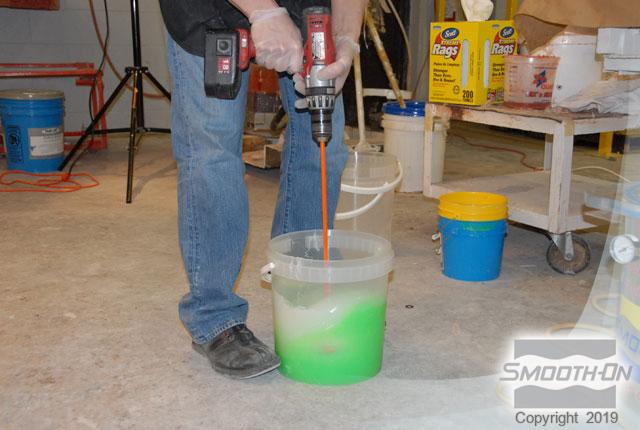
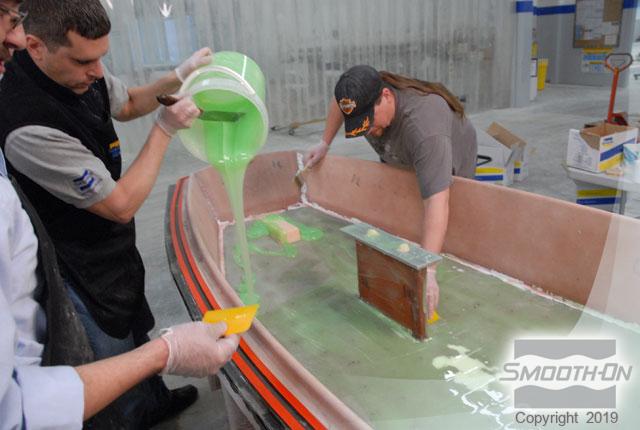
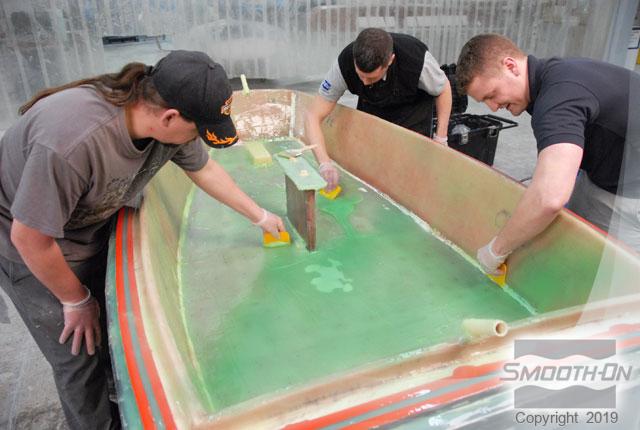
A tool used to produce the hull of the Vapor Optimist racing boat is prepared for production and a channel is routered into the tool that will aid in providing an airtight seal between the tool and the vacuum bag. Next, mix and vacuum the EZ~Brush® Vac Bag Silicone and pour it over the profile. Apply three layers of EZ~Brush® silicone to all surfaces, forming a continuous rubber vacuum bag. Allow all layers to cure. The bag is strong, durable and dimensionally stable.
Step 2: Casting
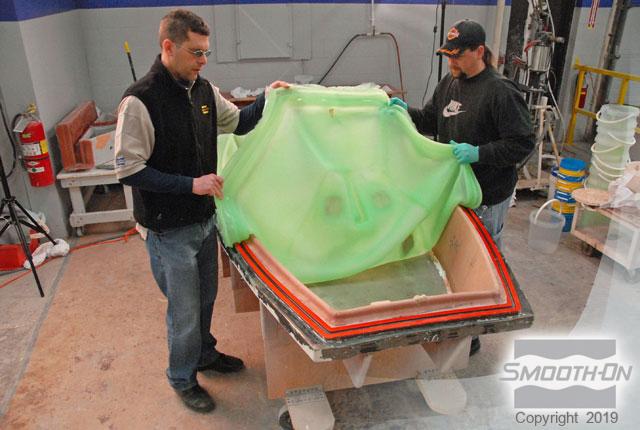
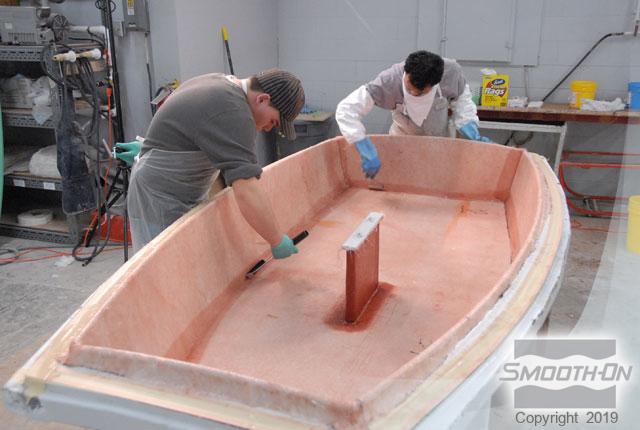
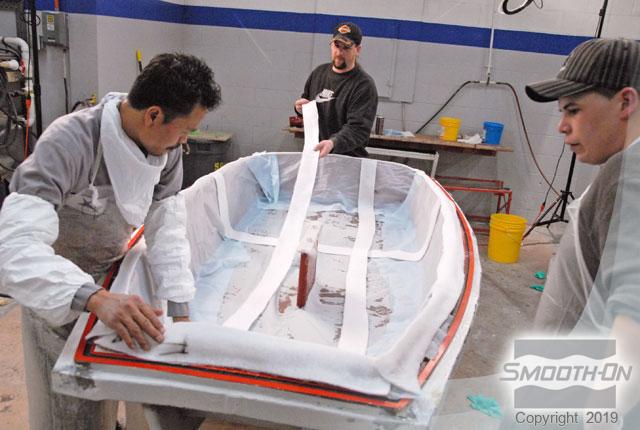
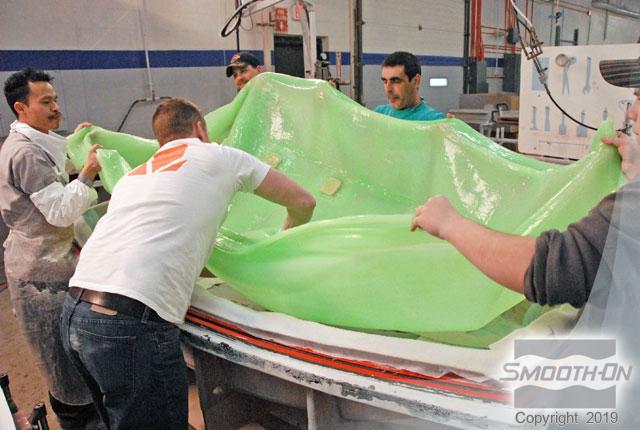
Use a routered channel to hold the bag in place and ensure perfect vacuum pressure. Spray a resin gel coat over the tool. Use rollers to laminate layers of glass matting with resin. Then, apply release film and a breather. Put the EZ~Brush® vacuum bag into position, securing the edges using the channel routered into the tool in the previous step. Pull the vacuum and check the structure for air leaks.

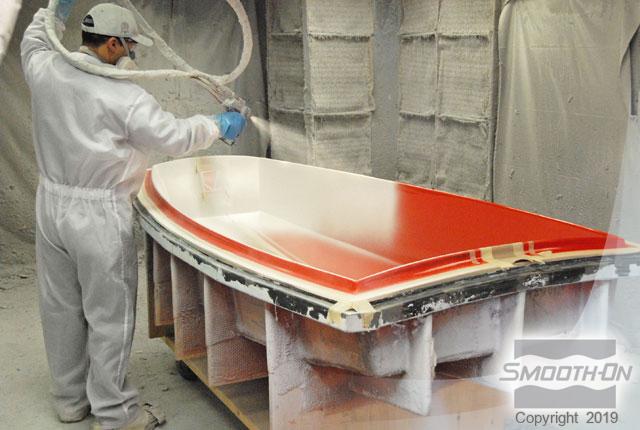

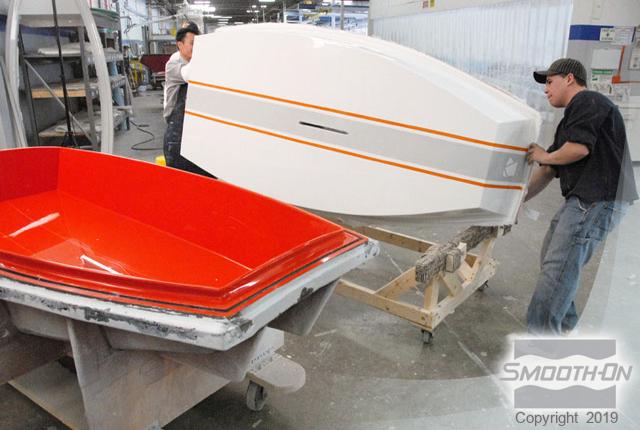
Step 3: Demold and Finishing
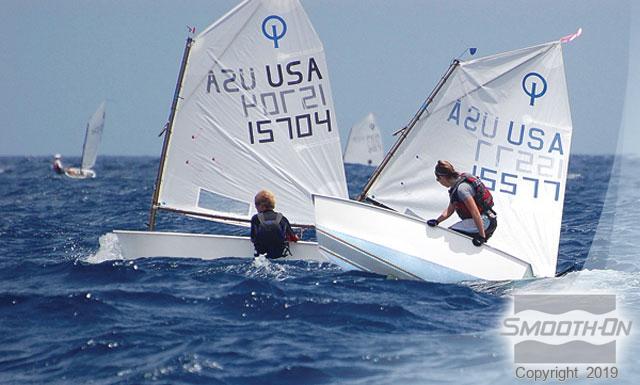
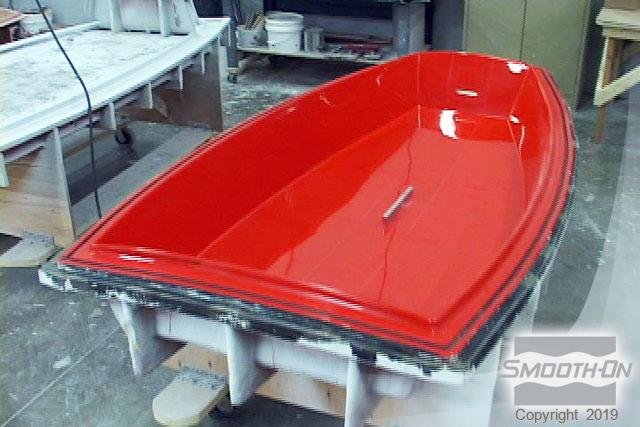
Once the resin has cured, remove the EZ~Brush® bag and store it for future use. The finished part reflects perfect detail and a flawless surface finish. The EZ~Brush® silicone bag cuts production time of the Vapor Optimist by 1/3. This Vapor Optimist sailboat was made by LaserPerformance.