Taking the Mystery Out of How to Make a Concrete Sink Mold
Overview
With more and more architectural concrete companies offering various decorative sink lines, we present the following “how-to” guide so you too can make your own. Concrete is an attractive material with a unique quality look and feel. Concrete is a "perfectly imperfect" material; it will vary from piece to piece and that is part of its charm and uniqueness.
The following step-by-step uses Smooth-On's VytaFlex® 40 mold rubber to achieve perfect concrete sink molds that can handle multiple castings. Just remember that you can make a mold of just about anything so get creative in designing your new sink basin.
Materials Used in this Tutorial
- Melamine Board
- Pencil
- Jig Saw
- Permanent Marker
- Sulfur Free Modeling Clay
- Glue Gun
- Universal Mold Release
- Bolts
- Drill
- Drywall Screws
- Turbine Mixer
- Concrete
- Vytaflex 40
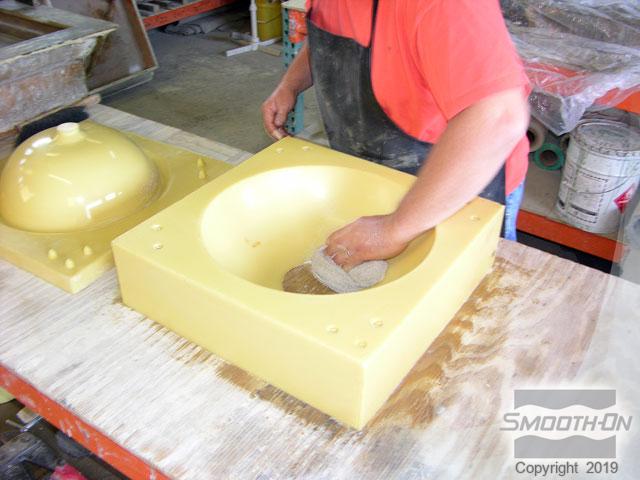
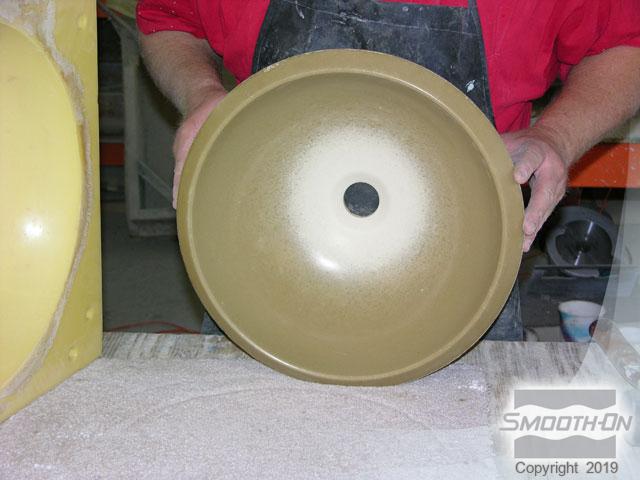
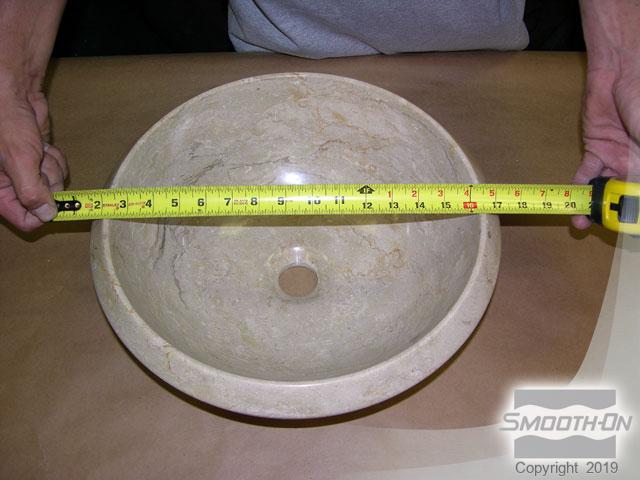
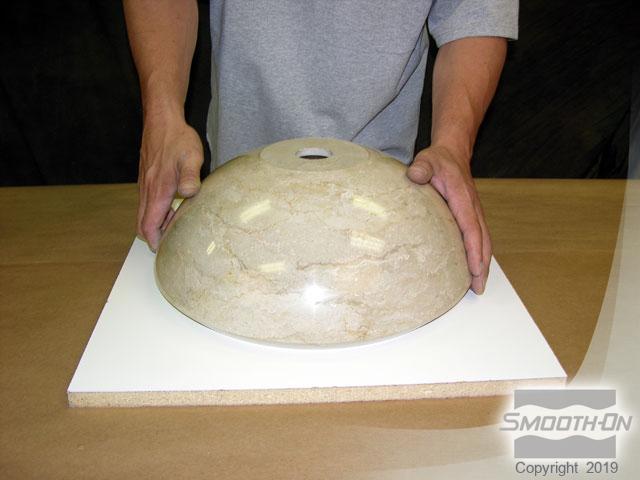
Step 1: Preparation
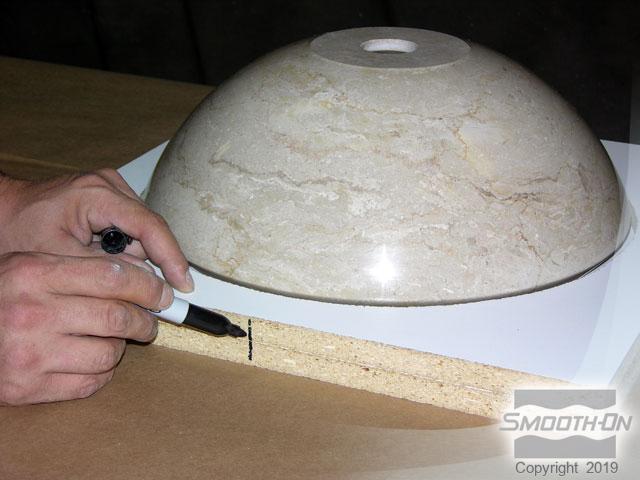
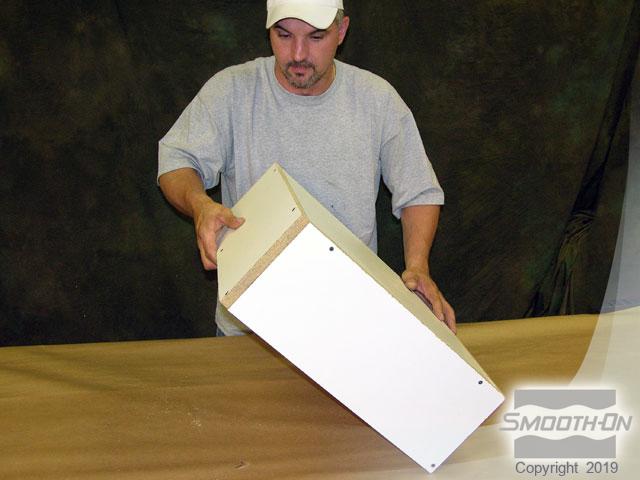
In this tutorial the model is a concrete sink basin. To begin, measure the sink basin for dimensions. Use acrylic coated boards to construct the mold box walls, spacer board, and two baseboards. Center the basin on the acrylic coated board, and draw a pencil outline around the perimeter of the basin.
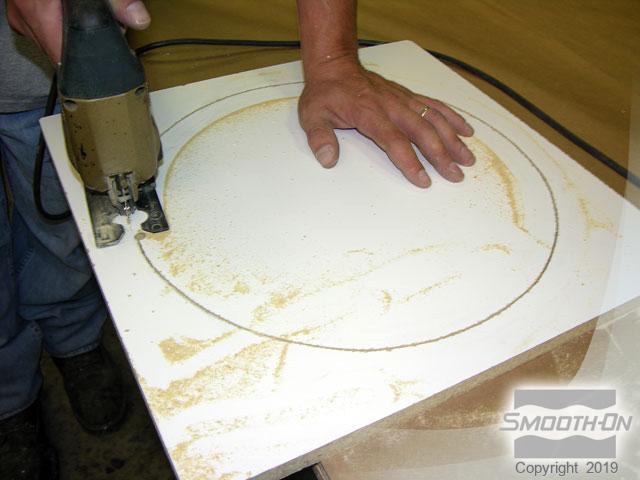
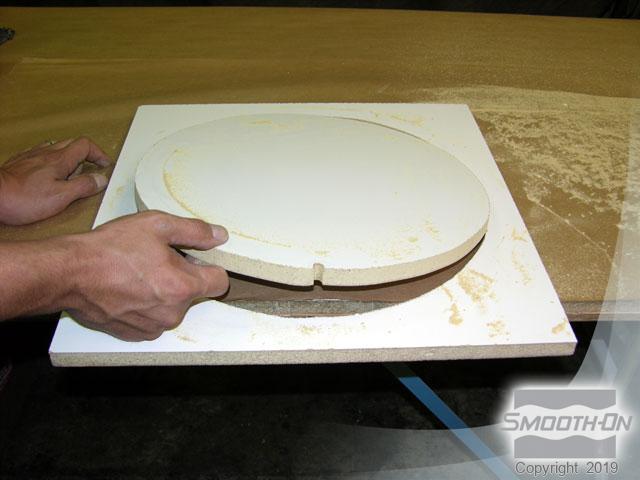
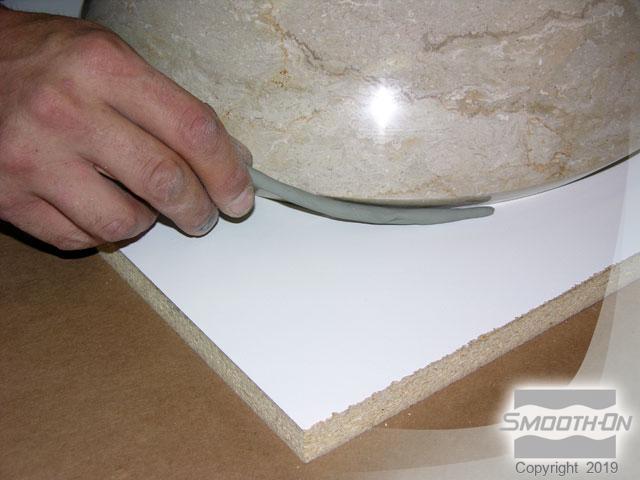
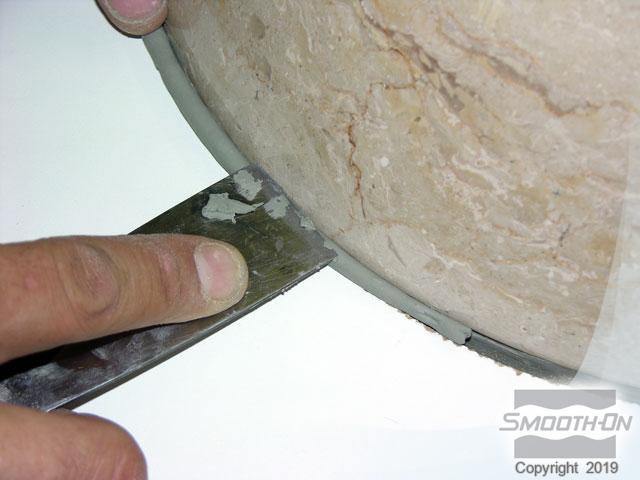
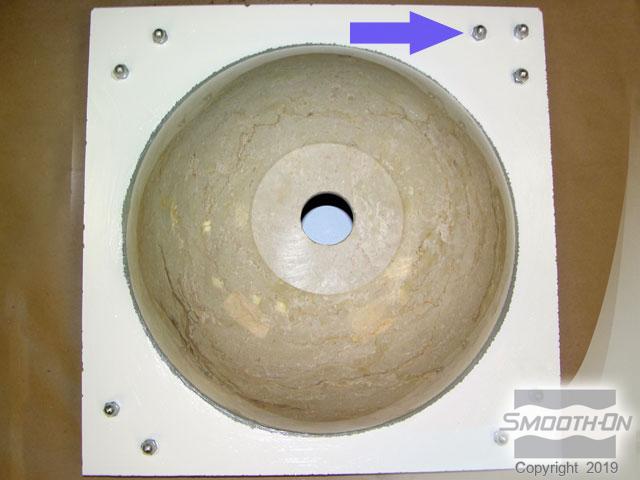
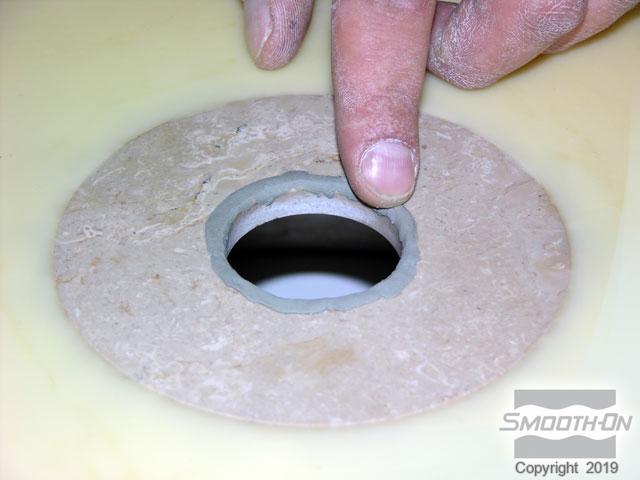
Use a jigsaw to cut out the circular pattern and then remove the plug. This will be used as a spacer. Place the sink on the baseboard and then place the spacer on top. Mark the alignment on the baseboard and spacer board. Use modeling clay (sulfur free) to create a gasket around the perimeter of the basin to prevent rubber from going underneth the model.
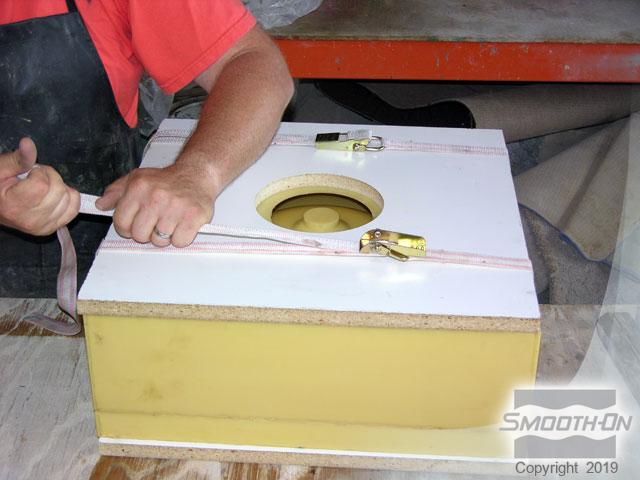
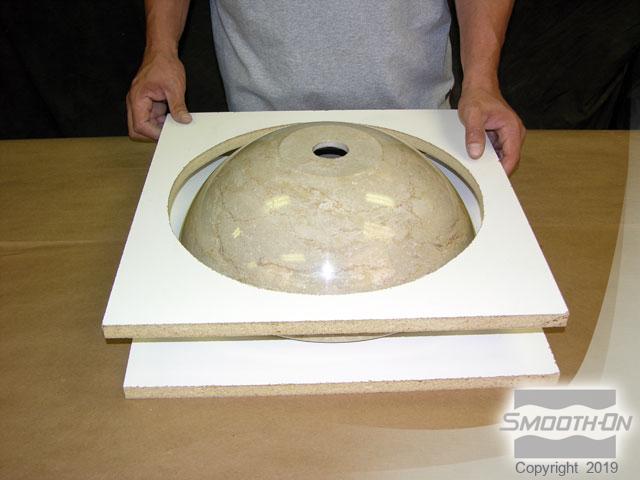
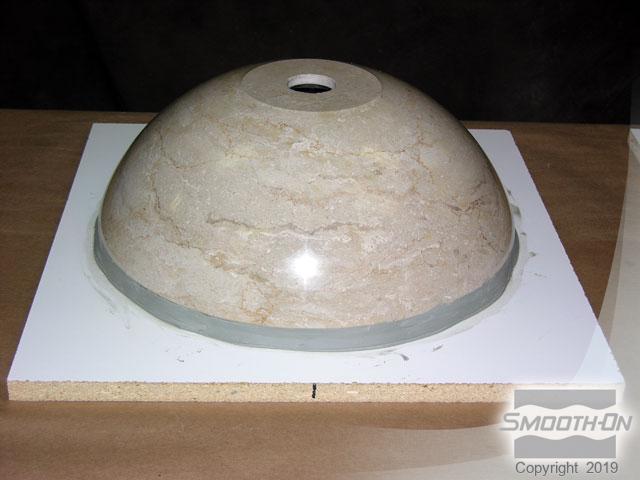
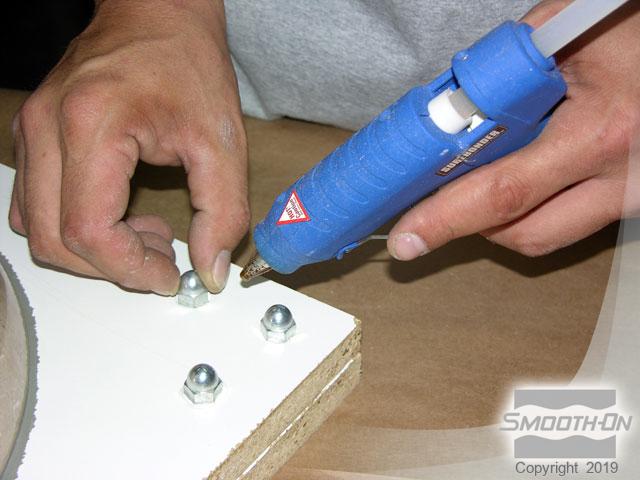
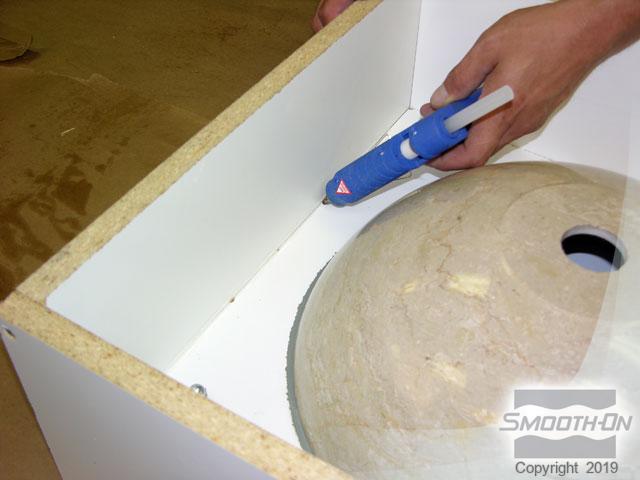
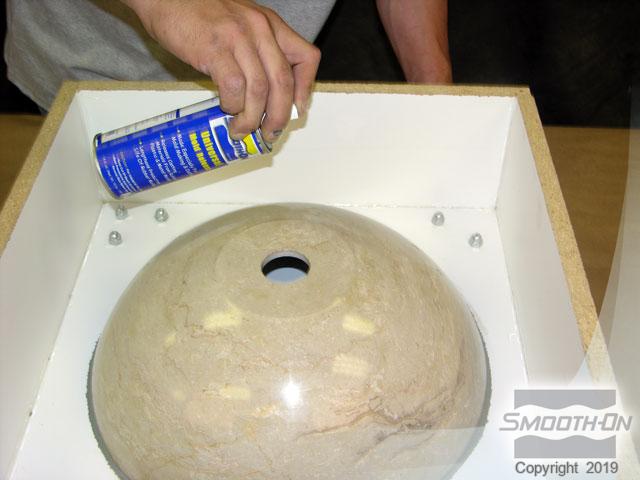
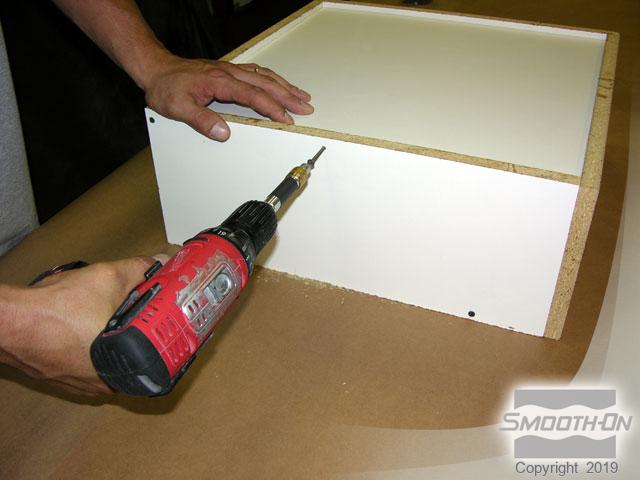
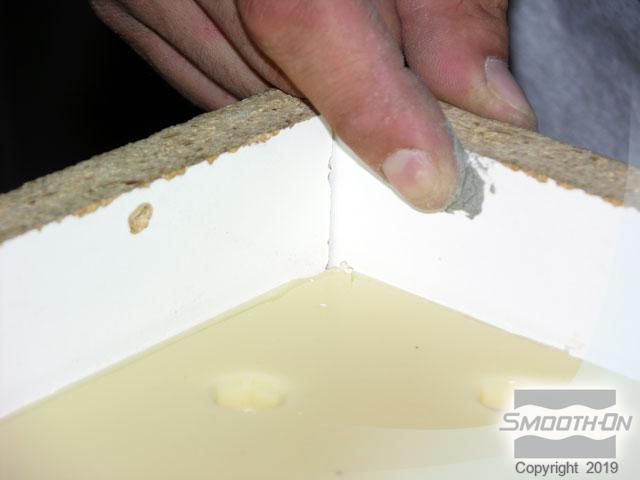
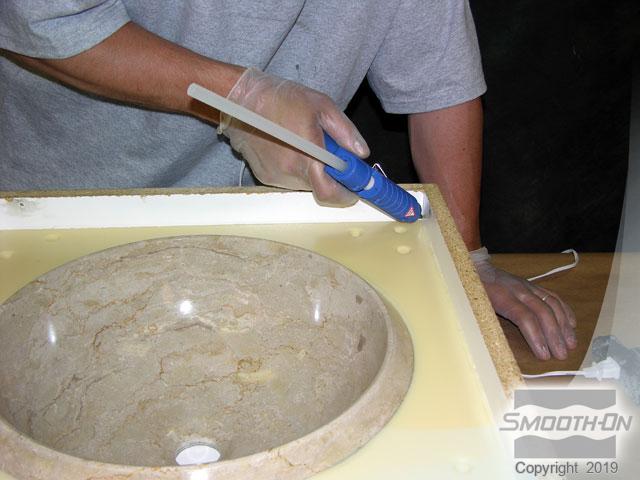
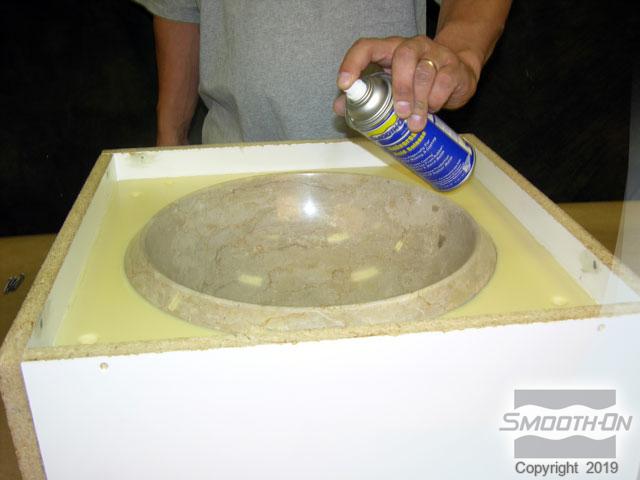
Place the spacer down over the basin and use modeling clay to fill in negative space caused by the spacer. Glue down acron nuts in the corners for the registration keys and place one extra acron to help with alignment. Assemble the mold box with drywall screws and seal the seams with hot melt glue. Release all surfaces with Universal Mold Release.


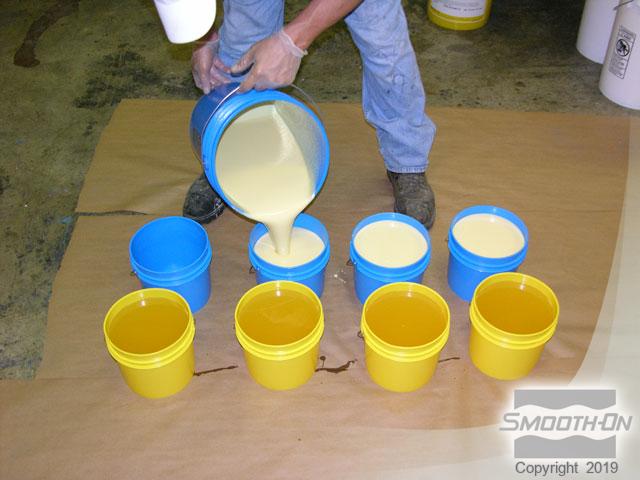
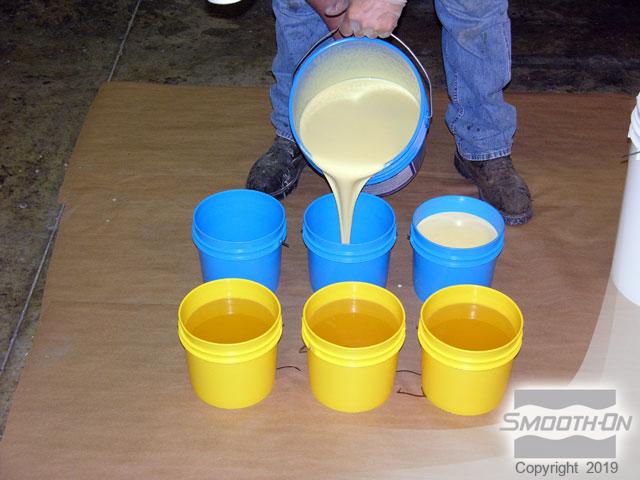
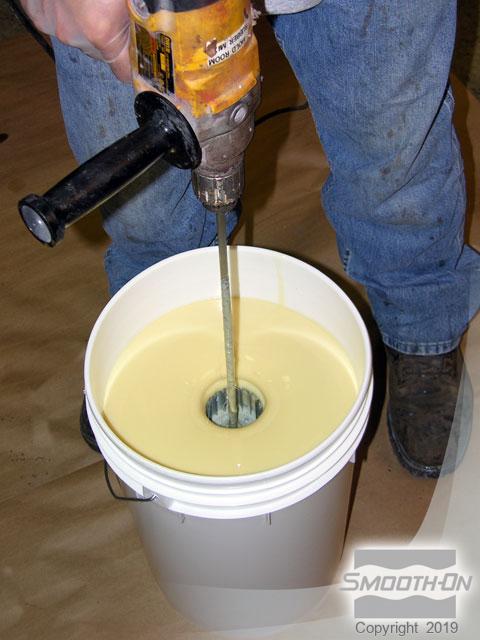
Step 2: Dispensing & Pouring VytaFlex™ 40
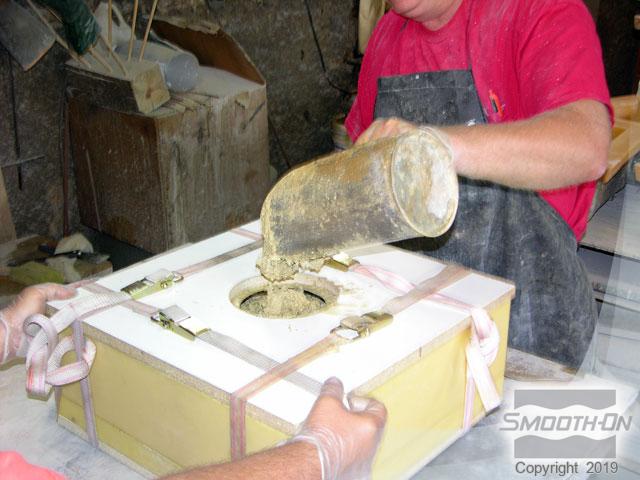
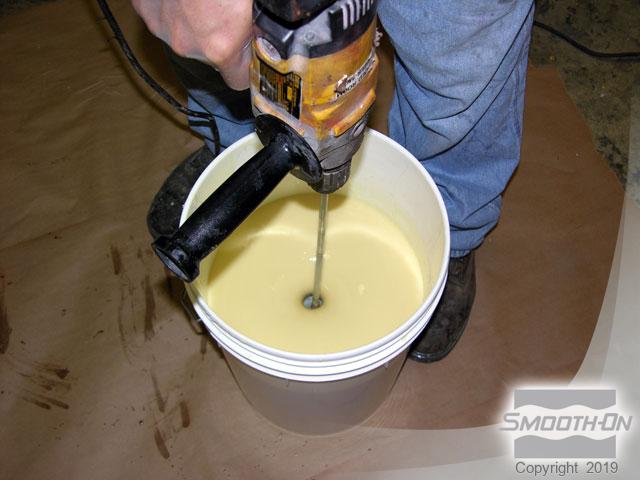
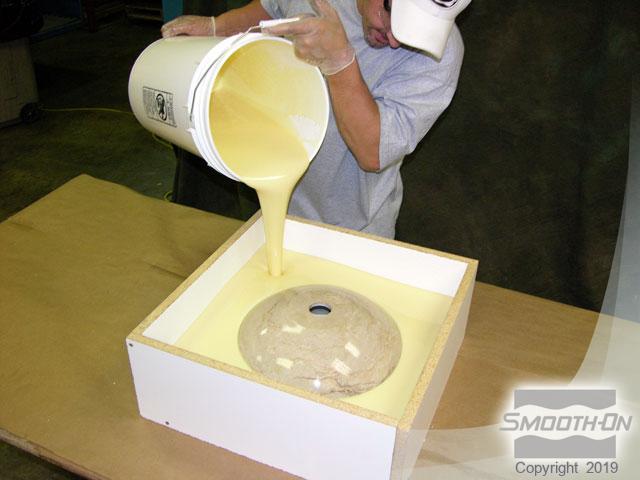
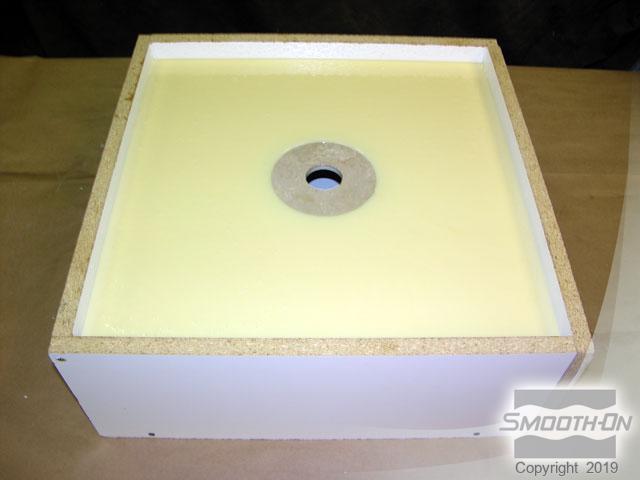
Measure and dispense VytaFlex™ 40 mold rubber. Mix thoroughly for three minutes, making sure to scrape the bottom and sides of the container. Pour VytaFlex™ mold rubber 40 slowly over the model.
DO NOT COVER THE BOTTOM OF THE ORIGINAL MODEL.
The exposed area will represent a pour spout. Let VytaFlex® 40 mold rubber cure for 16 hrs. at room temperature (72°F / 23°C).
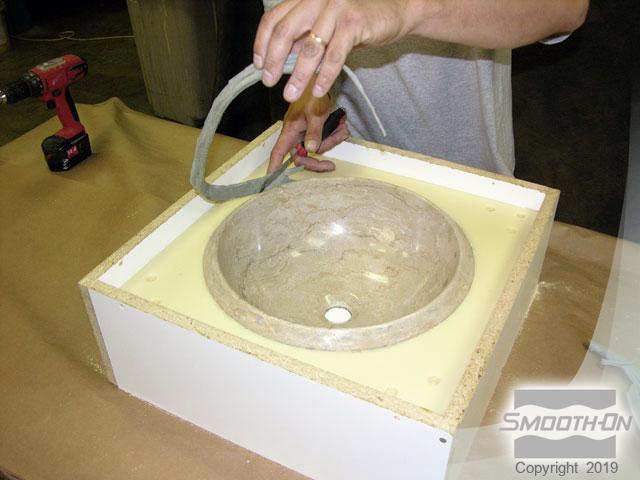
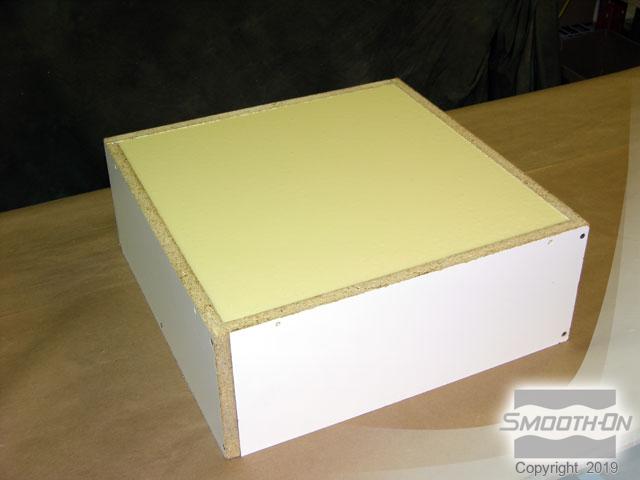
Step 3: Preparing Model for Second Pour Of VytaFlex 40
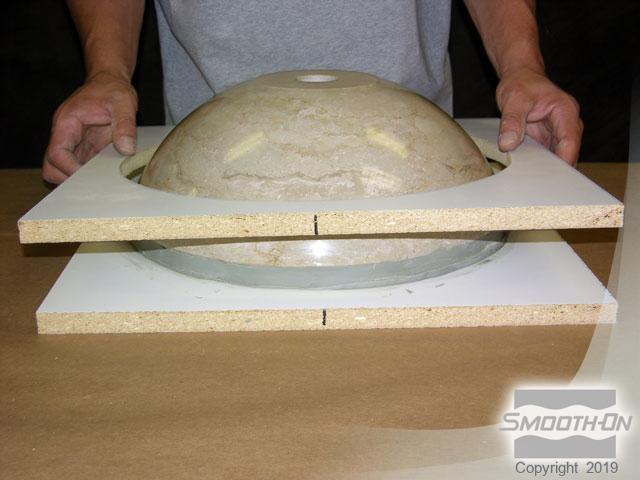
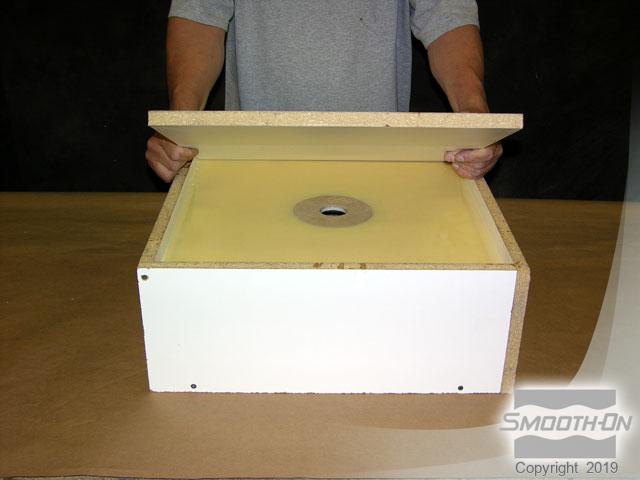
Use modeling clay to fill in any surface irregularities. Place reverse baseboard down over the cured rubber and secure board with drywall screws. Turn the mold box over and remove the original baseboard to expose the model. Remove the spacer board and the clay gasket then wipe the surface clean. Fill any screw holes with modeling clay and hot glue any exposed seams. Apply Univeral® Mold Release to all surfaces.
Step 4: Dispensing and Pouring VytaFlex 40
Measure and dispense VytaFle™ 40 mold rubber. Mix thoroughly for three minutes, making sure to scrape the bottom and sides of the container. Pour VytaFlex™ 40 mold rubber over the model and existing rubber to create the second half of mold. Let VytaFlex™ 40 mold rubber cure for 16 hrs. at room temperature (72°F / 23°C).

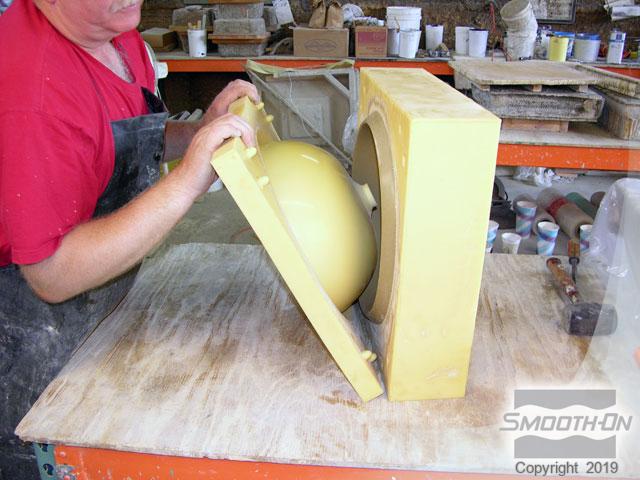
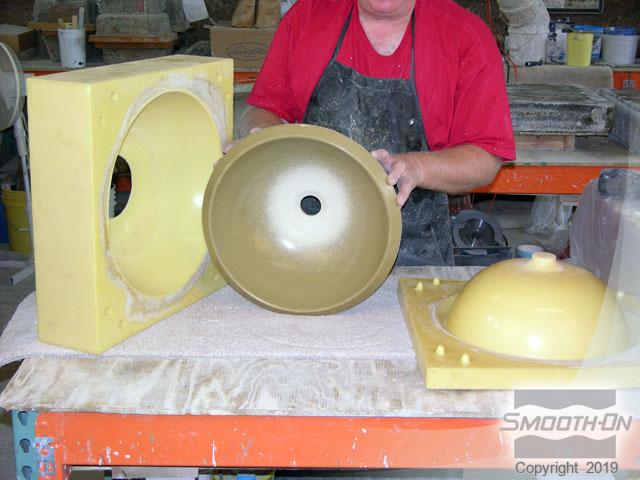
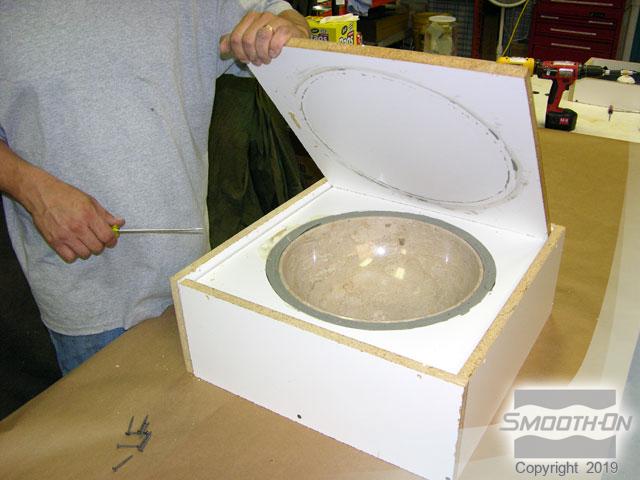
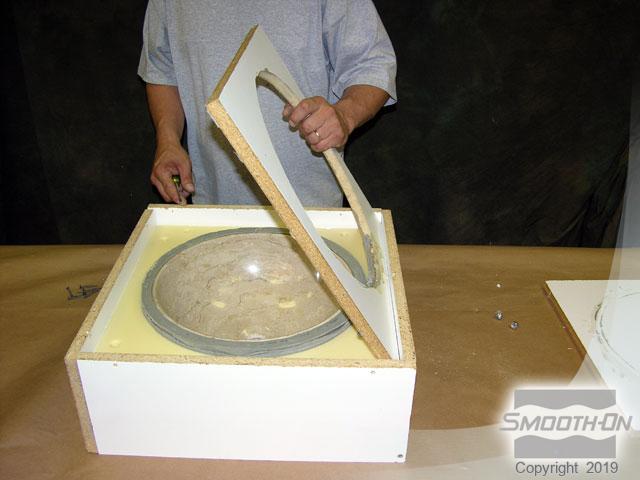
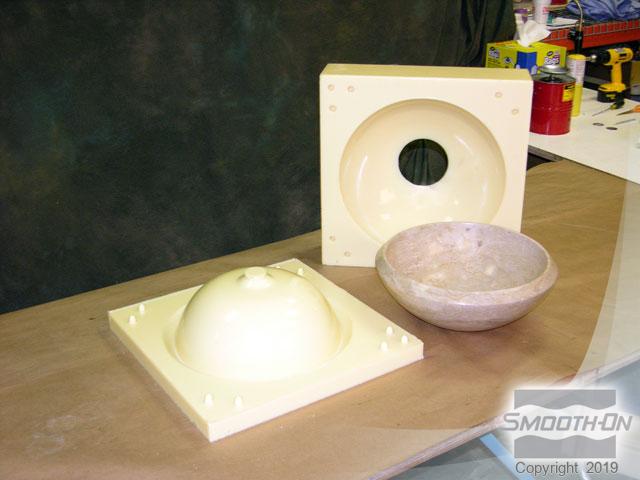
Step 5: Demolding
Once cured, remove the mold box side walls. Then, slowly remove the top section of the mold. Remove the original sink basin to reveal a perfect 2-part mold of the original model.


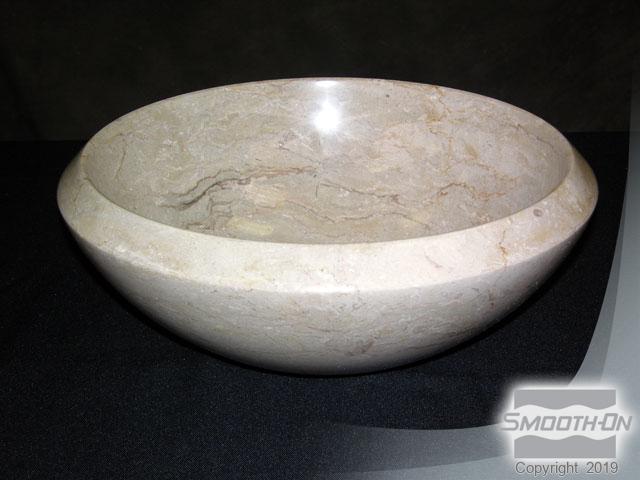
Step 6: Preparing, Casting & Demolding Concrete
Apply In and Out II® release agent to all surfaces. Place the mold between the boards and secure. Place the mold on a vibration table and fill with concrete. Allow the concrete to cure for 24 hours and then demold casting. You've created a perfect concrete reproduction of the original! The rubber mold is ready to be cast again.