How To Make a Brush On Mold of an Antique Rifle
Overview
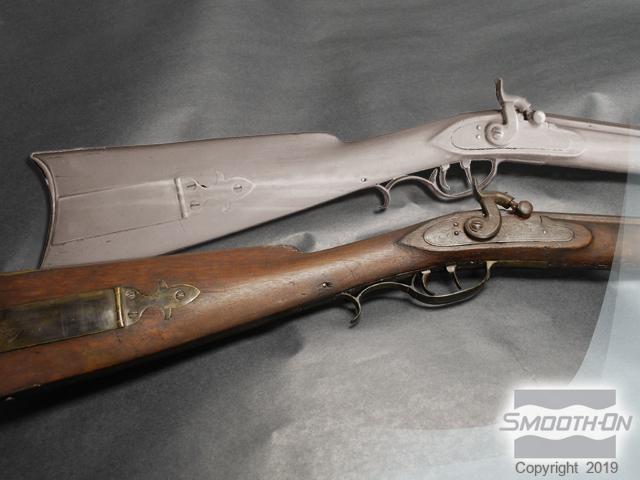
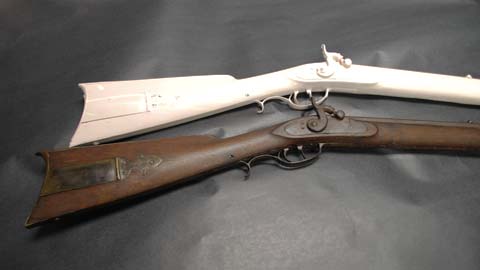
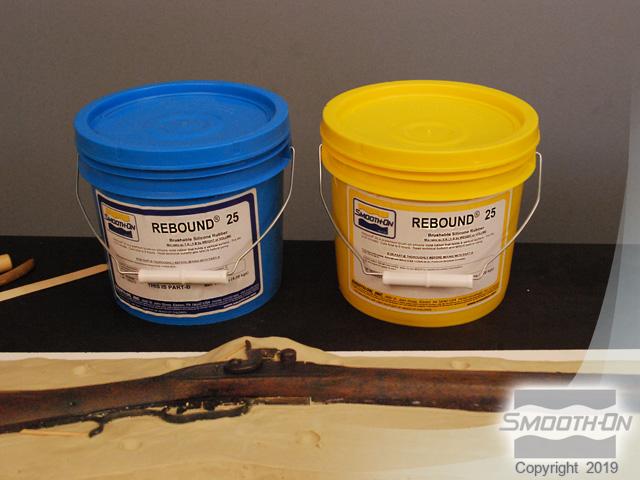
Rebound™ 25 was used in molding a 19th century Long Rifle to make casts available for historical societies.
Preservation of the original without altering the look or pantina was the major consideration when choosing the right materials for making the replicas.
Smooth-On's Rebound™ 25 was chosen for it's ease of use and ability to release cleanly from the original model.
Materials Used in this Tutorial
- Rebound 25
- Sculptex Clay
- Thi-Vex
- Ice Cube Trays
- Free Form Air
- Rolling Pin
- Clay Board
- Ear Plugs
- Popsicle Stick
- Razor Knife
- Cardboard
- Dowel
- Aluminum Foil
- Ease Release 205
- Ease Release 200
- Smooth Cast 320
- Hot Glue
- Hot Glue Gun
- Mixing Sticks
- Mixing Containers
- Funnel
- Rolling Pin
- Clay Board
- Paint Brush
Step 1: Preparing Model
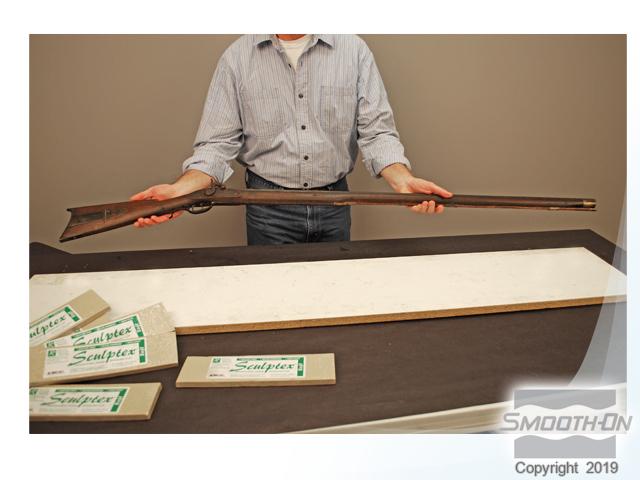
A 19th century historical long rifle is going to be used to make museum-quality replicas of this important piece of American history.
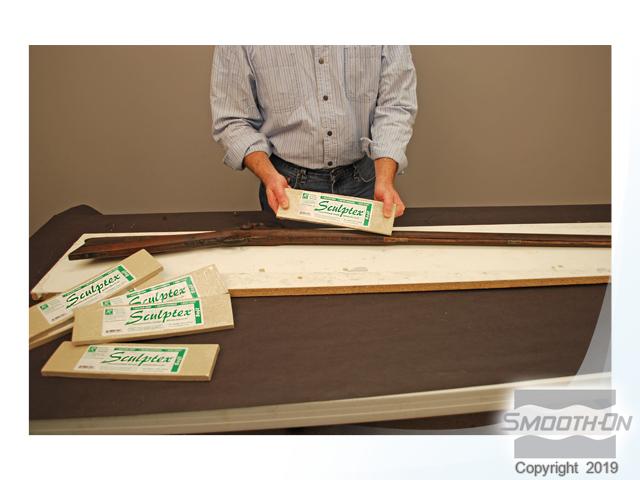
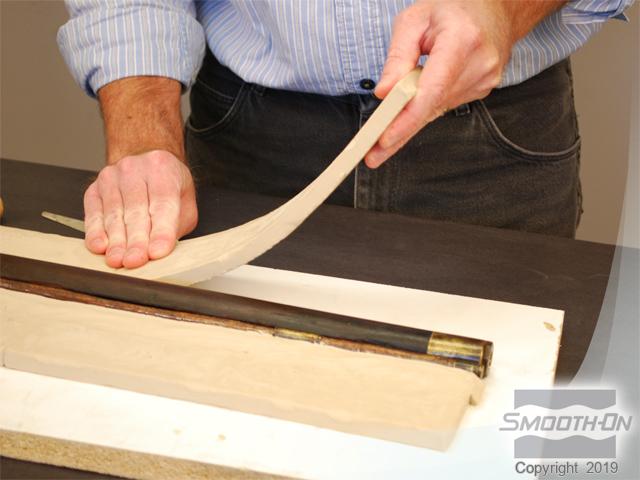
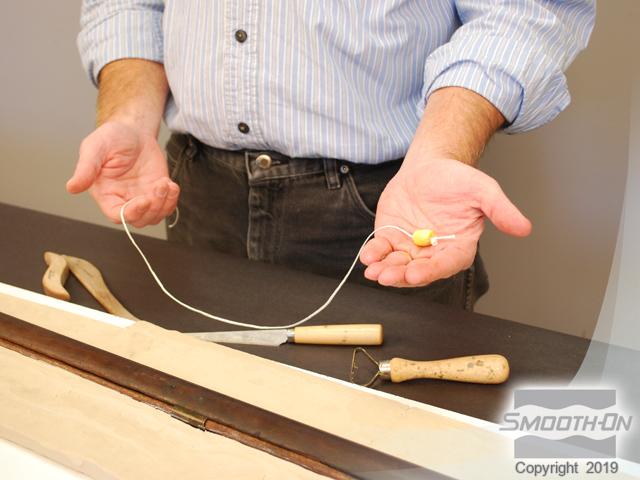
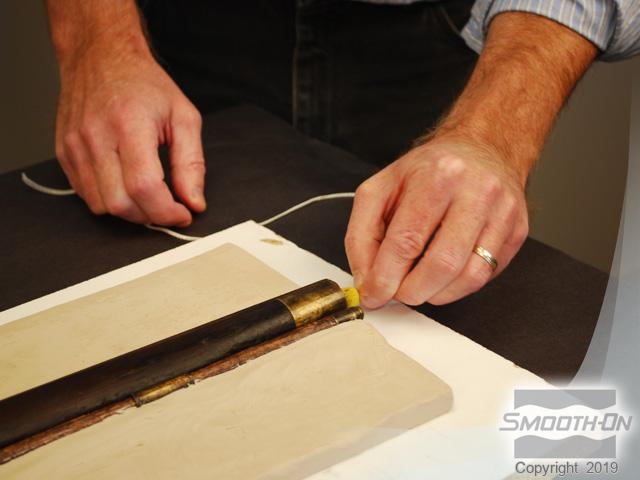
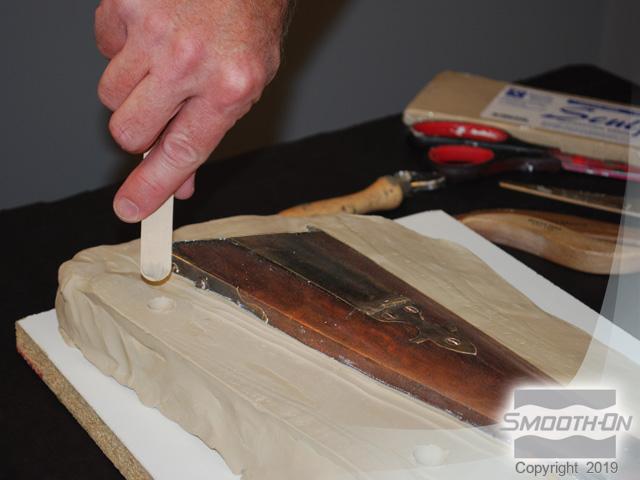
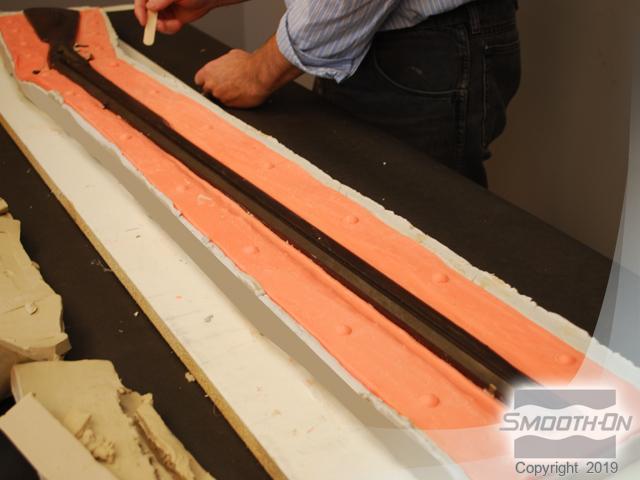
First, Sculptex®, a very malleable, low cost oil clay is used to make a dividing wall around the rifle. The clay is laid on either side of the rifle, bisecting it for making a two piece mold. A foam plug is then made out of ear plugs and placed inside the barrel to keep silicone from flowing inside of it. The foam plug will not damage the inside of the barrel and slightly expands to keep out the silicone.
Small pieces of dowel are used for venting areas of the mold that could potentially trap air in the final casting. The dowel ''gate'' is placed at the highest tip of the hammer so air can escape back down the gun stock. Keys are cut into the clay with a Popsicle stick in order to register the two silicone halves when cured.
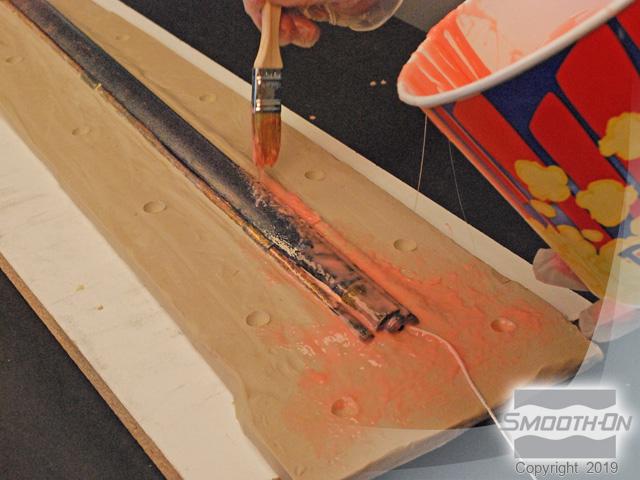
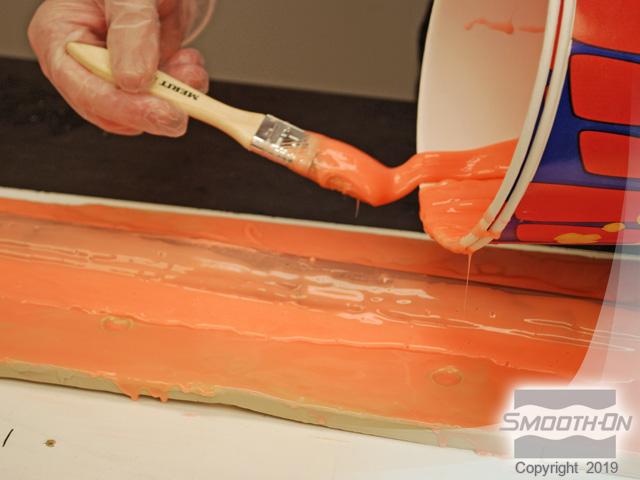
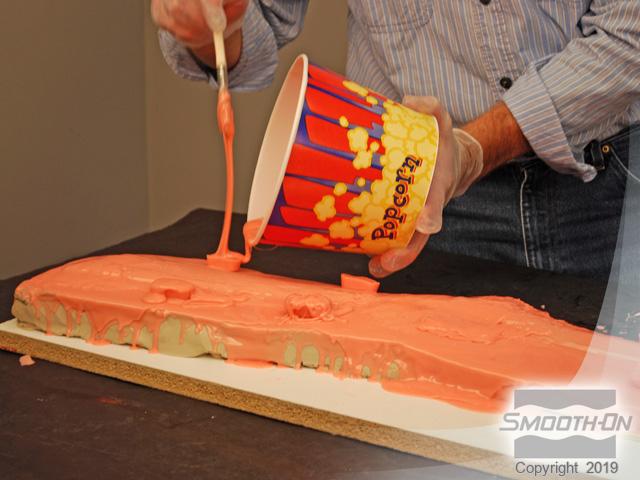
Step 2: Applying First Layer of Rebound 25
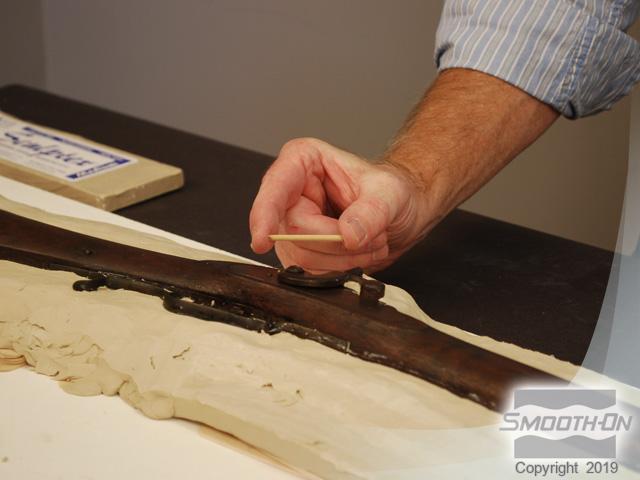
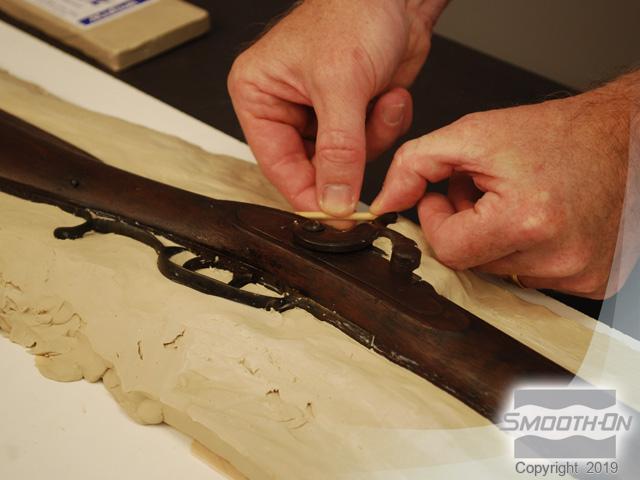
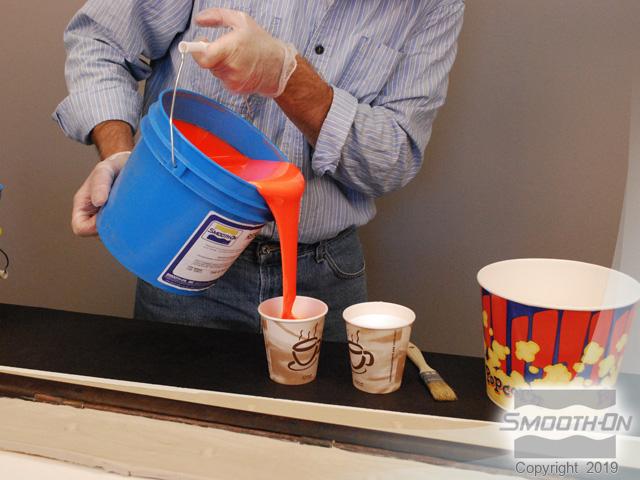
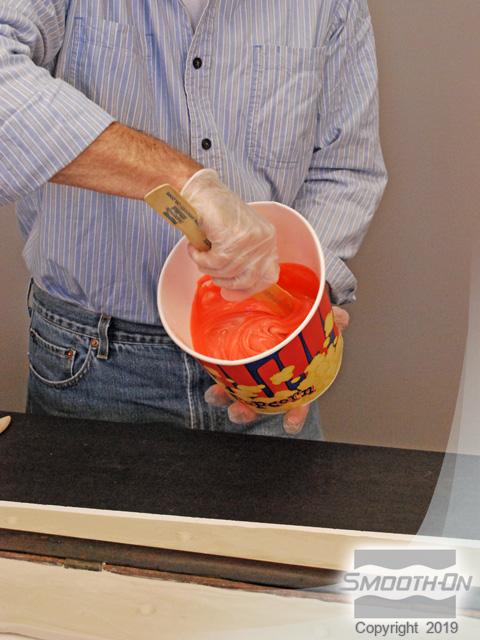
Rebound™ 25 will be used as the mold making rubber. Rebound™ is dispensed 1:1 by volume and mixing in a clean mixing container to an even color consistency. Once it has been mixed thoroughly, the Rebound® is brushed directly onto the rifle and clay bed. Once the entire gun is covered in a layer of Rebound™ 25, it is allowed to set up prior to adding the second coat.
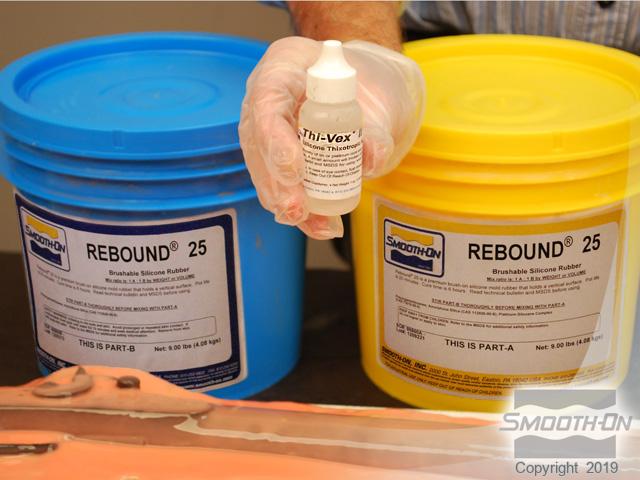
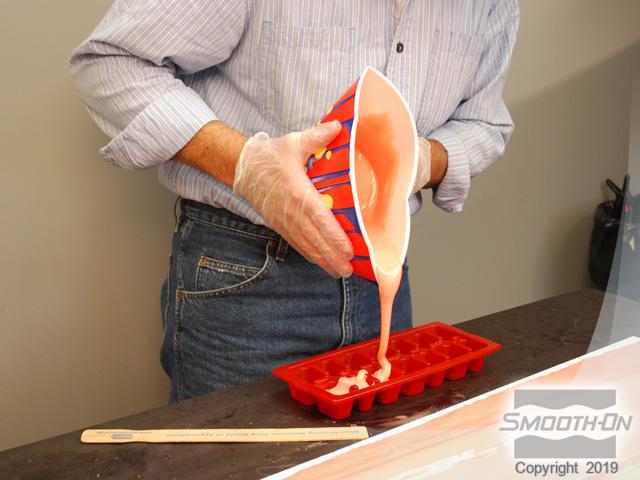
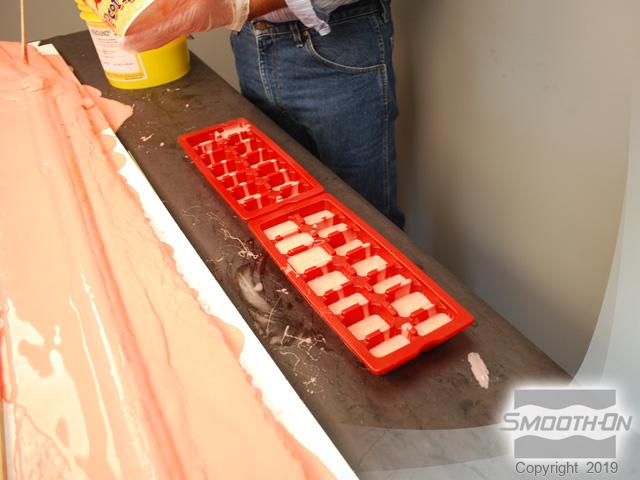
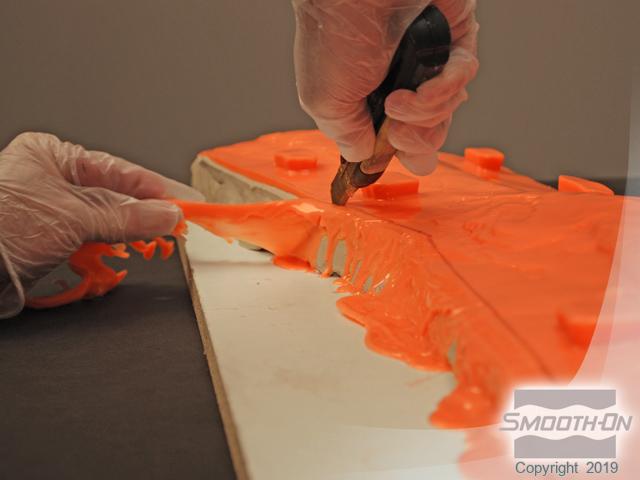
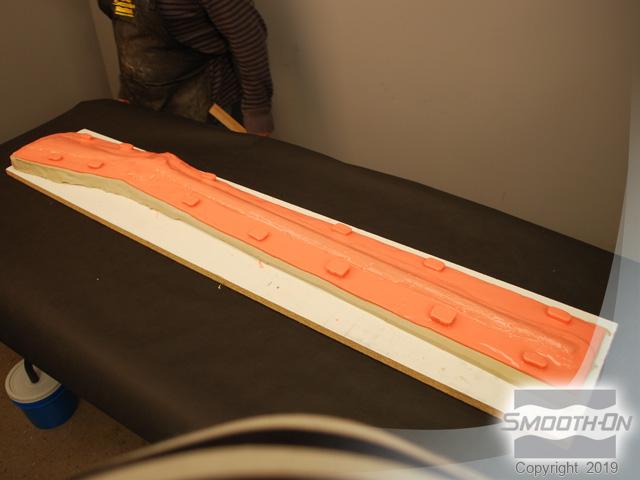
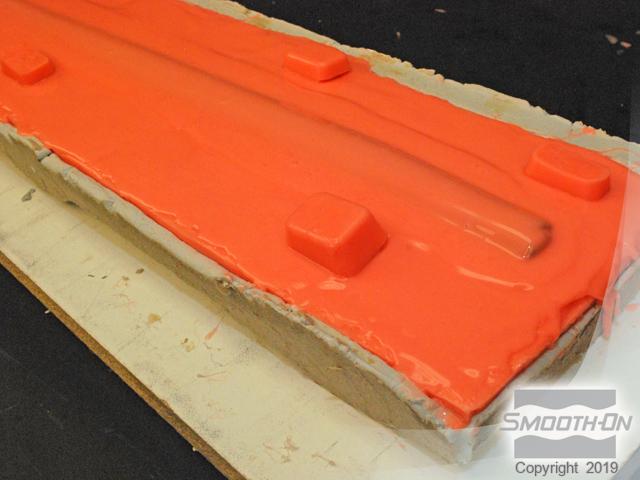
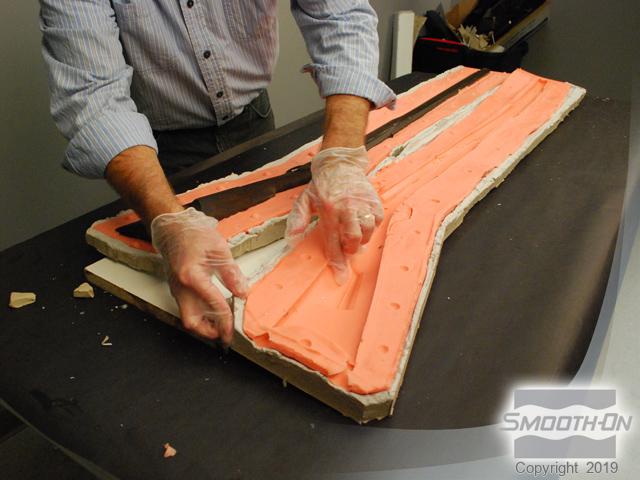
Step 3: Applying Thickened Layers of Rebound 25
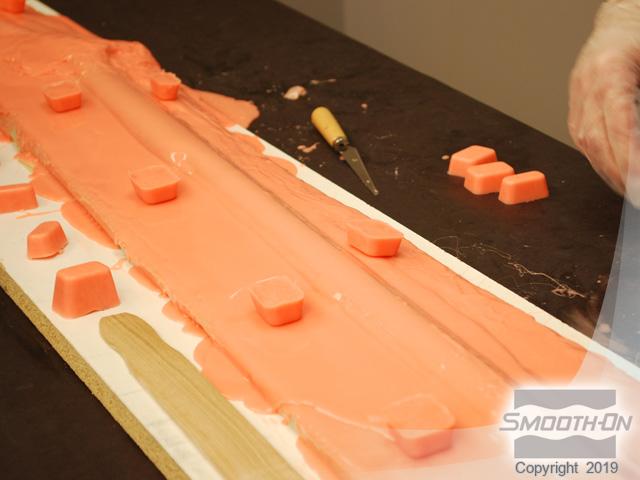
Thi-Vex® Silicone Thickener is used for subsequent layers to thicken the Rebound™ for building up key areas. The thickened silicone is applied to the gun and flange. Ice cube trays are filled with Rebound™ 25 in order to create keys that will help register a support shell onto the silicone correctly. Two trays are filled partway to create these keys. Once cured, the ice cube shaped keys are placed on a tacky layer of silicone covering the gun. Additional silicone is used to cover the keys and secure them to the mold. The final layer of silicone is applied without Thi-Vex® and smoothed out over the length of the mold.


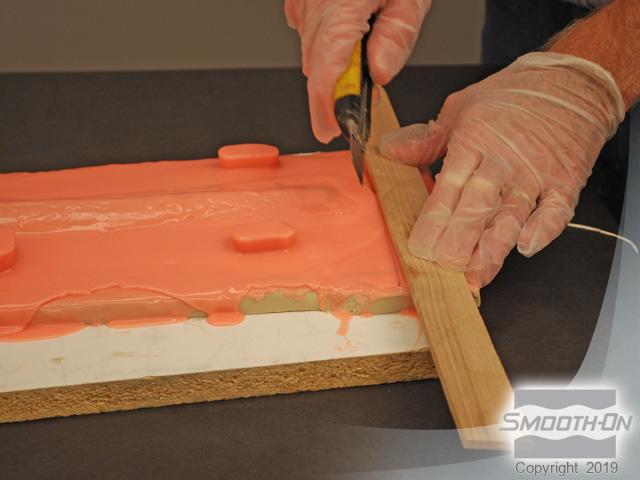
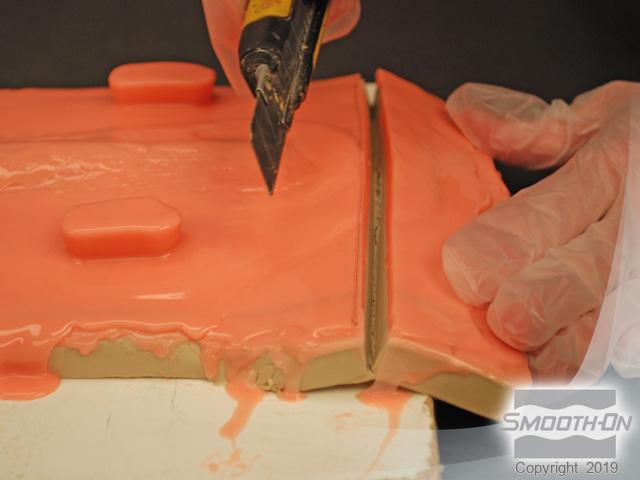
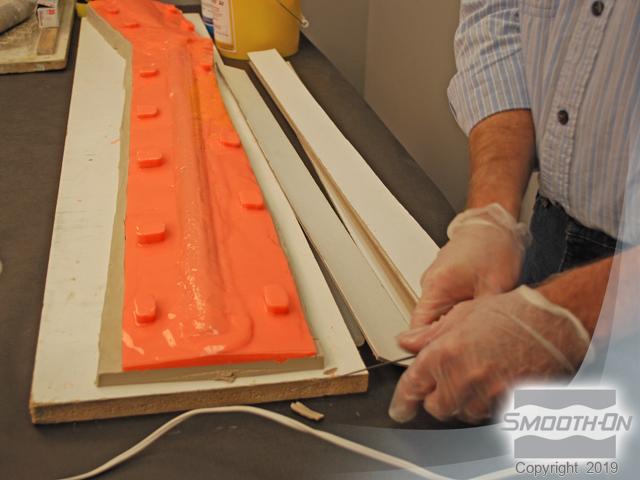
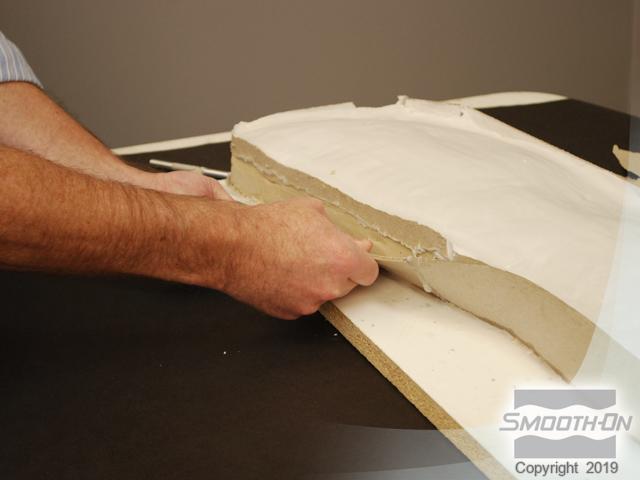
Step 4: Demolding and Preparing for Support Shell
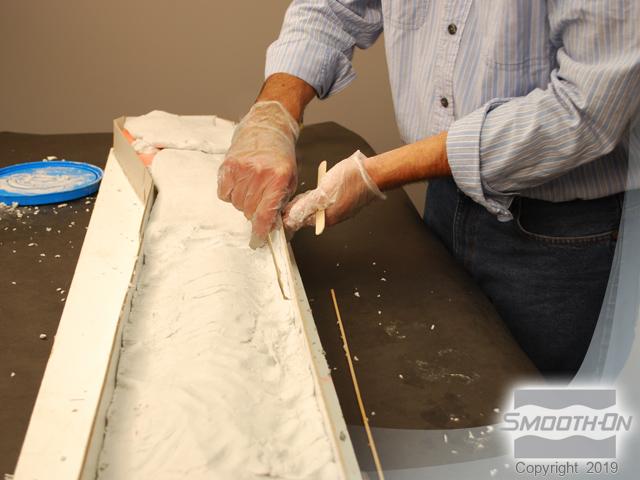
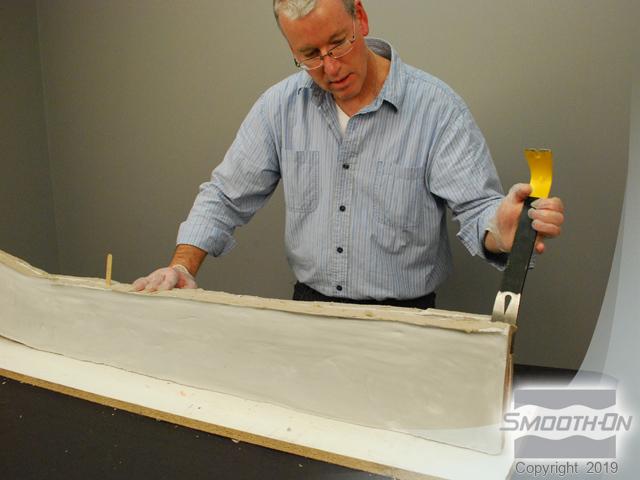
Once fully cured, a straight edge and razor knife are used to cut the edges of the rubber in order to make a nice clean mold with a clean edge. The finished first side is now ready for the first half of the support shell.
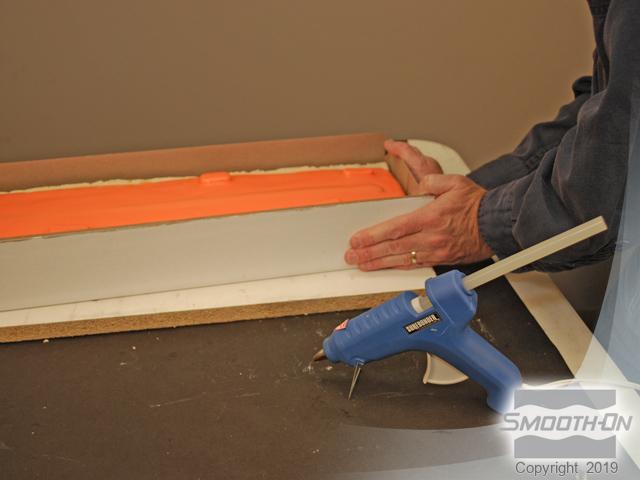
Cardboard strips will be used as retaining walls for the application of the support shell. The cardboard is hot glued around the gun model.
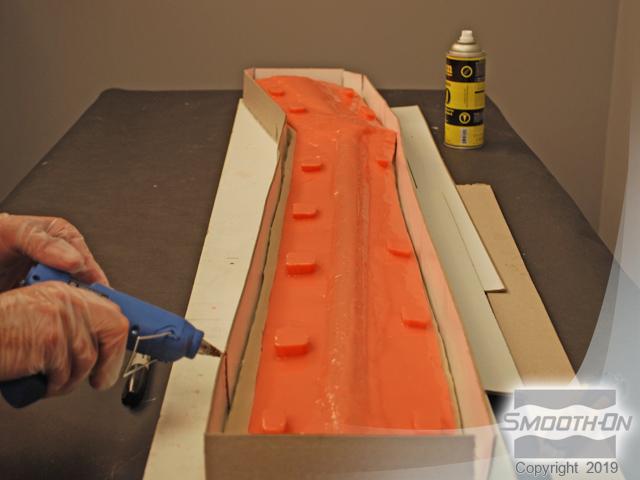
Step 5: Applying and Demolding Support Shell
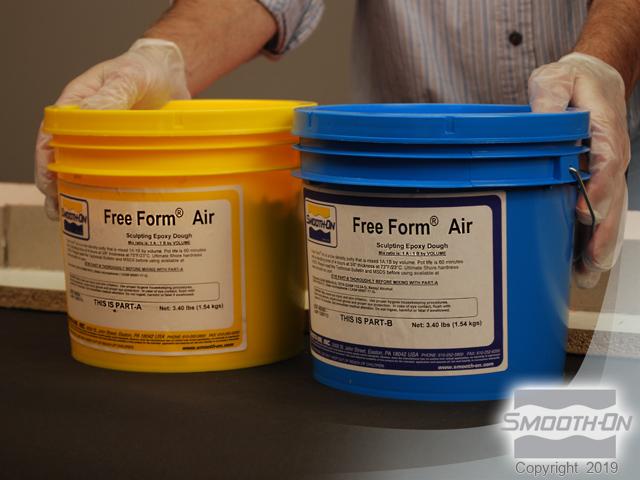
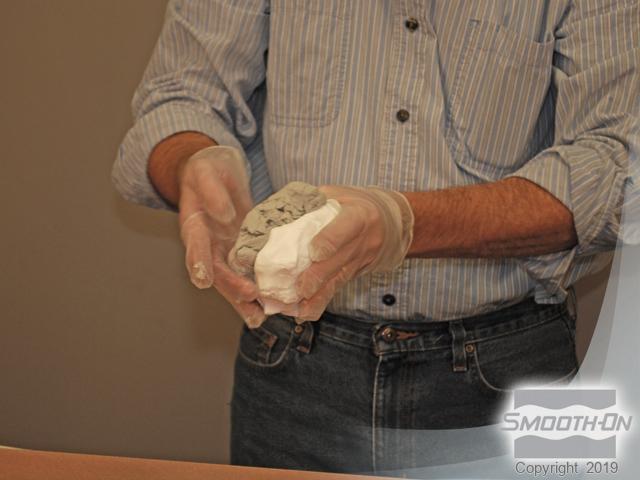
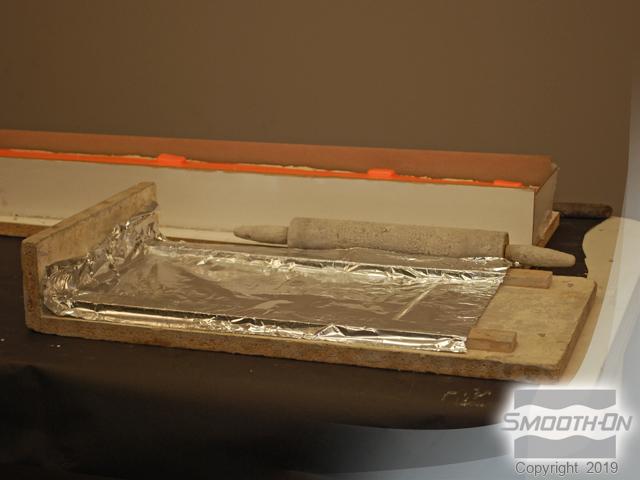
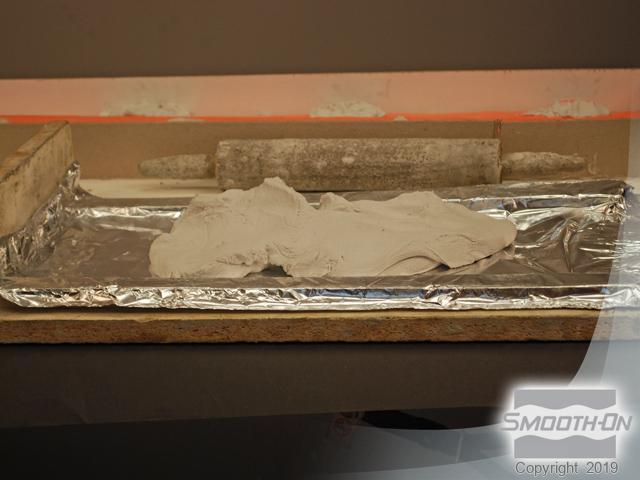
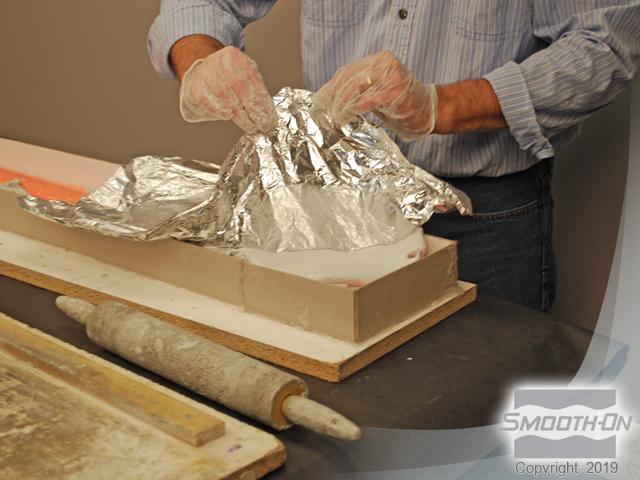
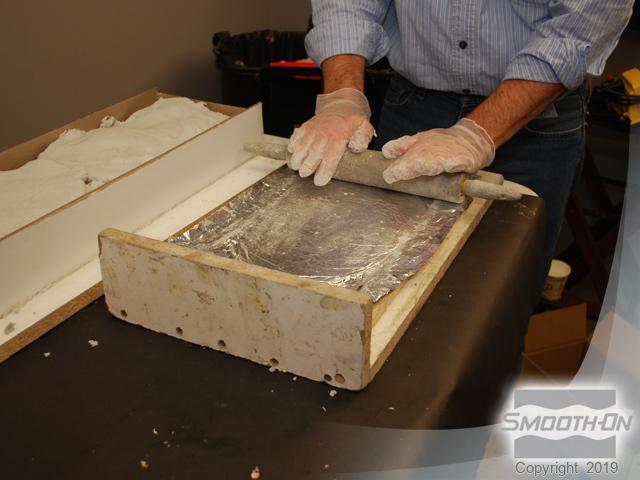
Free Form® Air will be used for the support shell, chosen for its light weight and durability. Equal parts of Free Form® Air are measured out by volume and mixed by hand. A rolling pin and Clay Board covered in aluminum foil will be used to roll out even thicknesses of the Free Form® Air which is then spread across the board.
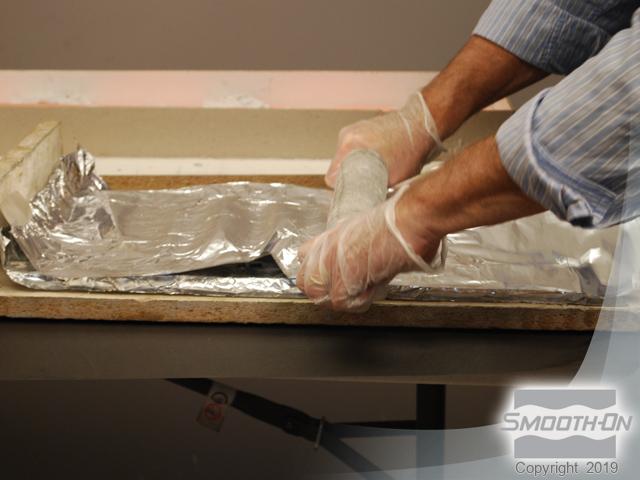
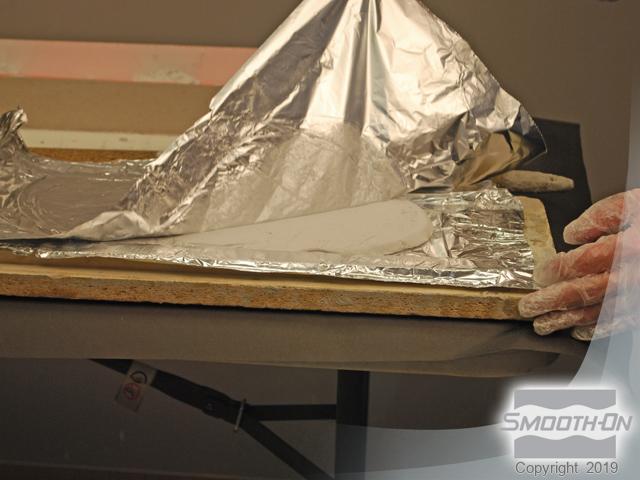
Another layer of Aluminum foil is placed over the Free Form® Air then smoothed with the rolling pin. The Aluminum foil peels easily away, revealing a nice, even layer of Free Form® Air. The Free Form® Air is placed over top the Rebound® and the bottom piece of Aluminum foil is pulled away from the putty. The method is repeated until the whole mold is covered in a uniform layer of Free Form® Air.
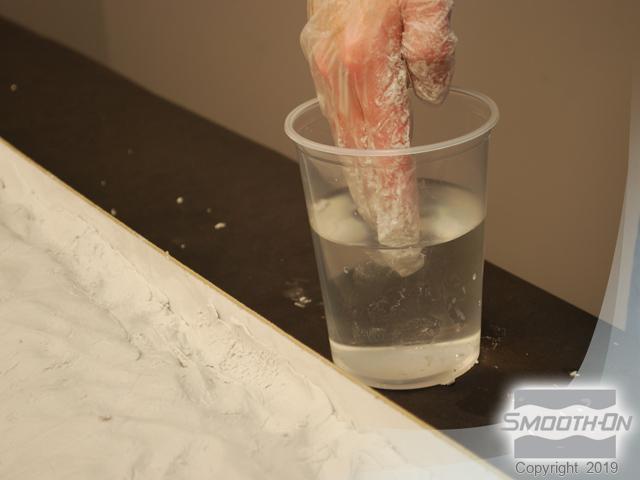
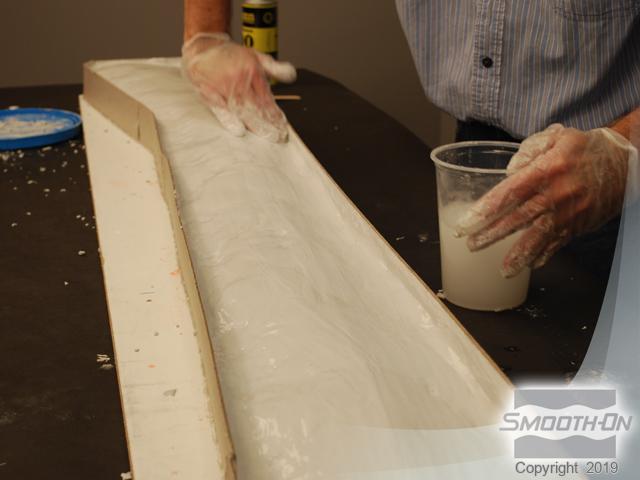
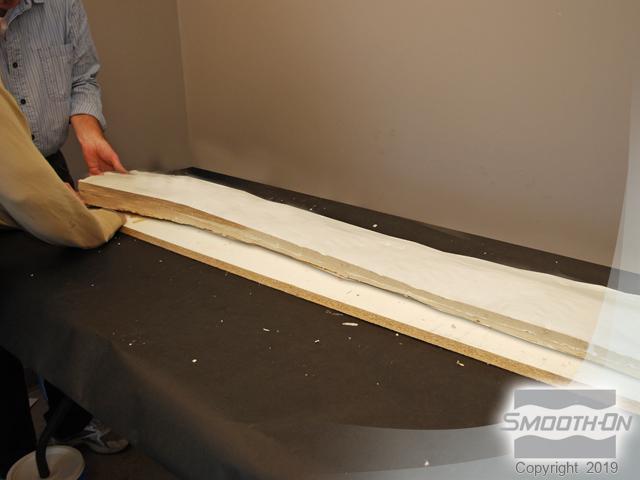
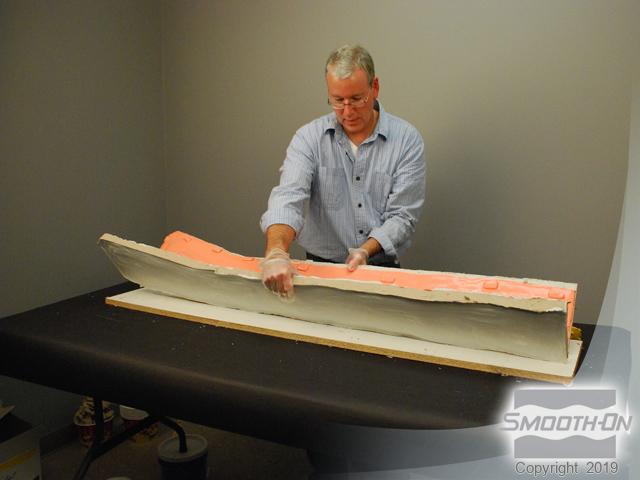
A gloved hand dipped in water will be used to smooth down the Free Form® Air to make a smooth, clean support shell. Water helps even out the putty, producing a finished look. Once allowed to cure overnight, the cardboard walls are removed and the model is lifted from the board in order to start the second half of the support shell.

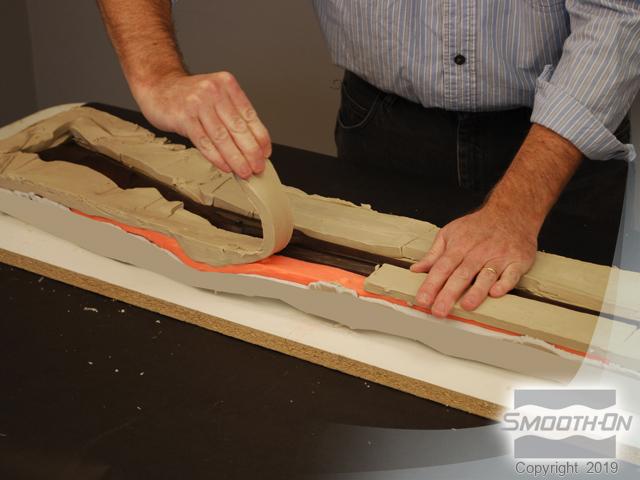
Step 6: Preparing Second Half of Model
The model is flipped over to expose the clay bed. The clay is removed from the model and Rebound® and all traces of clay are cleaned off in preparation of the second side of Rebound®. Ease Release® 205 will be used on the cured Rebound® to prevent the new layer from bonding. Ease Release® 205 was chosen so it can be carefully brushed on without affecting the gun. Using a brush makes application of the Ease Release® 205 easy.


Step 7: Constructing Second Half of Mold
Rebound® is processed and applied in the same way it was on the first application of the mold. Rubber keys are once again placed on the curing Rebound® to help the mold rubber register inside the Free Form® Air shell. Once all the layers of Rebound® have been applied, the rubber is once again cut and the cardboard sides are reassembled around the model.
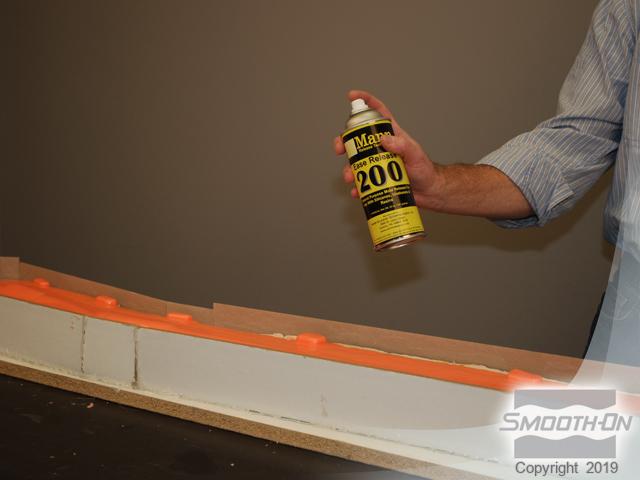
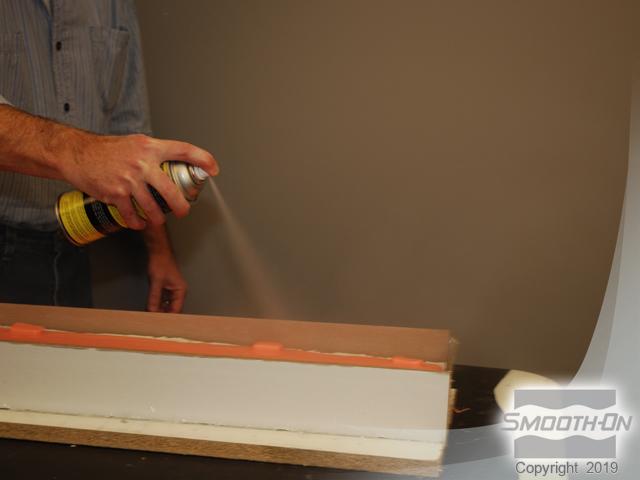
Ease Release® 200 (Although the Ease Release® 205 used previously could also be used) is used to make sure that the new application of Free Form® Air will not bond to the first layer of Free Form® Air when trying to separate the two halves. A liberal coat of Ease Release® 200 is sprayed onto all surfaces.
Step 8: Constructing Second Half of Support Shell
Free Form® Air is once again processed and laid on the second half of the mold rubber. Once the second layer of Free Form® Air had an overnight cure, the sides are once again pulled off and the model is lifted off the board in order to open the mold.
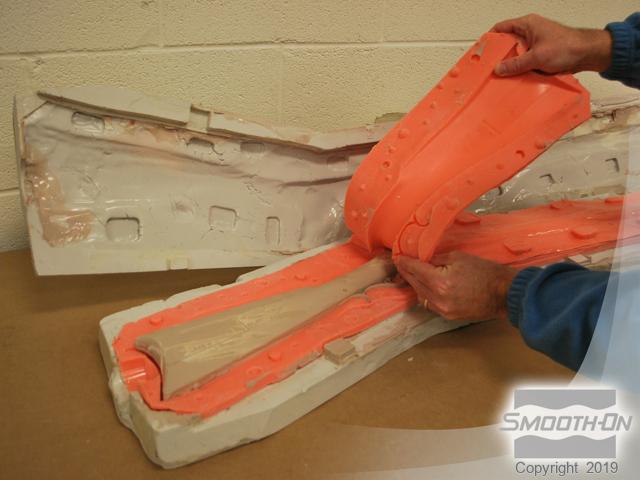
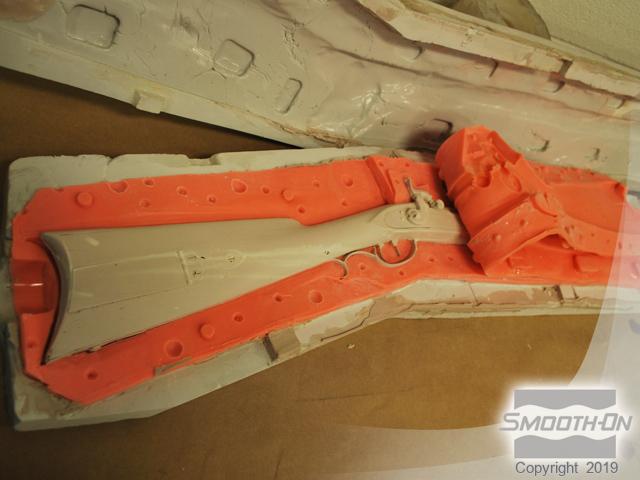
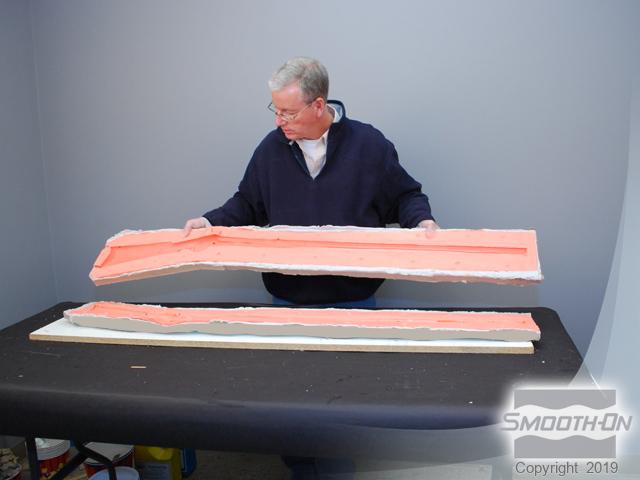
Step 9: Demolding
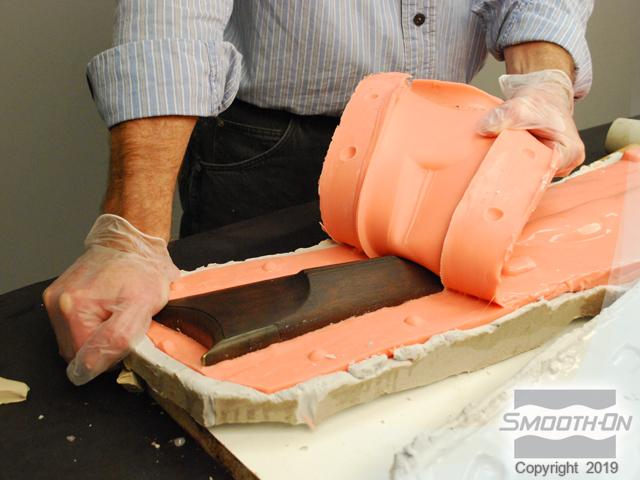
The first half of the support shell is removed from the mold and the two Rebound® halves are then opened for the first time. The second half of the Rebound® mold is placed back into its support shell. The mold is strong and light weight, while the Rebound® has captured perfect detail of the original model.
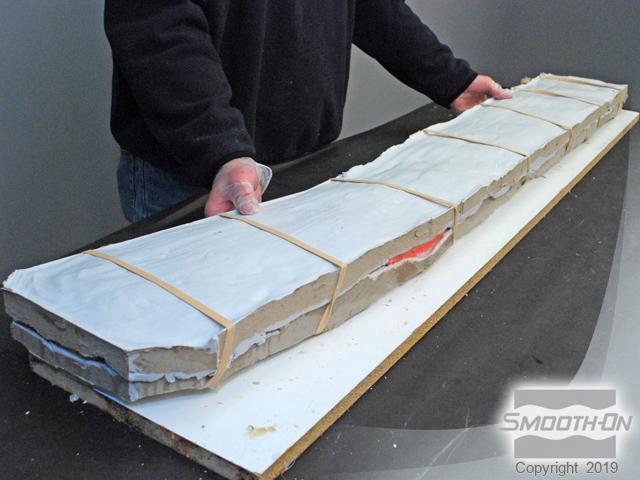
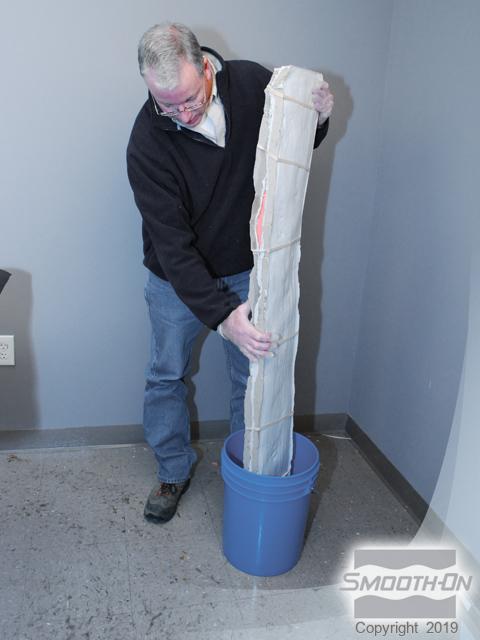
Step 10: Preparing Mold for Casting
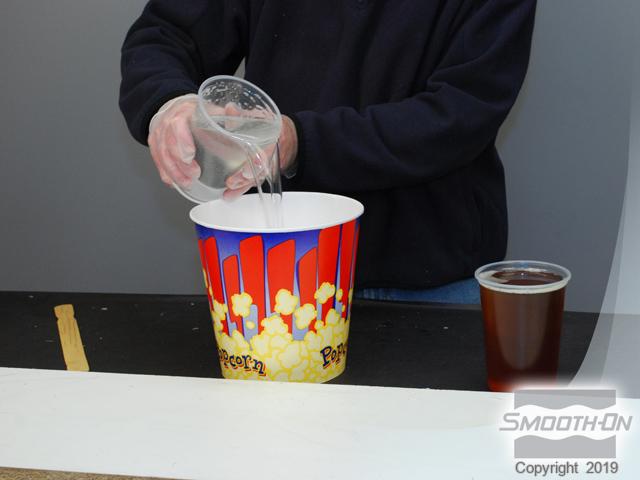
The mold halves are fitted back together and rubber banded in order to get ready for casting. The mold is placed into a bucket and objects packed around it in order to keep it upright for the casting process. Smooth Cast® 320 will be used for making the castings. Smooth Cast® 320 is measured out 1:1 by volume so no scales are necessary.
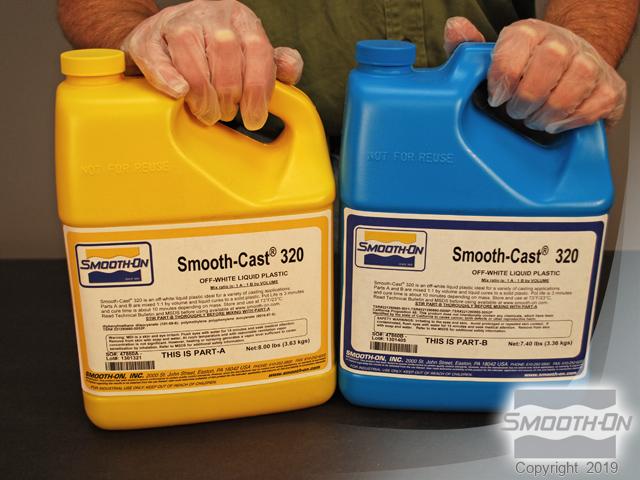
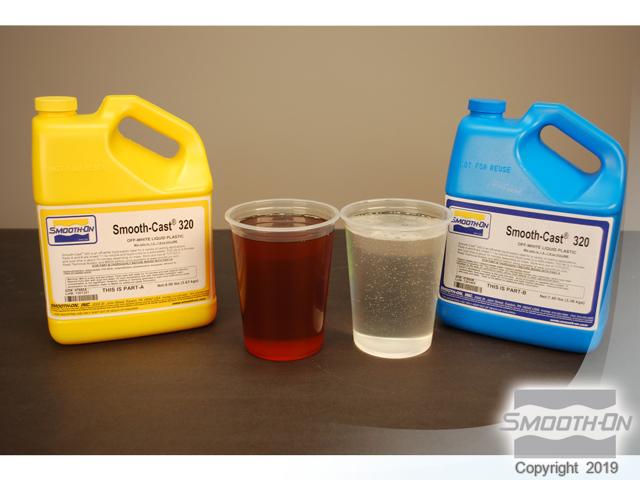
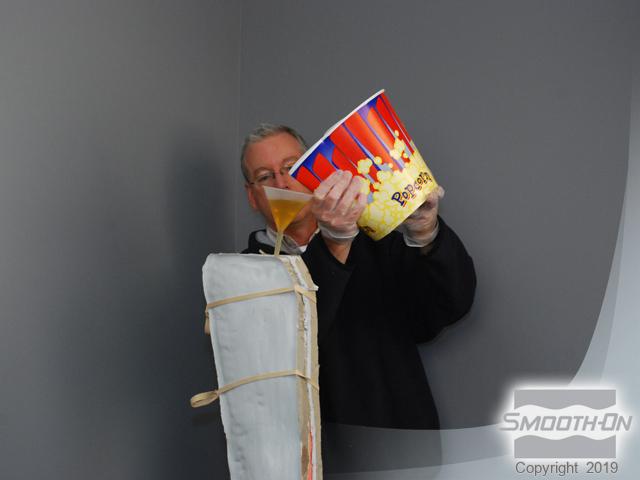
Step 11: Casting and Finishing the Replica
The Smooth Cast® 320 is combined in a clean mixing container and then poured through a funnel into the mold. Once cured, the mold is opened and the casting is revealed, reflecting perfect detail from the orignial model. The casting captured the character and detail of the original without doing any damage to the original antique!