How To Cast a Crystal Clear™ Shell in a Mold Star™ 15 Mold
Overview
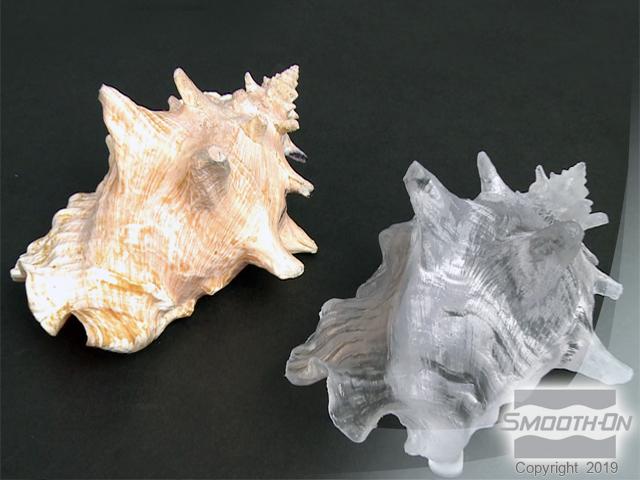
Smooth-On’s Crystal Clear™ Urethane Resin is used for thousands of industrial and art-related applications around the world, both large and small. This sequence demonstrates making a two piece silicone mold using Mold Star™ 15 silicone rubber and Crystal Clear™ 200 to cast a perfect replica of a conch shell.
In the step-by-step gallery below, you will learn how to make a 2-part mold and casting of a conch sea shell using Smooth-On mold making and casting materials.
Smooth-On Products Featured in Step-by-Step Tutorial:
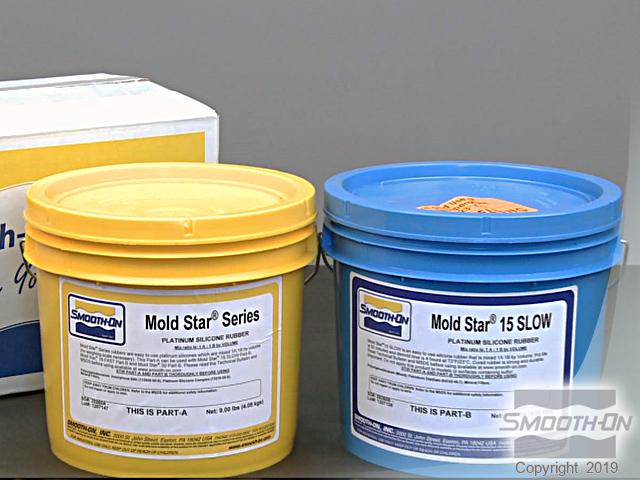
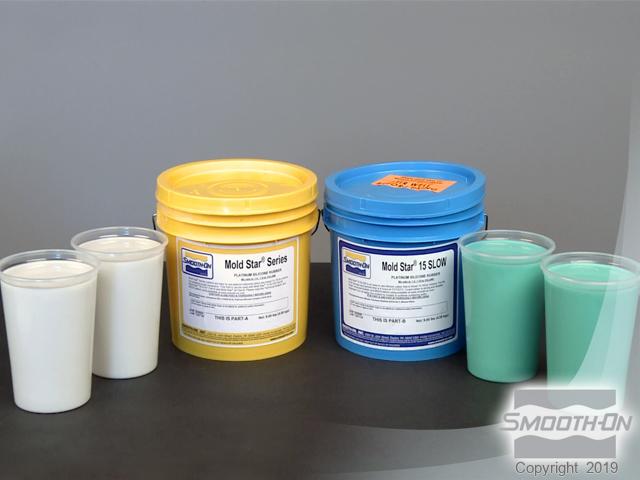
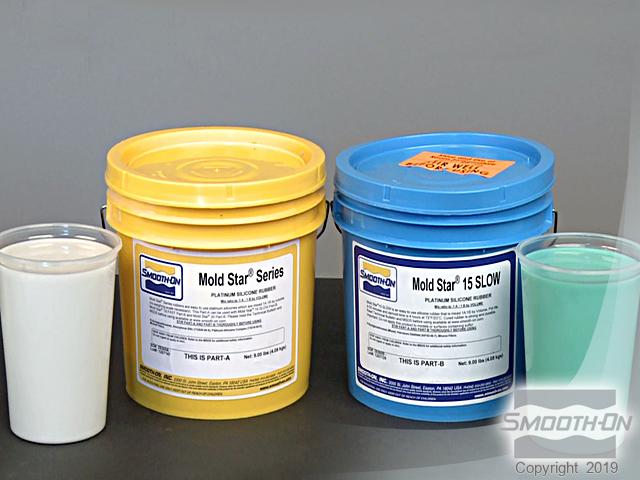
- Mold Star™15 platinum-cure silicone rubber
- Ease Release™200 release agent
- Crystal Clear™200 optically clear urethane resin
- Ignite™ fluorescent color pigments
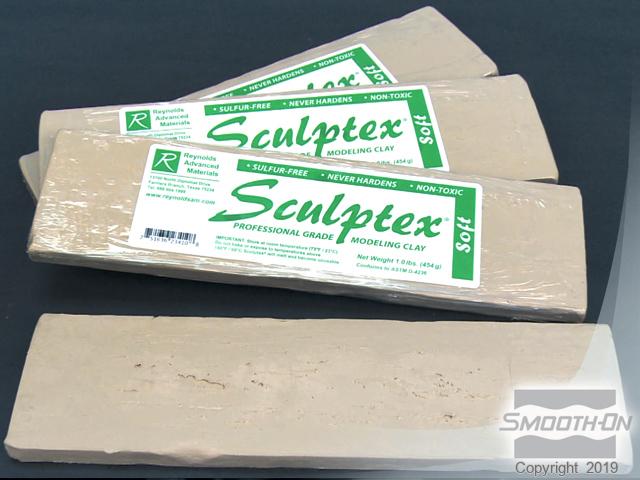
- Reynold's Sculptex™ sulfur-free modeling clay
Step 1: Preparing Model for Molding
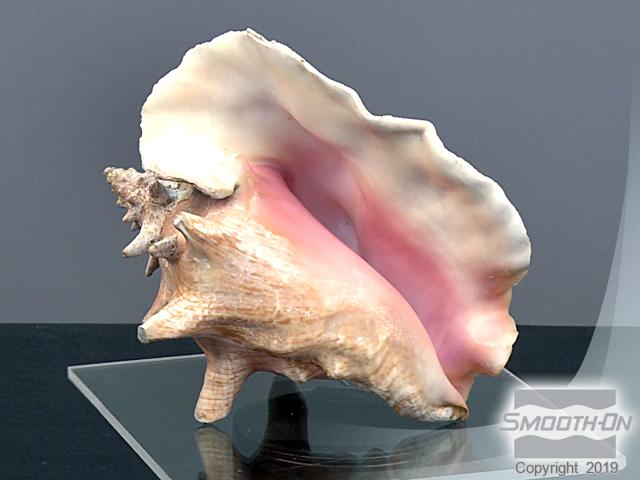
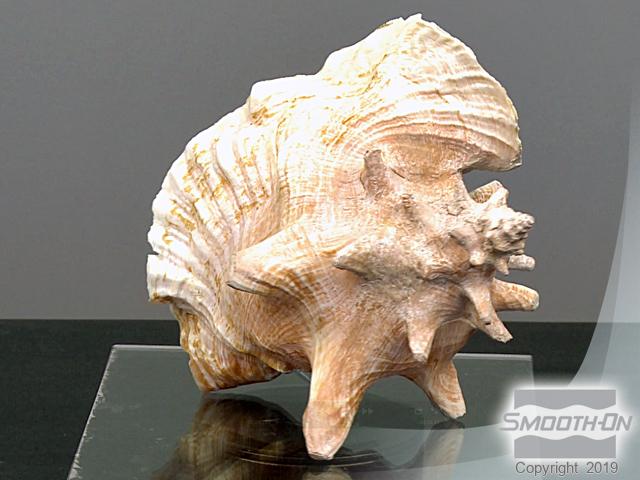
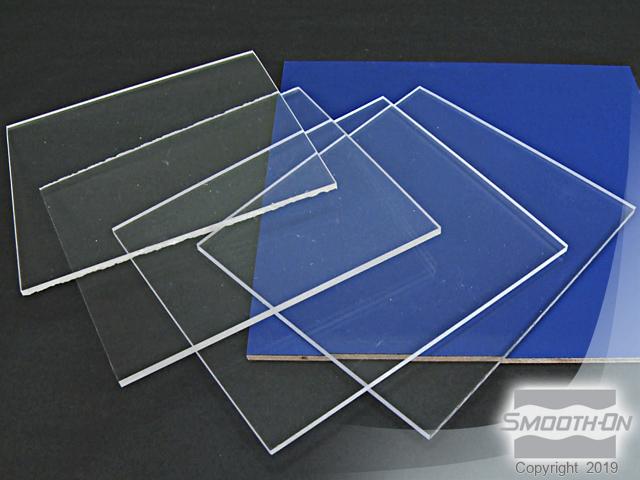
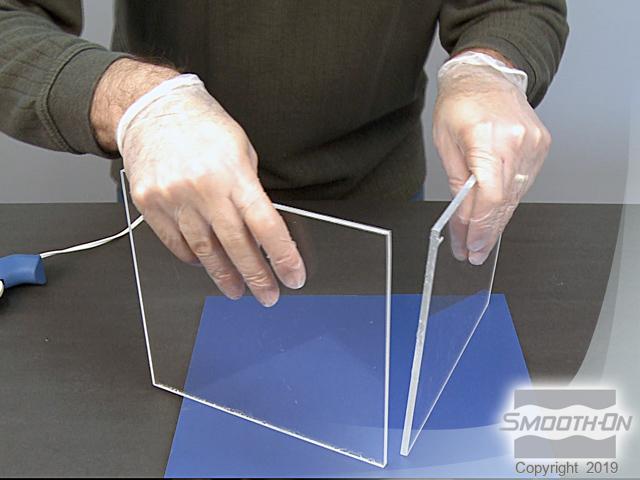
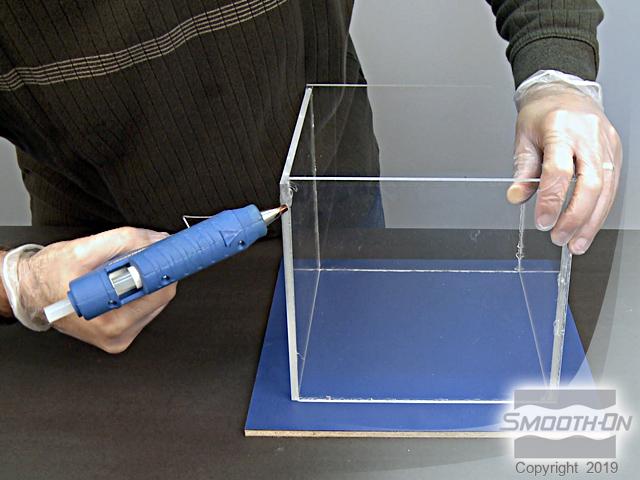
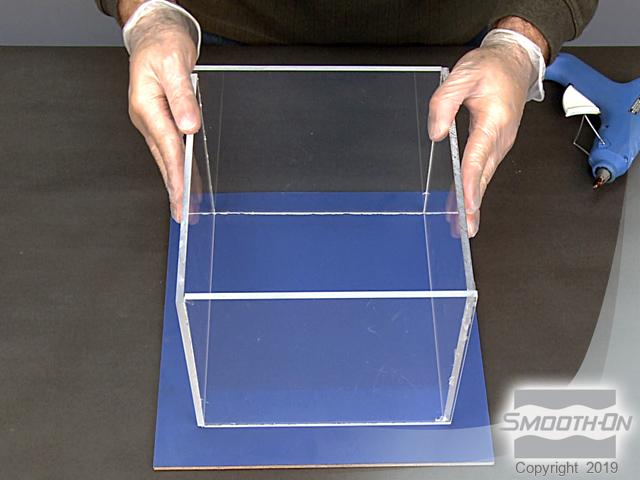
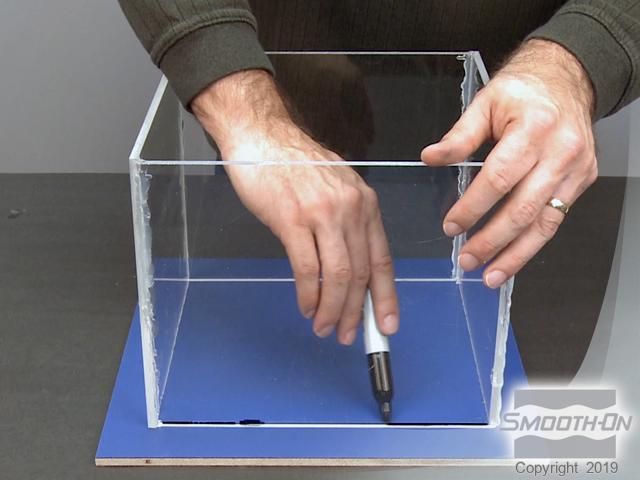
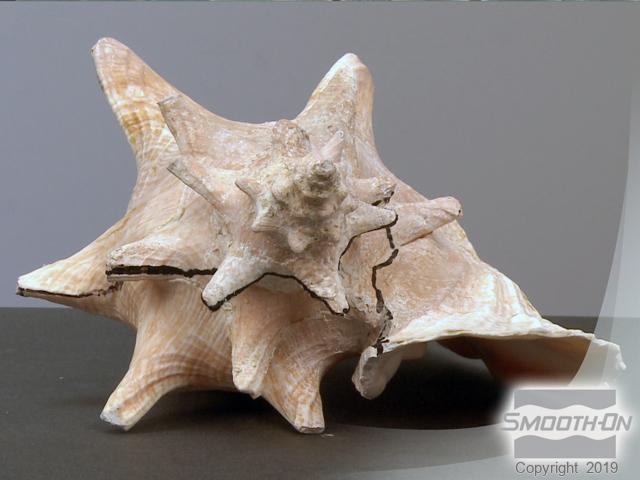
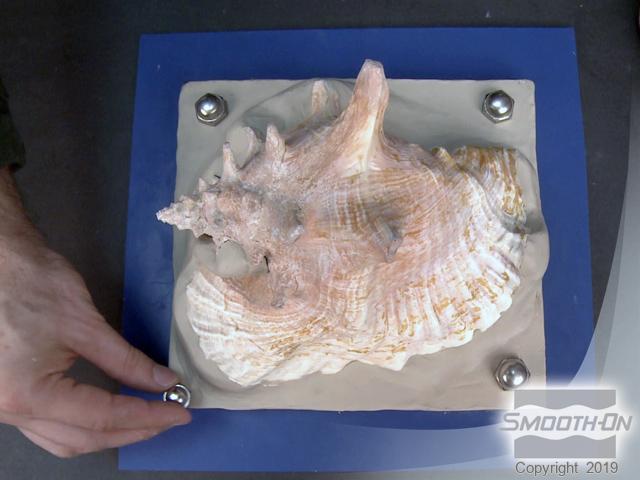
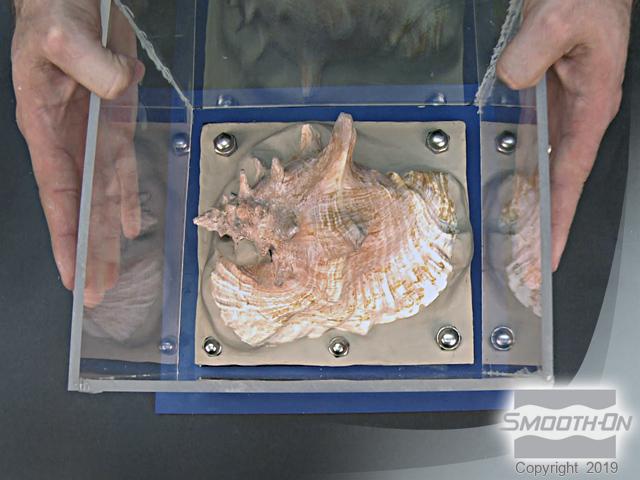
This mold will be made from an original, dry conch sea shell (notice the cavity in the front). Assemble four acrylic mold walls together and adhere them to a base surrounding the conch. Try to allow at least 0.5'' space between the original model and the mold walls. Fit and secure the mold walls together using hot melt vinyl. Draw a border around the edges of the inside of the assembled mold walls so we will know where to place the clay bed for making the first part of the 2-part mold.
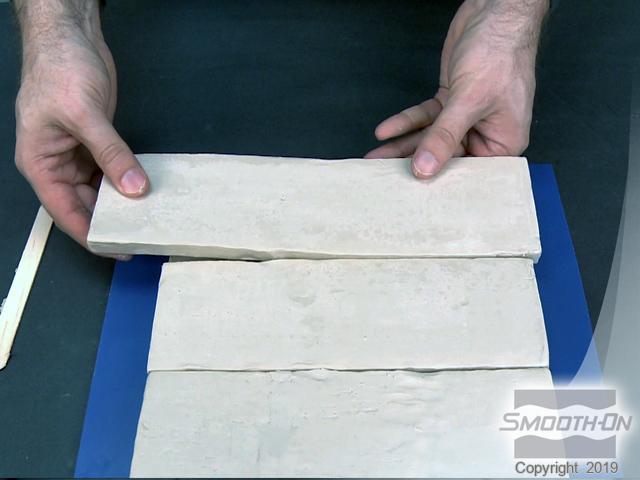
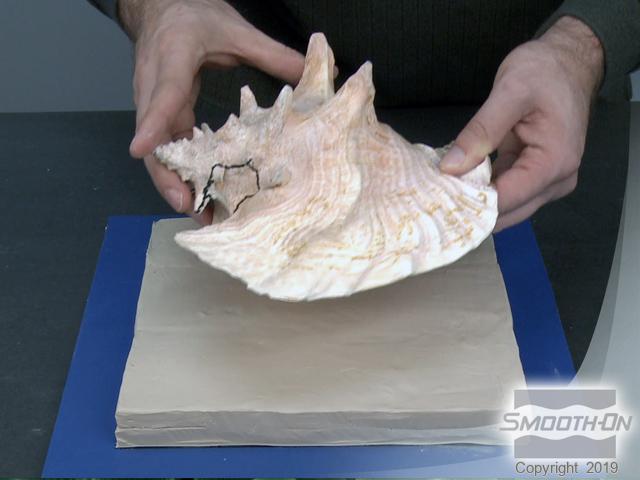
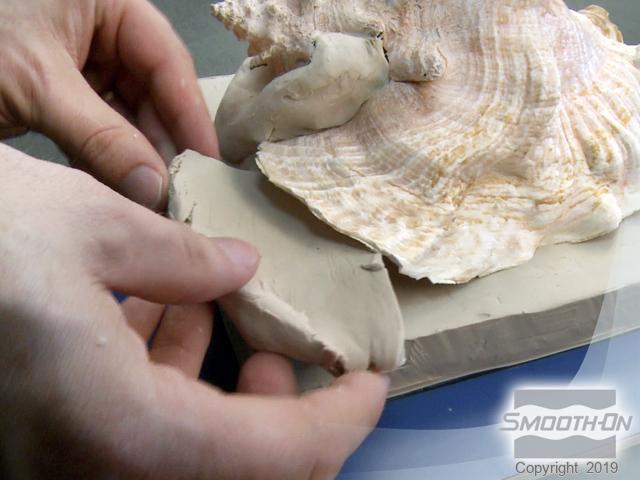
Use sculptex non-sulfur clay to build the clay bed for making the first part of the mold. Begin to lay down the bed of clay within the border outline and continue to build up the clay until it is high enough for teh first part of the mold. Make sure to trim the clay bed so that it fits within the pre-assembled mold walls. The conch will rest in this part of the clay bed while mold rubber is poured around it.
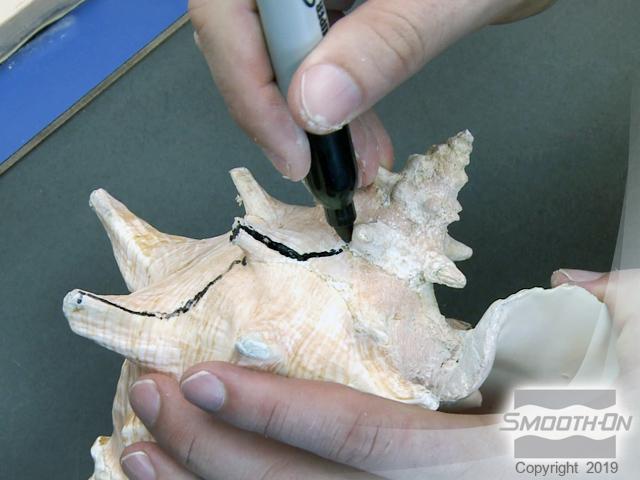
Pre-determine a parting line and draw it on the model. This line represents where the two mold halves will separate with least resistance.
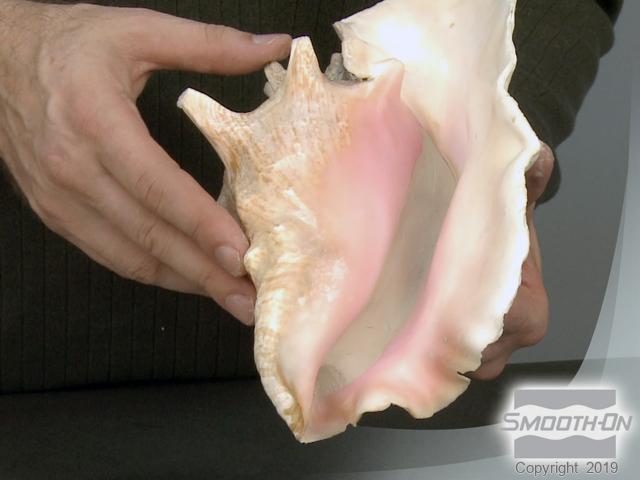
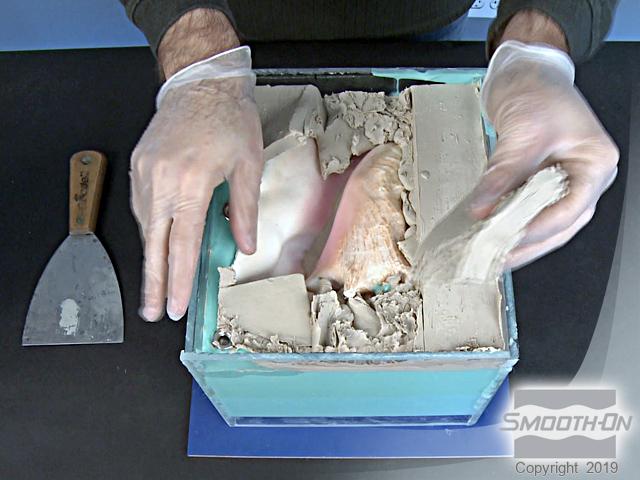
The shell used for this application has a deep cavity that needs to be addressed. If liquid mold rubber were allowed to fill this undercut, the cured rubber mold would be impossible to remove (also known as mechanical lock). To prevent mechanical lock, Sculptex non-sulfur based clay is used to fill the cavity.
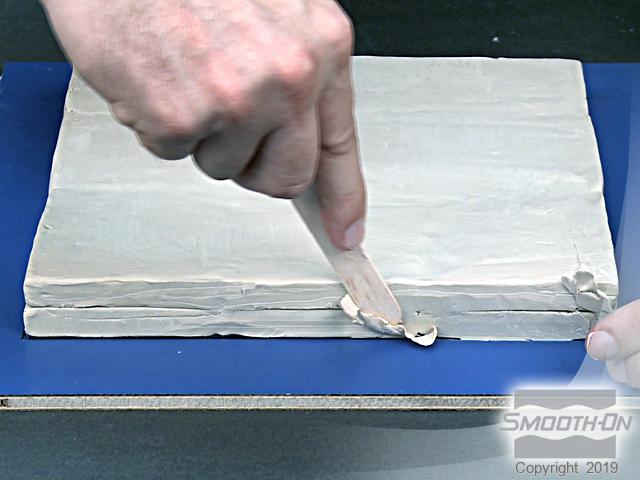
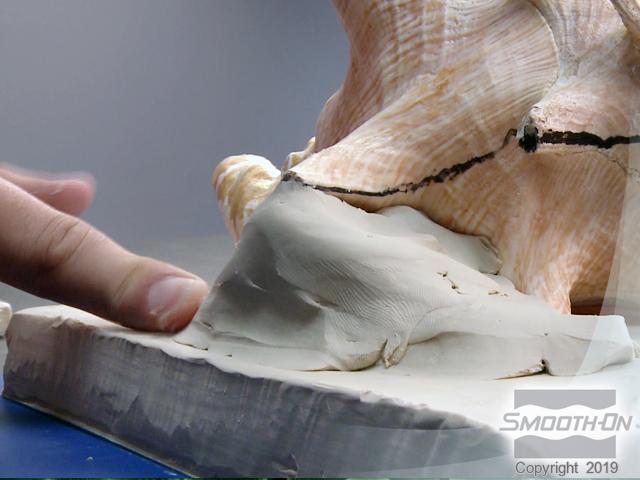
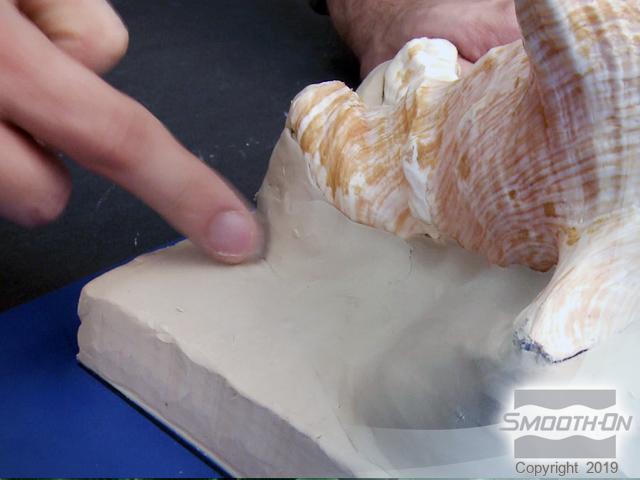
Place the conch cavity-side down onto the clay bed that you have made. Since the conch is not level, we need to lay down more clay to continue to block the cavity and create the first part of the 2-part mold. Continue adding clay and follow the seam that you drew with the clay. Smooth out the clay so that the 2 parts of the mold will join together tightly.
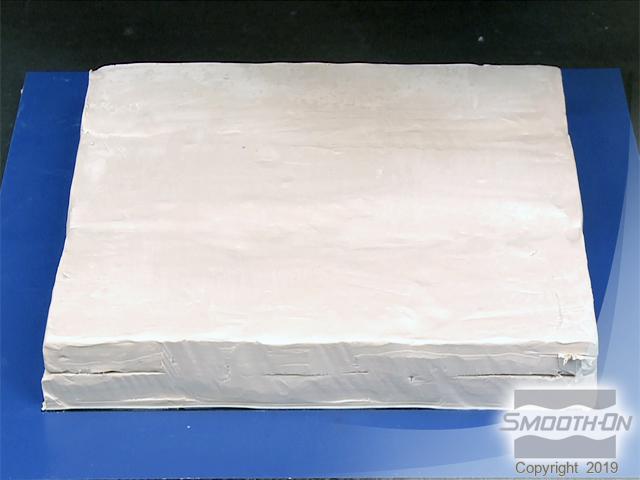
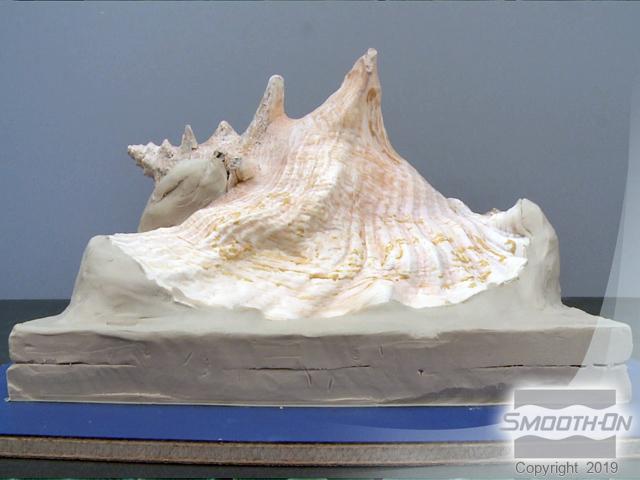
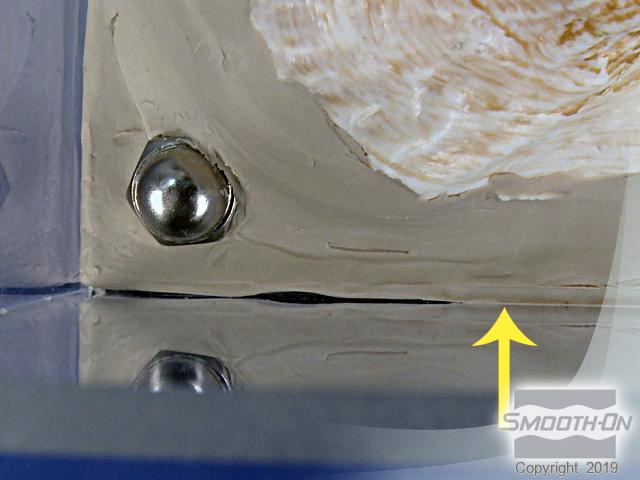
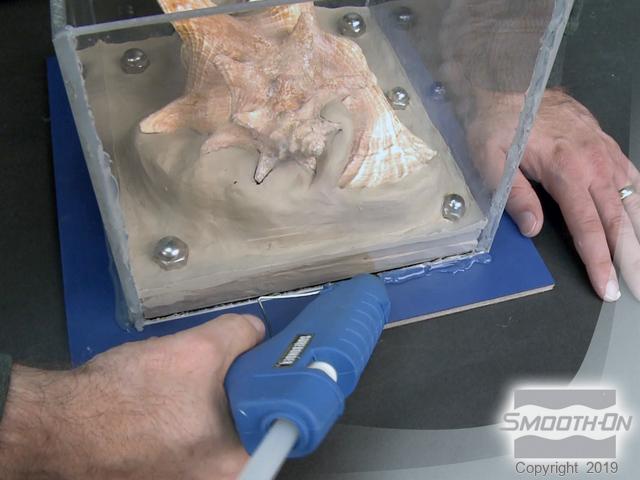
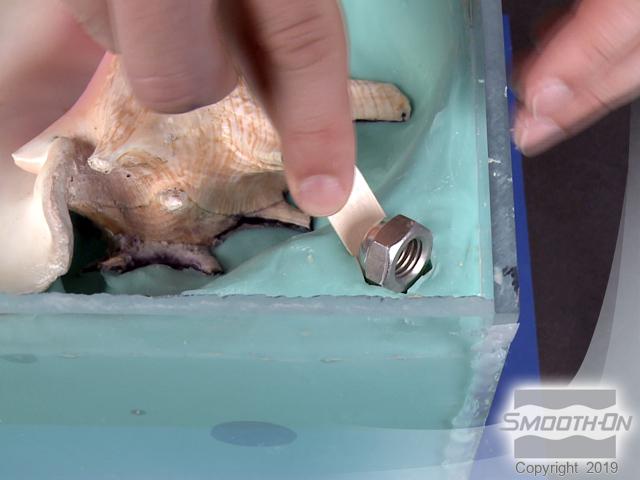
The first part of the mold is almost ready to be poured. Acorn nuts are added to the clay bed to act as registration keys for the 2 parts of the mold. Be sure that the clay is flush against the mold walls to prevent the rubber from flowing behind it. Secure the mold walls to the base with hot melt vinyl.


Step 2: Using Mold Star™ 15 Slow for the Mold
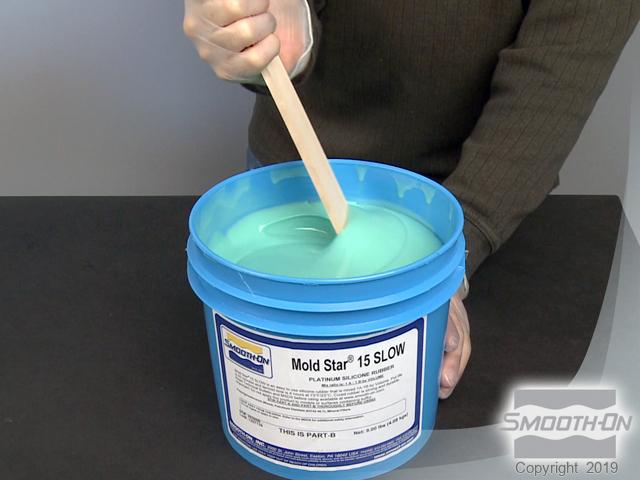
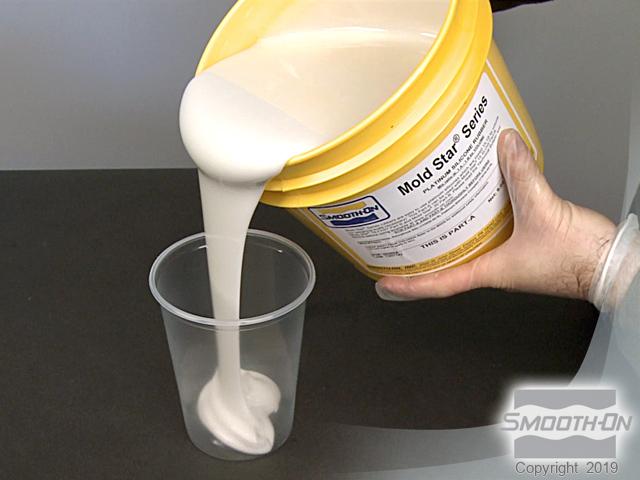
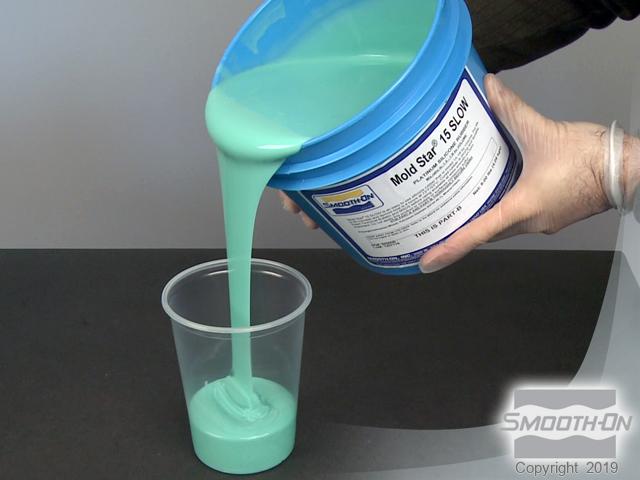
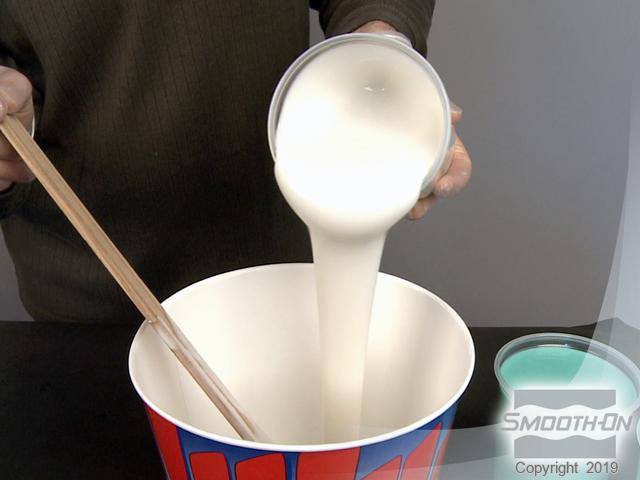
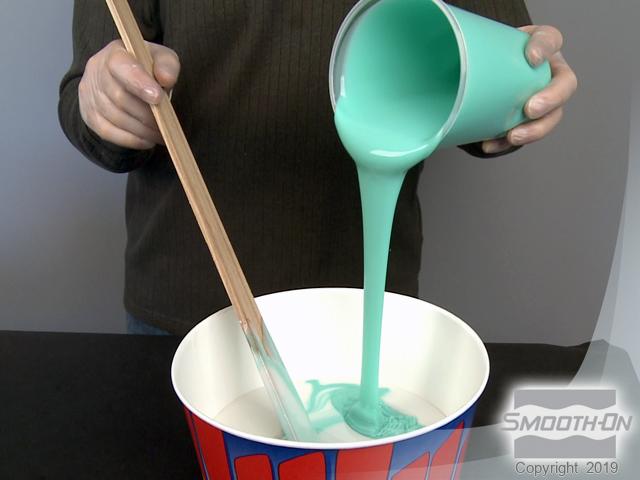
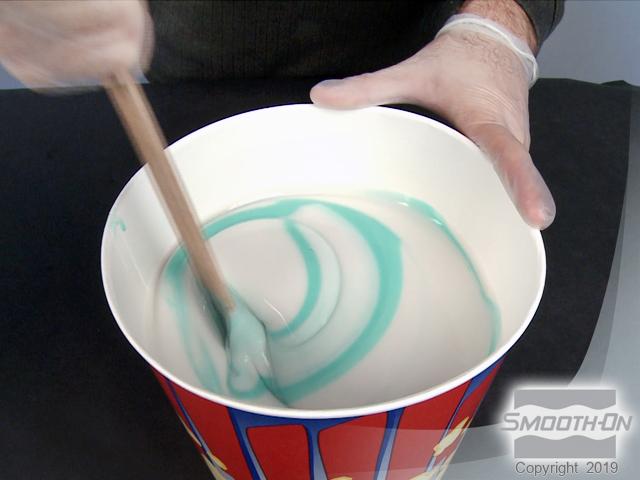
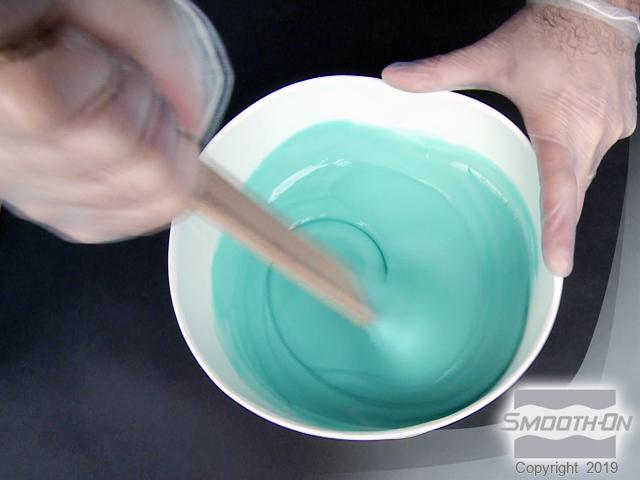
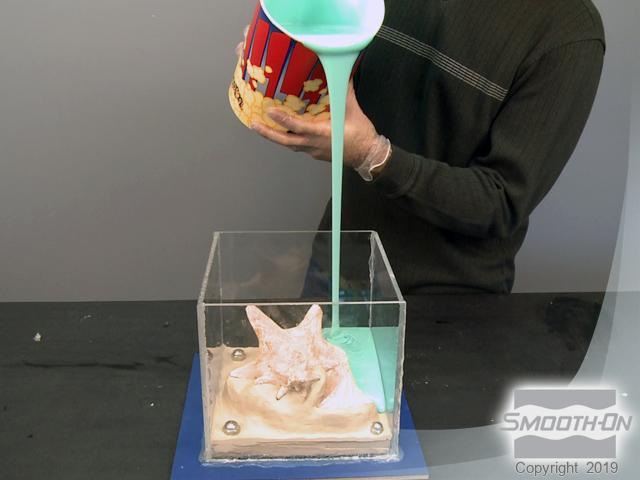
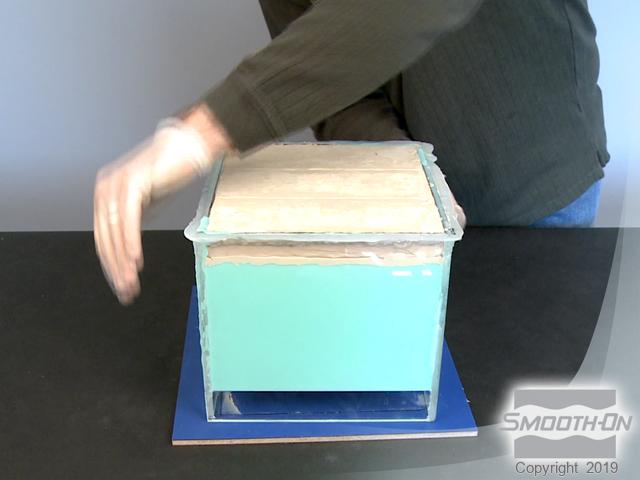
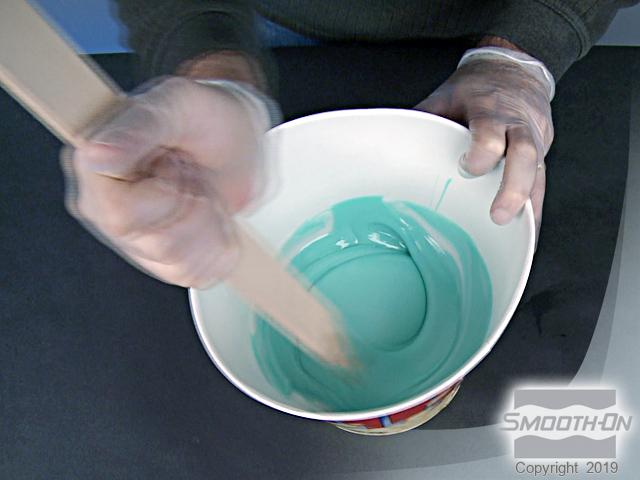
Use Mold Star™ 15 platinum-cure silicone rubber for making the mold. The mix ratio is 1A:1B by volume. Pre-mix part B before dispensing. Then dispense equal parts of Part A and Part B, which will be used to make the first half pour. Pour part A into a larger container and then part B into the same container. Mix thoroughly until the color is uniform. Mold Star™ 15 has a pot life of 50 minutes; pour the first half of the mold in a long, thin stream to avoid air bubbles. Allow this first half of the mold to cure for 4 hours.
Step 3: Preparing to Make Second Half of Mold
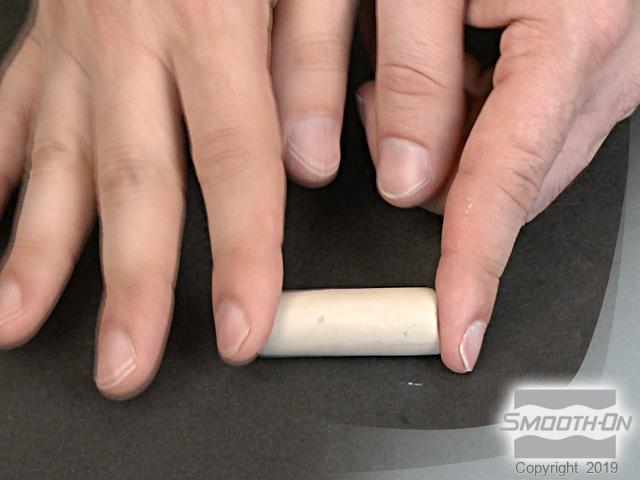
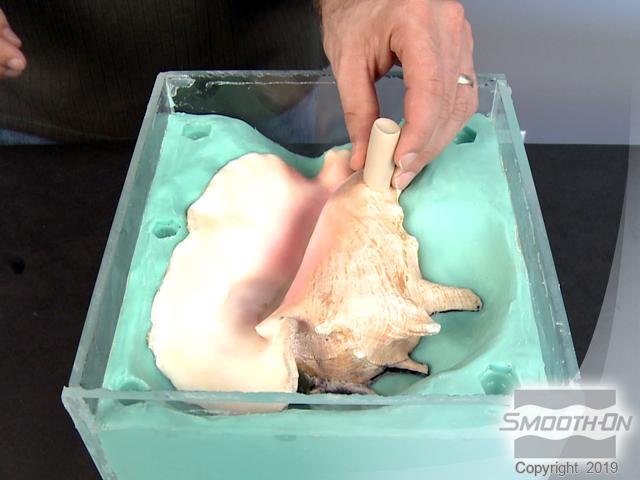
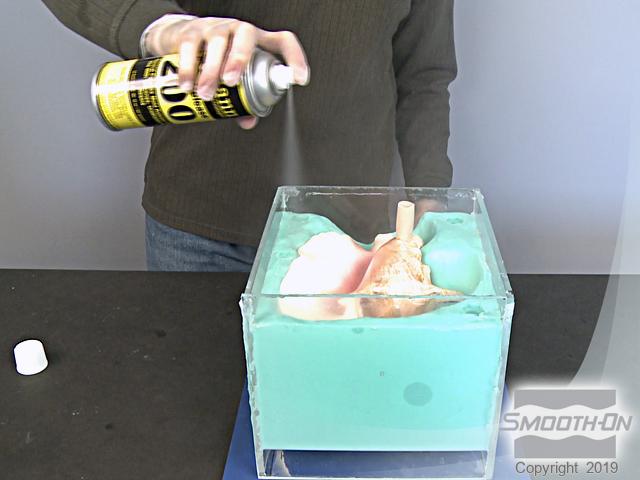
After the first half is fully cured, separate from the base and flip the first half of the mold over. Remove clay from the model, but do not remove the original model from the mold rubber in process. Remove the registration keys (acorn nuts). Roll a clay plug to make a pour spout and position it on the model. Apply Ease Release 200 to the cured silicone as a separator.
Step 4: Second Half of Mold Using Mold Star™
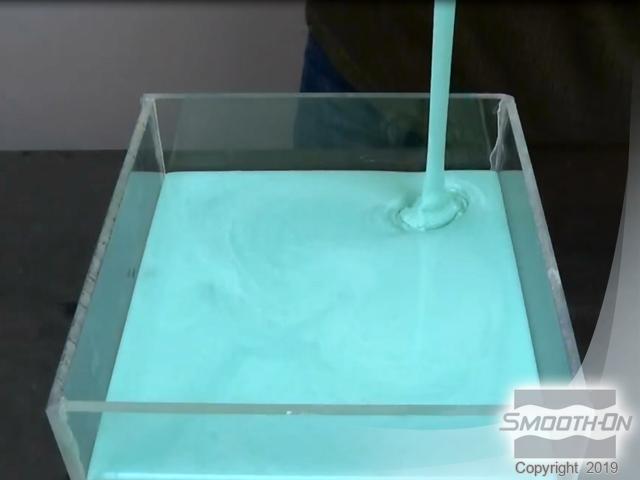
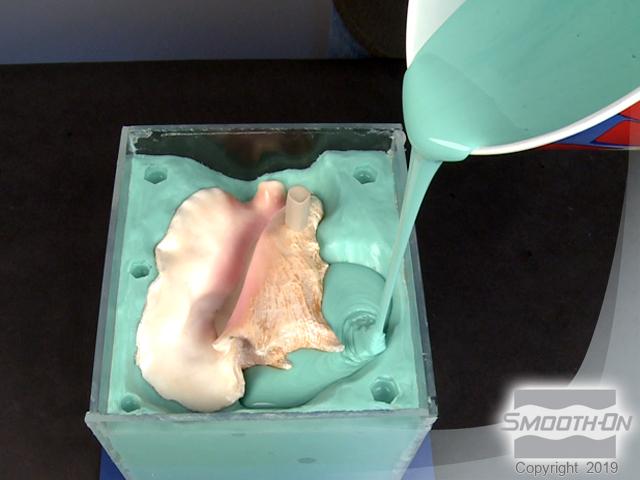
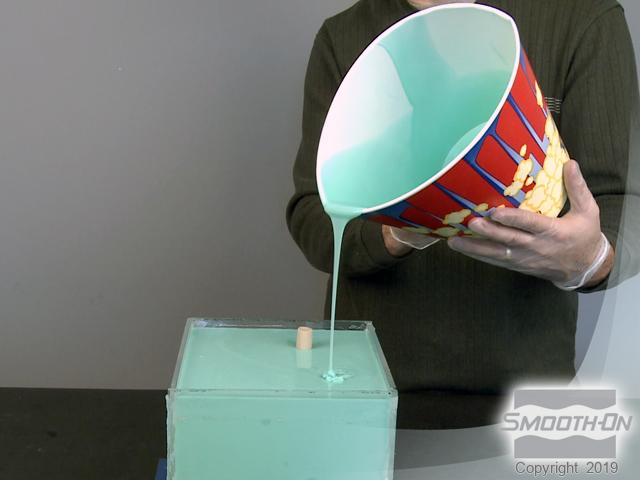
Measure and dispense additional Mold Star™ 15 for the 2nd half pour. Mix the rubber thoroughly until the color is uniform. Pour the second half of the mold and allow the rubber to cure for 4 hours.
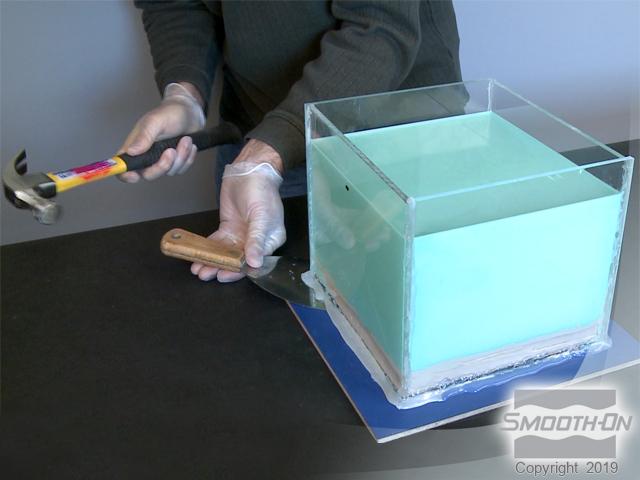
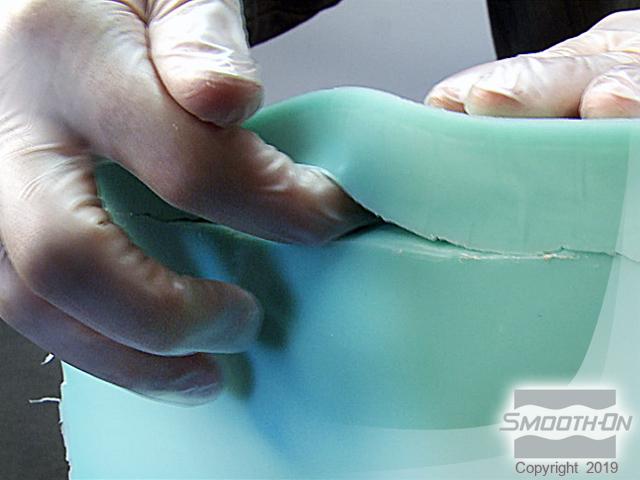
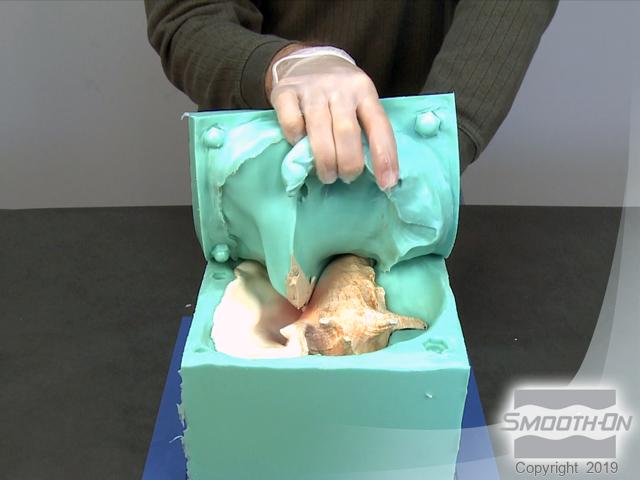
Step 5: Demold
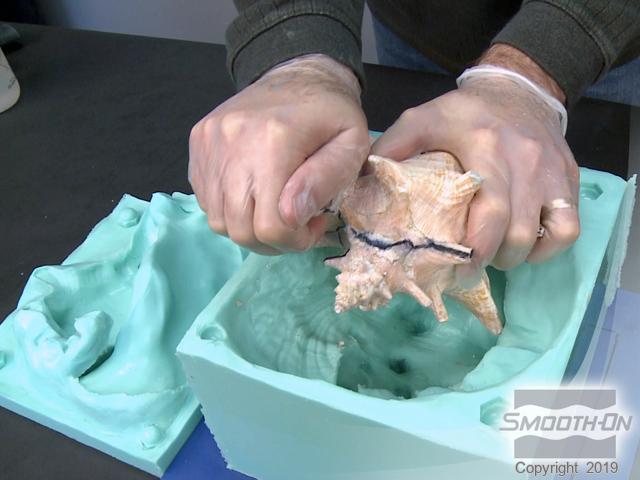
Carefully remove the mold walls and any clay from the fully cured mold. Use fingers to help part the 2 halves of the mold, which will separate easily. Gently remove the original model from the mold.

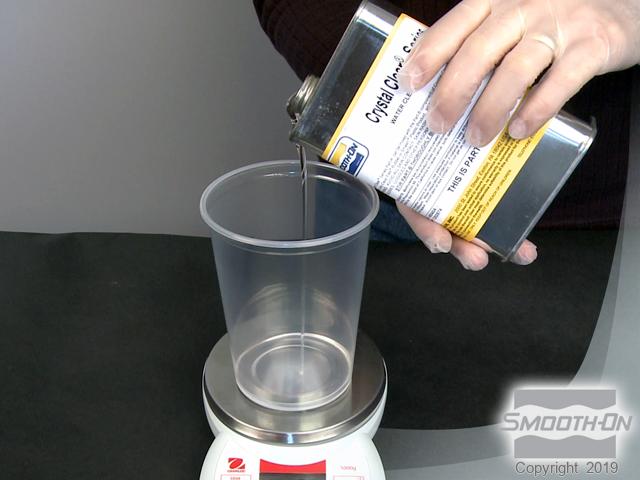
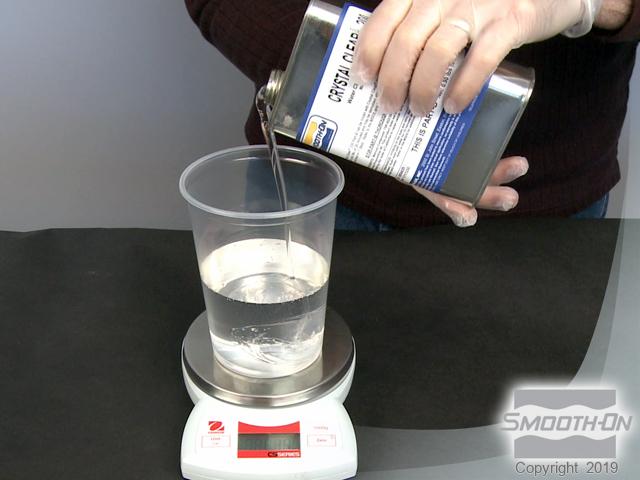
Step 6: Casting Crystal Clear™
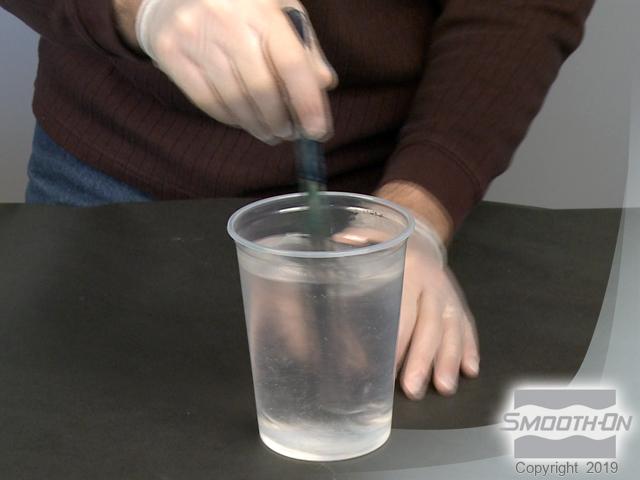
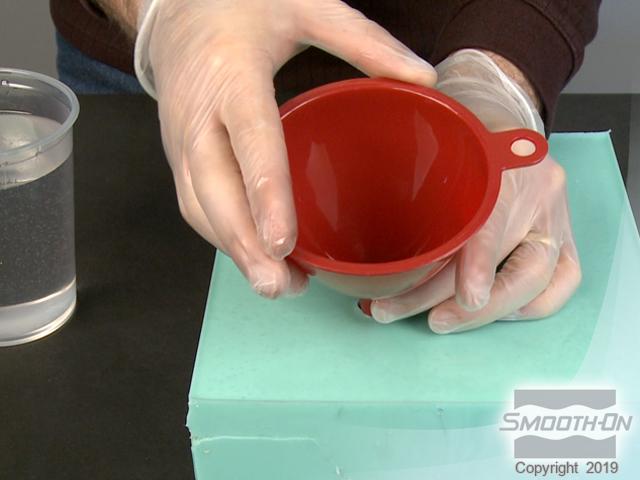
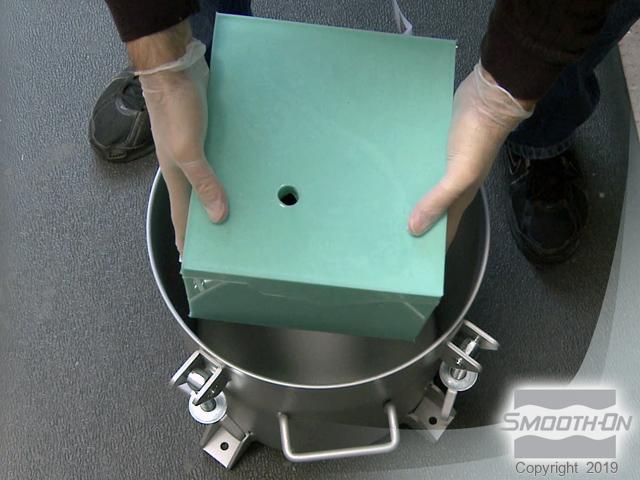
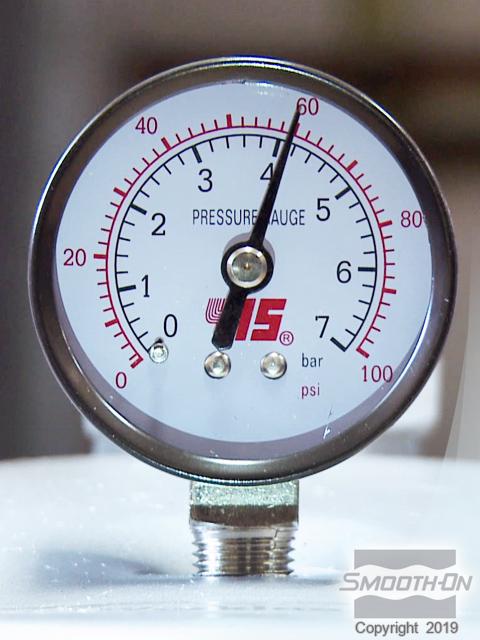
Use Crystal Clear™ 200 clear urethane resin to cast into the mold. The mix ratio is 100A:90B by weight. Dispense Part A and Part B and then thoroughly mix the resin. reassemble the mold and insert a funnel into the pour hole to help minimize spills. Pour the Crystal Clear™ into the funnel. Place teh rubber mold containing the resin in a pressure pot and subject it to 60 PSI (4.22 kg/cm2) pressure until the resin cures (16 hours). Pressure casting resin is optimal for creating castings that are truly bubble free.
Step 7: Demold and Finishing
Remove the cured casting from the mold. The casting is an exact copy of the origingal and reflects the perfect detail captured by the Mold Star 15 rubber. In the gallery below, another Crystal Clear casting was made with a drop of Ignite purple tint added to the resin for a dramatic finished effect. Several light base casting options are showcased as well.