How To Mold & Cast An Alligator Snapping Turtle
Overview
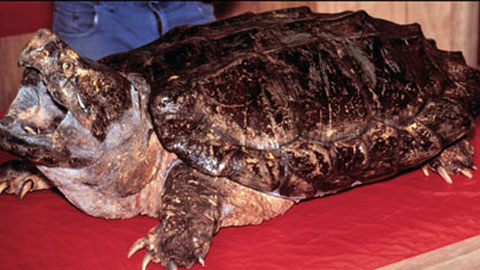
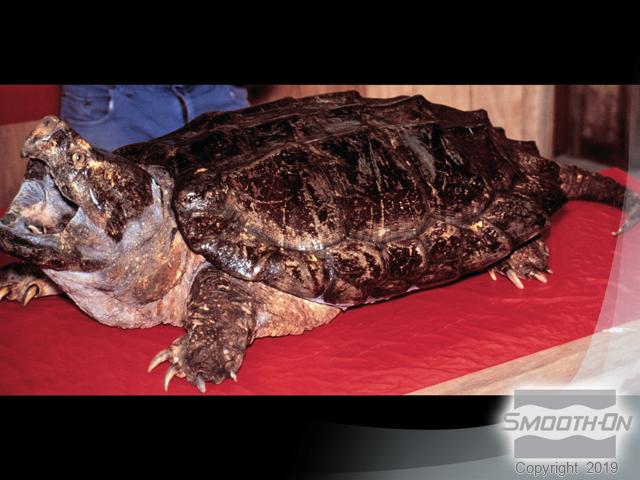
The Alligator Snapping Turtle is one of nature's rarest and most elusive animals. An opportunity to reproduce a 250 year old specimen is as rare as the animal itself. Tony & Leslie Breedlove of Wildlife Art Creations (Melrose, FL) were fortunate enough to acquire a 150 lb (68 kg) Alligator Snapper, and have chronicled their mold making and casting processes used to make exact duplicates of this dinosaur.
Materials Used in this Tutorial
- Plywood
- Mold Max 30
- Fast Cat
- Thi-Vex
- Ease Release 200
- Smooth-Cast 320
- Foam-iT 5
- Mixing Containers
- Mixing Sticks
- Sonite Wax
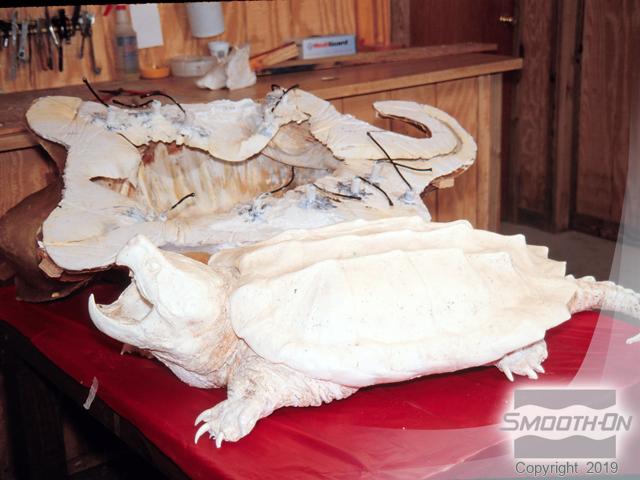
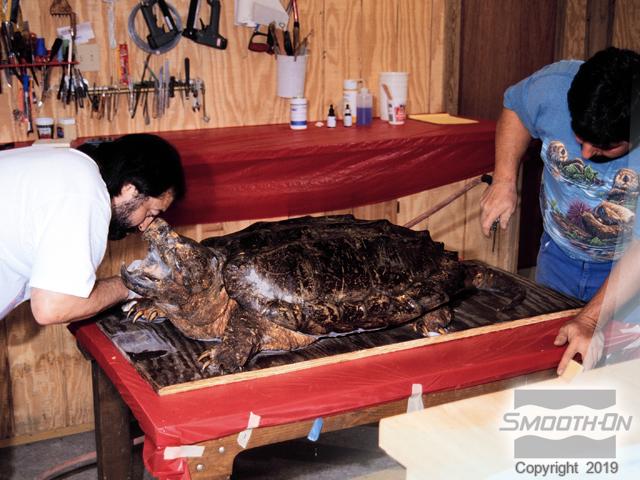
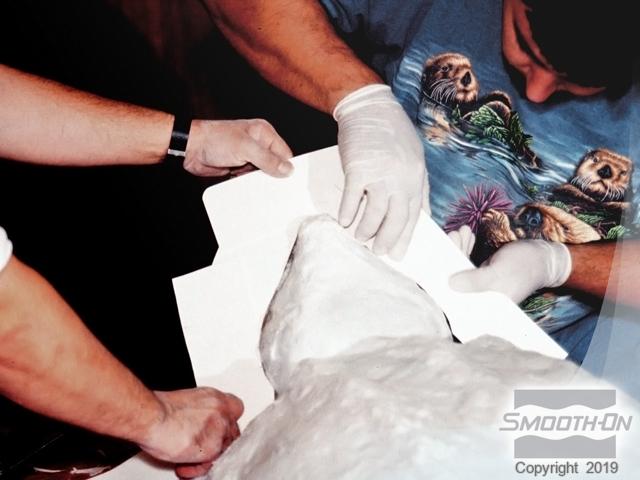
Step 1: Preparing the Specimen
This huge alligator snapper is a rare taxidermy specimen. Position the specimen on a piece of plywood, while leaving ample working room around the edges. Place the specimen in a freezer; check and adjust frequently until desired position is achieved. Freeze solid.

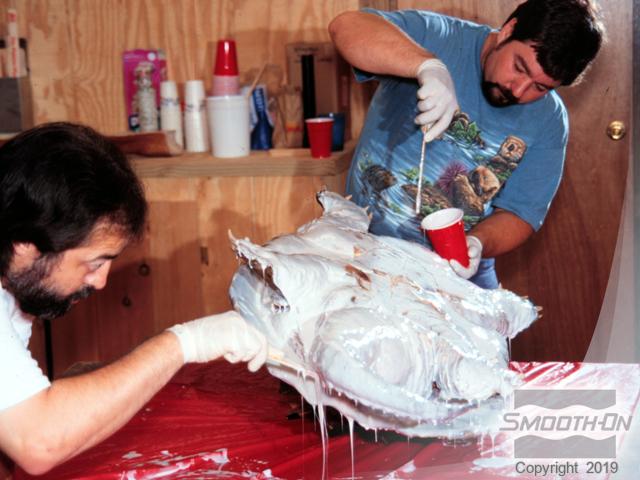
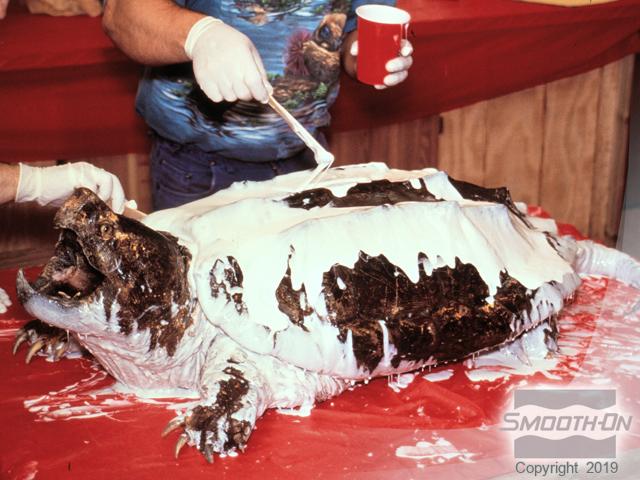
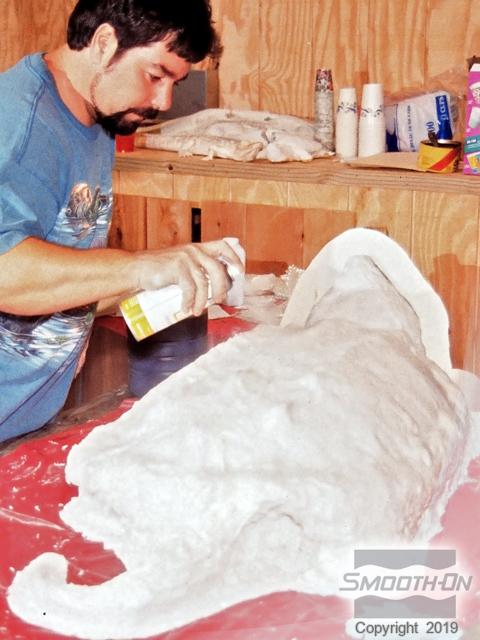
Step 2: Applying Mold Max 30
Accelerate Mold Max® 30 with Fast Cat® 30. Apply rubber in 3 layers to the bottom and all undercuts and then repeat the 3-coat process on the topside. Fill all cracks and depressions completely. You can use light air pressure to blow silicone into all the detail. To add thickness to the mold use THI-VEX® thixotropic additive to thicken rubber.
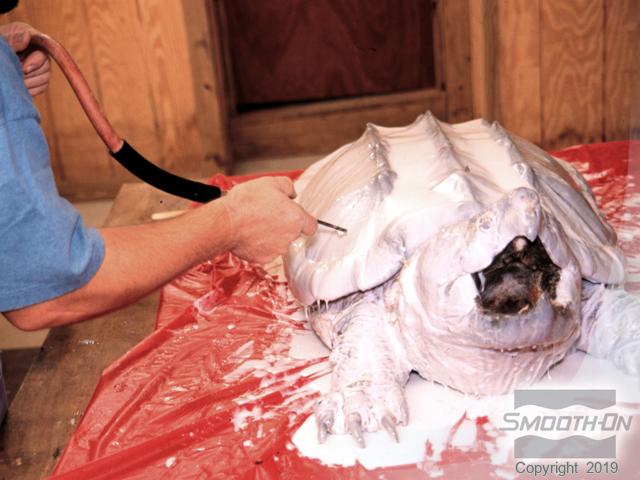
Create an open mouth insert and apply a release agent to the inside of the mouth and all the surrounding silicone. Then fill the mouth about half way with thickened rubber. Insert a wooden peg and hold until rubber partially sets.
After the rubber partially sets, fill the remaining void in the mouth with more accelerated rubber, overlapping the edges around lip line.
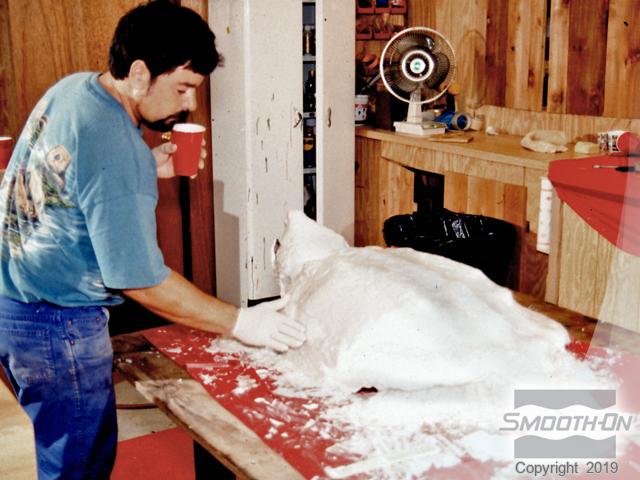
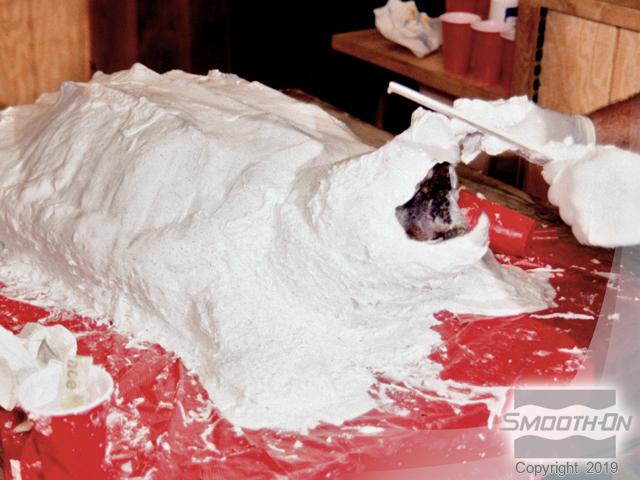
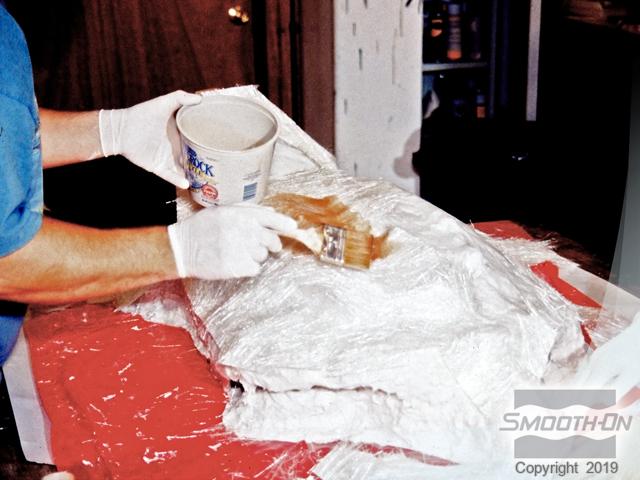
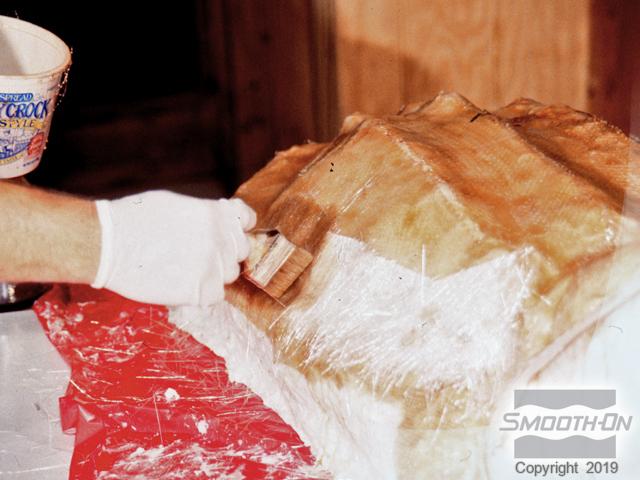
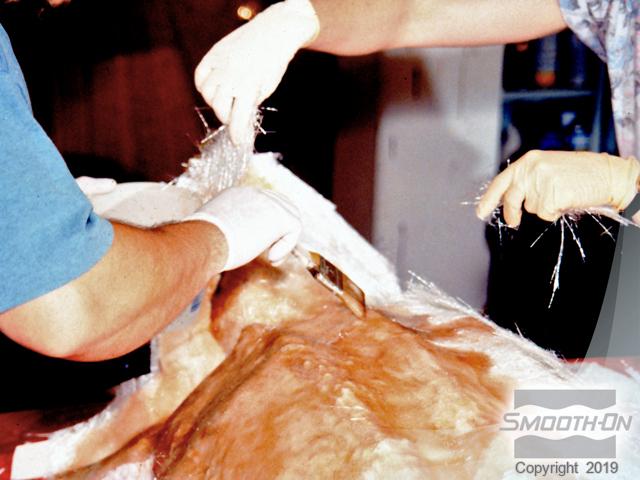
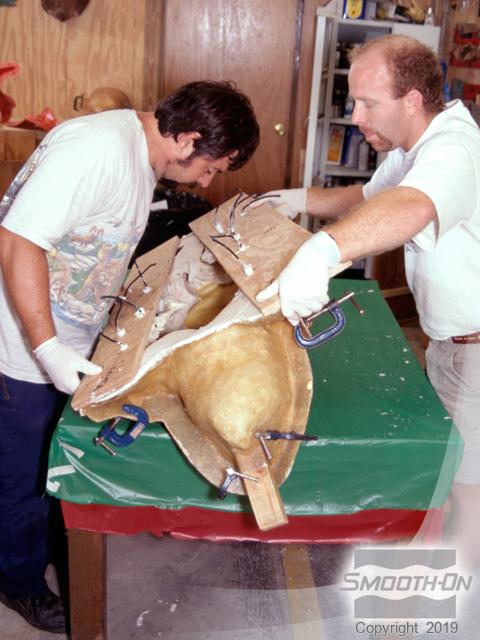
Step 3: Applying the Support Shell
Determine the location of the parting lines and build the shims to separate the mother mold sections. Apply two liberal coats of Mann Ease Release® 200 and Sonite Wax® to all surfaces.
Put the first layer of 1-1/2 oz fiberglass mat on the original. Wet with polyester resin and press in with brush to remove air bubbles. Apply a 10 ounce cloth and wet well with resin. Finally, put the last layer of 1-1/2 oz mat in place and wet completely.
You can also use Plasti-Paste™ II urethane or EpoxAmite™ epoxy with fiberglass mat for a support shell.
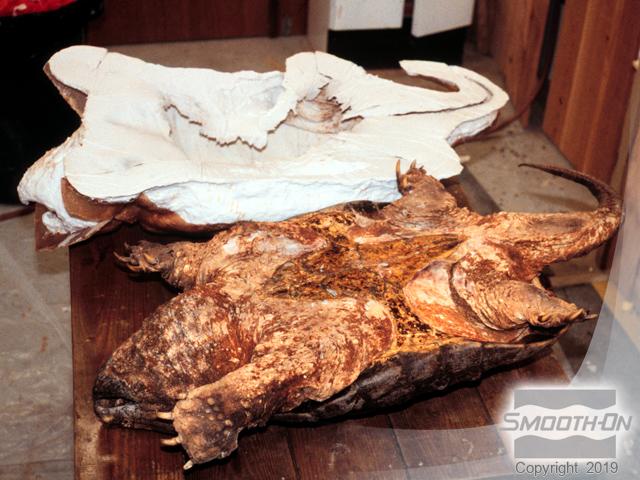
Step 4: Demolding and Casting
Demold the original specimen once the rubber and mother mold have fully cured. The casting will be made with an outer shell of resin backfilled with an expanding urethane foam.
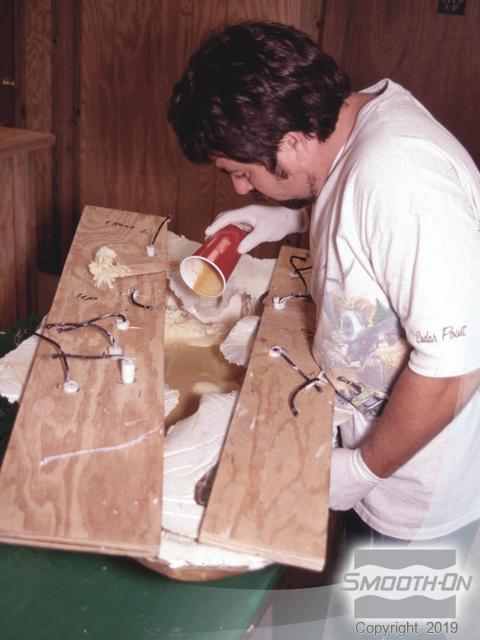
First, mix and pour the Smooth-Cast® 320 into the mold. Then rotate the mold by hand, allowing the Smooth-Cast® 320 to evenly coat the entire surface of the mold while curing.
Once the Smooth-Cast® 320 has cured (approximately 10 minutes), pour Foam-iT!® 5 expanding urethane foam into the cavity. This rigid foam expands 10 times its original volume, making castings lightweight and cost effective with great durability.

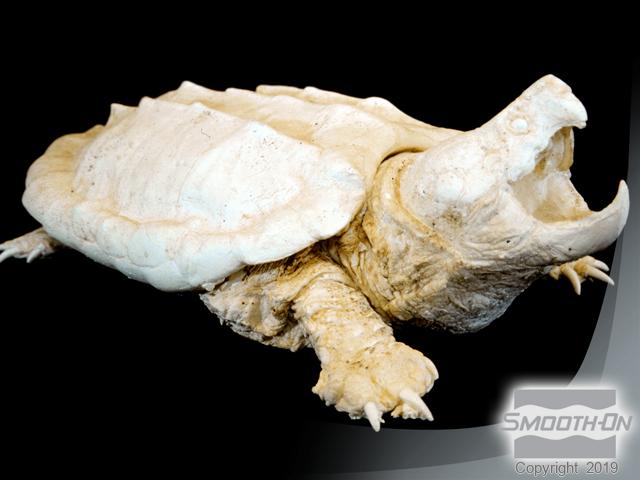
Step 5: Finsihing
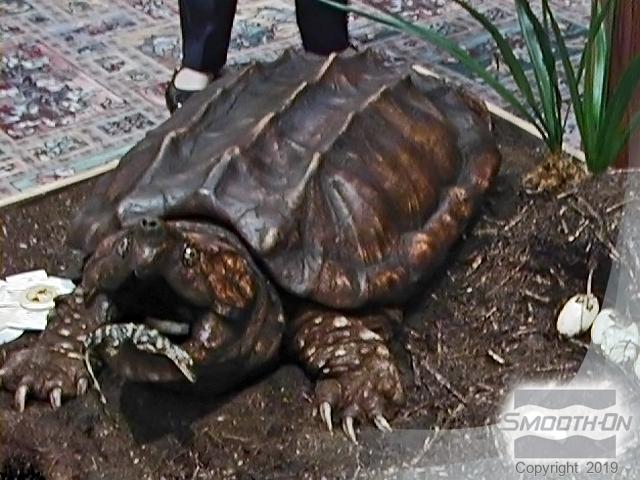
Thoroughly clean any mold release from the reproduction with acetone. The casting is now ready to be primed and painted. The finished piece is an exact replica of the original specimen.
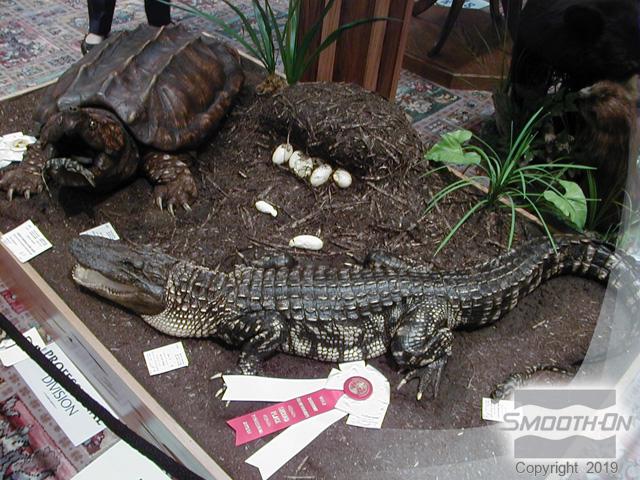
The Snapping turtle, alligator eggs and alligator were all cast in Smooth-On products. This award-winning display was created for The World Taxidermy Championships.