How To Cast a Custom Scenery For a Model Railroad
Overview
Mold making and casting gives model railroaders options for creating custom scenic display pieces.
Model railroaders who have a passion for creating elaborate displays sometimes find that an "off-the-shelf" display piece just isn't good enough. Often, the piece they need was discontinued long ago or they want to create/modify an original.
Smooth-On mold making rubbers and casting plastics offer tremendous possibility and versatility for creating custom display pieces.
The following step-by-step sequence offers detailed instruction on making a two-piece block mold of a rail line telephone pole miniature, circa 1920. OOMOO® silicone rubber is used to make the mold. Perfectly detailed castings are then made using Smooth- Cast® 320 plastic. The process for reproducing this model is quick, easy and relatively low cost.
Materials Used in this Tutorial
- OOMOO 30
- Smooth Cast 320
- Ease Release 200
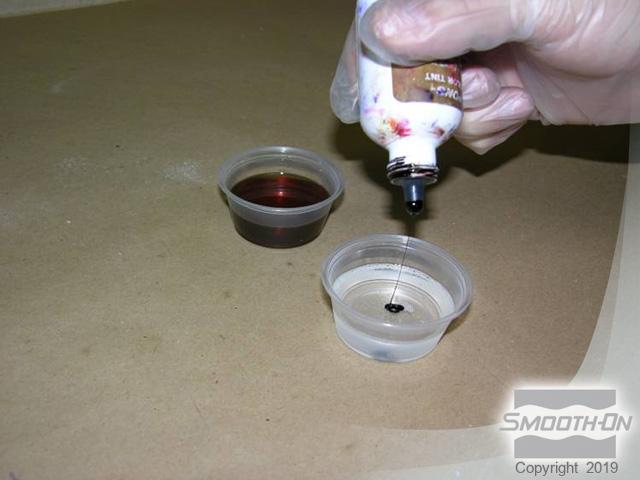
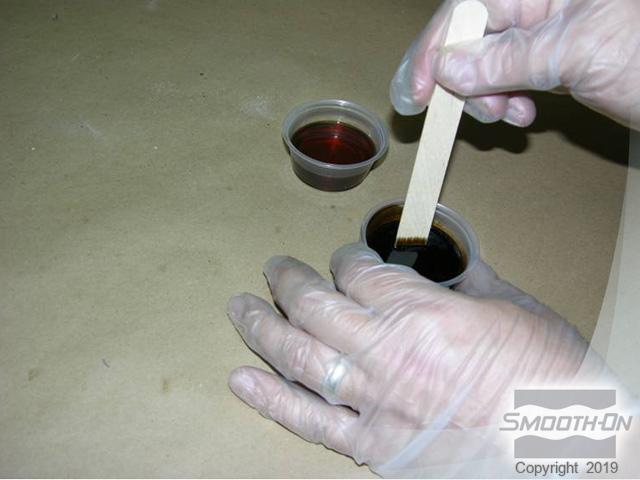
- So-Strong Color Tints
- Non-Sulfur Based Clay
- Talc
- Pen
- Mold Box
- Syringe
- Exacto Knife
- Mixing Containers
- Mixing Sticks
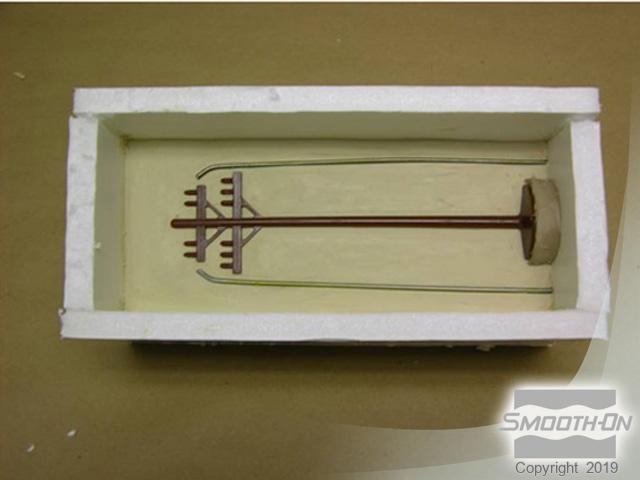
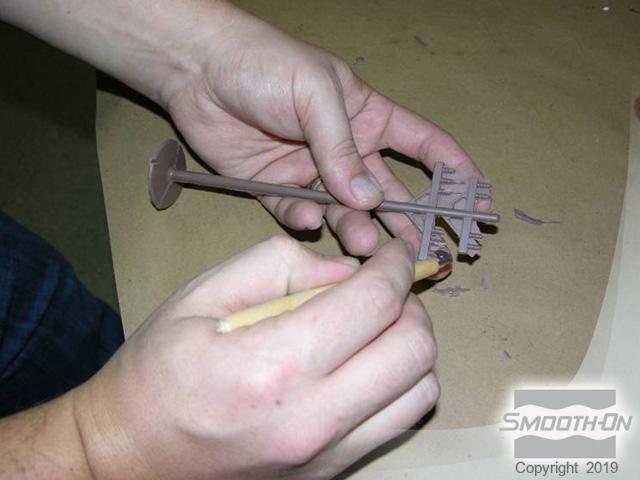
Step 1: Preparing Model
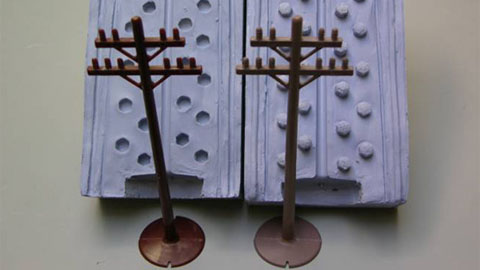
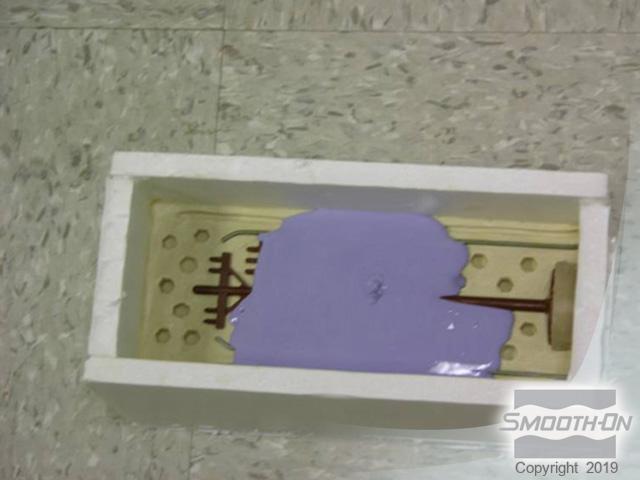
A miniature telephone pole is embedded to the half way point of the model in non-sulfur based clay. Registration keys are added in the clay by pressing a pen into the surface.
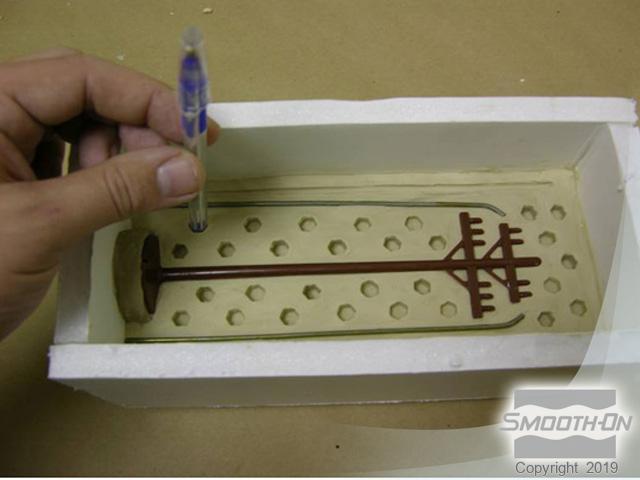
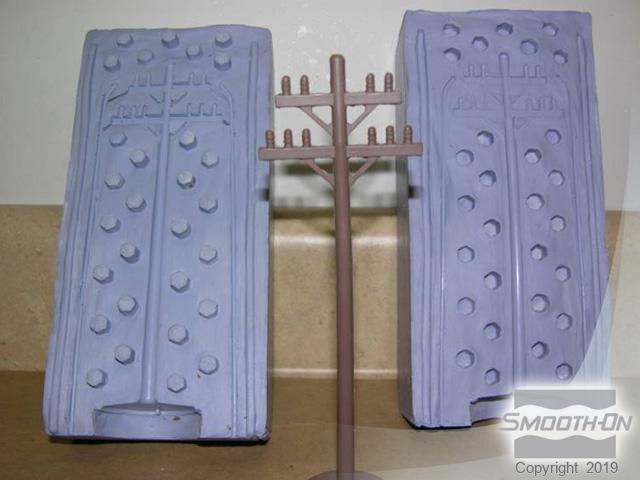
Step 2: Creating 1/2 of the OOMOO 30 Mold
OOMOO® 30 silicone is mixed and poured over model to create first half of mold. Allow OOMOO® 30 to cure for 6 hours. Once cured the mold box is turned over, exposing the clay, which is removed from backside of mold exposing other half of the original model, and is fully cleaned.
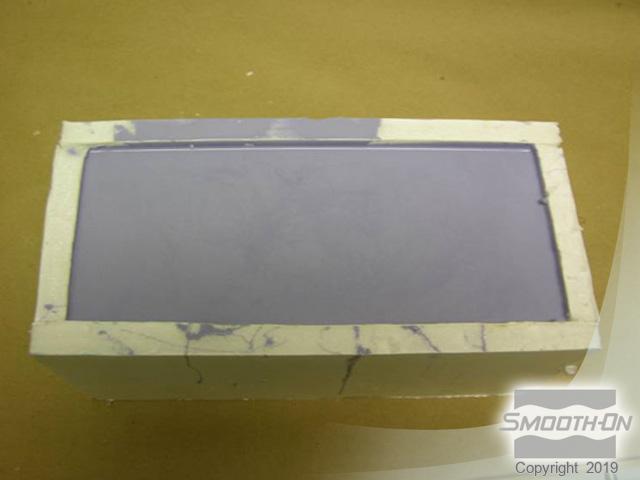
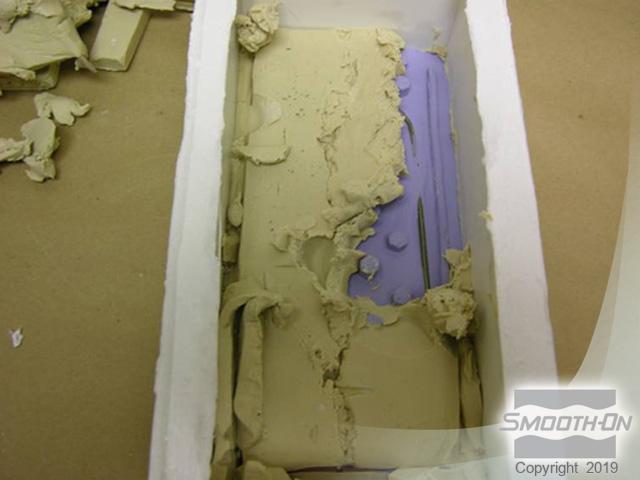
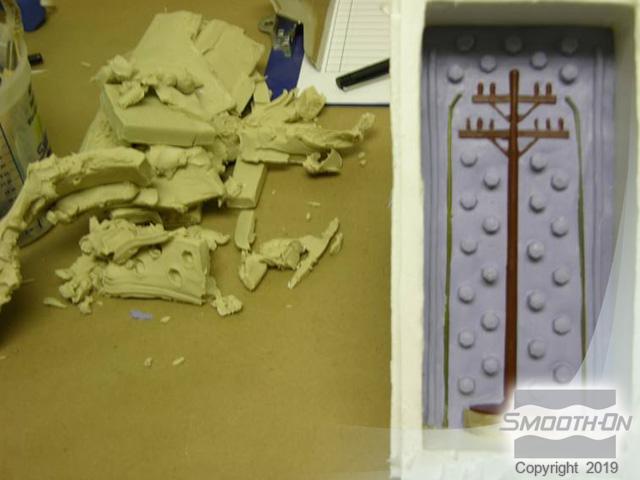
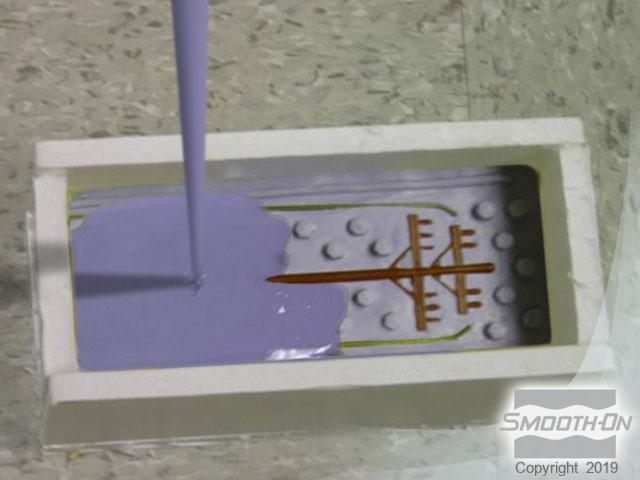
Step 3: Preparing and Pouring Second Half of the Mold
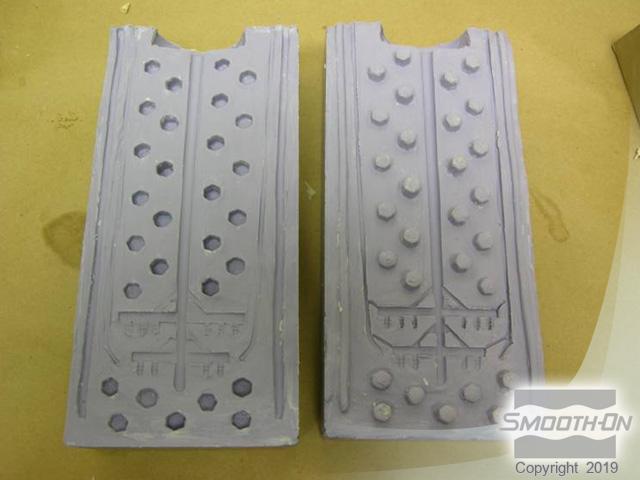
Ease Release® 200 is applied to the exposed silicone rubber surface. OOMOO® silicone is mixed and poured, creating the second half of the mold. The second half of mold is allowed to cure. Mold halves are pried apart and the original telephone pole model is removed.
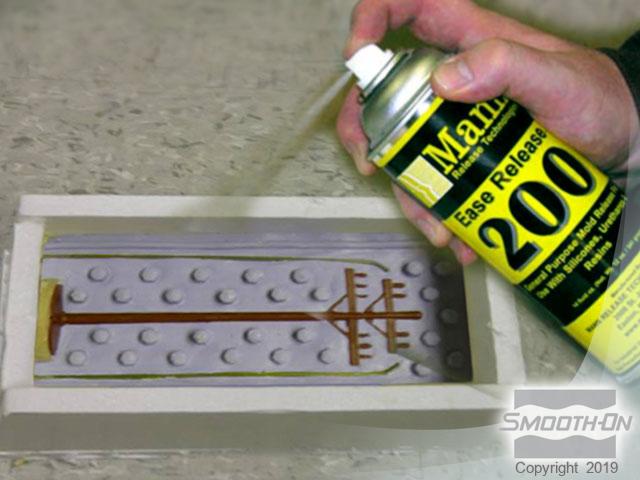
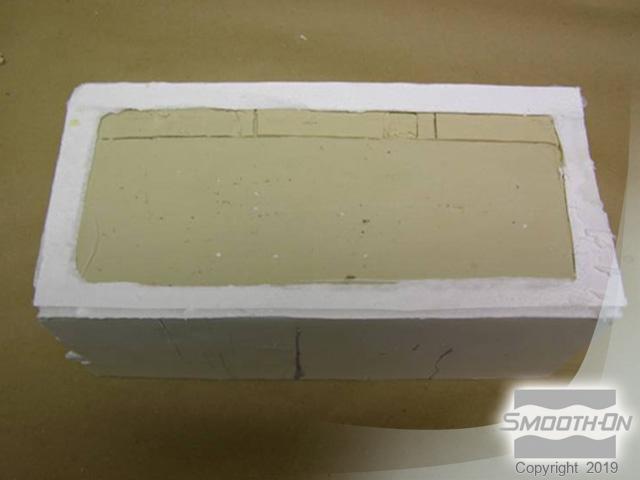
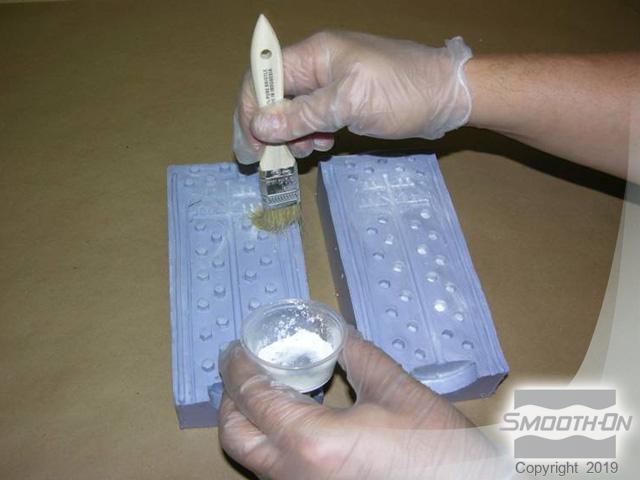
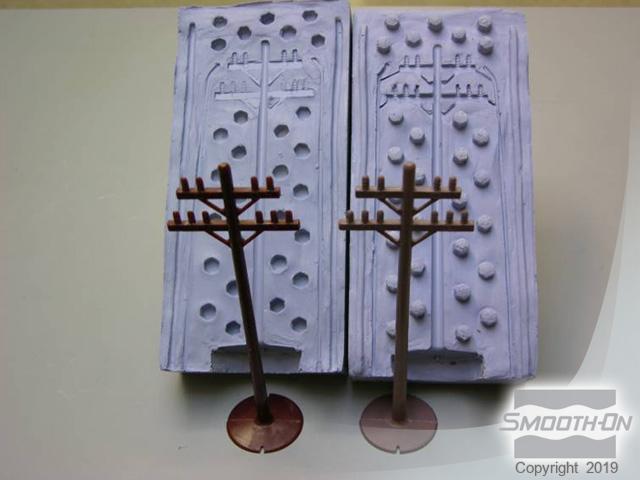
Step 4: Preparing Mold for Smooth-Cast 320 Casting
Once you have demolded the original model, the mold is powder coated using talc. The casting will cure perfectly dry with a matte finish.
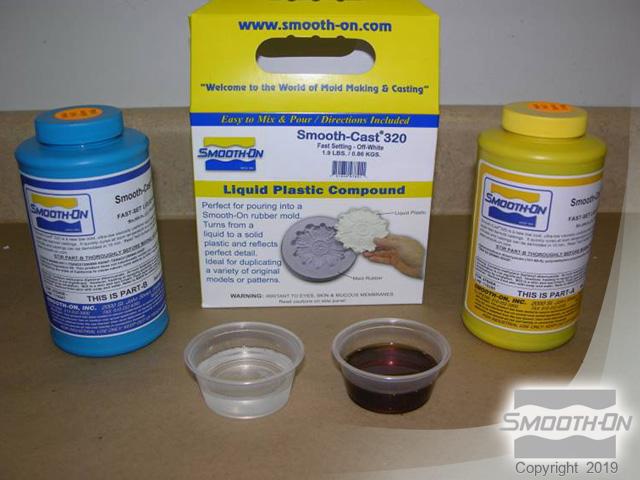
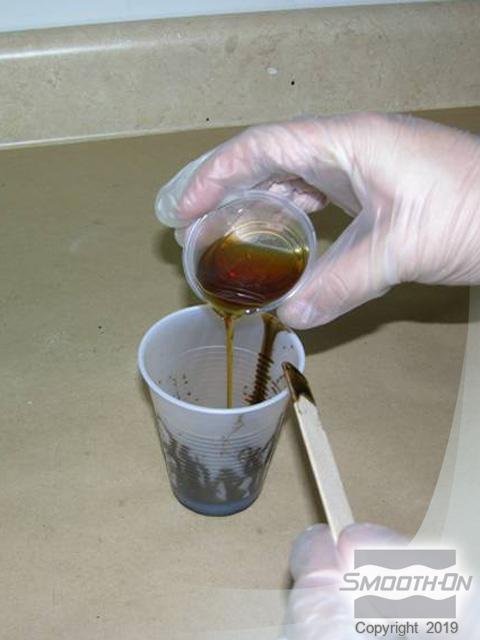
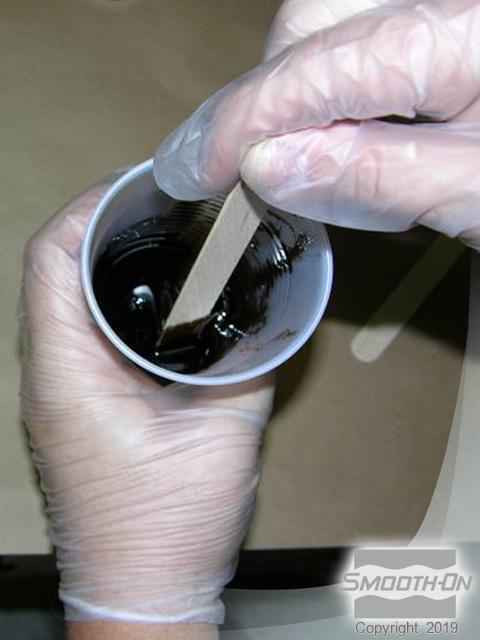
Smooth-Cast® 320 casting resin, parts A and B, are measured out in equal amounts. Brown So-Strong® Color Tint is added to Smooth-Cast® 320 Part B and is thoroughly pre-mixed. Once you have fully pre-mixed, Smooth-Cast® 320 Part A is combined with Part B. Both parts are mixed thoroughly for 90 seconds.
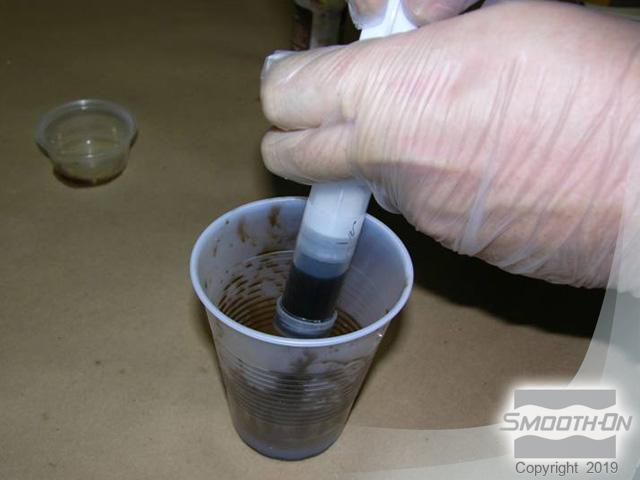
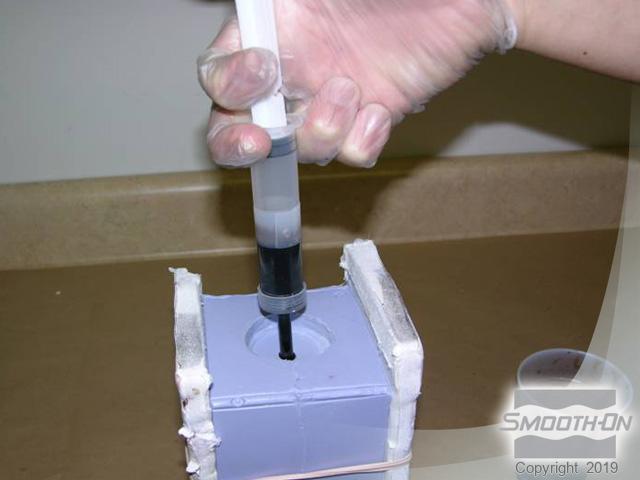
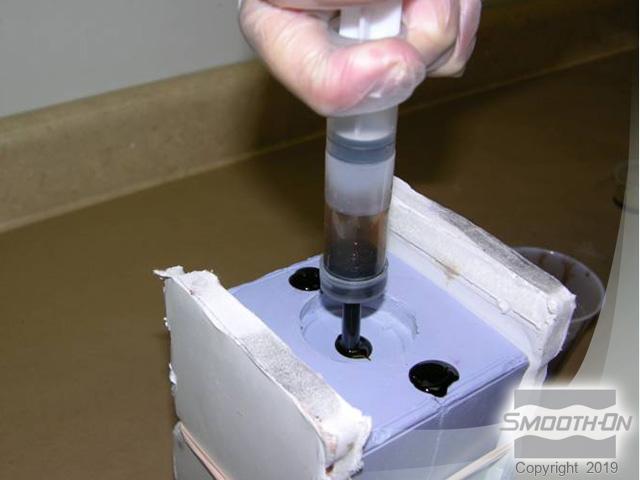
A syringe is used to extract mixed Smooth-Cast® 320 from mixing container. The low viscosity Smooth-Cast® 320 is injected into mold. The material fills the side mold vents, ensuring a bubble-free casting. Smooth-Cast® 320 is allowed to fully cure.
Step 5: Demold And Finishing
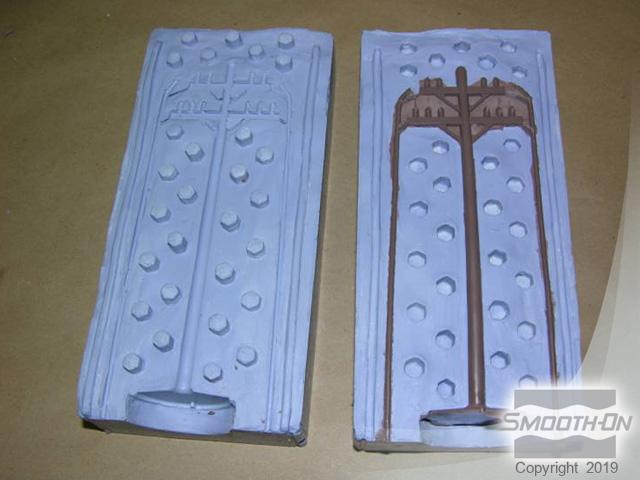
Flashing is removed from final piece with an exacto knife. The Smooth-Cast® 320 casting reflects perfect detail captured by the rubber mold. Multiple castings can be made from a single OOMOO® silicone mold.
Step 6: Other Railroading Projects
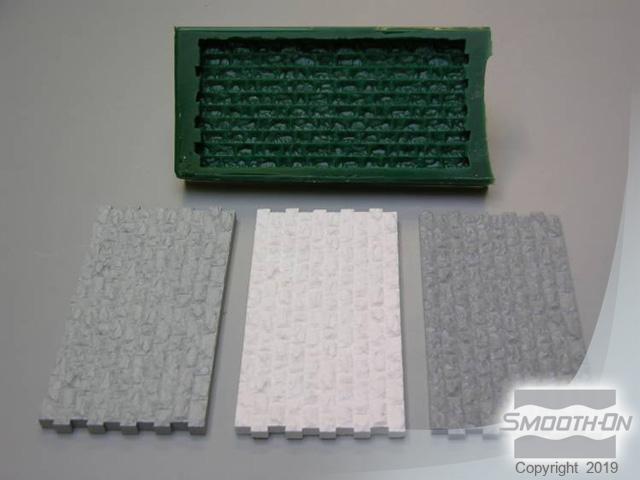
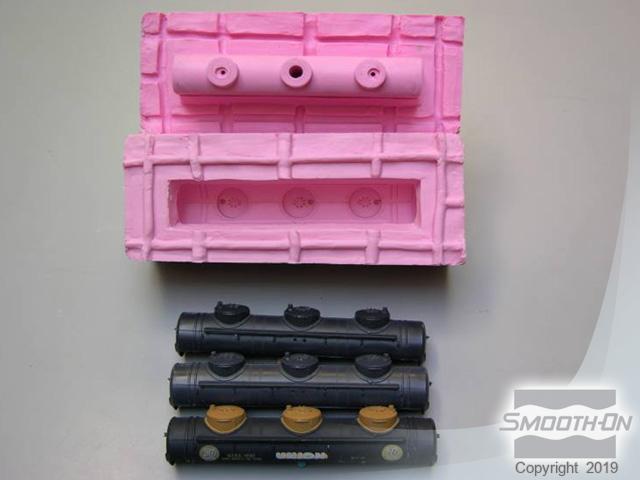
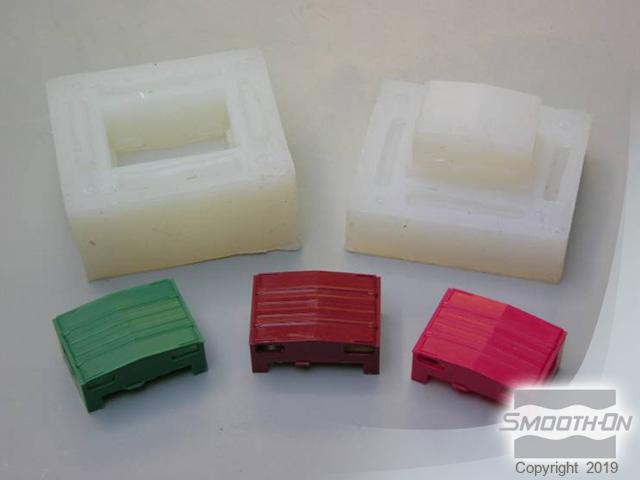
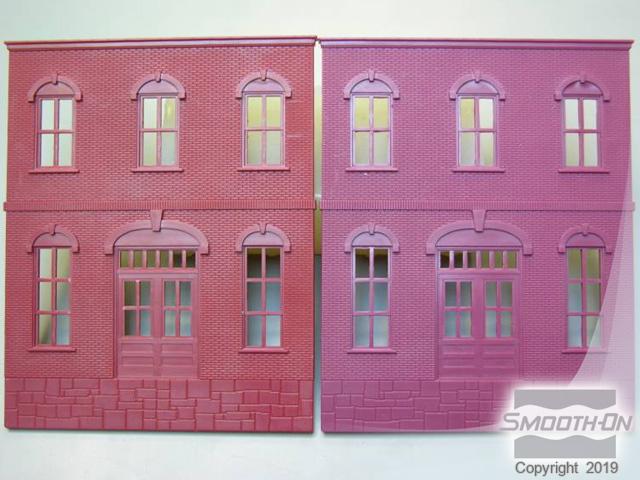
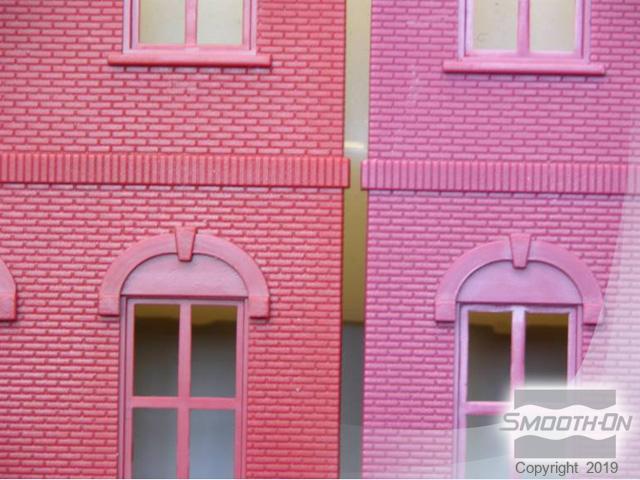
Mold making and casting will allow you to reproduce any original model. Scenery pieces of any size can be recreated using Smooth-On silicone rubber molds and urethane resins. Castings reflect perfect detail captured by mold rubber. Colors can be added to Smooth-Cast® plastics for a variety of effects. Low temperature melt metal alloys can also be cast into OOMOO® silicone.
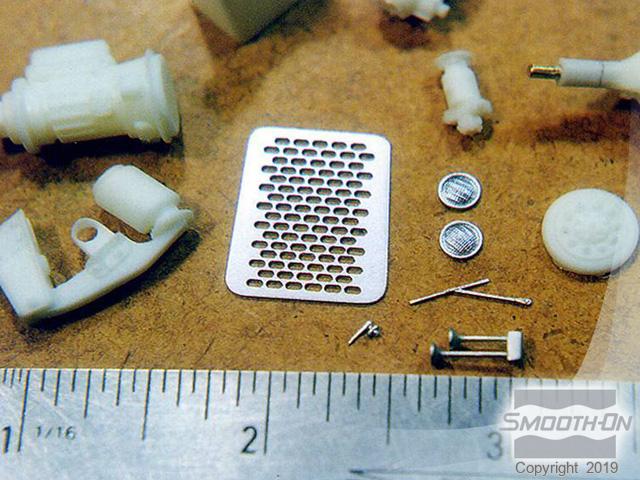
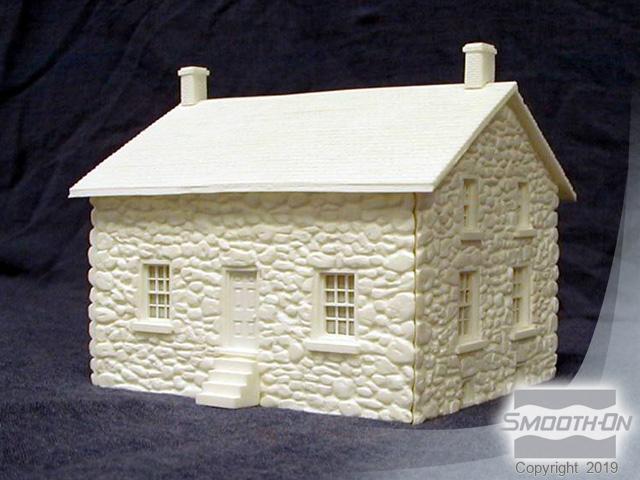
Below is a railroad scene display house created using Smooth-Cast® 300 white plastic. TASK® 4 plastic made especially for casting ultra thin sections that are unbreakable. Highly detailed models are easily post-finished with acrylic paints.