How to Make a 2 Piece Core Mold: Concrete Urn Example
Overview
This tutorial outlines the steps for creating a two-piece cored mold using Reoflex® 40 urethane rubber from Smooth-On.
Materials Used in this Tutorial
- Melamine Board
- Measuring Tape
- Drill
- Drywall Screws
- Permanent Marker
- Oil-Based Sulfur Free Clay
- Rolling Pin
- Beveled Edge
- Paper Clip
- SuperSeal
- Paint Brush
- Universal Mold Release
- Glue Gun
- Turbine Mixer
- Knife
- Ease Release 2831
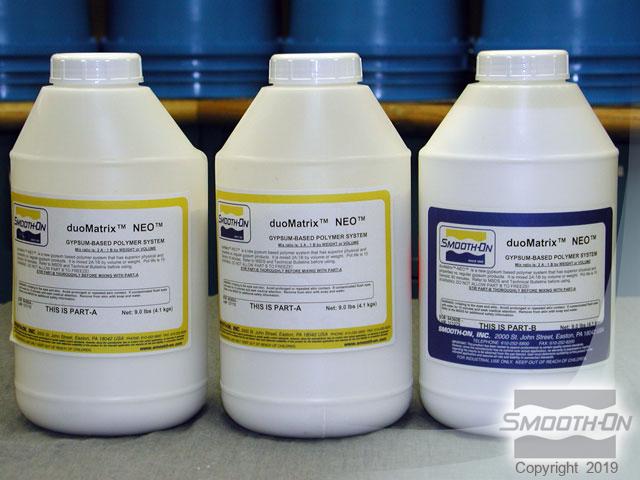
- duoMatrix New
- So-Strong Colorants
- Brown Wood Stain
- Soft Towel
- Mixing Sticks
- Mixing Containers
- Reoflex 40
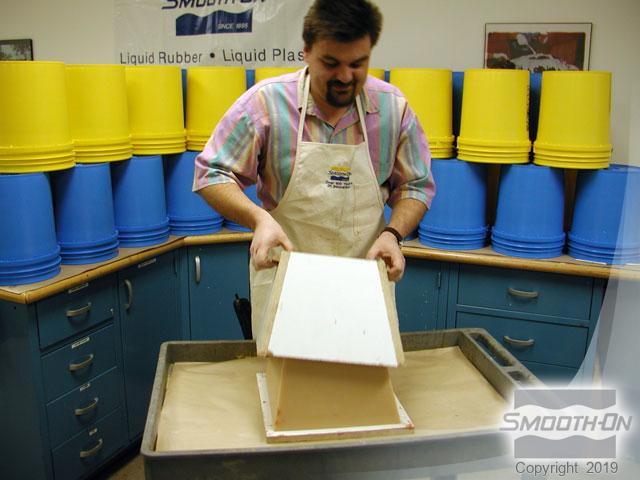
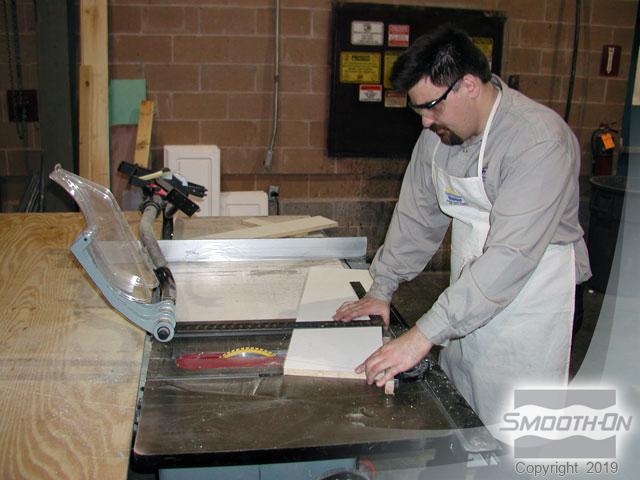
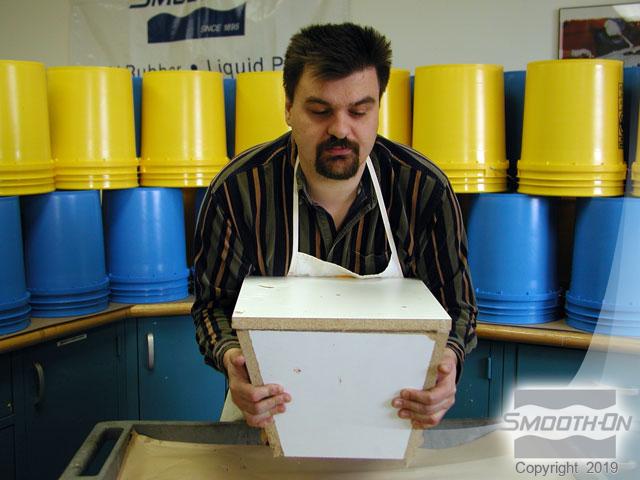
Step 1: Mold Box Preparation
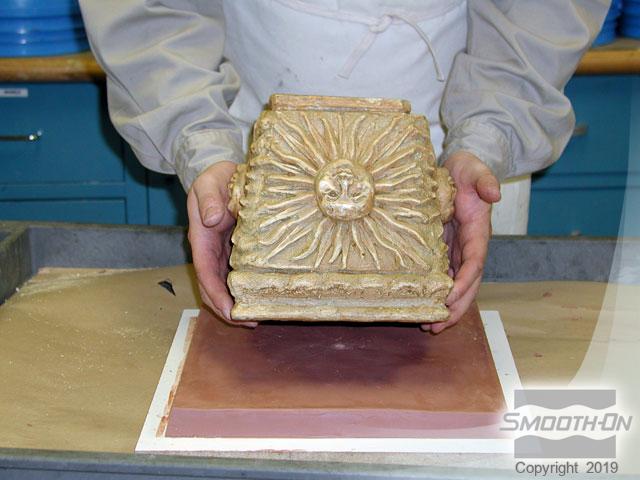
Our model is a detailed urn made of concrete. First the urn is measured for dimensions and then acrylic coated boards are cut to size. The mold box walls will follow the contour of the model. Construct the mold box and secure it with drywall screws. To make mold box handling easier two handles can be attached.
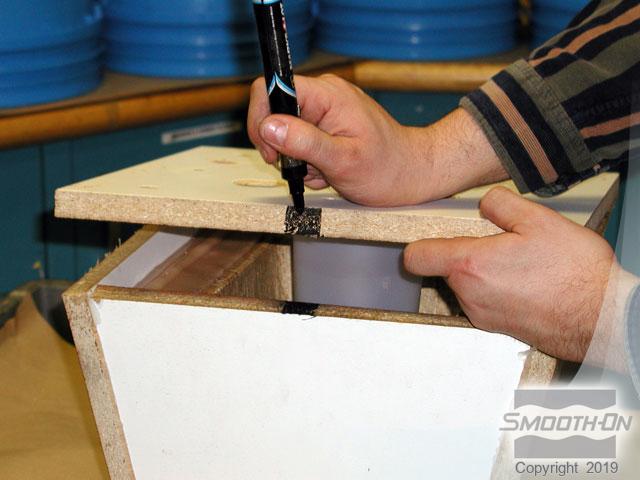
Use a black marker to mark the inside edge of the mold box to define the clay bed perimeter. Remove the mold box to expose the perimeter line.

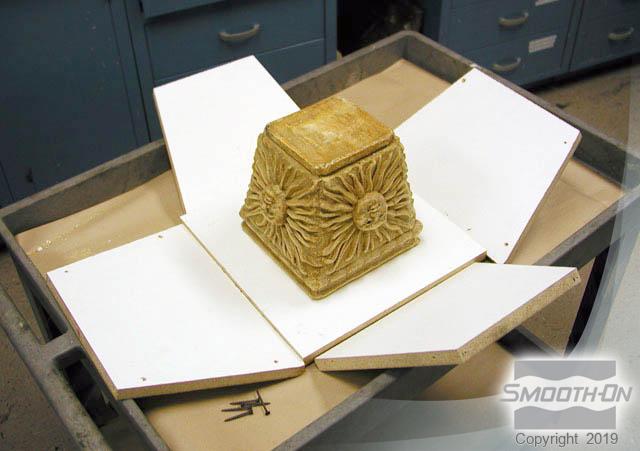
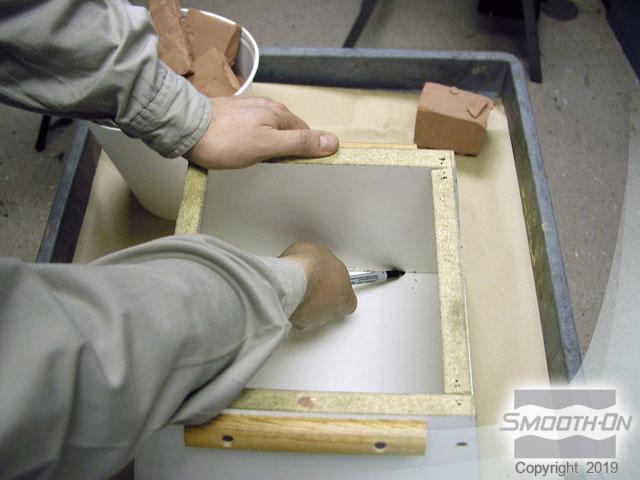
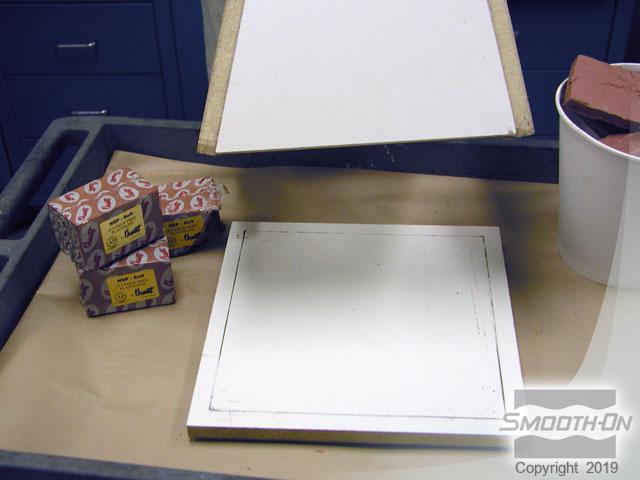
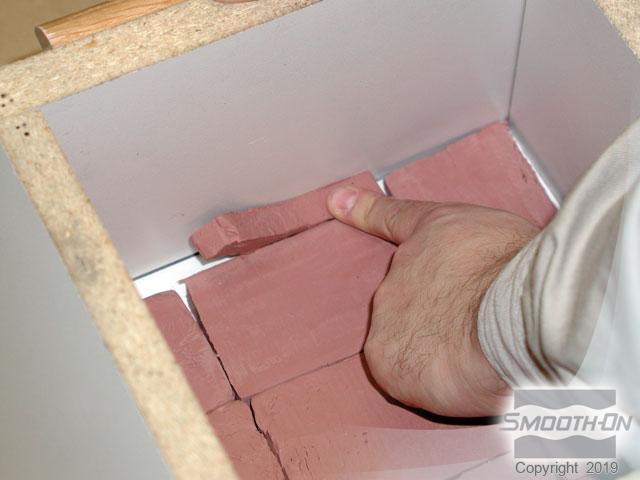
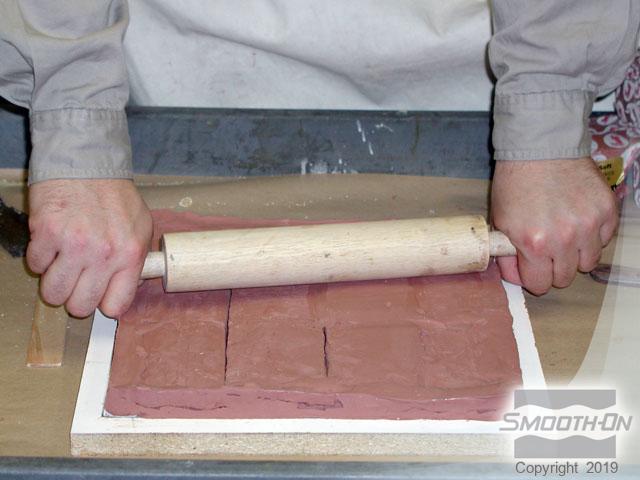
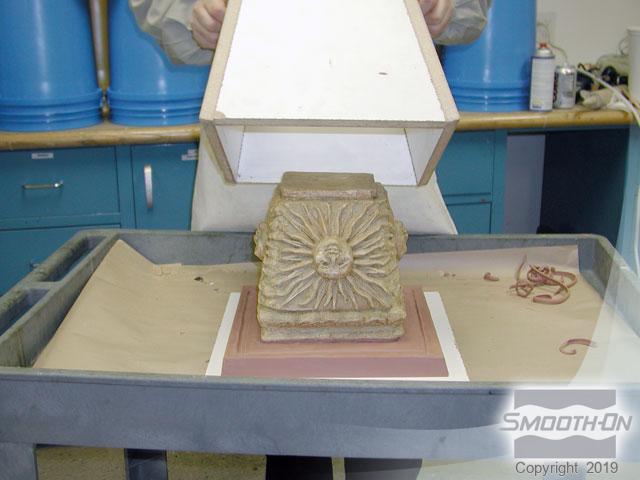
Step 2: Making The Clay Gasket
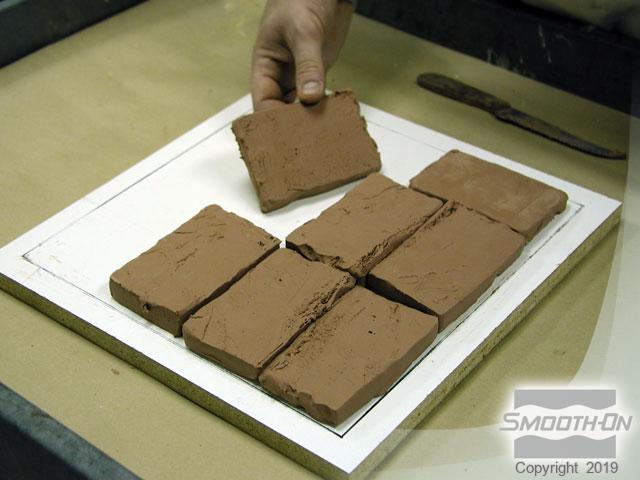
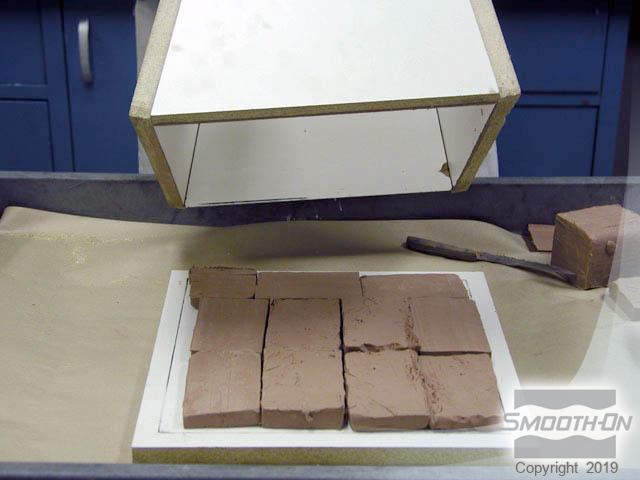
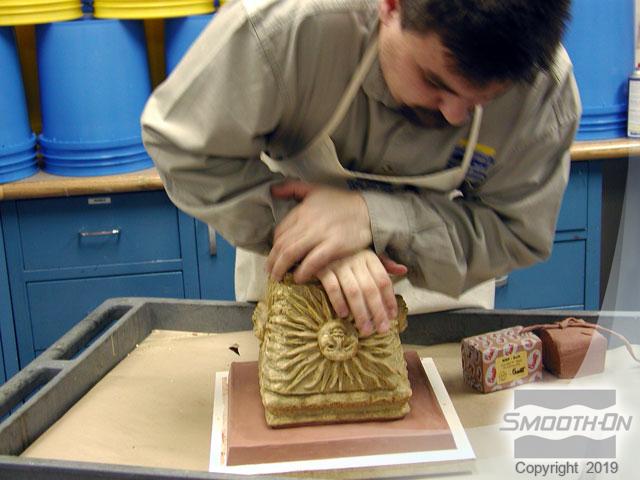
A 3/4'' (2 cm) thick clay bed is formed inside the marked area. Then the mold box is placed over the clay bed. Any voids are filled with additional clay and smooth out the clay bed using a rolling pin. There should be a smooth beveled edge around theperimeter.
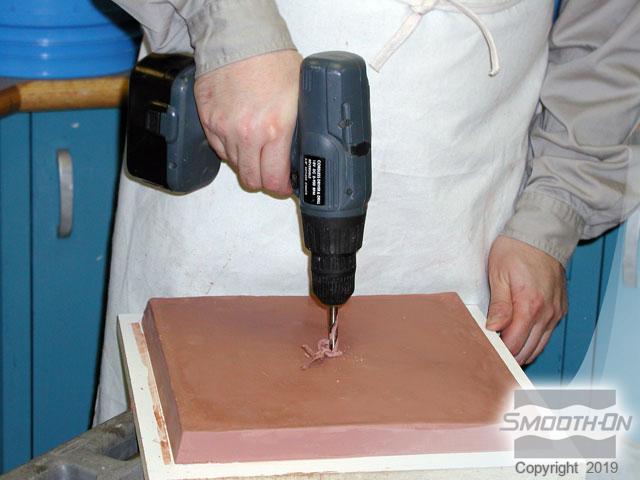
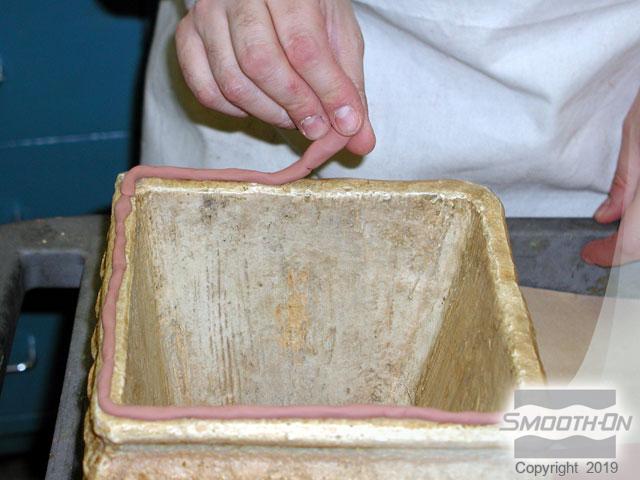
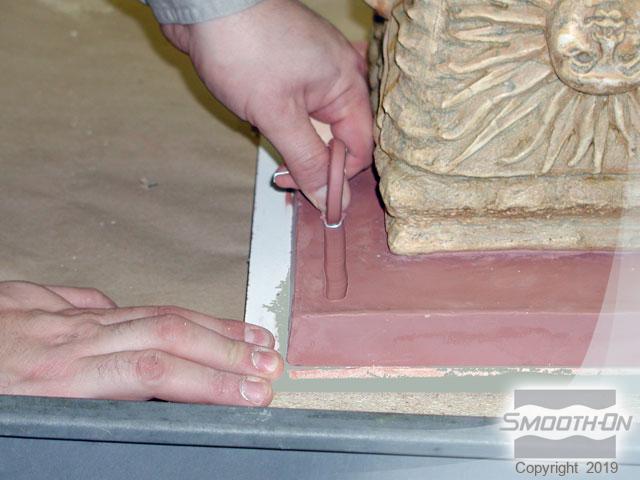
Drill vent hole: Allows air to escape during mold making process. Make a clay gasket around the perimeter. Center the urn on the clay bed and firmly push the urn into the clay bed. Using a large paper clip, cut a registration key into the clay bed.


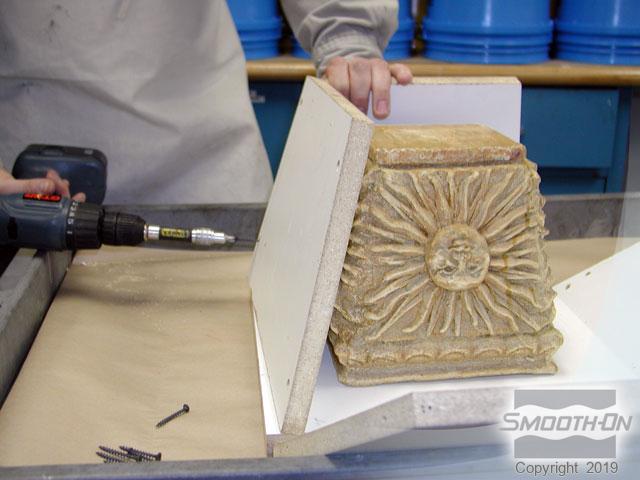
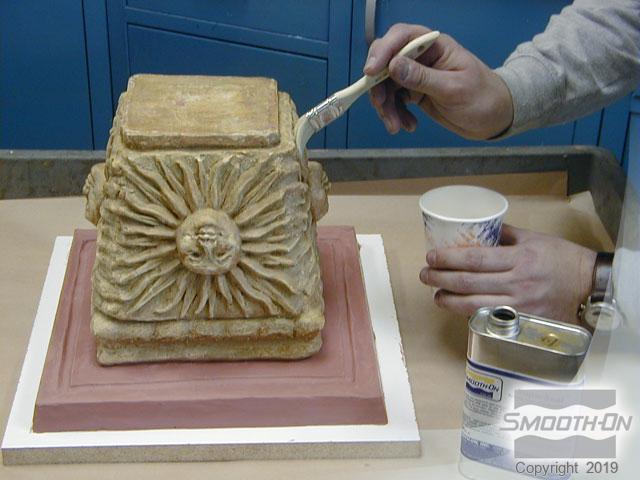
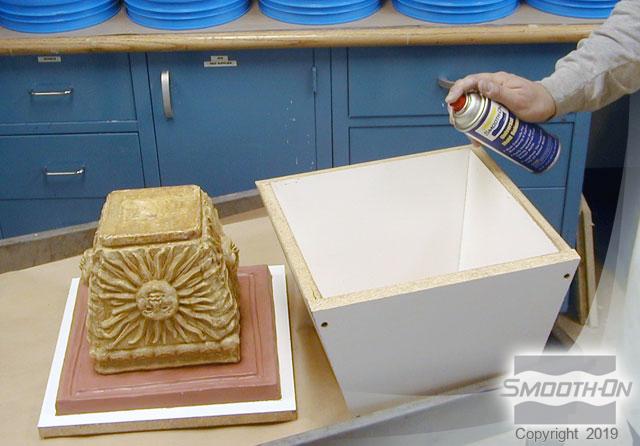
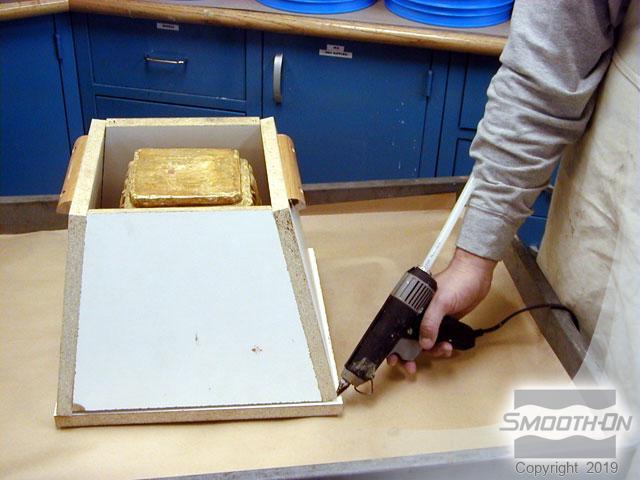
Step 3: Final Preparation of Model
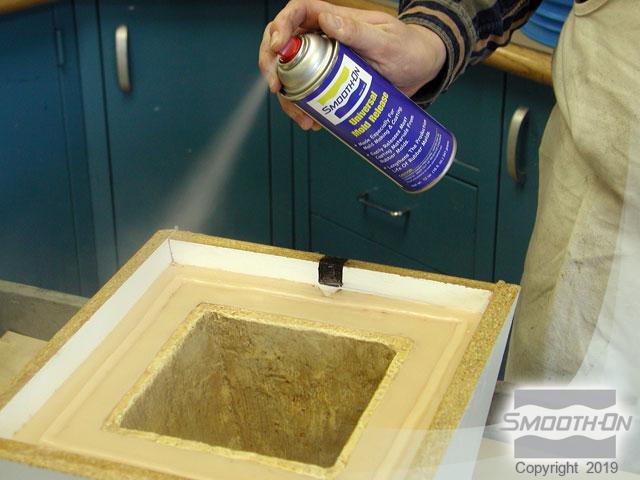
Apply Superseal® sealing agent to the surface of the urn. Apply Universal® Mold Release to the mold box and the urn. Place the mold box over the urn and seal the seams with hot melt glue.
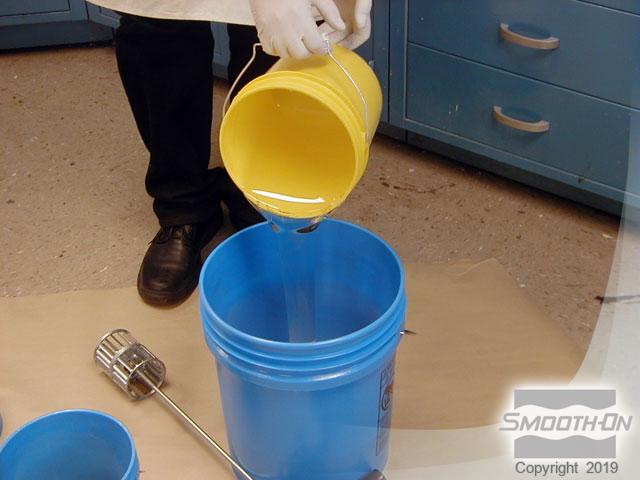
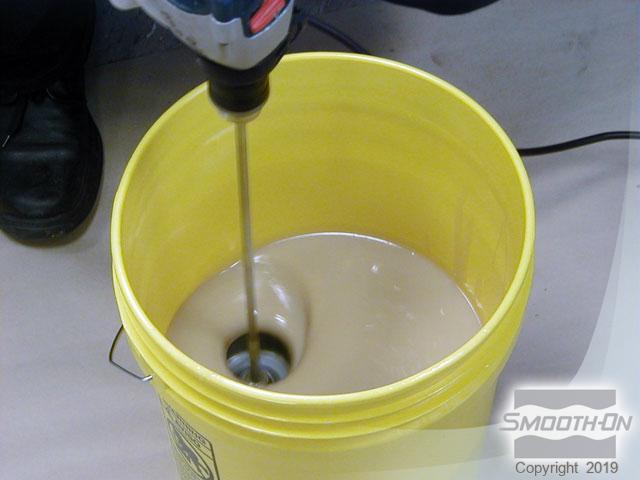
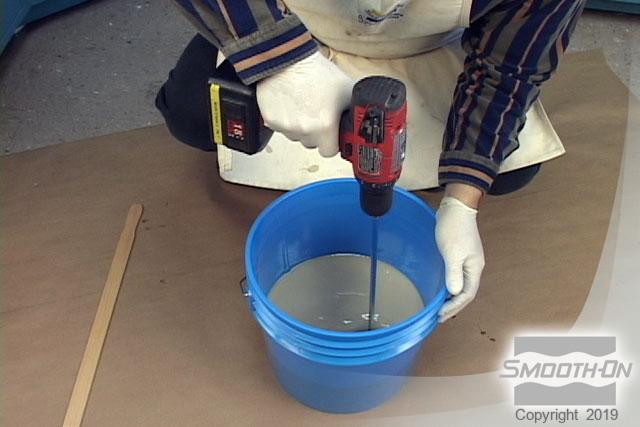
Step 4: Dispensing and Applying Reoflex 40
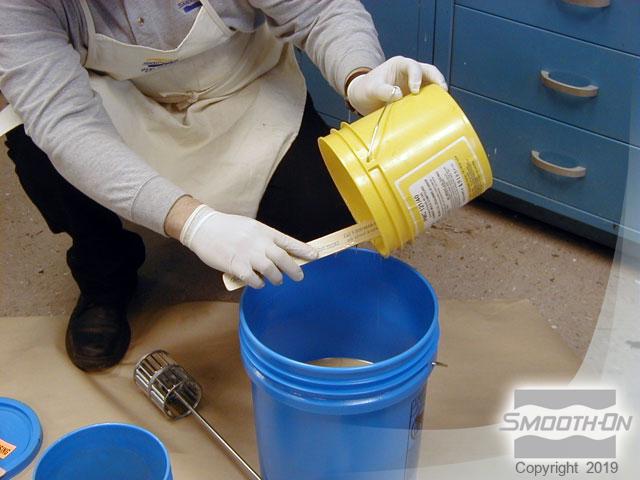
Dispense ReoFlex® 40 mold rubber 1A : 1 B by volume and mix thoroughly for three minutes, be sure to scrape the bottom and sides of the container. Pour rubber into the cavity and let the mold rubber cure for 16 hours at room temperature (72F/23C).
DO NOT COVER THE BOTTOM OF THE ORIGINAL MODEL. The exposed area will represent a pour spout.
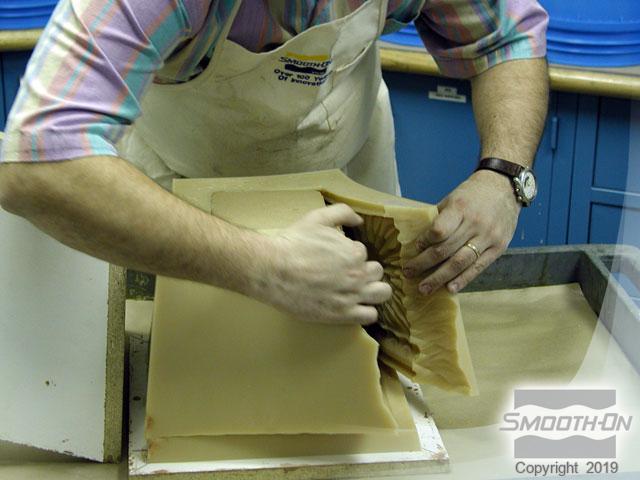
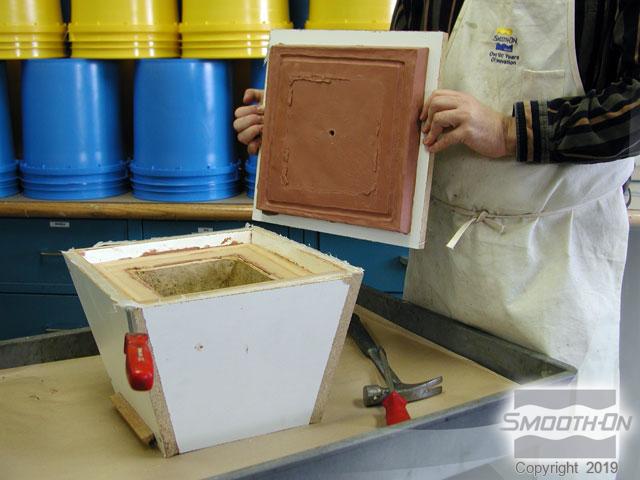
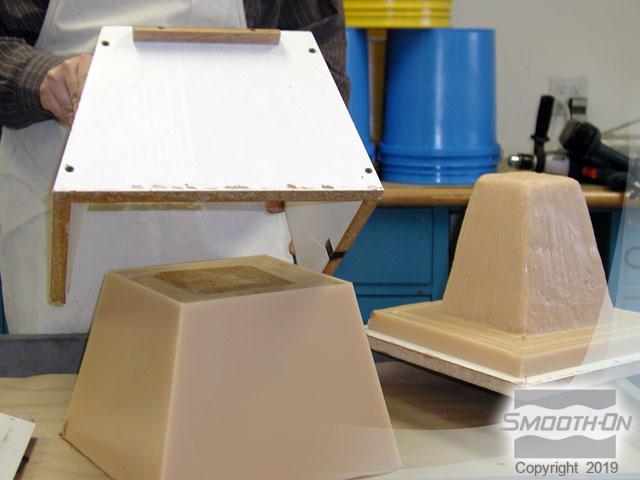
Step 5: Demold and Preparing Mold
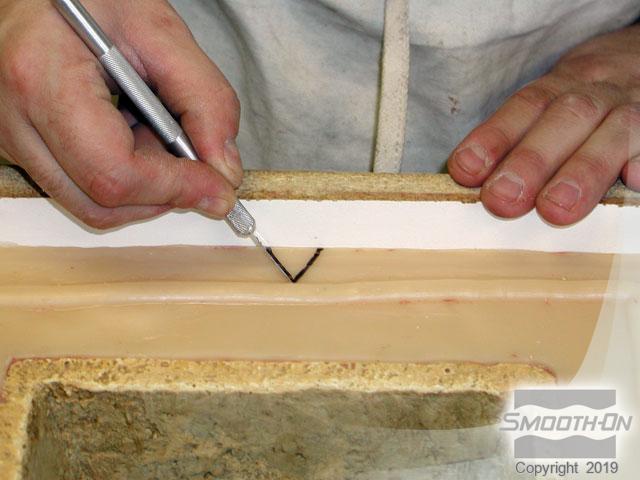
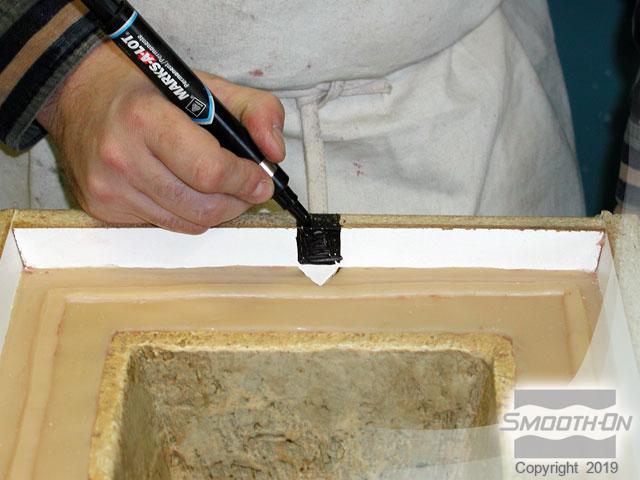
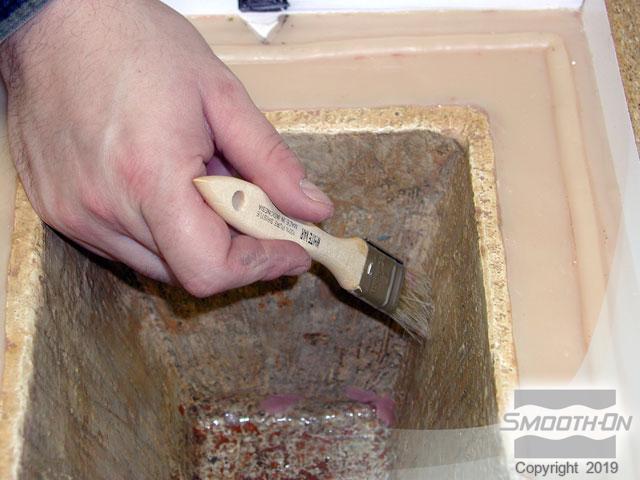
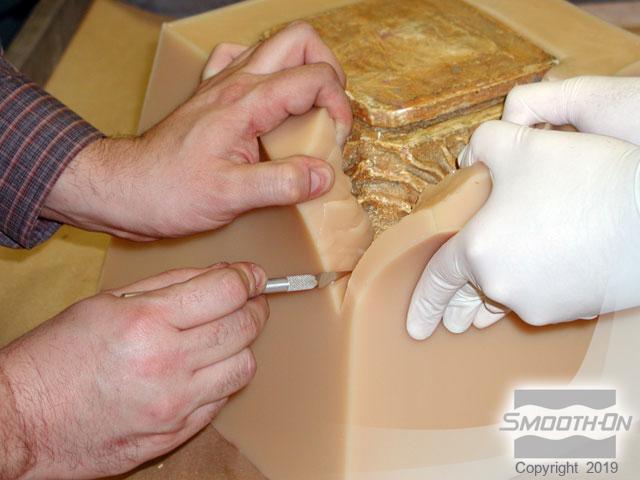
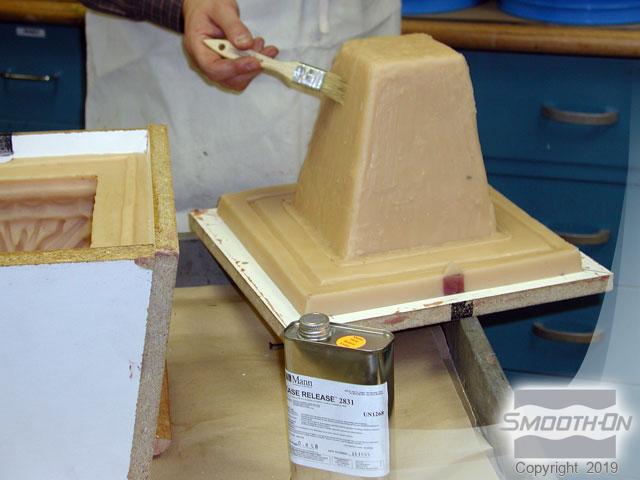
The next day, flip over the mold box. Slowly remove the baseboard and remove the rubber flashing. Carve a notch into the rubber with a knife for registration. The inside of the mold box is marked to identify the registration point. Apply Superseal® sealing agent to the inside of the urn. Apply Universal® Mold Release to the mold box and the urn. Clean the modeling clay off of the baseboard. Once it is cleaned this will be used for the core section base.

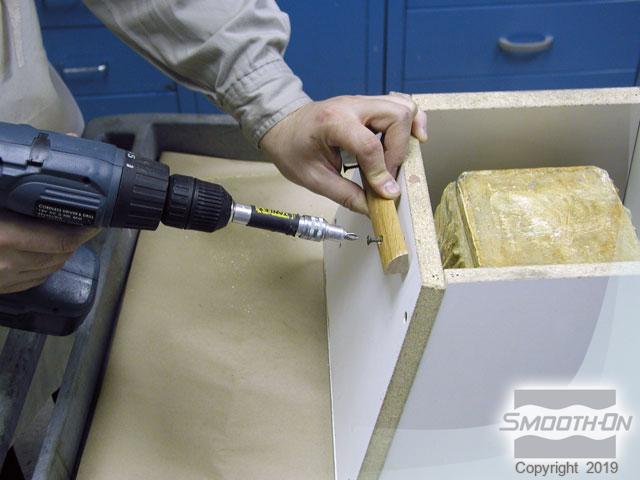
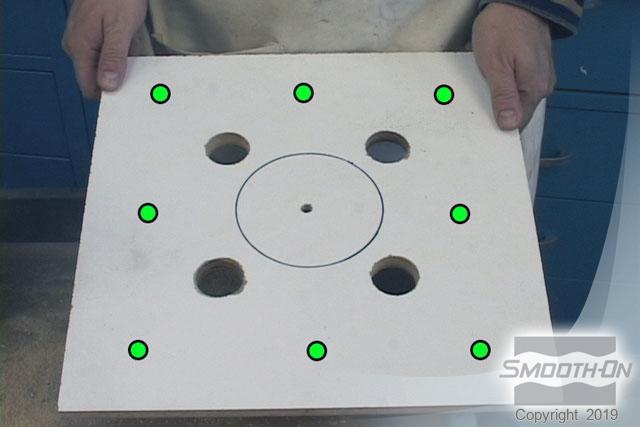
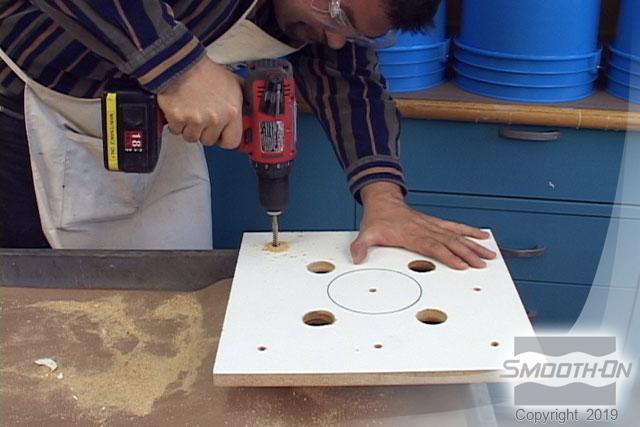
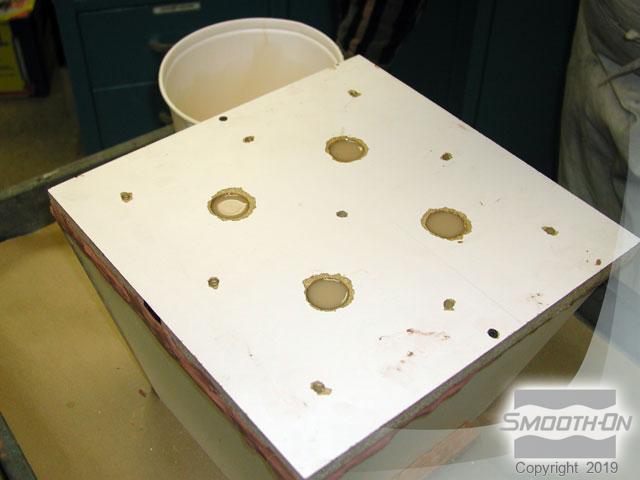
Step 6: Making Vent Holes
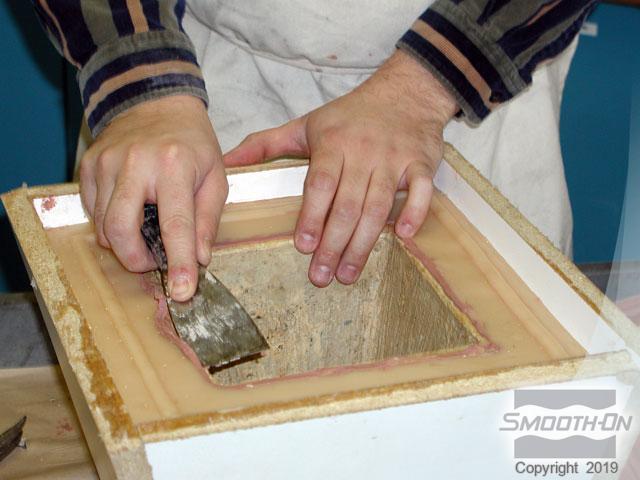
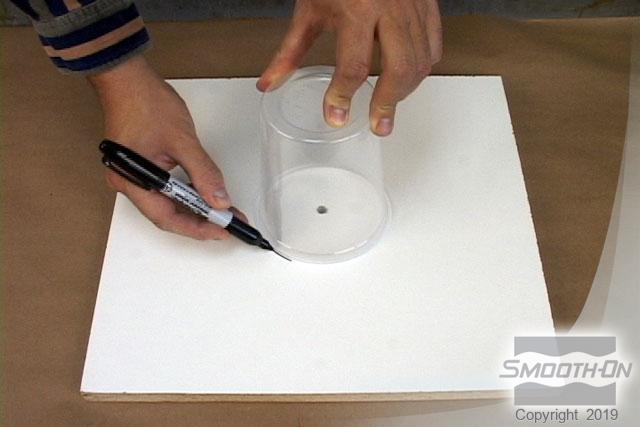
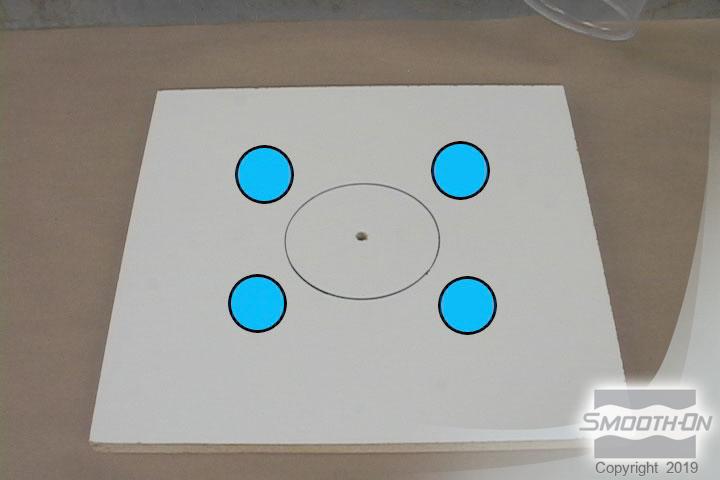
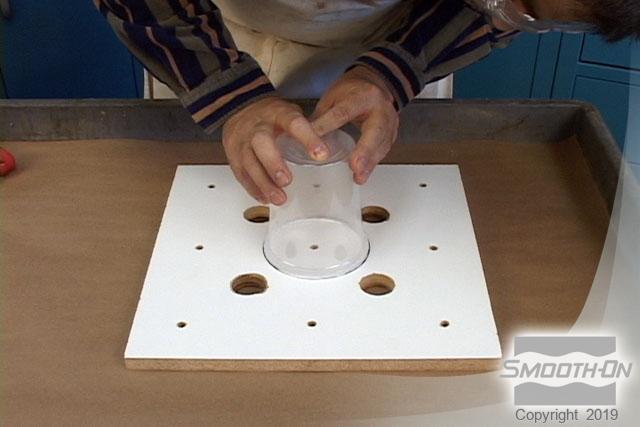
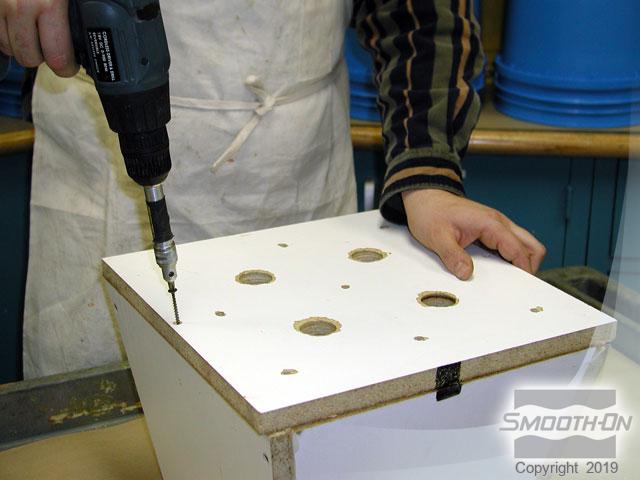
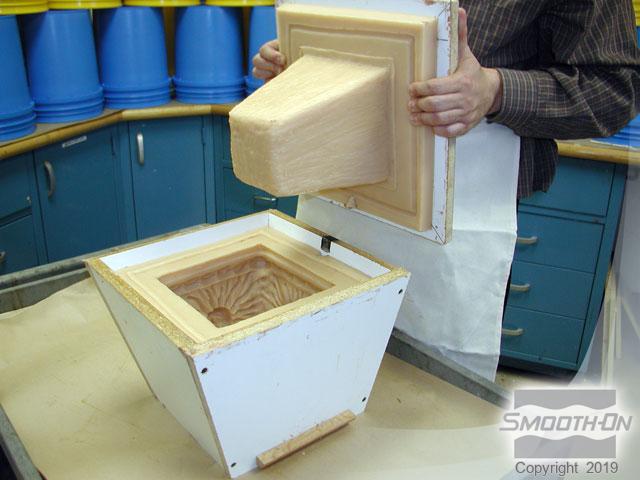
MAKING THE CORE SECTION: Place a plastic container on the center of the baseboard and mark the outline. Drill four 1'' (2.5 cm) holes. This is where the mold rubber will be poured to make the second half. 1/4'' (6mm) vent holes will be drilled in highlighted areas.
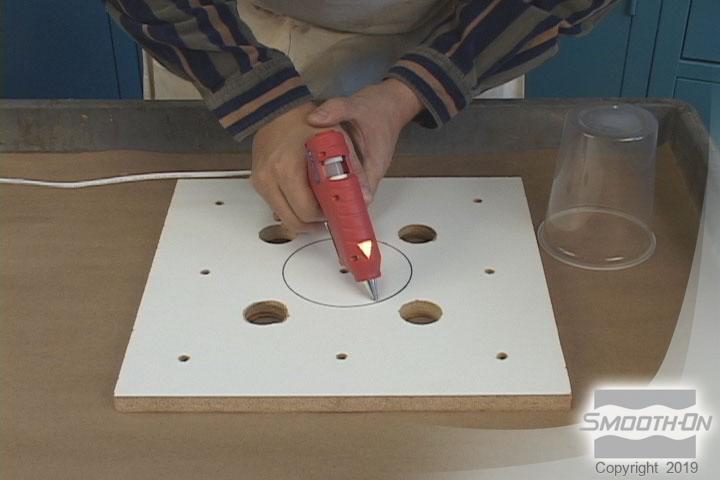
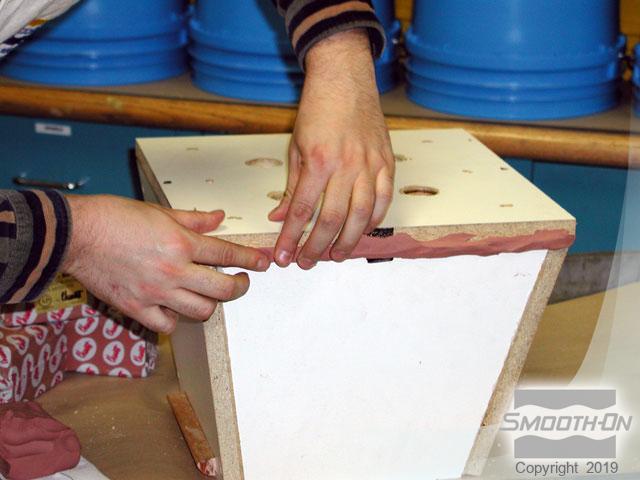
Vent holes will minimize air bubbles in the cured rubber. Hot melt glue is then used to adhere the plastic container to center of the board. Hold in place for ten seconds to ensure proper adhesion. Place the core section into the mold caviity. The alignment point is marked on the outside of the base and the mold box. Adhere the core section with drywall screws. Use modeling clay to seal the seams.
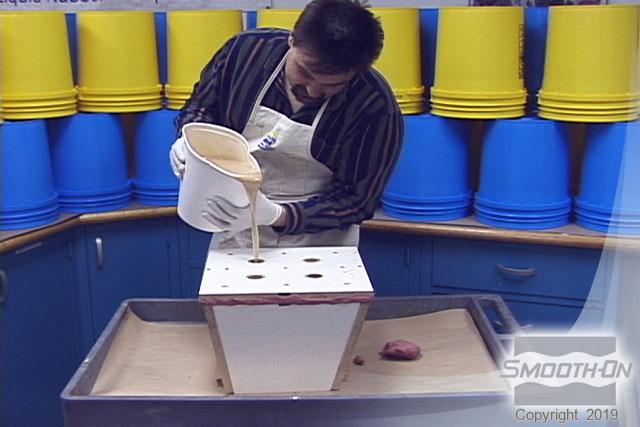
Step 7: Dispensing and Applying Reoflex 40
Dispense ReoFlex® 40 mold rubber 1A : 1B by volume and mix thoroughly for three minutes, making sure to scrape bottom and sides of container. Pour the rubber into the cavity and allow to cure for 16 hours at room temperature (72F / 23C).
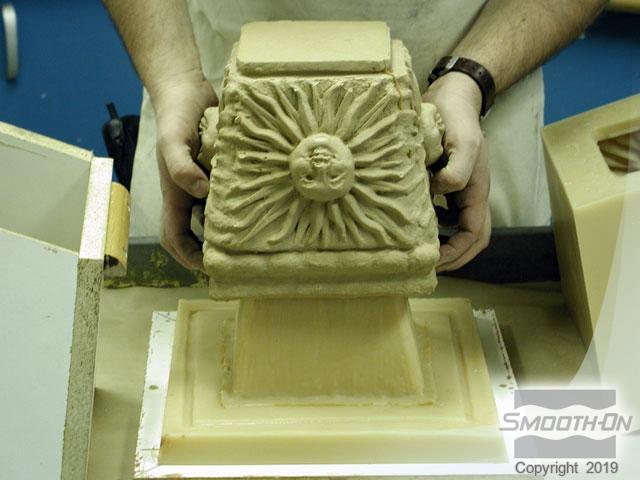
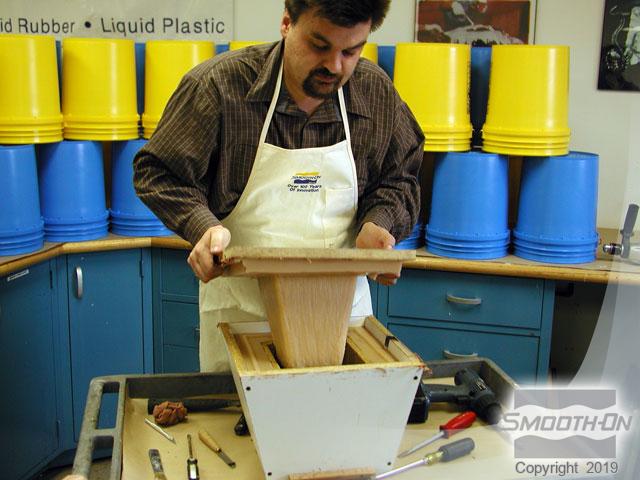
Step 8: Demold
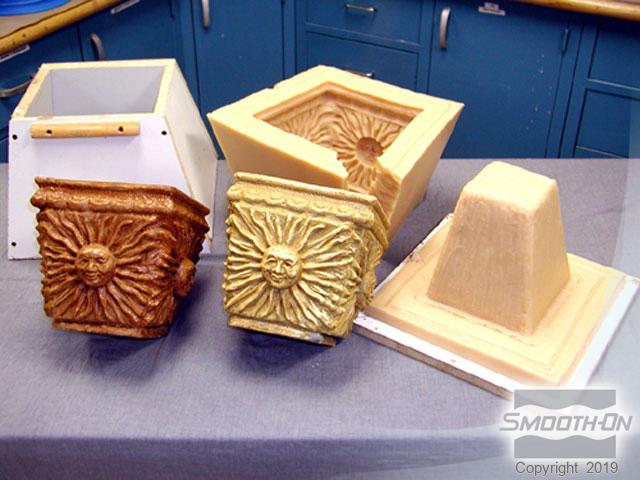
Remove drywall screws and slowly lift up the core section. Remove the mold box. A sharp knife should be used to extract the original model. The mold reflects the perfect detail captured from the original model. Apply Ease Release 2831 to all rubber surfaces and use the alignment point to help assemble the mold for casting.

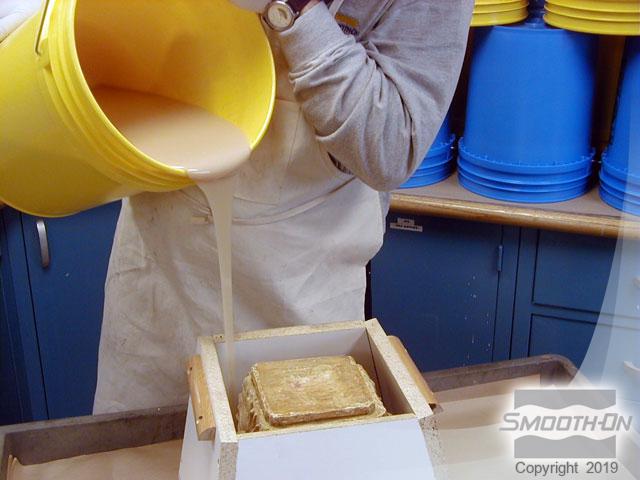
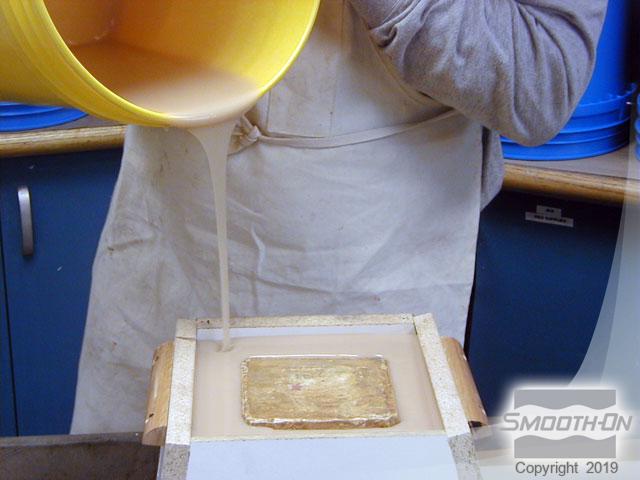
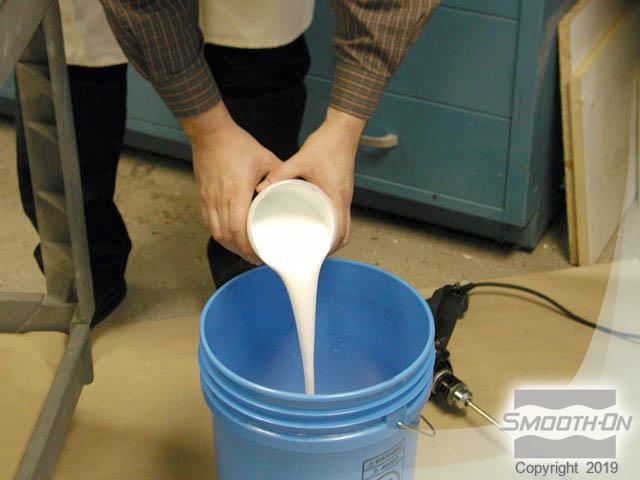
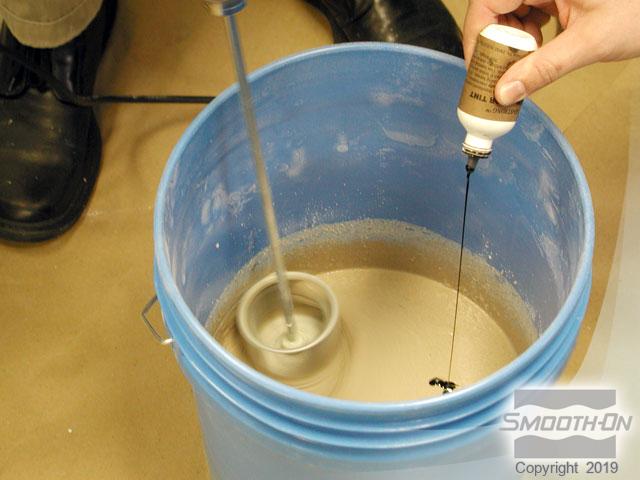
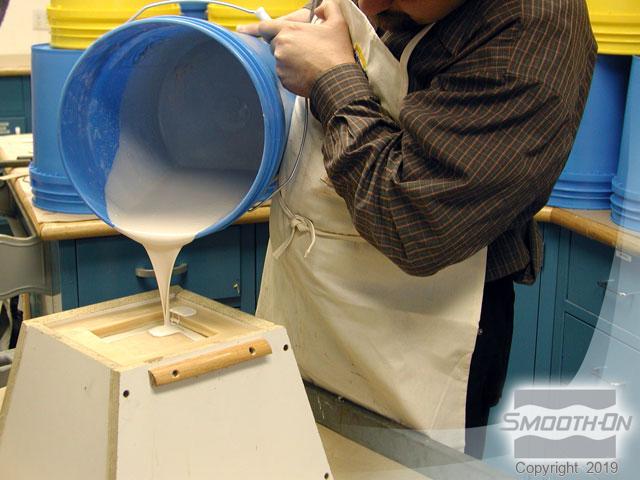
Step 9: Dispensing and Pouring duoMatrix Neo
The reproduction will be made with duoMatrix® NEO (Polymer Modifed Gypsum). The mix ratio is 2 Parts A : 1 Part B by volume. Add one part play sand for additional texture. Mix all components thoroughly for three minutes, making sure to scrape the bottom and sides of the container. Add So-Strong® Brown pigment to mix for color. Pour Matrix NEO slowly into cavity. After Matrix® NEO cures for 90 minutes, remove the mold box.


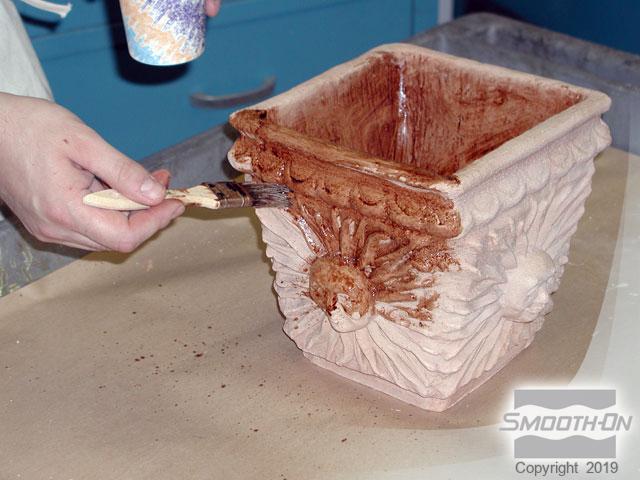
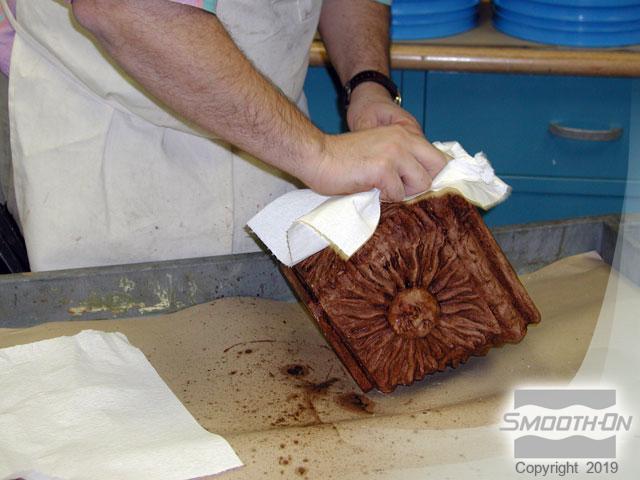
Step 10: Demolding and Finishing
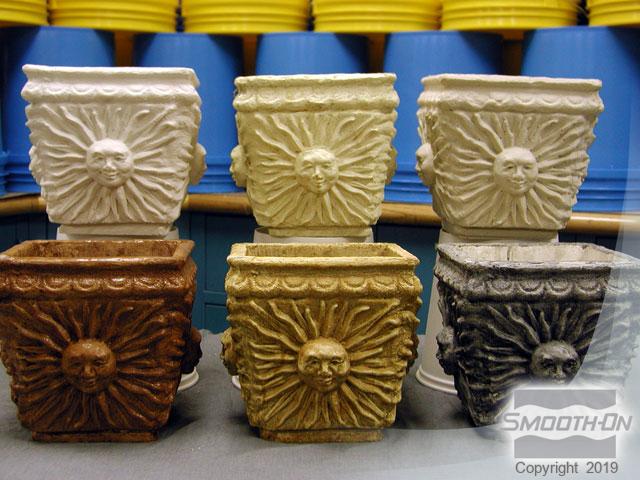
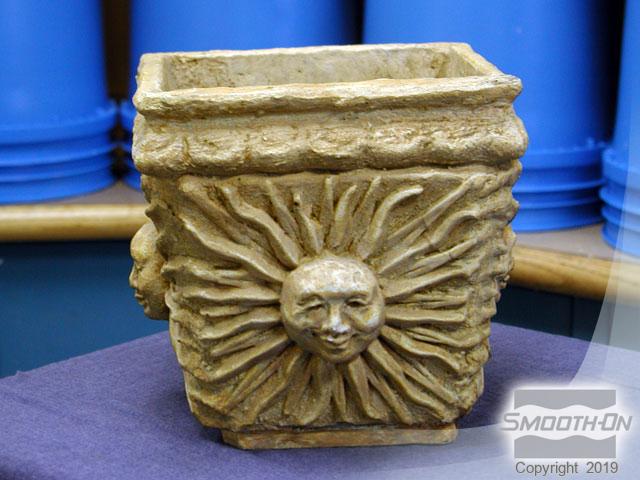
Demold casting from the rubber mold to reveal a perfectly detailed reproduction of the original model. Add color to the casting with brown wood stain and wipe off any extra stain with a soft towel. The rubber mold is ready for production casting. Different finishes can be achieved by varying color, tints, and stain.