How To Make a 3‑D Aquarium Background Using Foam‑iT!® 5
Overview
An easy way to add realism and beauty to your aquarium is to make a custom background. Using Smooth-On products, you can create custom foam rock walls that will perfectly fit and compliment your aquarium. The hardest part is deciding on your design!
Advantages/Benefits to Making Your Own Custom Backdrop:
- Low profile
- Minimum water displacement
- Custom design
- Custom fit (can be tiled to fill large areas)
- Easy maintenance
- Will last indefinitely
- Eliminates reef harvesting
- Low cost
- Aquarium-safe (will not harm fish, invertebrates or other sea life)
- Chemically inert
Materials Used in this Tutorial
- Rebound™ 25 Silicone
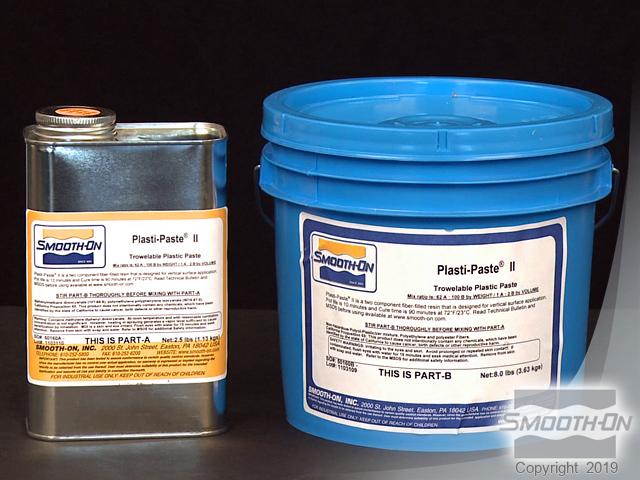
- Plasti-Paste® II
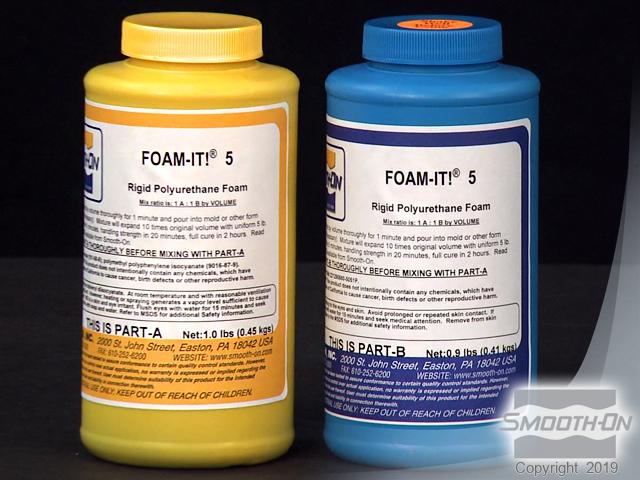
- Foam-iT!® 5
- Smooth-Cast 327®
- SO-Strong® Color Tints
- Tape Measure
- Mixing Containers
- Mixing Sticks
- Stiff Wire Bristle Brush
- Brushes
- Level
- Gloves
- Grid Backer
- Paint Stick
- Mag-Float magnet
Step 1: Create Foam Shape Using Foam-iT! 5
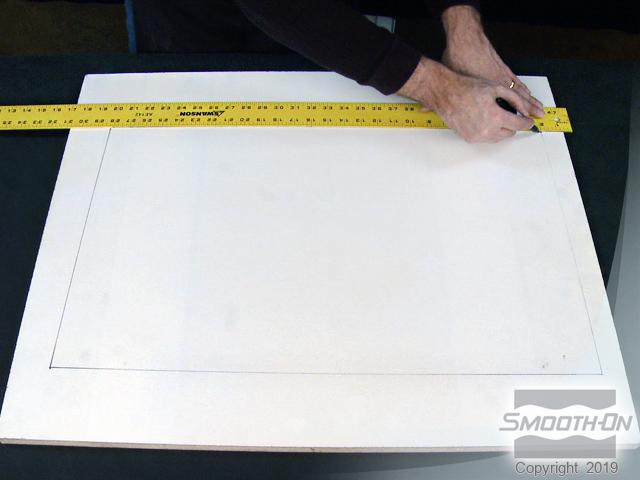
To begin, decide the shape and dimensions for the foam rock wall. Be sure to measure your tank to ensure that it will fit. Draw a box designating the wall perimeter on a base board.
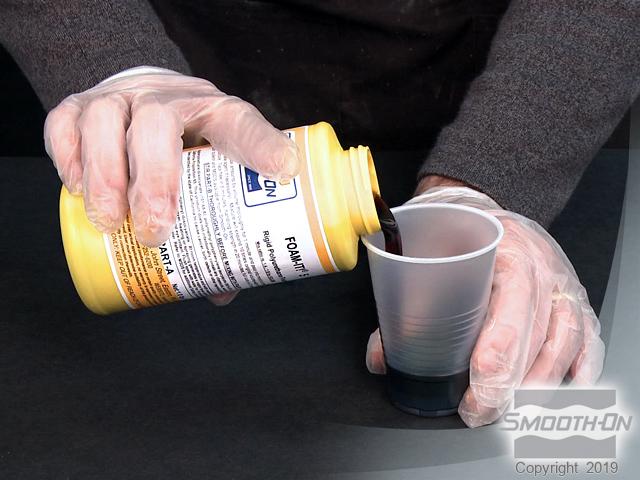
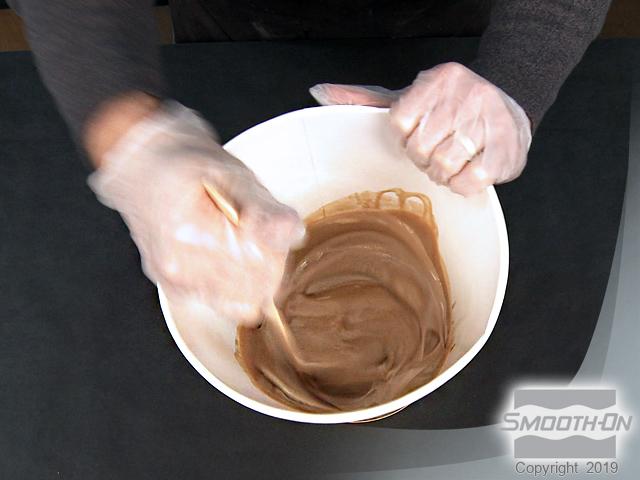
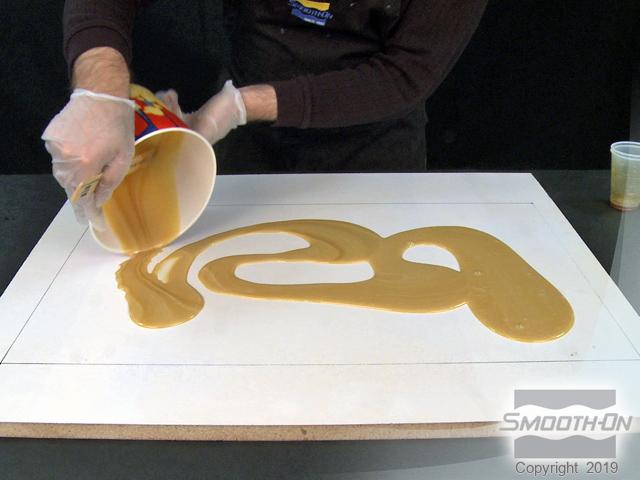
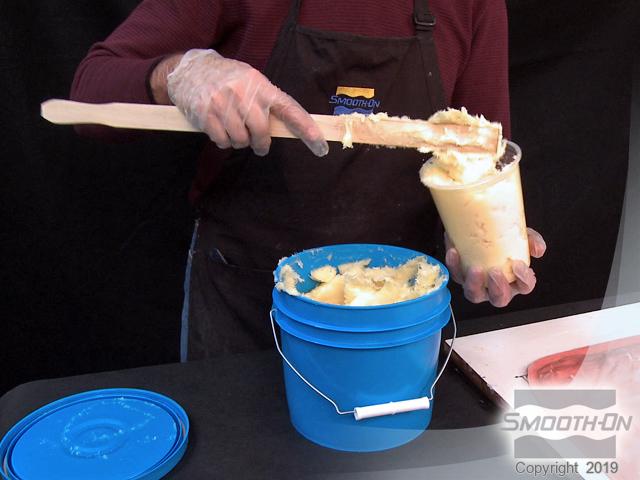
Foam-iT! 5 rigid foam is used to create the rock foundation. It has a mix ratio of 1 part A to 1 part B. Dispense part A. Then, dispense an equal amount of part B. Combine part A and B into a larger mixing container. Mix quickly and vigorously, scraping the sides and bottom of the container. Foam-iT! 5 has approximately a 1.5 minute pot life.
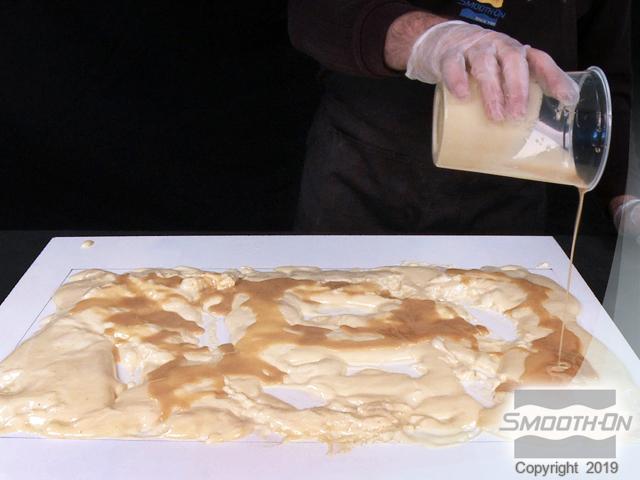
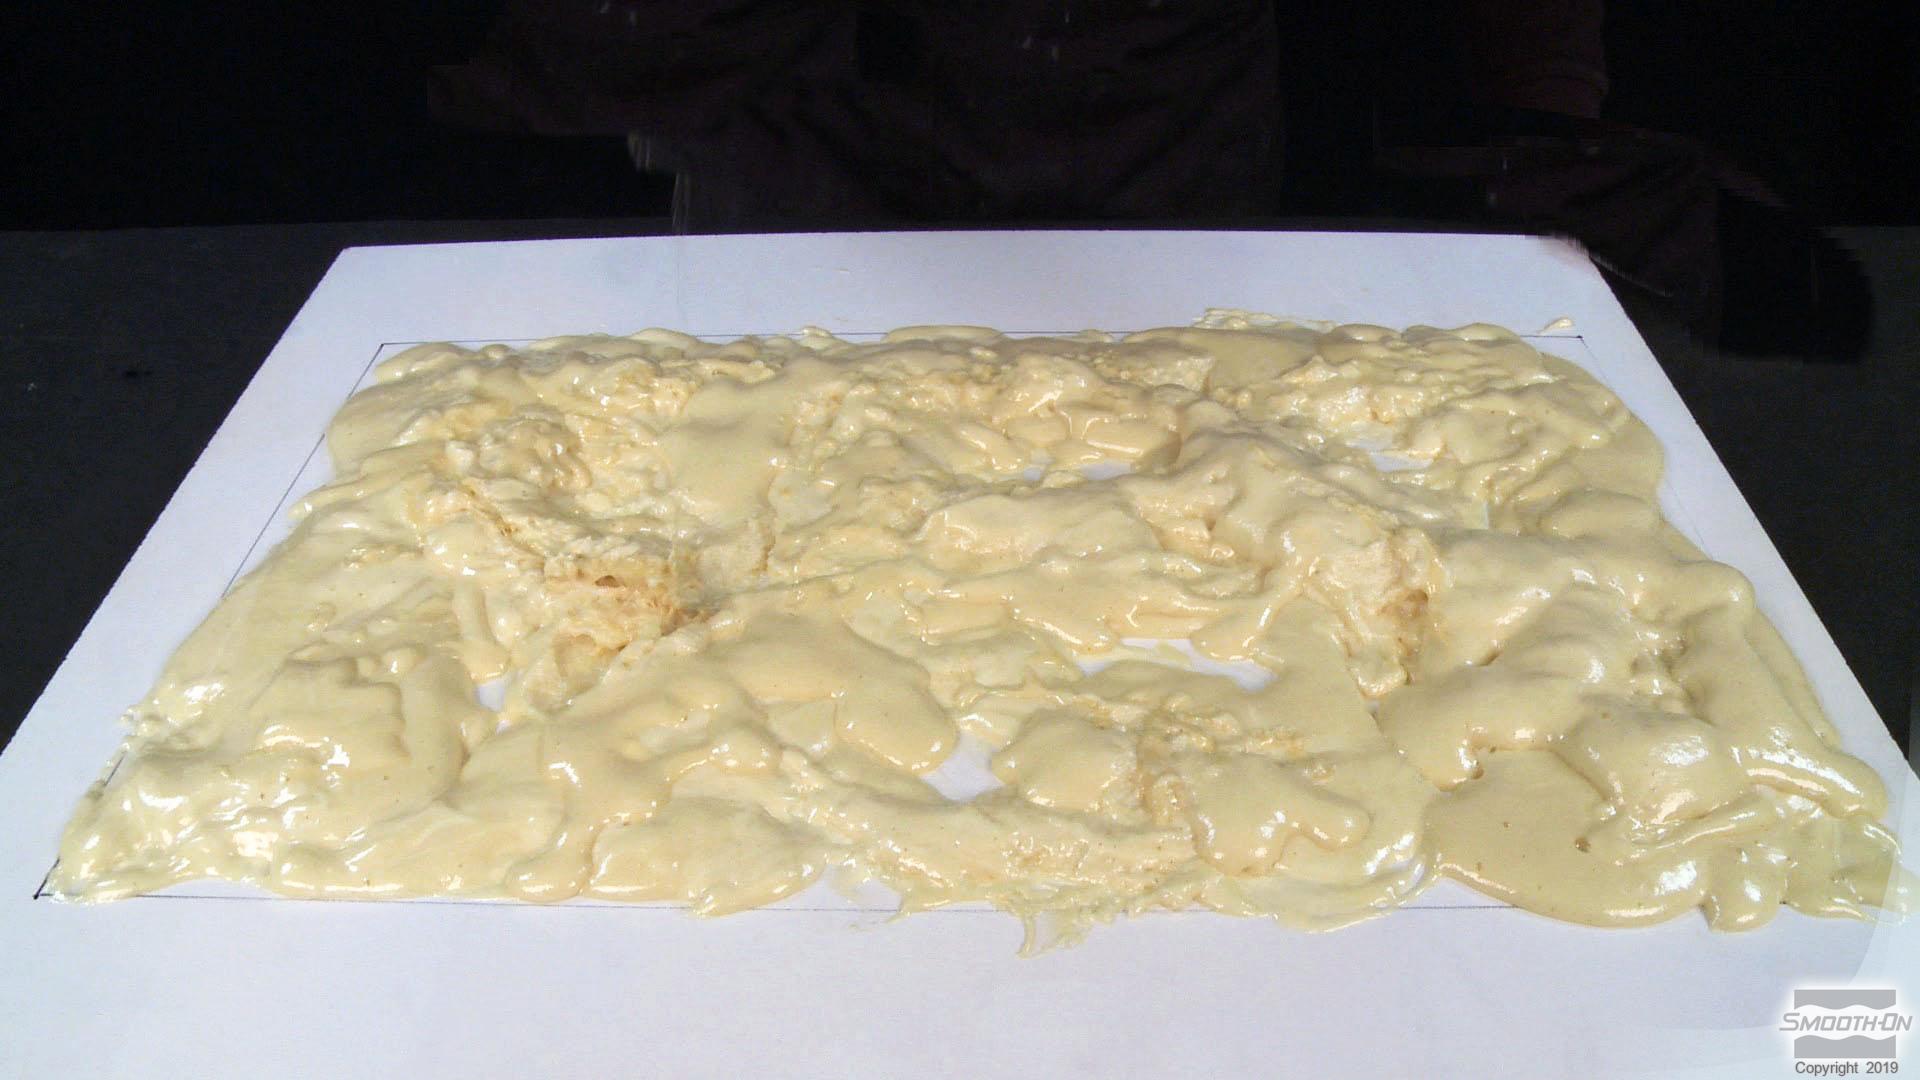
Pour the foam in a random pattern in the box perimeter that was drawn. Foam-iT! 5 has a 10X expansion rate. Continue to add layers of foam, pouring again in a random pattern. In order for subsequent layers to bond to previous layers, they must be added while the previous layer is partially cured, not fully cured (tacky but not in a liquid state).
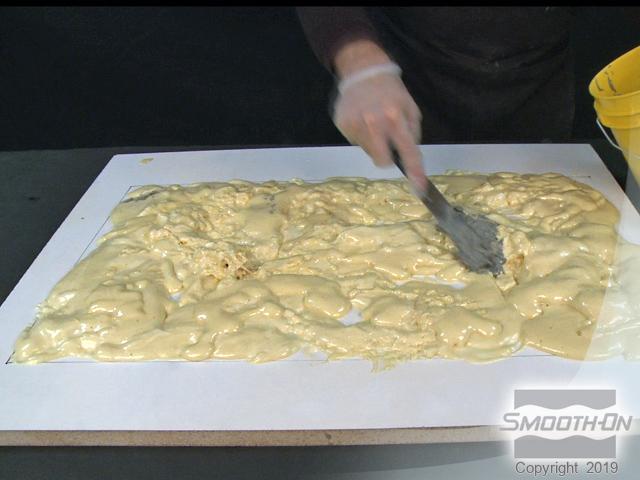
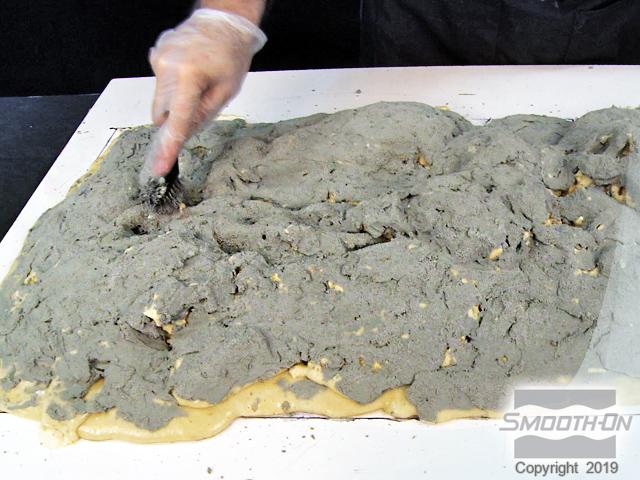
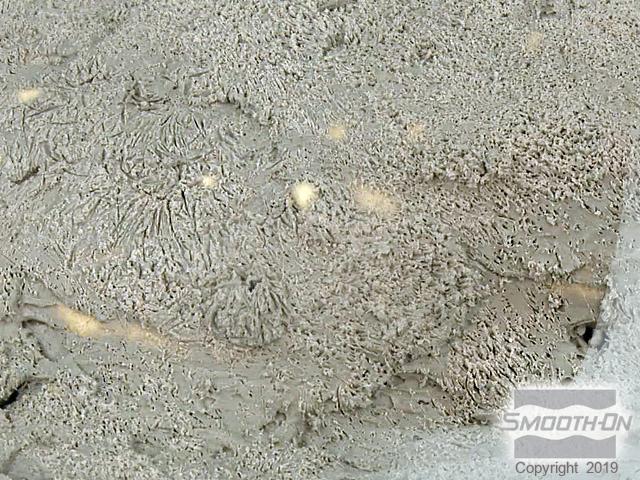
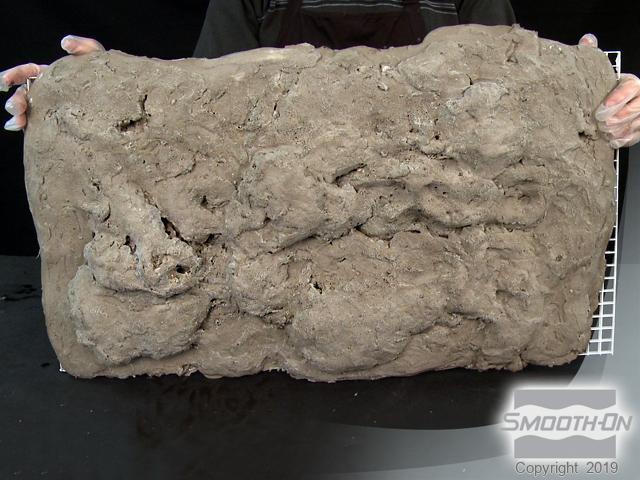
Allow Foam-iT 5 to cure for 2 hours at room temperature (73 F). The random pattern pour creates a foundation for the next step, clay build-up. Once the foam has fully cured, add water clay over it to create a realistic rock look. Texturize the clay using a stiff wire bristle brush. We are trying to mimic natural rock formations.

Step 2: Applying Rebound™ 25
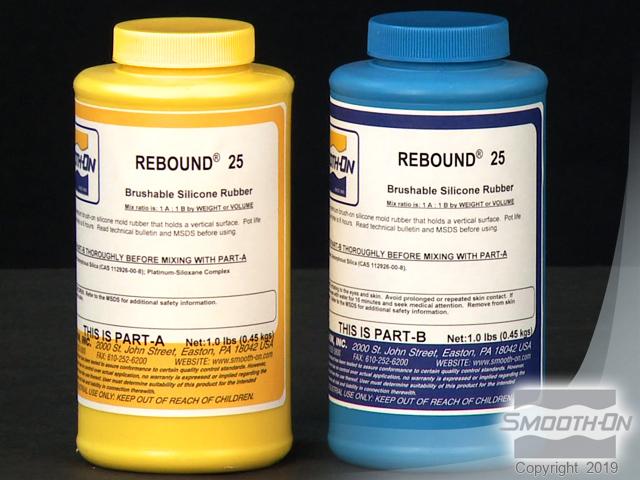
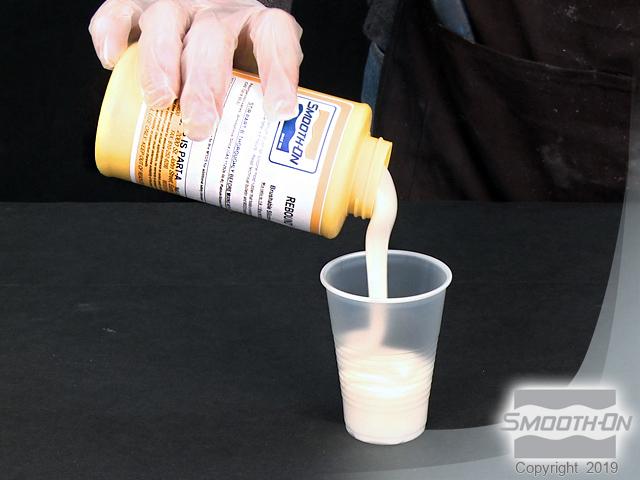
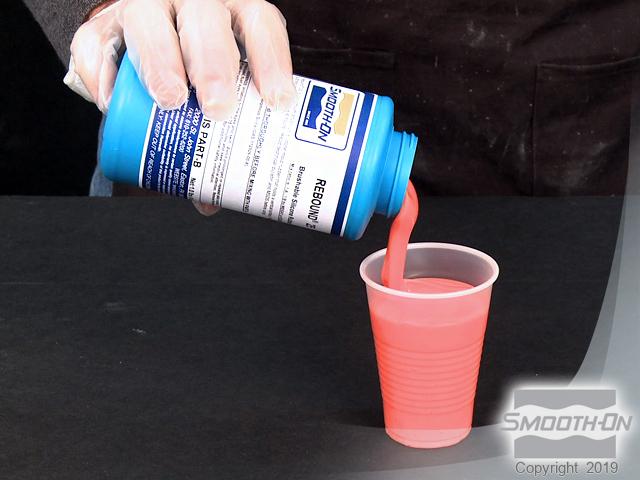
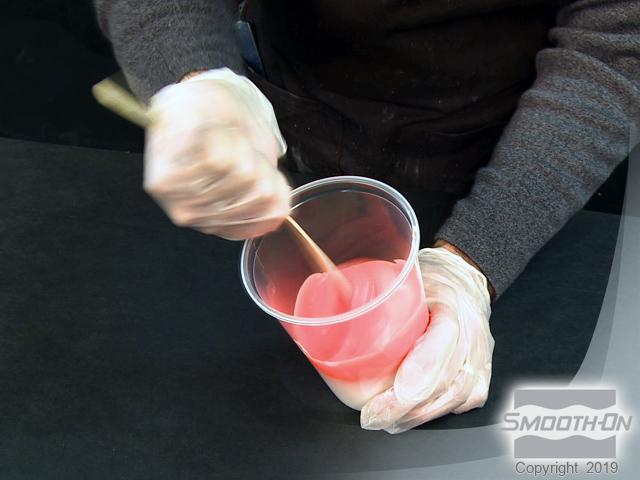
Rebound™ 25 brushable silicone rubber is used to make the mold. Dispense part A. Then, dispense an equal amount of part B. Mix parts A and B thoroughly until there are no color streaks.
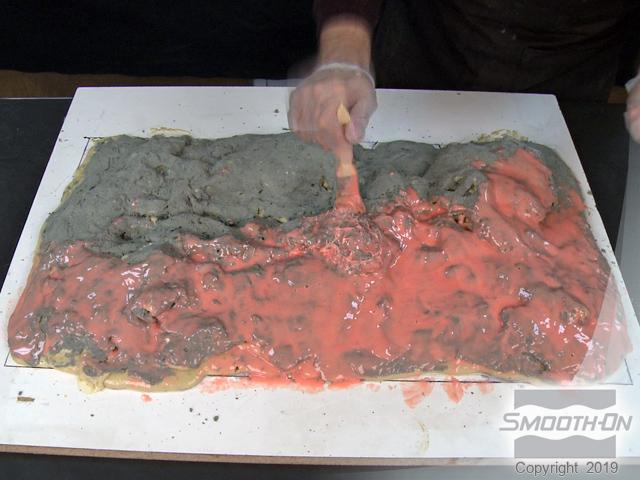
Apply an initial thin first layer. Use a stippling motion to force liquid rubber into deep detail. The first layer of mold rubber is allowed to partially cure. In order for subsequent layers to bond to previous layers, they must be added while the previous layer is partially cured, not fully cured (tacky but not in a liquid state). Keep adding more layers to build up to a thickness of 3/8''.
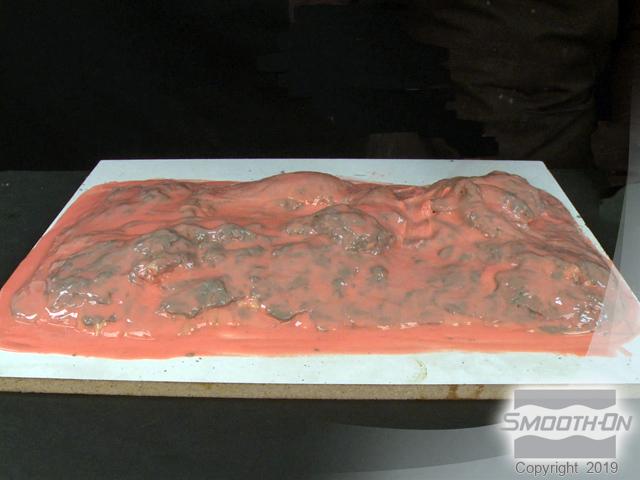
Once fully cured, trimming perimeter edges allows for better registration between the rigid support shell that will be created over it. It is now ready for the rigid support shell to be applied.
Step 3: Applying Plasti-Paste II
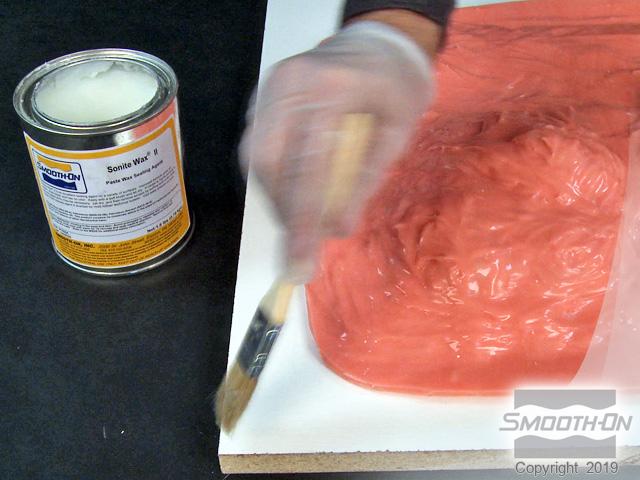
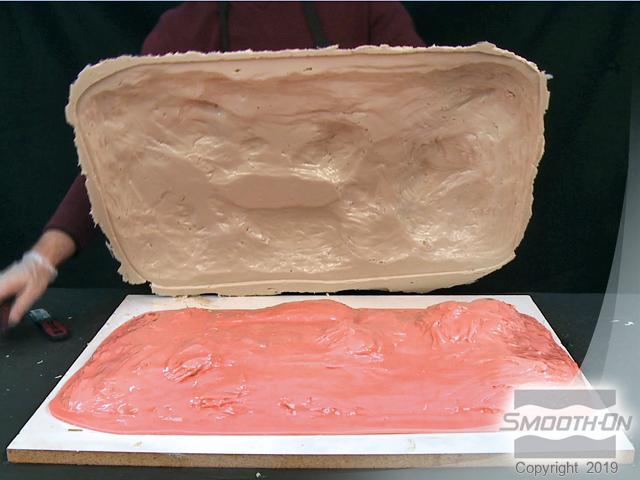
Brush Sonite Wax onto mold rubber and base board. Allow to dry thoroughly before applying support shell.
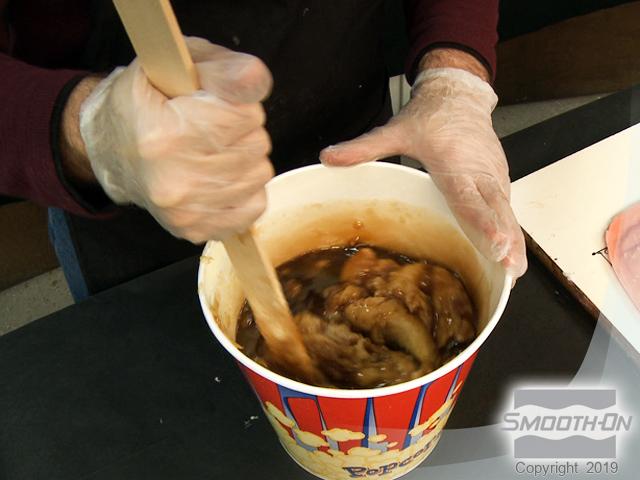
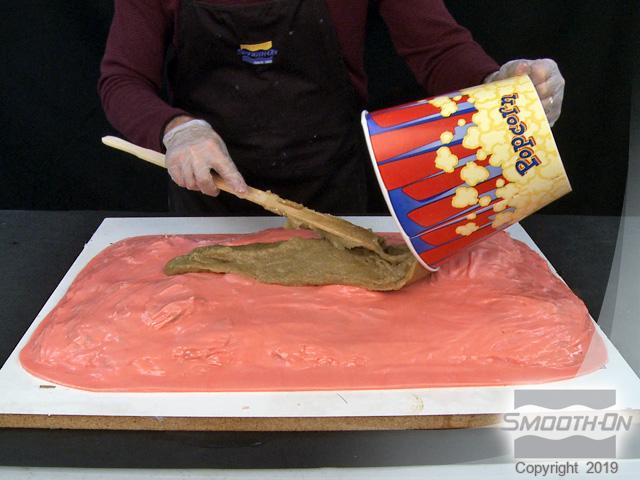
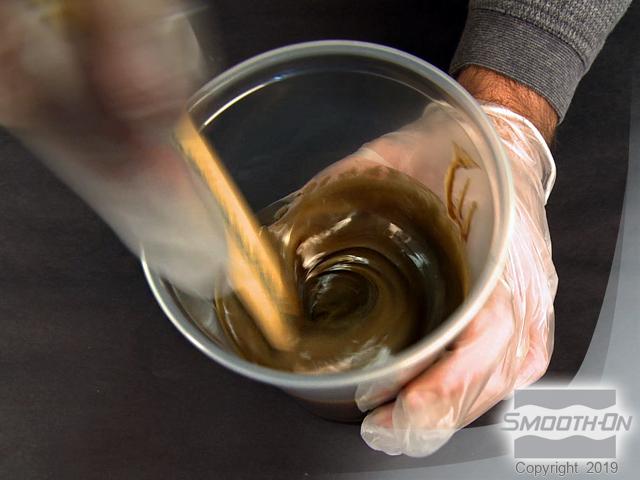
Plasti-Paste II is used to create the rigid support shell. It has a mix ratio of 1 part A to 2 parts B by volume. Dispense 2 parts B. Dispense 1 part A. Pour parts A and B into a larger mixing container. Mix thoroughly until there are no streaks. Plasti-Paste II has a pot life of 10 minutes.
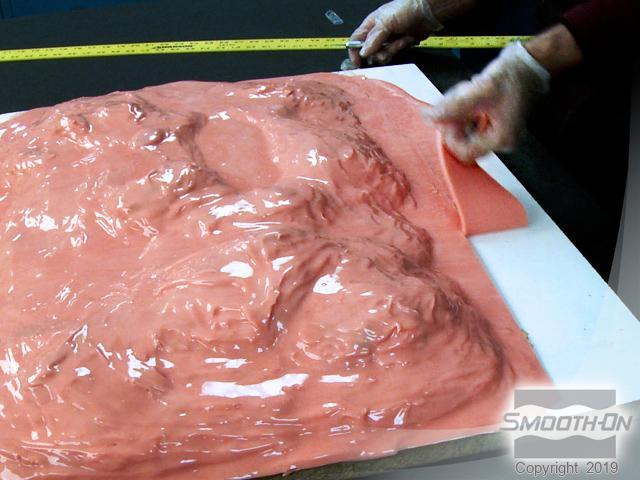
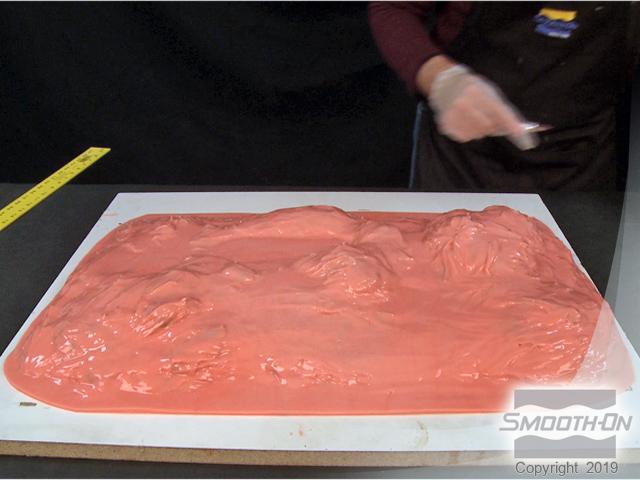
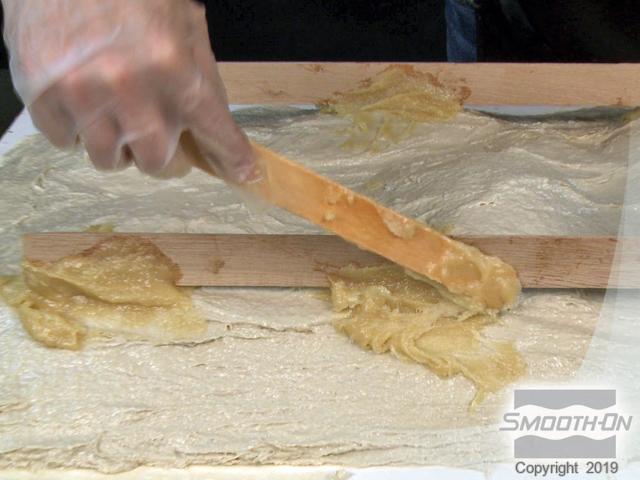
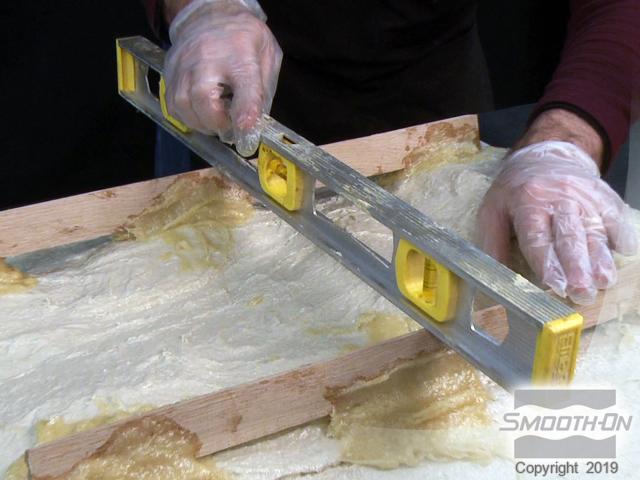
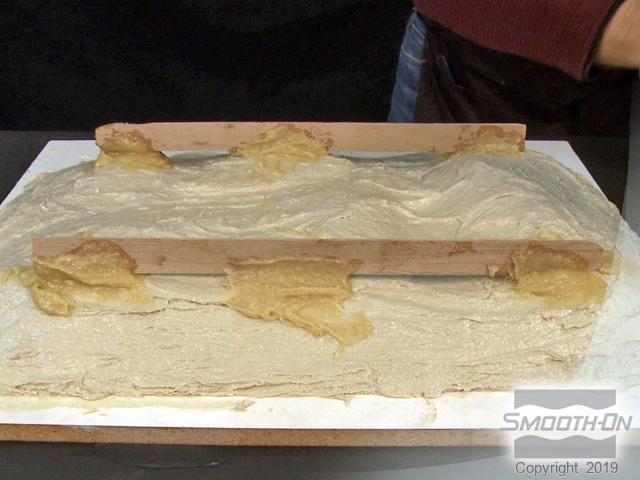
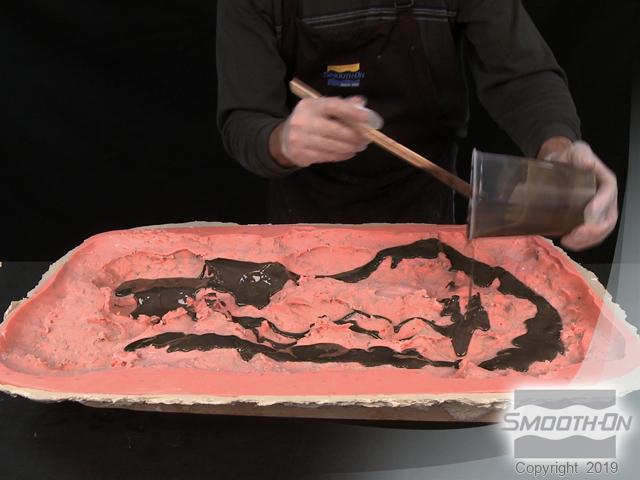
Spread mixed Plasti-Paste II over the surface of the rubber mold in a thin layer. Add layers as needed. Finished shell thickness should be about 3/8'' (1cm). Embed paint stirring sticks or other flat edge utensils using Plasti-Paste II. This will provide support when casting into the mold. Level the legs.
Plasti-Paste II has a cure time of 90 minutes.

Step 4: Demold
Once fully cured, remove the support shell from the mold rubber. Lift off the cured mold rubber from the foam/clay original. You will no longer need the original to continue.
Clean the clay residue out from the mold using mineral spirits so it is ready for casting.
Step 5: Casting Foam-iT! 5
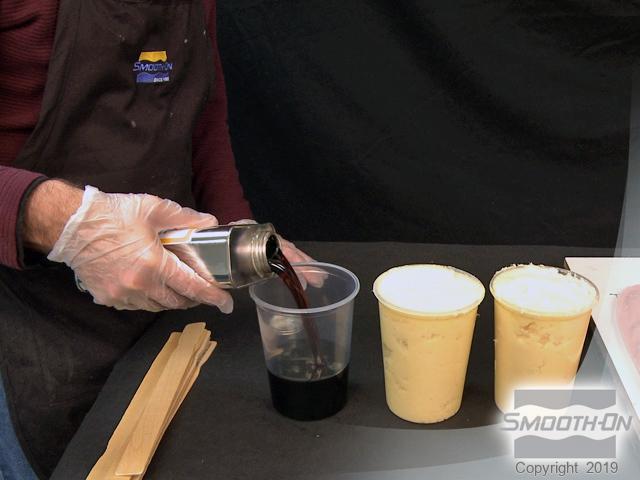
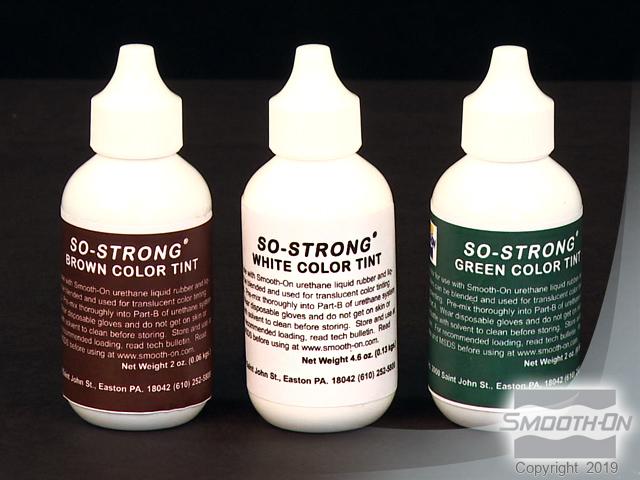
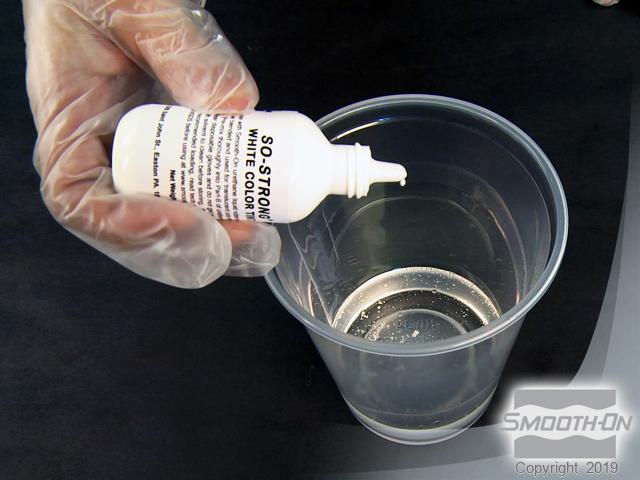
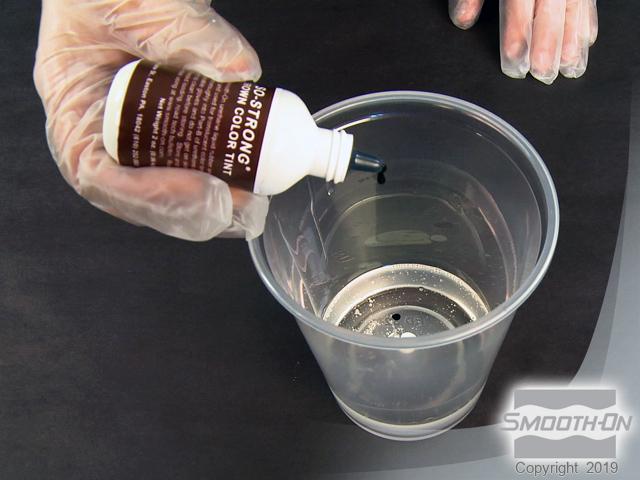
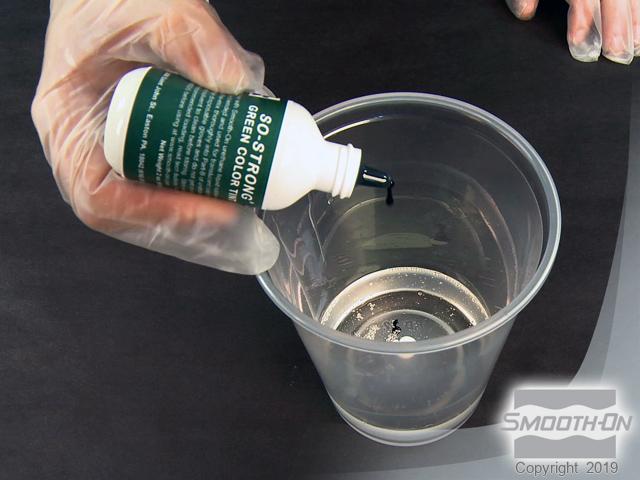
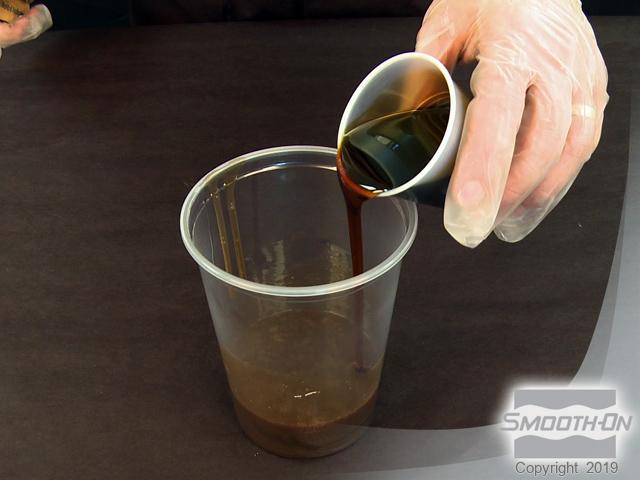
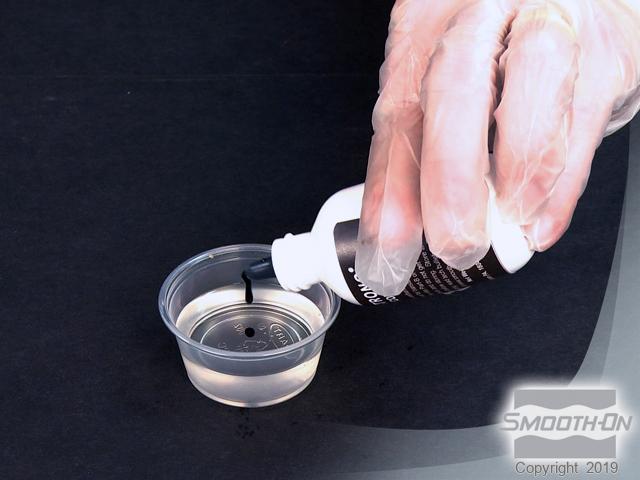
Begin with Foam-iT! 5 expanding foam. Dispense part A and dispense an equal amount of part B. SO-Strong color tints are used to pigment the foam casting. They are ultra-concentrated so a little goes a long way. Dispense the required amount of part B into a mixing container. Add a few drops of SO-Strong white, brown and green. Pre-mix the part B resin and 3 pigments together before adding part A.
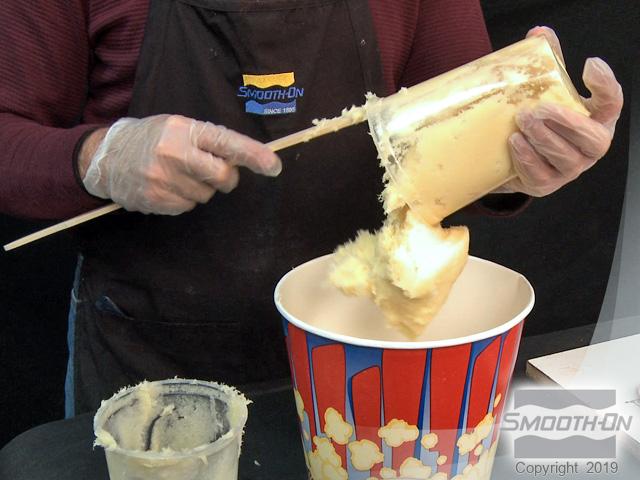
Pour part A into pre-mixed part B. Stir the foam vigorously. Foam-iT! 5 has approximately a 1.5 minute pot life.
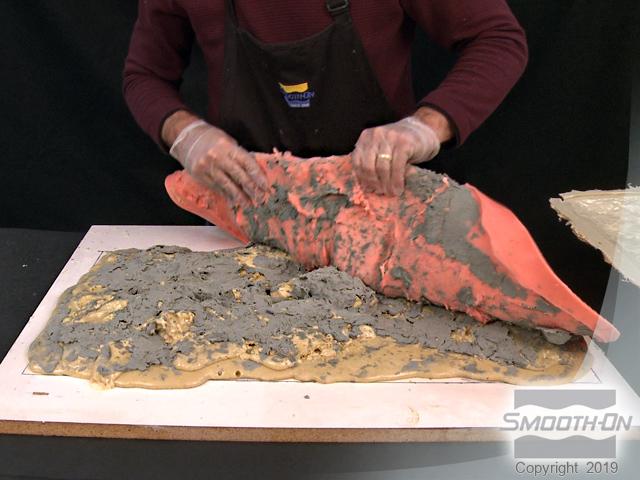
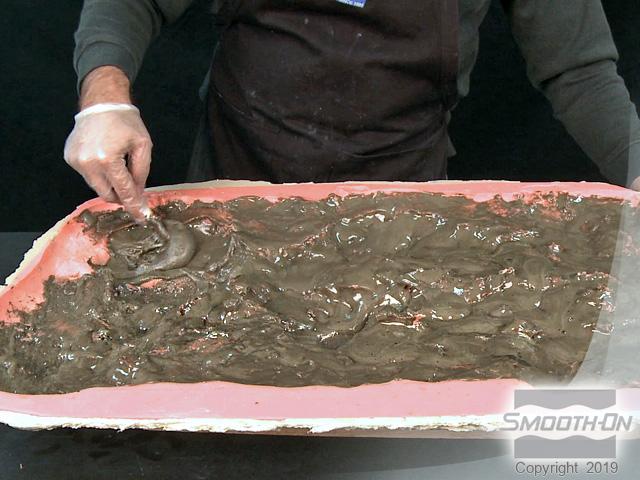
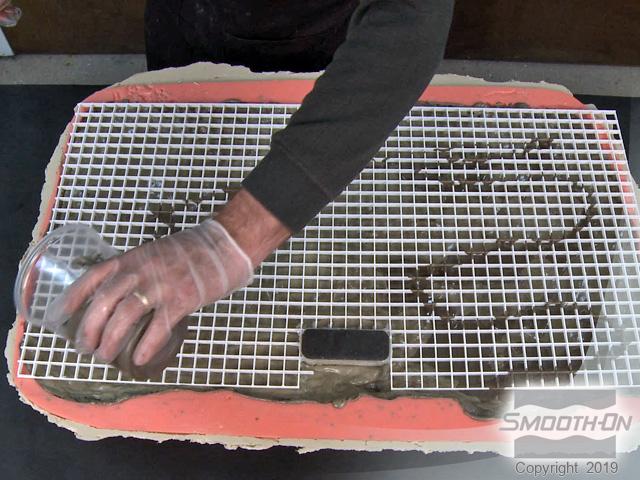
Pour the mixed foam into and around the mold in a random pattern. Use a brush to spread the foam around the mold as it starts to expand.
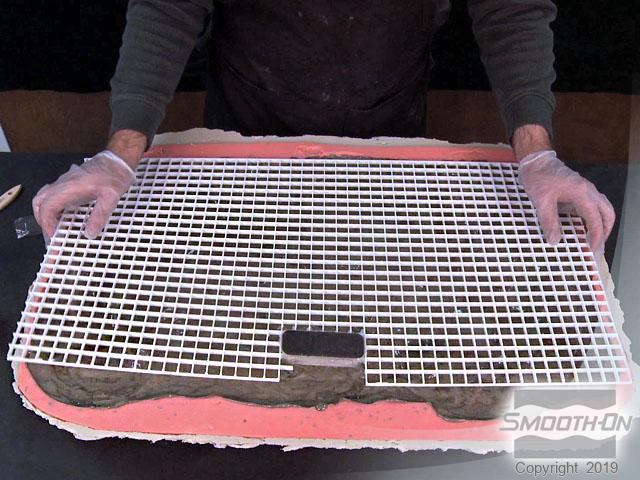
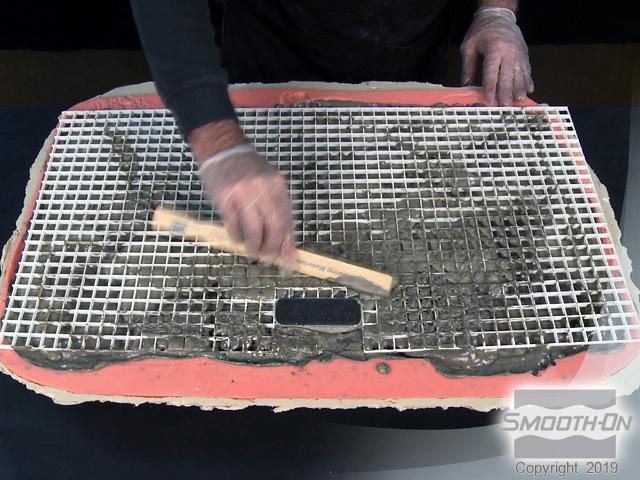
Add grid backer while foam is still expanding for stability and to create a flat back surface. Add more foam to help further secure the backer. Use a paint stick to distribute the foam through the grid.
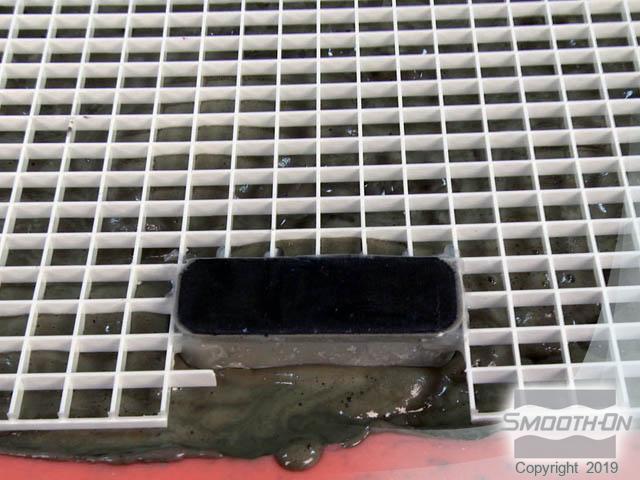
Embed one half of a Mag-Float* magnet in your foam. It will be used to secure the foam rock wall in place in the aquarium. Depending on the size of your custom made foam rock wall, you may need to embed more than one Mag-Float to hold your wall in place in the tank. *Mag-Float is a magnetic aquarium scraper that is used to clean algae from the inner glass tank surface.
Once foam has fully cured, remove the entire structure from the support shell.


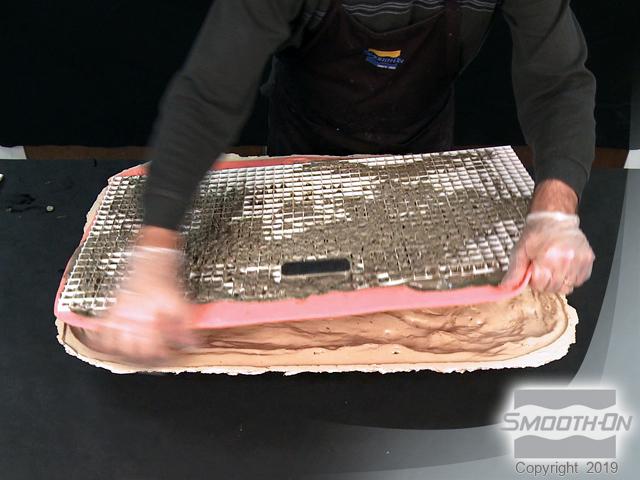
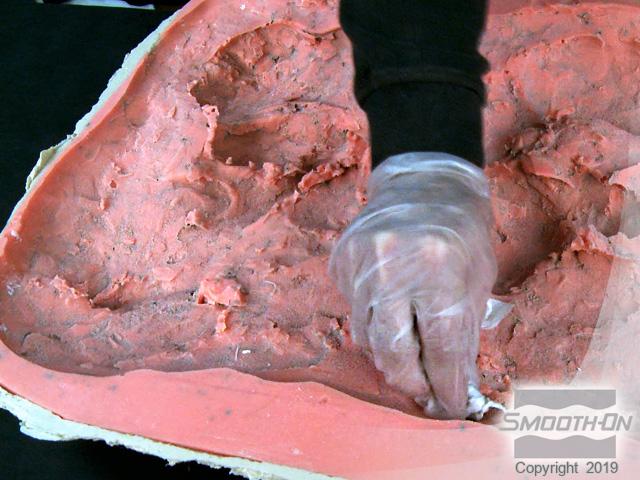
Step 6: Demold
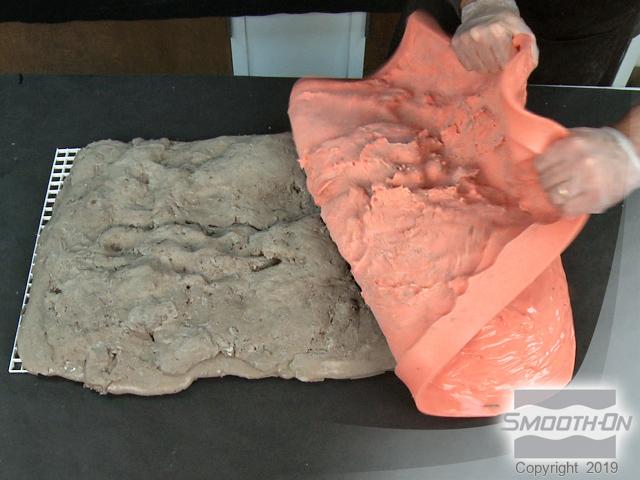
Peel back the mold rubber to reveal the foam casting. The foam casting is now completely demolded and ready for painting.
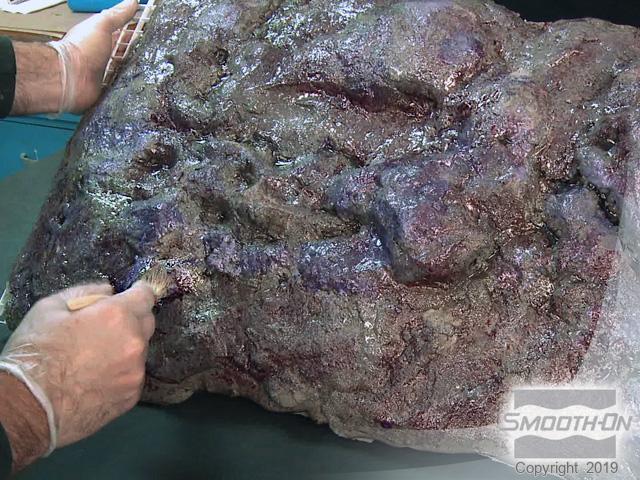
Step 7: Painting with Smooth-Cast 327 and So-Strong
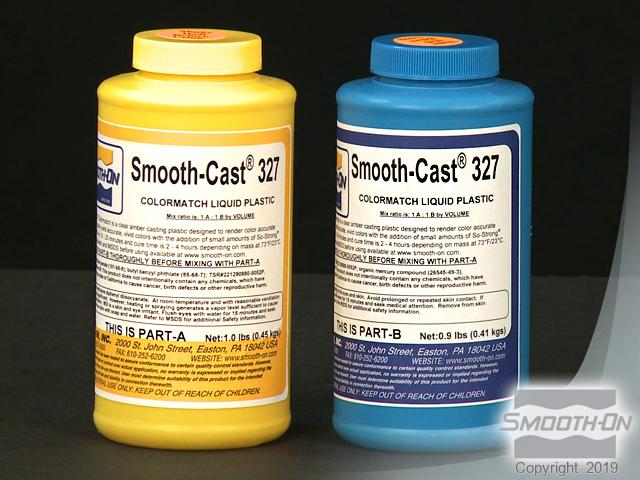
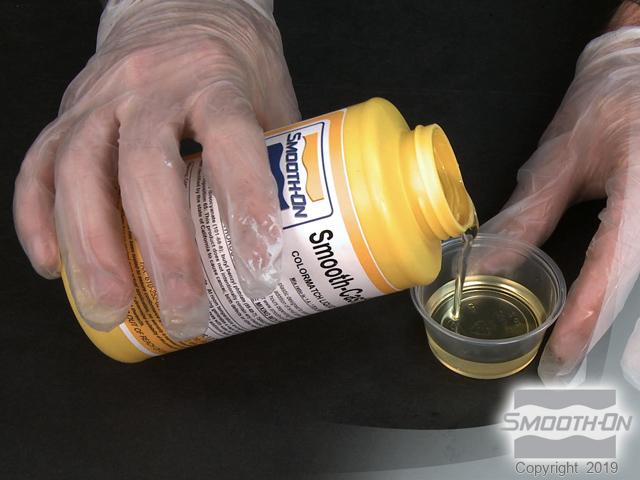
Smooth-Cast 327 COLORMATCH Series urethane resin is used to create a plastic paint that is brushed on in thin layers to color the foam. It will be colored with SO-Strong pigments.
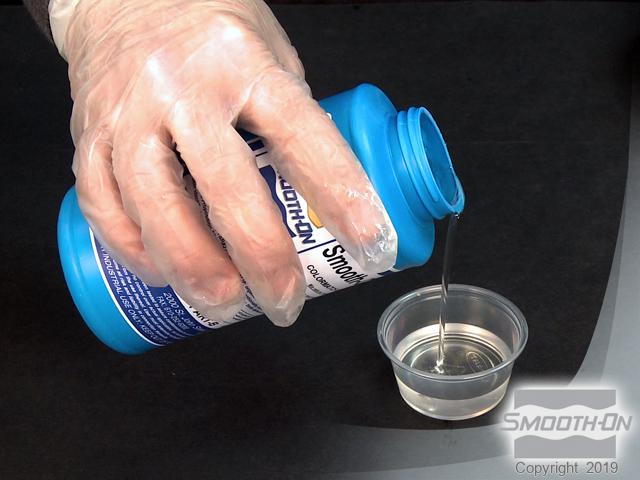
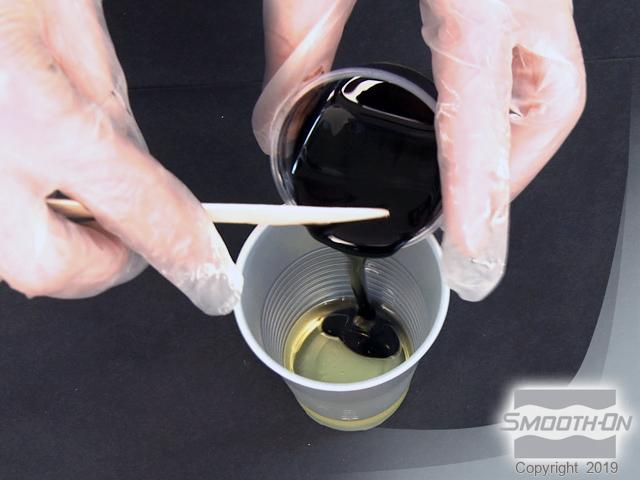
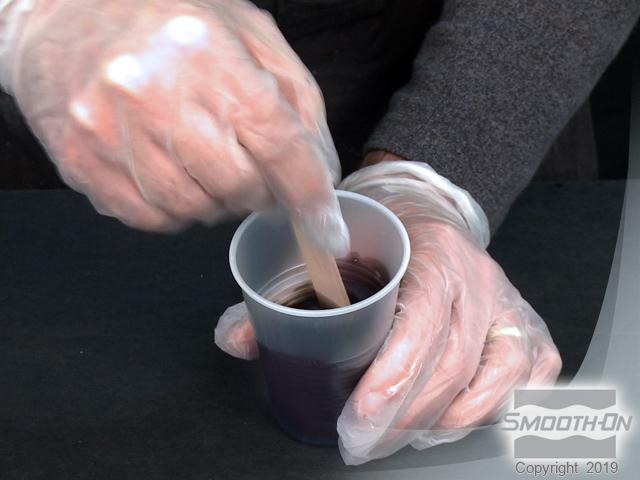
Dispense part A. Dispense an equal amount of part B. Add SO-Strong black to part B. Transfer part A into a larger mixing container. Add black pre-mixed part B to part A. Stir parts A and B together until there are no streaks. Mix together thoroughly for 3 minutes. Smooth-Cast 327 has a pot life of approximately 10 minutes.
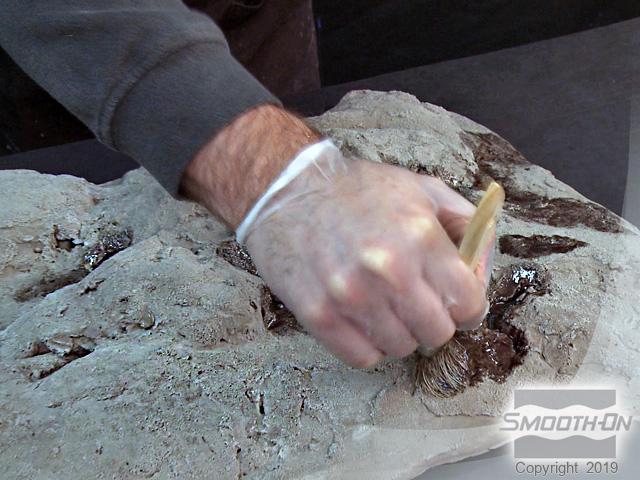
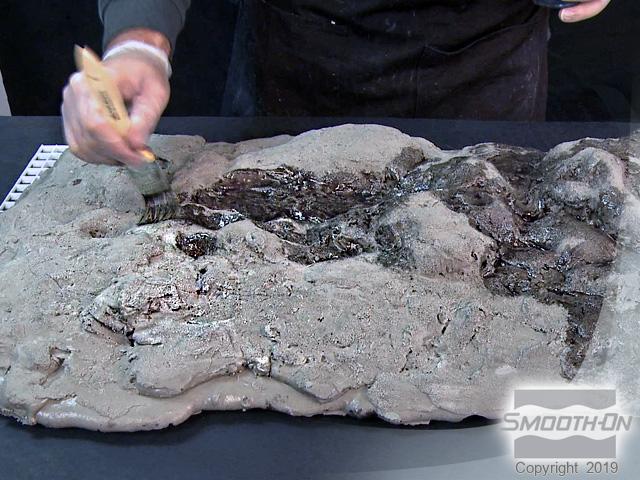
Use a paint brush to paint resin onto the foam casting. Use a stippling motion to work resin into deep detail. Add multiple layers of pigmented resin to create color highlights.
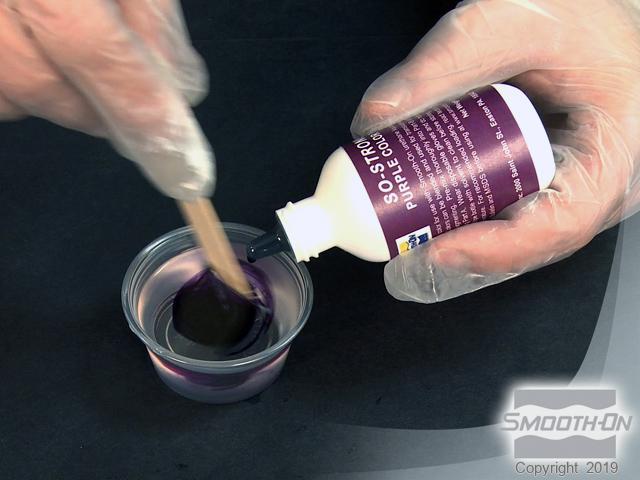
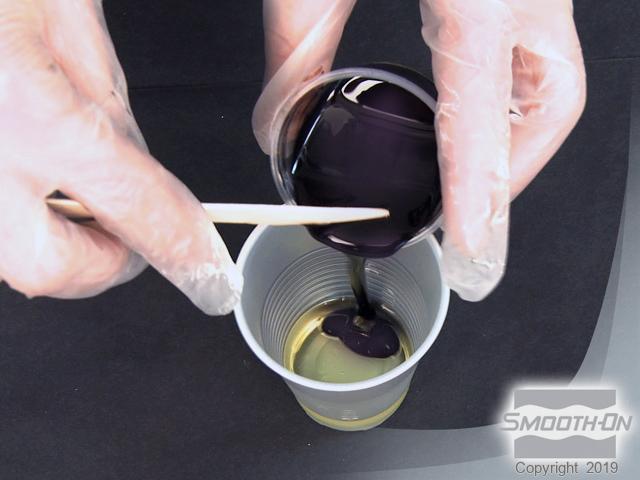
Dispense part A. Dispense an equal amount of part B. Add SO-Strong purple to part B. Transfer part A into a larger mixing container. Add purple pre-mixed part B to part A. Stir parts A and B together until there are no streaks. Continue to paint using different colors to create highlights.
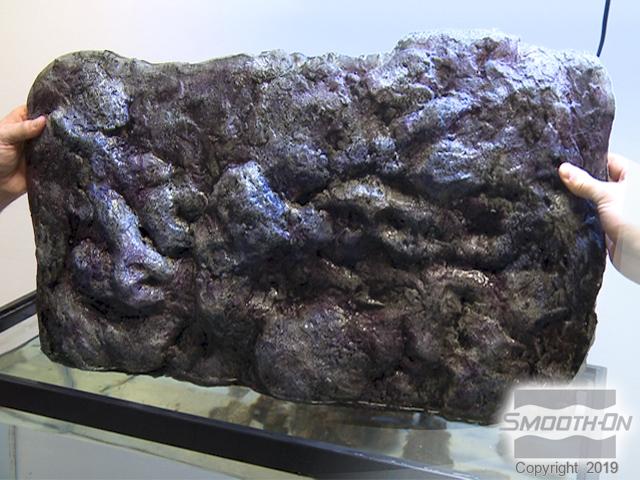
The foam rock wall is now completed. Remove the plastic backer from the foam rock wall before placing it in your aquarium.


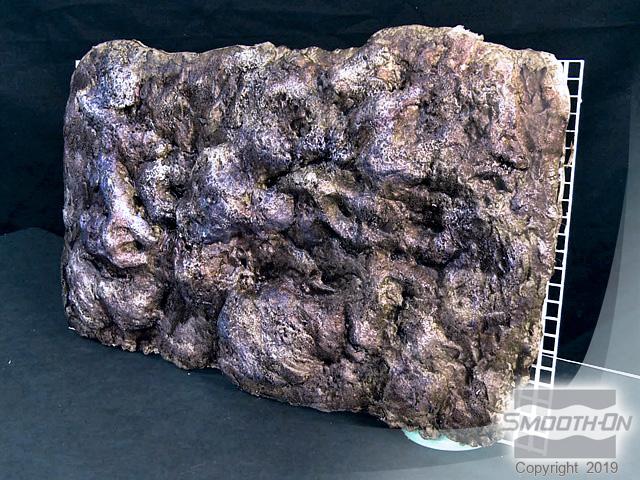
Step 8: Finishing / Applying Foam Background
The finished product is ready to be placed into the back of the aquarium.
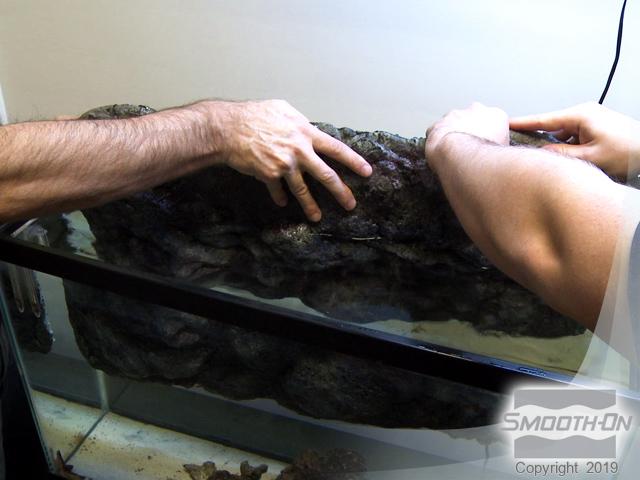
Submerge the foam rock wall into the back of your aquarium. Having a friend to assist you is helpful since it is made from buoyant foam and may want to float. The Mag-Float magnet that was embedded into the foam will help with the floating. Match the embedded Mag-Float magnet to the other part of the Mag-Float on the outside of the tank to secure its position in the tank.
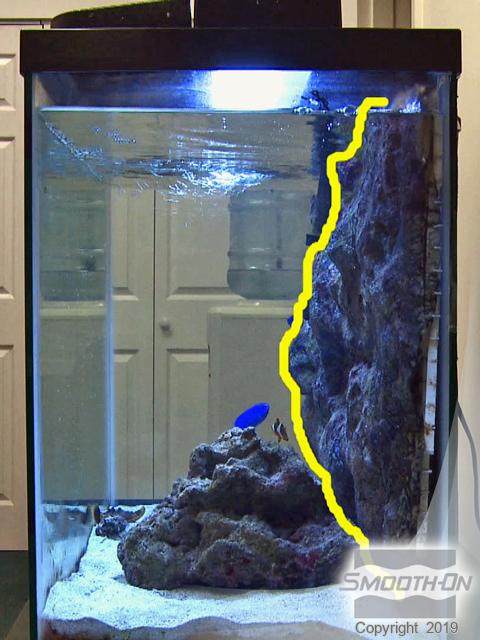
Attach your magnet. Depending on the size of your custom made foam rock wall, you may need to embed more than one Mag-Float to hold your wall in place in the tank. The Mag-Float magnet holds the foam background in place. Multiple foam castings can be tiled for larger tanks.
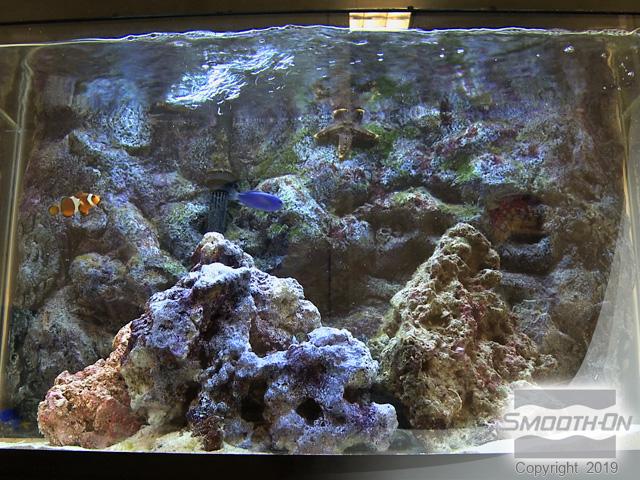
The custom foam rock wall backdrop has ultra low water displacement and a low profile while simultaneously providing a beautiful background. Front view of the rock wall in the aquarium blends in with existing rock.