How To Make a Block Mold of a Four Legged Animal
Step 1: Preparing Model
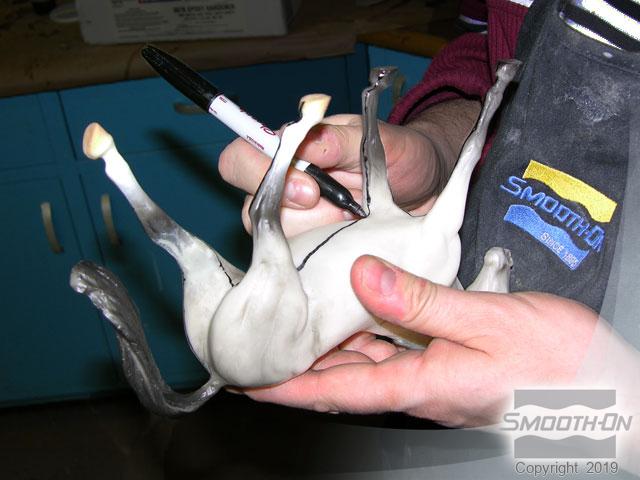
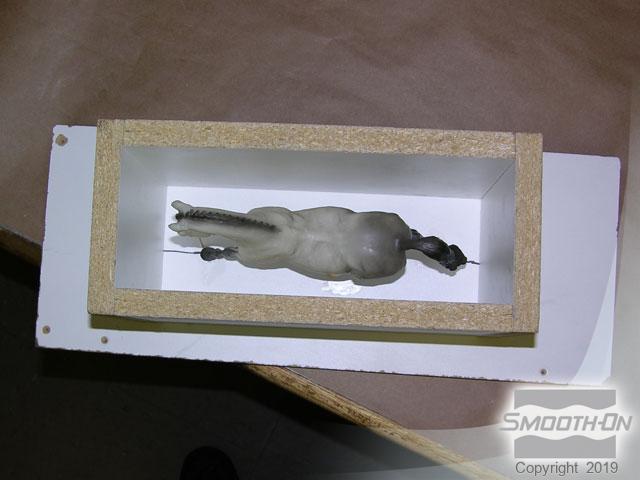
The original model is moderately complex with fine detail in the mane and facial features. In examining this model for potential problems we observed that the posed legs are not uniform; each contacted the base board at a different angle. Once the model is completely encapsulated in rubber you will need to know where to make the extraction cut. Two reference lines will be drawn. The first reference line is drawn with a marker along the underside of the horse from the mouth to the tip of tail.
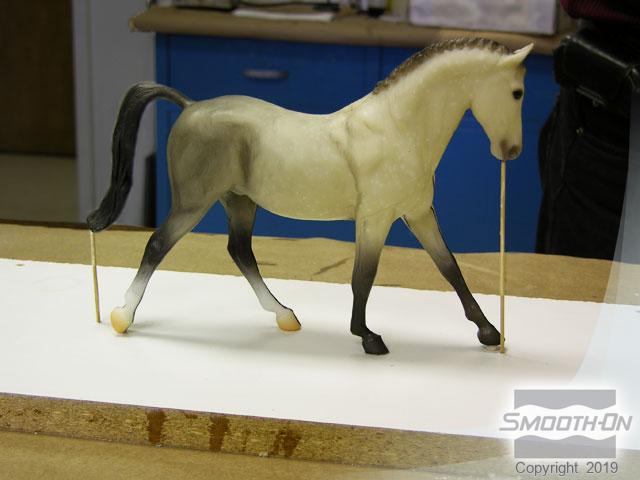
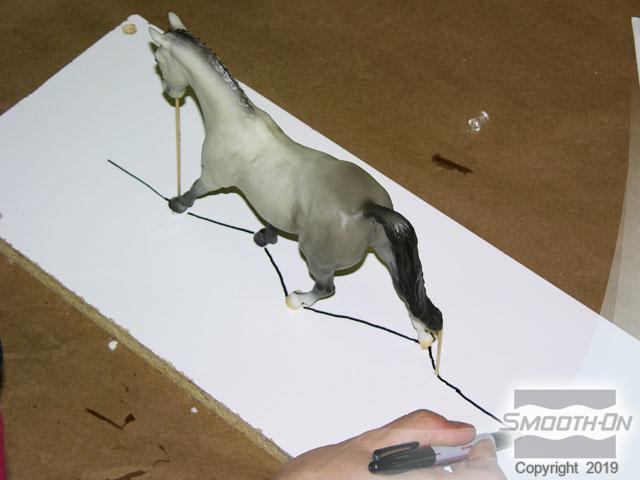
Use hot melt glue to stabilize and secure the model to a base board. To prevent air entrapment during casting, create air vents at strategic points on the model. In this case, wooden dowels are glued in place at the tip of the tail and mouth. The second reference line is drawn onto the base board mirroring the guide lines that were first drawn on the model. The line is extended a minimum of 2 inches past the horse in both directions. This line will transfer onto the surface of the mold rubber.
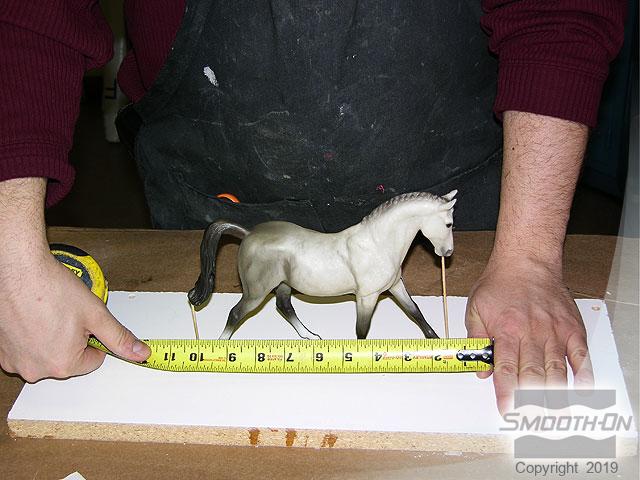
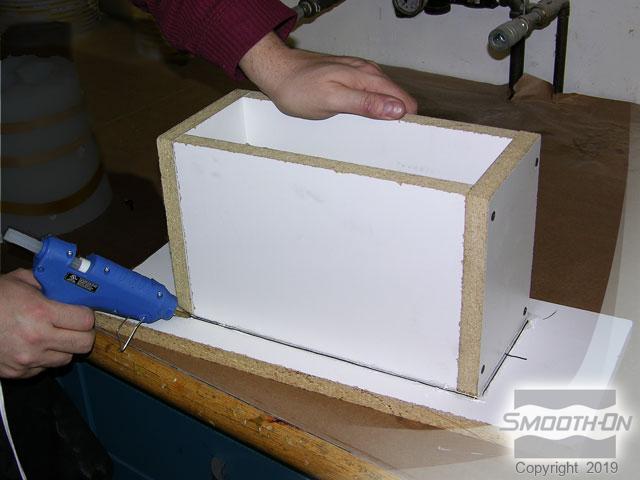
Measurements are taken and a mold box is built using 3/4 inch/1.9 cm melamine board available at most Home Supply Centers. The interior dimensions of the box should be at least 10 inches/25.4 cm long, by 4 inches/10.16 cm wide, by 7 1/2 inches/19.05 cm tall. The mold box has a minimum of 1/2 inch/1.27 cm clearance on all sides including the highest point of the model (the ears). The box is secured to the base board with Hot Melt Glue. This will also ensure that the mold rubber will not escape at the interface.