How To Make a Brush‑On Mold of a 3D Hollow Model
Overview
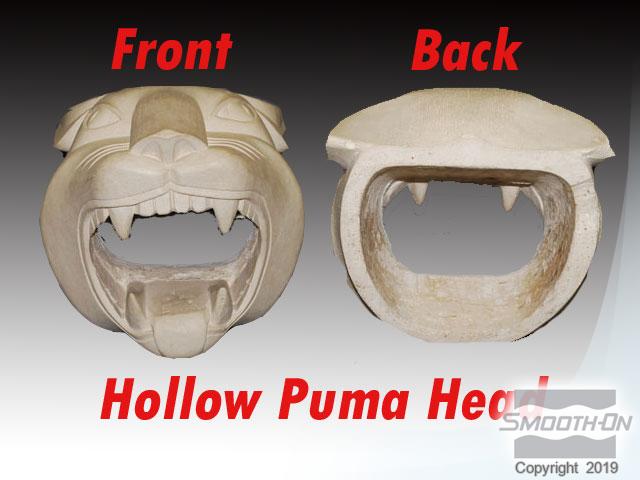
The Challenge: Filling the void on this hollow puma head so an efficient brush-on mold can be made.
Making a mold of a hollow model presents a challenge to the mold maker. The void must be filled as the primary step of making the mold. A "mouth core" will be used to fill the mouth void and a "mold plug" will be employed to duplicate the hollow space which runs through the original model.
This challenging mold of a puma head will be made using Smooth-On's Rebound® 25 brush-on silicone rubber. There has never been an easier to use brush-on silicone rubber than Rebound 25. Mixed 1A:1B by volume (no scale necessary), Rebound 25 self-thickens and will hold a vertical or inverted surface, and will cure to a soft, flexible rubber (Shore 25A) that is incredibly strong. Three to four layers is all that is necessary to make a strong, durable production mold for casting wax, gypsum, concrete or resins (urethane, polyester, etc.) and because Rebound 25 is a platinum silicone, it will last for many years in your mold library.
Materials Used in this Tutorial
- Rebound 25
- SuperSeal
- Ease Release 200
- Plasti-Paste
- Universal Mold Release
- Sonite Wax
- Smooth-Cast 45D
- Matrix NEO
- Thi-Vex
- Silc Pig
- Iron Oxide Powder
- Mixing Containers
- Mixing Sticks
- Melamine board
- Water Clay
- Nuts & Bolts
- Paint Brushes
- Needle Nose Pliers
- Rolling Pin
- Marker
- Spray Shellac
- Drill
- Screws
- Wood Board
- Box
- Packing Peanuts
- Screw Driver
- Hammer
Step 1: Preparing Your Model
This example is shown with a puma head cast out of concrete.
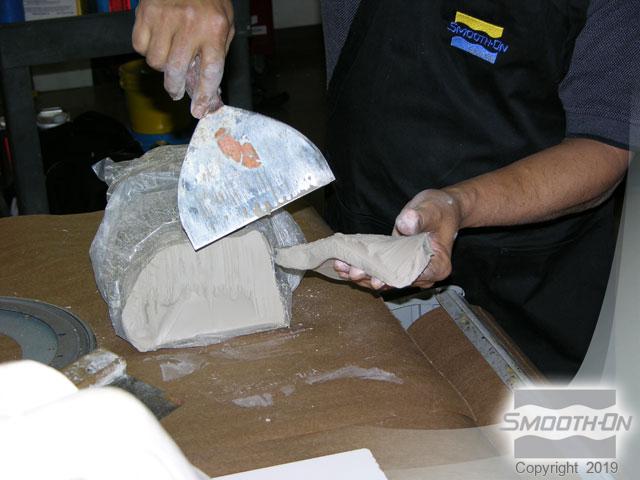
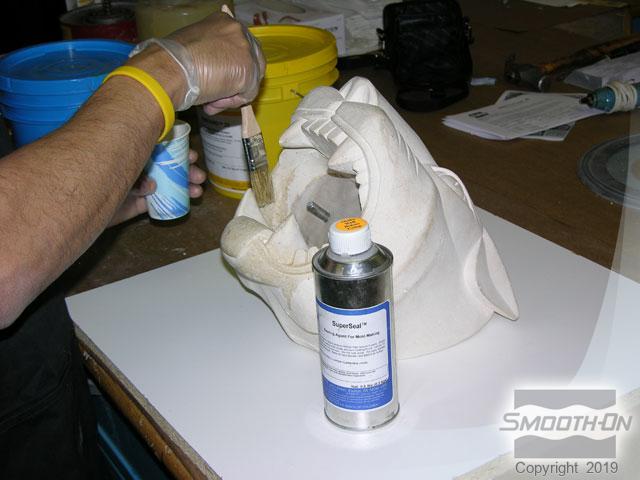
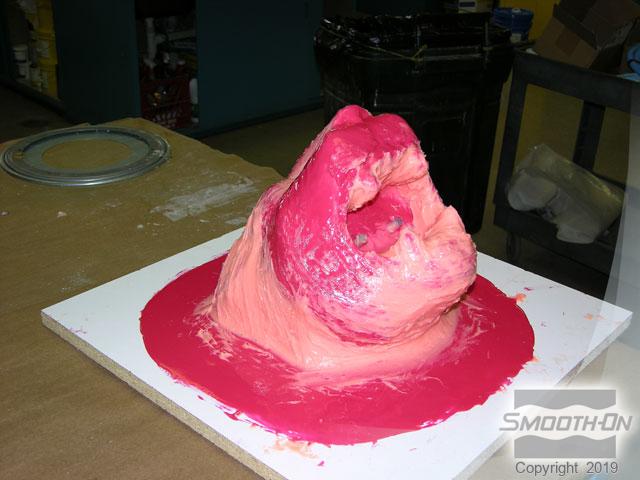
Begin by cutting several slices of water clay to use as a filler. Center the head on a piece of melamine board for a base and then fill the cavity with clay to eliminate the void at the back of the head. Two cut off bolts are enbedded in the clay to serve as place holders for later use. Apply SuperSeal® to the model and the clay to seal the porousity.
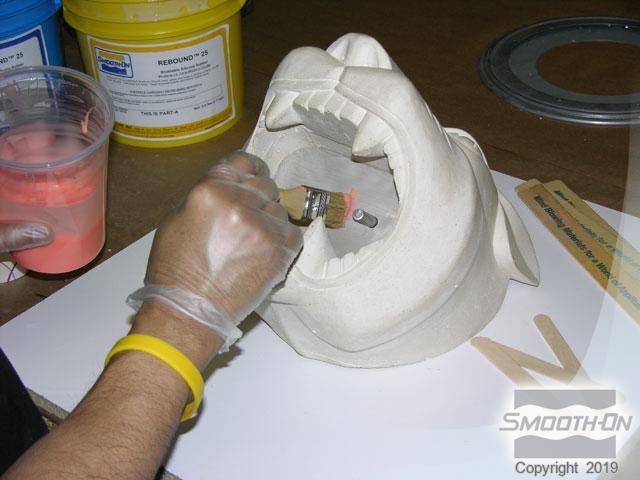
Step 2: Dispensing and Applying Rebound™ 25
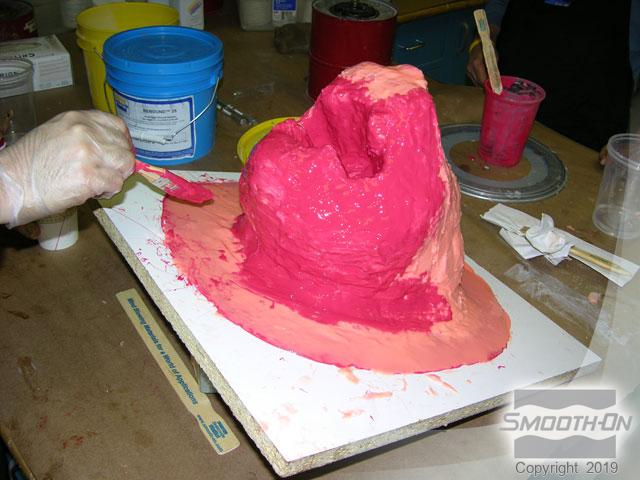
The first coat to apply to the model is Rebound™ 25 silicone rubber that is mixed 1A:1B. This “detail coat” should be thin so that any bubbles that form will pop and not be trapped against the model. The second coat should be pigmented with Silc Pig® so its easier to see areas that are missed.
Step 3: Dispensing and Applying Rebound With Thi-Vex
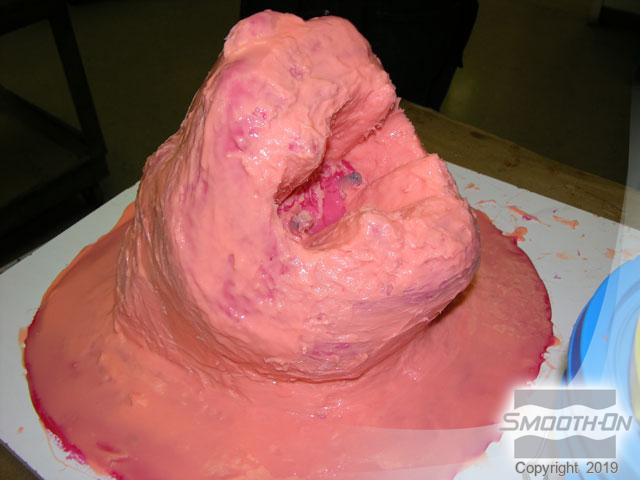
Next, thicken a batch of Rebound™ 25 with Thi-Vex® II. Fill in the potential problem areas to allow for easier application and removal of the support shell.
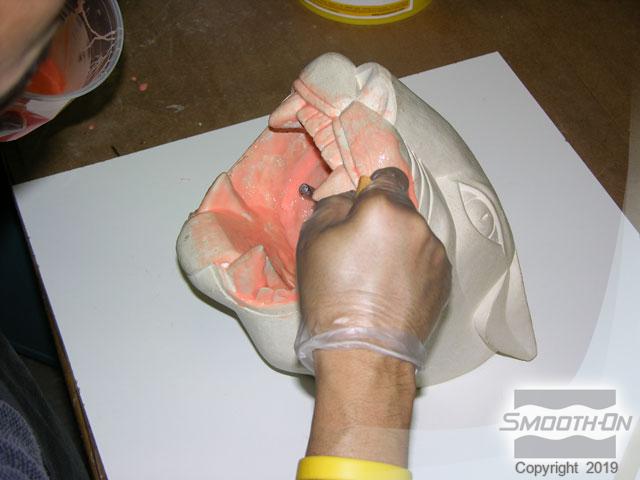
Step 4: Dispensing and Applying Layers 3 and 4 of Rebound 25
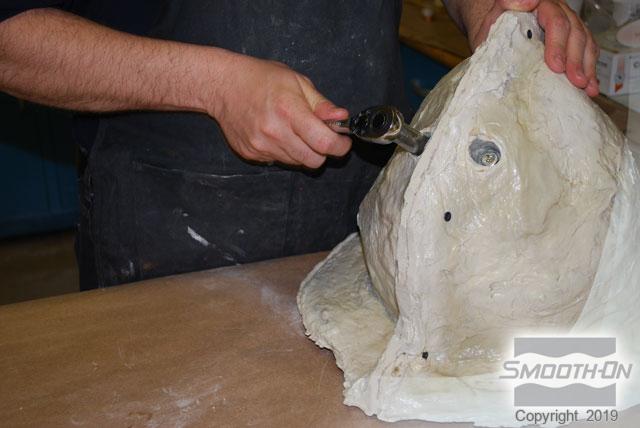
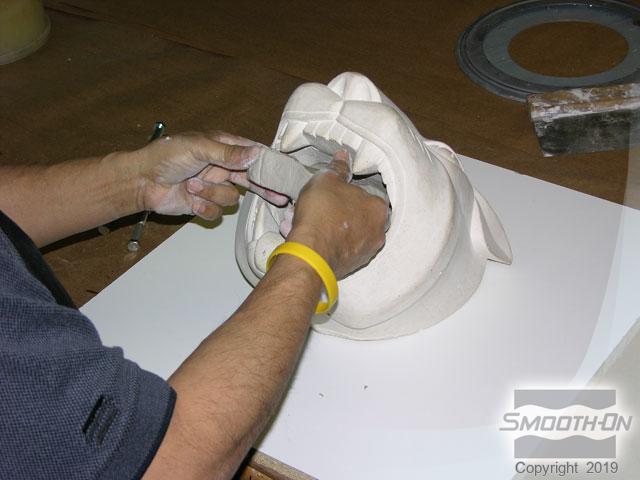
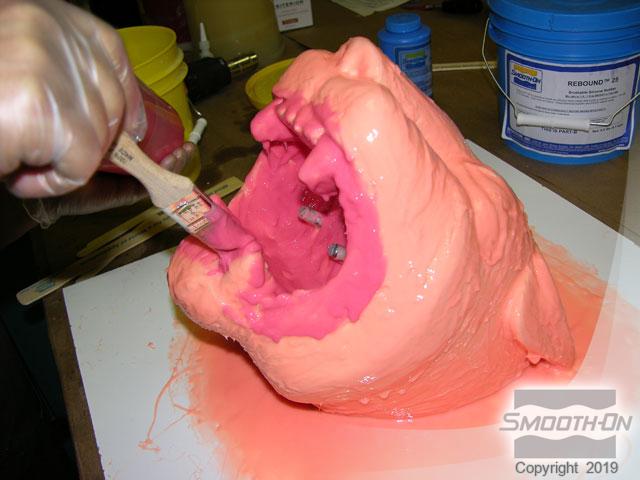
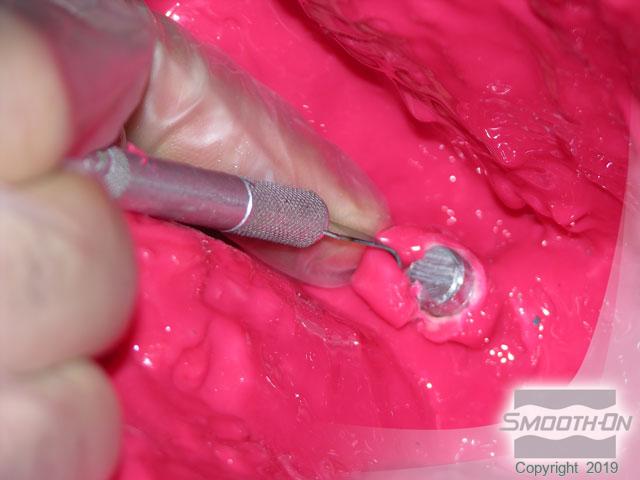
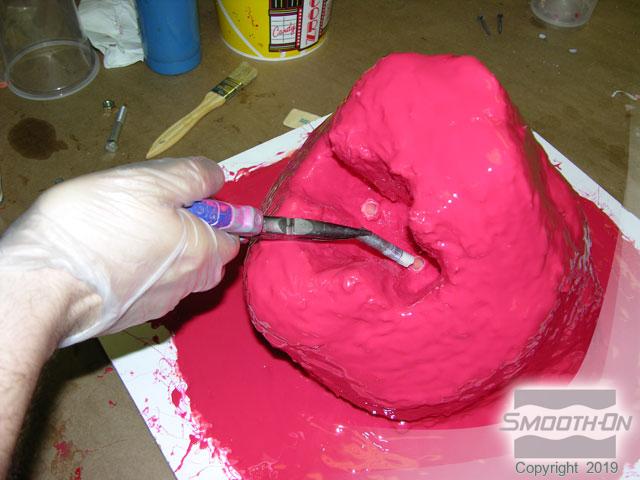
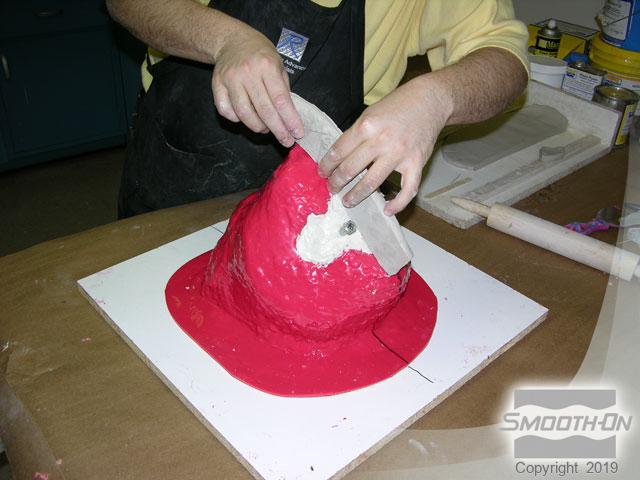
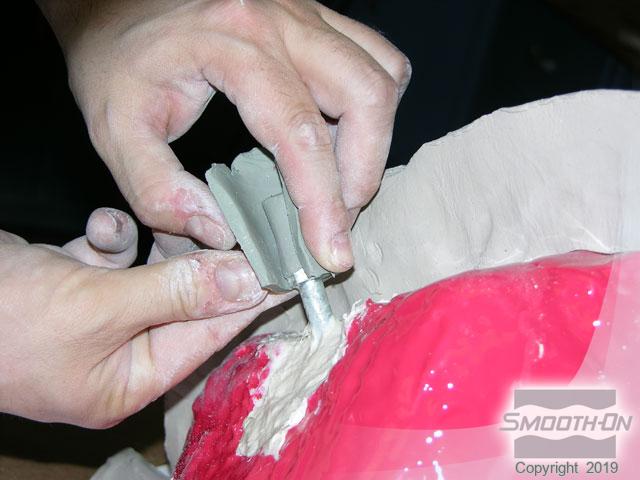
Apply a third, unpigmented coat of Rebound™ 25 to the model. Then apply a fourth and final coat of pigmented Rebound™ to the model. Locate the “placeholder” bolts and cut away the mold rubber to expose them.
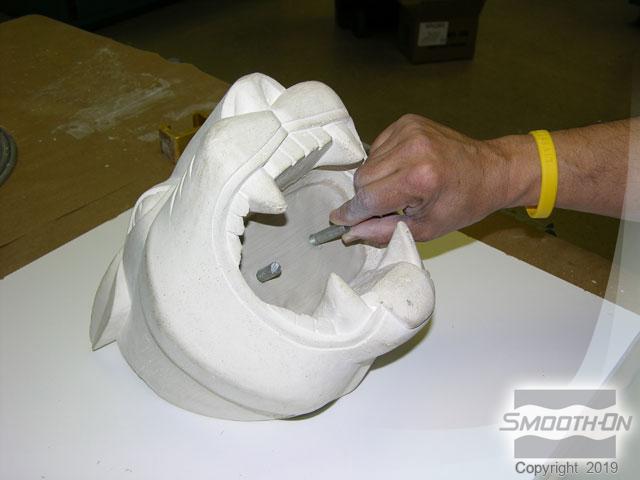
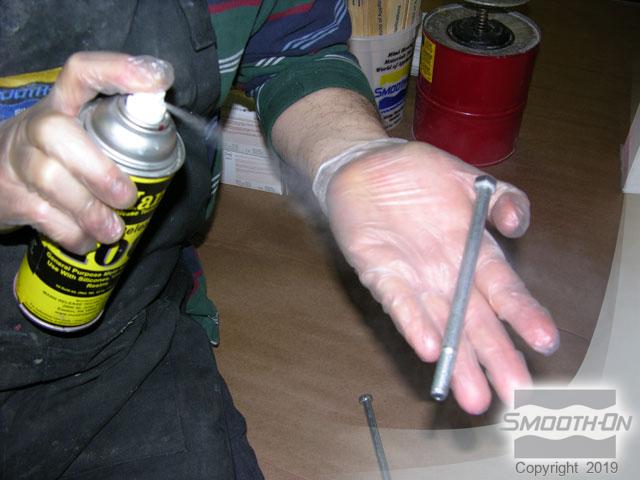
Use needle nose pliers to remove the spacers from the clay and rubber mold. Apply Ease Release® 200 to a pair of 5 inch long machine bolts to reinserted into the clay ports that were created by the placeholders.

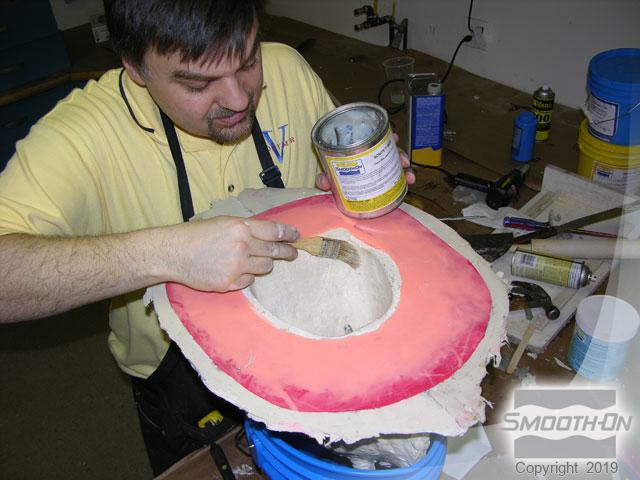
Step 5: Applying Plasti-Paste
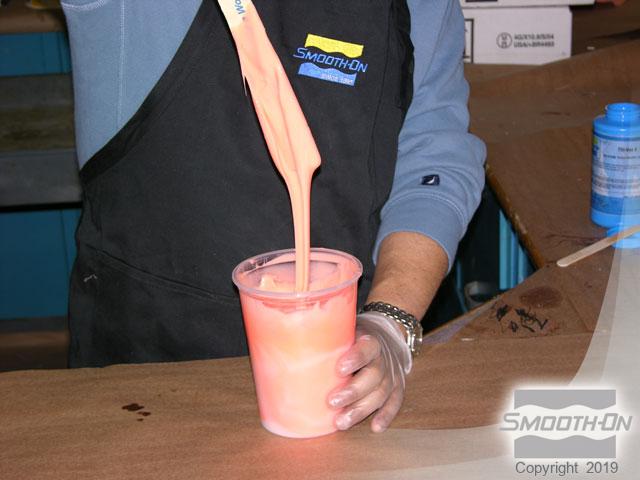
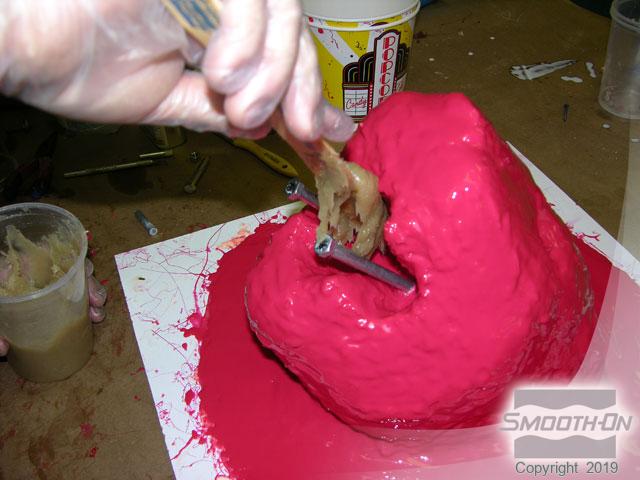
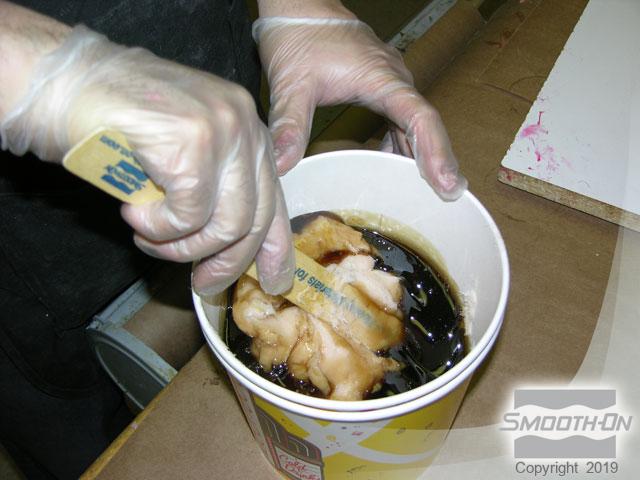
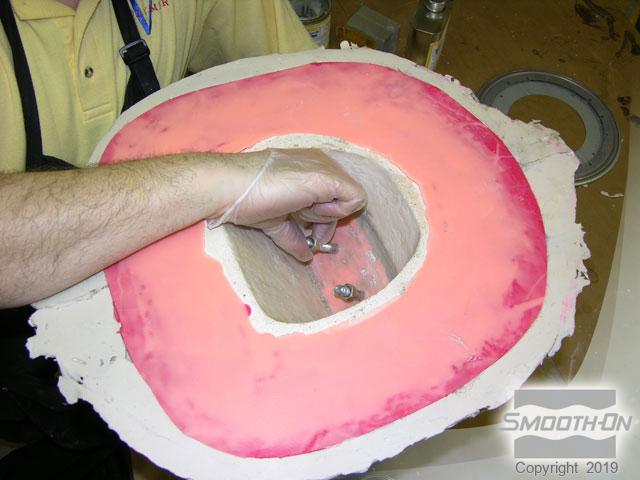
Mix parts A & B of Plasti-Paste® 1A:3B by volume. Then spread the Plasti-Paste into the mold cavity and around the bolts to form the mouth core. Fill the cavity with Plasti-Paste®.
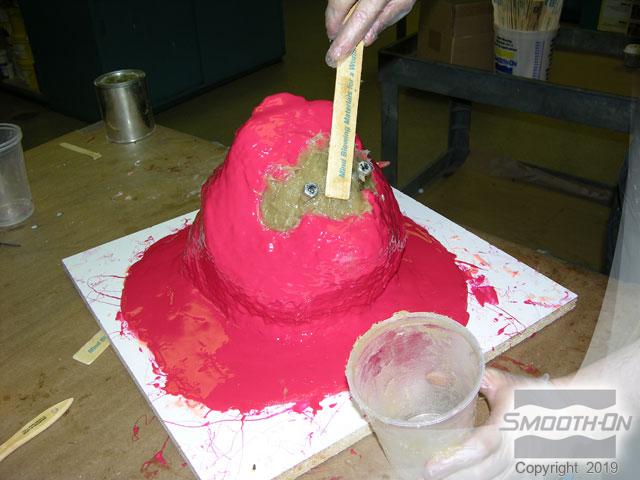
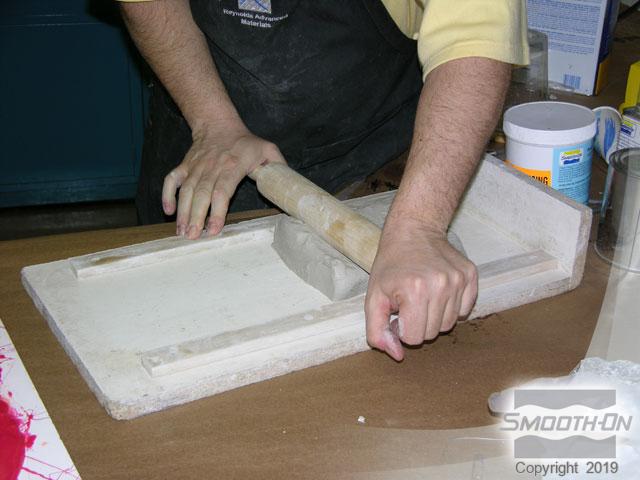
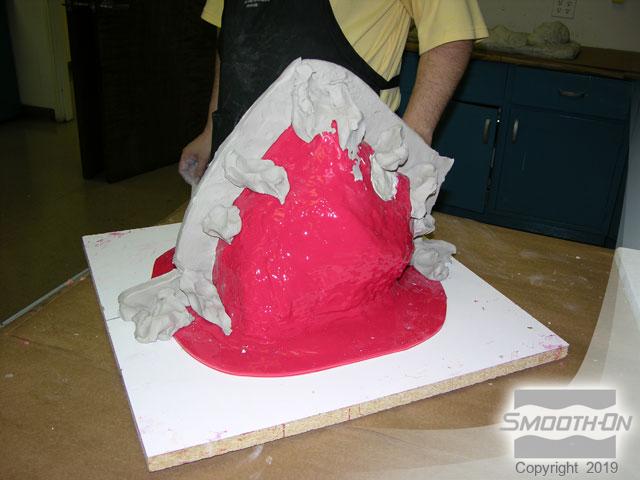
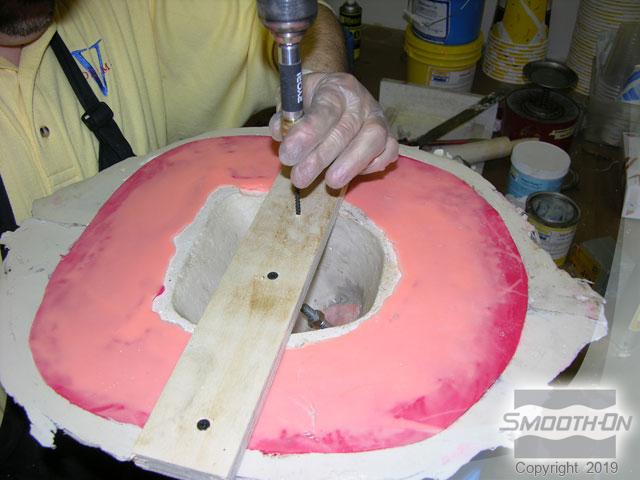
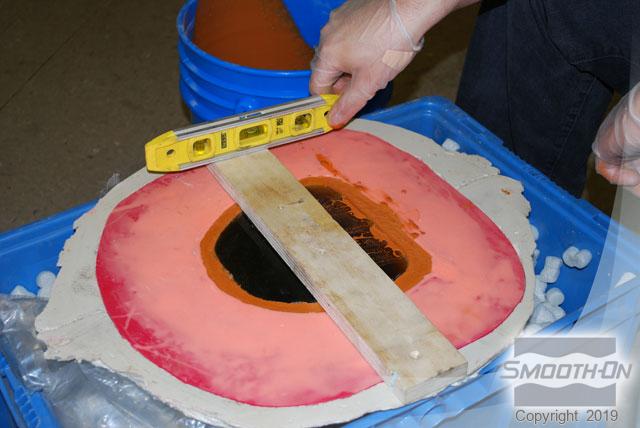
Step 6: Preparing Mold For Plasti-Paste Support Shell
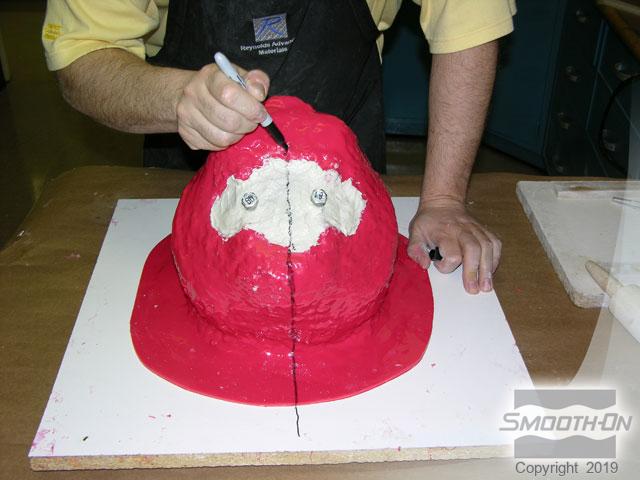
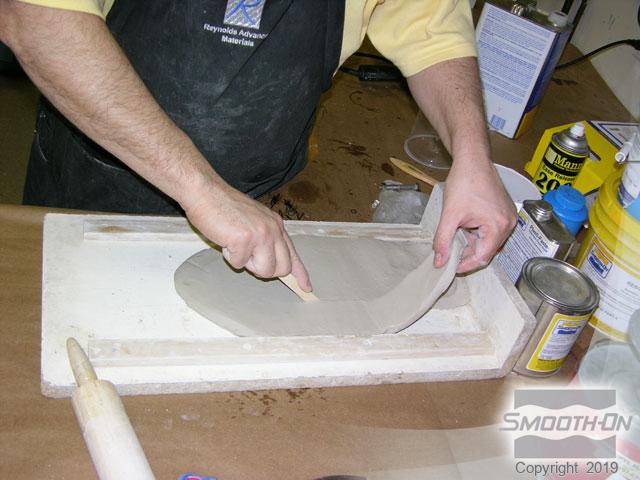
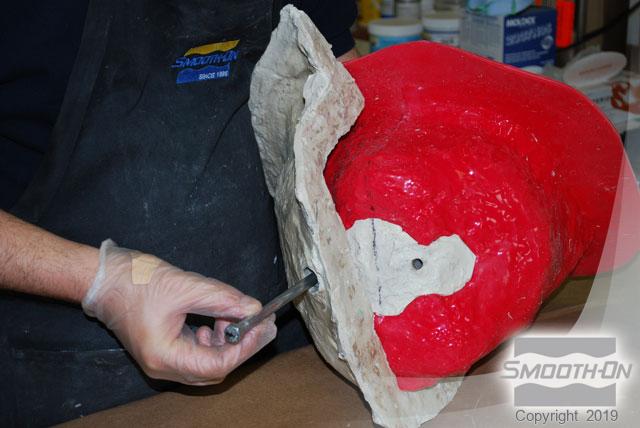
Next, roll out more clay and cut it into strips to make the shims that will divide the mold in half when applying the support shell. Now draw the parting line for the support shell and be careful to watch for mechanical locking.
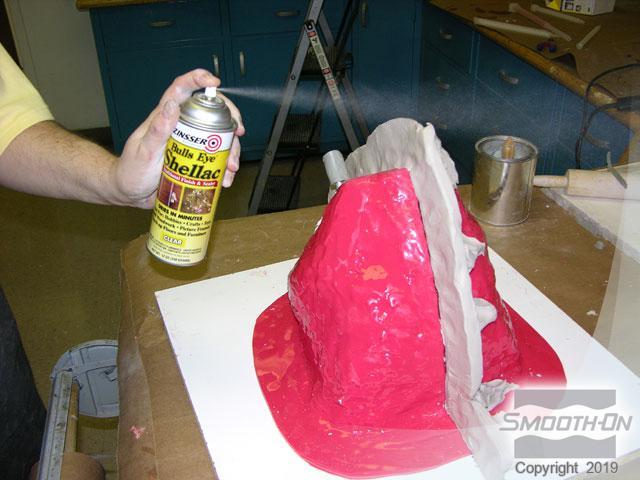
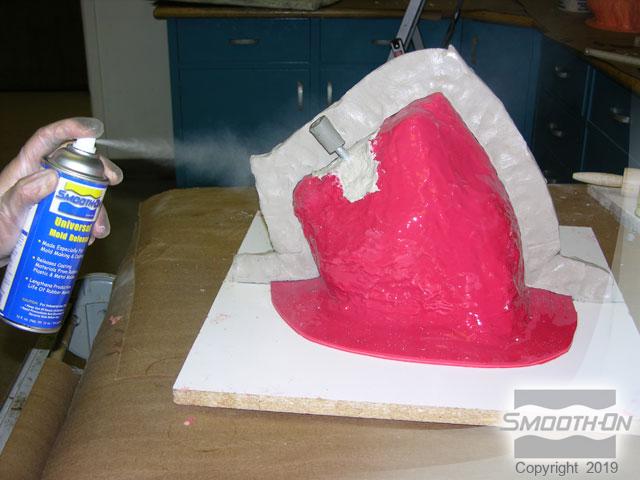
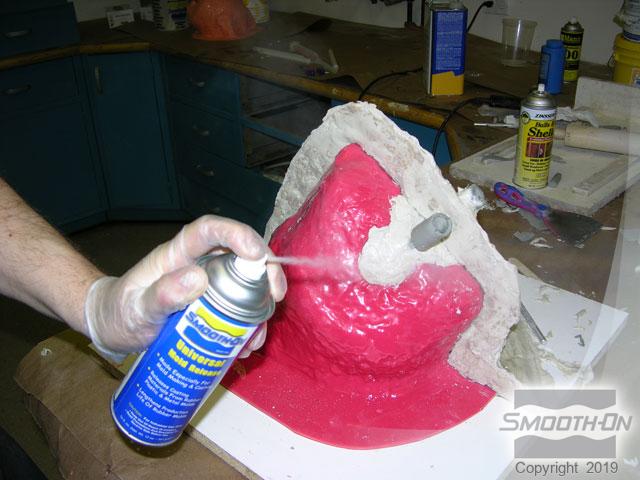
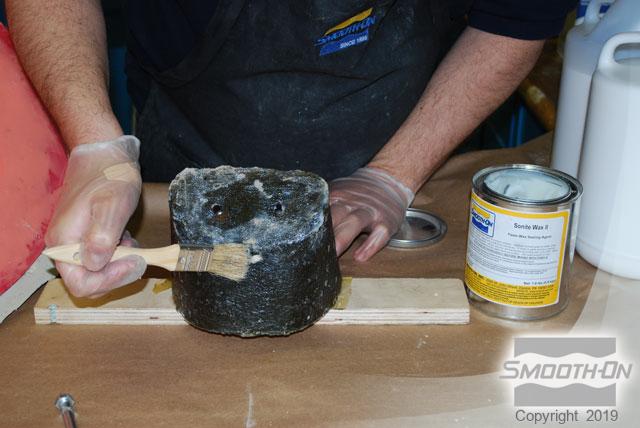
Apply the shim along the parting line across the model and down the board. Use additional clay on the reverse side of the shim to reinforce it so it doesn’t move when Plasti-Paste® is applied. Apply a clay extension to the extended bolt to act as a spacer against the Plasti-Paste®. Seal the bolt extension and clay shim with spray shellac and apply Sonite® II wax to the clayed area. After the Sonite® II wax is applied, apply Universal Mold Release® to the clayed area.
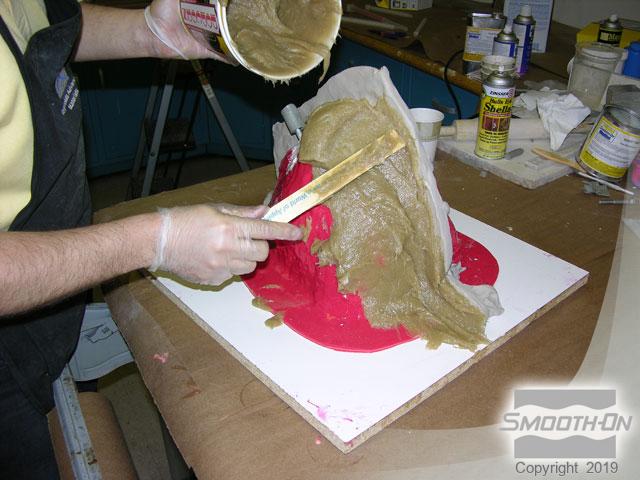
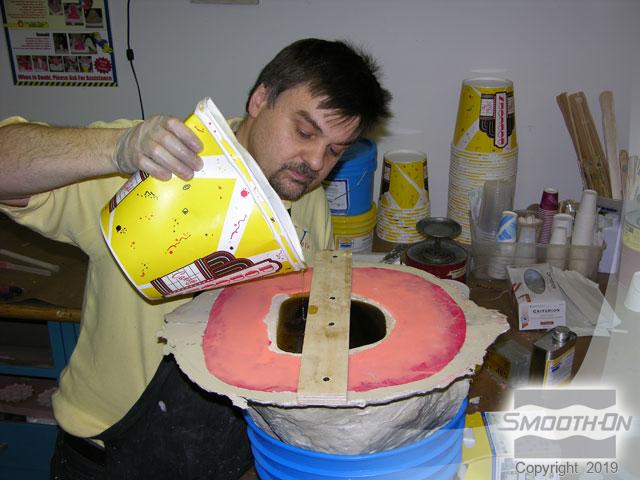
Step 7: Applying Plasti-Paste
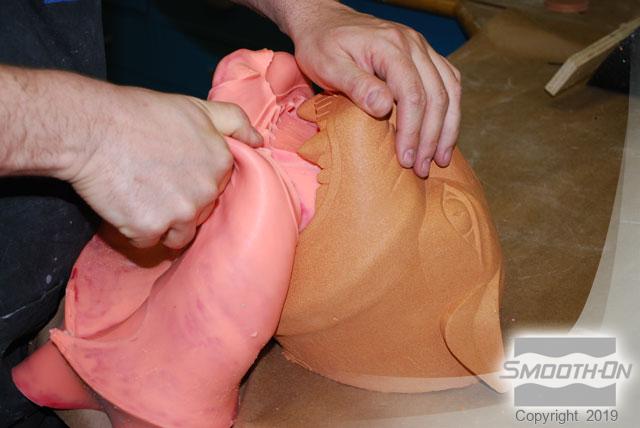
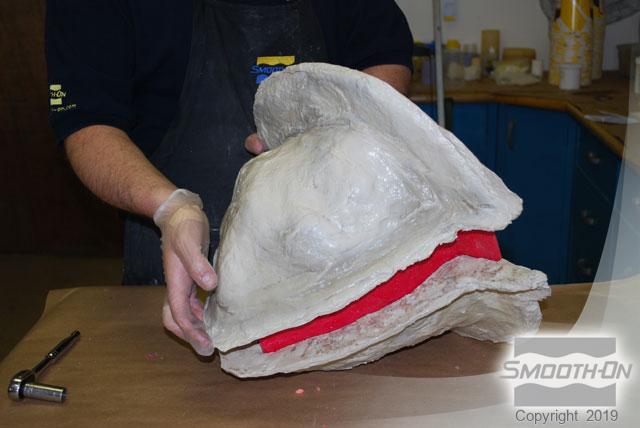
Mix together Plasti-Paste® with a 1A:2B by volume mix ratio. Spread the Plasti-Paste® over the entire first half of the model, including the shim. Then remove the clay from the first half of the Plasti-Paste® shell after it has cured.
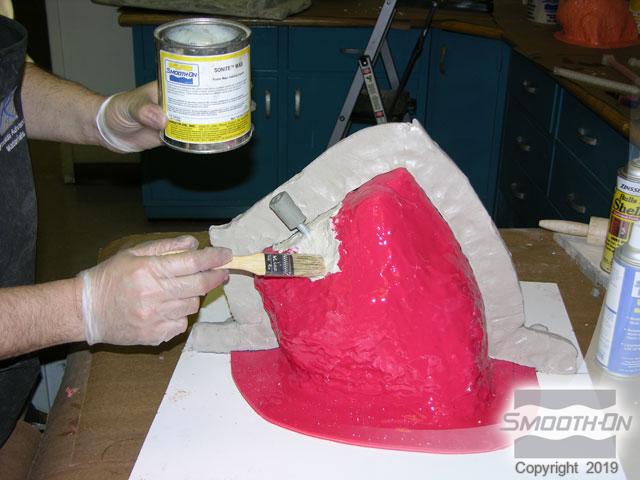
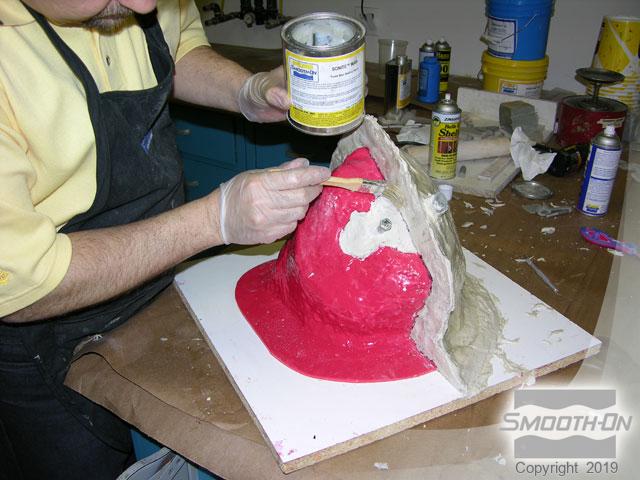
Apply Sonite® II Wax to the Plasti-Paste® shim and mouth plug. Also, apply Universal® Mold Release over the Sonite® II wax to assure a good release.

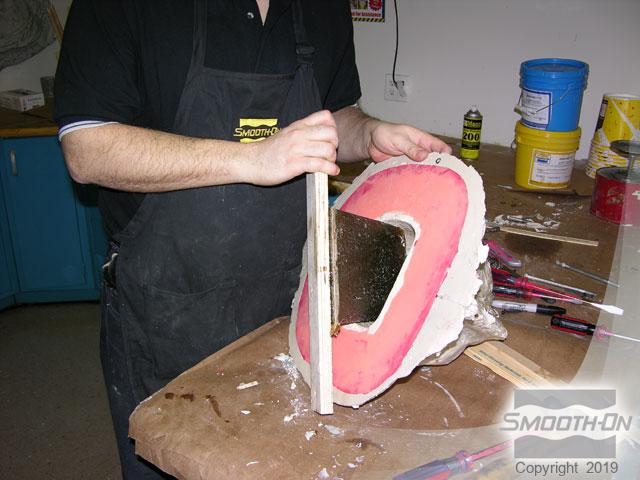
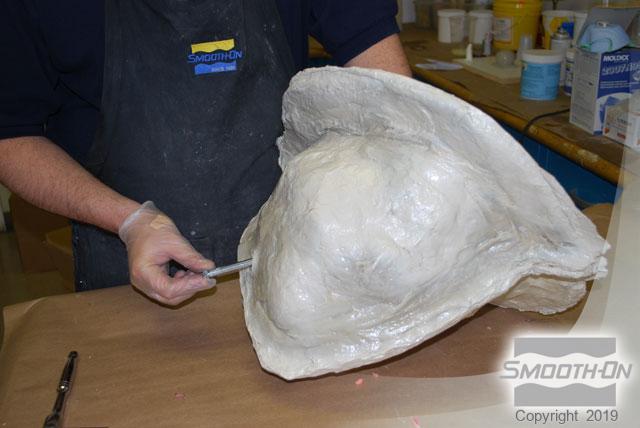
Step 8: Applying The Second Half Of The Support Shell
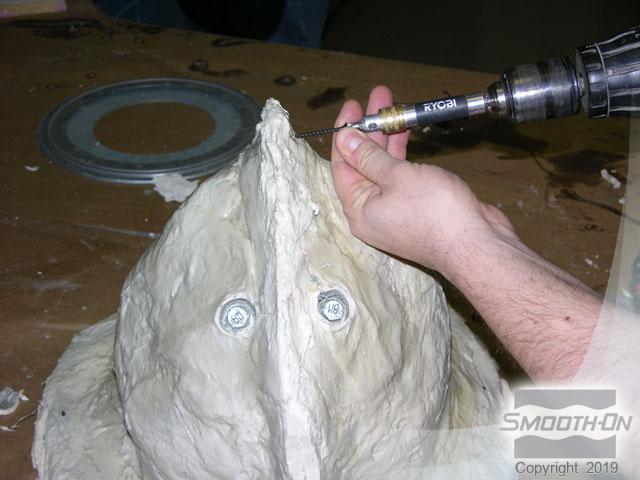
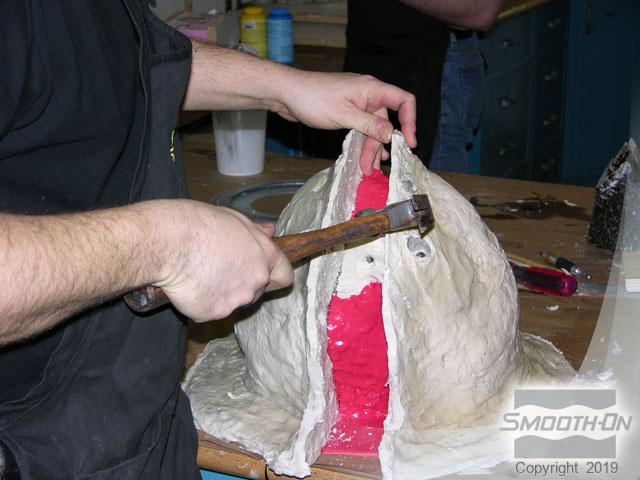
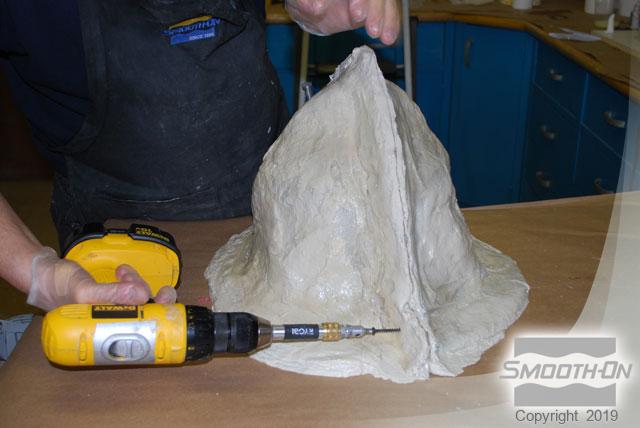
Apply the second half of the Plasti-Paste® shell and leave it to cure. Drill three drywall screws through the shell edges. This will be used to reassemble the shell. Then pry away the mold and Plasti-Paste ® shell from the board.


Step 9: Preparing Mold For Casting
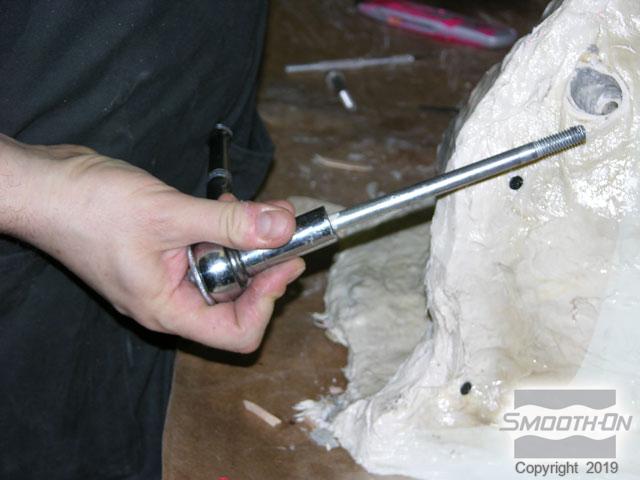
Clean the rest of the clay from the cavity and apply Sonite® II Wax to make a plug. Also apply Sonite® II wax to the bolts and nuts that are threaded halfway onto the anchor bolts. Use drywall screws to secure a board across the mold and will help pull the plug out.
Step 10: Casting With Smooth-Cast 45D
Mix Smooth-Cast® 45D semi-rigid liquid plastic 1A:1B by volume and pour it into the cavity.
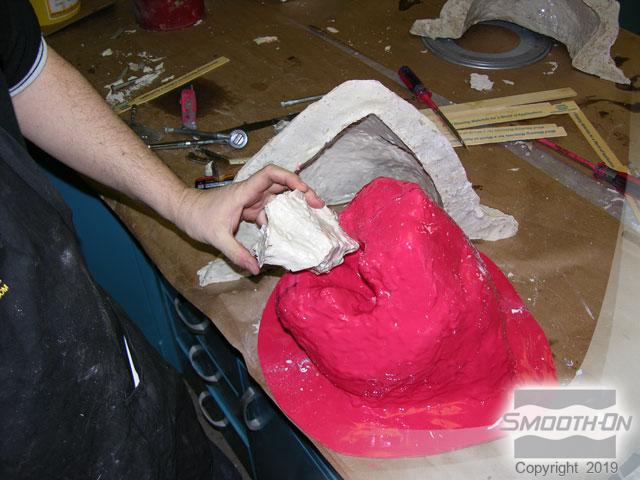
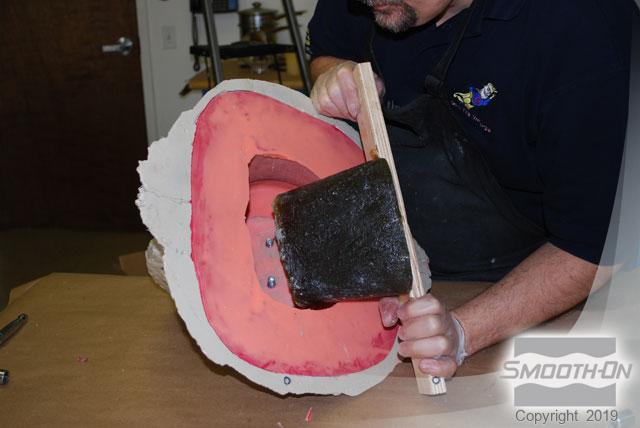
Remove the anchor bolts from the shell so the mold plug can be removed. After the plug is removed from the underside of the mold remove the drywall screws that were previously installed. Use a screwdrivers and a hammer to separate the two mold halves from each other. Remove the Plasti-Paste® shell and then the mouth core from the mouth cavity.

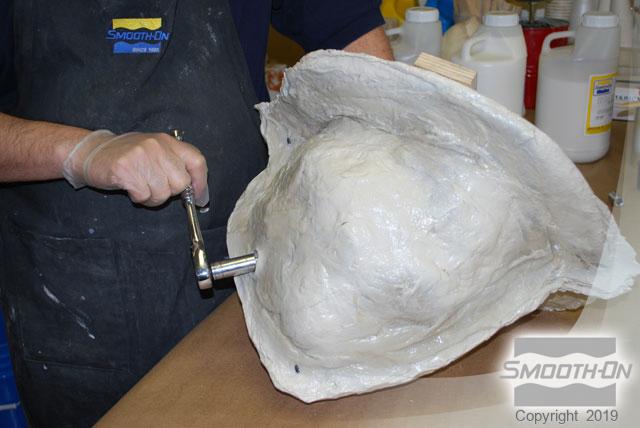
Step 11: Demold & Preparation For Next Casting
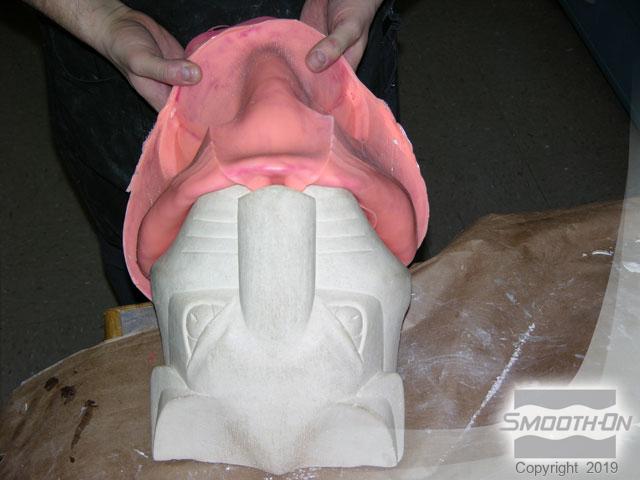
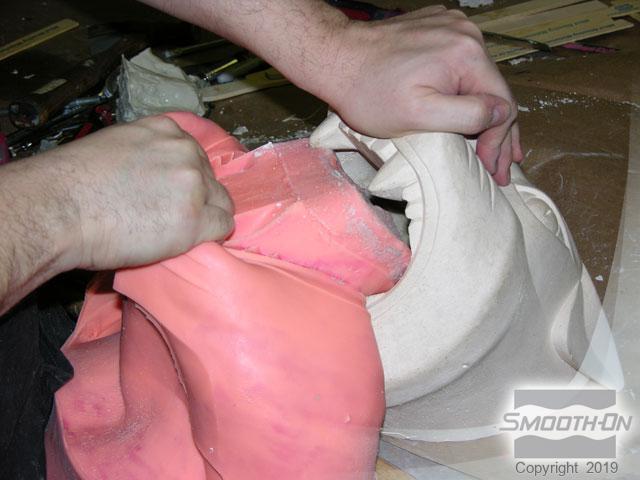
The shape of the model and the configuration of the Rebound 25 mold allowed for the making of a “glove mold” that can now be peeled off without making any cut marks that would leave a seam line that might be visible. Take care to not rip the mold or damage the teeth. Place the mouth core back inside the mouth cavity and seat the mold in the shell half.
Place the first of the two core holder bolts through the shell and the mouth core holes. Then, place the second half of the shell in place, be careful to align it properly. Next, place the second of the core holder bolts through the shell and the mouth core holes. Replace the drywall screws used to hold the shell firmly together.
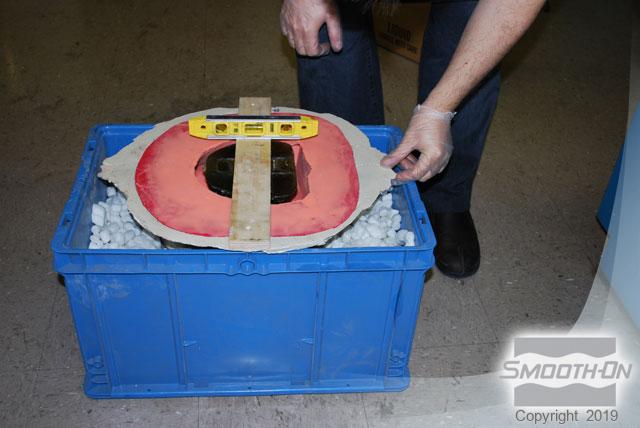
Now you can brush the plug with Sonite® II Wax to keep material from bonding to it. Put the mold plug back into the mold, taking care to align the bolts and nut holes. Tighten the bolts to hold the mold plug firmly into place in the center of the mold. Then place the mold into a box full of packing peanuts and make sure it is leveled out.

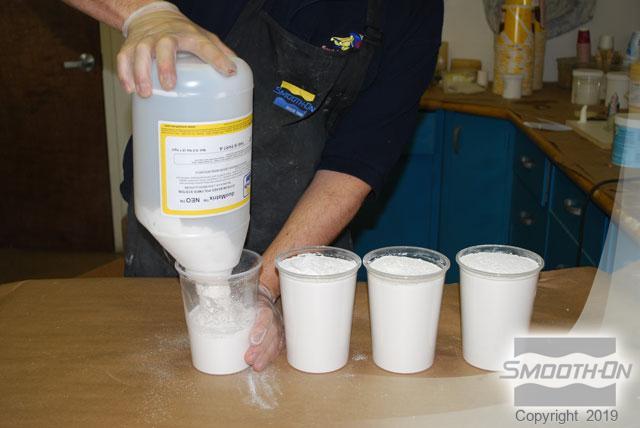
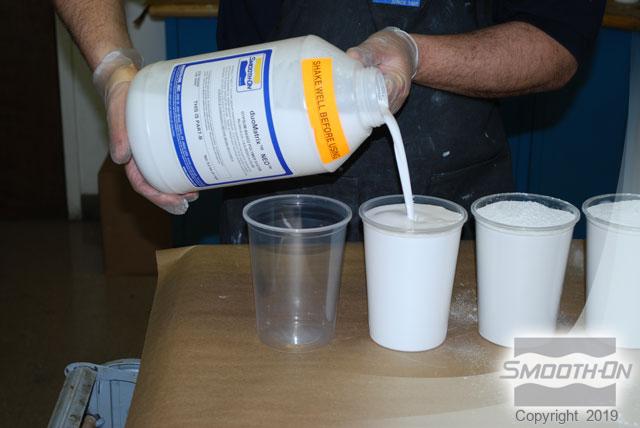
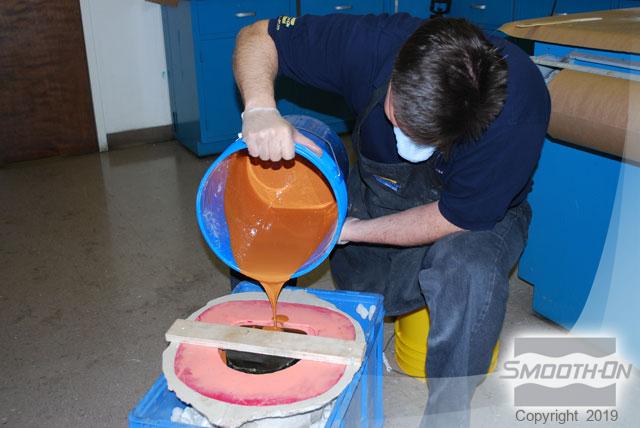
Step 12: Dispensing & Casting duoMatrix Neo
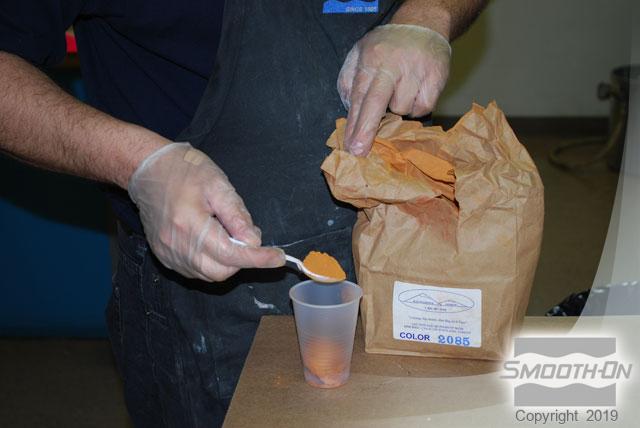
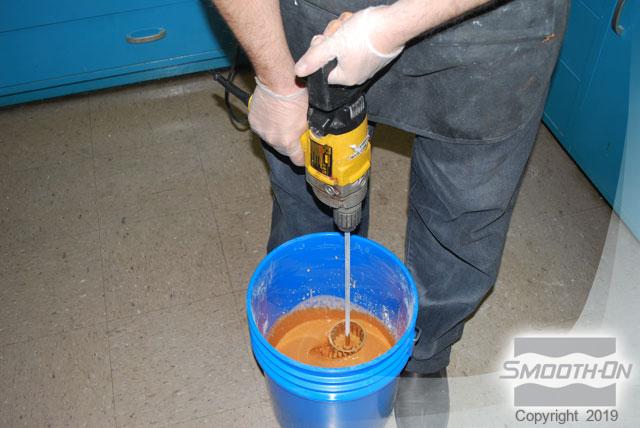
This casting will be made with Matrix® NEO® which has a 2A:1B mix ratio by volume. In this example, four cups of Part A and two cups of Part B will be used with an iron oxide powder added to the mix to provide color to the finished casting. The blended mix is poured into the mold around the mold plug. Fill the mold and reaffirm that the mold structure is level.
Step 13: Demolding & Finishing duoMatrix Neo Casting
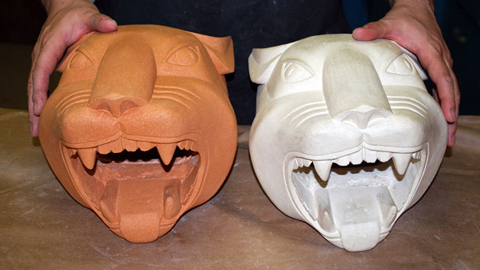
When the Matrix® NEO® mix has cured you can begin the demold process. Slowly remove the plug and the support shell. Then, gently peel back the rubber mold from the Matrix® NEO® casting. You will notice the mold and Matrix® NEO® have combined to produce a perfectly detailed reproduction.