How To Use EpoxAmite™ to Create Carbon Fiber Composite Parts
Step 2: Creating Vacuum Bag With EZ‑Spray™ Silicone
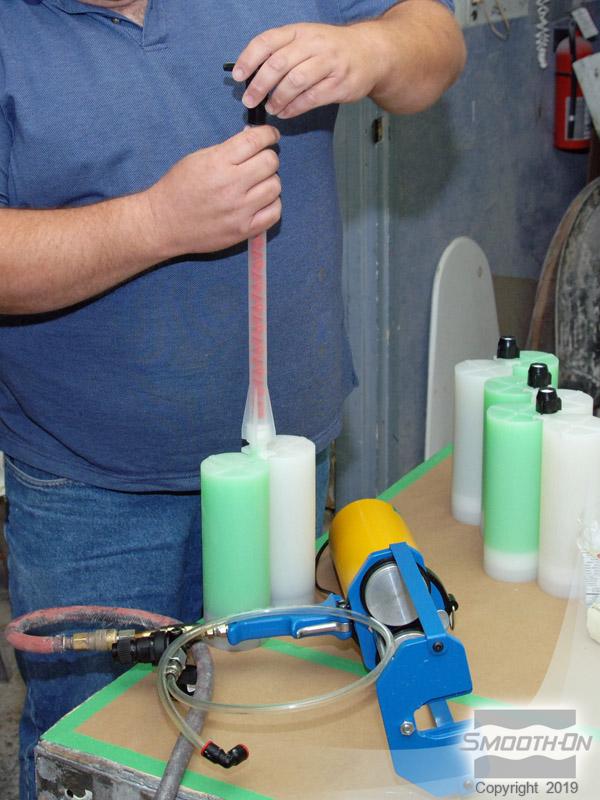
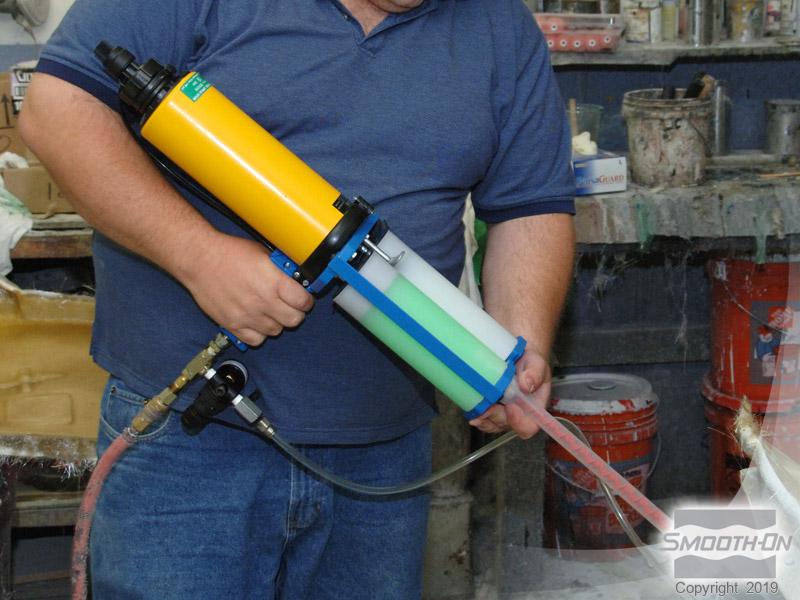
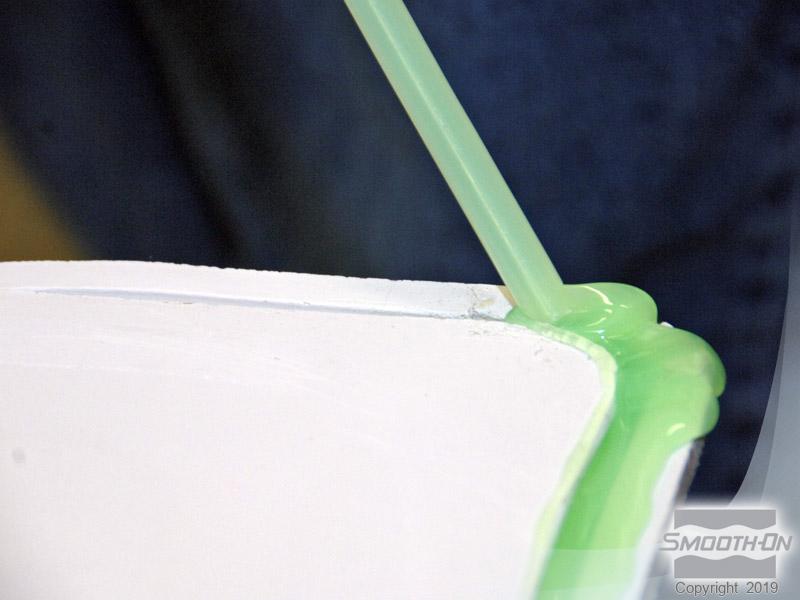
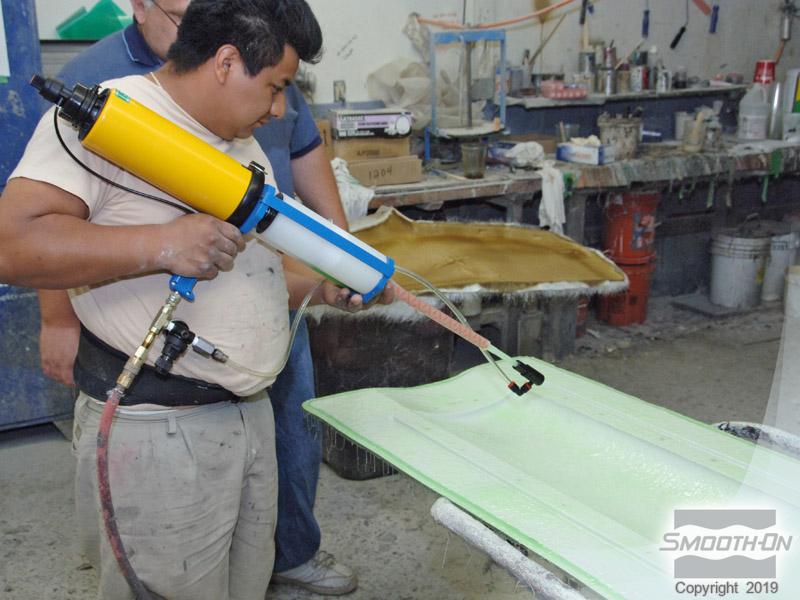
First, EZ~Spray™ Silicone 20 cartridges are prepared and then loaded into an EZ~Spray ™ Jr. Gun. With the spray tip at the end of the static mixing tube removed, EZ~Spray™ Silicone 20 is meter mixed into the gasket on the tool.
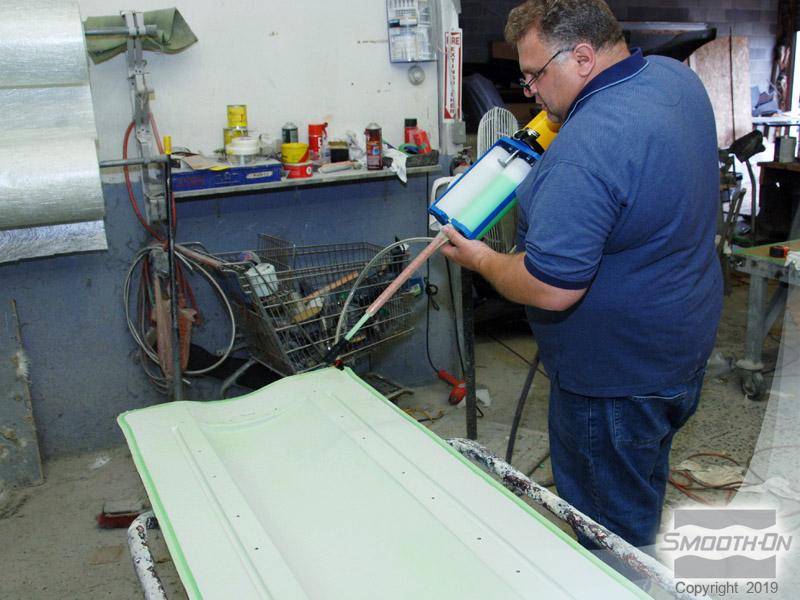
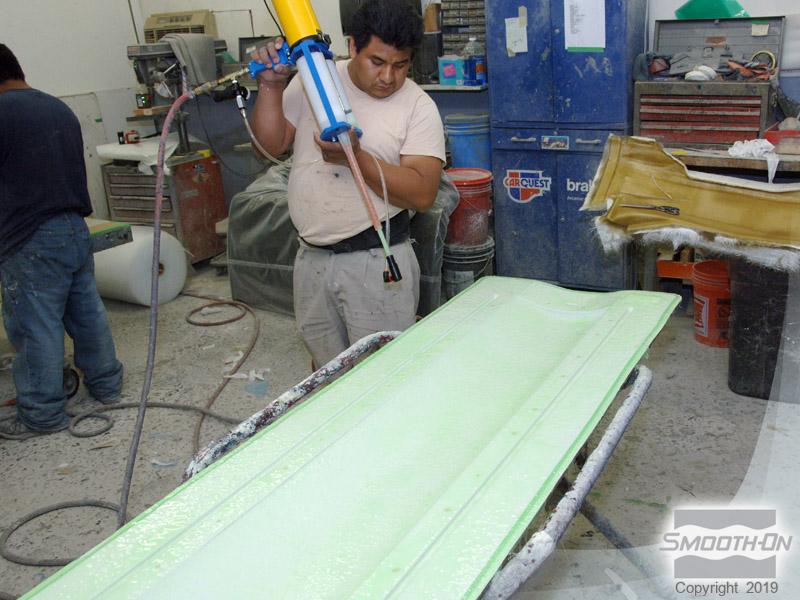
Once the gasket is filled, the spray tip is re-attached to the end of the static mixing tube. EZ~Spray™ Silicone 20 can now be sprayed over the tool. EZ~Spray™ Silicone 20 is sprayed over the tool in a thin, even coat. More EZ~Spray™ Silicone 20 is applied to the tool, gradually building an even thickness.
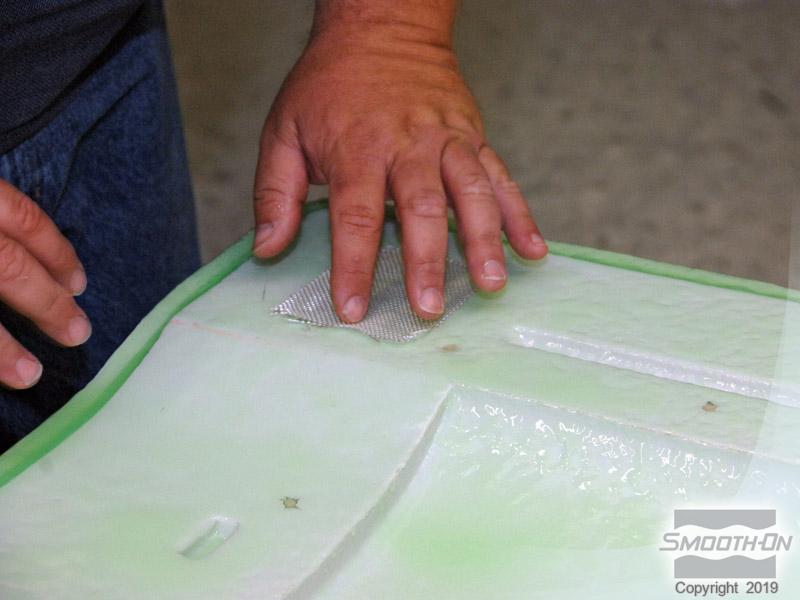
A piece of mesh fiber is applied to the tacky silicone. This embedded fiber patch will reinforce the location of the vacuum port. More EZ~Spray™ Silicone 20 is applied over the tool, including the embedded fabric patch. EZ~Spray™ Silicone 20 can be sprayed in very thin sections, yet is extremely strong and tear-resistant. The completed vacuum bag is approximately .25'' (6.4 mm) thick.
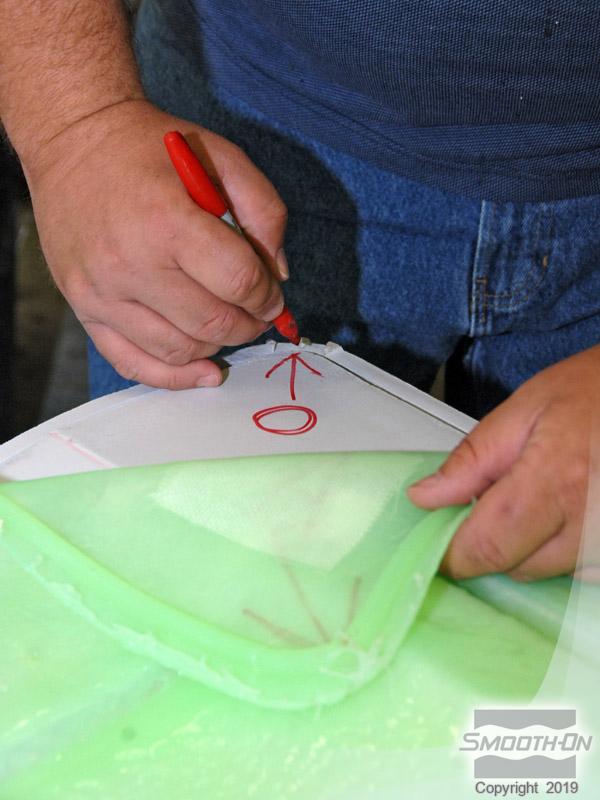
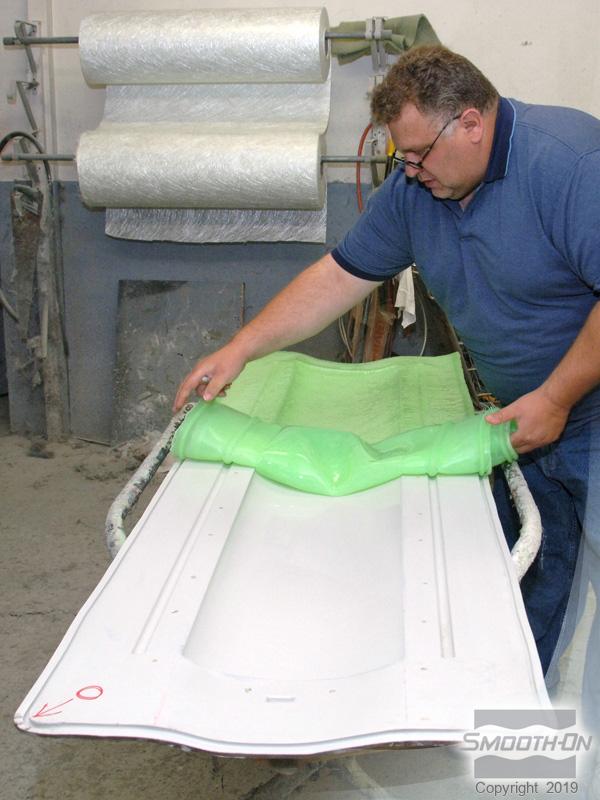
A red arrow is drawn on both the tool and the silicone bag to ensure proper realignment. The completed silicone vacuum can be easily rolled away from the tool. The flexible silicone will retain its shape perfectly.