How To Make Flexible Foam Prop Cinder Blocks
Overview
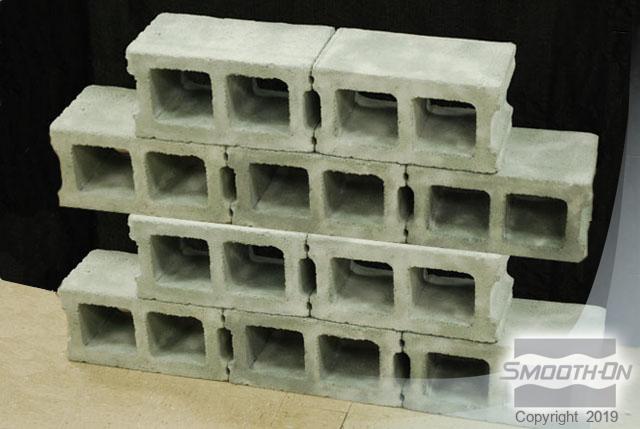
The scene in Spider Man 3 called for the heroine, Mary Jane, to again be in peril at the bottom of a giant spider web 40 stories in the air with cinder blocks from a nearby crumbling building falling dangerously close to her. Of course, real cinder blocks were out of the question in shooting the scene, so an effects answer was sought for just this scene. Gothic Prop Fabricators have made dozens of these blocks out of Smooth-On's FlexFoam-iT!® X 10 lb. flexible foam before for movies and commercials, too many to mention.
The below sequence shows how Gothic Props molded and cast these incredibly realistic blocks using Smooth-On's Mold Max® 30 silicone mold rubber and FlexFoam-iT!® X 10 lb. flexible foam.
Materials Used in this Tutorial
- Mold Max 30
- Melamine Board
- Sonite Wax
- Paint Brushes
- Mold Straps
- Mixing Sticks
- Mixing Containers
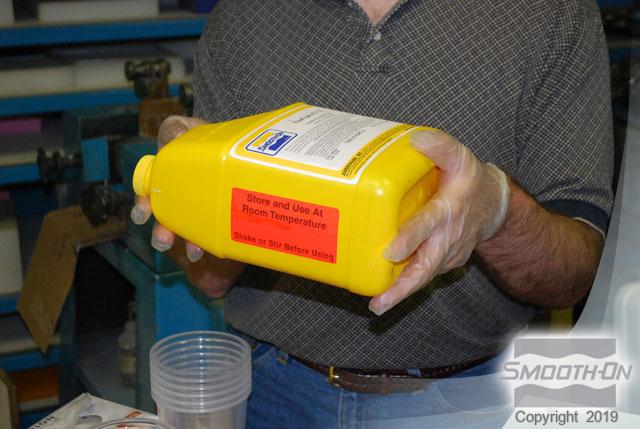
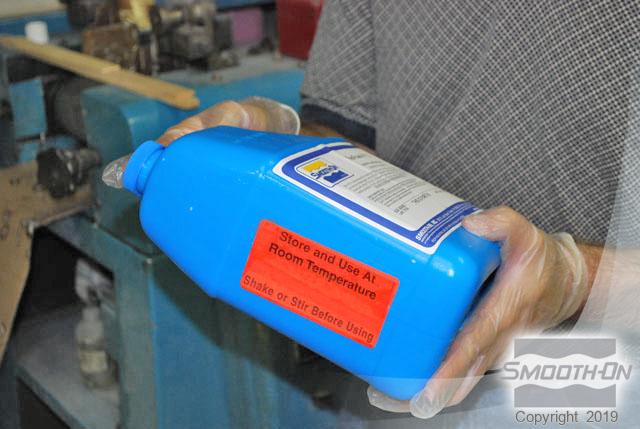
- FlexFoam-iT X
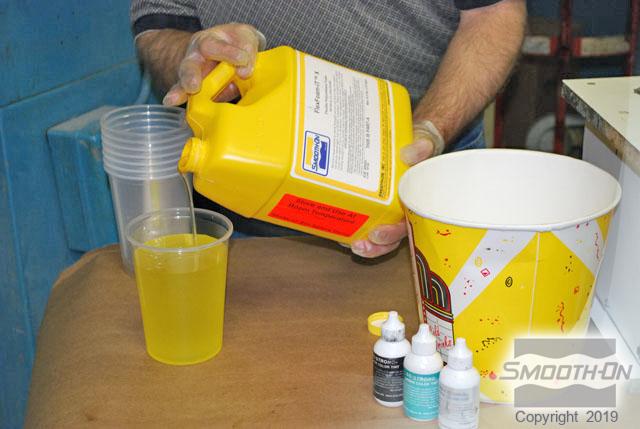
- So-Strong Colorant
- Knife
- Talc Powder
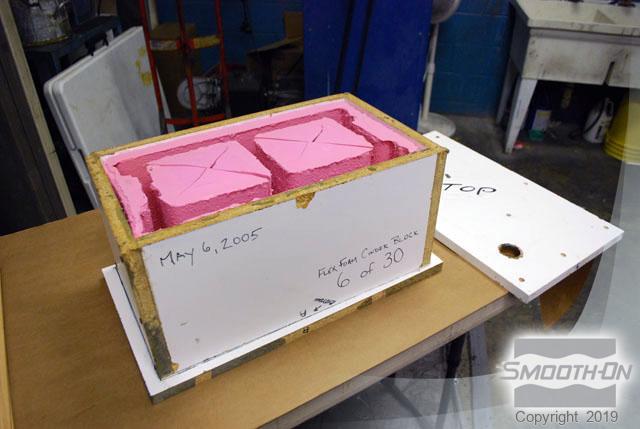
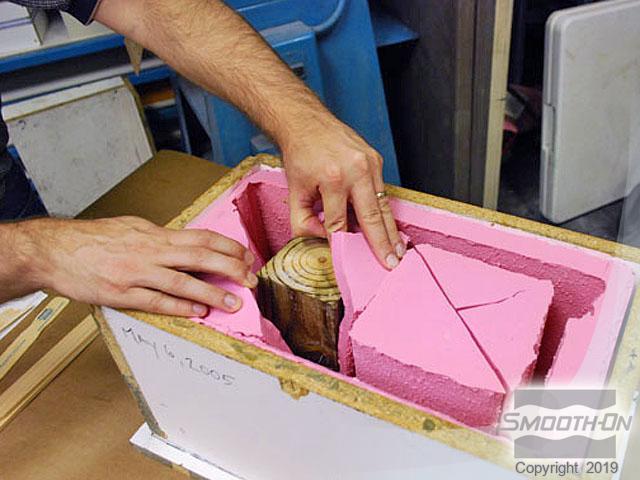
Step 1: Preparing The Mold
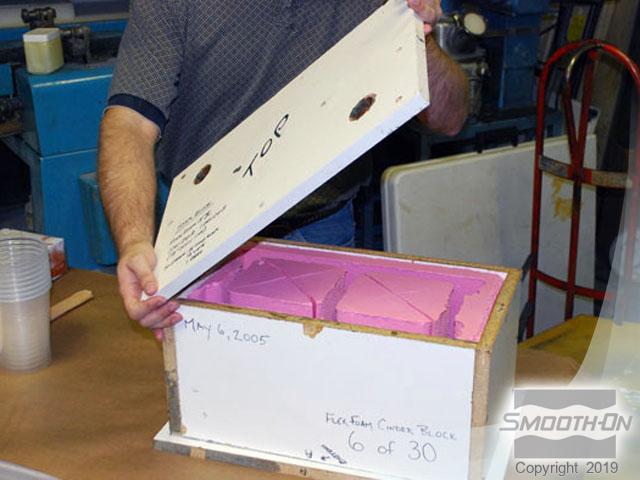
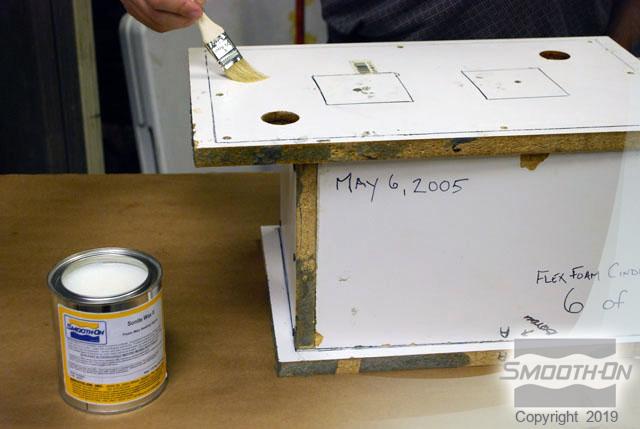
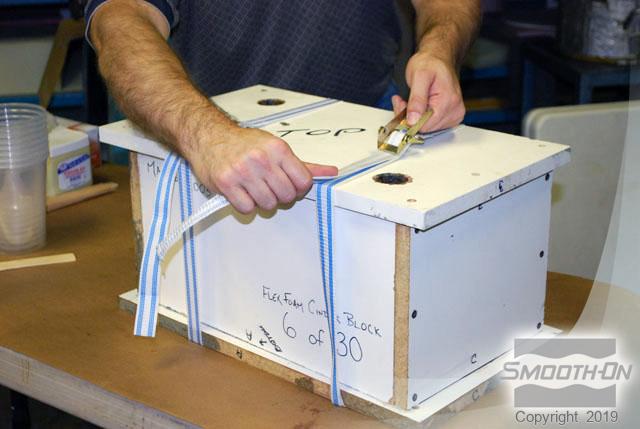
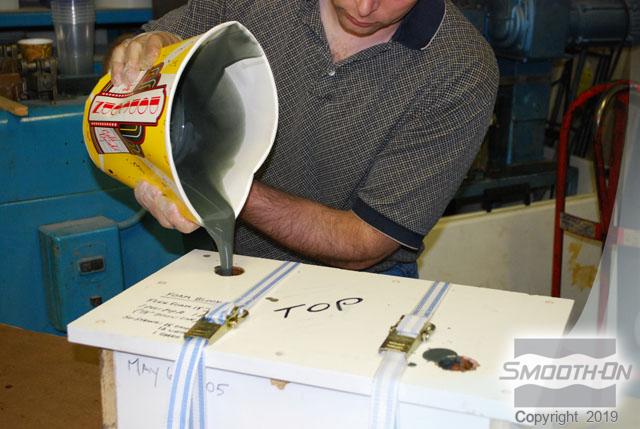
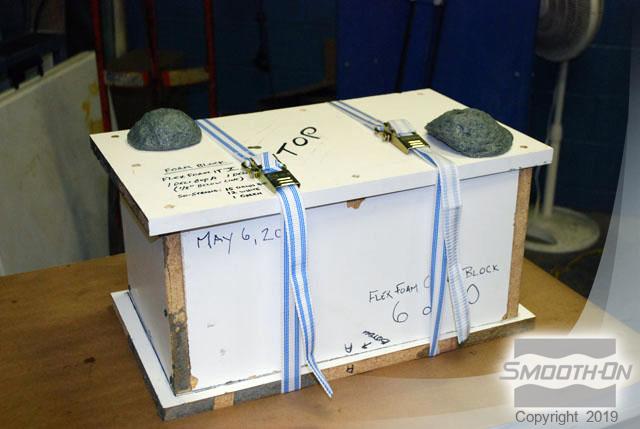
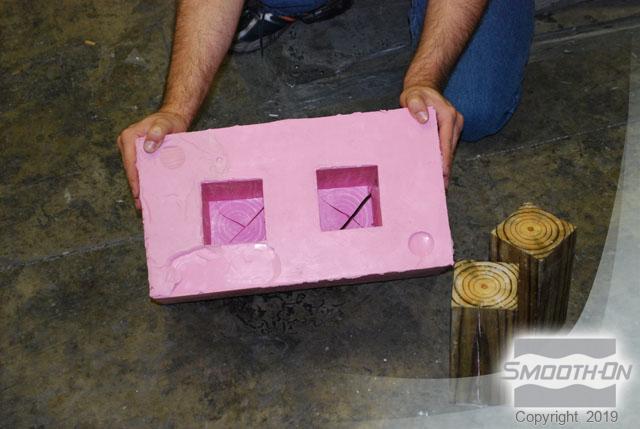
Begin by placing the Mold Max 30 in its wood mold box. To help the mold maintain its shape, embed wood supports into the mold rubber. The lid should have holes which will allow the pressure of the expanding foam to escape. Apply Sonite Wax to both the lid and the holes in the lid to keep the expanding foam from sticking. Use ratcheting mold straps to firmly affix the lid.
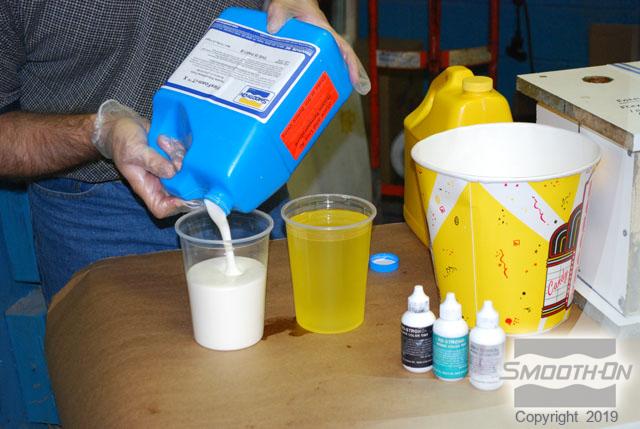
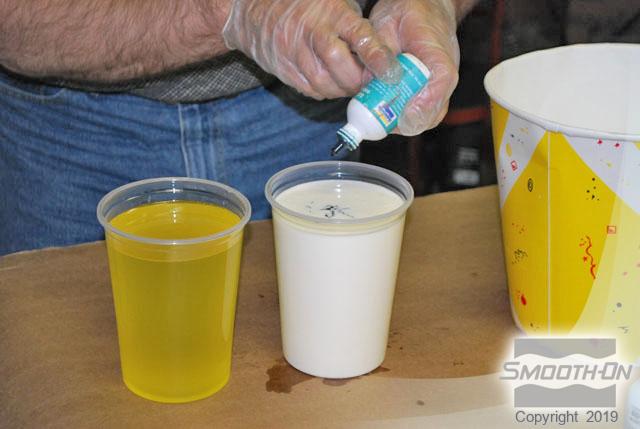
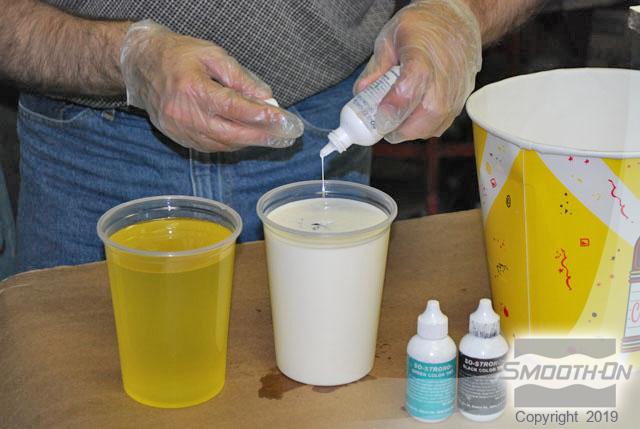
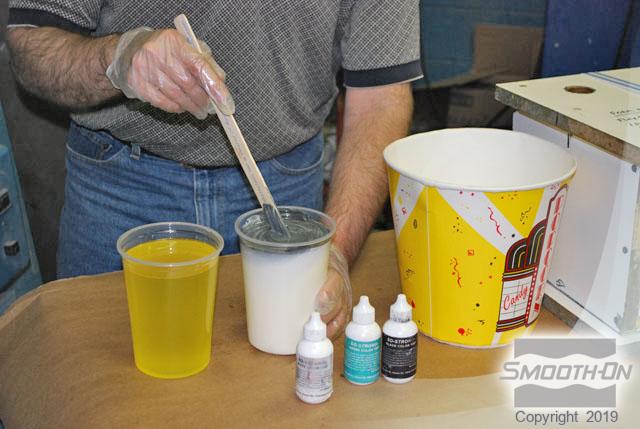
Step 2: Dispensing, Mixing, and Pouring FlexFoam-iT X
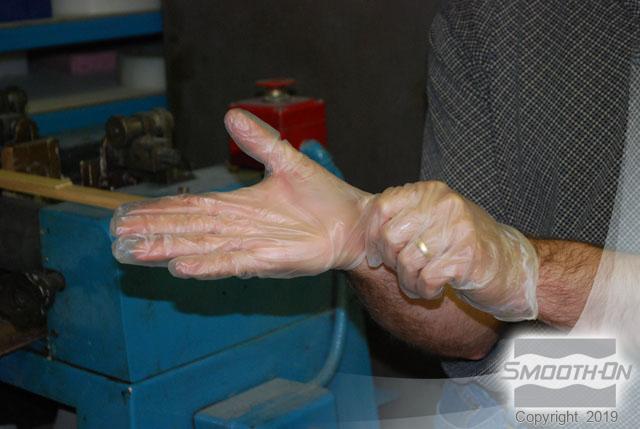
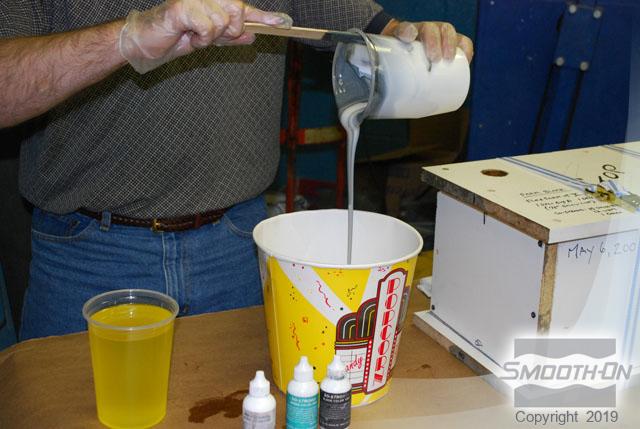
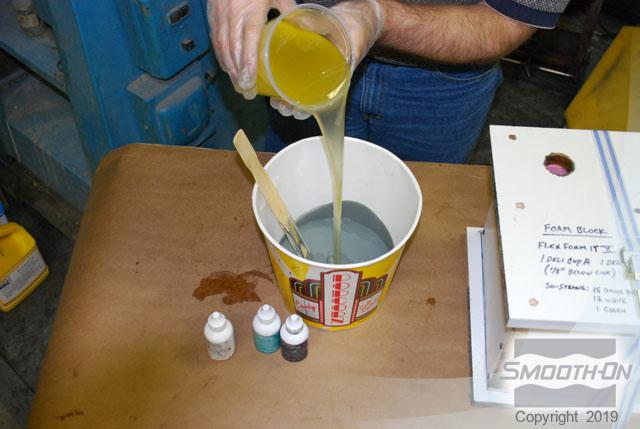
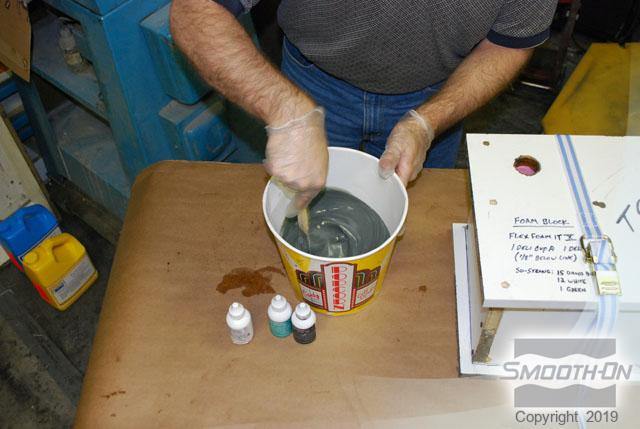
Safety First: Be sure to wear vinyl gloves during this step.
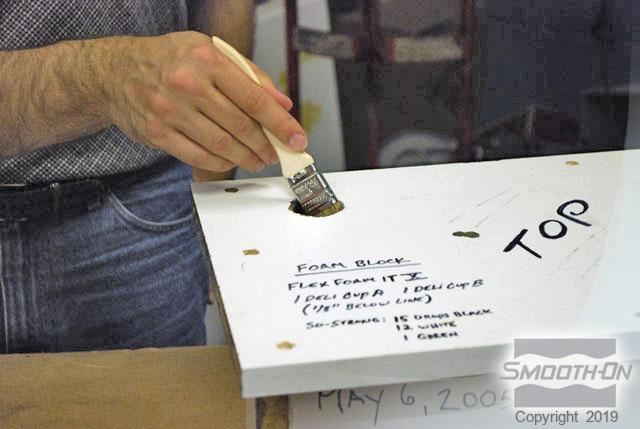
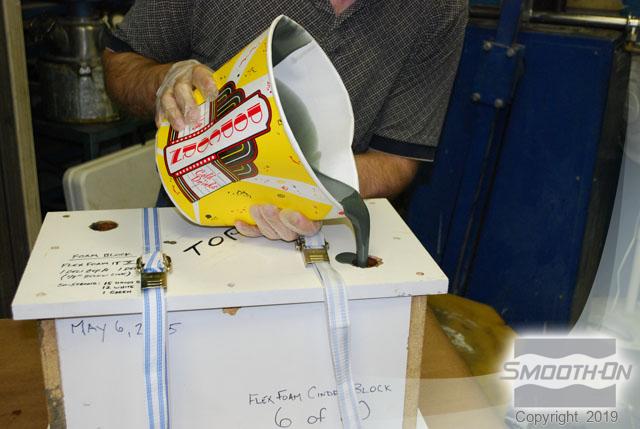
Measure out and pre-mix FlexFoam-iT! X parts A and B. Add Black, Green, and White So-Strong pigments to Part B of the foam and mix together. Then, dispense Flex Foam-iT! X parts A and B into the mixing bucket and thoroughly and quickly mix the 2 components together. Immediately pour the foam mixture into one of the holes in the lid, and then pour more of the mixture into the other hole in the lid.

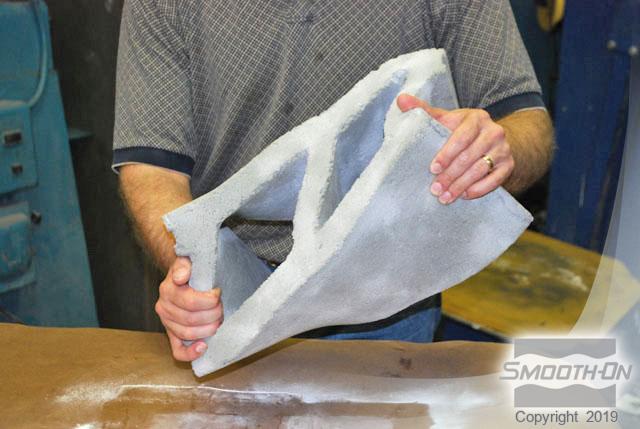
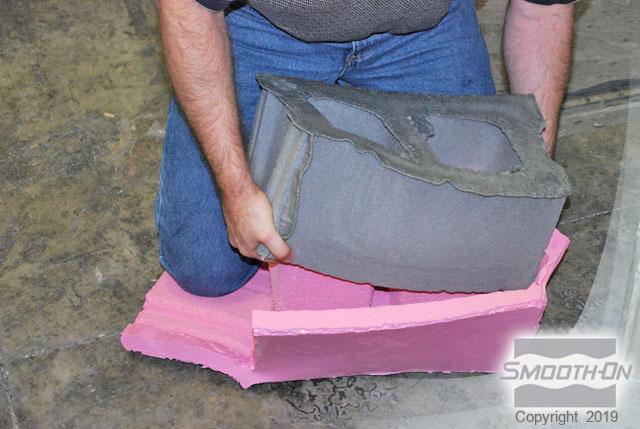
Step 3: Demolding FlexFoam-iT Casting
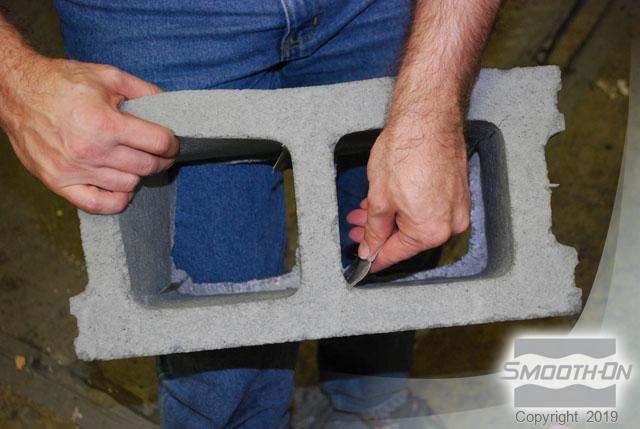
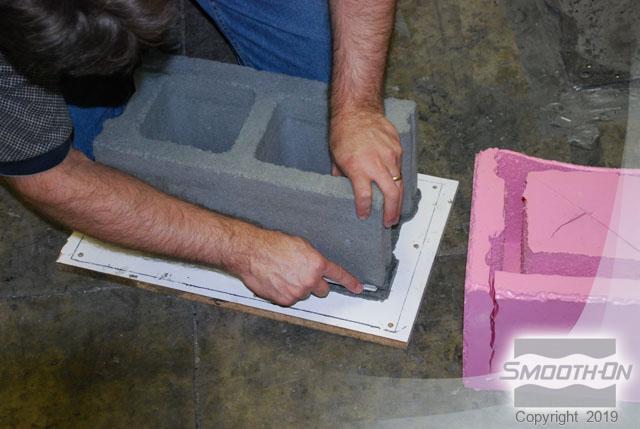
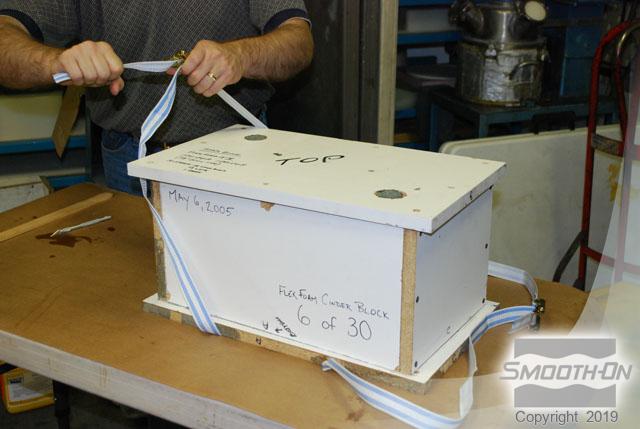
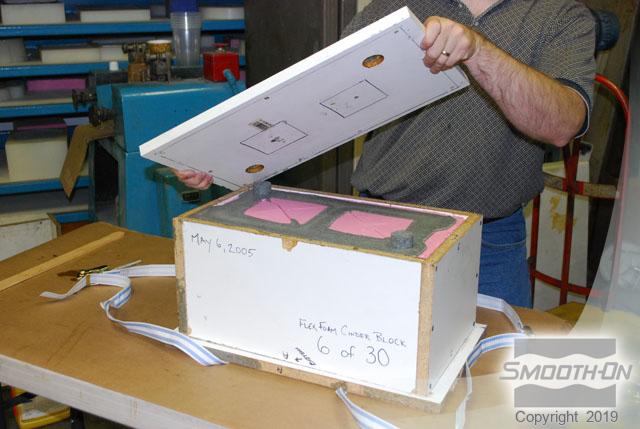
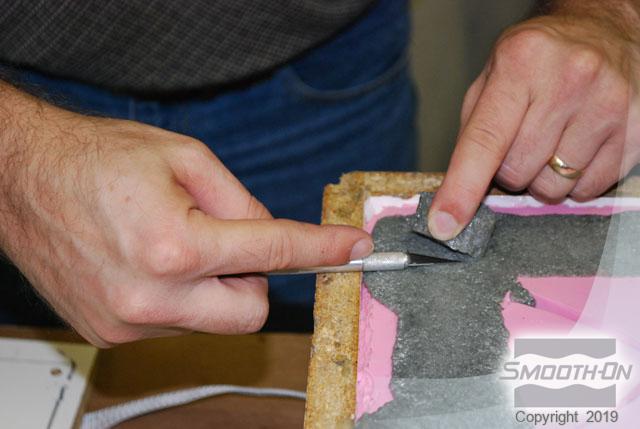
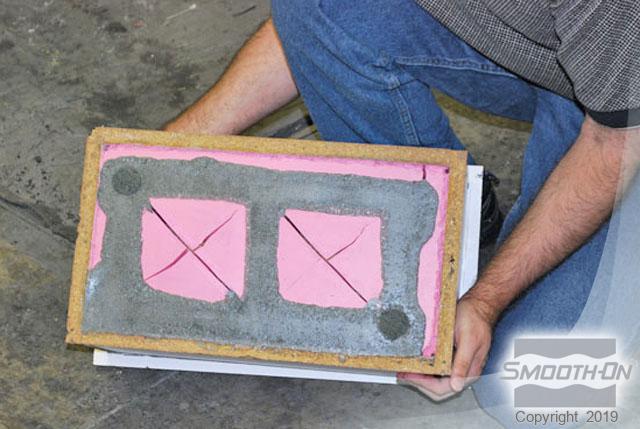
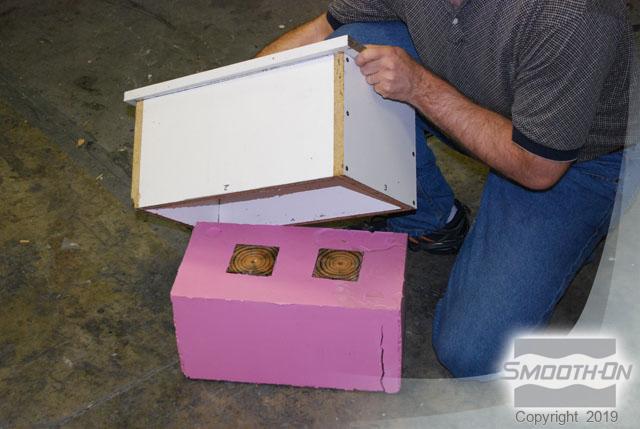
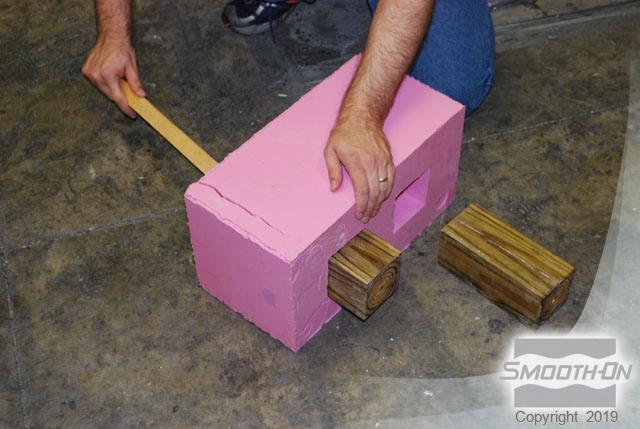
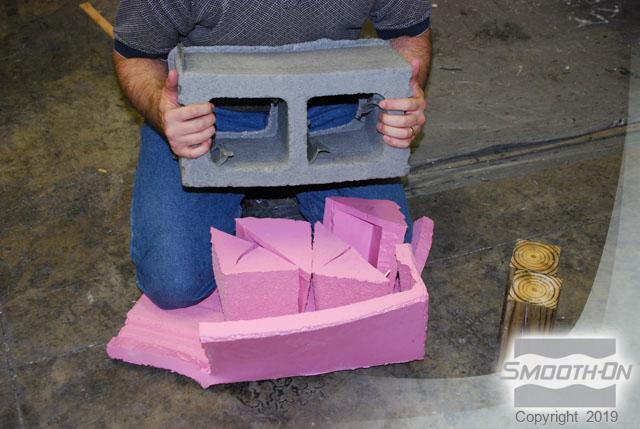
Allow the foam to rise and cure for 1 hour and then cut away any extra foam material. Remove the mold straps and take the lid off of the mold box. Once small pour vent spruces are cust away from the casting, the piece is ready to demold! Begin by inverting the mold and removing it from the wood mold box. To push out the wood supports, use a wooden rod. Now the mold is ready to be fully opened. Peel away the sides of the mold and pull the flexible casting away from the rubber mold. This reveals a perfect casting, requiring only a small amount cleanup!


Step 4: Finishing Casting
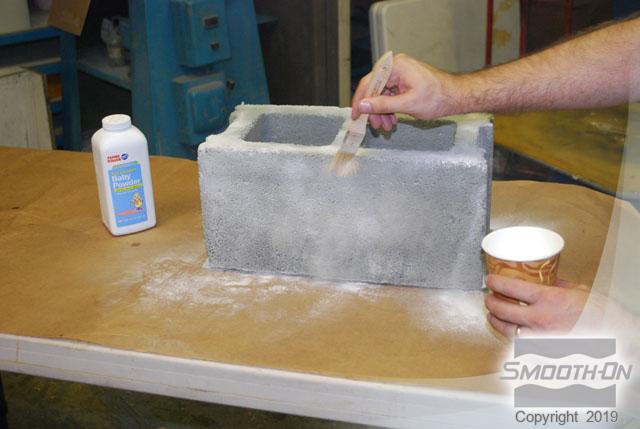
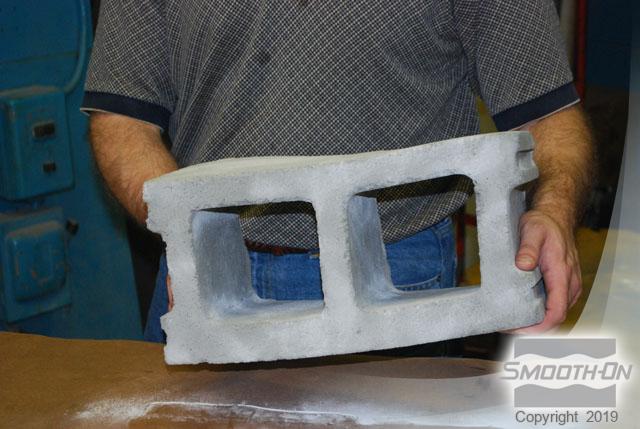
Cut away the flashing from the foam casting using a sharp knife. Apply talcum powder to give the piece a 'white/chalky' look. The piece is now ready to be used. These lightweight castings are easy to move and safe to handle. The flexibility and strength of the foam makes these castings very durable. The process can be repeated as many times as needed for a wall of lightweight prop blocks.