How To Make a Breakaway Glass Window Pane
Overview
There is a learning curve involved in getting good results with SMASH!® Plastic breakaway glass. The following tutorial takes you step-by-step through the process of making a large window pane suitable for using as a breakaway glass prop for stage or movie special effects.
Materials Used in this Tutorial
- Melamine Particle Board
- Super Instant® Epoxy
- Clear Acrylic Sheet (model)
- Acrylic Strips (mold box)
- Hot Glue Gun / Glue Sticks
- Digital Gram Scale
- Mold Max® 30 Silicone Rubber
- Vacuum Degassing Chamber
- SMASH! Plastic
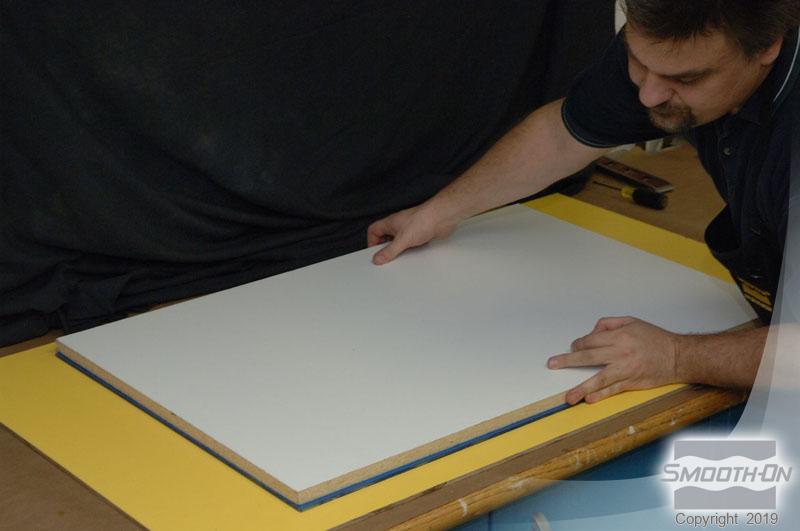
Step 1: Preparing the Model
The first step is to prepare the acrylic sheet we are using as a model. Remove the protective coating on one side of the clear acrylic sheet, and adhere the clear acrylic sheet to the baseboard with Super Instant epoxy. In order to ensure a good bond, place a second board on top and apply pressure until epoxy cures.

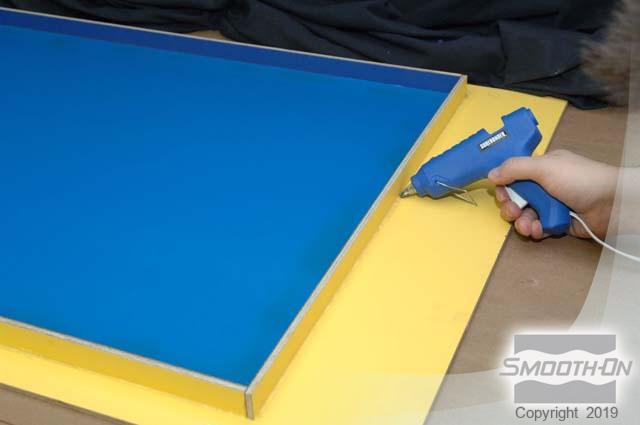
Step 2: Preparing the Mold Box
Next, we will make a mold box around the acrylic sheet. Make sure the surface is level. Construct retaining walls out of acrylic strips and hot glue, then hot glue the base of the retaining walls to prevent the rubber from leaking.


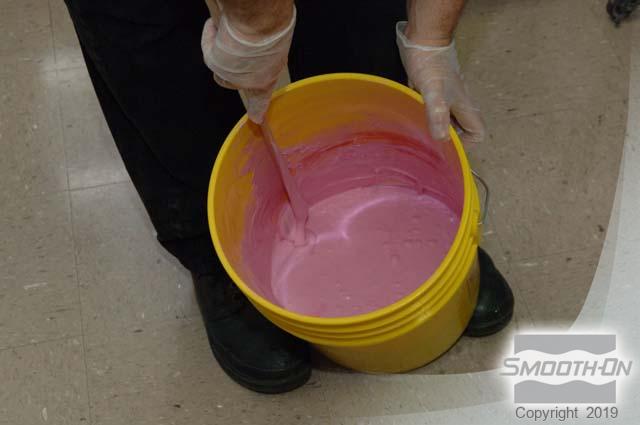
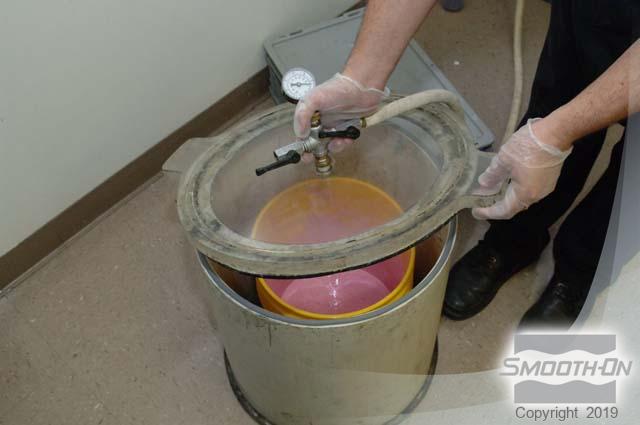
Step 3: Mixing Mold Max Mold Rubber
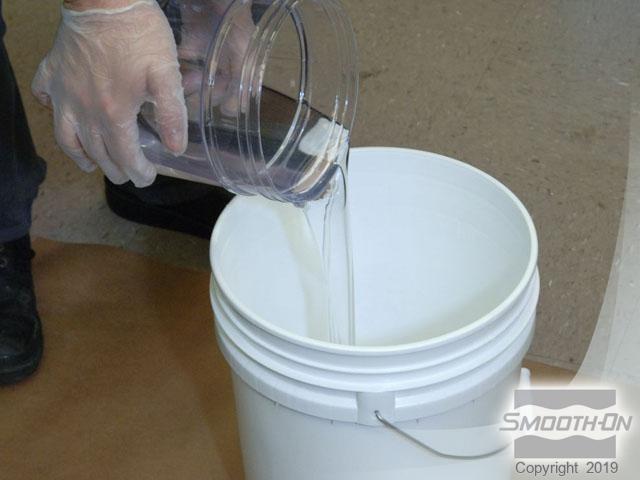
Next, measure, mix and pour Mold Max 30 silicone rubber. After the rubber is mixed, it is vacuum degassed for 2-3 minutes.
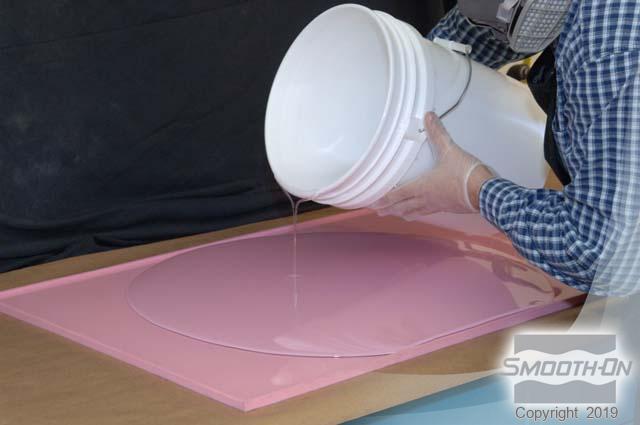
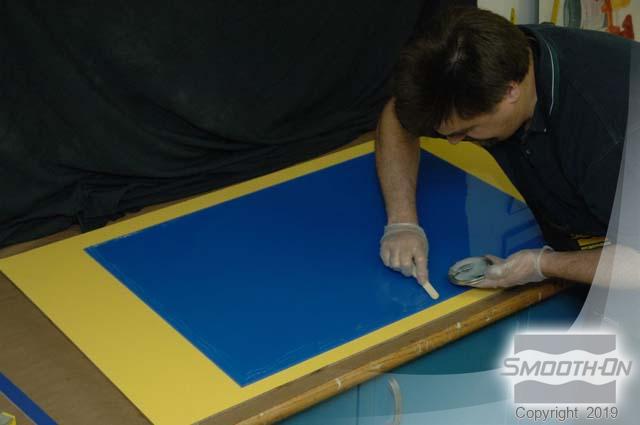
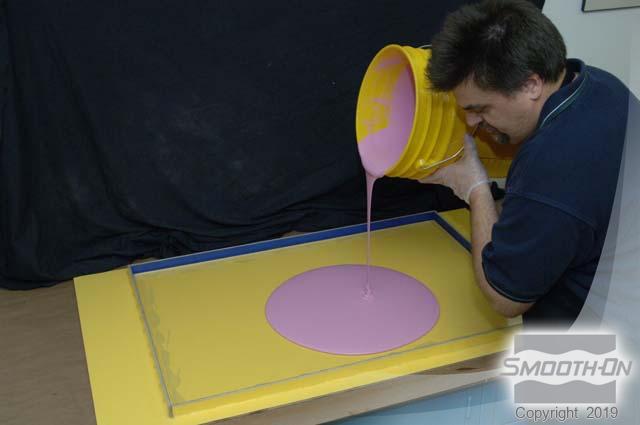
Step 4: Pouring the Mold Rubber
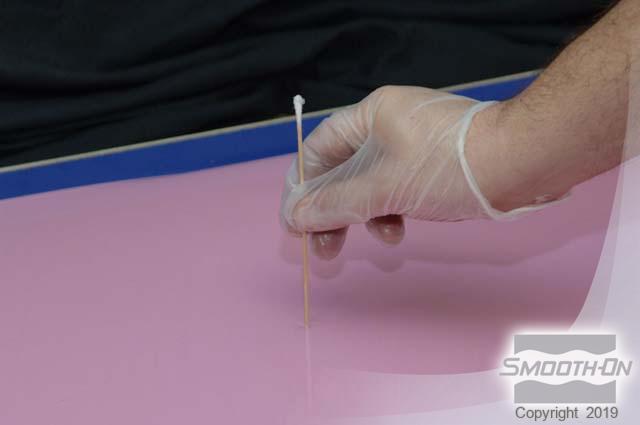
Before pouring the rubber, we remove the protective coating from the other side of the clear acrylic sheet. Pour Mold Max 30 into the center of the model. The rubber thickness should be 1/8” / 0.32cm - we can check it with a stick from a cotton swab. Let the mold rubber cure for 16 hours at room temperature (72 F / 23 C)

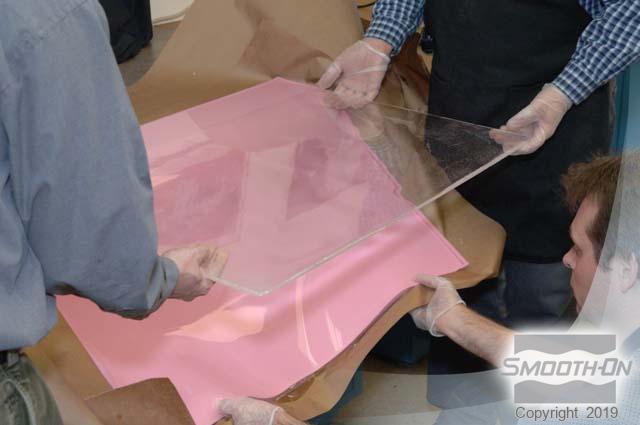
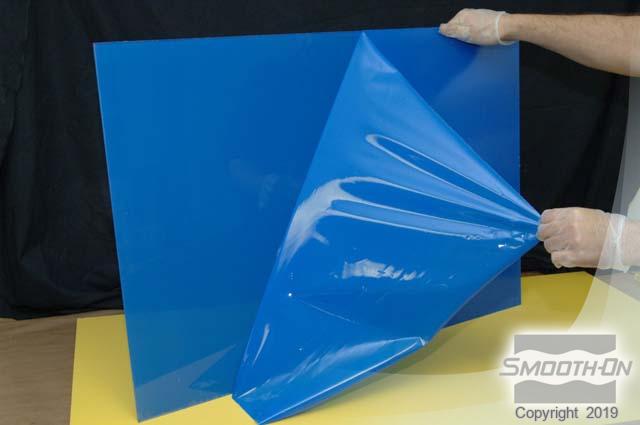
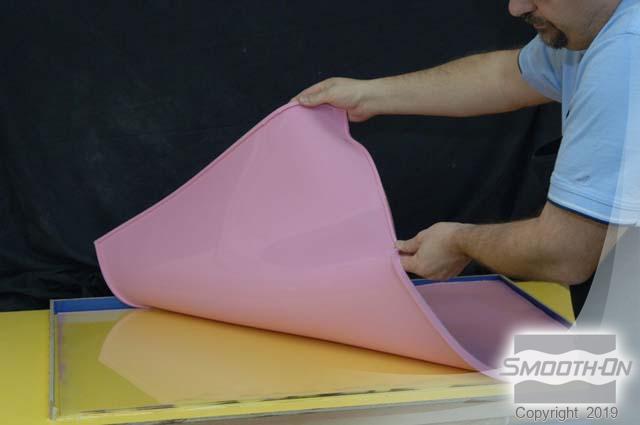
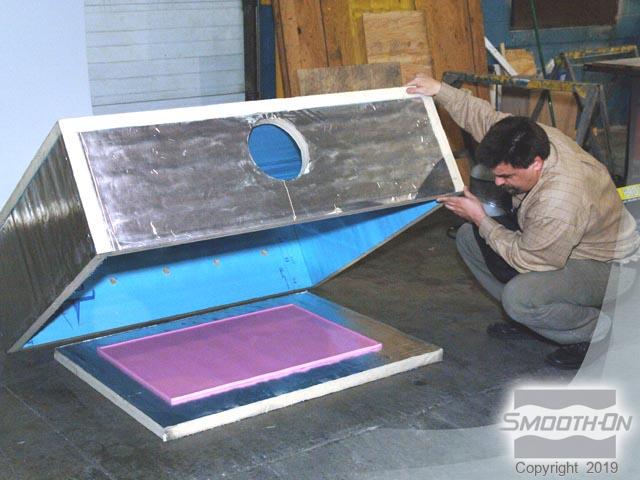
Step 5: Demolding and Post Curing the Rubber Mold
Peel the mold away from the model and place the mold in an oven/hotbox for 4 hours at 150F 60C. This post-curing prepares the mold for casting SMASH Plastic.
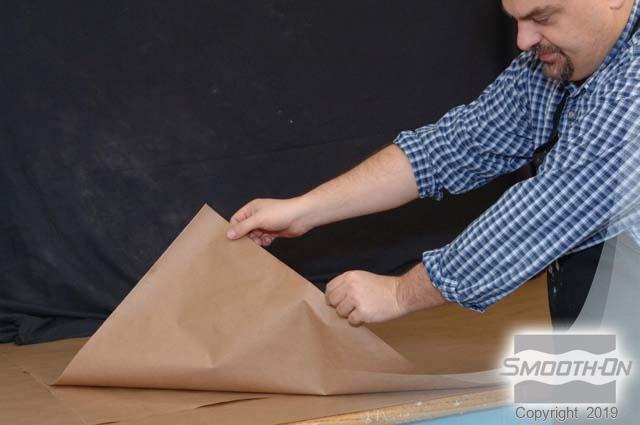
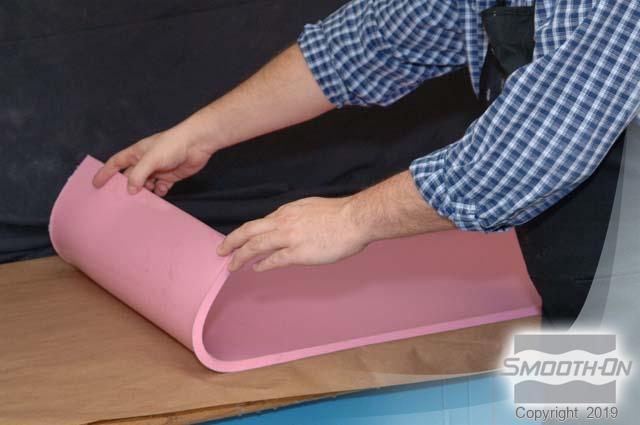
Step 6: Preparing the Mold For Resin Casting
Before we pour the SMASH Plastic, we place the mold on a sheet of kraft paper. This will assist in demolding the SMASH casting.
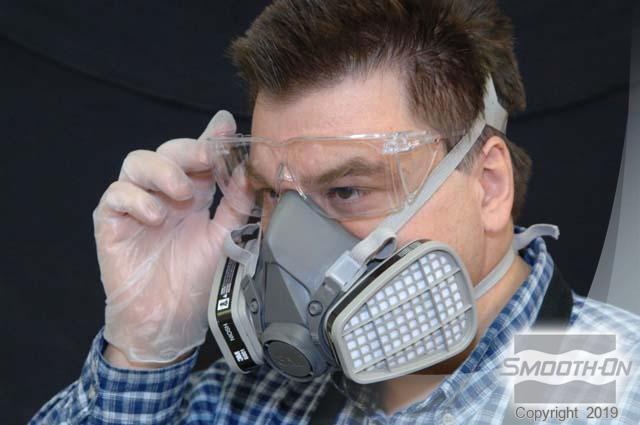
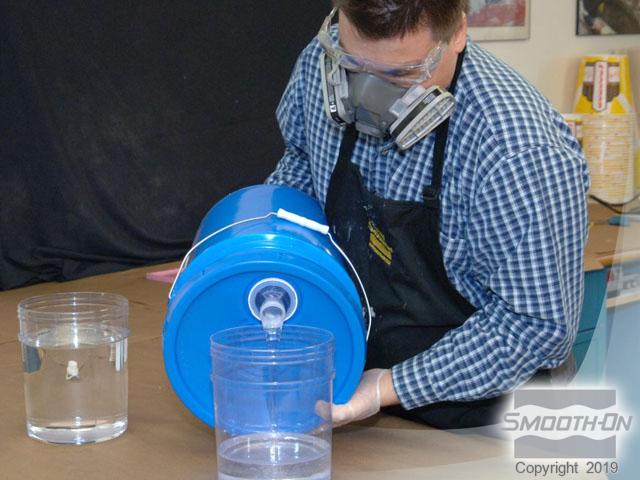
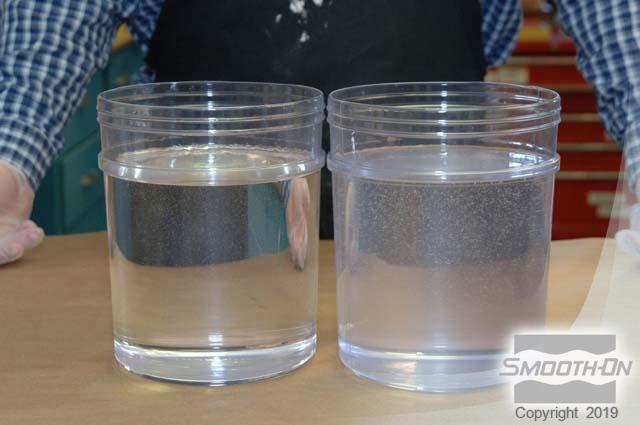
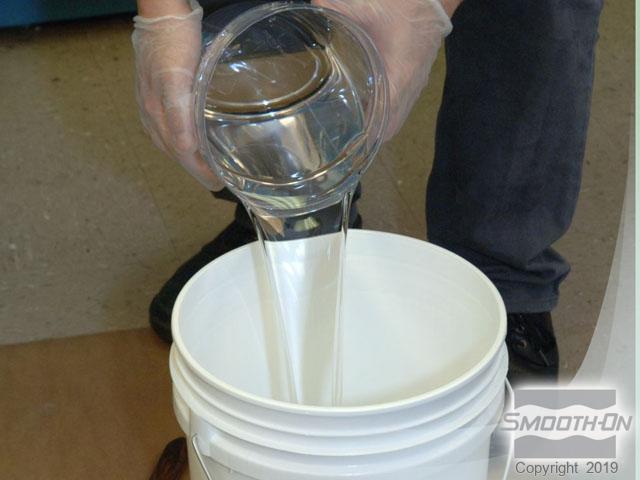
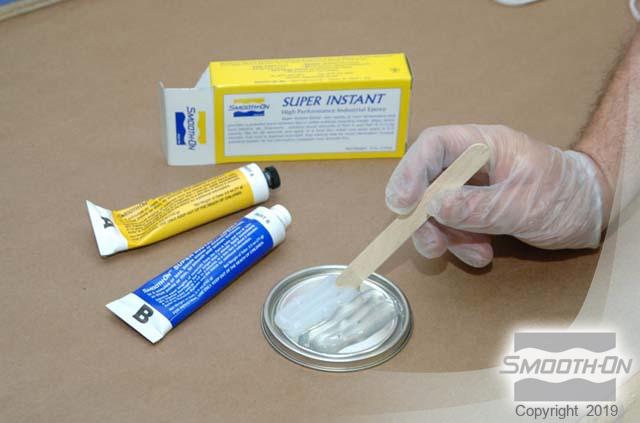
Step 7: Measuring and Mixing SMASH Plastic
Safety: wear safety glasses and a NIOSH approved respirator. The mix ratio of SMASH Plastic is 1A: 1B by weight or volume, so dispense equal amounts of parts A and B into measuring containers. Pour Part A into the mixing container first, then pour Part B into mixing container and mix thoroughly for 90 seconds.