How To Make a Brush On Mold Using Mold Max™ STROKE
Step 2: Preparing, Dispensing and Applying Mold Max™ STROKE
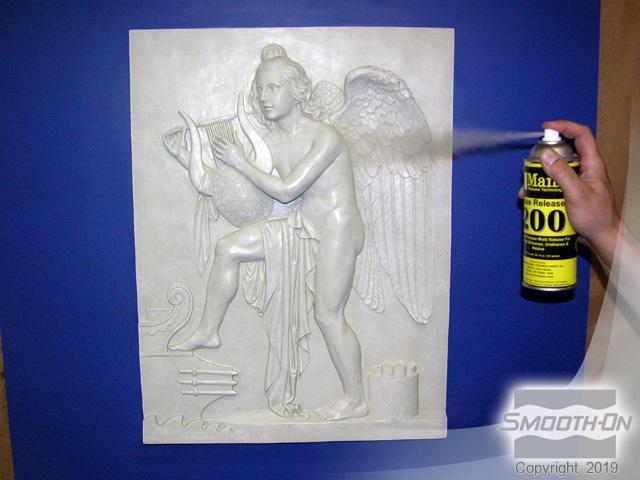
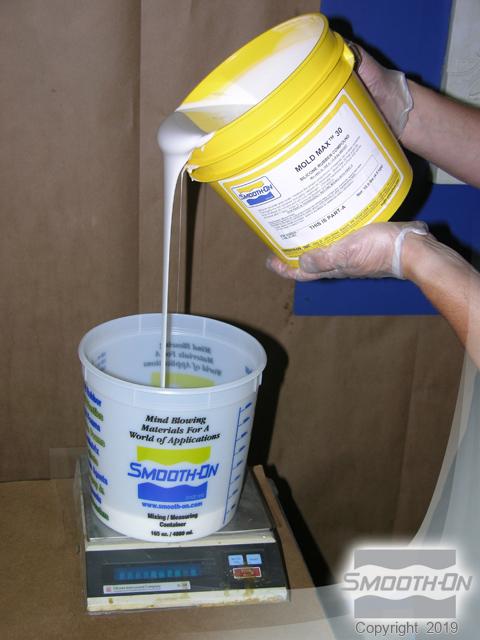
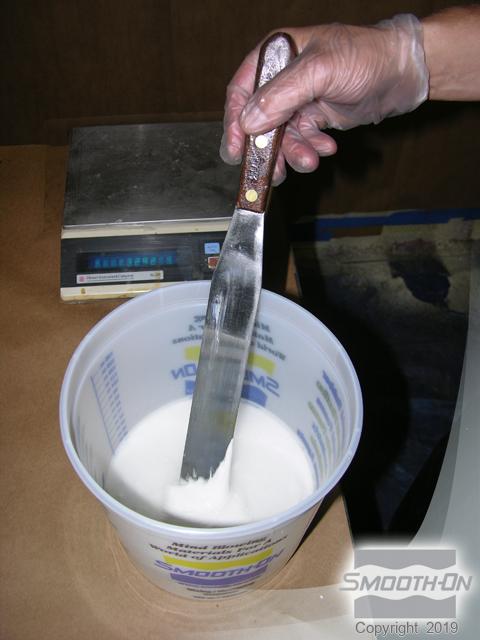
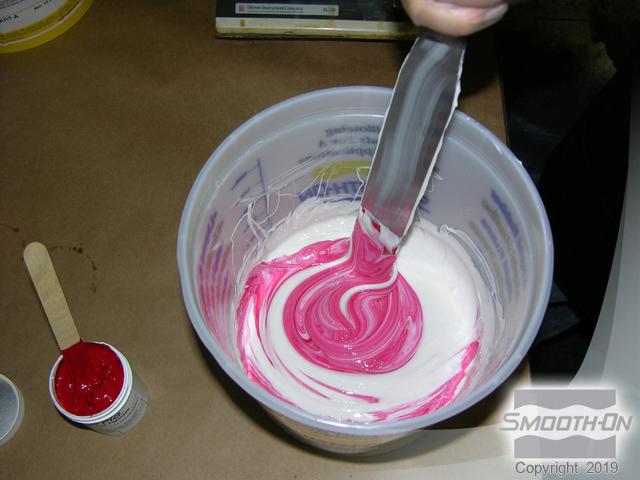
Begin by spraying a thorough coat of Ease Release™ 200 release agent over the original model. Mold Max™ STROKE is measured 100 Parts A to 10 Parts B by weight. First measure out the A component, and then add an appropriate amount of the B component. Thoroughly mix Parts A and B together, making sure to scrape the sides and bottom of the container several times.
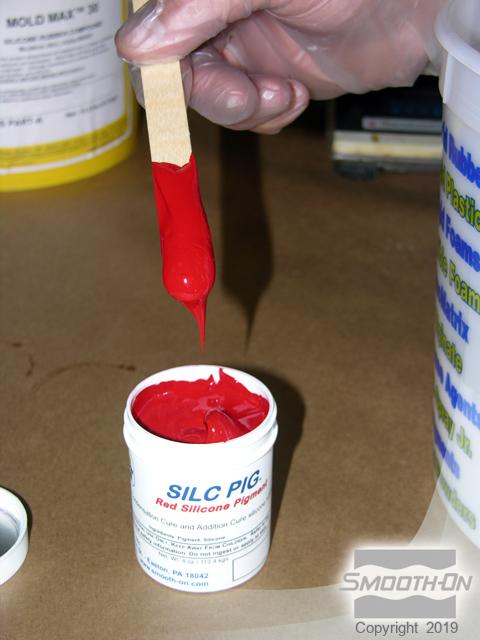
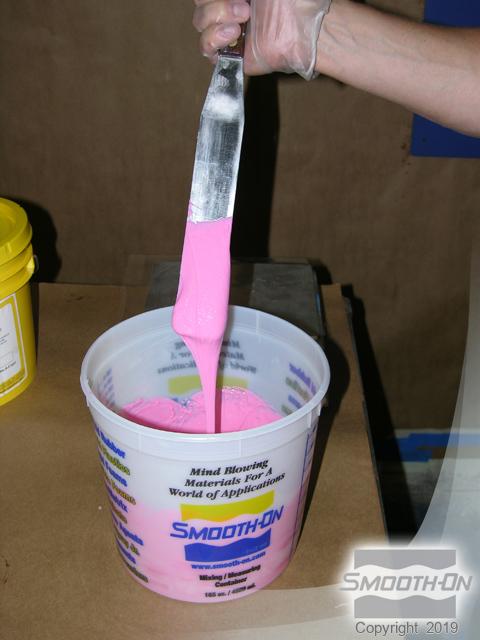
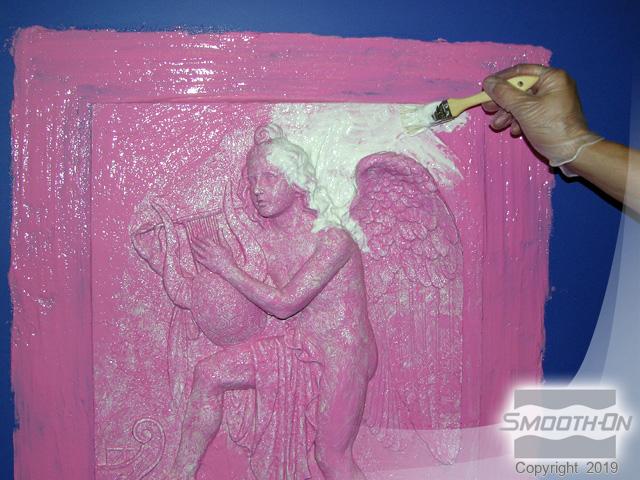
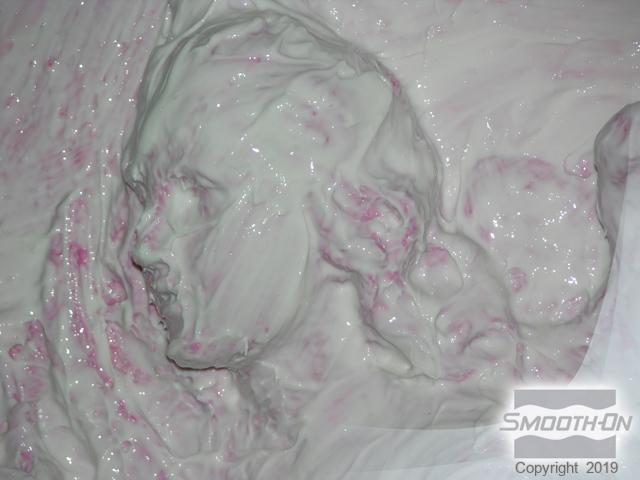
Mold Max™ STROKE is white in color, and since the original model is also white, adding some Silc-Pig™ Red silicone pigment to the Stroke® will ensure thorough coverage when the rubber is applied. Thoroughly mix Silc-Pig™ Red into the silicone and continue mixing until no color striations are present and the silicone is a solid pink color.
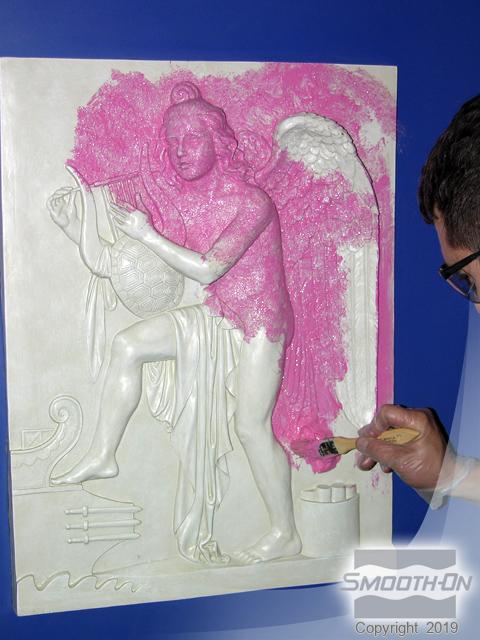
Begin applying Mold Max™ STROKE to the original. It is important that the first layer of a brush-on mold be applied in a thin coat. This helps eliminate the possibility of entrapping air bubbles. Be sure to look at the model from all angles to ensure thorough coverage. Brush silicone around the outside of the piece to create a flange.
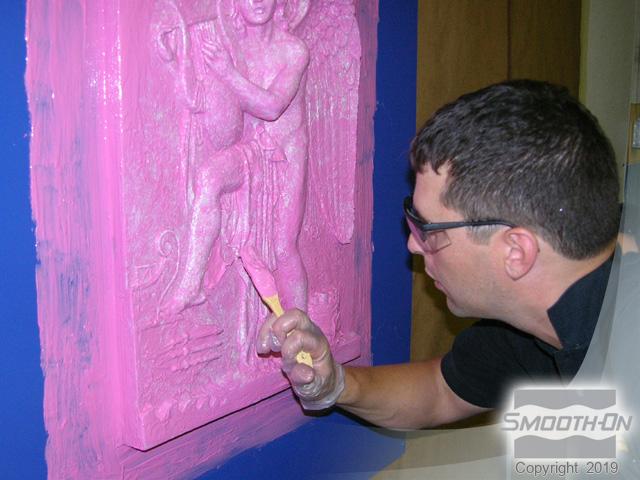
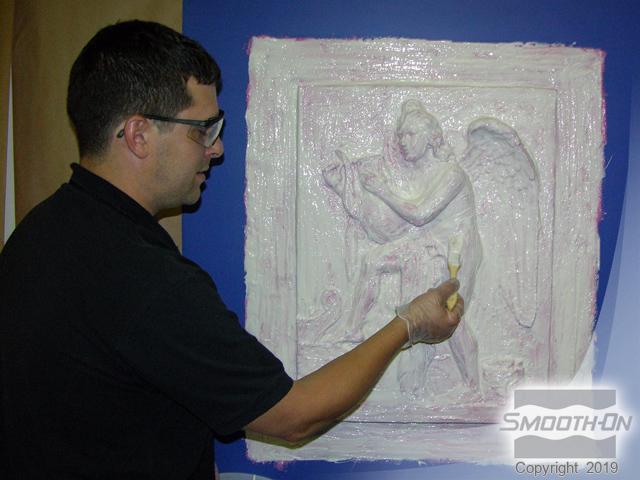
After the first layer has partially cured (approximately 45 minutes), mix and apply a second layer of Mold Max™ STROKE. This time, do not add pigment as the white rubber contrasts well with the first layer and we can again ensure thorough coverage. Cover the entire model and continue building the flange. This layer can be applied slightly thicker than the first.
We will continue on for a total of four layers.