How To Make a 2 Part Silicone Mold Using Mold Max™ 25
Step 1: Preparing Model (Constructing a Mold Box)
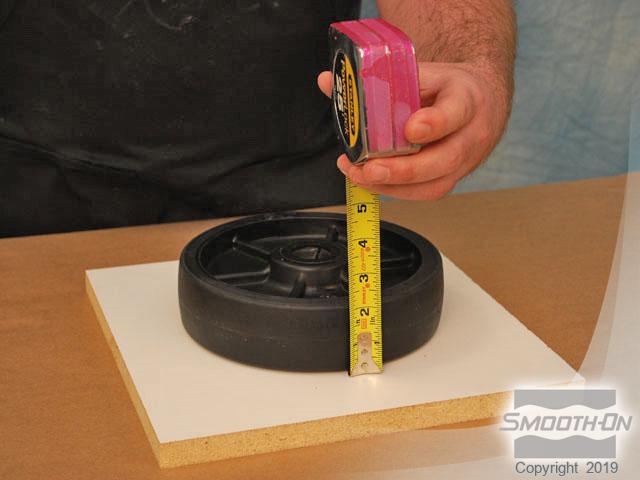
Replacement parts for equipment long out of production are difficult, if not impossible to find. In this example a damaged wheel that is supporting a well-used but still functional industrial pump needs to be replaced. A machine shop would charge over $1,000 to custom machine a replacement wheel. A cheaper, faster alternative is to make a mold of an existing undamaged wheel and then cast a replacement wheel out of a rubber or other material.
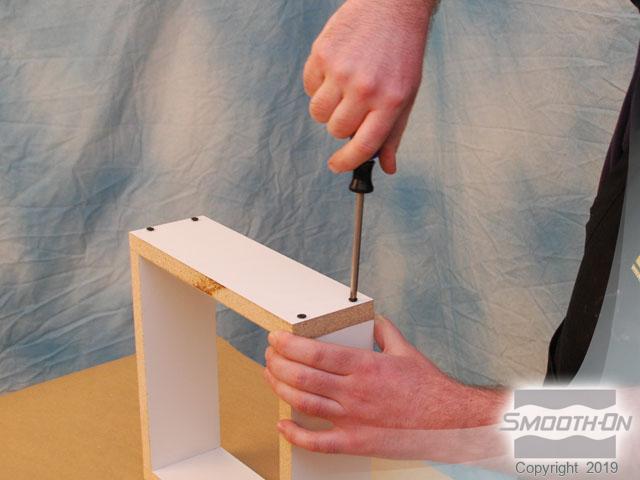
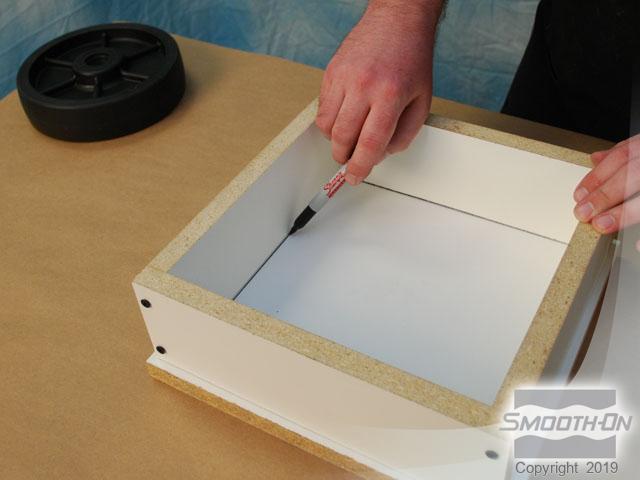
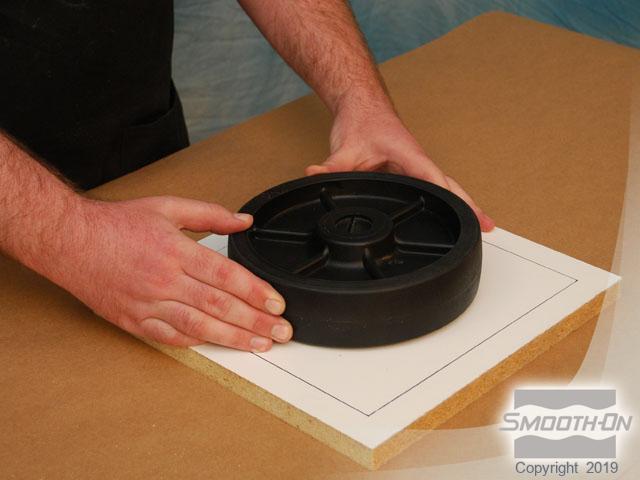
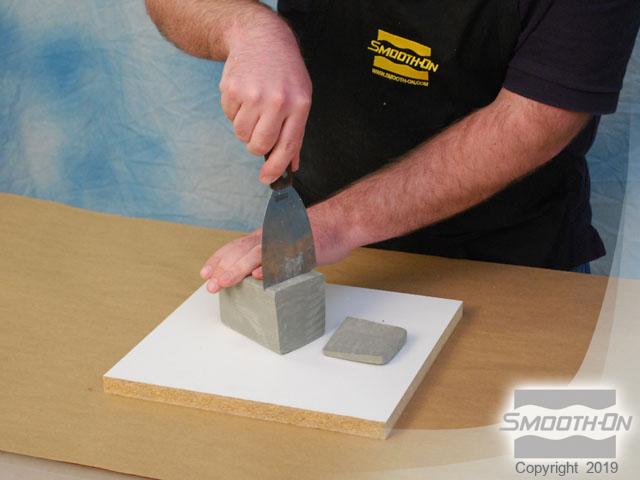
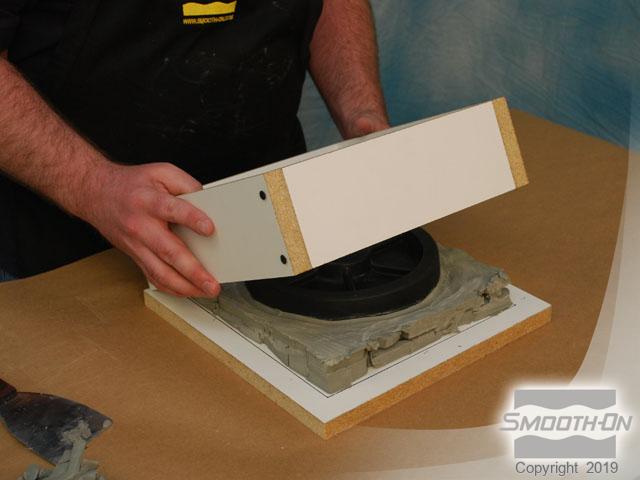
To begin, a functional wheel is removed from the cart platform and cleaned. Any slight imperfections are filled with a two-part epoxy. Then, measurements are taken to build a mold box for containing the liquid rubber. A melamine box is constructed to provide a 1'' (2.54 cm) clearance around the model. The interior of the box is traced onto a melamine base board.
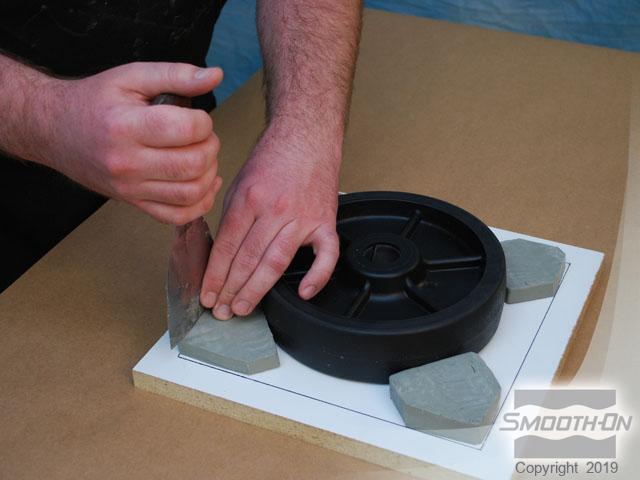
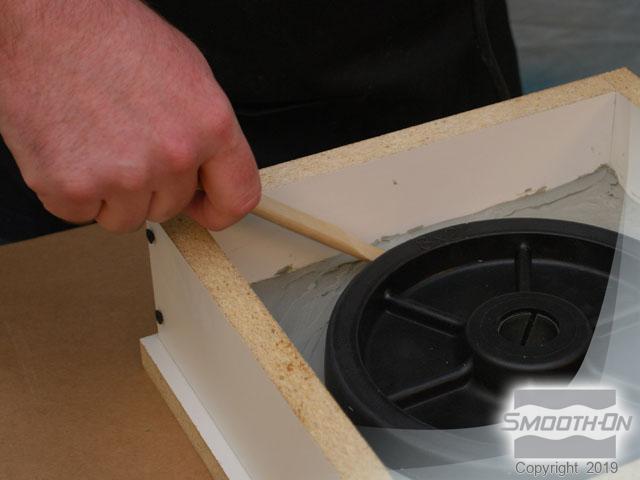
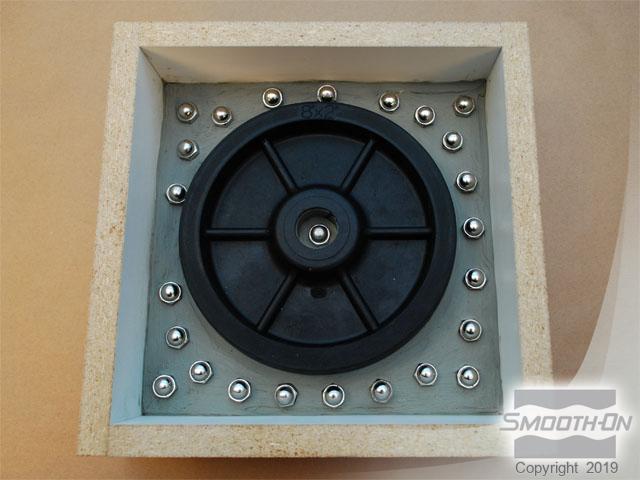
Hot glue is applied to the hub of the wheel and centered in the traced area on the base board. Non-sulfur oil-based clay is sliced to a 3/8'' (1 cm) thickness and then placed on the base board. After a suitable depth of clay is achieved, the box is placed over the model. The clay is smoothed using sculpting tools.
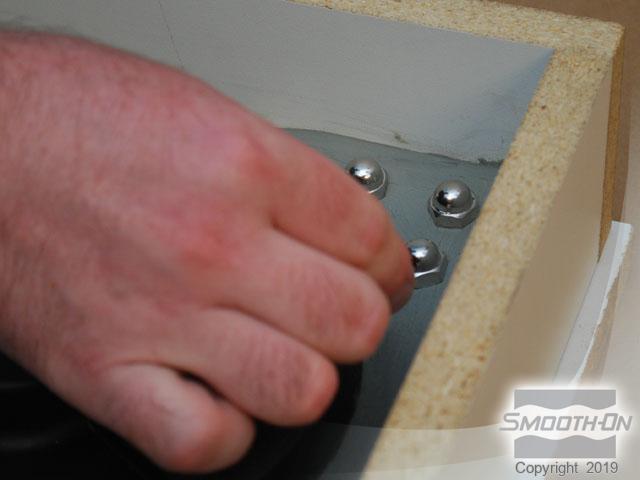
Small 'acorn nuts' are placed around the perimeter and partially imbedded in the clay to make registration keys. Purpose: the positive and negative keys will register the two halves of the finished rubber mold together for casting.
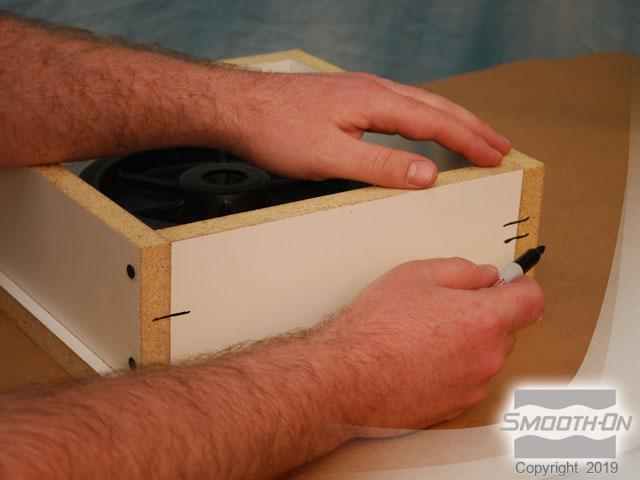
Lines are drawn on the exterior of the box to indicate proper assembly of the box walls.