How To Reproduce a 3D Sculpture Using Brush‑On™ 40 Mold Rubber
Overview
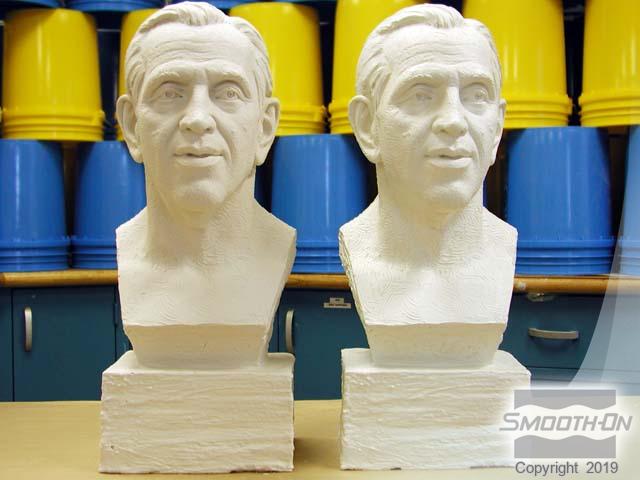
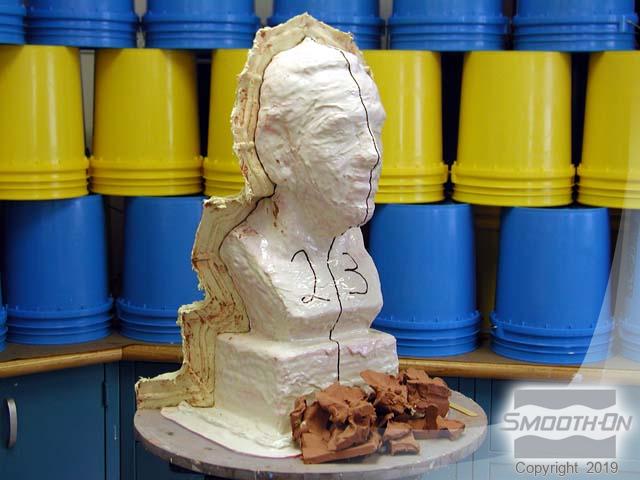
Making a brush-on mold of a 3-dimensional sculpture is an effective and inexpensive method that can be used to reproduce detail from any original model. In this tutorial, a 3-dimensional sculpture of Joe Brown, Professor of Sculpture for Princeton University, was created by Tim Maslyn of Maslyn Studios. The goal is to reproduce this casting in a plaster modified gypsum.
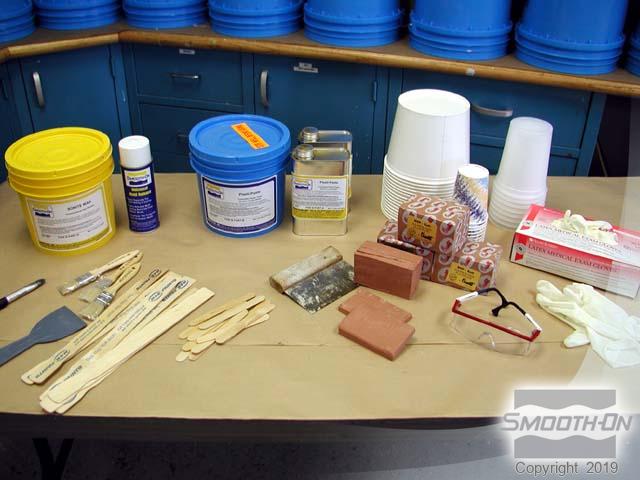
Materials Used in this Tutorial
- Super Seal
- Brush-On 40
- Universal Mold Release
- So-Strong Blue
- Cab-O-Sil
- Mixing Cups
- Gloves
- Glue Gun
- Paper Towels
- Paint Brushes
- Safety Glasses
- Mixing Sticks
- Sulfur Free Clay
- Sonite Wax
- Plasti-Paste
- duoMatrix Neo
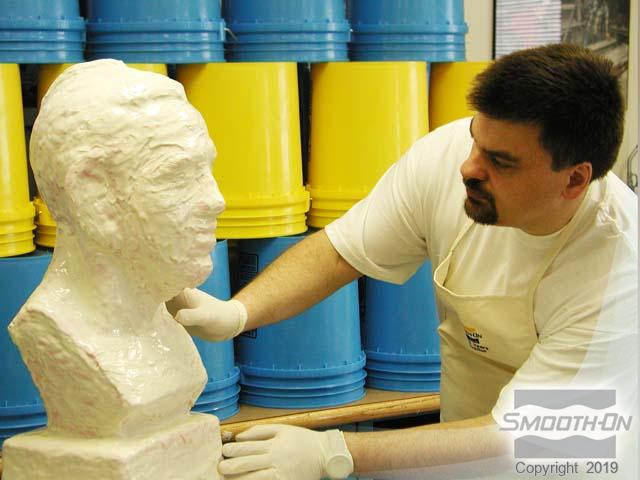
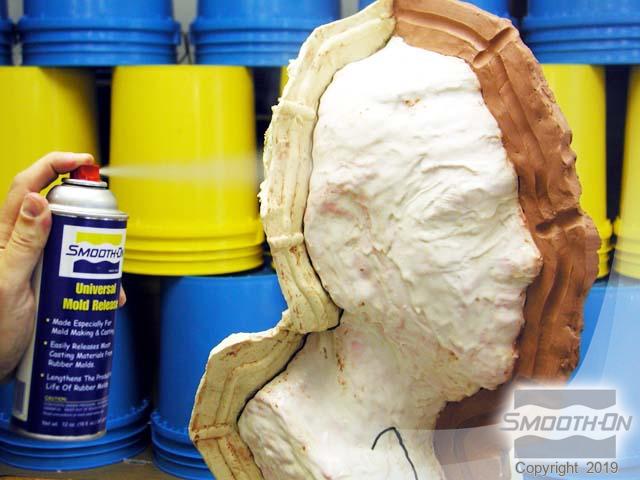
Step 1: Preparing The Model
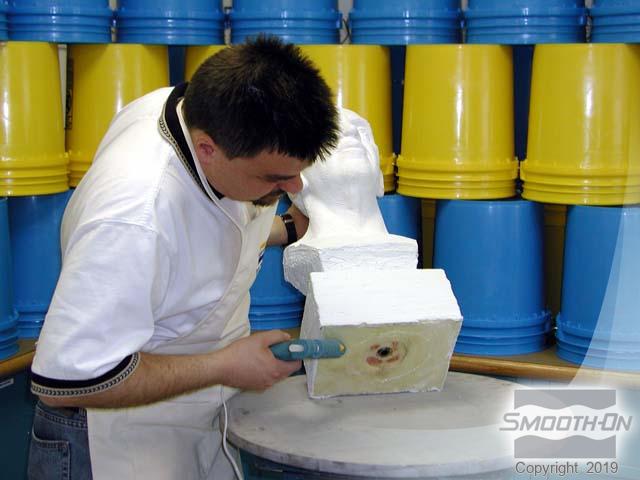
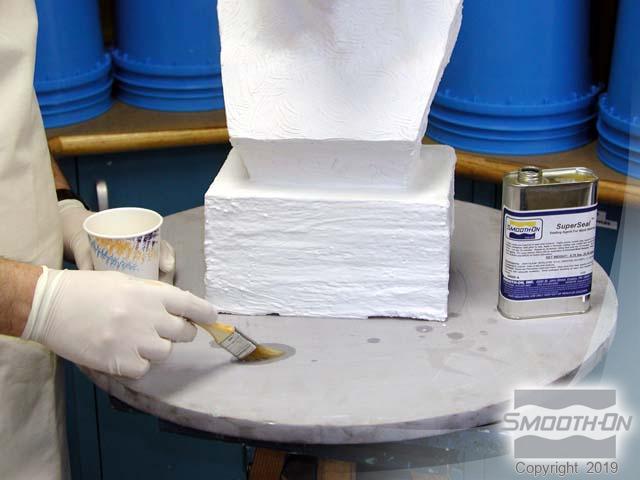
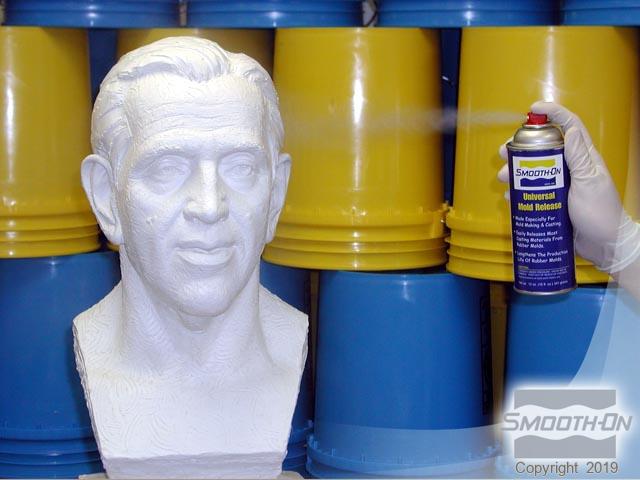
First, glue the bust down to the work surface and apply Brush-On® 40. Brush-On® 40 is a urethane rubber that is an adhesive and will stick to most surfaces. A sealing agent followed by a release agent is required for mold models, so apply SuperSeal® sealing agent and Universal® Mold Release to the plaster bust and the wooden platform.

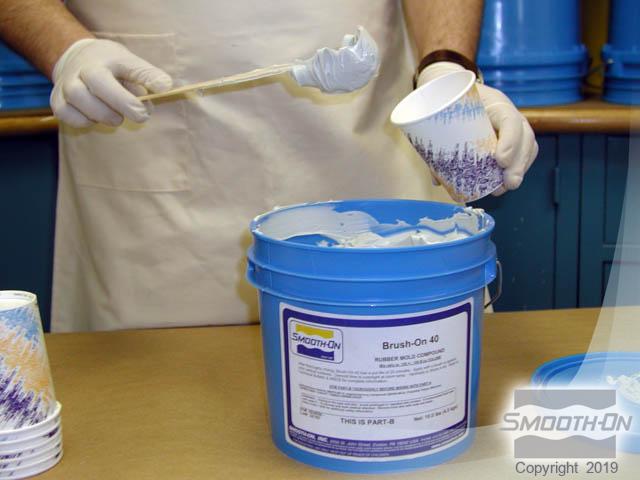
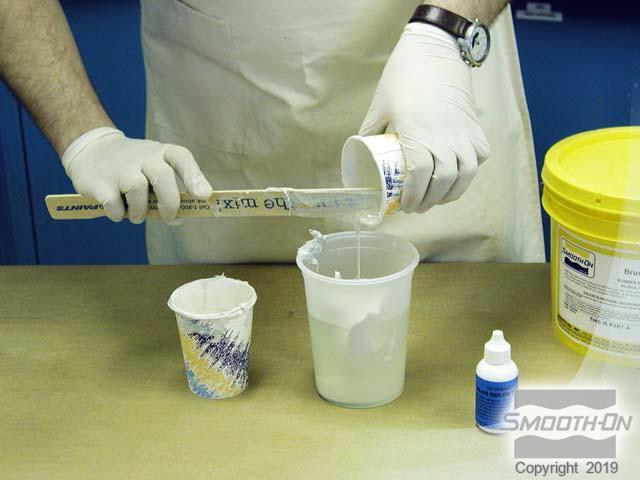
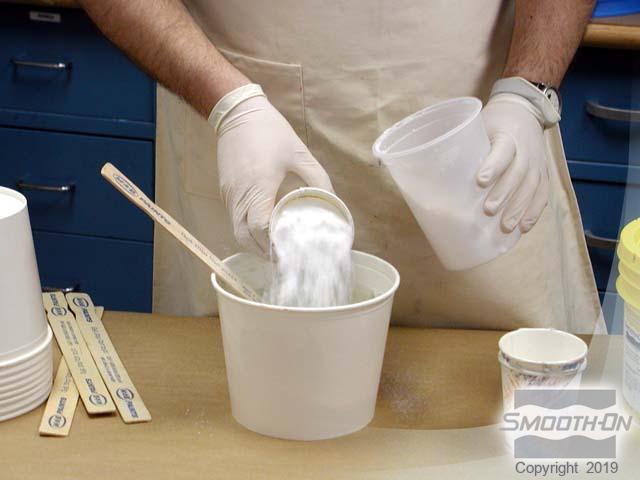
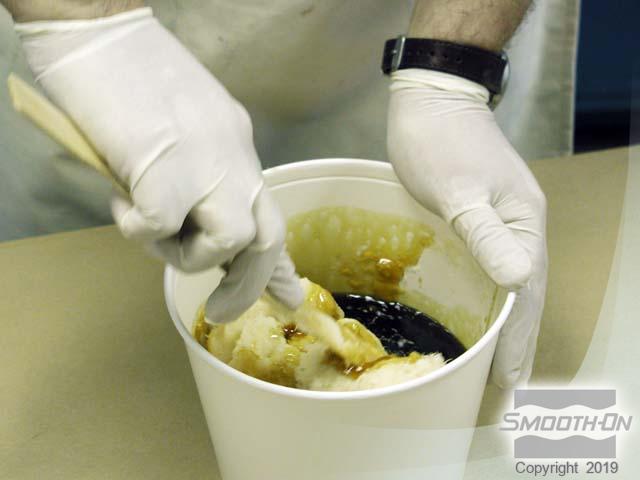
Step 2: Dispensing Material
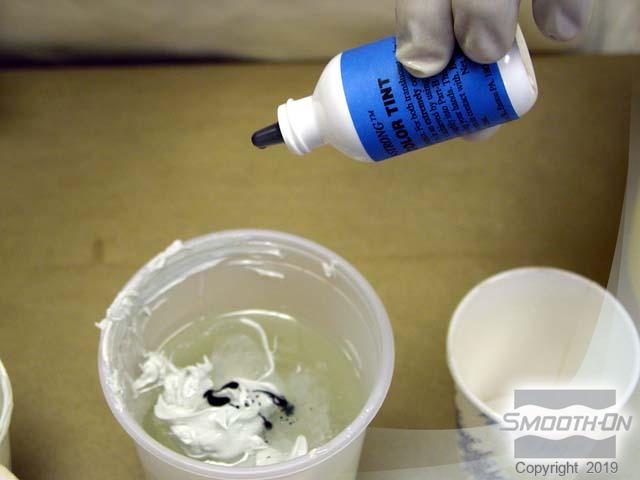
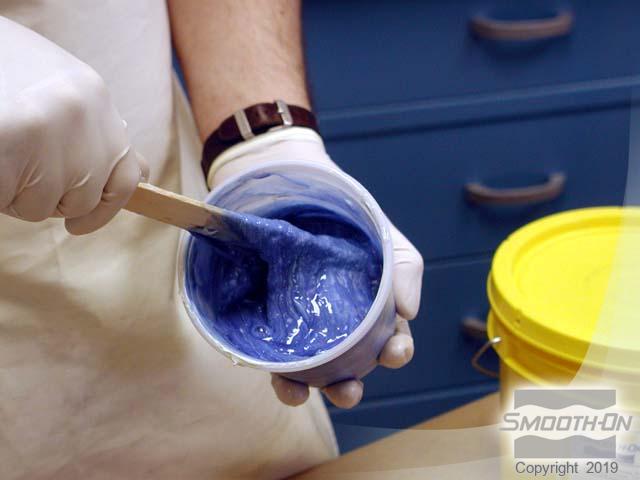
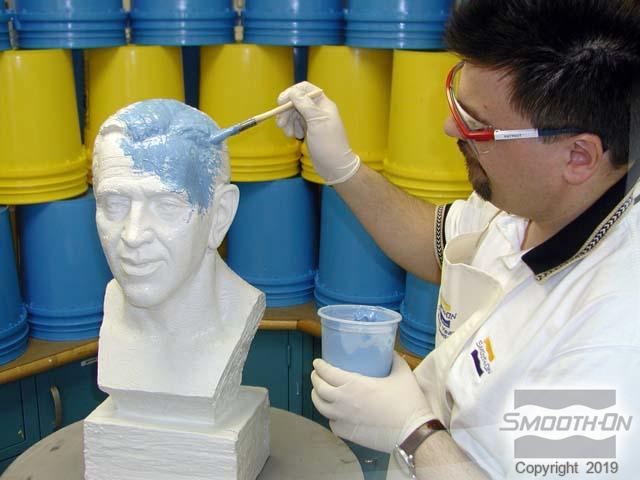
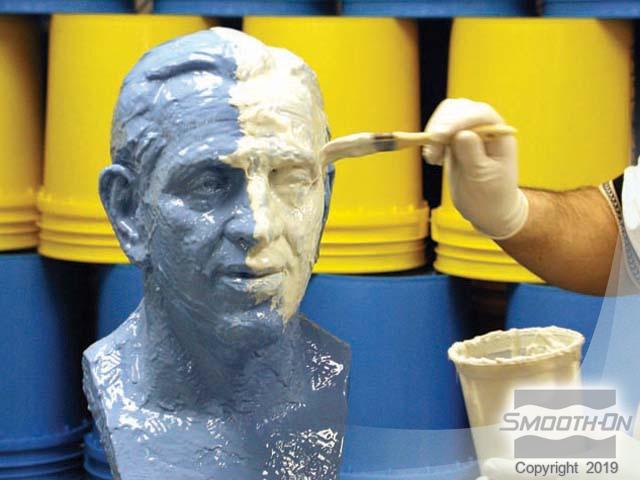
The mix ratio of Brush-On 40 is 1A:1B by volume. For this application, one cup of Part A liquid and one cup of Part B paste is measured out. Be sure to carefully pack the paste into the cup in order to eliminate any air voids. Combine Part A with Part B in a mixing container. Since the original model is white and the mold rubber is white, SO-Strong® Blue Tint is added to this first mix of rubber to help ensure thorough coverage over the model. It also helps by acting as a positive mix indicator. Mix Parts A and B thoroughly until all color streaks are eliminated, an indicator that the rubber has been properly mixed.

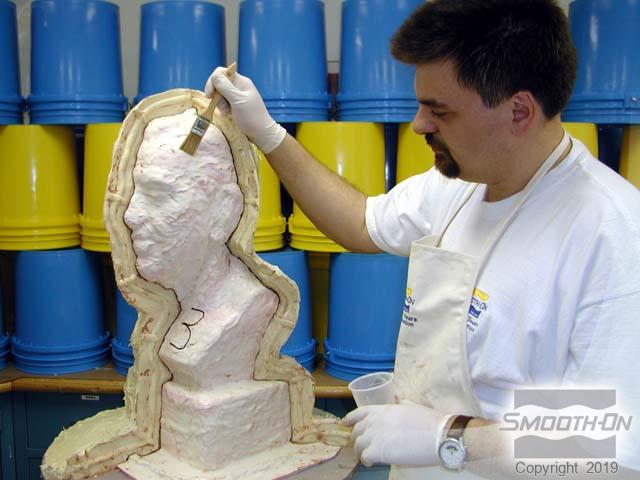
Step 3: Applying The First Coat of Brush-On 40
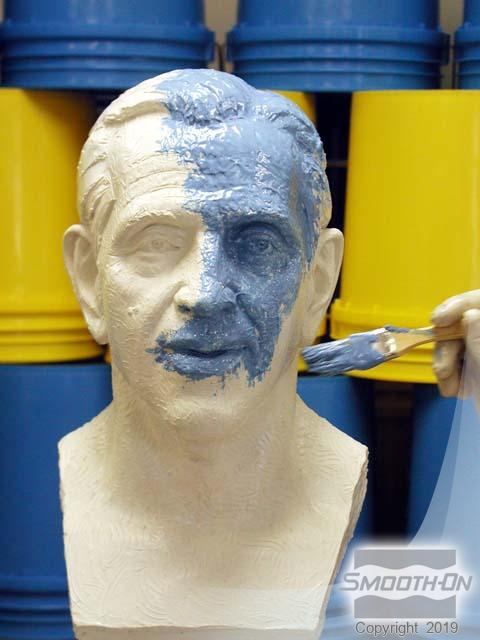
DO NOT OVER APPLY! The first coat, called the ''detail coat,'' is applied very thinly. This will enable the first layer of rubber to de-air itself. If you over apply, bubbles will be trapped in the first layer which will result in bubbles in the finished casting. Working from the top down, continue applying a thin first layer of rubber over the entire model. Use a 'stipple' application technique to ensure that the rubber works its way into all of the surface detail.
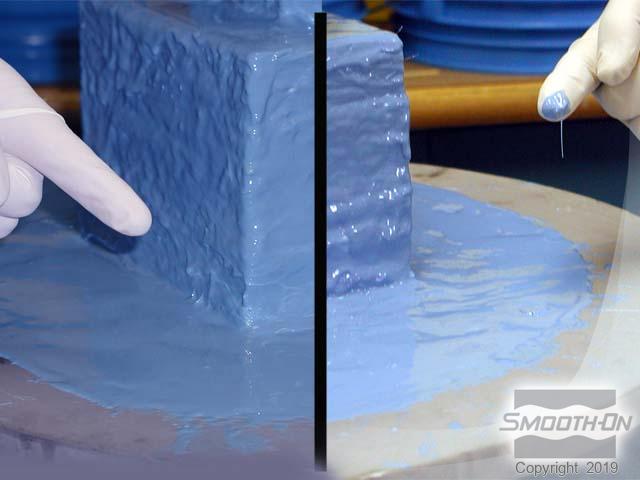
Cover the entire model and bring the rubber out to the edge of the platform, at least 3 in/ 7.62 cm from the base. This ''flange'' will help register the rubber mold with the support shell later in the mold making process. Once you are finished applying rubber, check to make sure you did not miss any areas.
Allow the rubber to become ''tacky'' (sticky to the touch but does not come off on your gloved finger). After 30 minutes at room temperature, touch the rubber ''off model'' to test. If it's still wet and comes off on your glove, let it continue to cure. If the rubber is sticky and does not come off on your glove, you are ready to apply the next layer.
Step 4: Applying The Second Coat Of Brush-On 40
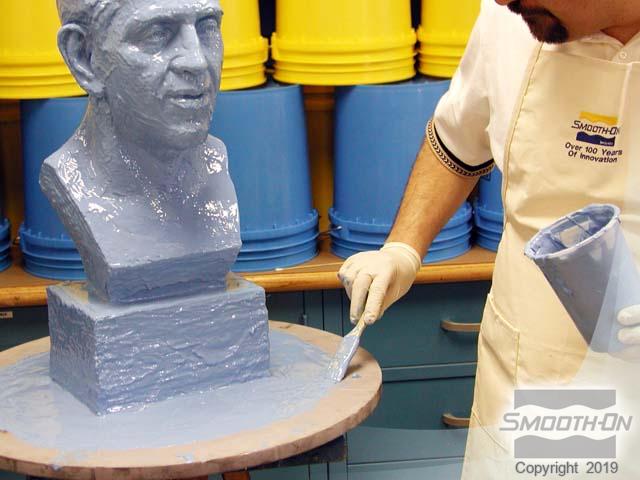
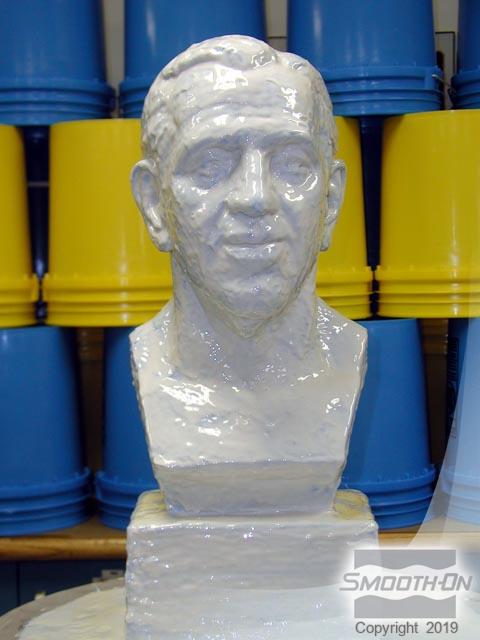
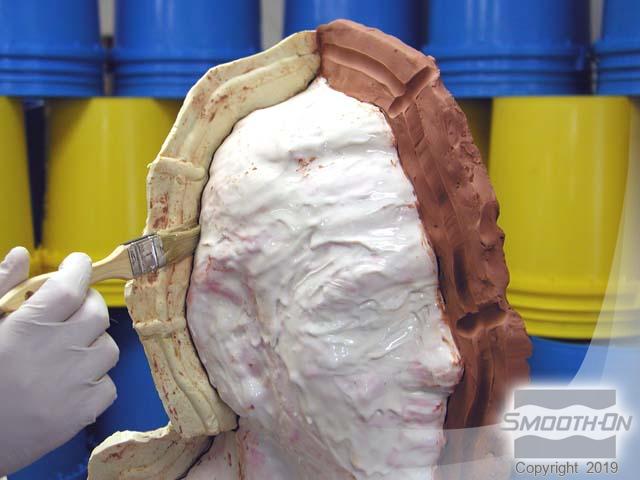
Mix and apply the second coat of rubber, this time without color. This layer is applied a little thicker with free-flowing strokes. Once the model is covered with the second coat, carefully check to make sure all areas are covered. Allow the rubber to become 'tacky' before moving on the next step.
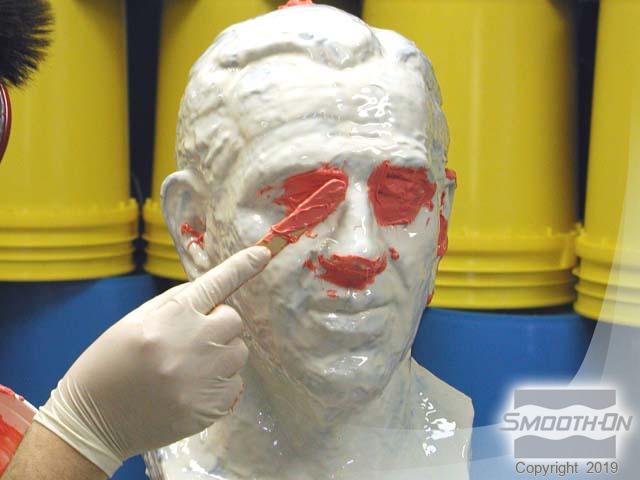
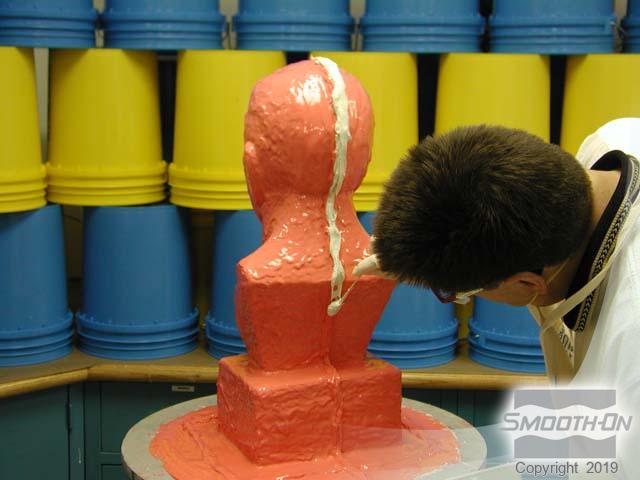
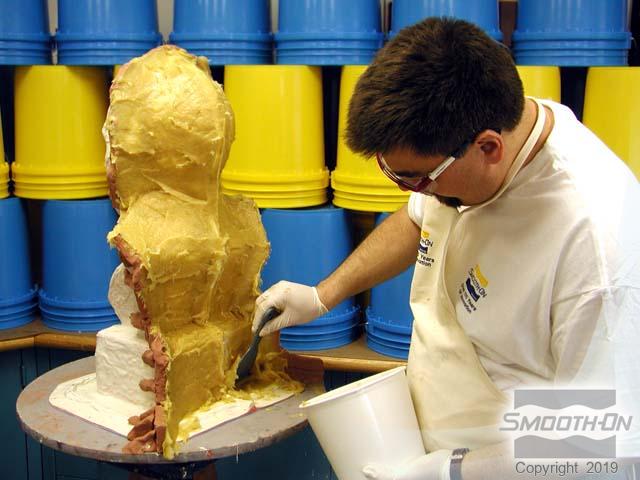
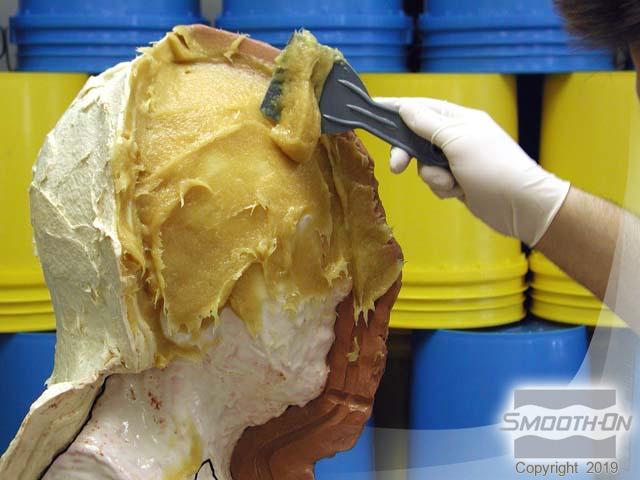
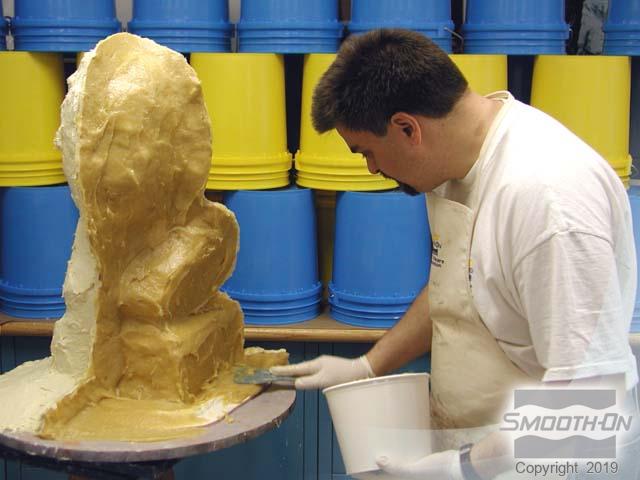
Step 5: Dispensing and Applying Thickened Brush-On 40
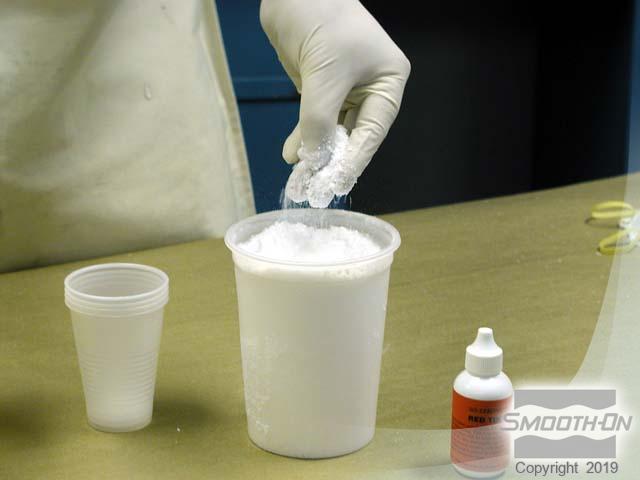
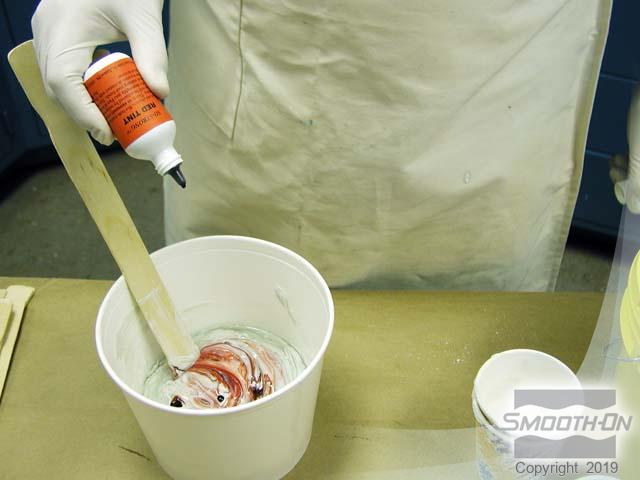
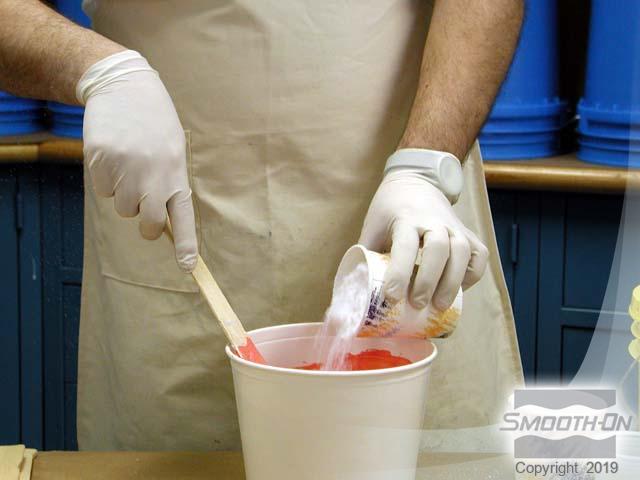
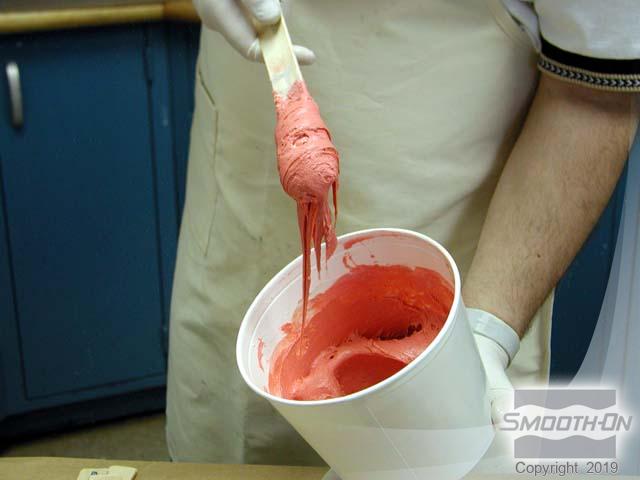
Add So-Strong Red Tint to Part A of the Brush-On 40. Ure-Fil 9 is then added a little at a time until the right 'thixotropy' is attained. Mix the pigmented Brush-On® 40 and Ure-Fil 9 together well. The rubber is notably thicker, approaching the consistency of bread dough.
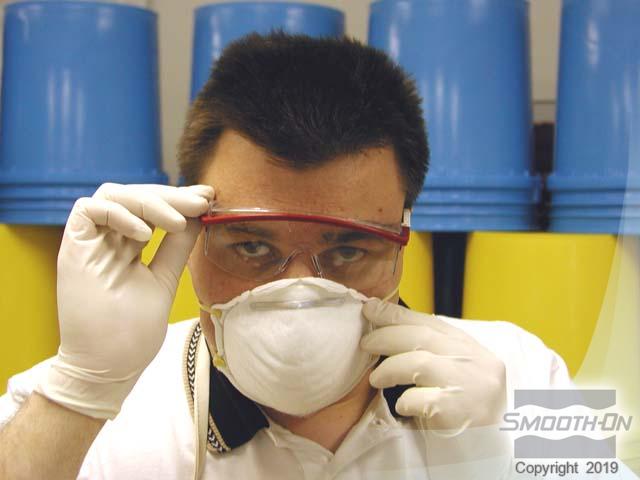
Safety First: Wear a safety mask to prevent inhalation of the Ure-Fil 9 powder. Ure-Fil 9 is a fumed silica that is often used as a mold rubber. It is used to thicken the Brush-On rubber for the purpose of filling in undercuts and building a ''cut-shim''.
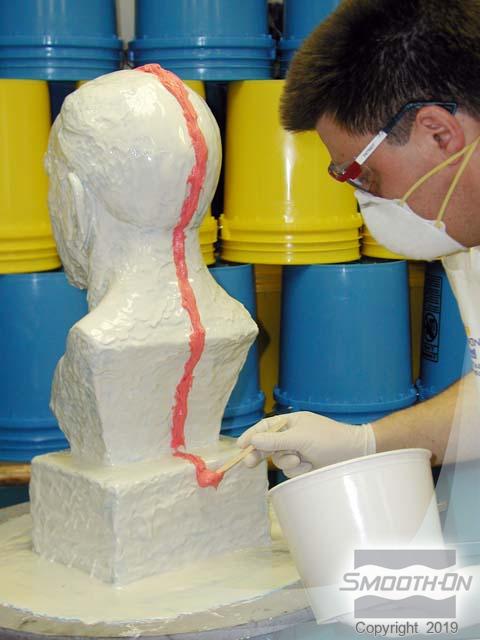
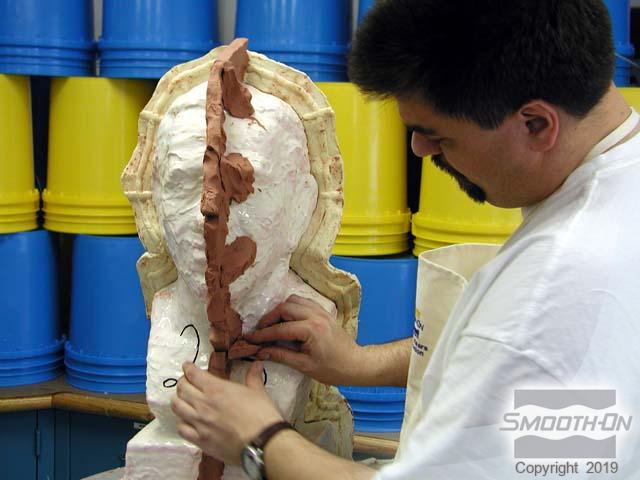
Begin building a 'cut seam'; the rubber mold will be removed from the model by cutting. We will cut the rubber along a thickened cut seam which will aid in registering the cut areas of the rubber when it comes time to cast into the mold. Starting at the top of the head and working straight down the back, the cut seam is applied.
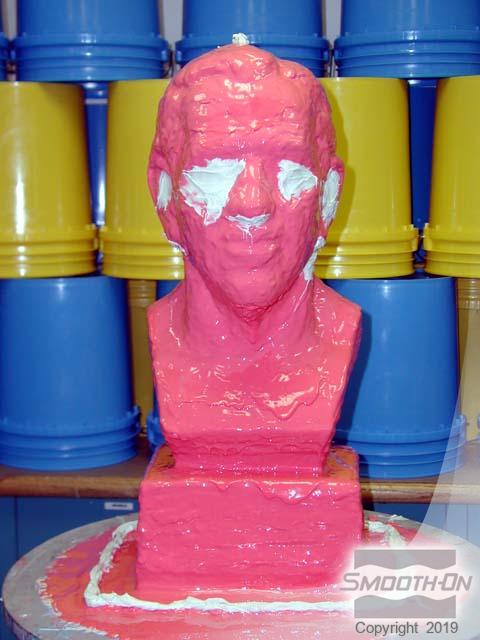
The thickened rubber is also used to make a registration key around the perimeter of the mold and to fill in undercuts and indentations (such as teh eyes, ears, and nostrils). This will make removal of the support shell much easier later by avoiding mechanical lock between the model and support shell.

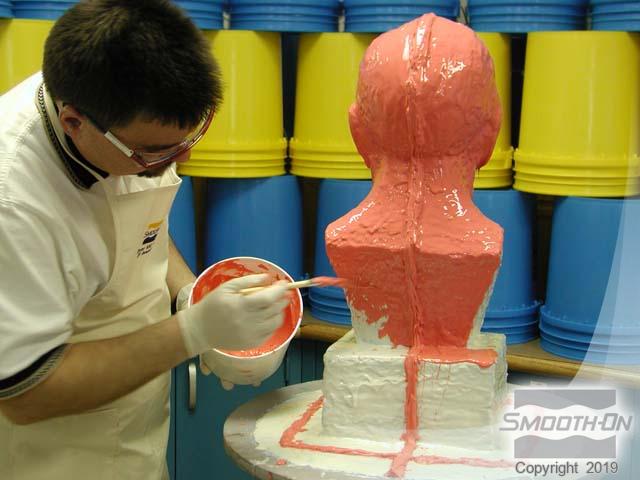
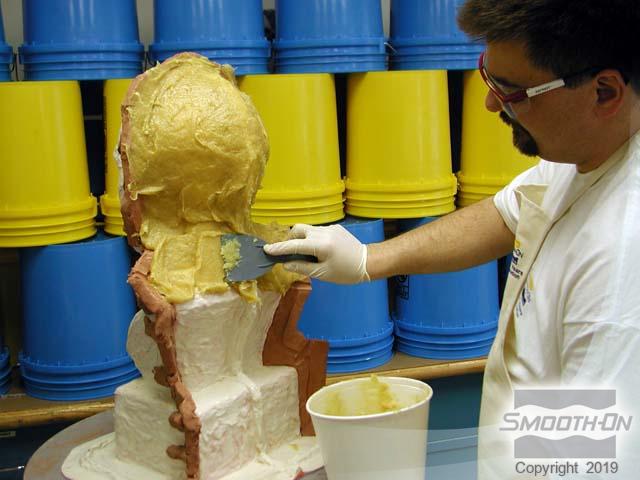
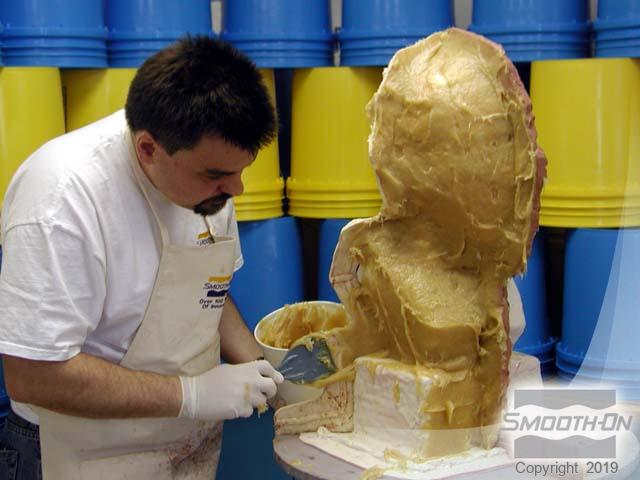
Step 6: Applying The Third Coat Of Brush-On 40
Mix another coat of Brush-On 40 with red pigment added, and apply over the model, including over the thickened rubber. Again, take a moment to ensure thorough coverage once complete.
Step 7: Dispensing and Applying The Second Thickened Layer
Mix another batch of rubber without pigment. Add Ure-Fil 9 as before and mix until the right consistency is attained. Build up the cut seam with the Ure-Fil 9 thickened rubber. Again, fill the eyes, nose, and ears with the Ure-Fil 9 thickened rubber.
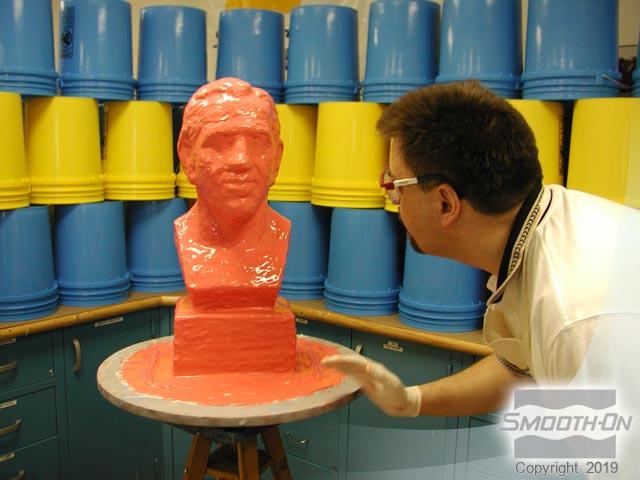
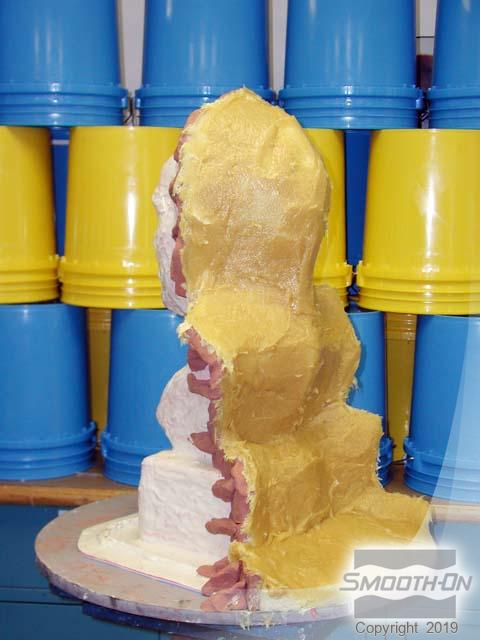
Step 8: Applying The Fourth Layer Of Brush-On 40
Measure and mix another batch of Brush-On 40® without pigment or Ure-Fil 9 added and apply the final coat of rubber. Following this 4th coat, allow all layers to cure overnight.
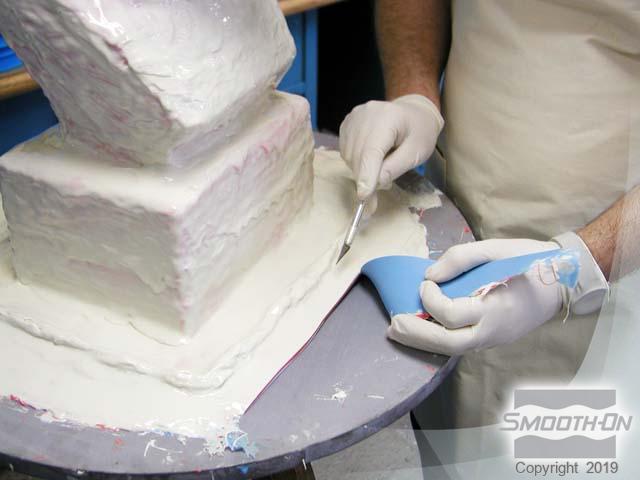
Step 9: Next Day: Preparation of Model For Support Shell
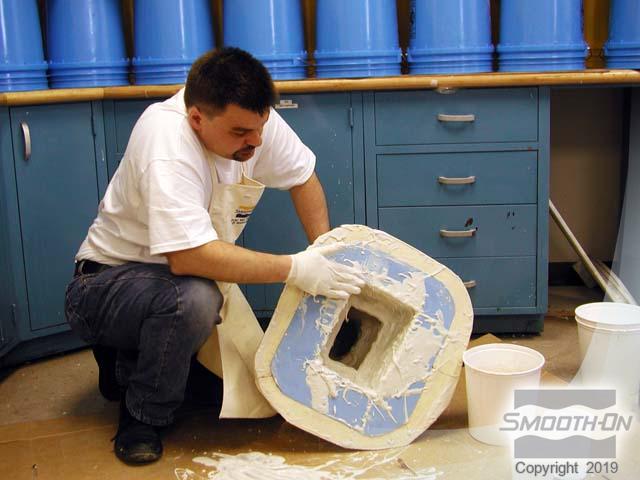
Study your model and develop a plan of attack for applying the support shell, including the number of shell segments. The goal is to not have the rigid mother mold lock onto the rigid model. For this model, a three-piece mother mold is pre-planned. Trim the flange of the rubber to create a clean edge. This will help the rubber mold register with the mother mold during casting.
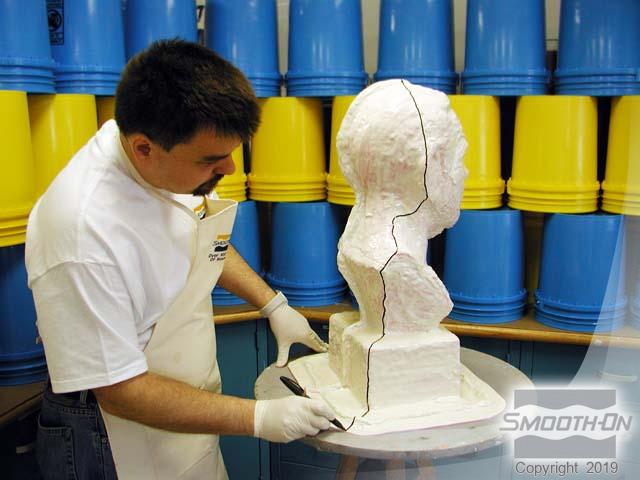
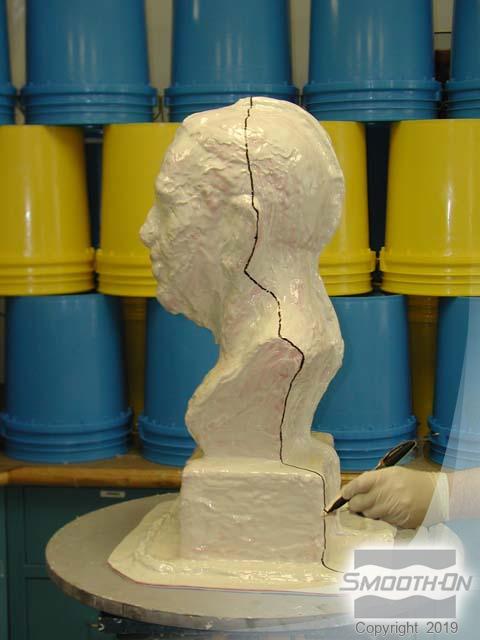
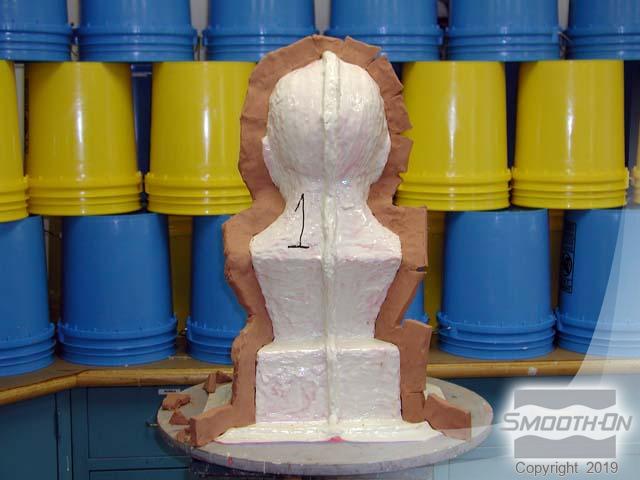
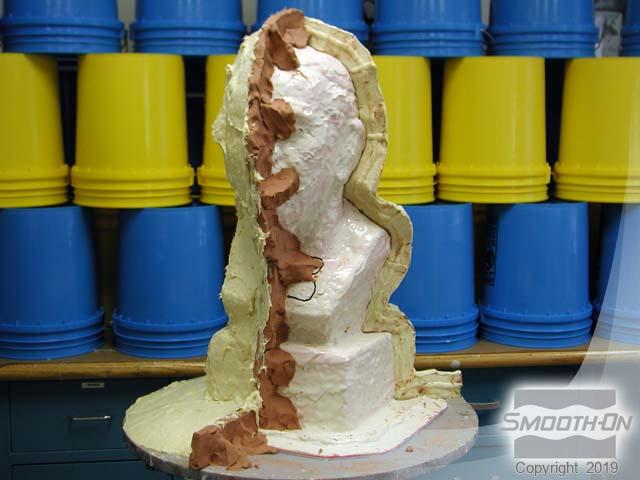
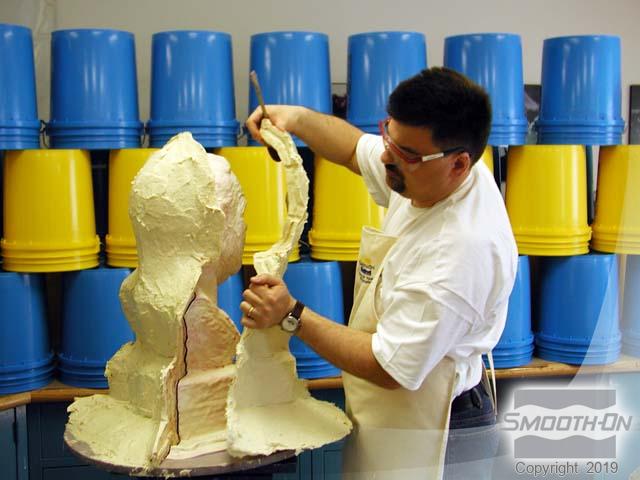
Step 10: Mapping Out Support Shell Segments
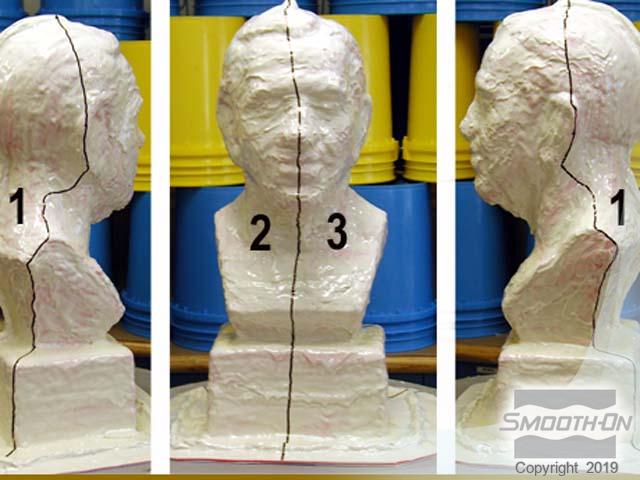
The first line is drawn from the top of the head down over the high point of the ear, continuing over the high points of the shoulder and down to the outer edge of the mold. An identical line is drawn down the opposite side of the mold along the high points to the outer edge of the mold. A third line is drawn down the front of the mold, starting at the head and continuing down the center of the nose, over the chin and to the outer edge. The final image illustrates the defined 3 segments of the support shell for this application.

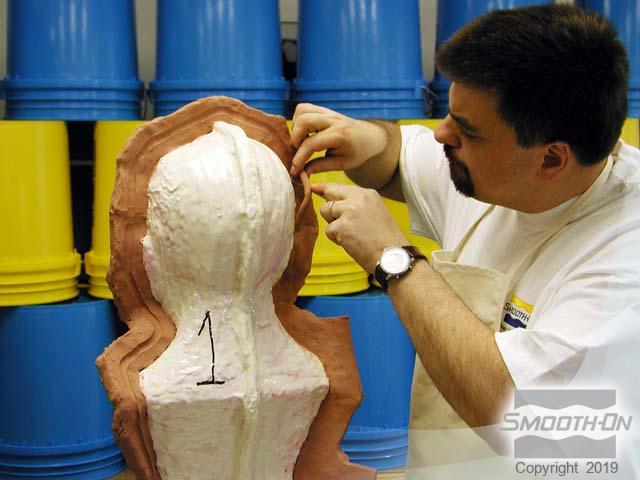
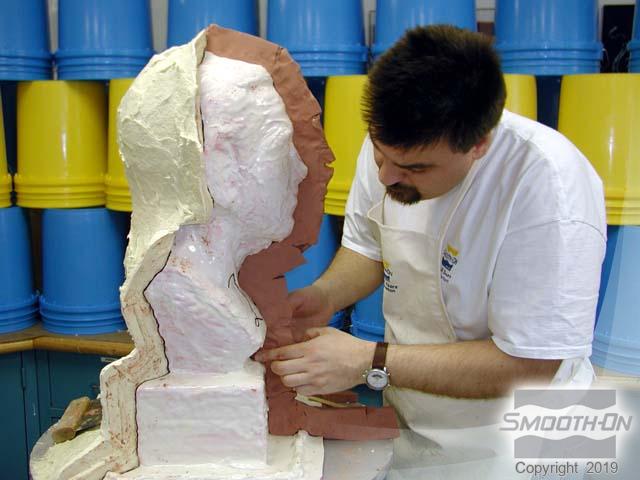
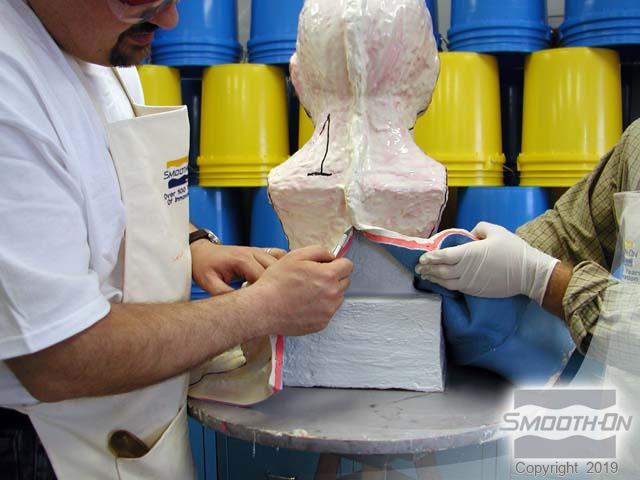
Step 11: Applying Clay To Mapped Out Support Shell Segments
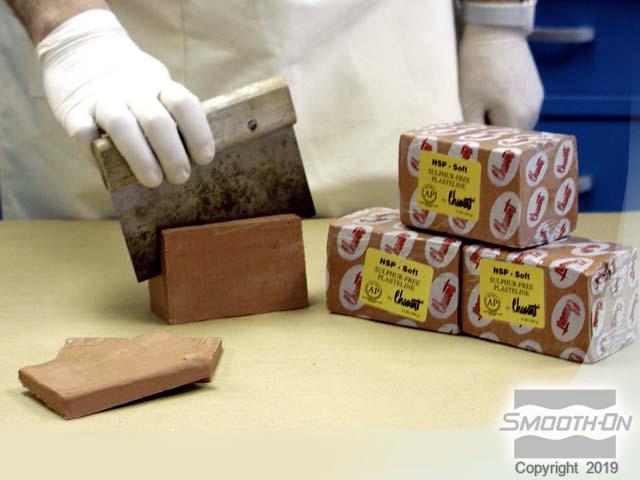
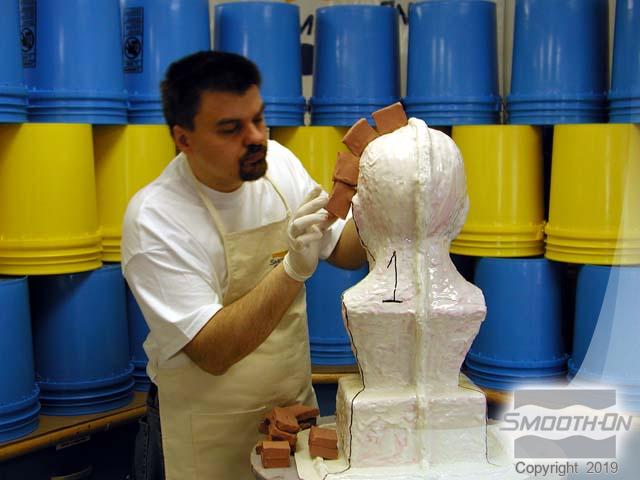
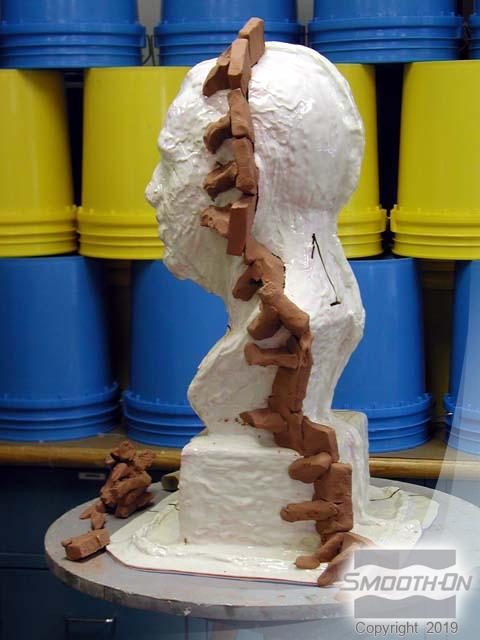
Use chavant non sulfur clay to separate the support shell into sections. Apply the clay at the line that separates the back of the bust from the front. Use pieces of clay to brace the clay wall from behind. The back of the model will be the first to receive the Plasti-Paste® mother mold material. As a final step prior to preparing the shell, carve a channel or "key" into the clay with a paper clip. This key will help register the shell segments together.
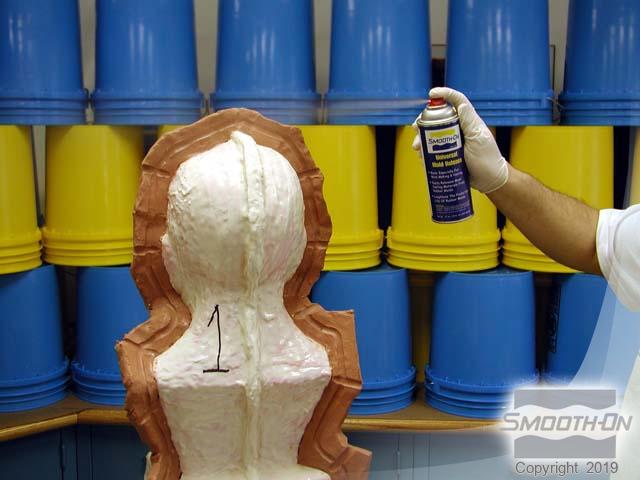
Step 12: Preparing Model and Clay for Plasti-Paste
Plasti-Paste will bond to the Brush-On 40 urethane rubber. A combination of Sonite® II Wax and mold release is required to release the plastic from the rubber and plastic segments from each other. Apply Sonite Wax to the rubber and modeling clay and allow to dry for 15 miutes. Then, apply Universal® Mold Release over all of the surfaces.

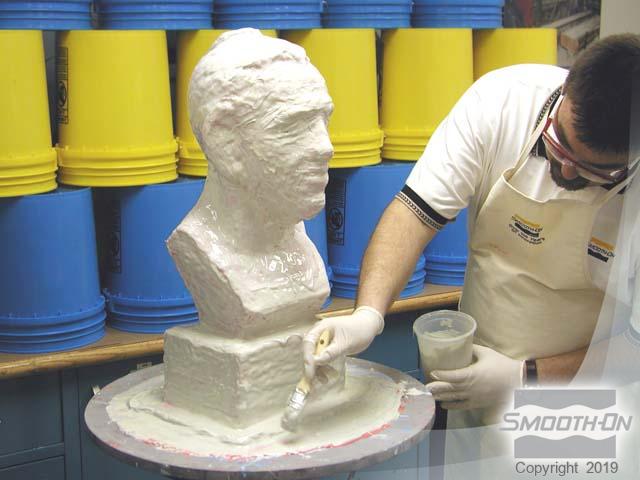
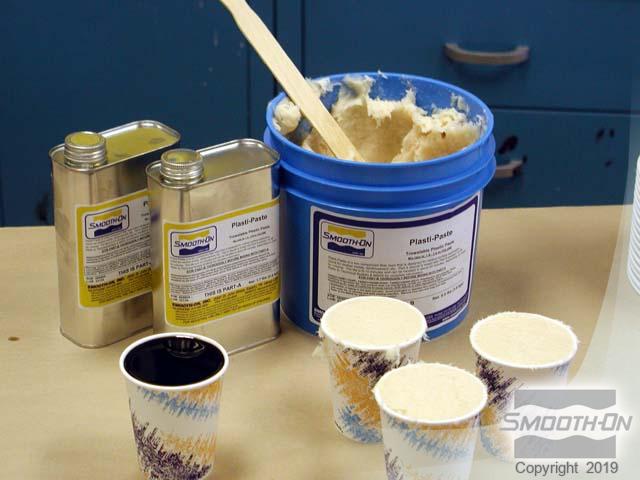
Step 13: Dispensing and Applying First Layer Of Plasti-Paste
Plasti-Paste® is mixed 1 part A to 3 parts B by volume. Mix Parts A and B thoroughly. Apply Plasti-Paste® to the surface of the rubber mold and out to the outer edge of the clay shim. Apply evenly and be sure to build up the outer edges. Plasti-Paste® can hold to a vertical surface unlike any other trowelable plastic available and it also sticks well to itself.
The finished support shell thickness should be 3/8'' or 1 cm. Don't mix more than you can apply in 10 minutes. You can always mix and apply more. Allow the first segment of the Plasti-Paste® shell to cure for 90 minutes. As it becomes rigid, it changes from dark to light in color. After 90 minutes, remove the clay shim from the first part of the Plasti-Paste® support shell.
Step 14: Applying and Preparing The Second Clay Wall
Another clay shim is built along the pre-drawn line running from the top of the head down the front of the face. The shim is reinforced on one side to support it when applying the Plasti Paste®.
Brush Sonite® Wax over all surfaces and let dry for 15 minutes. Apply Universal® Mold Release over all surfaces.
Step 15: Applying The Second Coat Of Plasti-Paste
Mix and apply Plasti-Paste® as before to create the second shell segment. Working from top to bottom, apply an even layer and build up to 3/8'' or 1 cm thickness. Allow the second shell segment to cure for 90 minutes.
Step 16: Preparing Your Model For The Final Section Of Plasti-Paste
Remove the clay, exposing the cured Plasti-Paste on the two segments. Apply Sonite® Wax to the last exposed area of the rubber and shell and then apply Universal® Mold Release to all surfaces.
Step 17: Applying Plasti-Paste To The Final Segment
Mix and apply the third segment of the Plasti-Paste® shell and wait 90 minutes for it to cure before demolding all segments.
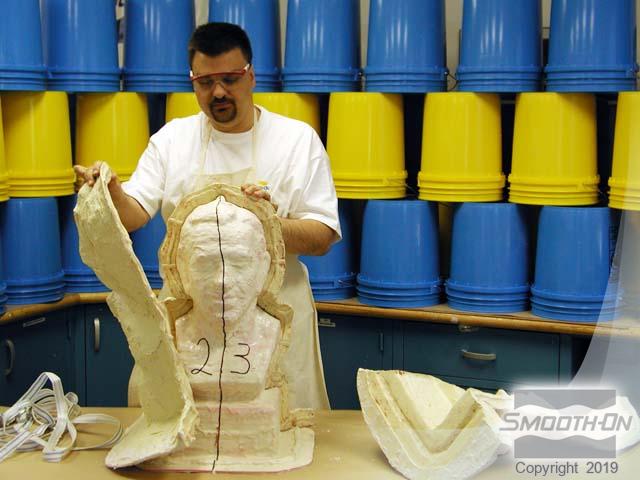
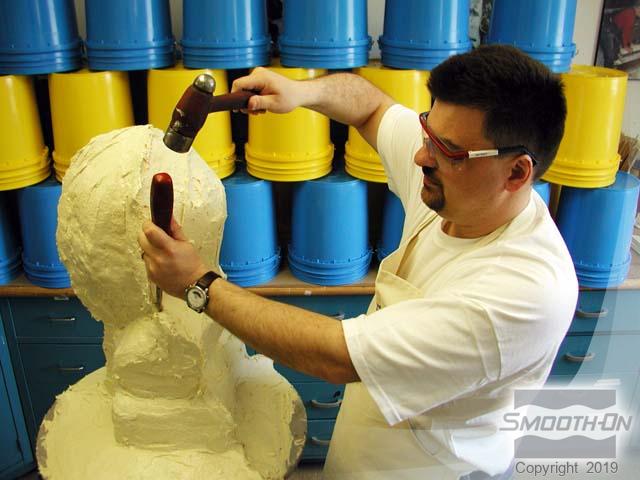
Step 18: Removing The Plasti-Paste Support Shell
Use a screwdriver and hammer to slowly pry apart the shell segments.
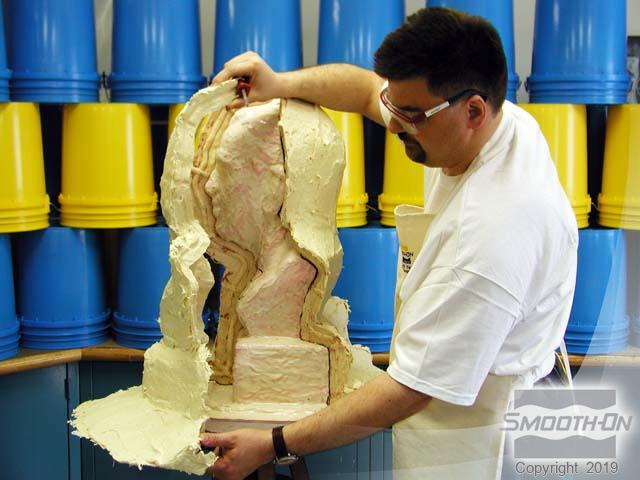
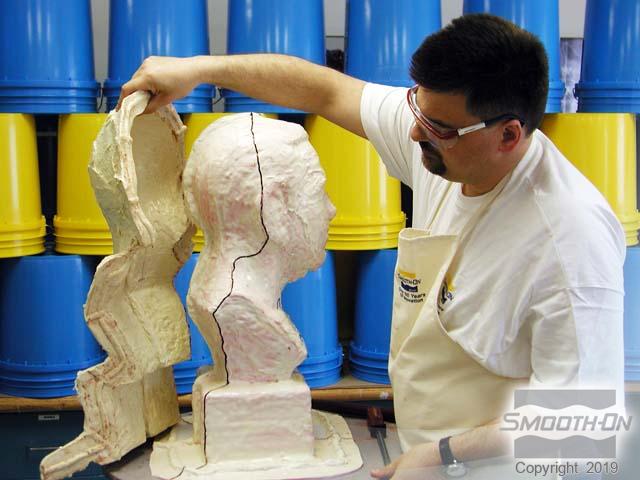
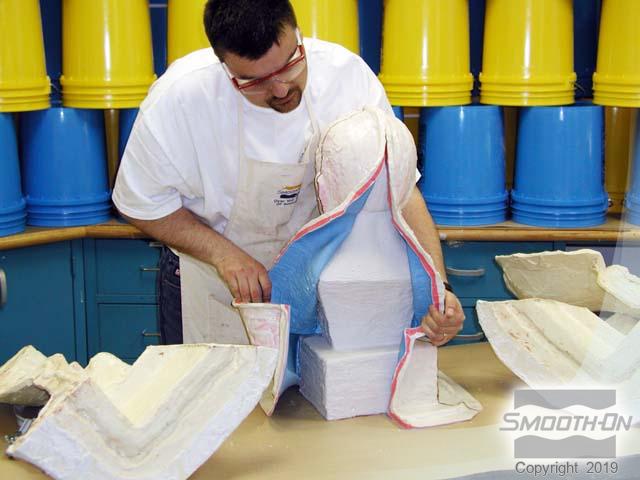
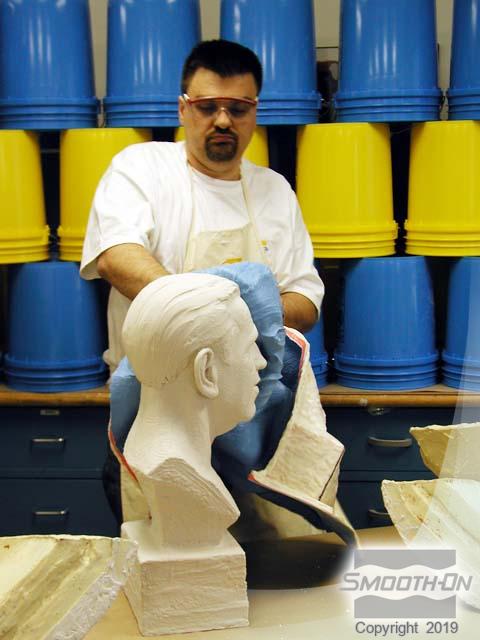
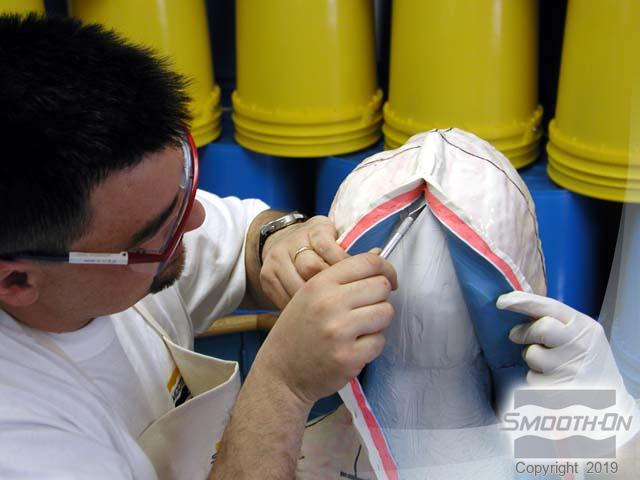
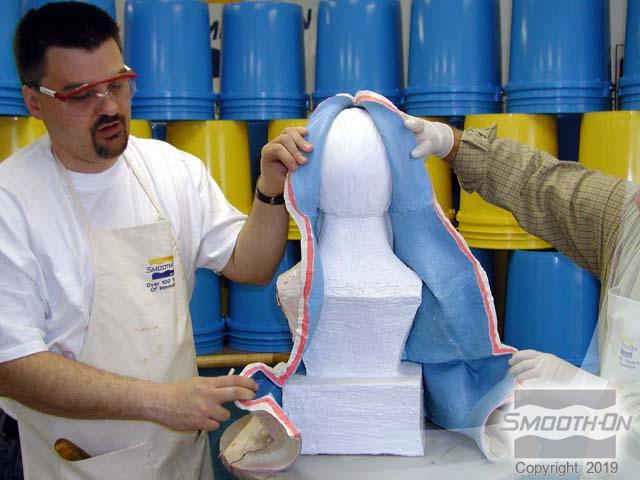
Step 19: Demolding The Model From The Brush-On 40 Mold
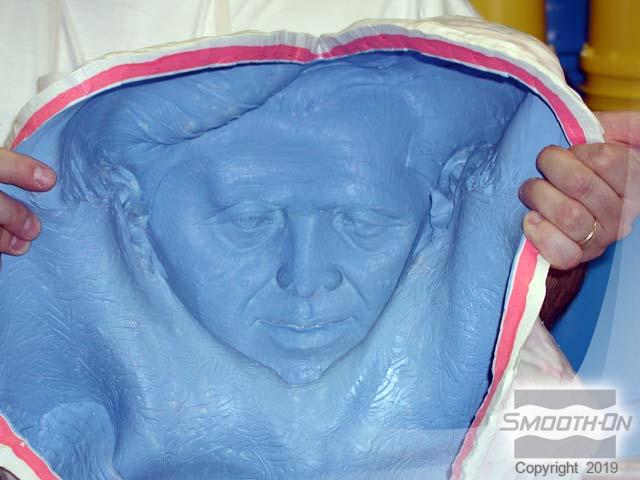
Using a razor knife, carefully cut the rubber mold along the seam. It may be helpful to have extra pair of hands to assist in holding the mold open as it is cut. Make a cut to the top of the head and then carefully remove the mold from the model. The Brush-On® mold has perfectly captured all of the detail of the original.
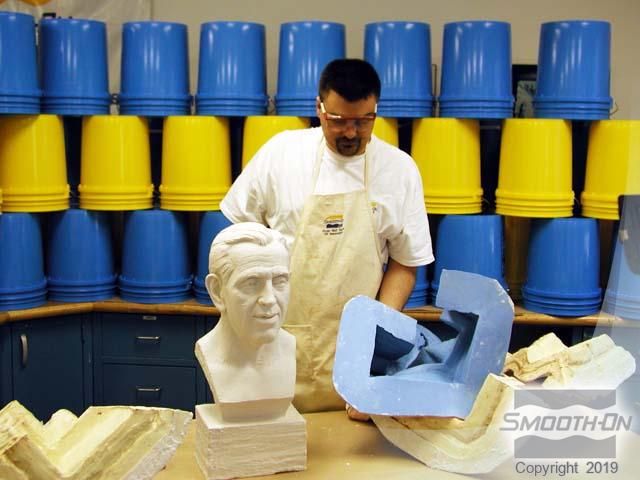
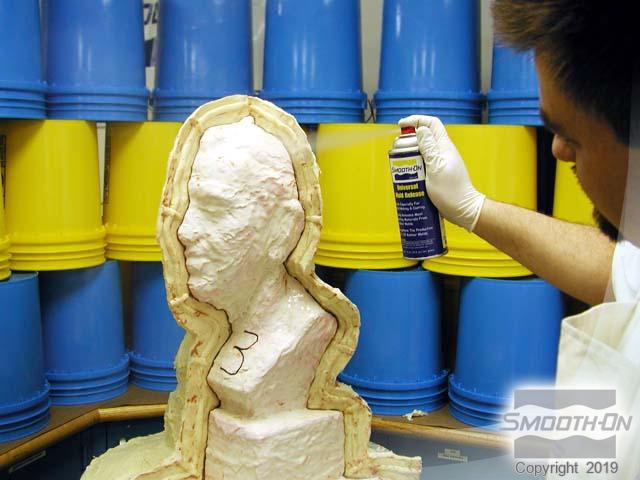
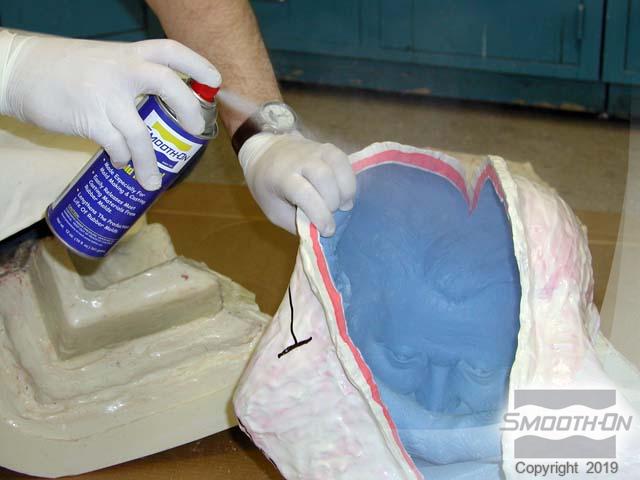
Step 20: Preparing The Mold For Casting
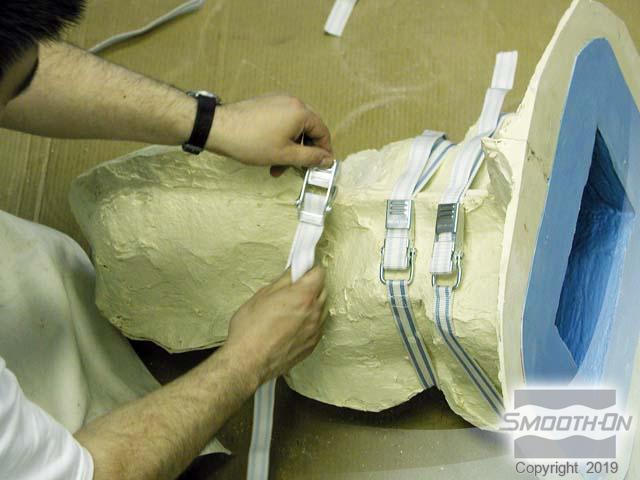
The mold and the three sections of the support shell are layed out in preparation of casting. Spray the inside and outside of the rubber mold with Universal® Mold Release. Also apply release agent to all areas of the support shell. Set the mold into the Plasti-Paste® shell. The built up cut seam of the rubber mold registers perfectly with the channel in the support shell. Use mold straps to secure the support shell segments around rubber mold.


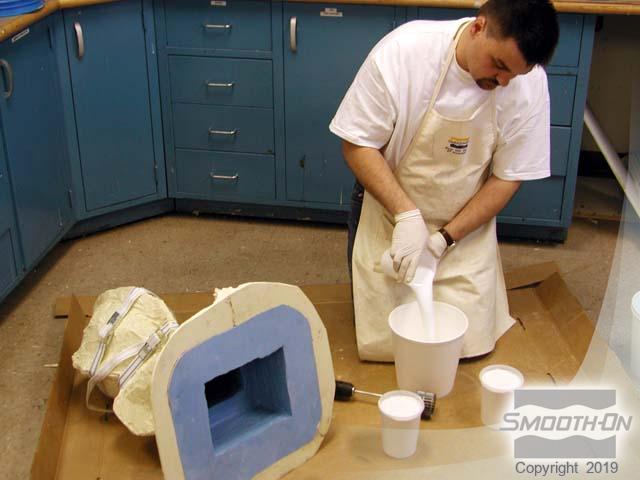
Step 21: Dispensing and Casting duoMatrix Neo
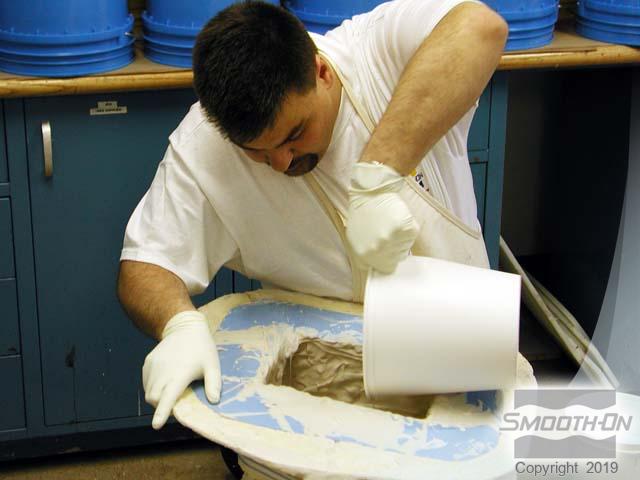
Matrix® NEO® is a polymer modifed gypsum that is easy to use and cures to a tough, hard plaster. It is mixed 2 Parts A to 1 Part B by volume. The goal in making this casting is to make it hollow and lightweight.
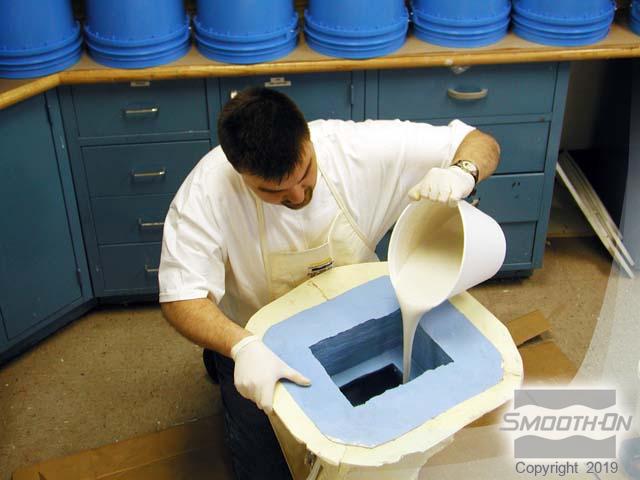
Pour the NEO® into the mold cavity and rotate the mold to allow the NEO to build up against the mold walls. Mix and pour additional batches of NEO® into the mold. Continue to rotate the mold allowing the batches of NEO to build in layers on itself. After the final batch of NEO® is mixed and rotationally cast into the mold, allow all layers to cure for at least an hour. Remove the mold straps from the mother mold.
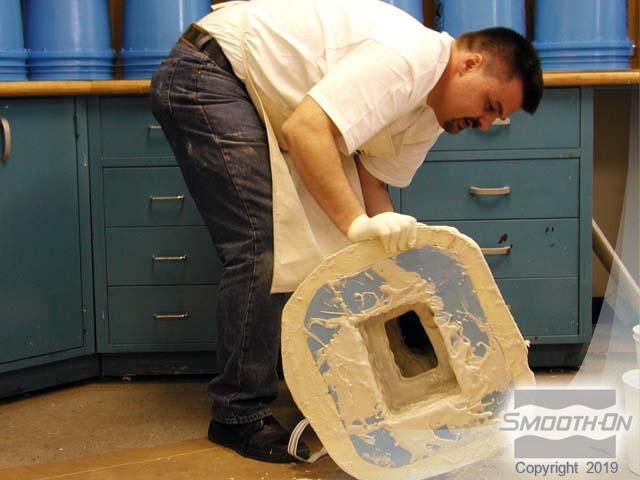
Step 22: Demold
Finally, remove the sections of the shell and carefully separate the mold at the back, removing it from around the casting.
The casting is a perfect copy of the original model and the mold is ready for casting again. The casting is displayed next to the original sculpture and reflects perfect detail captured by the Brush-On® 40 mold.