Brush-On™ 40
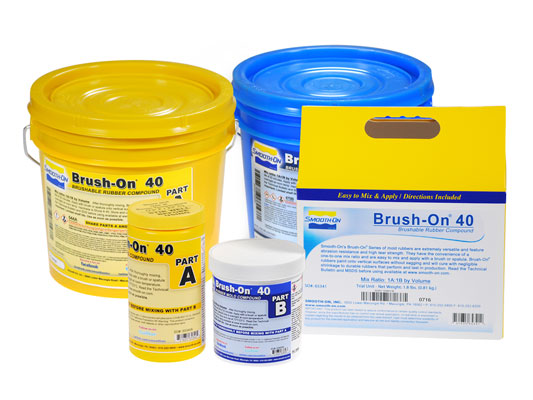
Smooth-On’s Brush-On™ Series of mold rubbers are extremely versatile and are famous for their abrasion resistance and high tear strength. They have the convenience of a one-to-one mix ratio and are easy to mix and apply with a brush or spatula.
Features
-
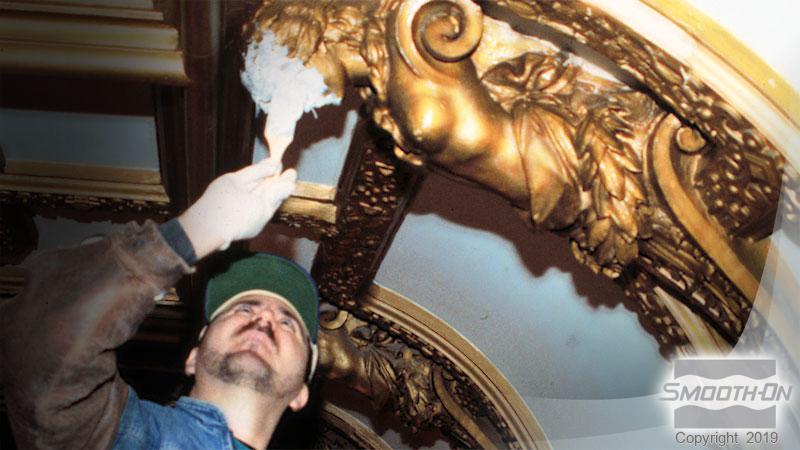
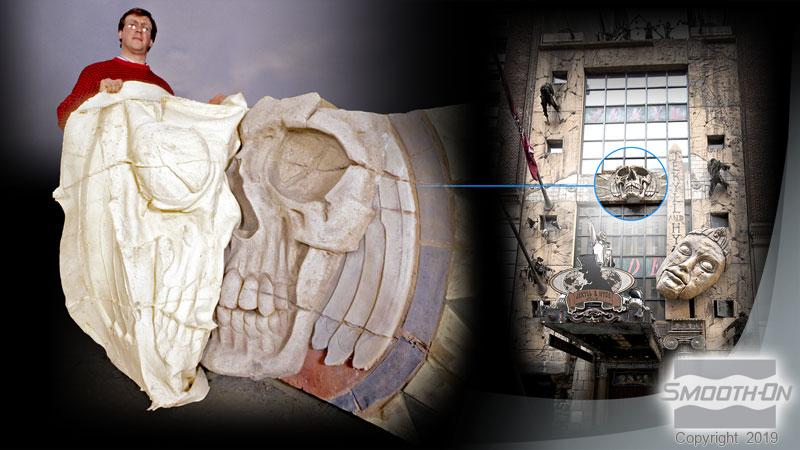
Brush-On™ 40 can be painted onto vertical surfaces without sagging and will cure with negligible shrinkage to durable rubbers that perform and last in production.
-
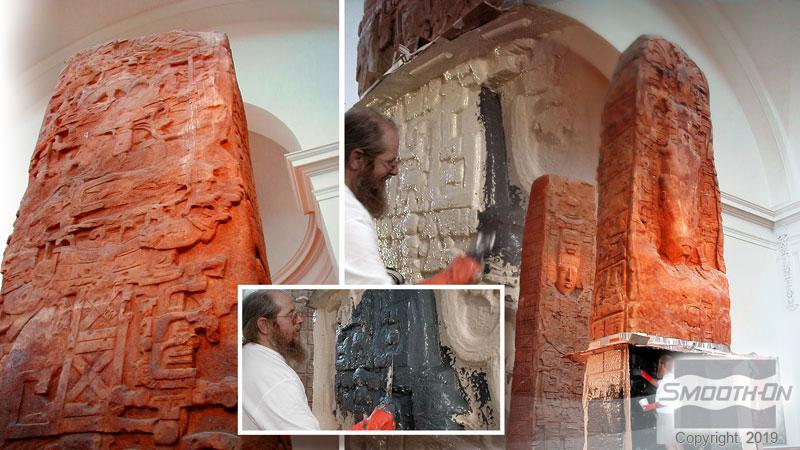
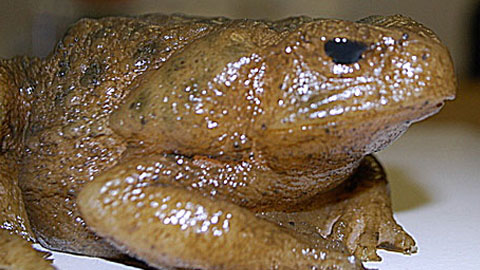
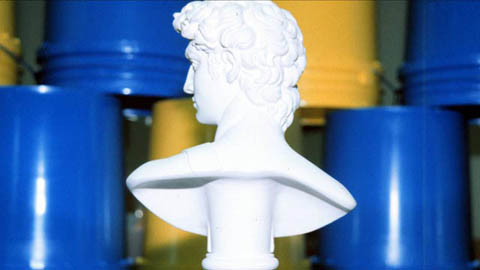
Brush-On™ 40 will capture exact detail from any original model.
-
Brush-On™ 40 can be inverted and used to make glove molds.
FOR COMMERCIAL/INDUSTRIAL USE ONLY
› Click here for more Brush-On™ rubber products.


Instructions
Preparation - Materials should be stored and used in at room (73°F/23°C). Humidity should be low. These products have a limited shelf life and should be used as soon as possible. Wear safety glasses, long sleeves and rubber gloves to minimize contamination risk. Good ventilation (room size) is necessary.
Some Materials Must Be Sealed - To prevent adhesion between the rubber and model surface, models made of porous materials (gypsum plasters, concrete, wood, stone, etc.) must be sealed prior to applying a release agent. SuperSeal™ or One Step™ (available from Smooth-On) are fast drying sealers suitable for sealing porous surfaces without interfering with surface detail. Shellac is suitable for rough contours. A high quality spray shellac is suitable for sealing modeling clays that contain sulfur or moisture (water based). Thermoplastics (polystyrene) must also be sealed with shellac or PVA.
In all cases, the sealing agent should be applied and allowed to completely dry prior to applying a release agent.
Non-Porous Surfaces - Metal, glass, hard plastics, sulfur free clays, etc. require only a release agent.
Applying A Release Agent - A release agent is necessary to facilitate demolding when casting into or over most surfaces. Use a release agent made specifically for mold making (Universal™ Mold Release available from Smooth-On). A liberal coat of release agent should be applied onto all surfaces that will contact the rubber.
IMPORTANT: To ensure thorough coverage, lightly brush the release agent with a soft brush over all surfaces of the model. Follow with a light mist coating and let dry for 30 minutes. Because no two applications are quite the same, a small test application to determine suitability for your project is recommended if performance of this material is in question.
IMPORTANT: Shelf life of product is reduced after opening. Remaining product should be used as soon as possible. Immediately replacing the lids on both containers after dispensing product will help prolong the shelf life of the unused product. XTEND-IT™ Dry Gas Blanket (available from Smooth-On) will significantly prolong the shelf life of unused liquid urethane products.
Measuring and Mixing - Liquid urethanes are moisture sensitive and will absorb atmospheric moisture. Mixing tools and containers should be clean and made of metal, glass or plastic. Materials should be stored and used in a warm environment (73°F/23°C).
Mixing - Part B is a paste with the consistency of cake frosting. Fill a container to the top with this paste, making sure to eliminate any large voids. Level off the top of the container and remove any excess material. The paste should then be thoroughly emptied into a larger container that will act as your mixing container. Next, fill the original container to the top with Part A (liquid) and empty it into the mixing container. After dispensing equal amounts of Parts A and B into mixing container, mix thoroughly for 3 minutes making sure that you scrape the sides and bottom of the mixing container several times.
Applying The Rubber - This product must be applied in layers. Mold makers generally find that four to six layers (minimum 3/8”) thickness is suitable for a working mold. Using a stiff brush, the first coat of rubber should be applied in a thin layer to capture intricate detail. Use dabbing strokes, especially around undercuts, to reduce entrapped air. Subsequent coats will add strength to the mold. Let the first coat dry for 30-40 minutes at room temperature or when it becomes “tacky” before adding the next coat. Repeat until the necessary thickness is achieved. Do not allow rubber to fully cure between layers, as delamination may result. Note: Although not necessary, adding a small amount of SO-Strong™ liquid color pigment to every other mix of rubber will help you distinguish one layer from the next. This will ensure that you apply a thorough coating each time and help build uniform layers.
Curing - Allow rubber to cure overnight (at least 16 hours) at room temperature (73°F/23°C) before demolding. Cure time can be reduced with mild heat or by adding Smooth-On Kick-It™ Cure Accelerator. Do not cure rubber where temperature is less than 65°F/18°C.
Post Curing - After rubber has cured at room temperature, heating the rubber to 150°F (65°C) for 4 to 8 hours will increase physical properties and performance.
Apply A Support Shell - Once the mold is fully cured, a rigid support shell (mother mold) is needed to support the rubber mold during casting. Plasti-Paste™ II is a trowelable plastic which is ideal as a mother mold material.
Using The Mold - If using as a mold material, a release agent should be applied to the mold before each casting. The type of release agent to use depends on the material being cast. The proper release agent for wax, liquid rubber or thermosetting materials (i.e. Smooth-On liquid plastics) is a spray release made specifically for mold making (available from Smooth-On or your distributor). Prior to casting gypsum plaster materials, sponge the mold with a soap solution for better plaster flow and easy release. In & Out™ II Water Based Release Concentrate (available from Smooth-On) is recommended for releasing abrasive materials like concrete.
Performance & Storage - Fully cured molds are tough, durable and will perform if properly used and stored. The physical life of the mold depends on how you use it (materials cast, frequency, etc.). Before storing, the mold should be cleaned with a soap solution and wiped fully dry. Two part (or more) molds should be assembled. Molds should be stored on a level surface in a cool, dry environment. Do not stack molds, expose them to moisture or UV light.
Related Categories: Urethane Rubber
Related Series: Brush-On™ Series – Brushable Polyurethane Rubber
How-To Articles
How To Make a Rug Skid-Free Using Brush-On™ 40 Urethane Rubber
See how versatile Brush-On™ 40 can be used to make a non-skid surface
How To Use Brush-On Urethane Rubber as a Paint
Some of our customers have found that our Brush-On urethane rubber can be used as a paint.
How To Handle Large Undercuts In The Brush-On Mold Making Process
Planning is the key to success in any mold making project...
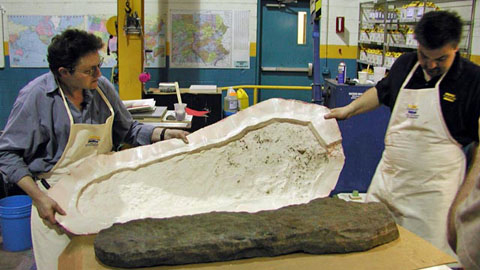
How To Reproduce a Native American Gravestone
Read how a reproduction of this historic headstone for display at a local museum is made using brush-on urethane rubber.
How To Mold a Complex Original Model
Molding and casting a piece with delicate detail, complex angles and severe undercuts.
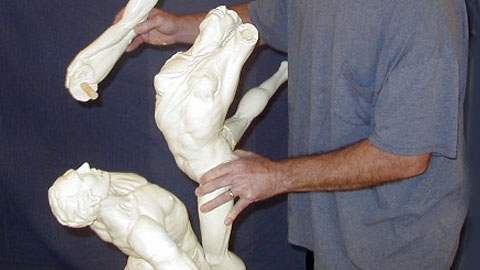
How To Reproduce a 3D Sculpture Using Brush-On™ 40 Mold Rubber
Making a brush-on mold of a 3-dimensional sculpture is an effective and inexpensive method that can be used to...
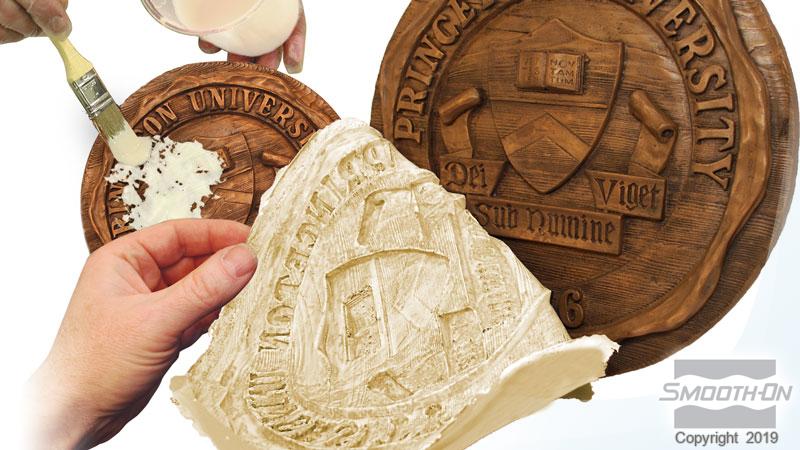
How To Restore an Historic Concrete Seal at Princeton University
Watch how John Paolini, from Paolini Cast Stone, restored an historic concrete seal