XTC-3D™ COAT
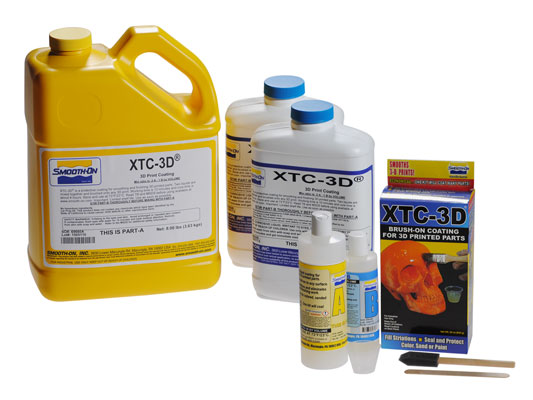
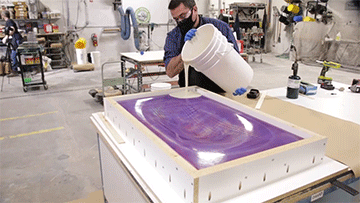
XTC-3D™ is a protective coating for smoothing and finishing 3D printed parts. Two liquids are mixed together and brushed onto any 3D print. Coating self-levels and wets out uniformly without leaving brush strokes. Working time is 10 minutes and cure time is about 4 hours (depending on mass and temperature). XTC-3D™ cures to a hard, impact resistant coating that can be sanded, primed and painted. Adding colors and metal effects is easy.
Features
Inexpensive to Use – 1 oz covers 100+ square inches (see coverage information below).
90% Time & Labor Savings: XTC-3D™ fills in 3D print striations and creates a smooth, high gloss finish. The need to post finish is almost eliminated.
Coat any 3D Print Surface - XTC-3D™ can be applied to both SLA and SLS prints. It works with PLA, ABS, Laywoo, Powder Printed Parts and other rigid media. It also can be used to coat EPS, EPDM and urethane foam as well as wood, plaster, fabric, cardboard and paper.
XTC-3D™ does not contain VOC’s, phthalates or phosphates.
Gallery
- 847047254
 PLA 3-D print coated with XTC-3D®.
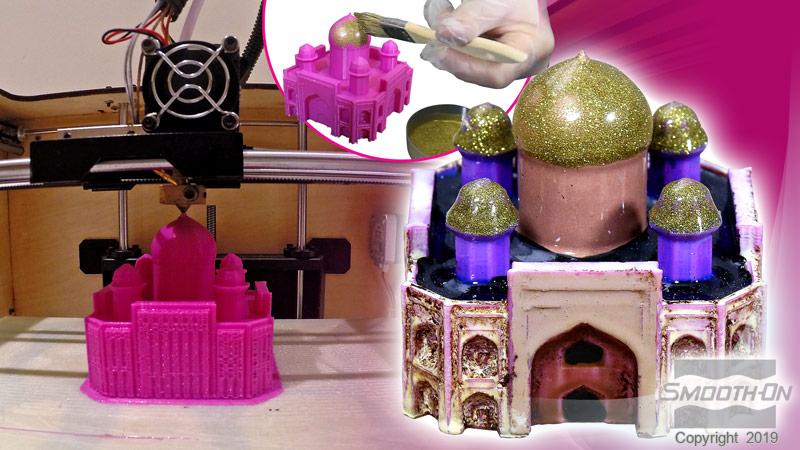 Various effects can be possible with XTC-3D® and SO-Strong® tints and Cast Magic® Powders
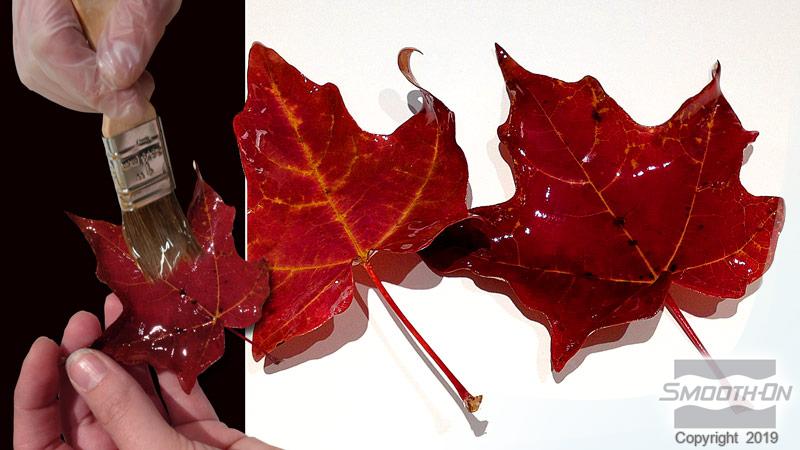 Real leaves can be preserved using a quick coat of XTC-3D®.
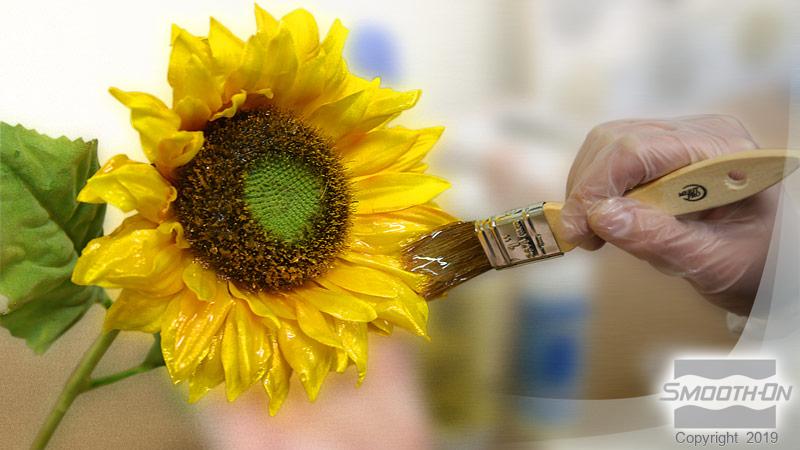 XTC-3D® offers an easy way to enrich the appearance of your delicate fabric arrangements.
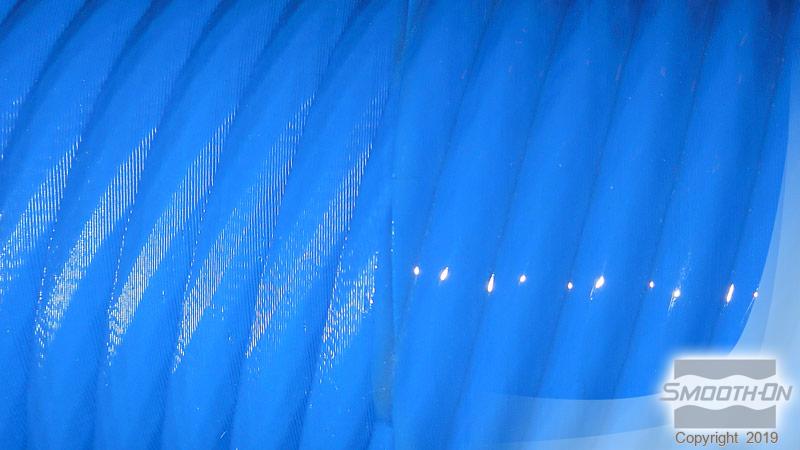 Half of this 3-D print is coated with XTC-3D®.
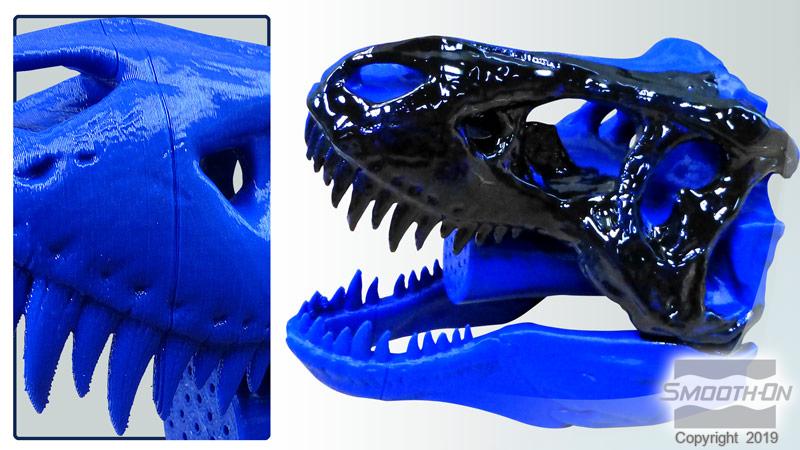 XTC-3D® smooths the print lines on this dinosaur skull.
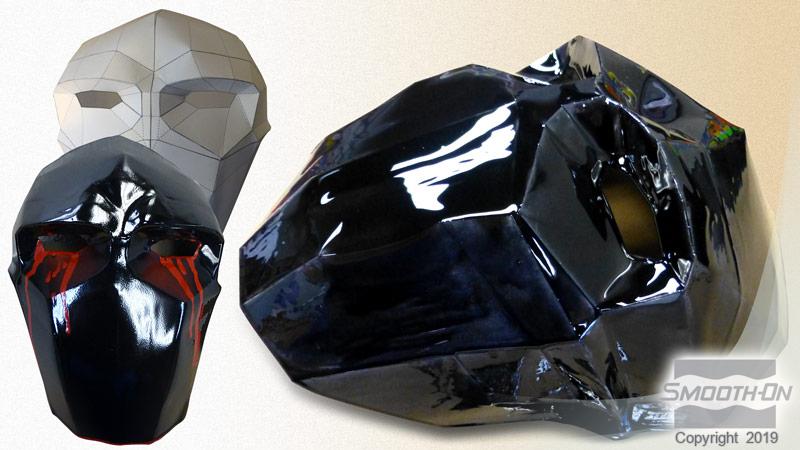 XTC-3D® and black tint is applied to this paper sculpt giving it strength and a smooth glossy finish.
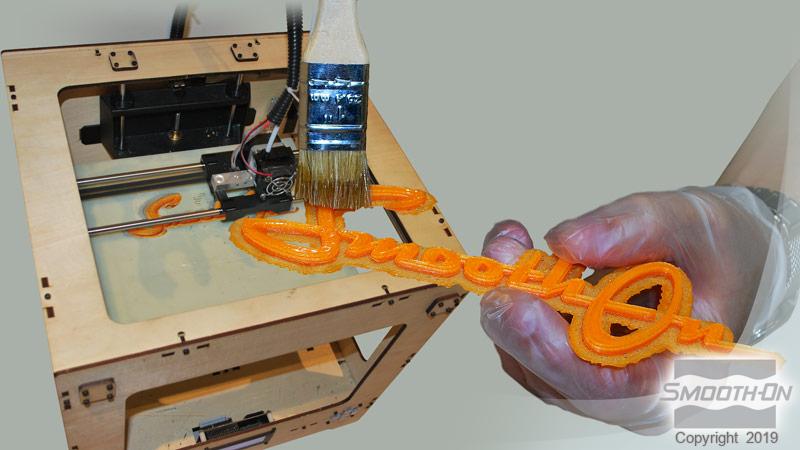
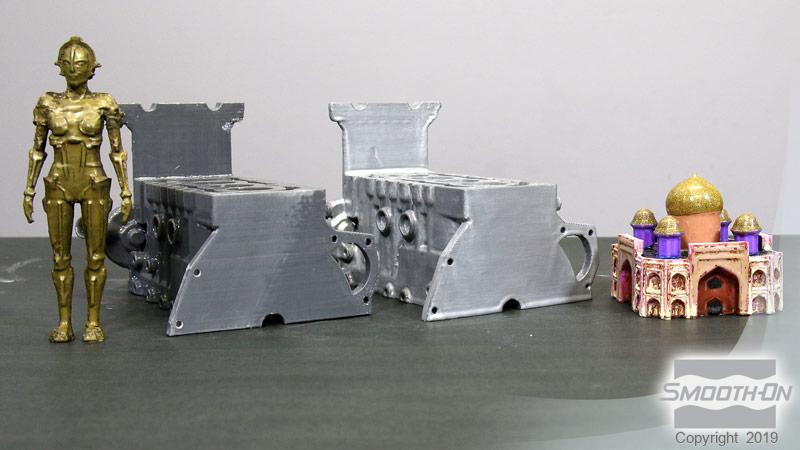 Various PLA 3-D prints coated with XTC-3D®.
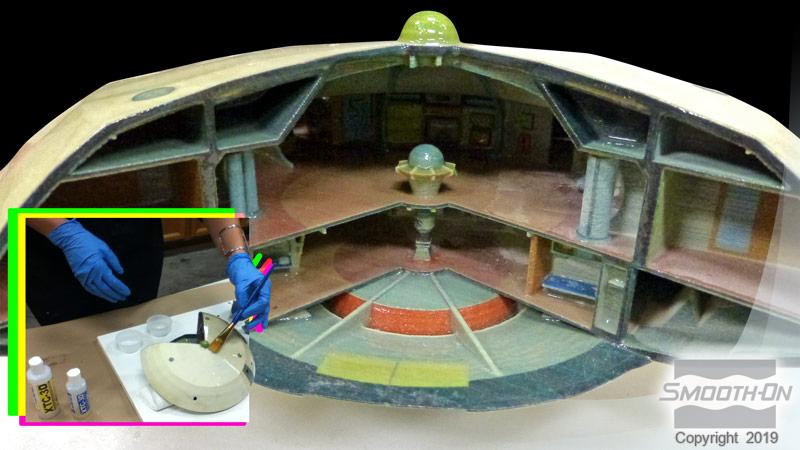 Intricate 3-D printed model is infiltrated with XTC-3D® giving the piece a smooth finish and strength.


Instructions
Preparation – Materials should be stored and used in a room temperature environment (73°F/23°C). Elevated temperatures will reduce Pot Life. XTC-3D™ Part A resin and Part B Hardener must be properly measured and thoroughly mixed to achieve full, high-strength, solid-cure properties. Because no two applications are quite the same, a small test application to determine suitability for your project is recommended if performance of this material is in question.
Avoid eye and skin contact. Avoid breathing fumes - use in a well ventilated area. NIOSH approved respirator is recommended. Wear safety glasses, long sleeves and rubber gloves to minimize skin contact. This material has a high exotherm (generates heat). Do not mix components in glass or foam containers.
Coverage – A very small amount of XTC-3D™ is needed to coat an average size 3D print. 1 oz / 28.3 grams of mixed material will cover 101 in2 (651 cm2 ) applied at 1/64” (.04 cm) thickness. Pre-Mix Part B: Before using, shake container vigorously.
Measuring and Dispensing – You need to be accurate in measuring for XTC-3D™ to cure properly. Parts A and B can be measured by either volume or weight. Dispense proper proportions of parts A and B into clean plastic, metal or wax-free paper containers (do not use foam or glass cups).
Extending Working Time - If left in a mixing cup with a concentrated mass, pot life will be short and material may cure in your cup due to exotherm. Important - Reduce the mass of the mixture to increase working time. Example: layer two sheets of aluminum foil together and create a single-use flat tray with vertical sides to contain the liquid resin. After mixing parts A and B, pour mixture into the aluminum foil to reduce the mass. Your working time will be significantly increased.
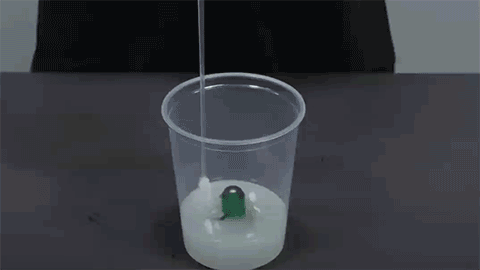
Mixing – Be sure mixing utensils have a square edge and are clean. Combine and mix proper amounts of Parts A and B. Mix thoroughly for at least 1 minute. Aggressively scrape the sides and bottom of mixing container several times. Use the square edge of mixing stick to bring material off of the sides and bottom of container and blend.
Important - Mixed XTC-3D™ Resin is exothermic, meaning it generates heat. A large, concentrated mass of mixed material in a container can generate enough heat to melt a plastic cup, burn your skin or ignite combustible materials. If material begins to exotherm, move it outside to an open air environment.
Adding Color - XTC-3D™ can be colored with UVO™ or IGNITE™ colorants. Pre-mix color with Part A before combining with Part B.
Adding Fillers - A variety of dry fillers can be added such as Cast Magic™ or bronze or other metal powders, Glow Worm™, Quarry Tone™ or Ure-Fil™ powders. The maximum filler load is an amount equal to Part A by volume. Pre-mix filler with Part A before combining with Part B.
Applying XTC-3D™ - Use a disposable chip brush or foam brush to apply XTC-3D™. To achieve the thinnest coating possible we recommend applying material with a foam brush. Brushing on one thin layer of mixed material is recommended for most prints to create a smooth, uniform coating: less than 1/64“(.039 cm). To avoid drips and runs, continue brushing and working the surface until the resin begins to set up. For particularly complicated prints with intricate detail you may want to coat one a section at a time for better control. XTC-3D™ bonds to itself.
If Adding More Layers - allow first layer to partially cure until “tacky hard” before applying the next layer. For best results, each layer should be applied thinly: less than 1/64“(.039 cm).
Curing - One layer will cure tack free in about 2 hours at room temperature (73°F/23°C). Mild heat (150° F/60° C) will cure material within 15 minutes. Be careful: some 3D print media will melt at temperatures above 200°F. Fully cured material will be hard and unable to penetrate with a finger nail.
Post Finishing – Cured material can be machined or sanded (wear NIOSH approved respirator mask to prevent inhalation).
Painting – XTC-3D™ can be painted and/or primed and then painted with acrylic enamel paints. For best results, lightly sand surface prior to painting.
Thinning XTC-3D™ for Coating Starch / Powder Printed Parts - Viscosity can be lowered with acetone or denatured alcohol to penetrate porous parts.
| Mix Ratio | Cure Time |
| Thin: Mix 200 Parts A + 100 Parts B + 25 Parts Solvent. | 12 Hours |
| Thinner: Mix 200 Parts A + 100 Parts B + 50 Parts Solvent. | 24 Hours |
The more solvent added, the longer XTC-3D™ will take to cure. Cured material will be more flexible.
Smoothing Surface – granular surface texture can be smoothed by applying a second coat of XTC-3D™ (for glossy finish) or lightly sanding for matte finish.
Applying a Release Agent – For applications where adhesion is not desired, a spray release Ease Release™ 200 available from Smooth-On may be used.
Removing Uncured Material - Scrape as much material as possible from the surface using a scraper. Clean the residue with E-POX-EE KLEENER™ available from Smooth-On, lacquer thinner, acetone or alcohol. Follow safety warnings pertaining to solvents and provide adequate ventilation.
Making Molds of Models Coated with XTC-3D™: Liquid mold making rubbers will adhere to cured XTC-3D™. Before mixing and applying Smooth-On silicone or urethane mold making rubbers, apply a thorough coating of Ease Release™ 200 or 205 release agent over cured XTC-3D™ and let dry.
Related Categories: Epoxy and Urethane Coatings
Related Series: XTC-3D™ – High Performance 3D Print Coating
How-To Articles
Making a Platinum Silicone Mold of an SLA Printed UV-Cure Model
Learn how model makers create rubber molds and multiple castings of 3-D prints made with SLA.
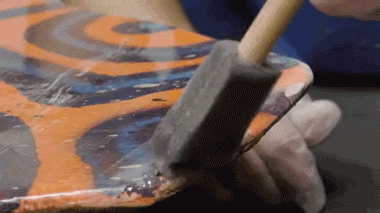
How To Repair a Skimboard Using XTC-3D™ Epoxy
In this how-to tutorial video we show how XTC-3D® epoxy resin can be used to repair a skimboard.
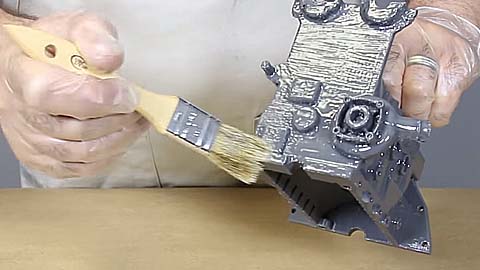
Prototyping a Durable Conveyor Belt Cleaner
From a PLA 3D printed prototype, learn how to make a durable belt cleaner out of industrial urethane rubber
Quickly Adding a Metallic Finish to a 3D Print
This video shows how to make a 3D printed PLA object look like real metal using XTC-3D® epoxy.
How To Smooth the Surface of a 3D Printed Model Using XTC-3D™
In this video, XTC-3D® Epoxy is used to coat a 3D piece printed in PLA.
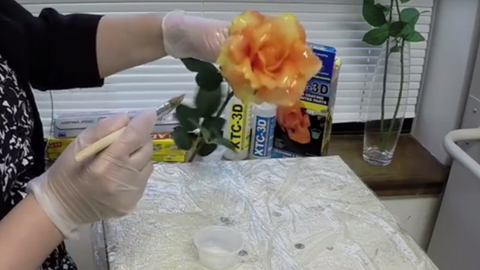
How To Coat a Flower With Resin
Watch as Jara coats a silk flower with XTC-3D epoxy resin to create a long-lasting glossy display.
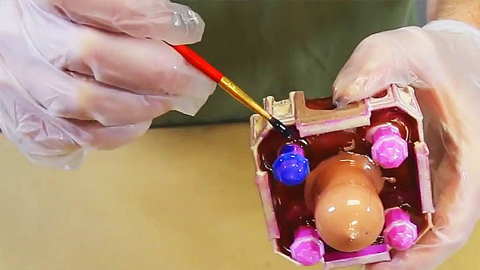
How To Add Color Effects To a 3D Printed Part Using XTC-3D™
This video demonstrates how to use XTC-3D epoxy coating to smooth and apply color to a 3D printed architectural model.
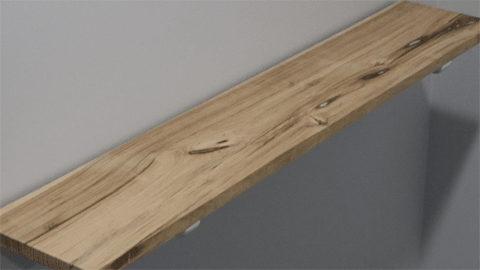
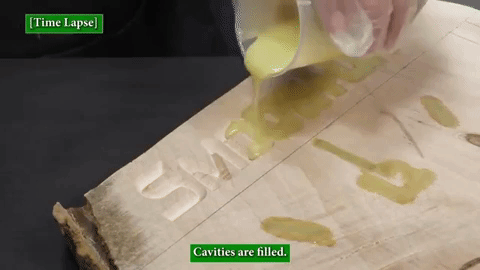
How To Make a Glow Effect in Wood With XTC 3D and Glow Worm
Create an amazing glow effect in a real wood shelf
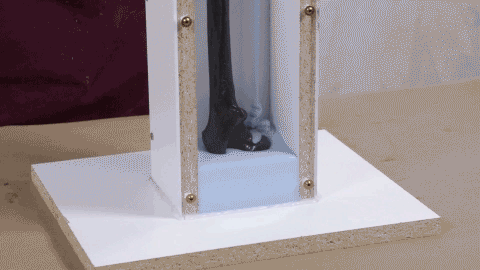
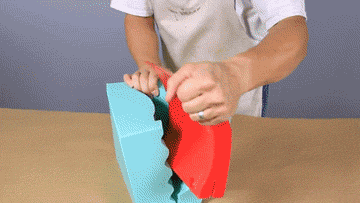
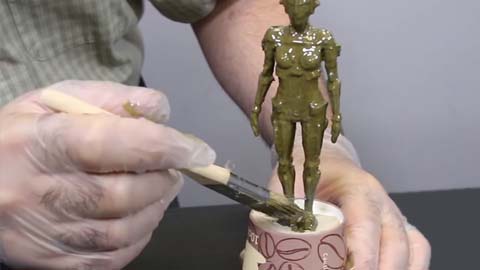
How To Make a Silicone Mold of a 3D Printed Part and Casting a Detailed Resin Training Skeleton
Watch how a medical training model is cast in resin.
How to Make a Free-Form Concrete Sink
Watch how to make an elegant shallow free-form concrete sink from start to finish