How To Cast a Crystal Clear™ Shell in a Mold Star™ 15 Mold
Step 1: Preparing Model for Molding
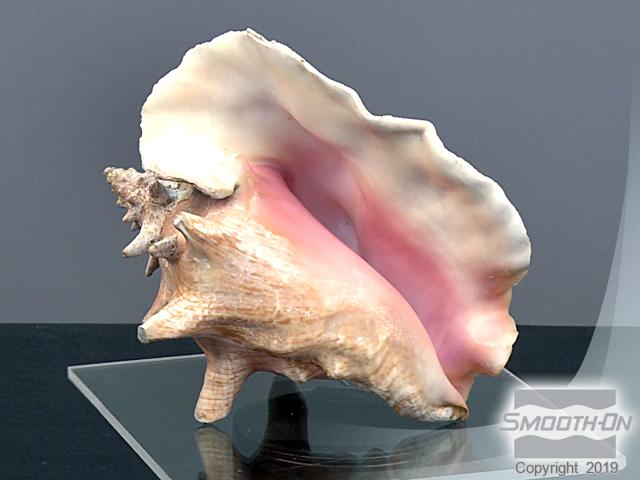
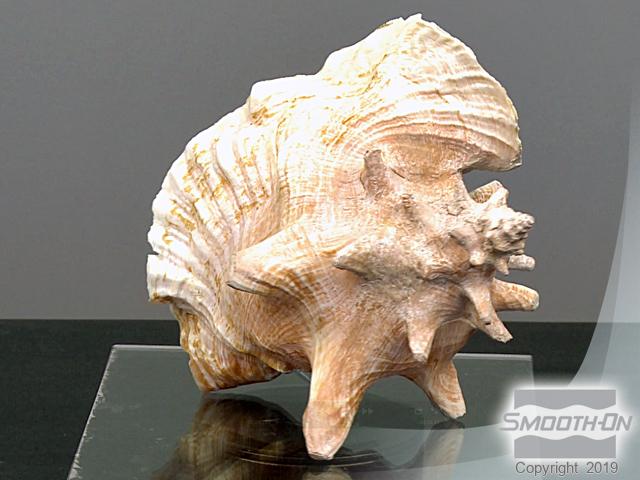
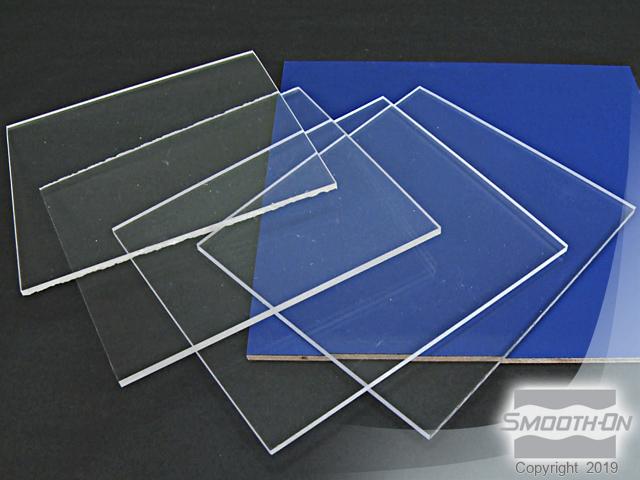
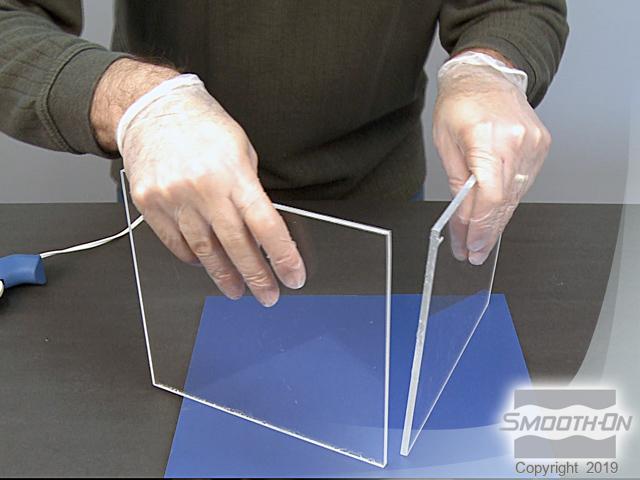
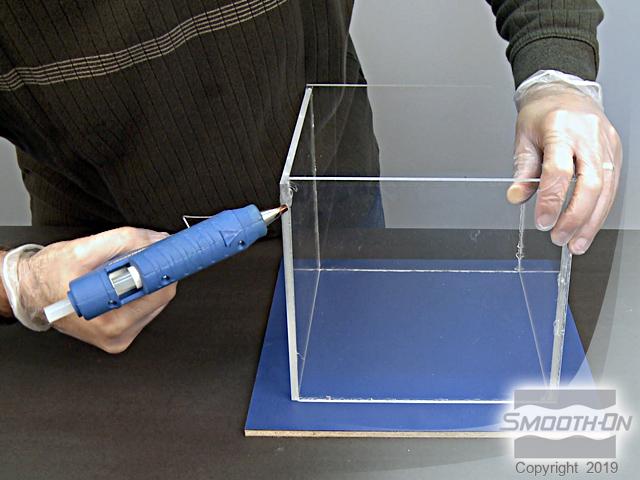
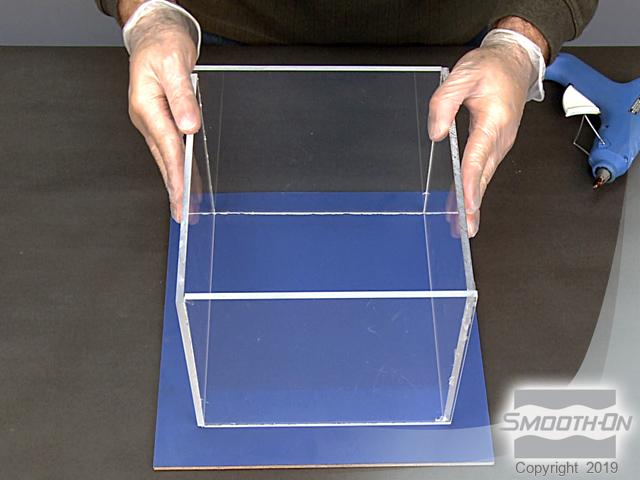
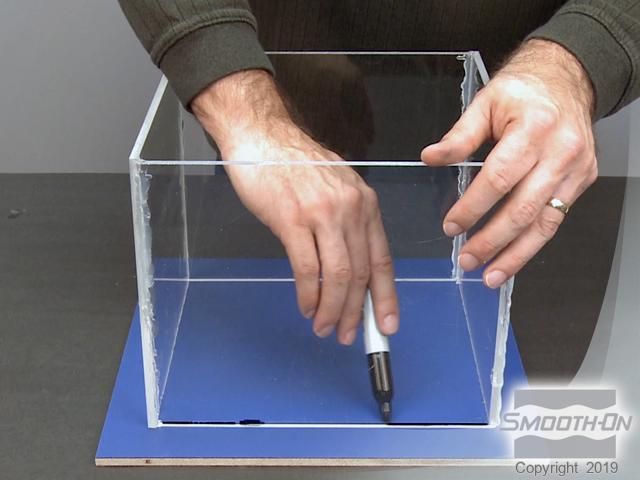
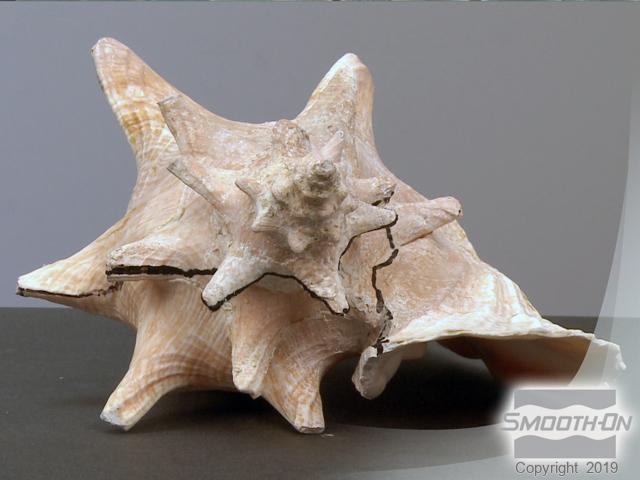
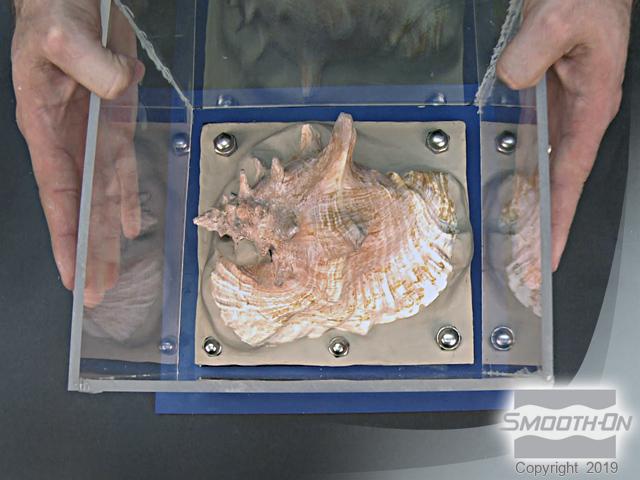
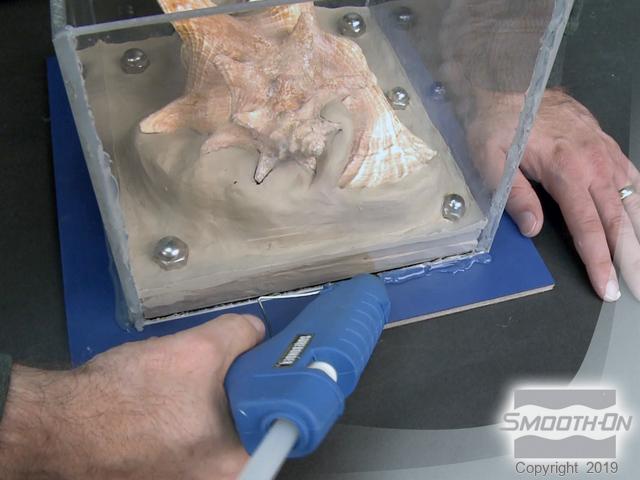
This mold will be made from an original, dry conch sea shell (notice the cavity in the front). Assemble four acrylic mold walls together and adhere them to a base surrounding the conch. Try to allow at least 0.5'' space between the original model and the mold walls. Fit and secure the mold walls together using hot melt vinyl. Draw a border around the edges of the inside of the assembled mold walls so we will know where to place the clay bed for making the first part of the 2-part mold.
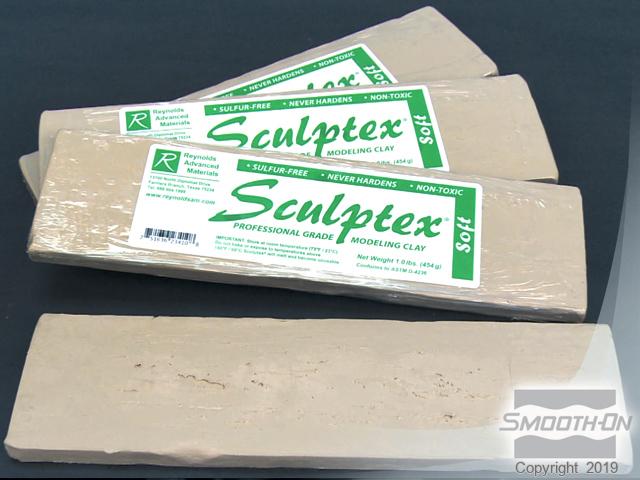
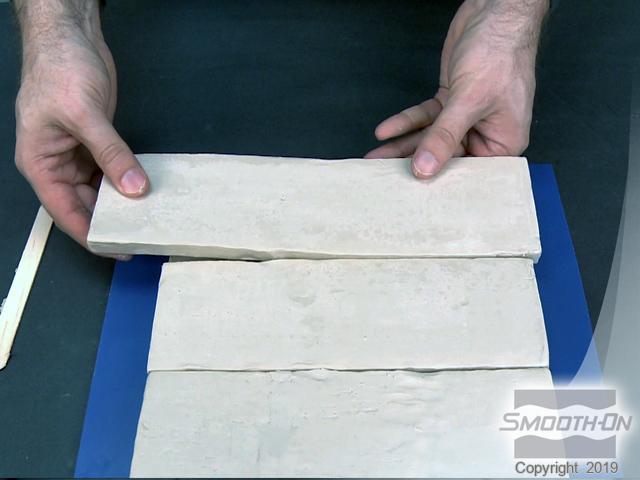
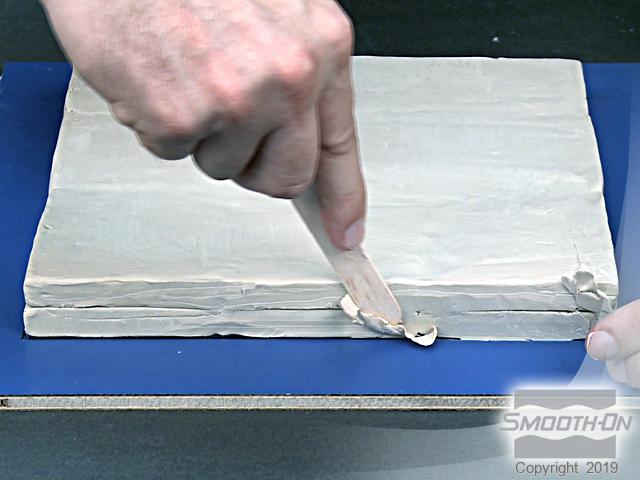
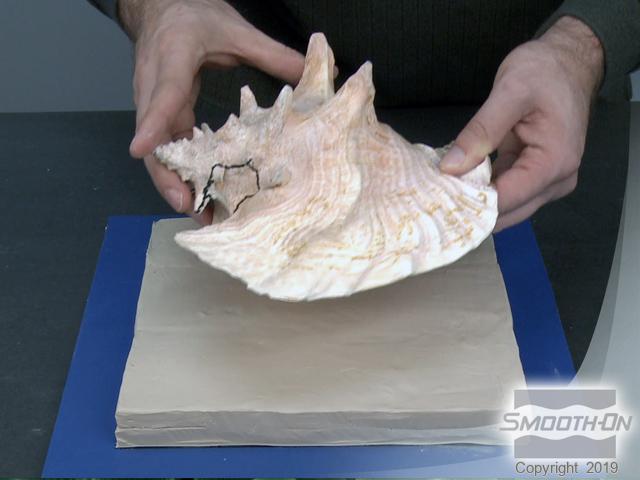
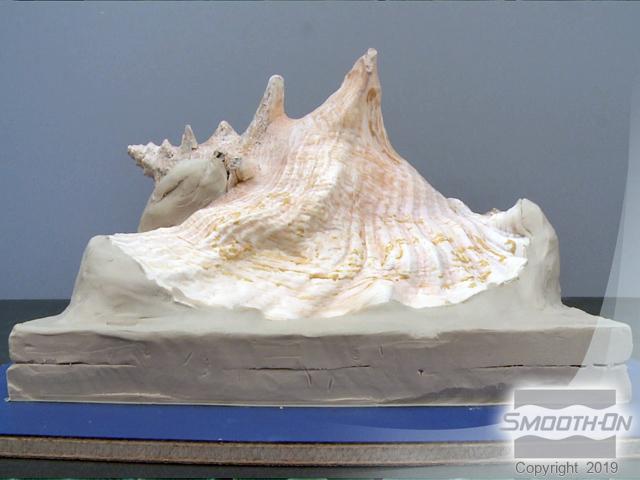
Use sculptex non-sulfur clay to build the clay bed for making the first part of the mold. Begin to lay down the bed of clay within the border outline and continue to build up the clay until it is high enough for teh first part of the mold. Make sure to trim the clay bed so that it fits within the pre-assembled mold walls. The conch will rest in this part of the clay bed while mold rubber is poured around it.
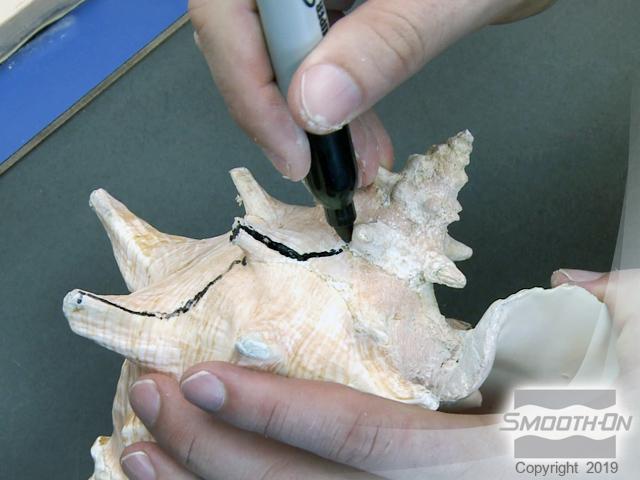
Pre-determine a parting line and draw it on the model. This line represents where the two mold halves will separate with least resistance.
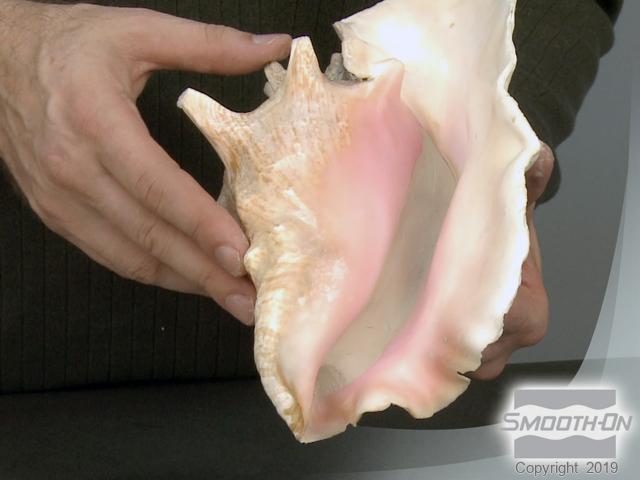
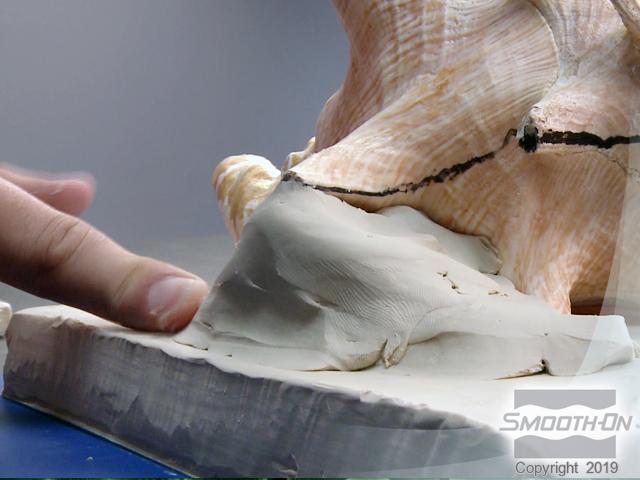
The shell used for this application has a deep cavity that needs to be addressed. If liquid mold rubber were allowed to fill this undercut, the cured rubber mold would be impossible to remove (also known as mechanical lock). To prevent mechanical lock, Sculptex non-sulfur based clay is used to fill the cavity.
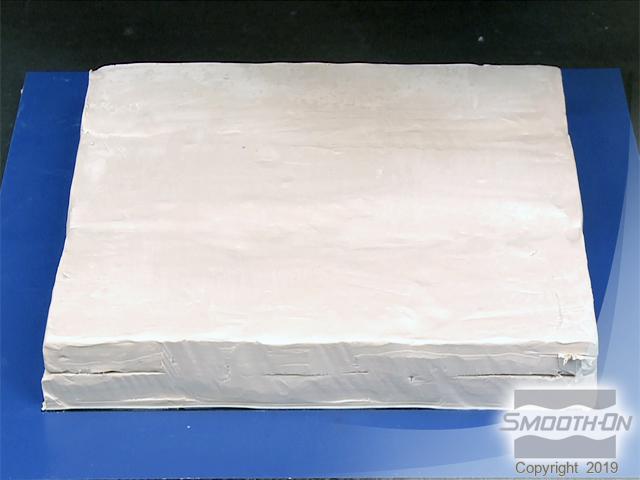
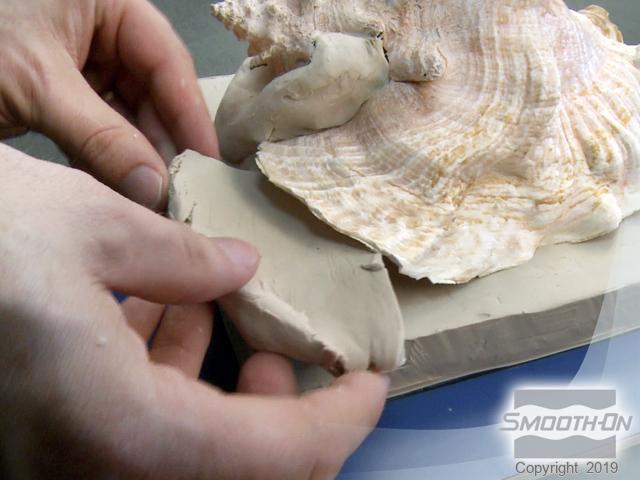
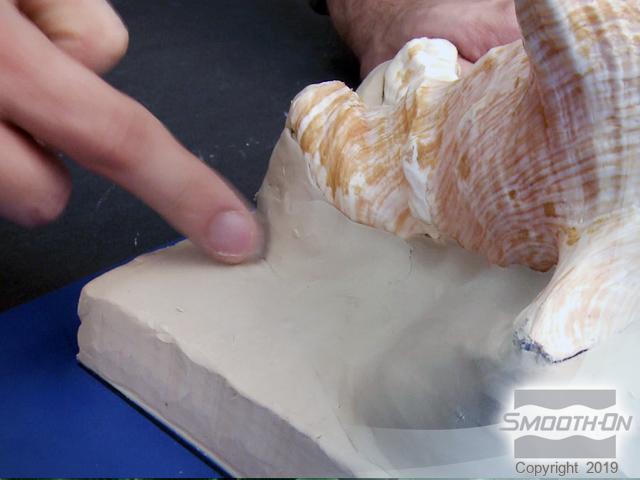
Place the conch cavity-side down onto the clay bed that you have made. Since the conch is not level, we need to lay down more clay to continue to block the cavity and create the first part of the 2-part mold. Continue adding clay and follow the seam that you drew with the clay. Smooth out the clay so that the 2 parts of the mold will join together tightly.
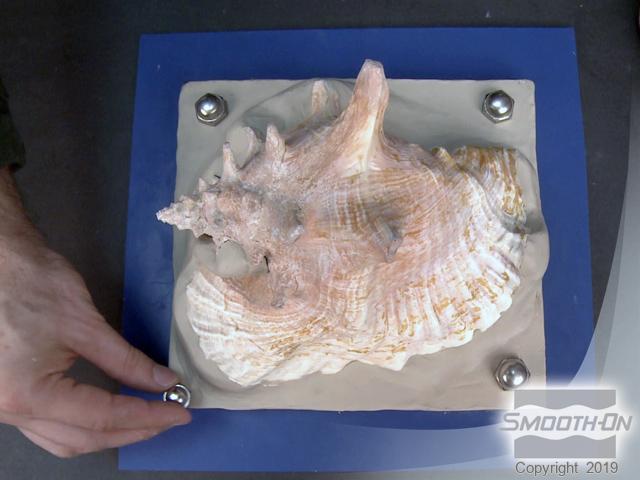
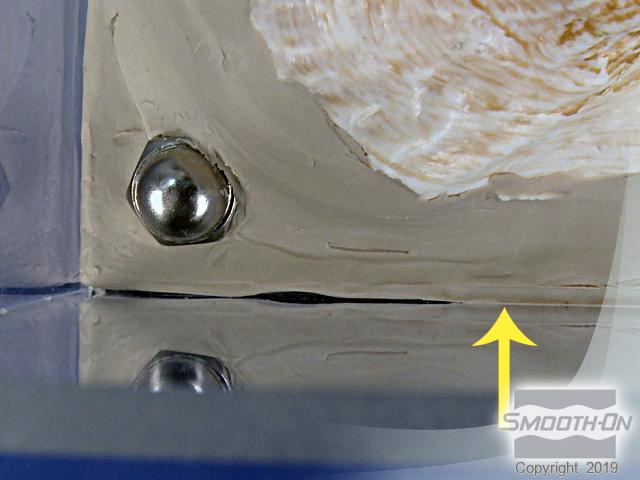
The first part of the mold is almost ready to be poured. Acorn nuts are added to the clay bed to act as registration keys for the 2 parts of the mold. Be sure that the clay is flush against the mold walls to prevent the rubber from flowing behind it. Secure the mold walls to the base with hot melt vinyl.