How To Handle Large Undercuts In The Brush‑On Mold Making Process
Overview
Planning is the key to success in any mold making project. In particular, areas that have deep indentations and/or harsh angles, known as undercuts can pose a number of obstacles in the demolding process. Recognizing and handling these areas, and properly constructing the support shell can make even complex shapes easy to mold and cast. The following demonstrates the brush-on mold making process on a model with severe undercuts underneath the shoulders, as well as some other challenges.
Materials Used in this Tutorial
- Permanent Marker
- Sulfur Free Modeling Clay
- Hot Melt Glue Gun
- Super Seal
- Paint Brushes
- Universal Mold Release
- Brush-On 40
- Mixing Cups
- Mixing Sticks
- So-Strong
- Ure-Fil 9
- Rolling Pin
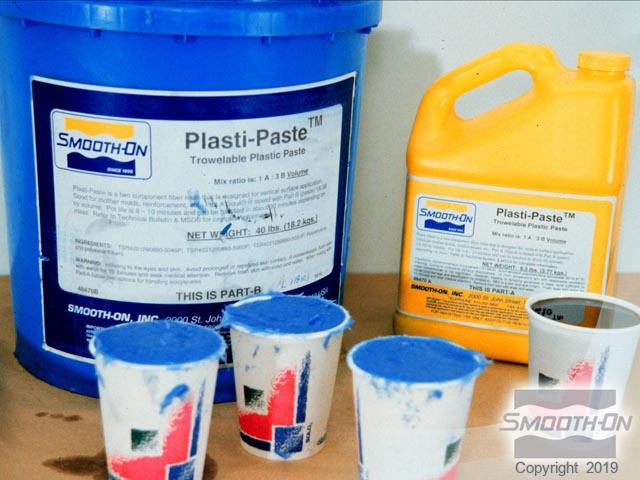
- Plasti-Paste
- Sonite Wax
- Smooth-Cast 300
- Mold Straps
Step 1: Preparing Model
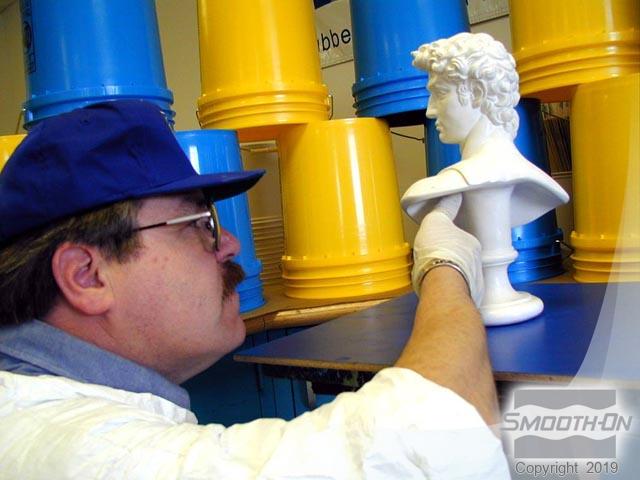
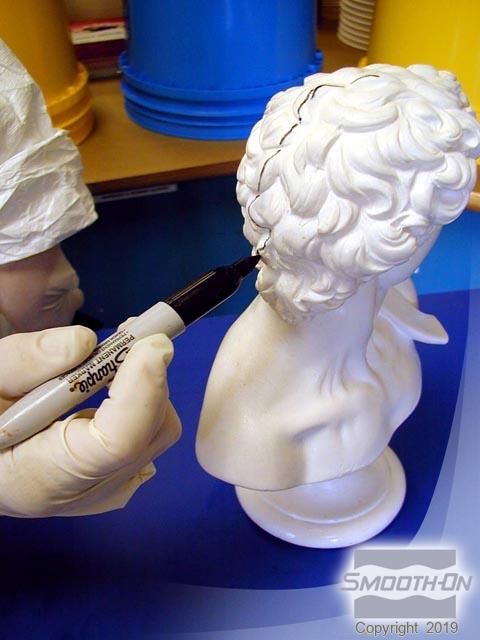
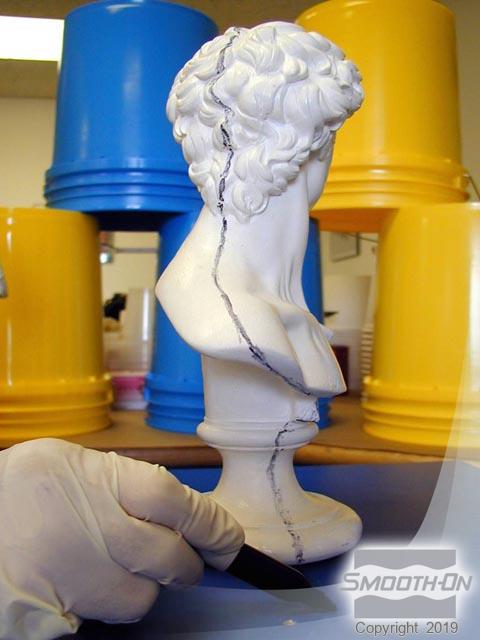
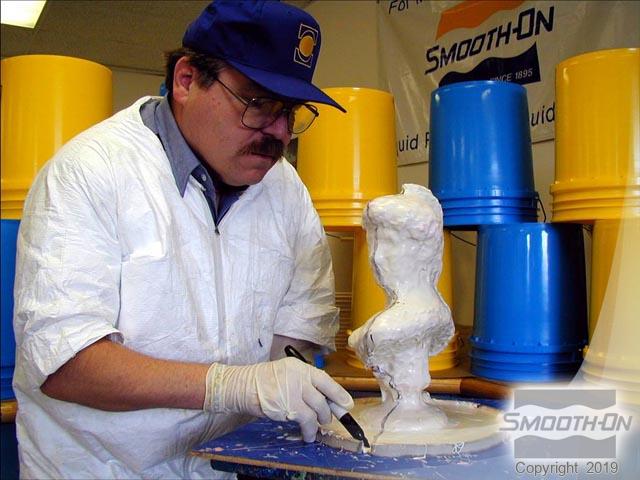
Here is the plaster 3-D model to be molded using the brush-on process. As you can see in the back views, there are 2 large undercut areas under the shoulders. Examine the model carefully, and develop a plan of attack before you apply rubber or a support shell. Minimizing undercuts now means an easier demold later. Draw parting lines to help identify individual support shell segments. Parting lines also help identify the cutting line for mold rubber.
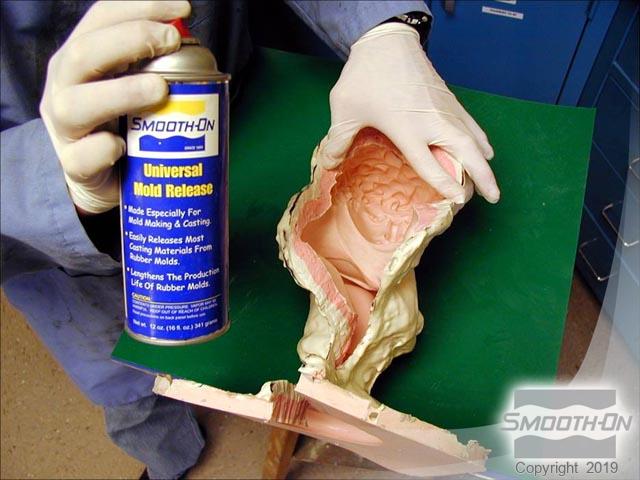
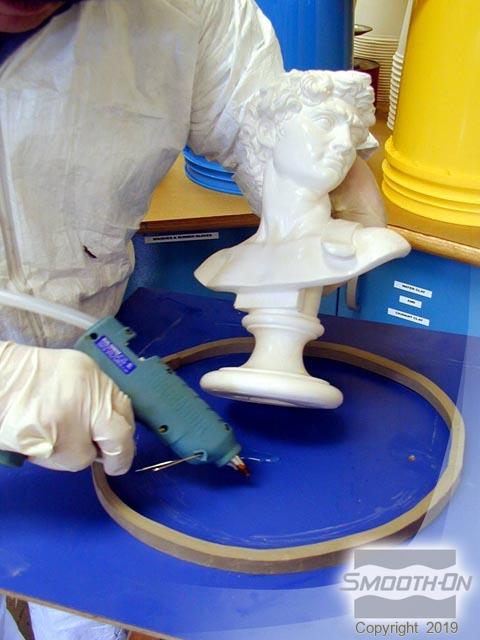
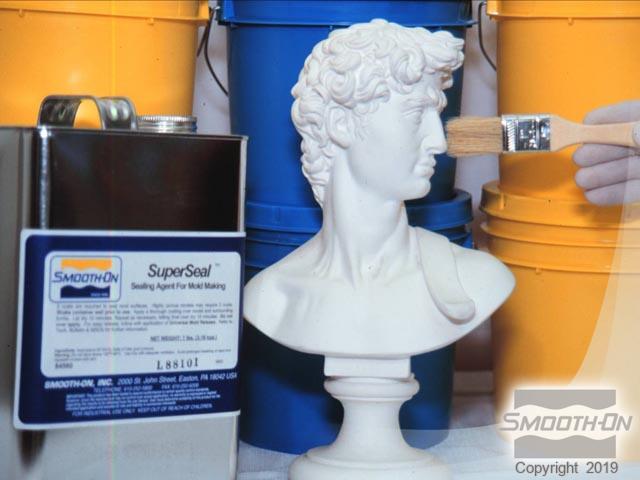
Optional technique: use modeling clay to define the outer flange edge. Secure the model to the base with hot glue gun and apply SuperSeal® sealing agent. SuperSeal® does not alter surface detail.
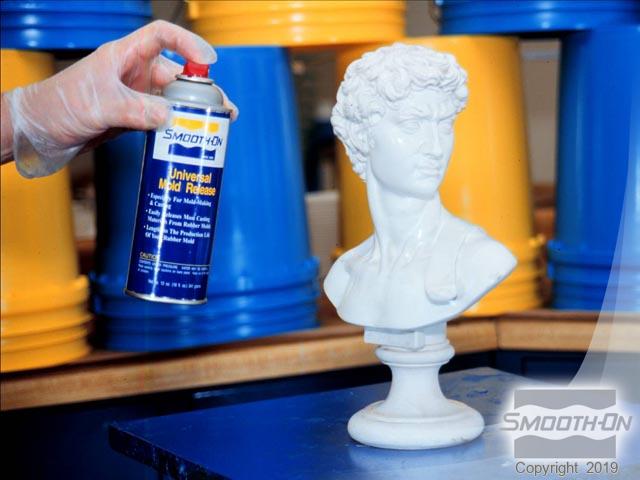
Apply Universal® mold release.
Step 2: Measuring, Mixing and Dispensing Brush-On 40
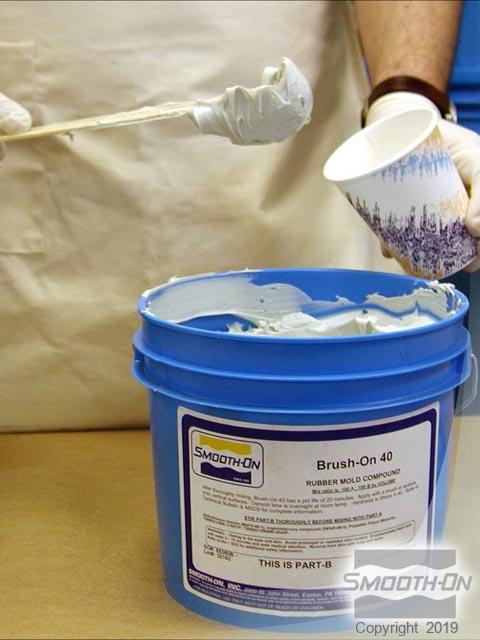
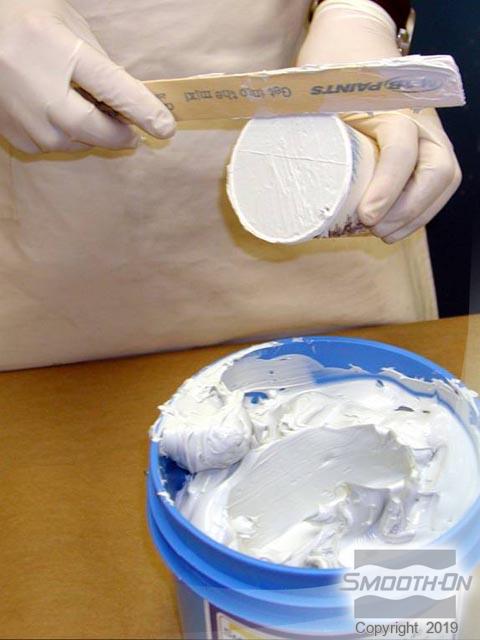
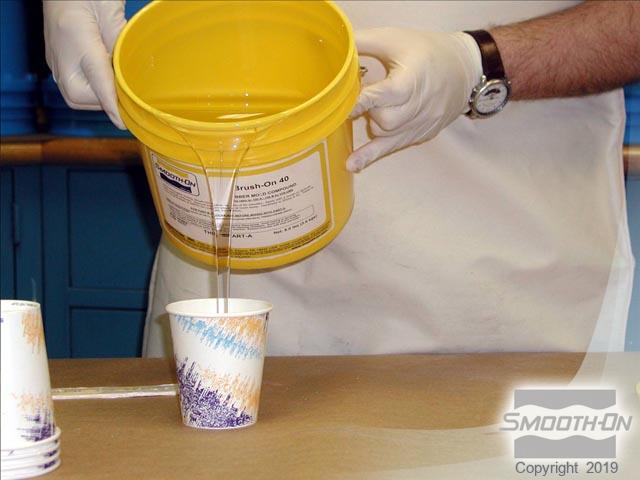
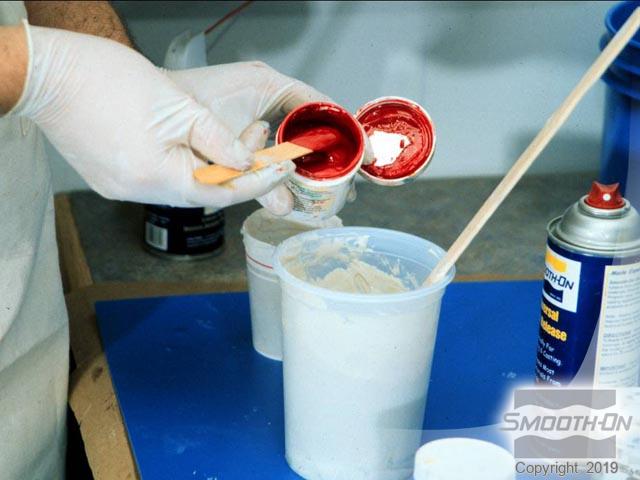
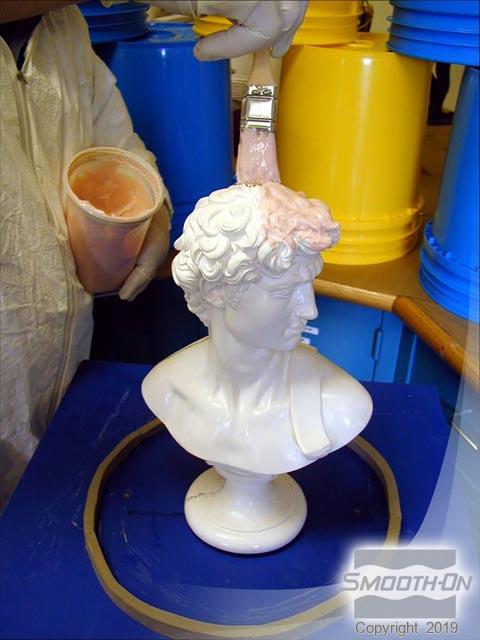
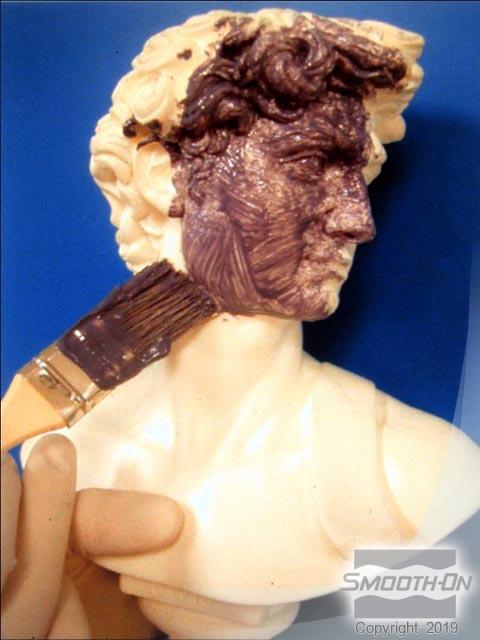
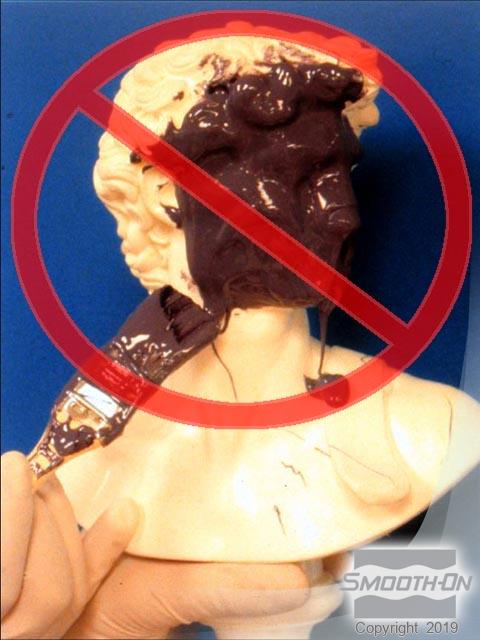
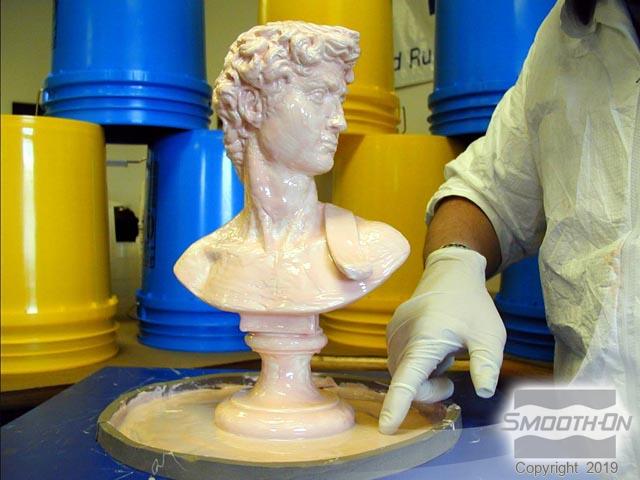
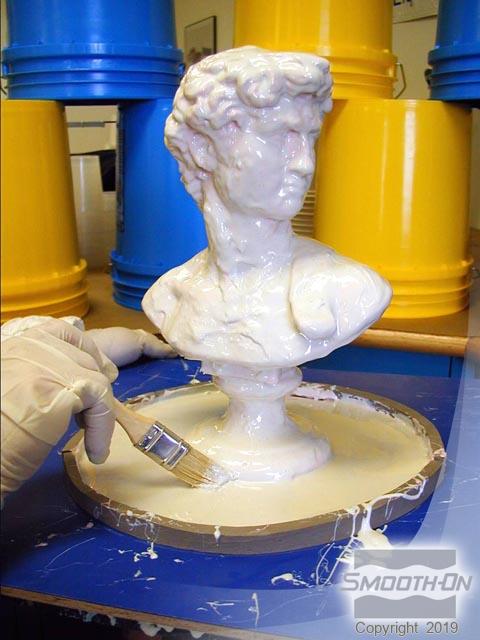
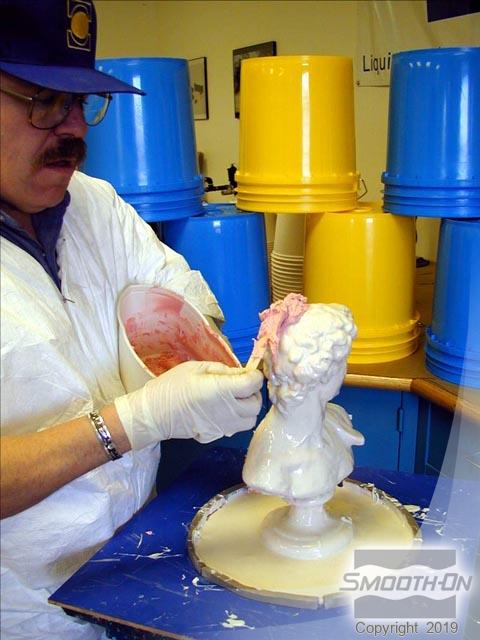
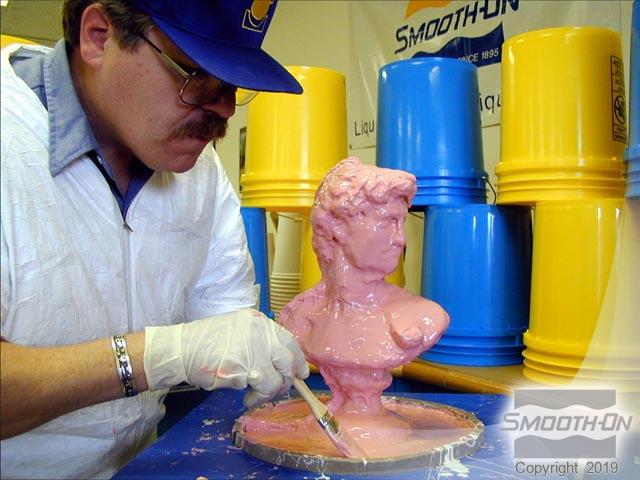
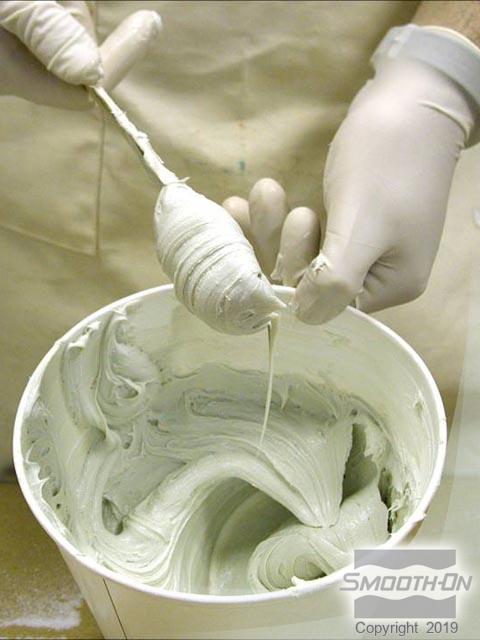
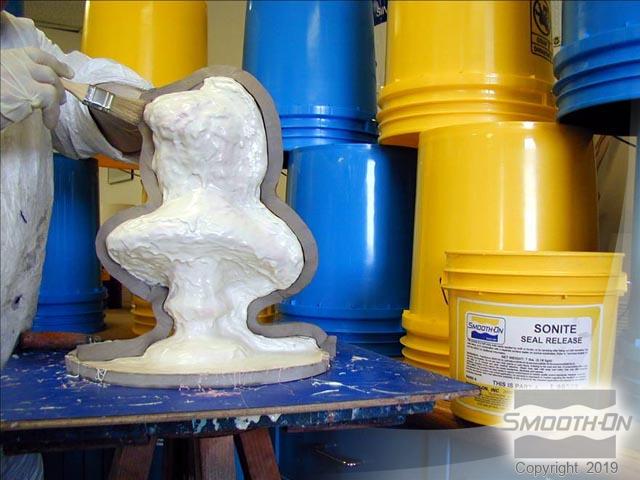
Begin measuring out the mold rubber by measuring Part B, packing it thoroughly in a cup and level off the top. Now, Measure out an equal volume of Part A. Combine the material and mix thoroughly. To ensure even coverage, it is recommended that pigment be added to every other layer applied. Apply the first coat using a 'stipple' effect to apply a very thin layer. You can see examples below of incorrect levels of coverage for this step. Be sure to also create a wide flange at the base. Once the first coat has been thinly and evenly applied double check the model for thorough coverage.
Step 3: Applying Second Layer of Brush-On 40
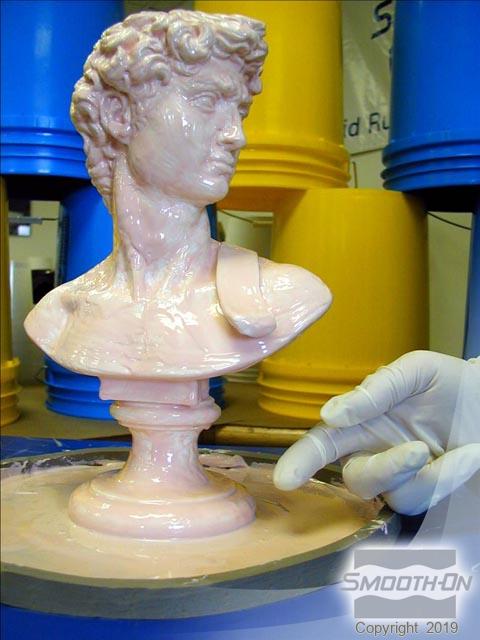
Allow the rubber to become 'tacky' (sticky to the touch, does not come off model). This should take about 30 minutes at room temperature. Touch the rubber 'Off-Model' to test for tackiness without damaging the first layer. Once the rubber is tacky, mix and apply the second layer, this time adding no pigment.
Step 4: Create a Thickened Layer
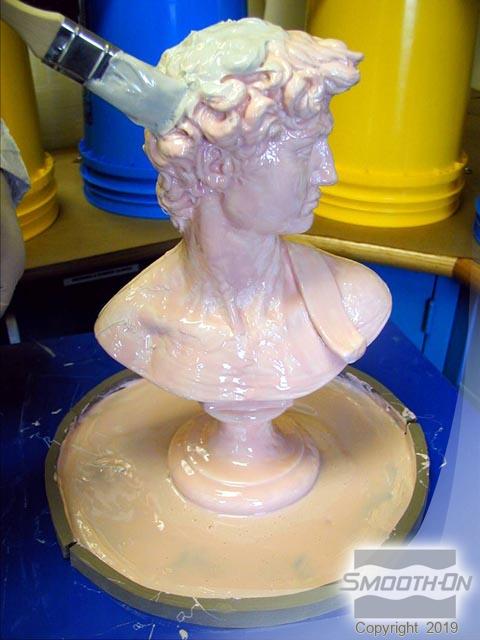
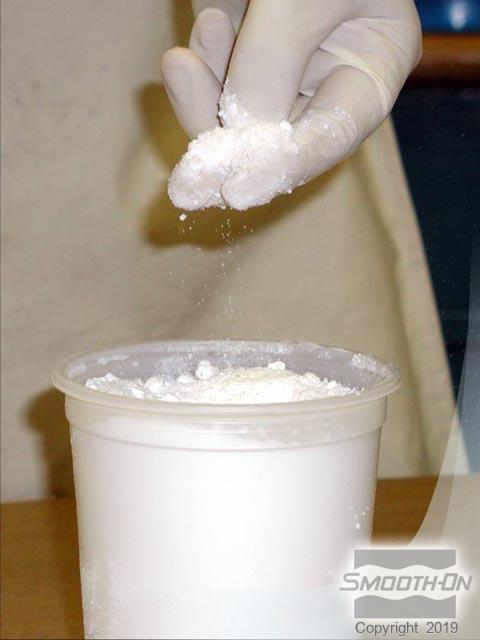
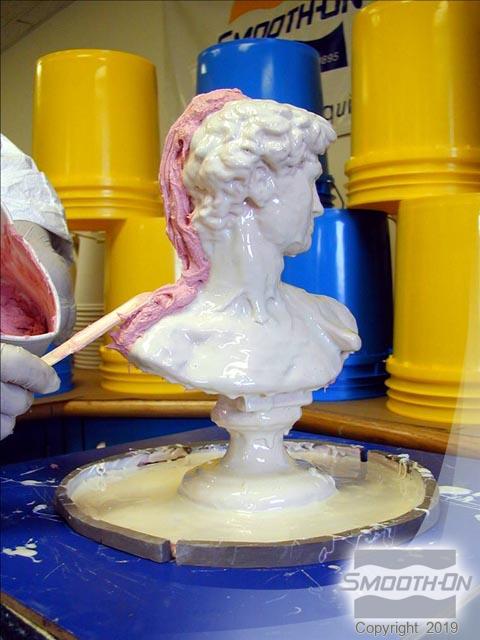
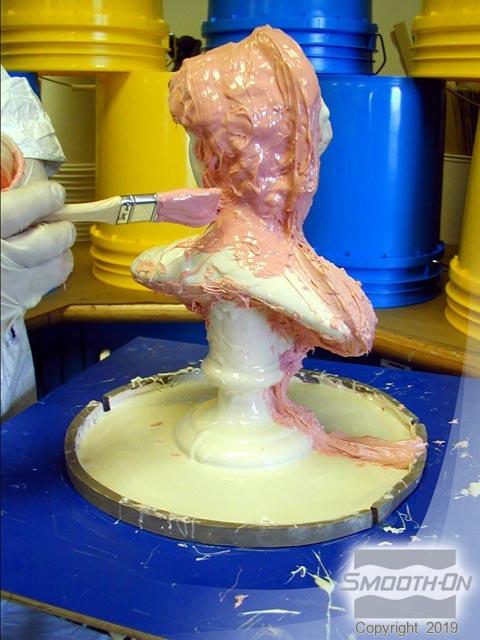
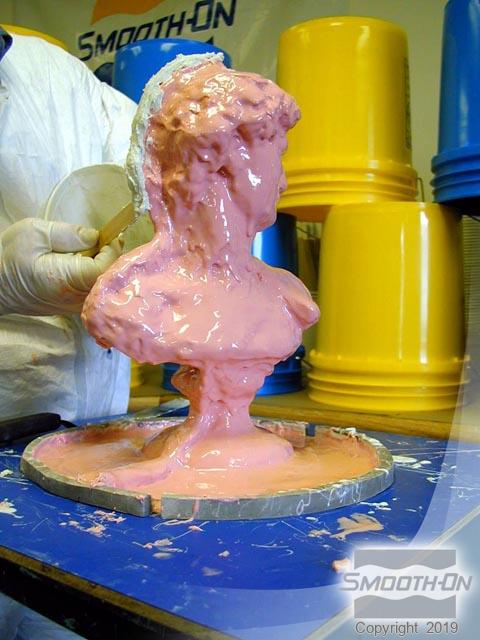
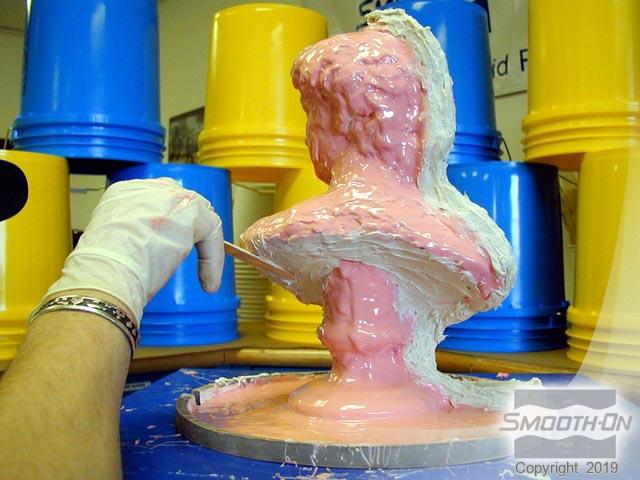
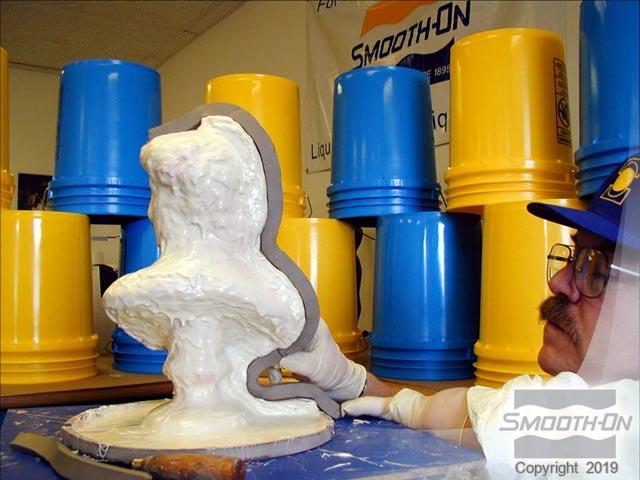
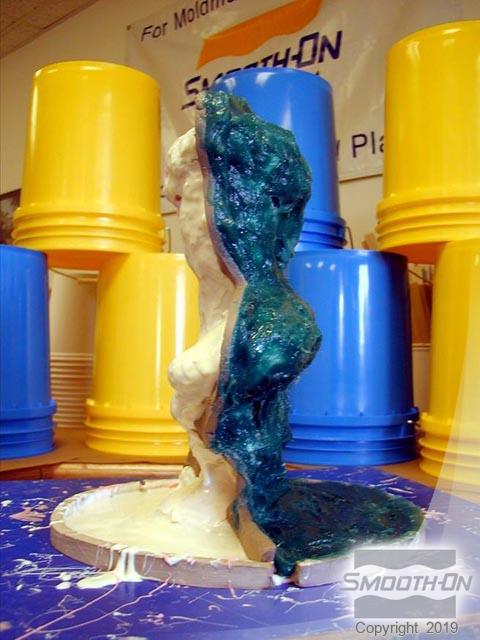
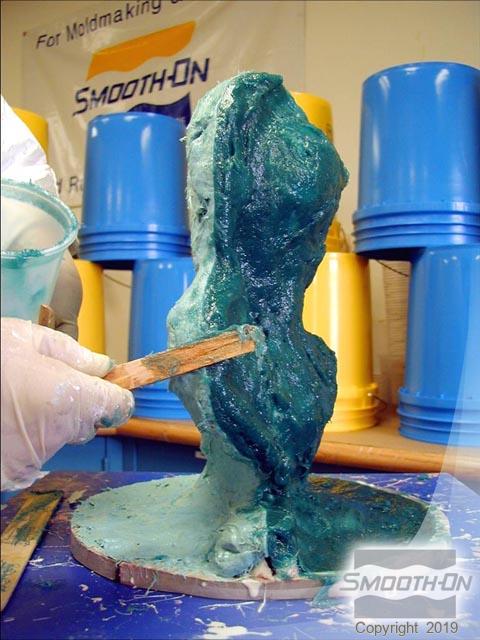
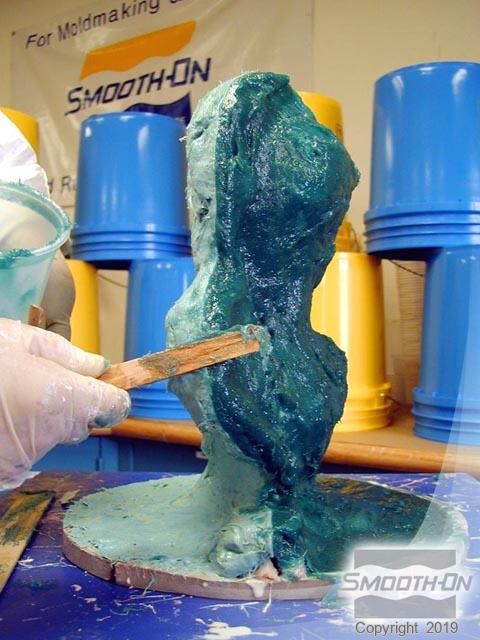
Apply a thicker layer with more fluid strokes. Allow the rubber to again become 'tacky'. Thicken Rubber With 'Ure-Fil 9', stirring in gradually until the desired thickness is achieved. 'Mashed potato' like consistency is perferred by many mold makers. Thickened rubber is good for filling undercuts, and good for making parting shims that will aid in registering cut rubber sections during casting. Fill in the undercuts, packing the material tightly to eliminate large air voids. Make the parting shim starting from top and building the shim evenly. Trying to build the shim to full thickness in one step often results in 'slumping' or an 'avalanche', so make sure to sculpt the seam evenly from top to bottom. Fill in all undercuts.

Step 5: Applying a Thicker Layer
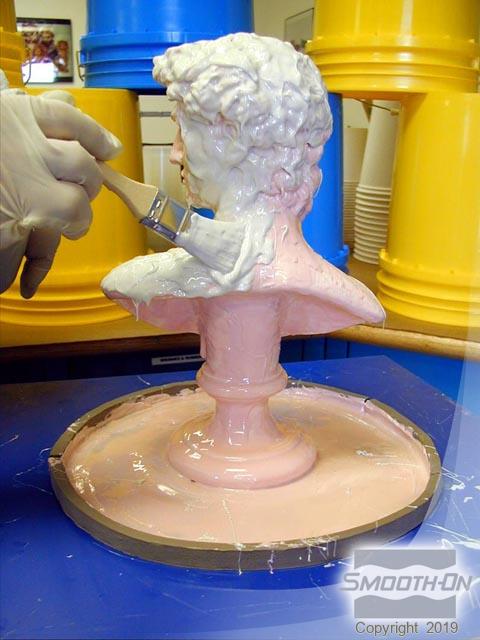
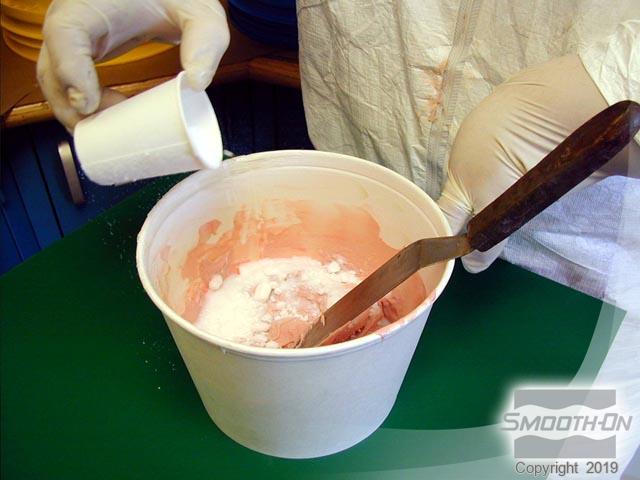
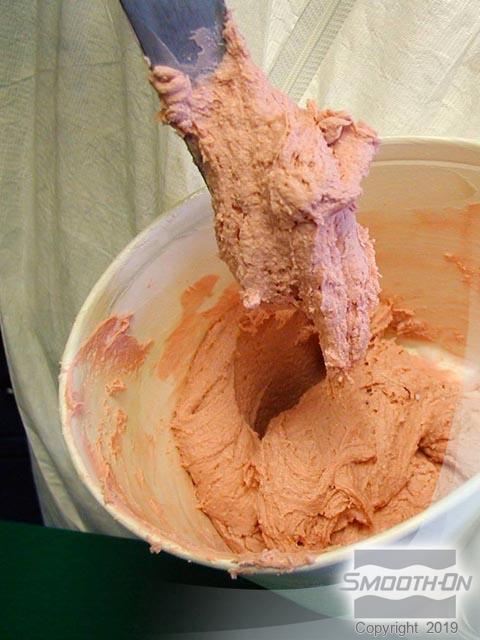
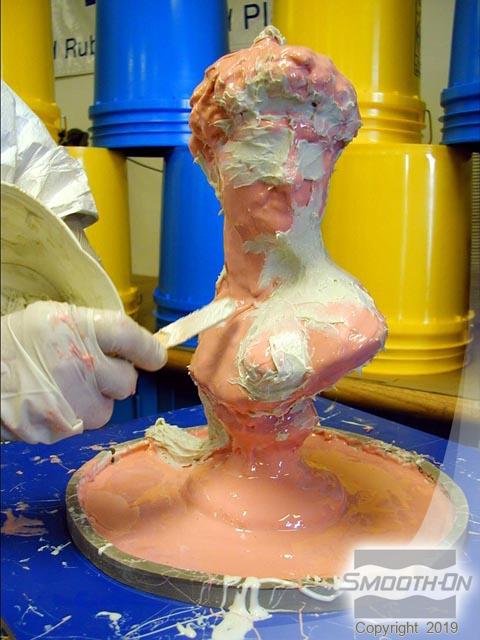
Measure and mix the third layer, adding pigment again to ensure even coverage. Apply this layer thicker with more fluid strokes. Allow the rubber to become 'tacky' and then thicken it with 'Cab-O-Sil' (no pigment added). Continue to thicken the seam and build evenly from top to bottom. Complete filling in the deep undercuts and all other undercut areas.
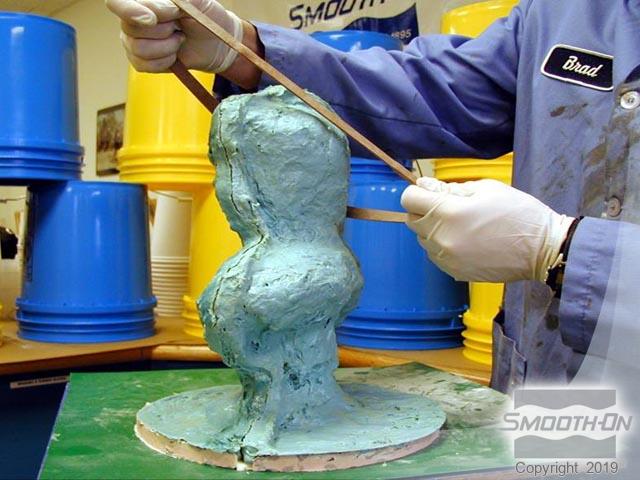
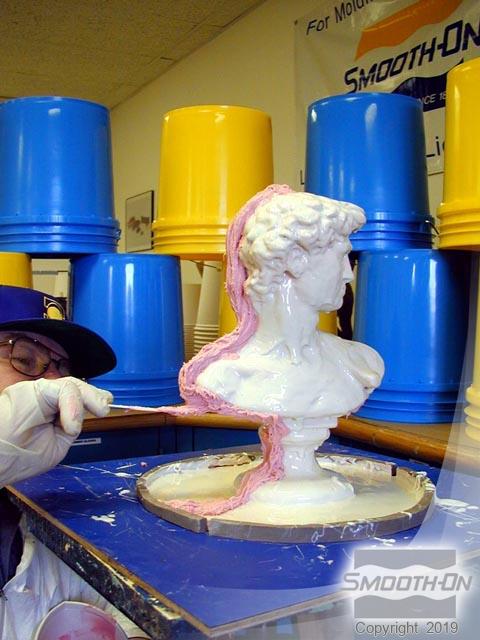
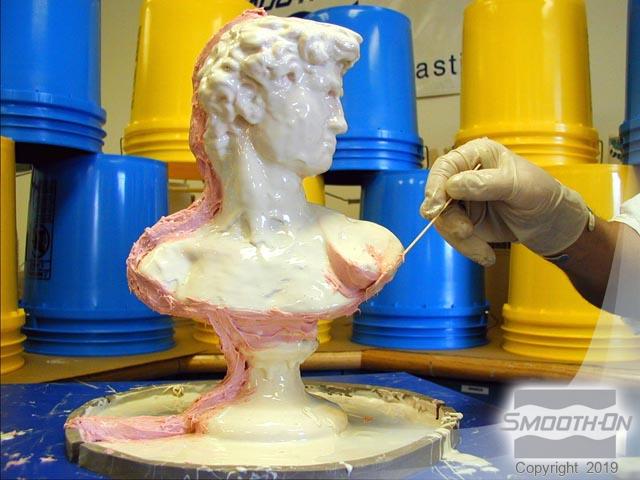
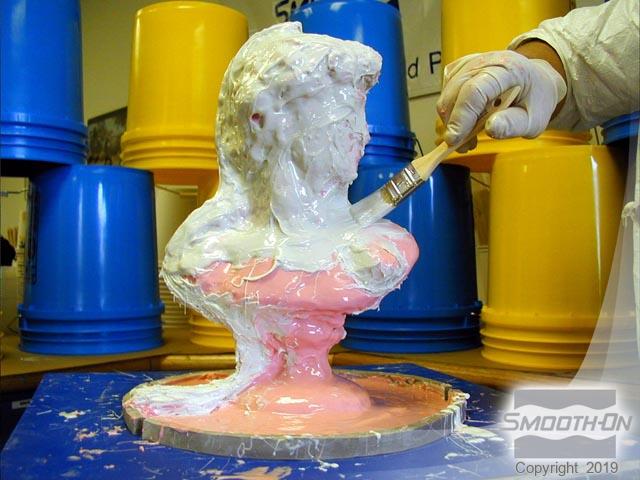
Measure amd mix the fourth layer, adding no pigment. Also apply this layer thicker using more fluid strokes. Allow the material to cure overnight. Visualize the support shell and 'map out' shell segments. Shell segments can be 2, 3, or more pieces to illustrate separation lines with my partner.

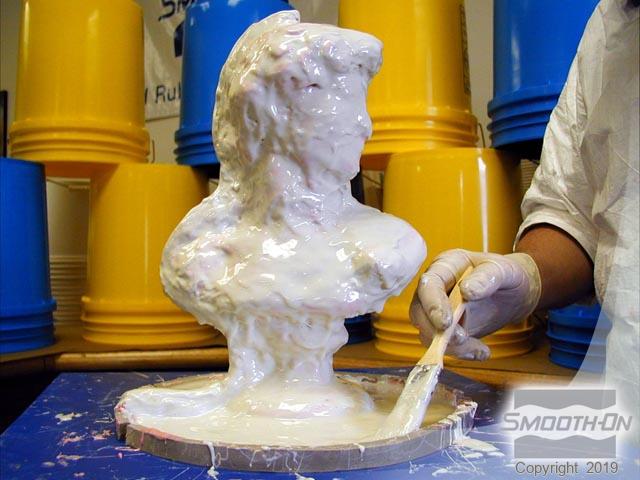
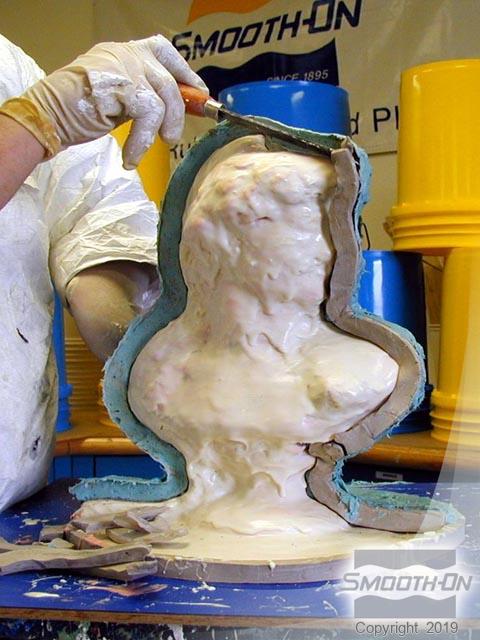
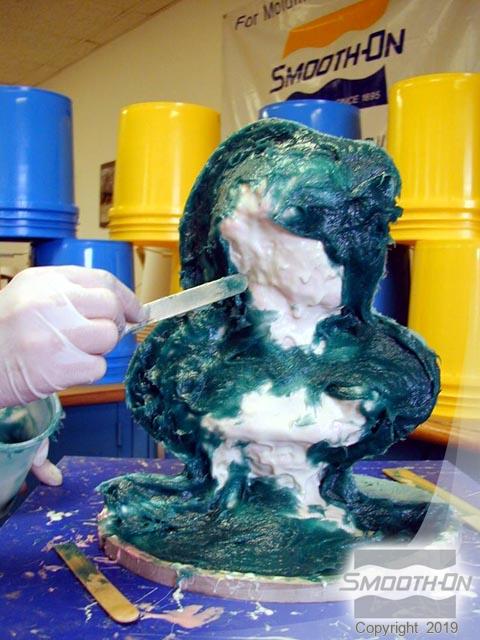
Step 6: Preparing Model For Plasti-Paste
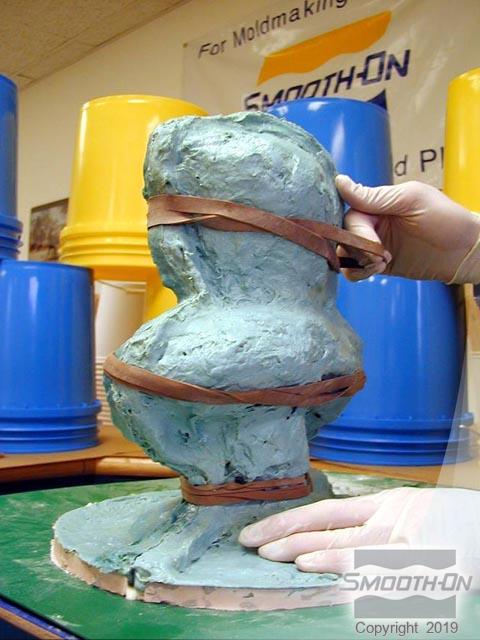
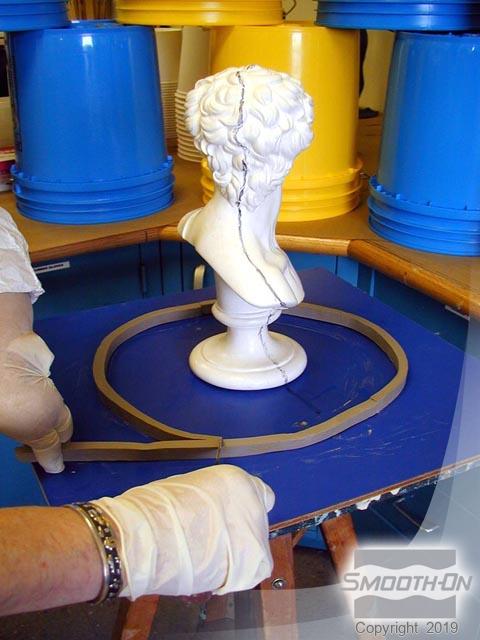
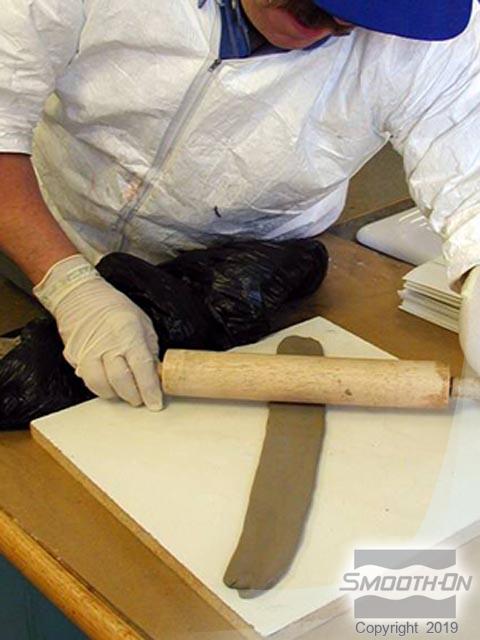
Use a rolling pin to conveniently roll clay into strips that will be used as parting shims. The purpose of the parting shim is to separate the support shell sections from each other. Use soft clay or water clay to create the parting shims. Smooth the shim and make an even 'wall'.
Warning, Plasti-Paste sticks to everything - especially urethane rubber, so apply Sonite® Wax to release Plasti-Paste from the mold. Then, apply Universal® Mold Release to the shim and the mold.
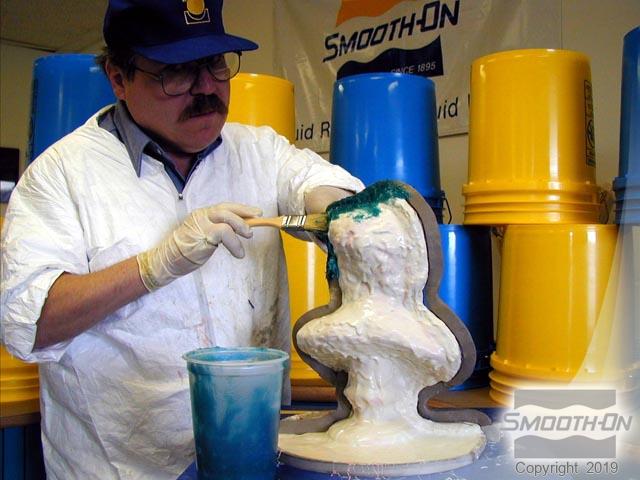
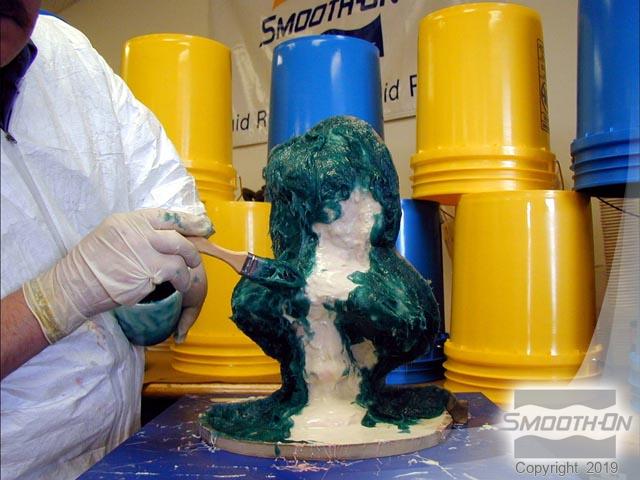
Step 7: Dispensing, Mixing and Applying Plasti-Paste
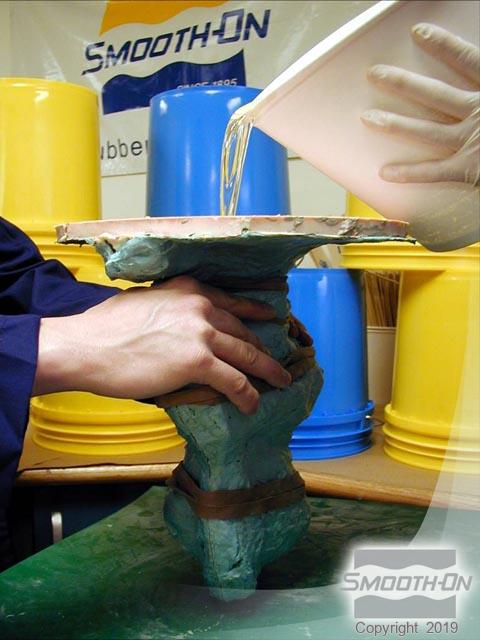
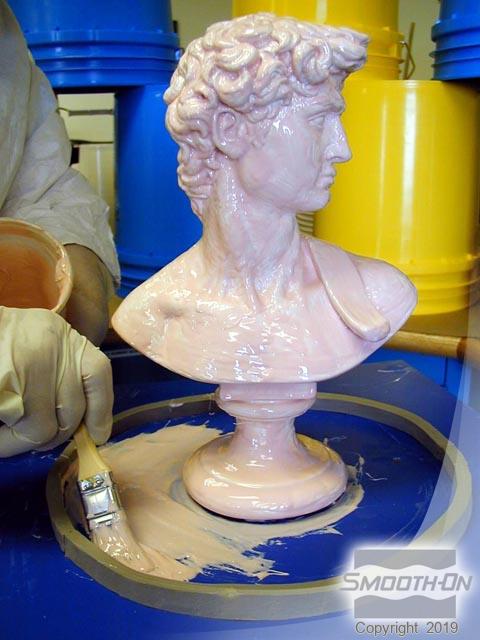
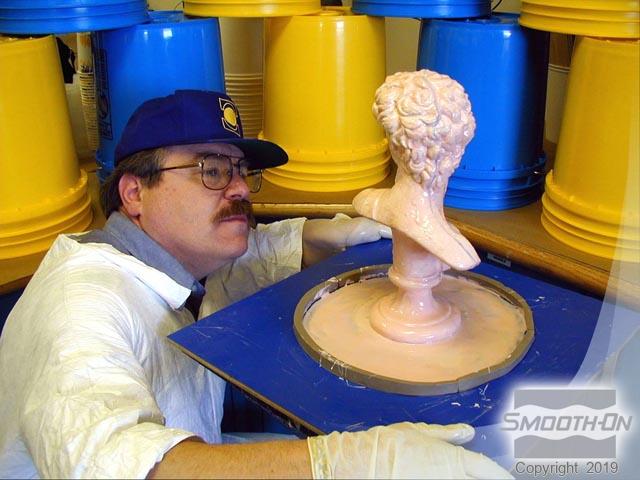
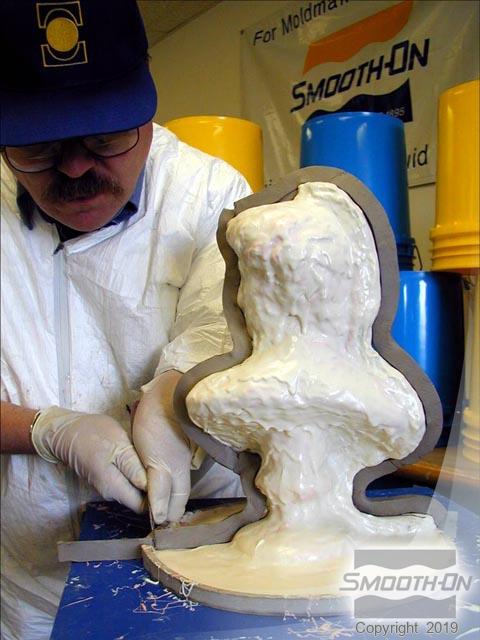
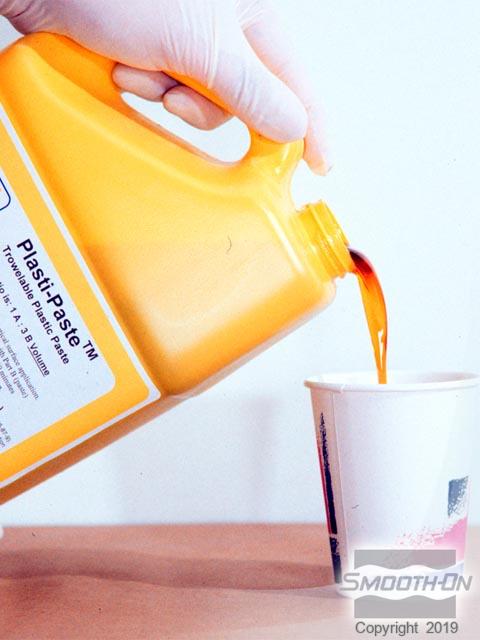
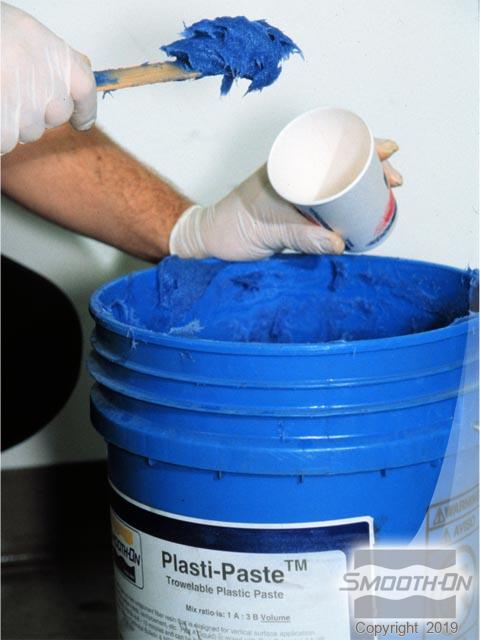
Measure and mix Plasti-Paste® Parts A and B with a mix ratio of 1 part liquid to 3 cups paste by volume. Premix Part B thoroughly. You can choose to add blue pigment as an optional step to ensure a consistant mix. Apply the Plasti-Paste® to create the first half of the shell. Cover evenly making sure that the edges aren't too thin. Allow the first half of the shell to cure for 90 minutes at room temperature.
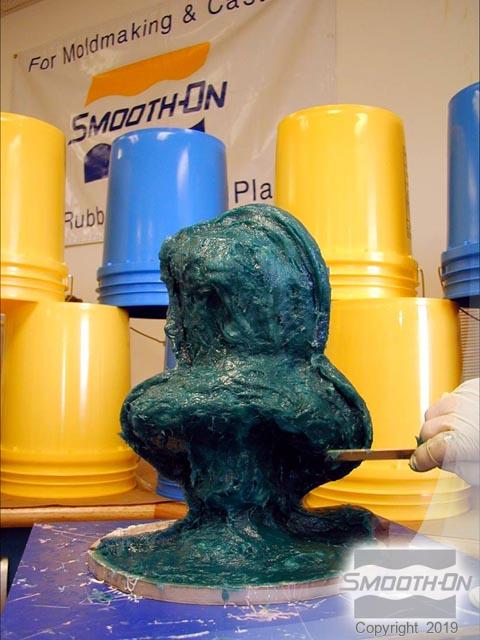
Step 8: Preparing For Second Half of Plasti-Paste Shell
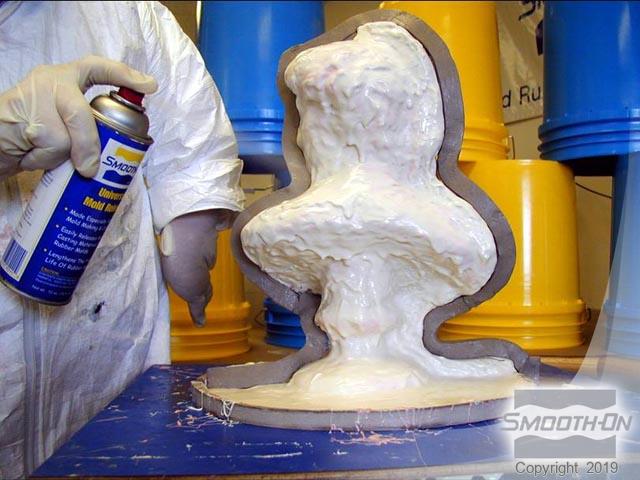
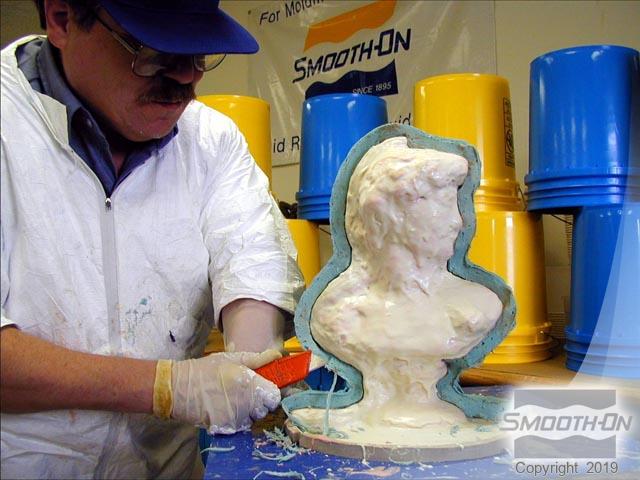
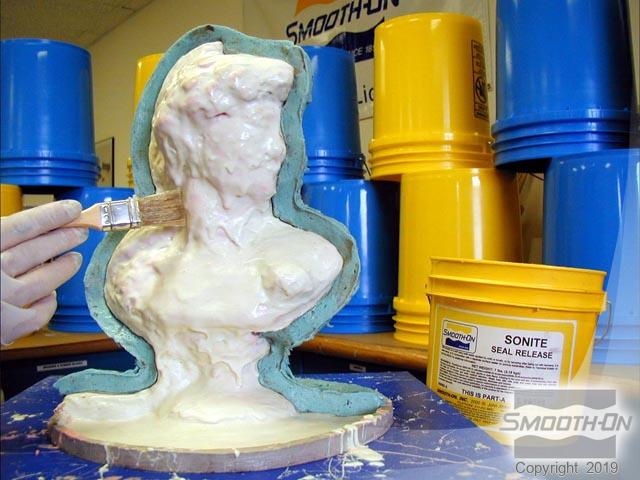
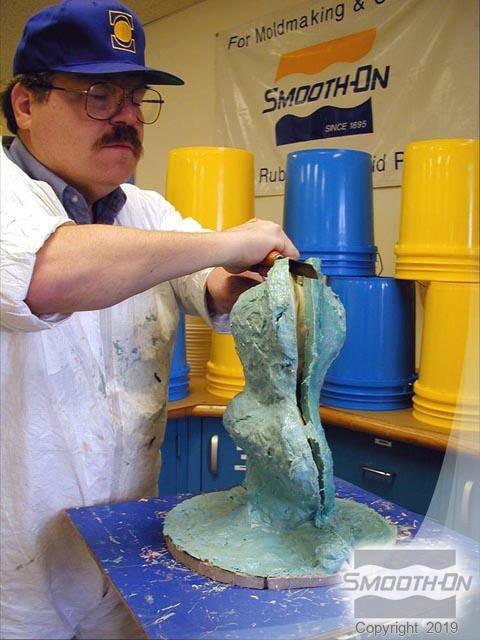
Remove the clay shim. The edges of the support shell are 'cleaned up' using a razor knife. Apply Sonite® wax and release agent to the cured Plasti-Paste®.
Step 9: Applying and Demolding Plasti-Paste Shell
For the second half of the shell mix and apply Plasti-Paste® to a uniform thickness. Fill in any holes along the seam and let cure for 90 minutes. Remove the support shell and rubber mold from the model.
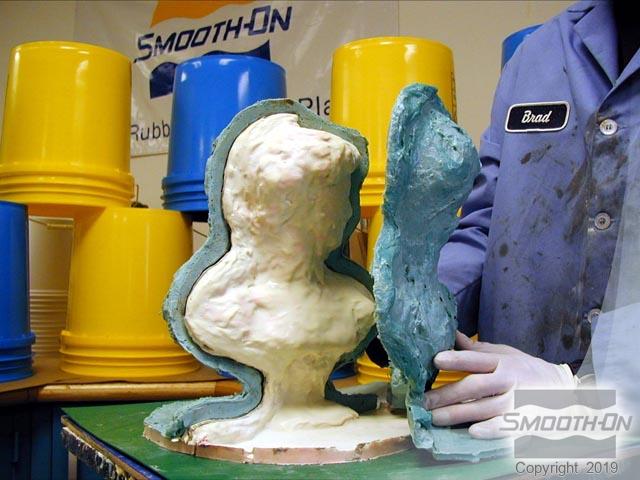
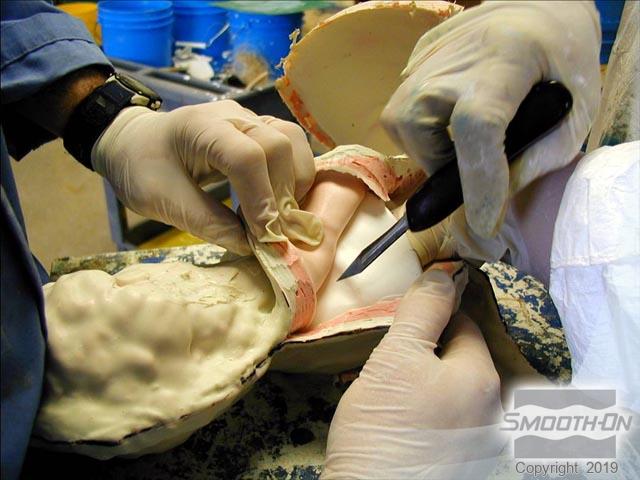
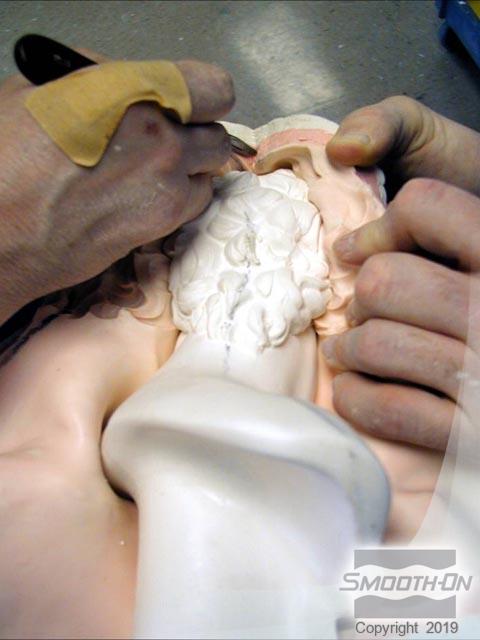
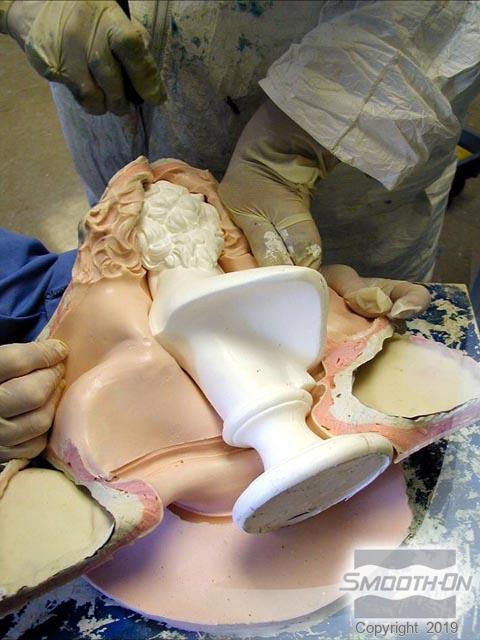
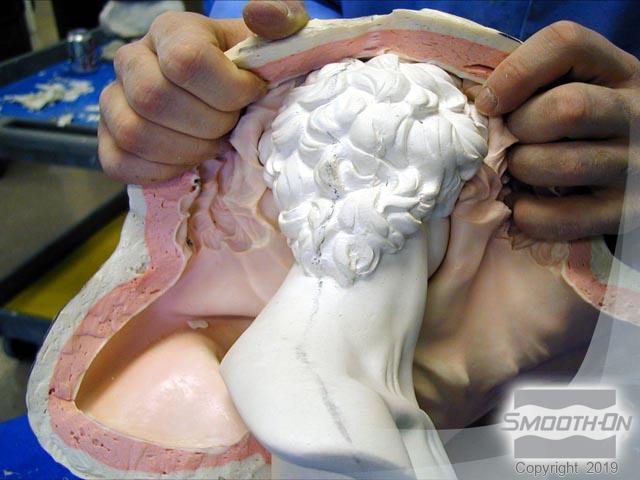
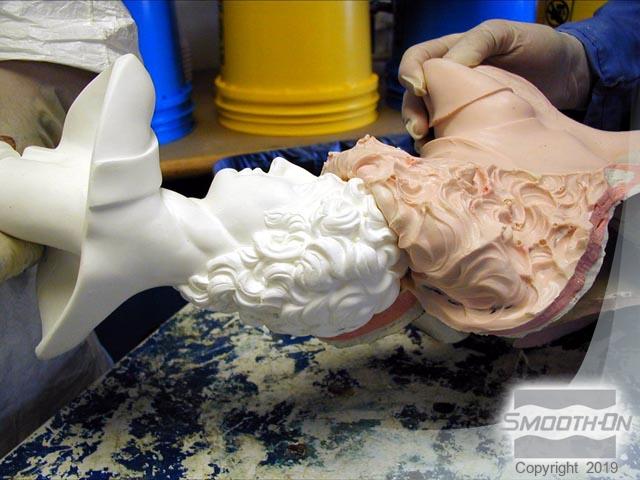
Step 10: Demolding Model From Brush-On Mold
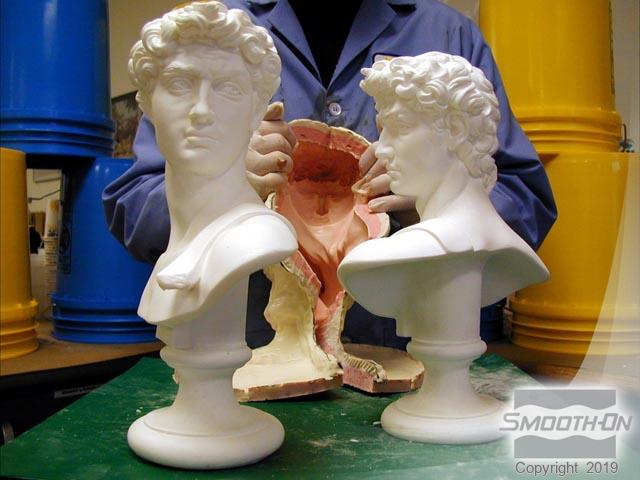
Extract the original model from the rubber mold. This is easier if you get an extra pair of helping hands. Use a razor knife to slowly cut the seam - Be Careful! Stop cutting before the end of the thickened seam. 'Flex' the mold off of the model. The mold can actually be turned inside out, making the demold very easy.
Step 11: Preparing and Casting Smooth-Cast 300
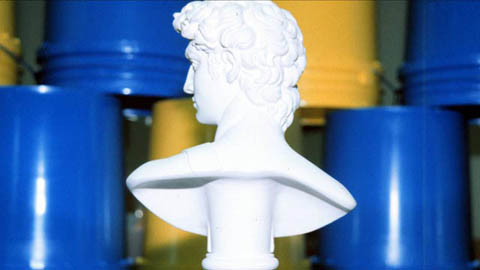
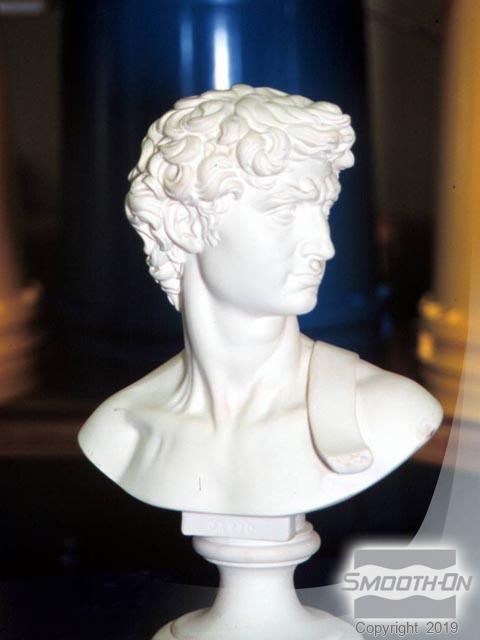
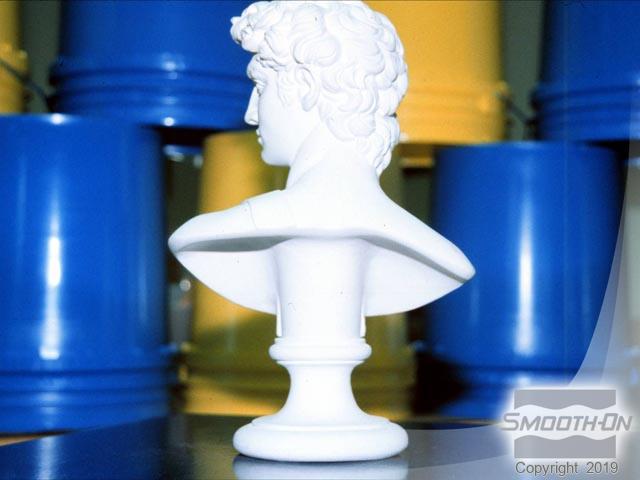
To cast into the brush-on mold, apply mold release into the rubber mold cavity. Apply the release agent to the rubber exterior and shell (in case of leaks). Align the cut seams of the mold. Assemble the shell segments using rubber bands or mold straps to secure teh mold and support shell for casting. Pour Smooth Cast® 300 into the mold and allow to cure. The finished casting is an exact replica of the original.