Making A One Piece Cut Block Mold
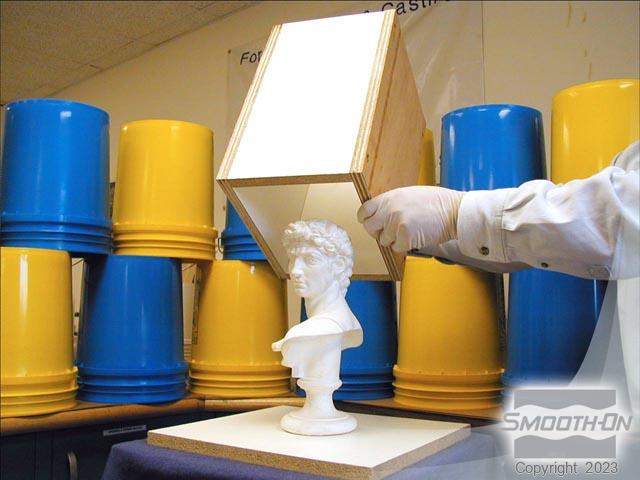
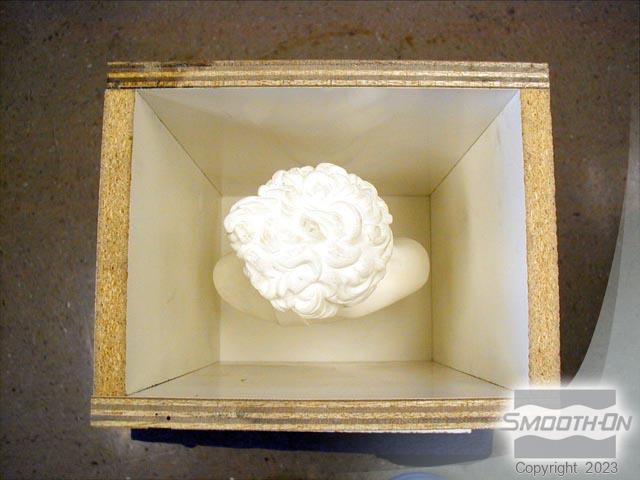
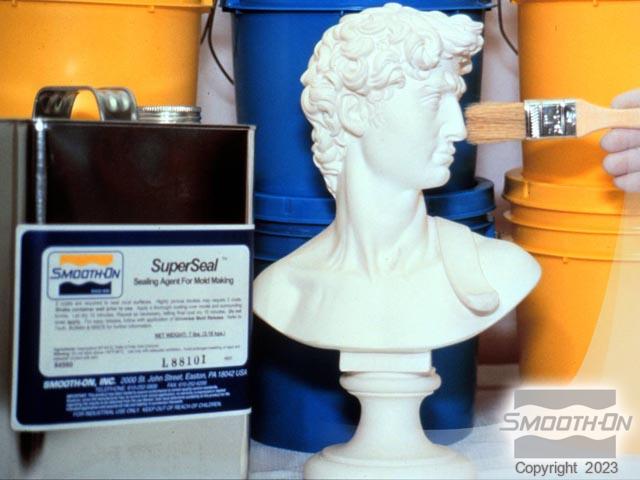
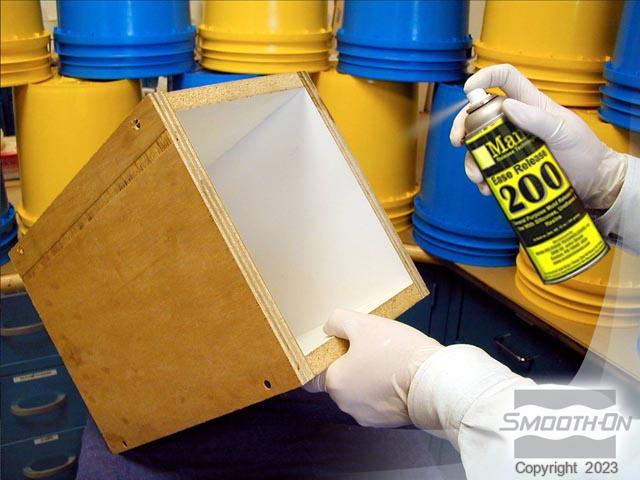
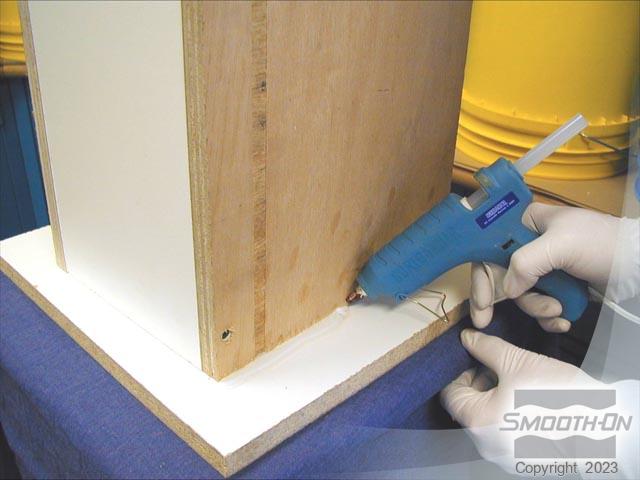
Step 1: Preparation
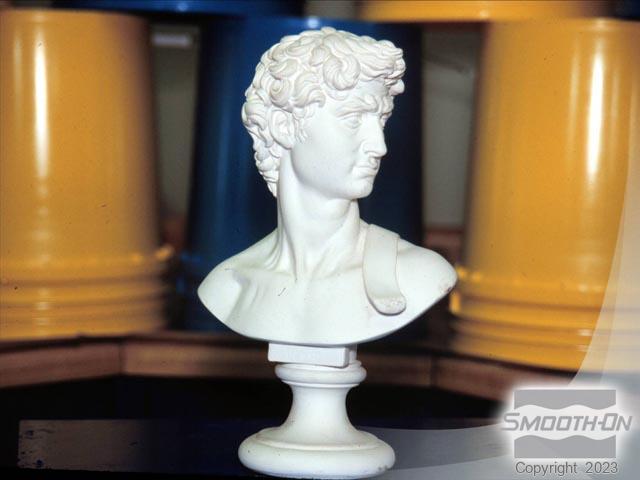
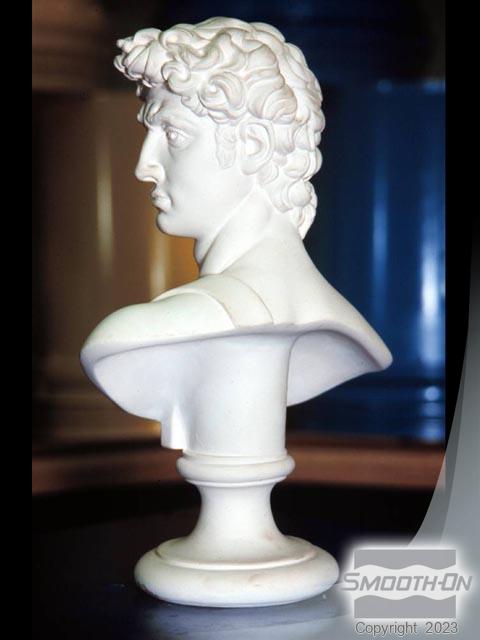
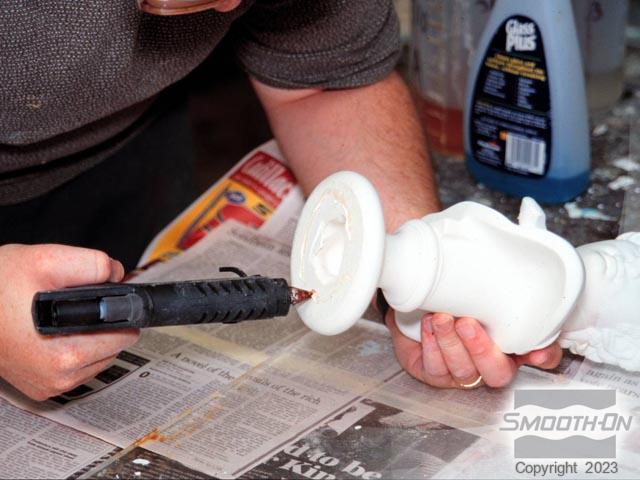
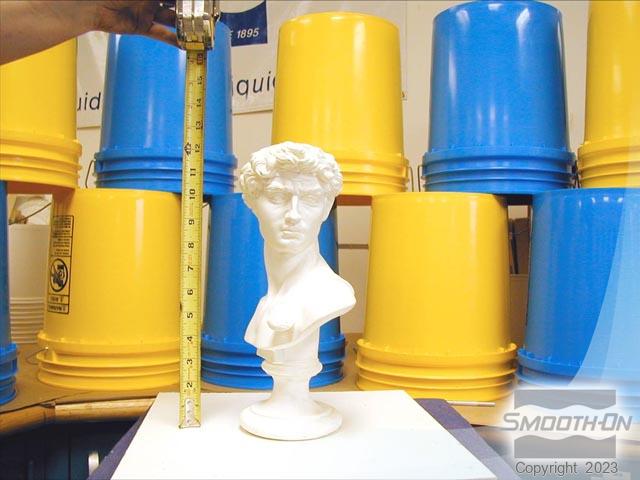
The original piece is made of plaster and has deep undercuts which will require a strong and flexible mold rubber such as a platinum silicone. The original is glued to a piece of melamine board using hot glue to prevent the model from floating in the liquid rubber. This will also prevent the rubber flowing under the model. We chose melamine board because it is waterproof and non-porous. Because the original is porous plaster, the surface of the original will need to be sealed to prevent the liquid rubber from soaking into and locking into the fine pores. We chose to use SuperSeal as the sealing agent. After sealing, a mold box is built around the model using more melamine board, allowing at least a half inch of space between the model and the inside of the mold box. The insides of the mold box walls are given a spray of Ease Release 200 release agent and allowed to dry, and then the mold box is screwed to the base around the model. All of the seams and corners of the mold box are sealed from the outside with hot glue. Care must be taken with this step to ensure that the mold box is fully watertight to prevent leaks during the pour. The front (face) of the model is indicated on the outside of the mold box using a marker.