How to Make a Silicone Brush On Mold of a 3D Object
Step 2: Preparing Model and Mold For Plasti‑Paste
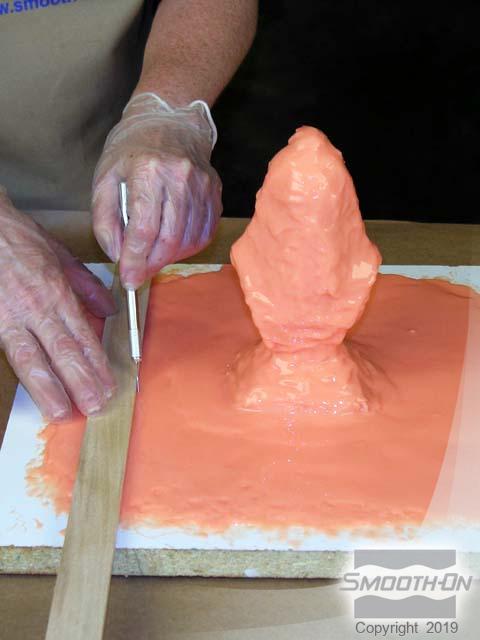
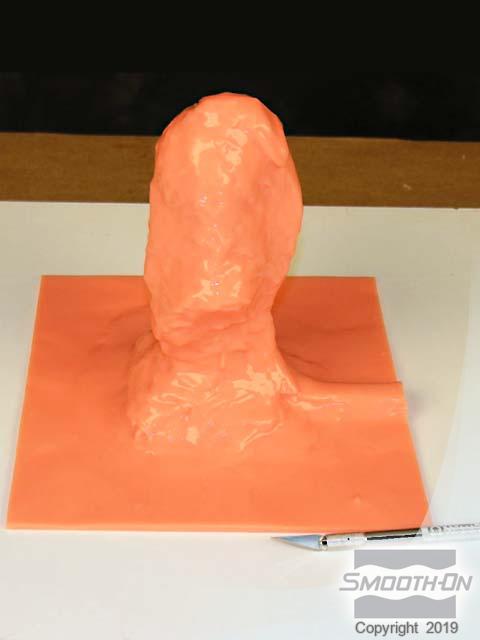
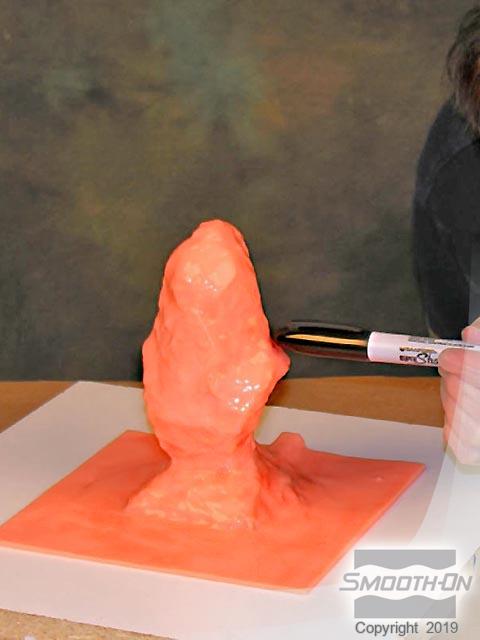
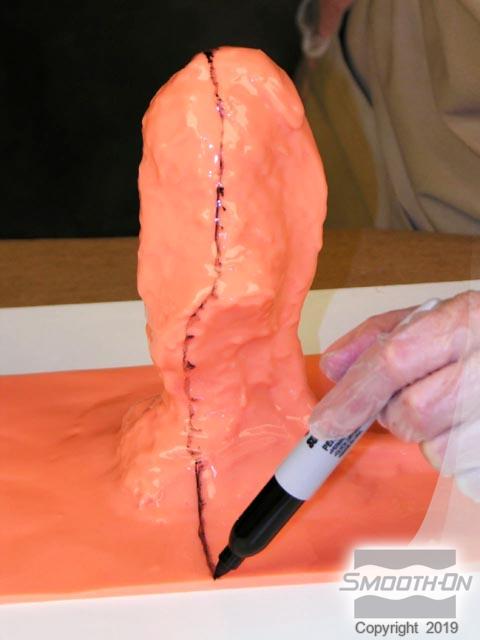
When all of your rubber is cured use a razor knife to trim the rubber. Sharp clean edges will help the rubber mold register with the support shell. Examine the model to determine the best place for the parting line; draw a line with a marker along the models’ high points, dividing it into two halves.
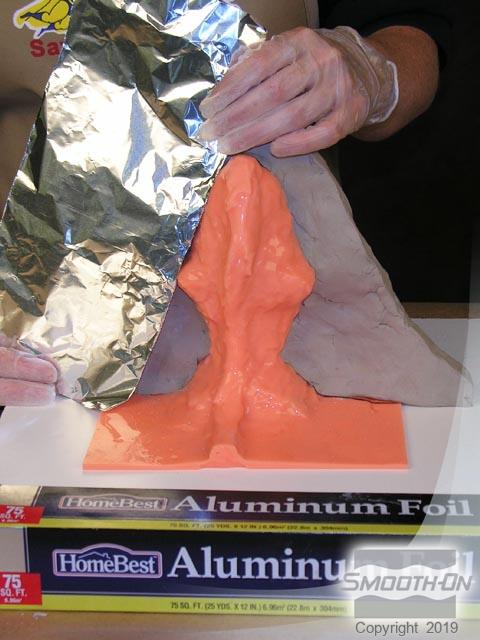
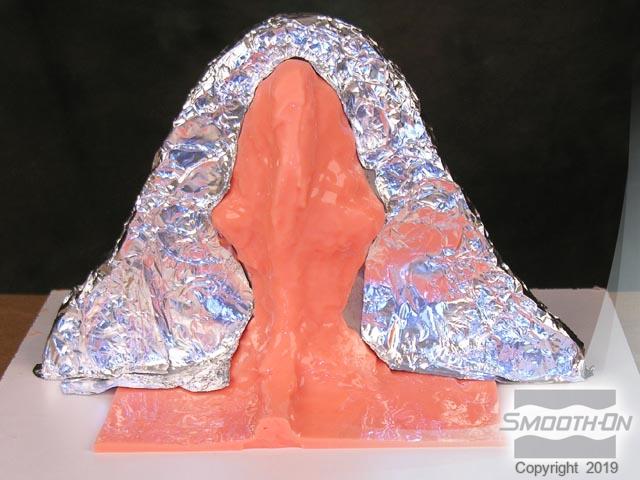
Apply modeling clay along the parting line to create a “parting shim” which will separate the support shell sections. During this step, smooth the surface and trim excess clay. Clay parting shim should be 2” - 3” high. Cover 1/2 of the clay shim with thin gauge aluminum foil, the foil forms a barrier between the clay and Plasti-Paste® shell which will aid in separating the two segments later on.
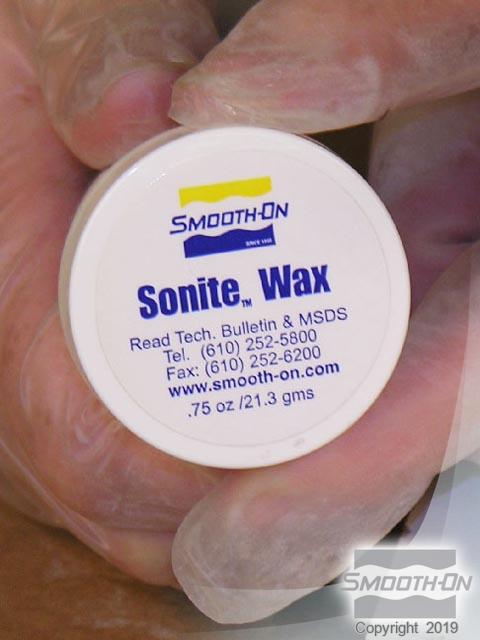
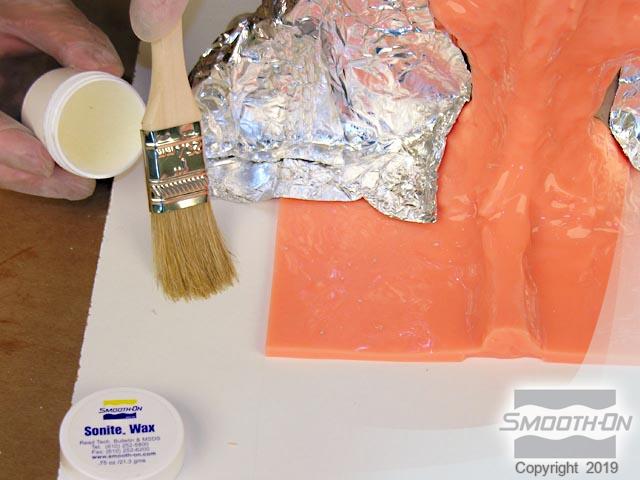
Apply a liberal coat of Sonite Wax® to the entire surface of the baseboard. Let the Sonite Wax® dry for 10 minutes and apply a second coat.
WARNING: Plasti-Paste® sticks to everything!