How To Create a Mold and Casting of a Prop Shield
Step 6: Creating a Support Shell Using Free Form™ Air
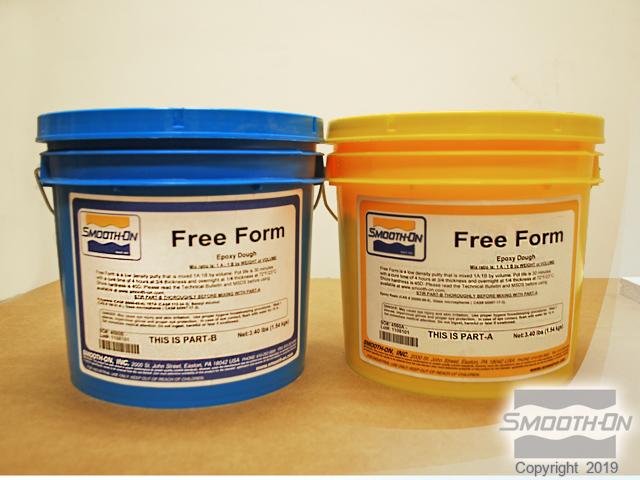
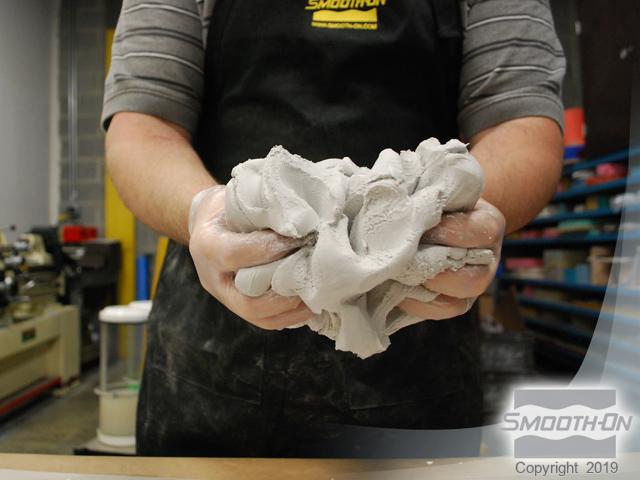
Free Form™ Air Molding putty is chosen as a lightweight and strong mother mold material. Free Form™ Air is a lightweight putty that is easily dispensed by hand.
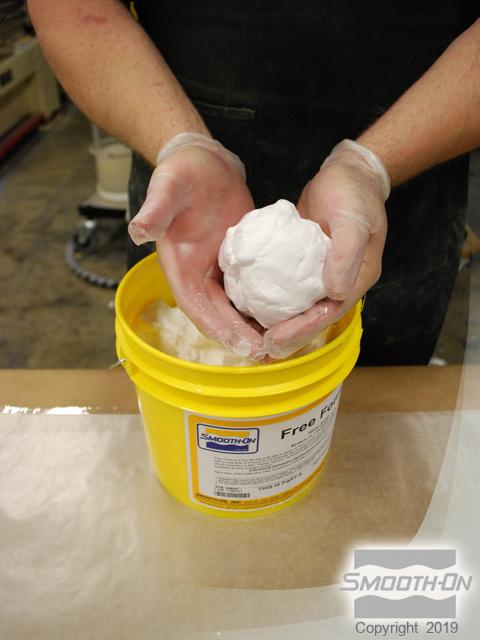
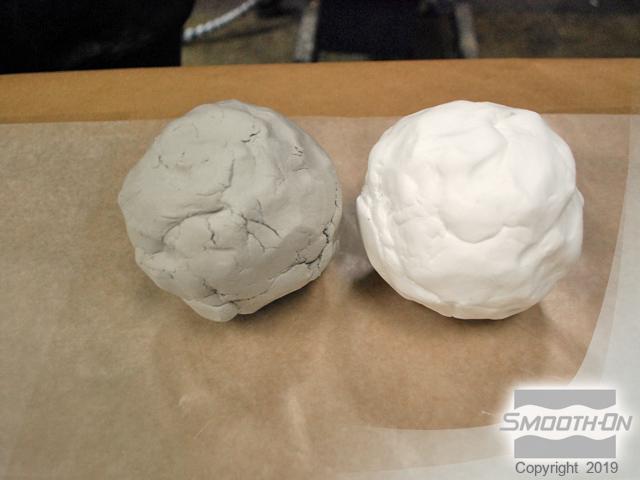
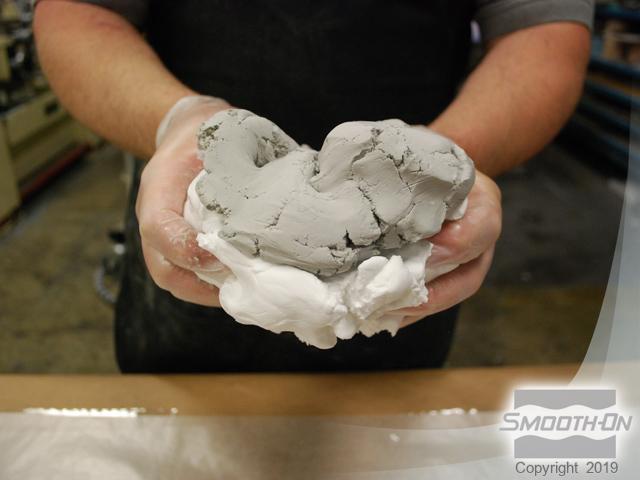
Two equal sized portions of Free Form™ Air are dispensed for easy 1:1 mixing of the product. Free Form™ Air is hand mixed together. Mixing is complete when a uniform color has been achieved.
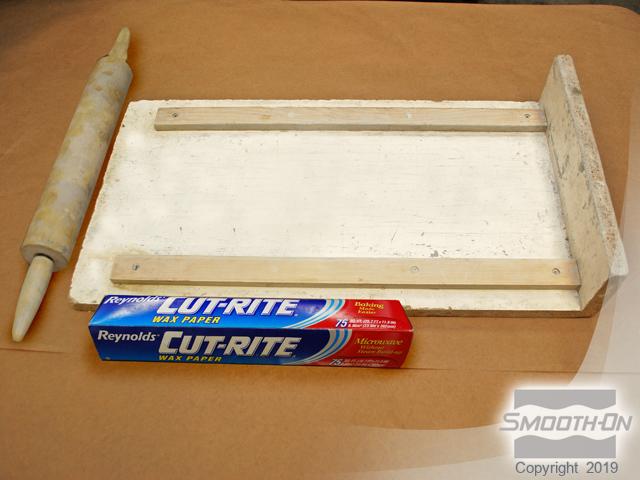
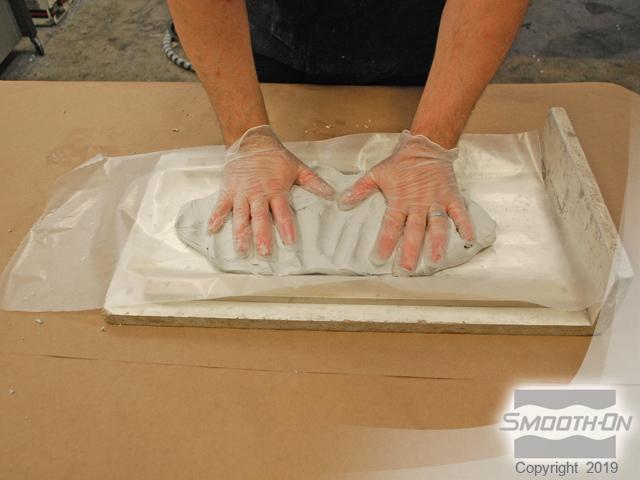
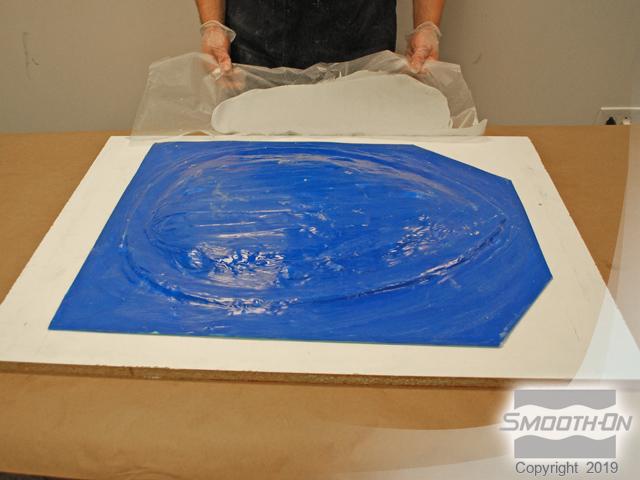
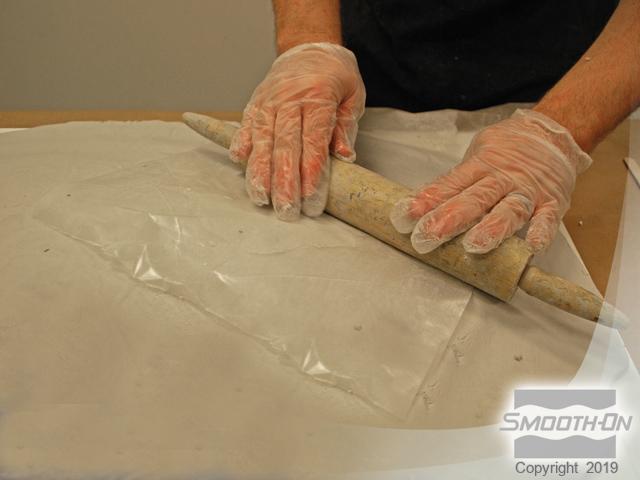
A rolling pin, board, and wax paper will be used to roll out the putty into an even thickness. A sheet of wax paper is placed over the board and the Free Form™ Air is pressed into the wax paper.
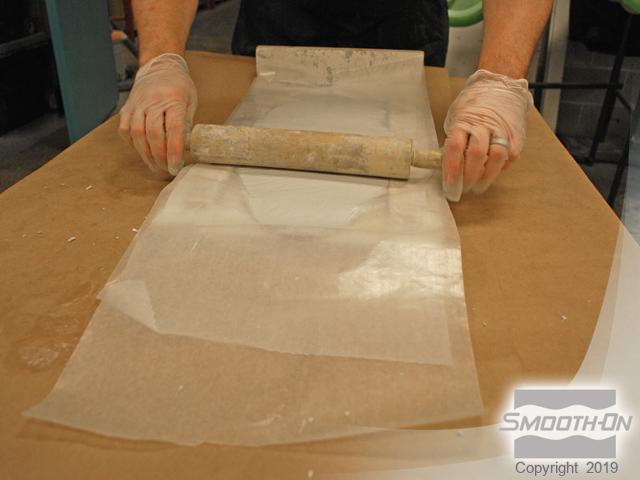
A second layer of wax paper is placed over top the Free Form™ Air and then a rolling pin smooths out the putty to the thickness of the guides on the board. The top layer of wax paper is removed to reveal a smoothed out layer of Free Form™ Air that is now the desired thickness (3/8'') for the support shell.
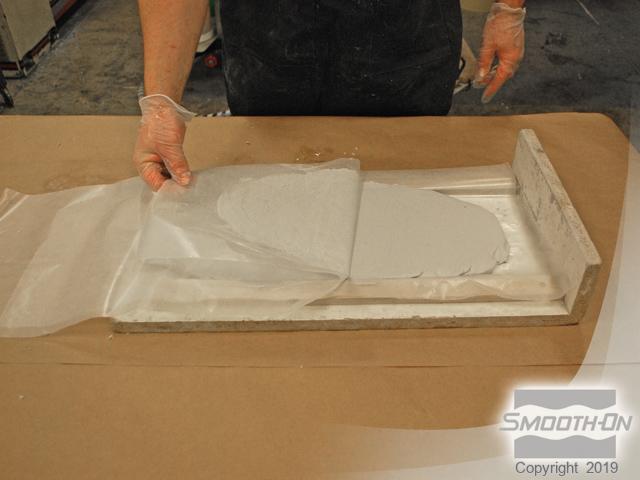
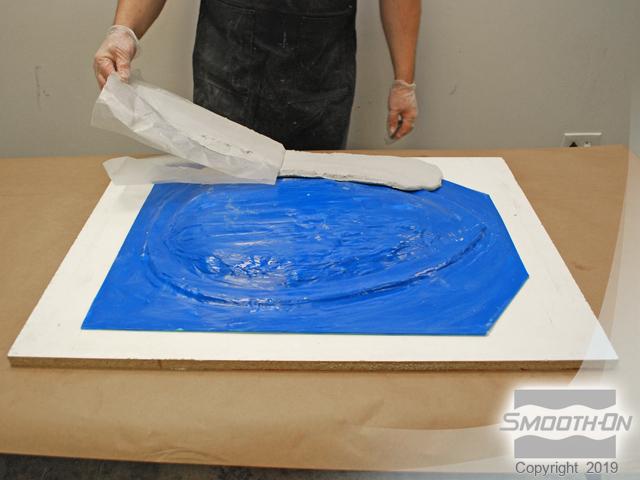
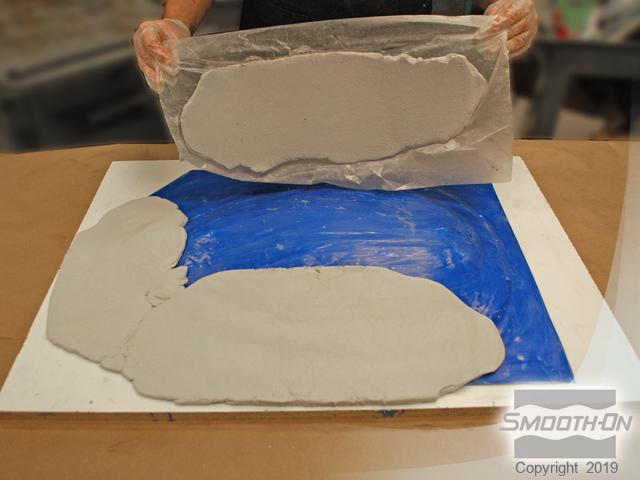
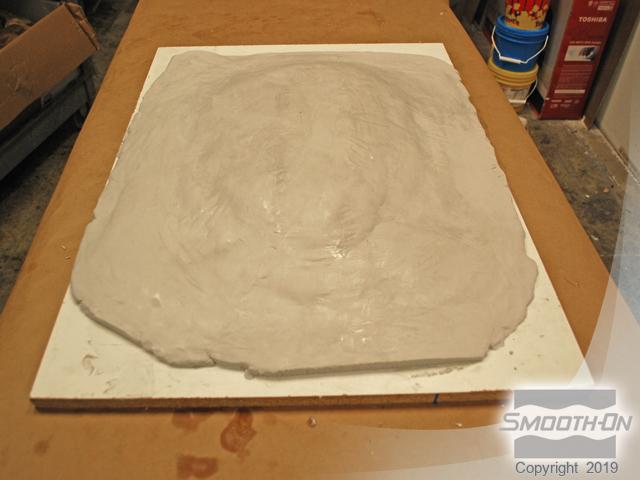
Free Form™ Air, while still on wax paper is positioned over the mold, ready to be pressed into place. The Free Form™ Air, is placed in place and the wax paper is peeled back, leaving the Free Form™ Air on the mold. This method is repeated over the entire model, covering all surfaces.
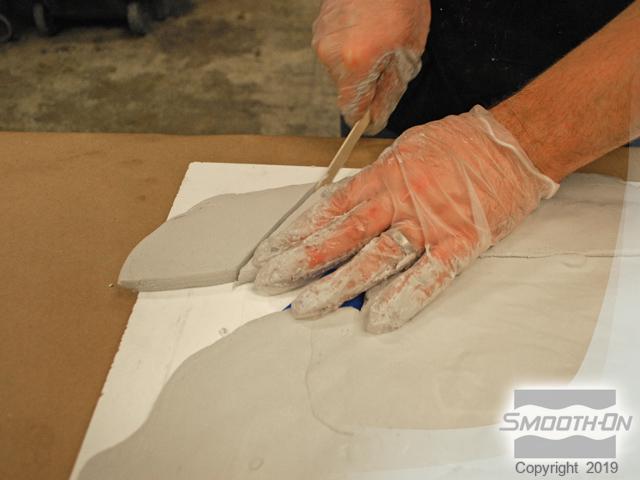
Excess Free Form™ Air can be trimmed with a wooden stick while it is still uncured thus eliminating any waste and making for little post-clean up work. Wax paper can be applied to the entire mold and the putty can again be rolled thus eliminating seams and making a nice uniform mother mold. The completed mold is seam-free and ready for the next step.
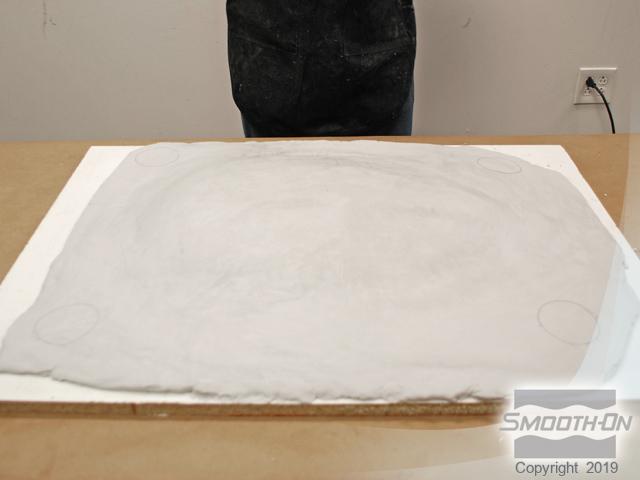
Plastic cups are positioned onto the putty in order to judge leg placement for the mold support. The impressions left from the cups marks are where the legs will be placed on the mold.