How To Create a Mold and Casting of a Prop Shield
Step 7: Creating Supports Using Free Form™ Air
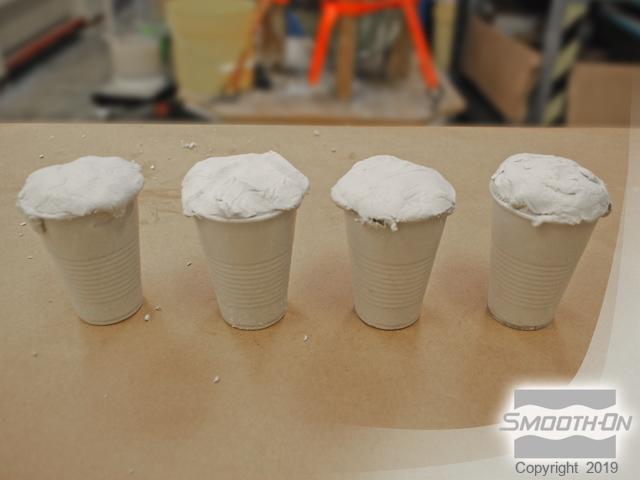
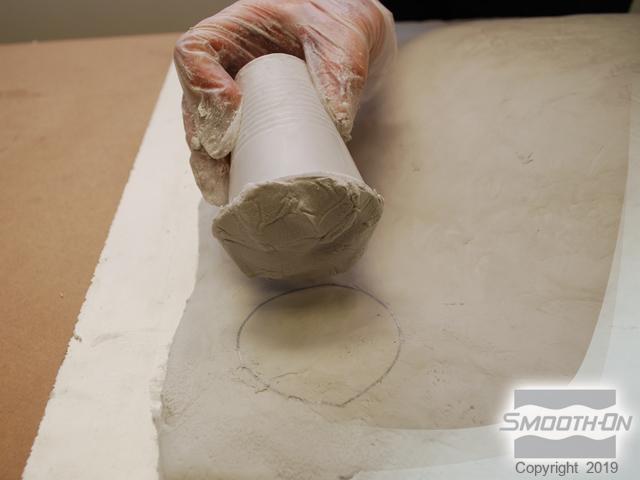
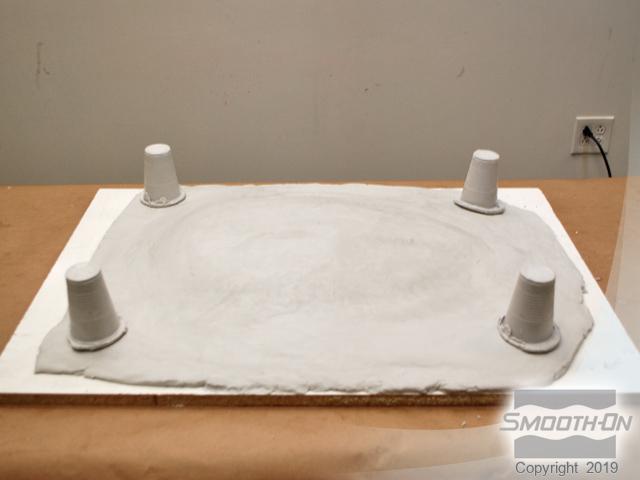
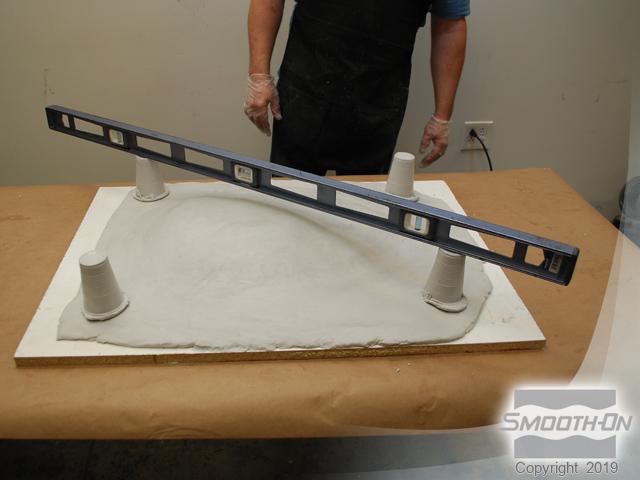
More putty is mixed and each cup is filled with the mixed putty. The cups are slightly overfilled to allow for ease of leveling out the final base. Cups are placed back onto the mold where the impressions were made. All four cups are now in the proper position.
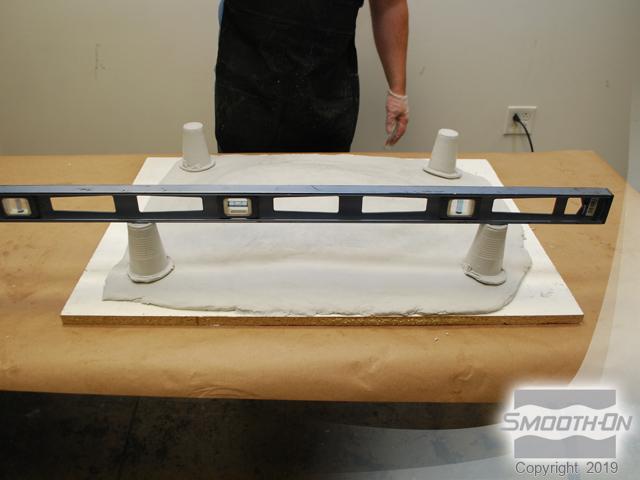
A level is used to make sure that the mold will sit solid once it is cured. All cups aligned perfectly thanks to the extra putty placed in each cup, which allowed for adjustment.
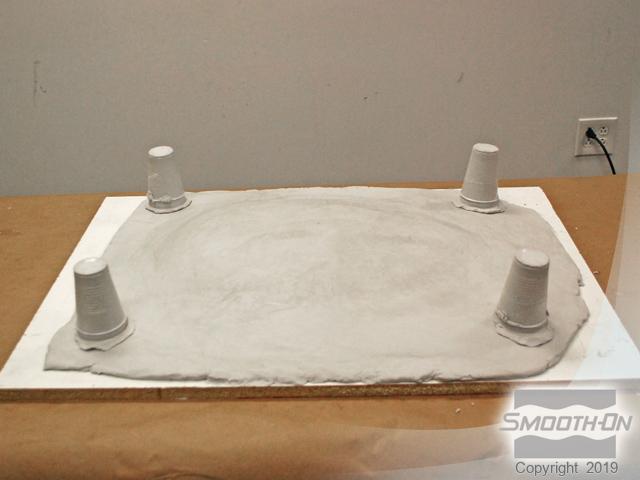
Free Form™ Air is allowed to fully cure overnight.