How To Mold and Cast a Resin Sculpture ‑ Ghost Rider
Overview
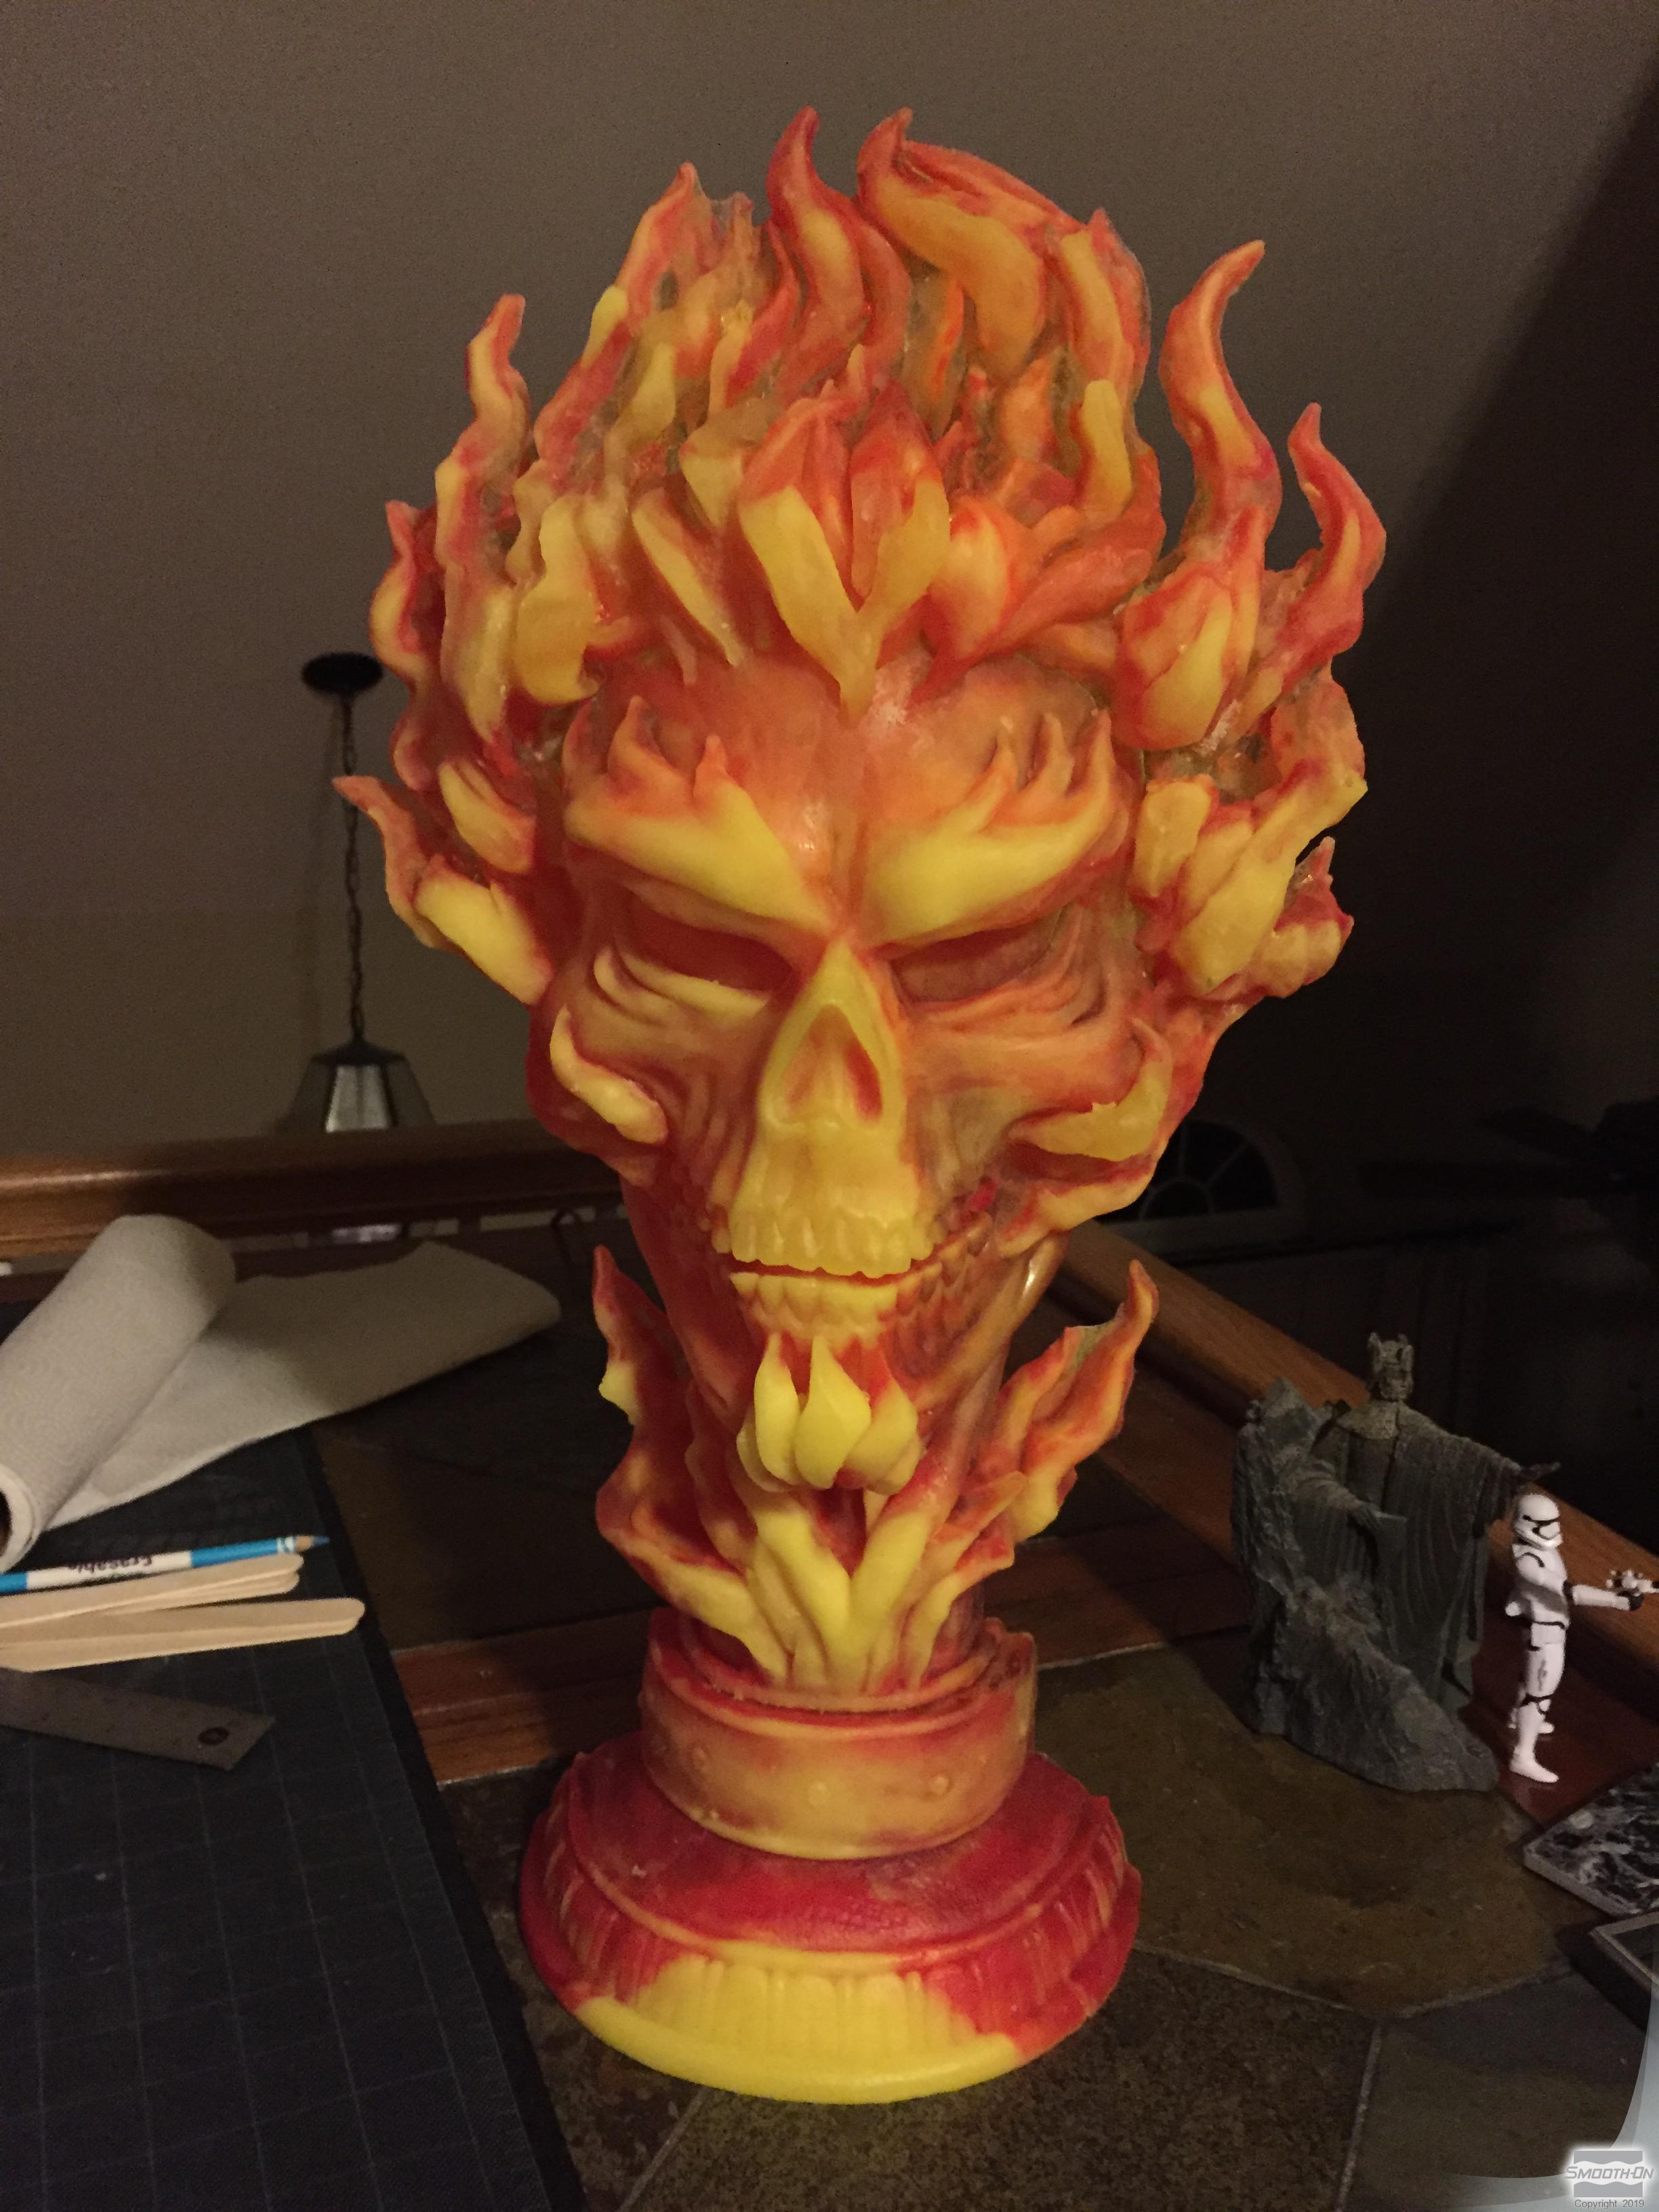
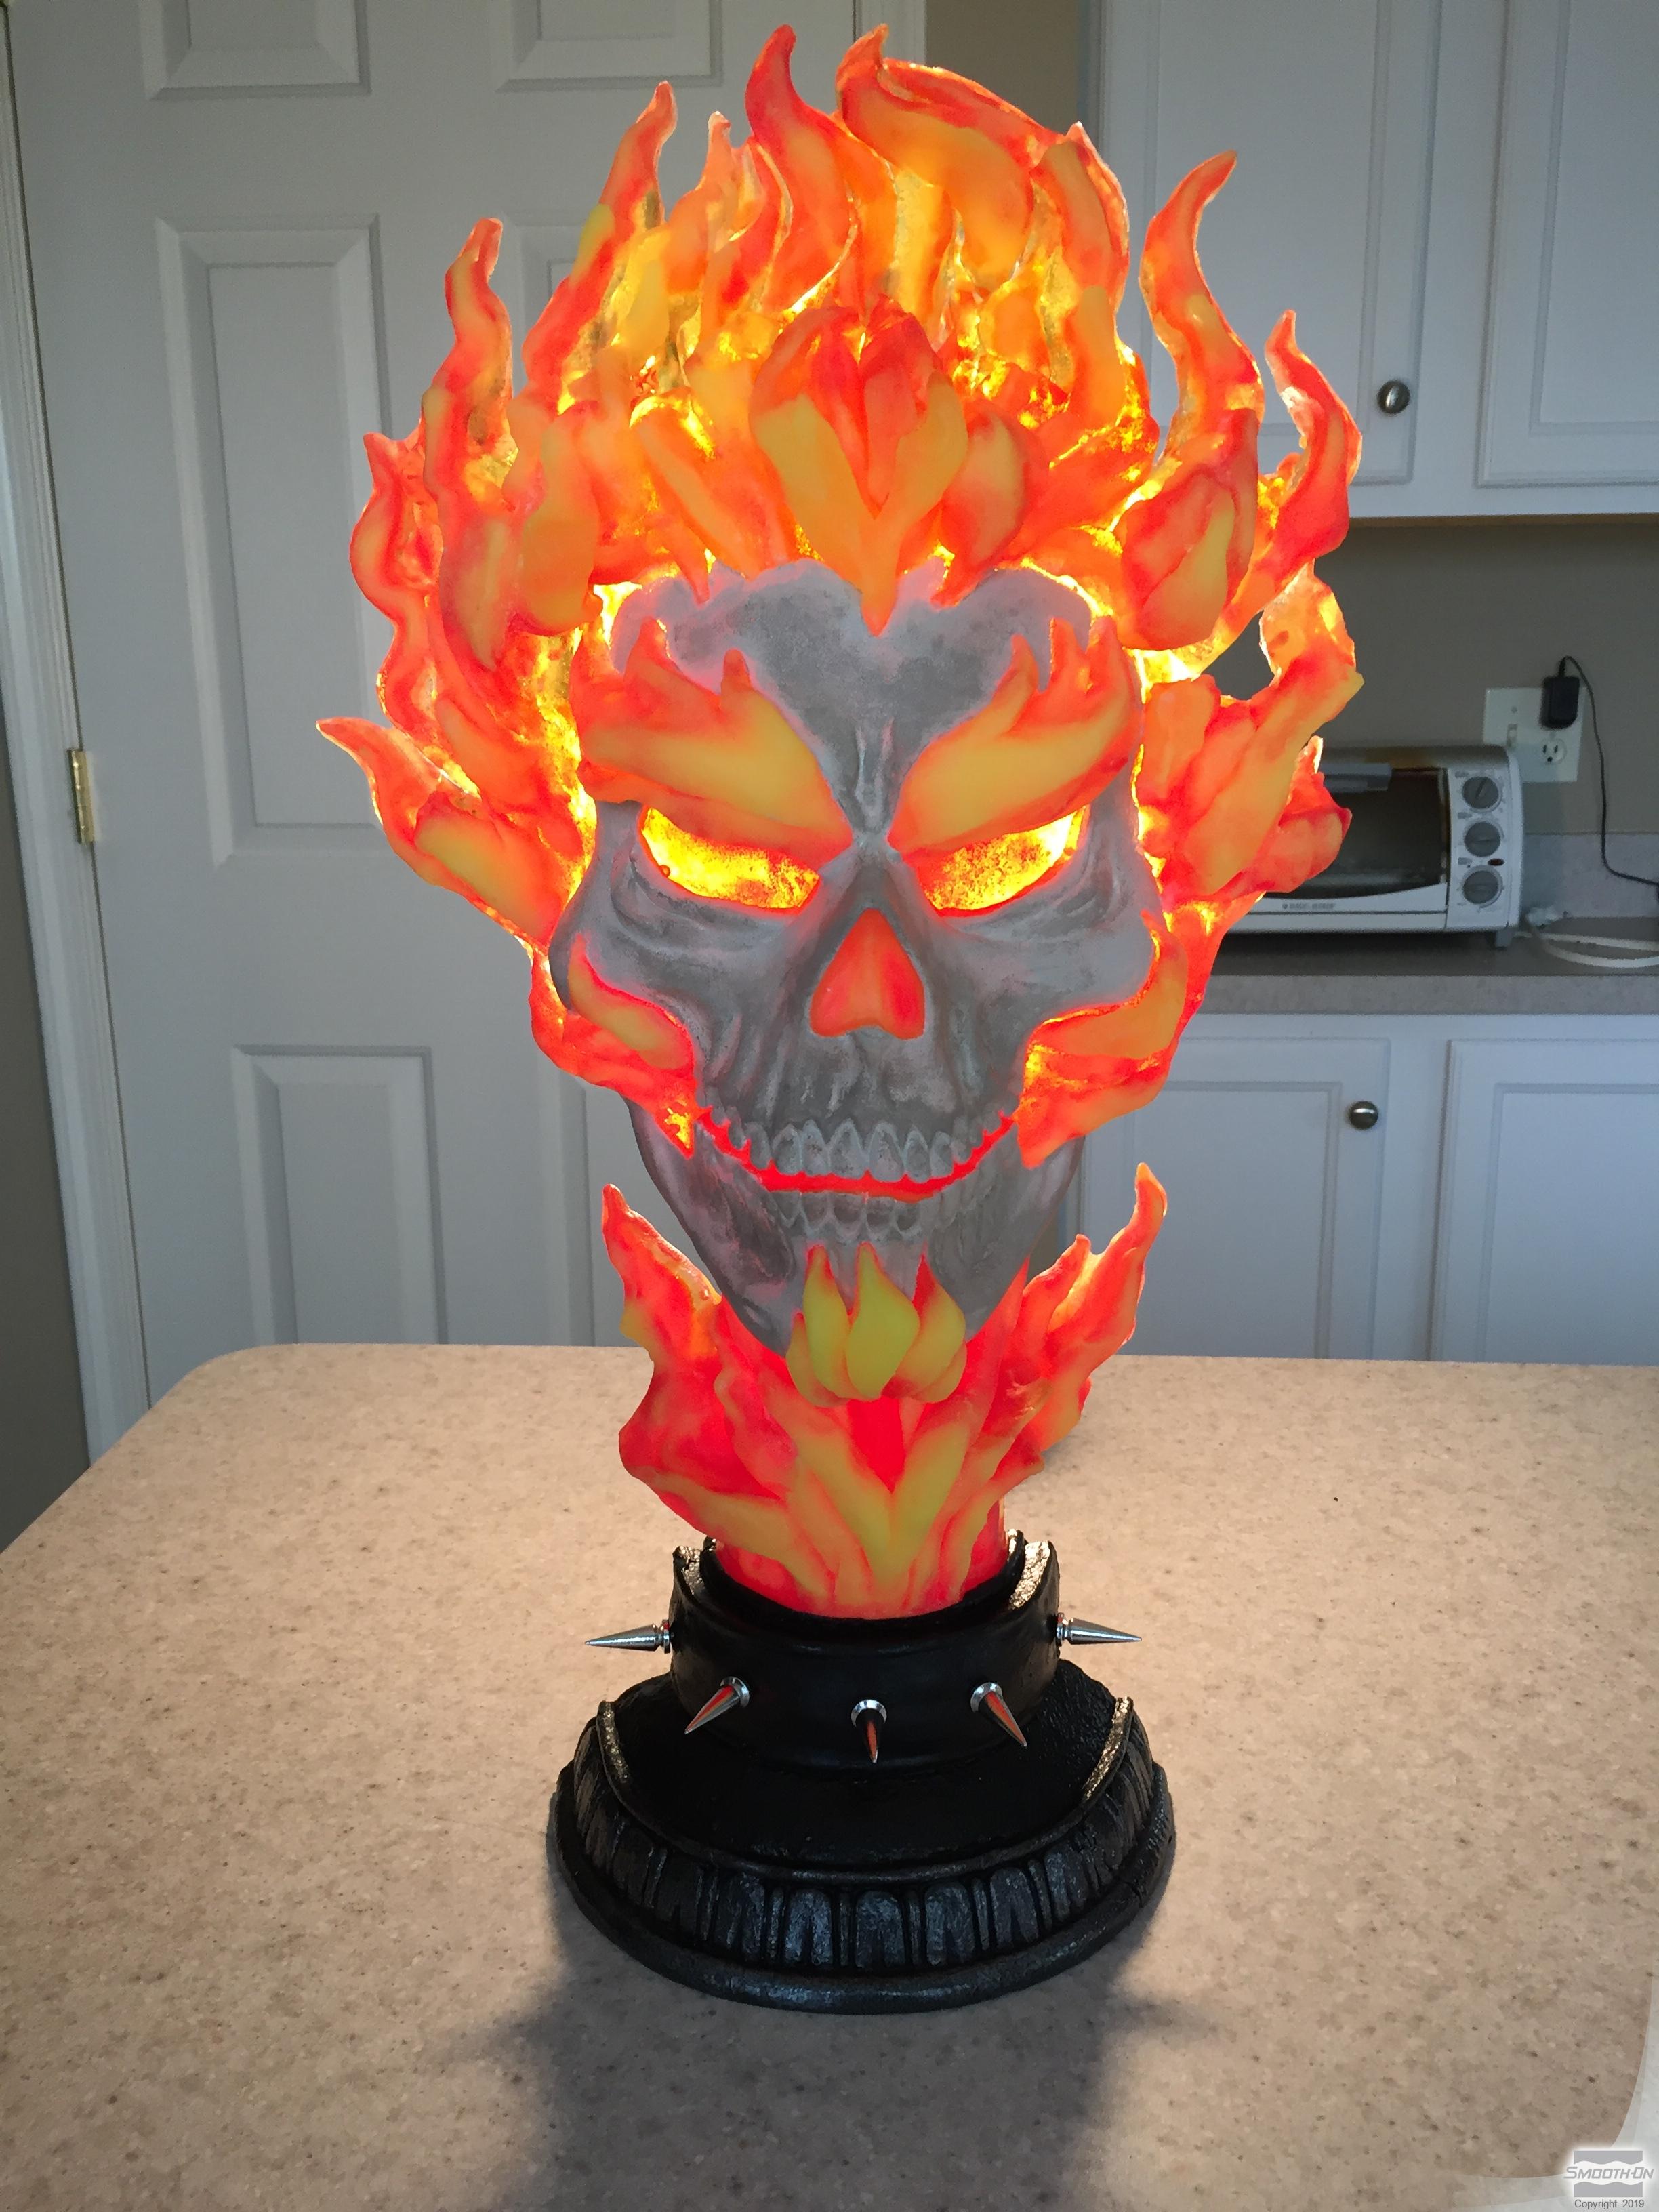
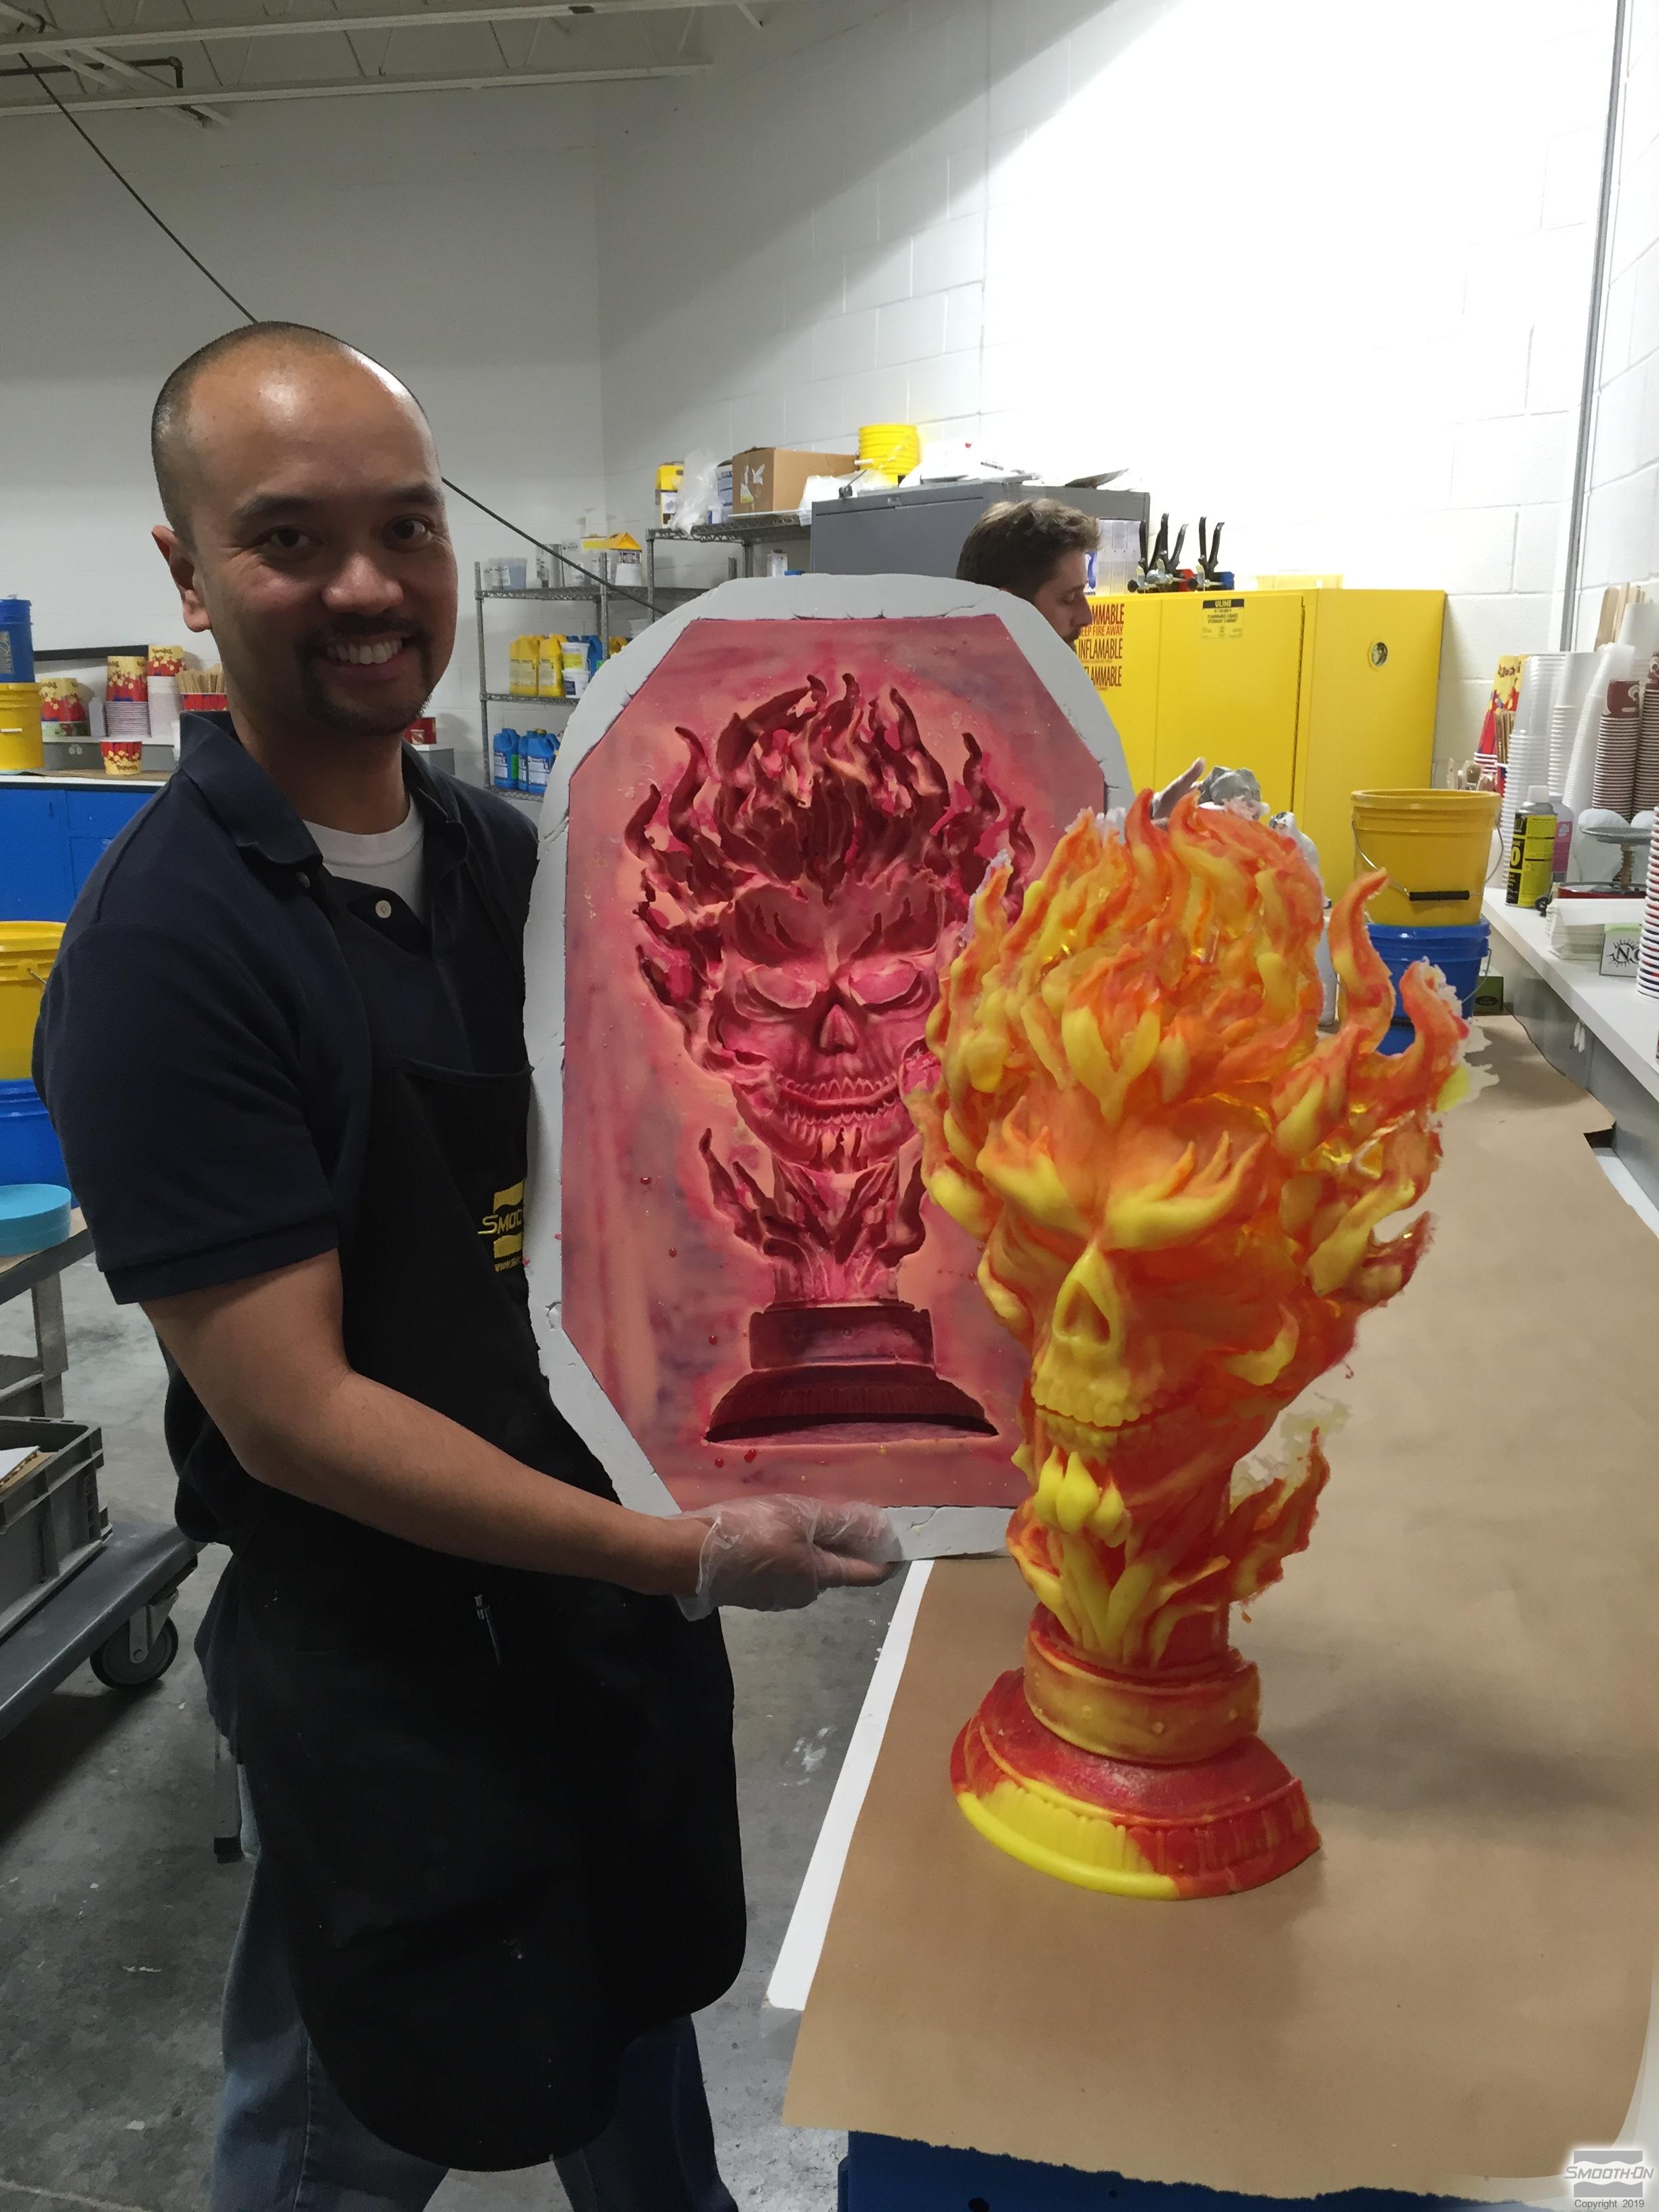
Jonathan Navarro, a Smooth-On technician, has created another amazing sculpture. This time it is a bust of the infamous Marvel character, Ghost Rider.
The project called for a wide variety of materials. Rebound™ 25 was used to create the rubber mold, Free Form Air was used as a sculpting material and as a support shell. Smooth-Cast™ 325 urethane resin was used in combination with So-Strong™ Color Tints to create the casting.
View the whole step-by-step process of this project in the following photos.
Materials Used in this Tutorial
- Rebound™ 25
- SO-Strong™ Color Tints
- Smooth-Cast™ 325
- Free Form™ AIR
- Bubble Level
- Paint Brush
- Mixing Containers
- Melamine Board
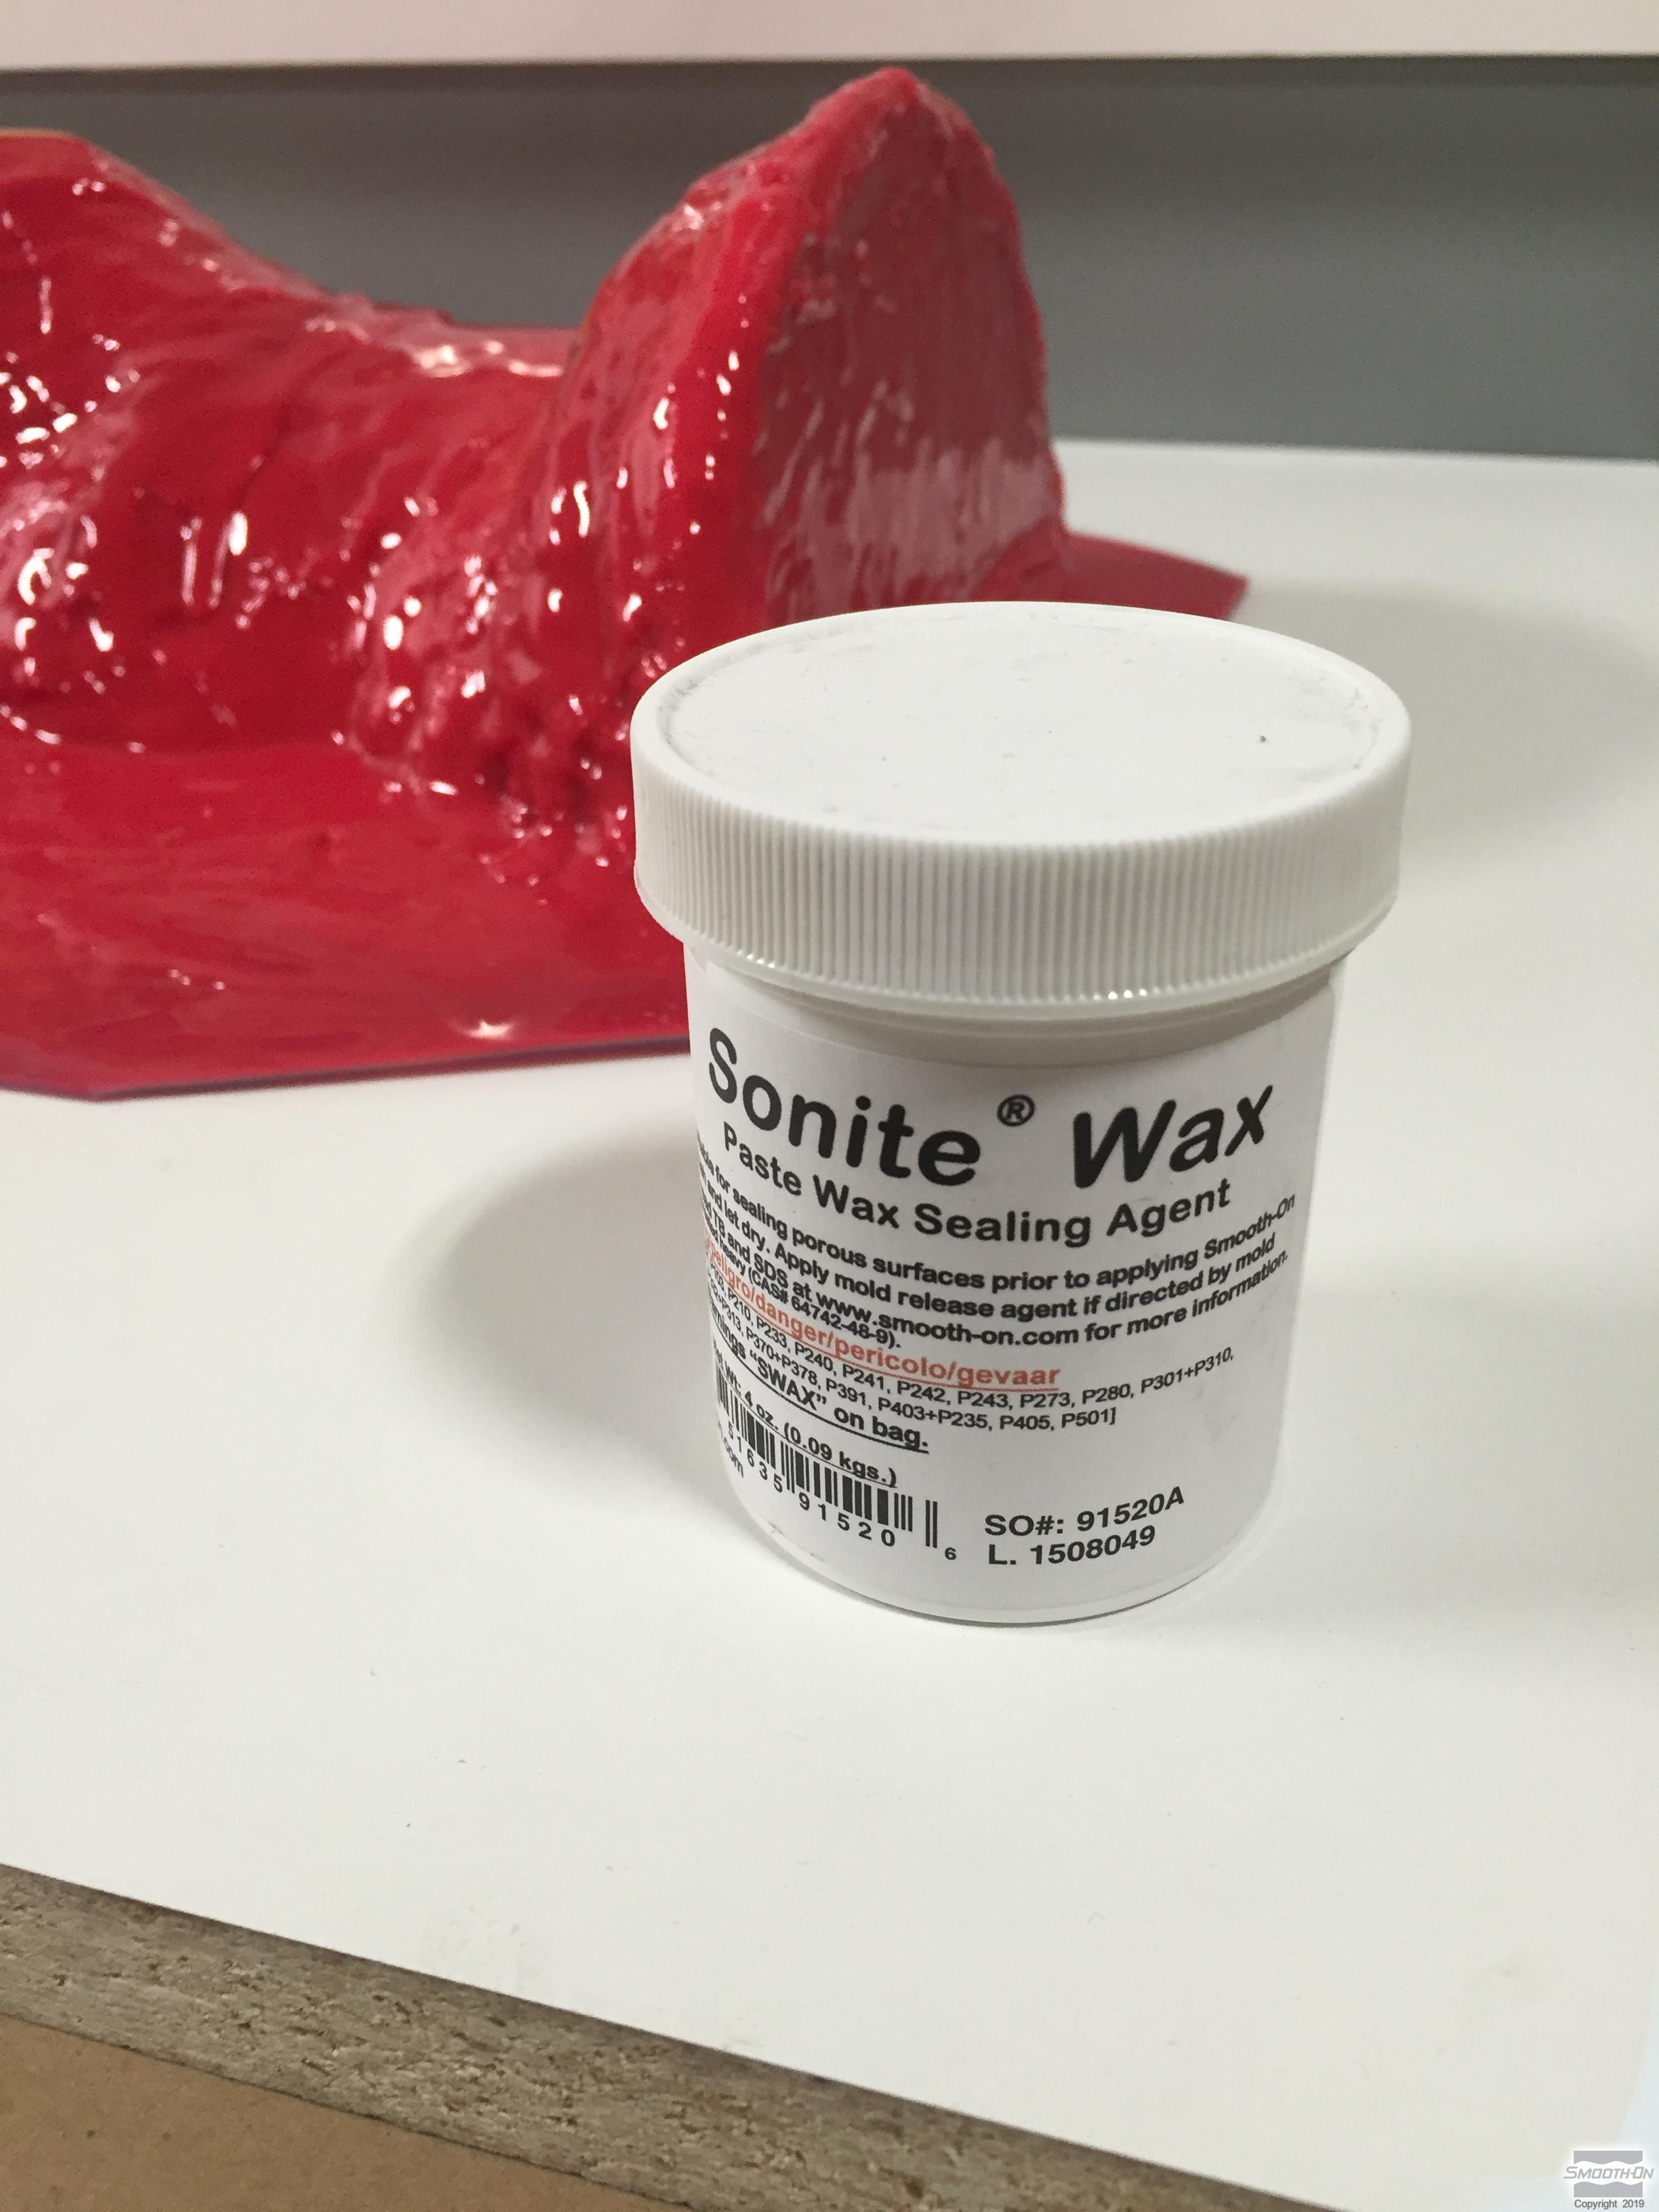
- Sonite™ Wax
- Silc Pig™
- Ease Release™ 200
- Super Instant™
- Black Acrylic Paint
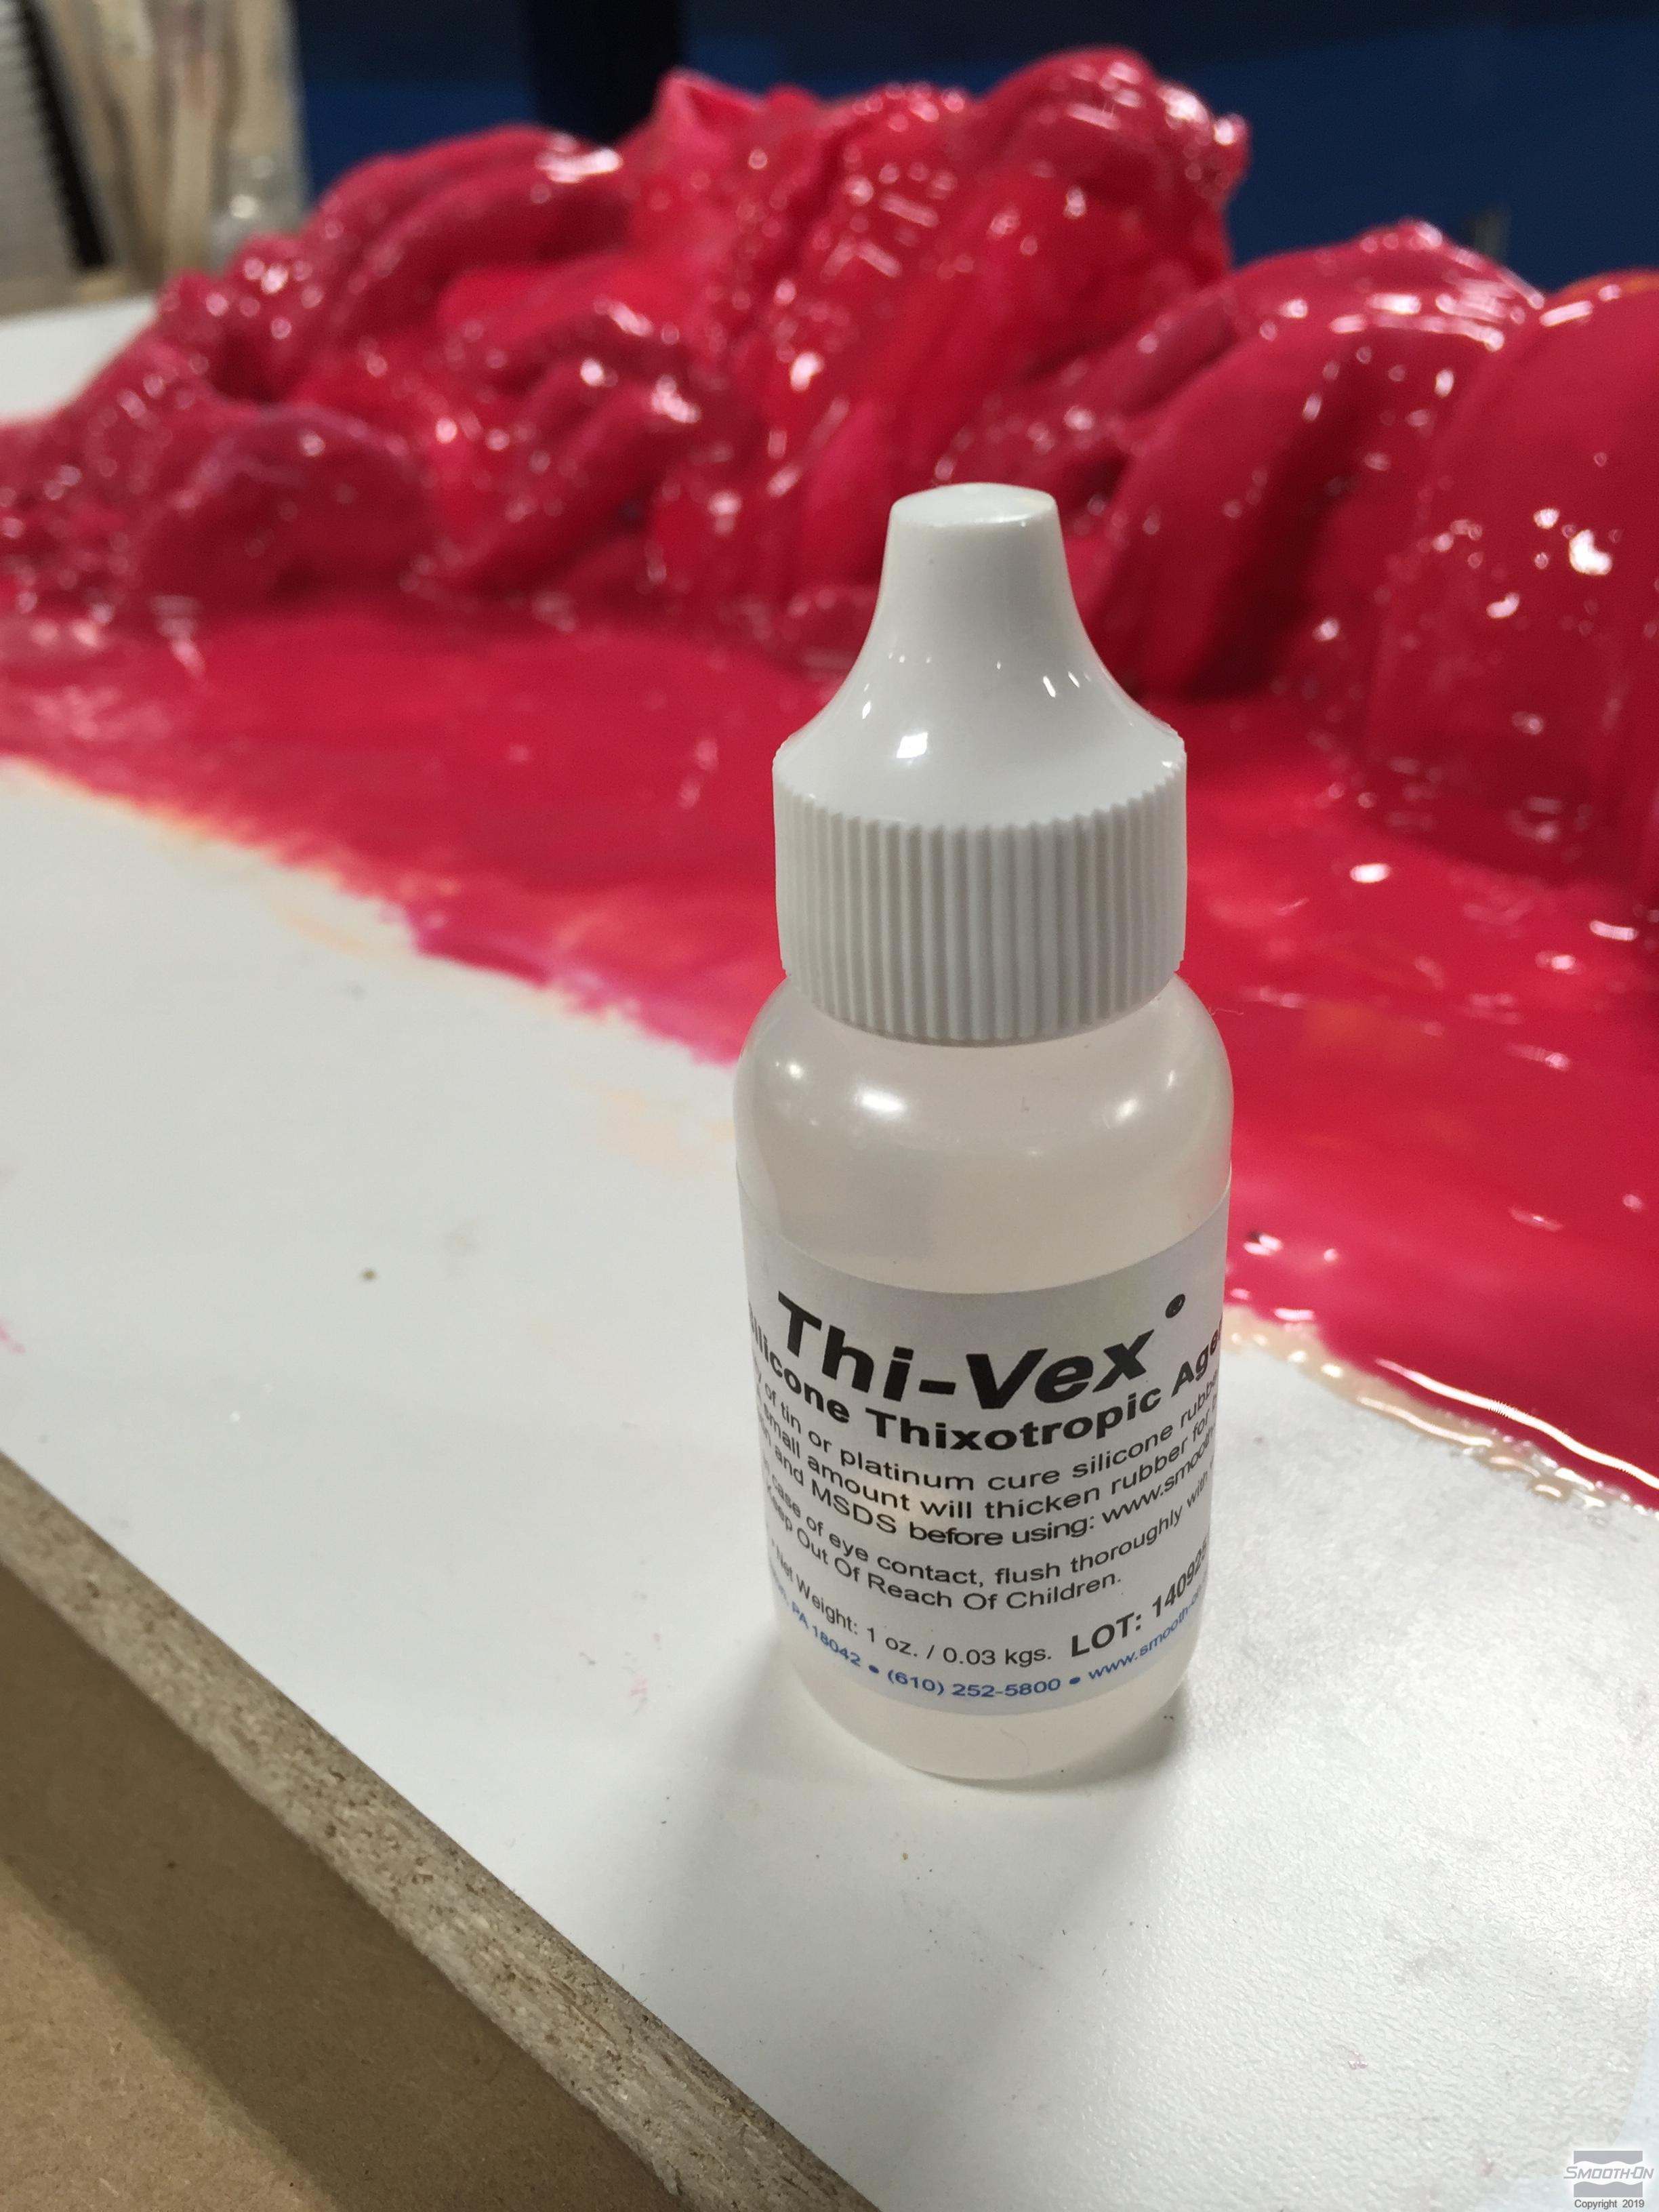
- THI-VEX™
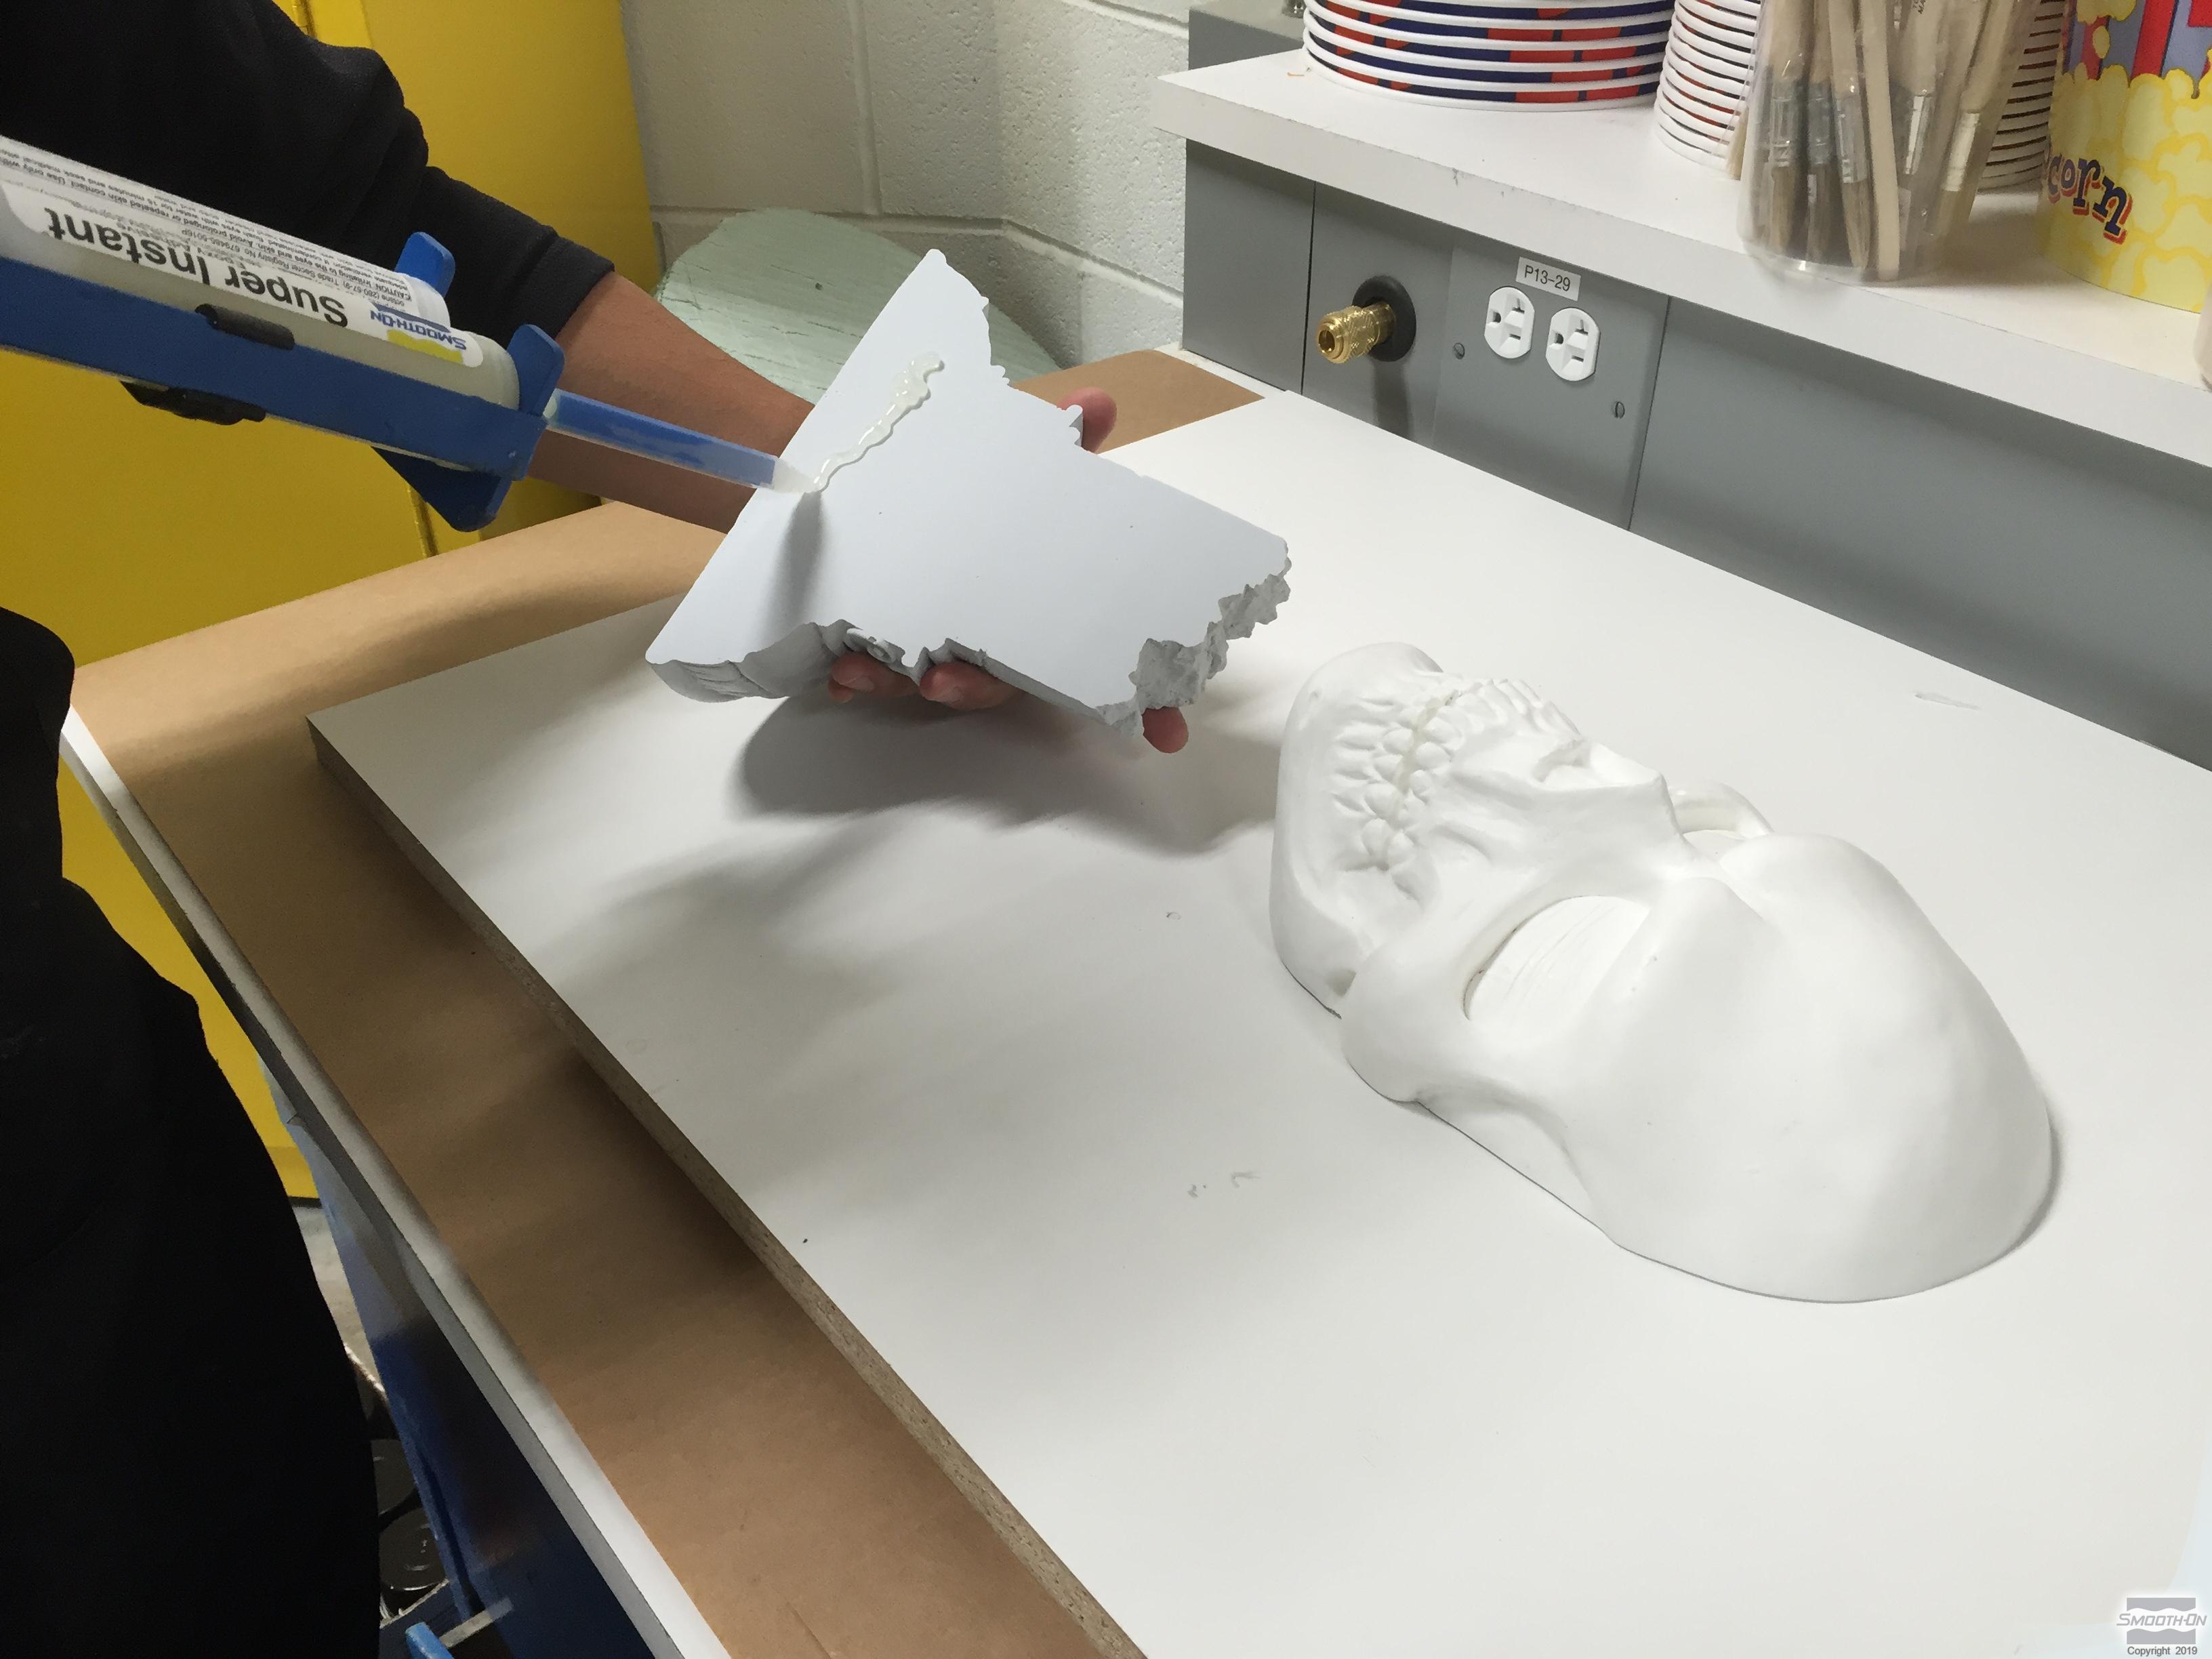
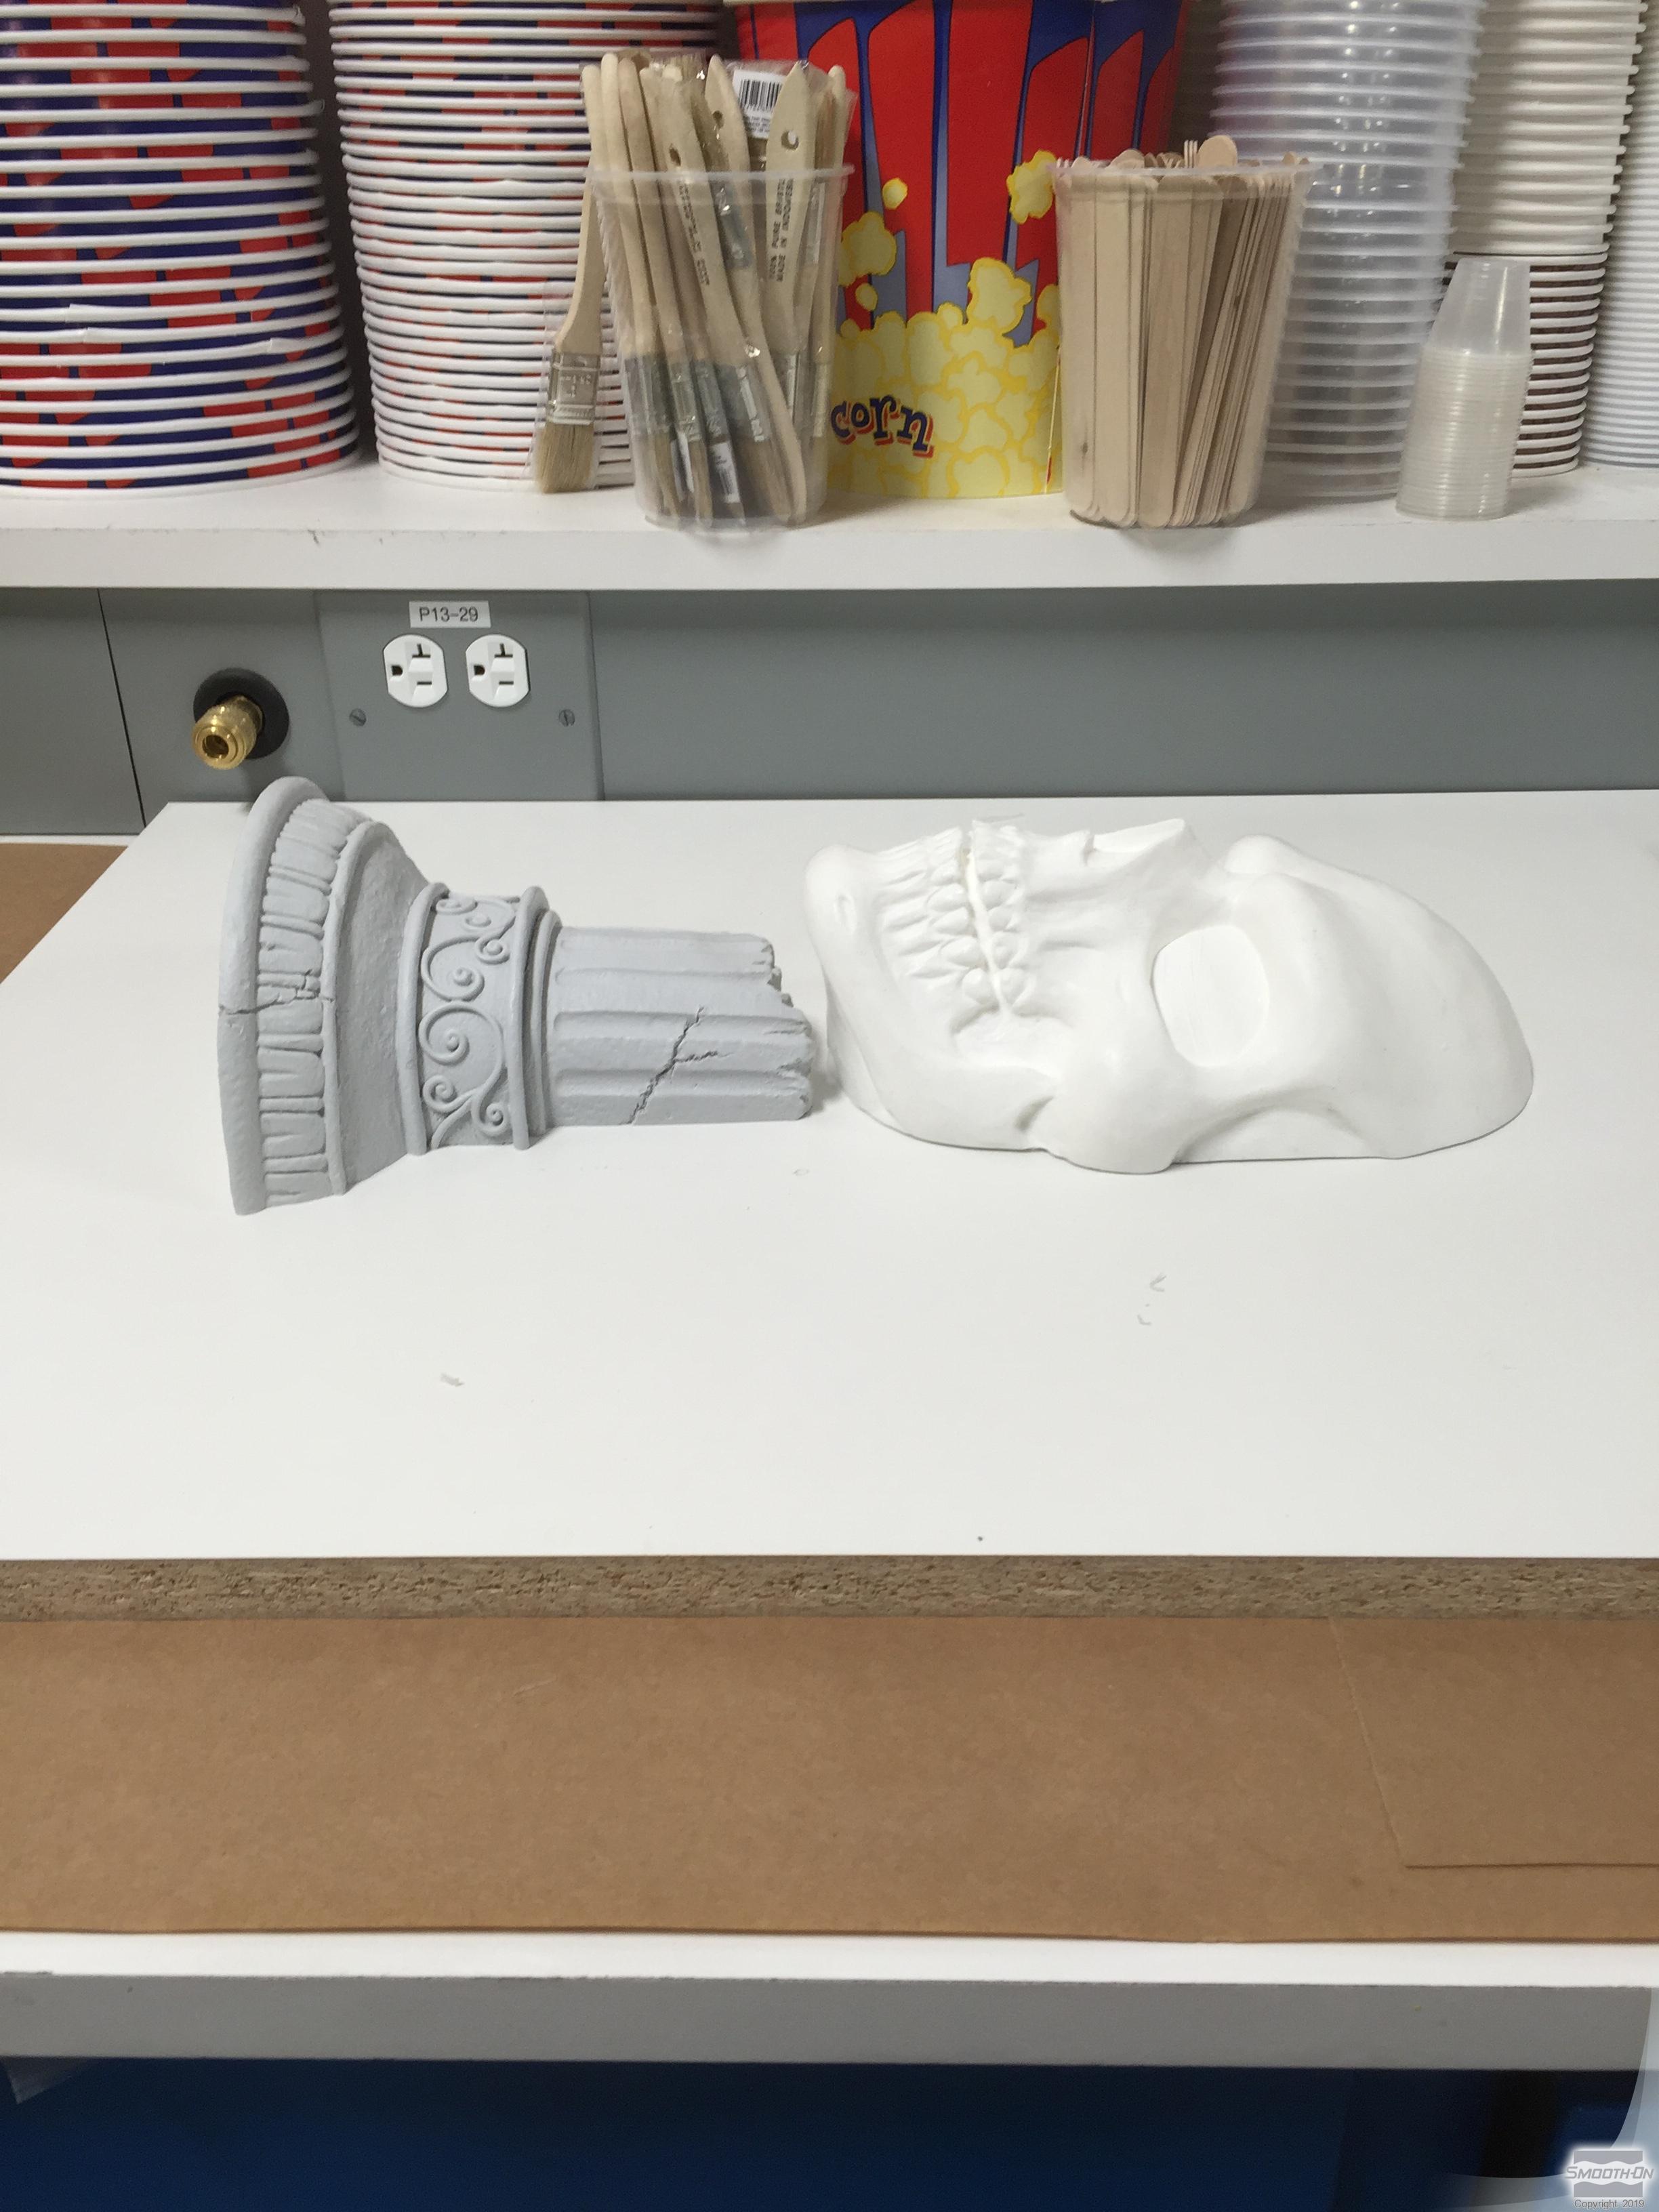
Step 1: Preparing Models for Sculpting
Super Instant™ epoxy adhesive is used to secure 2 models, cast in Smooth-Cast™ 300 urethane resin, to a melamine board. The models are pressed firmly against the board and the Super Instant™ is allowed to cure fully.


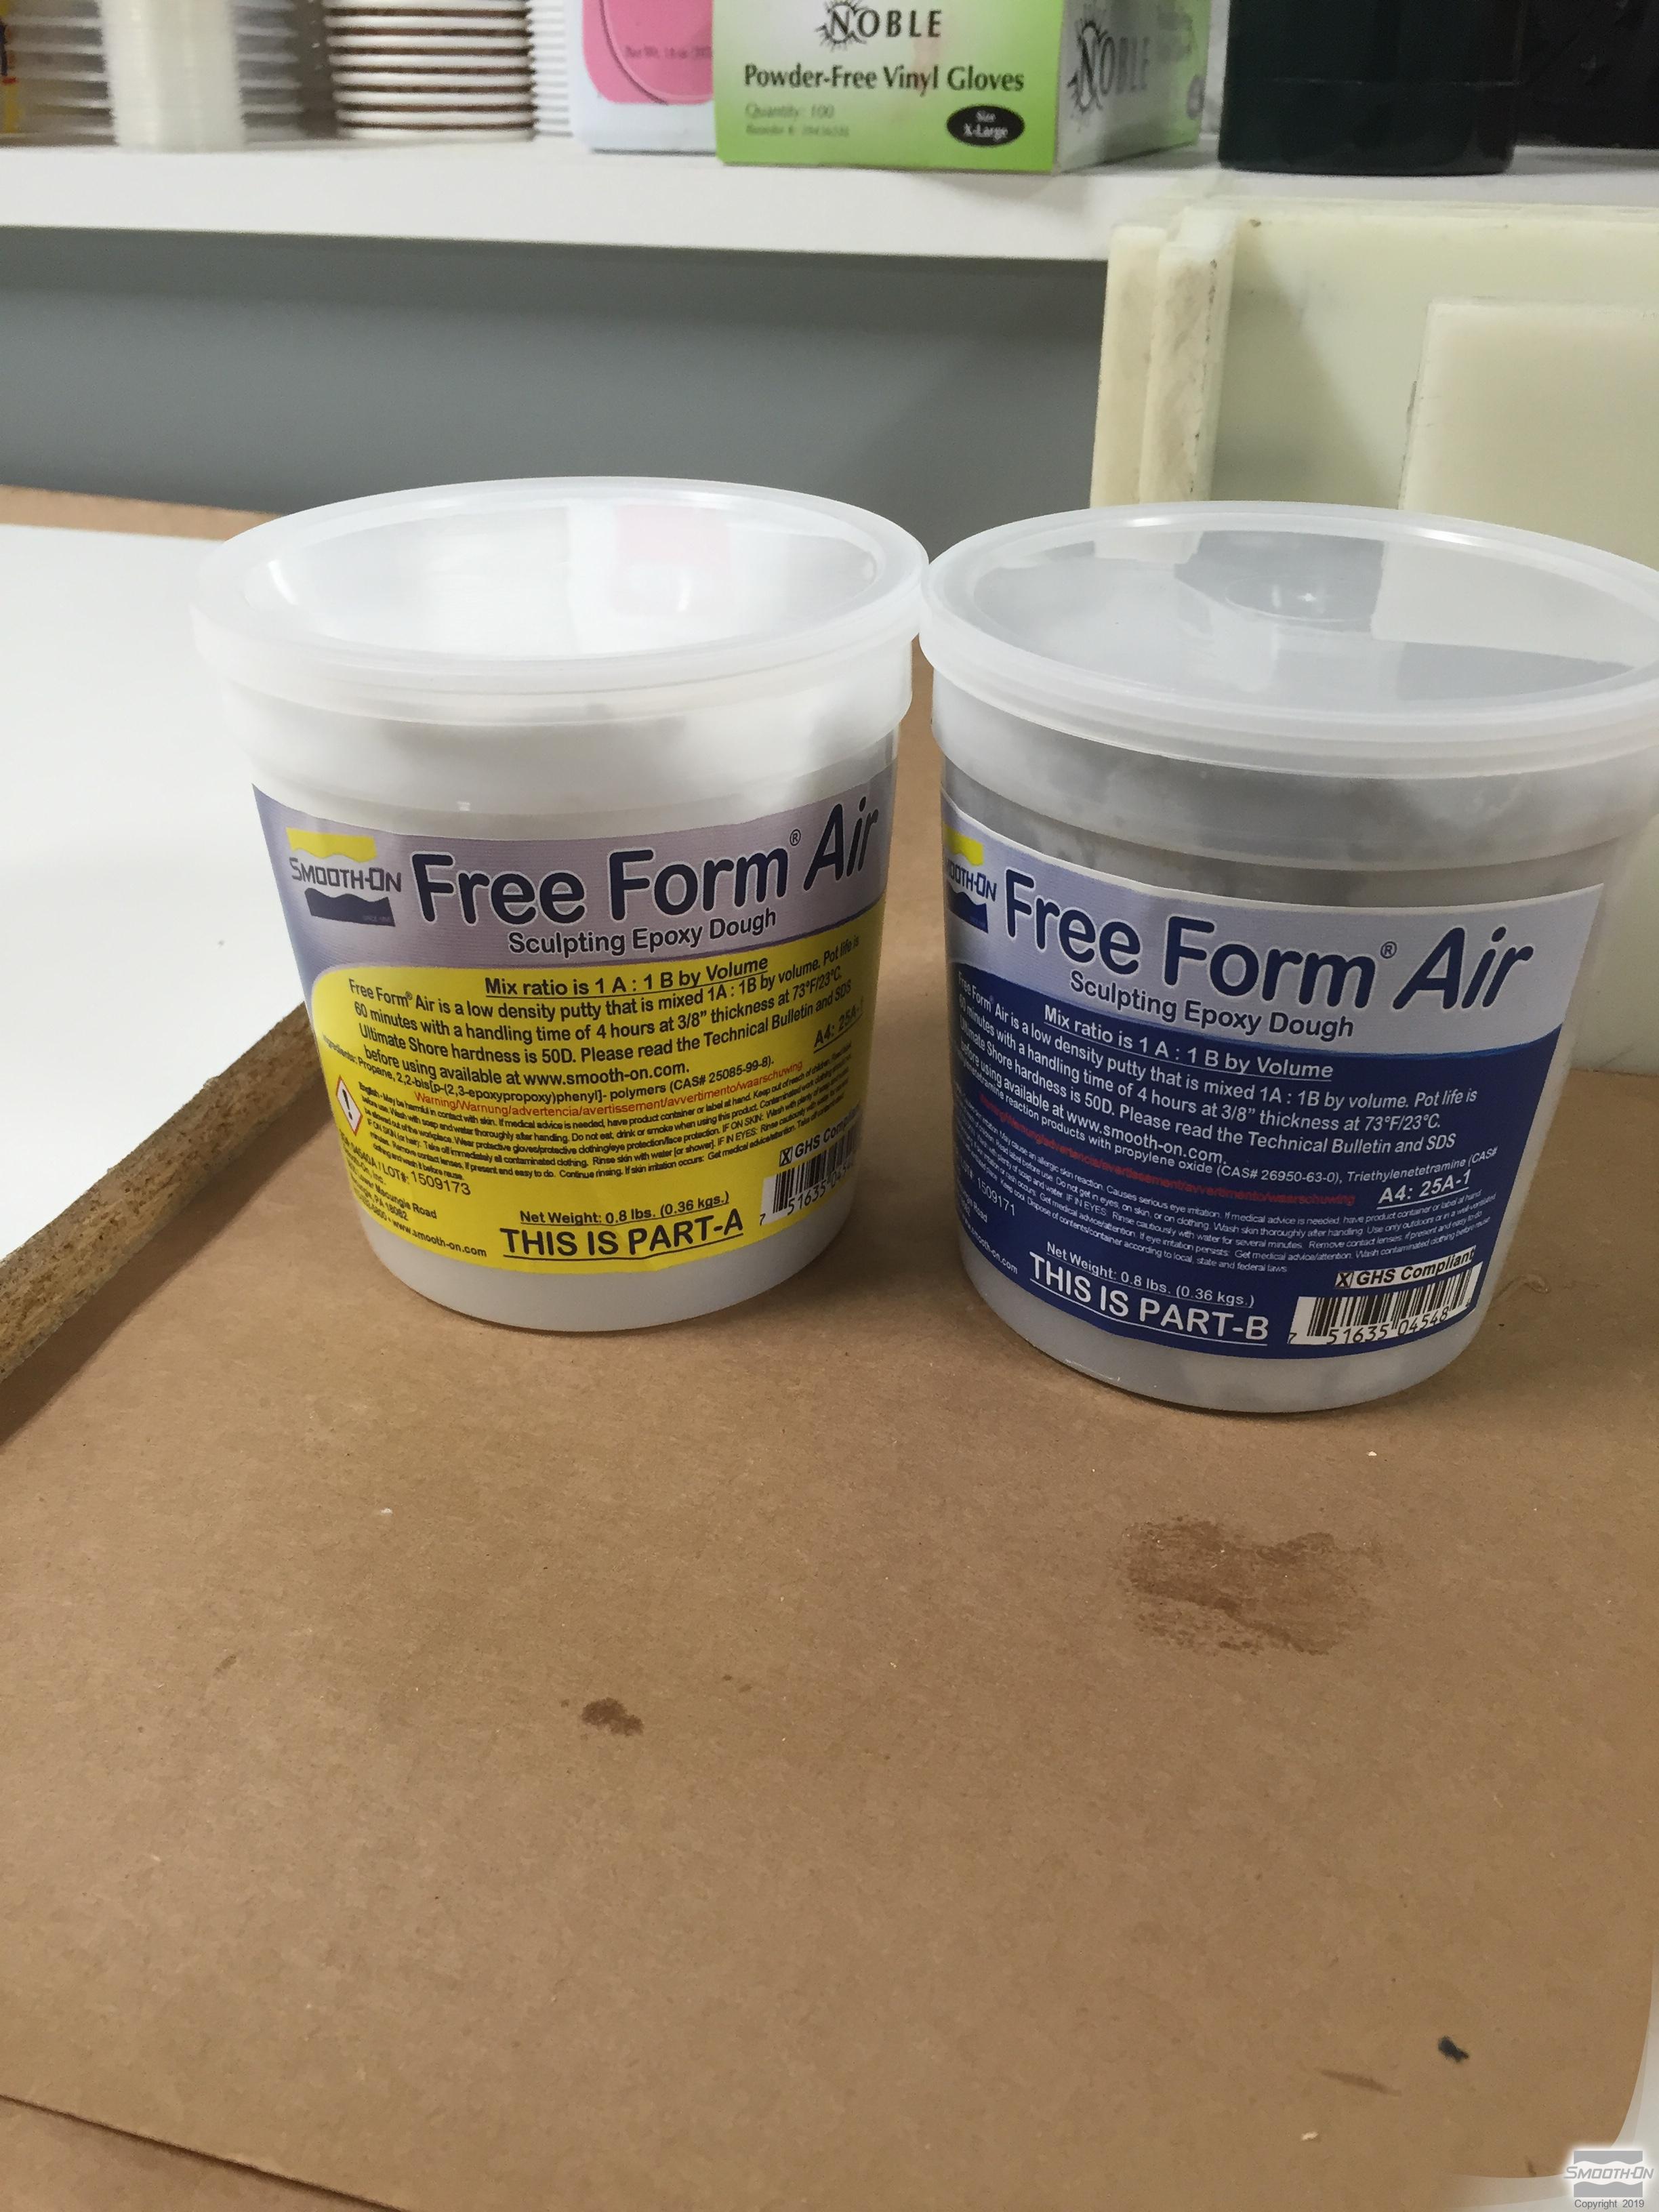
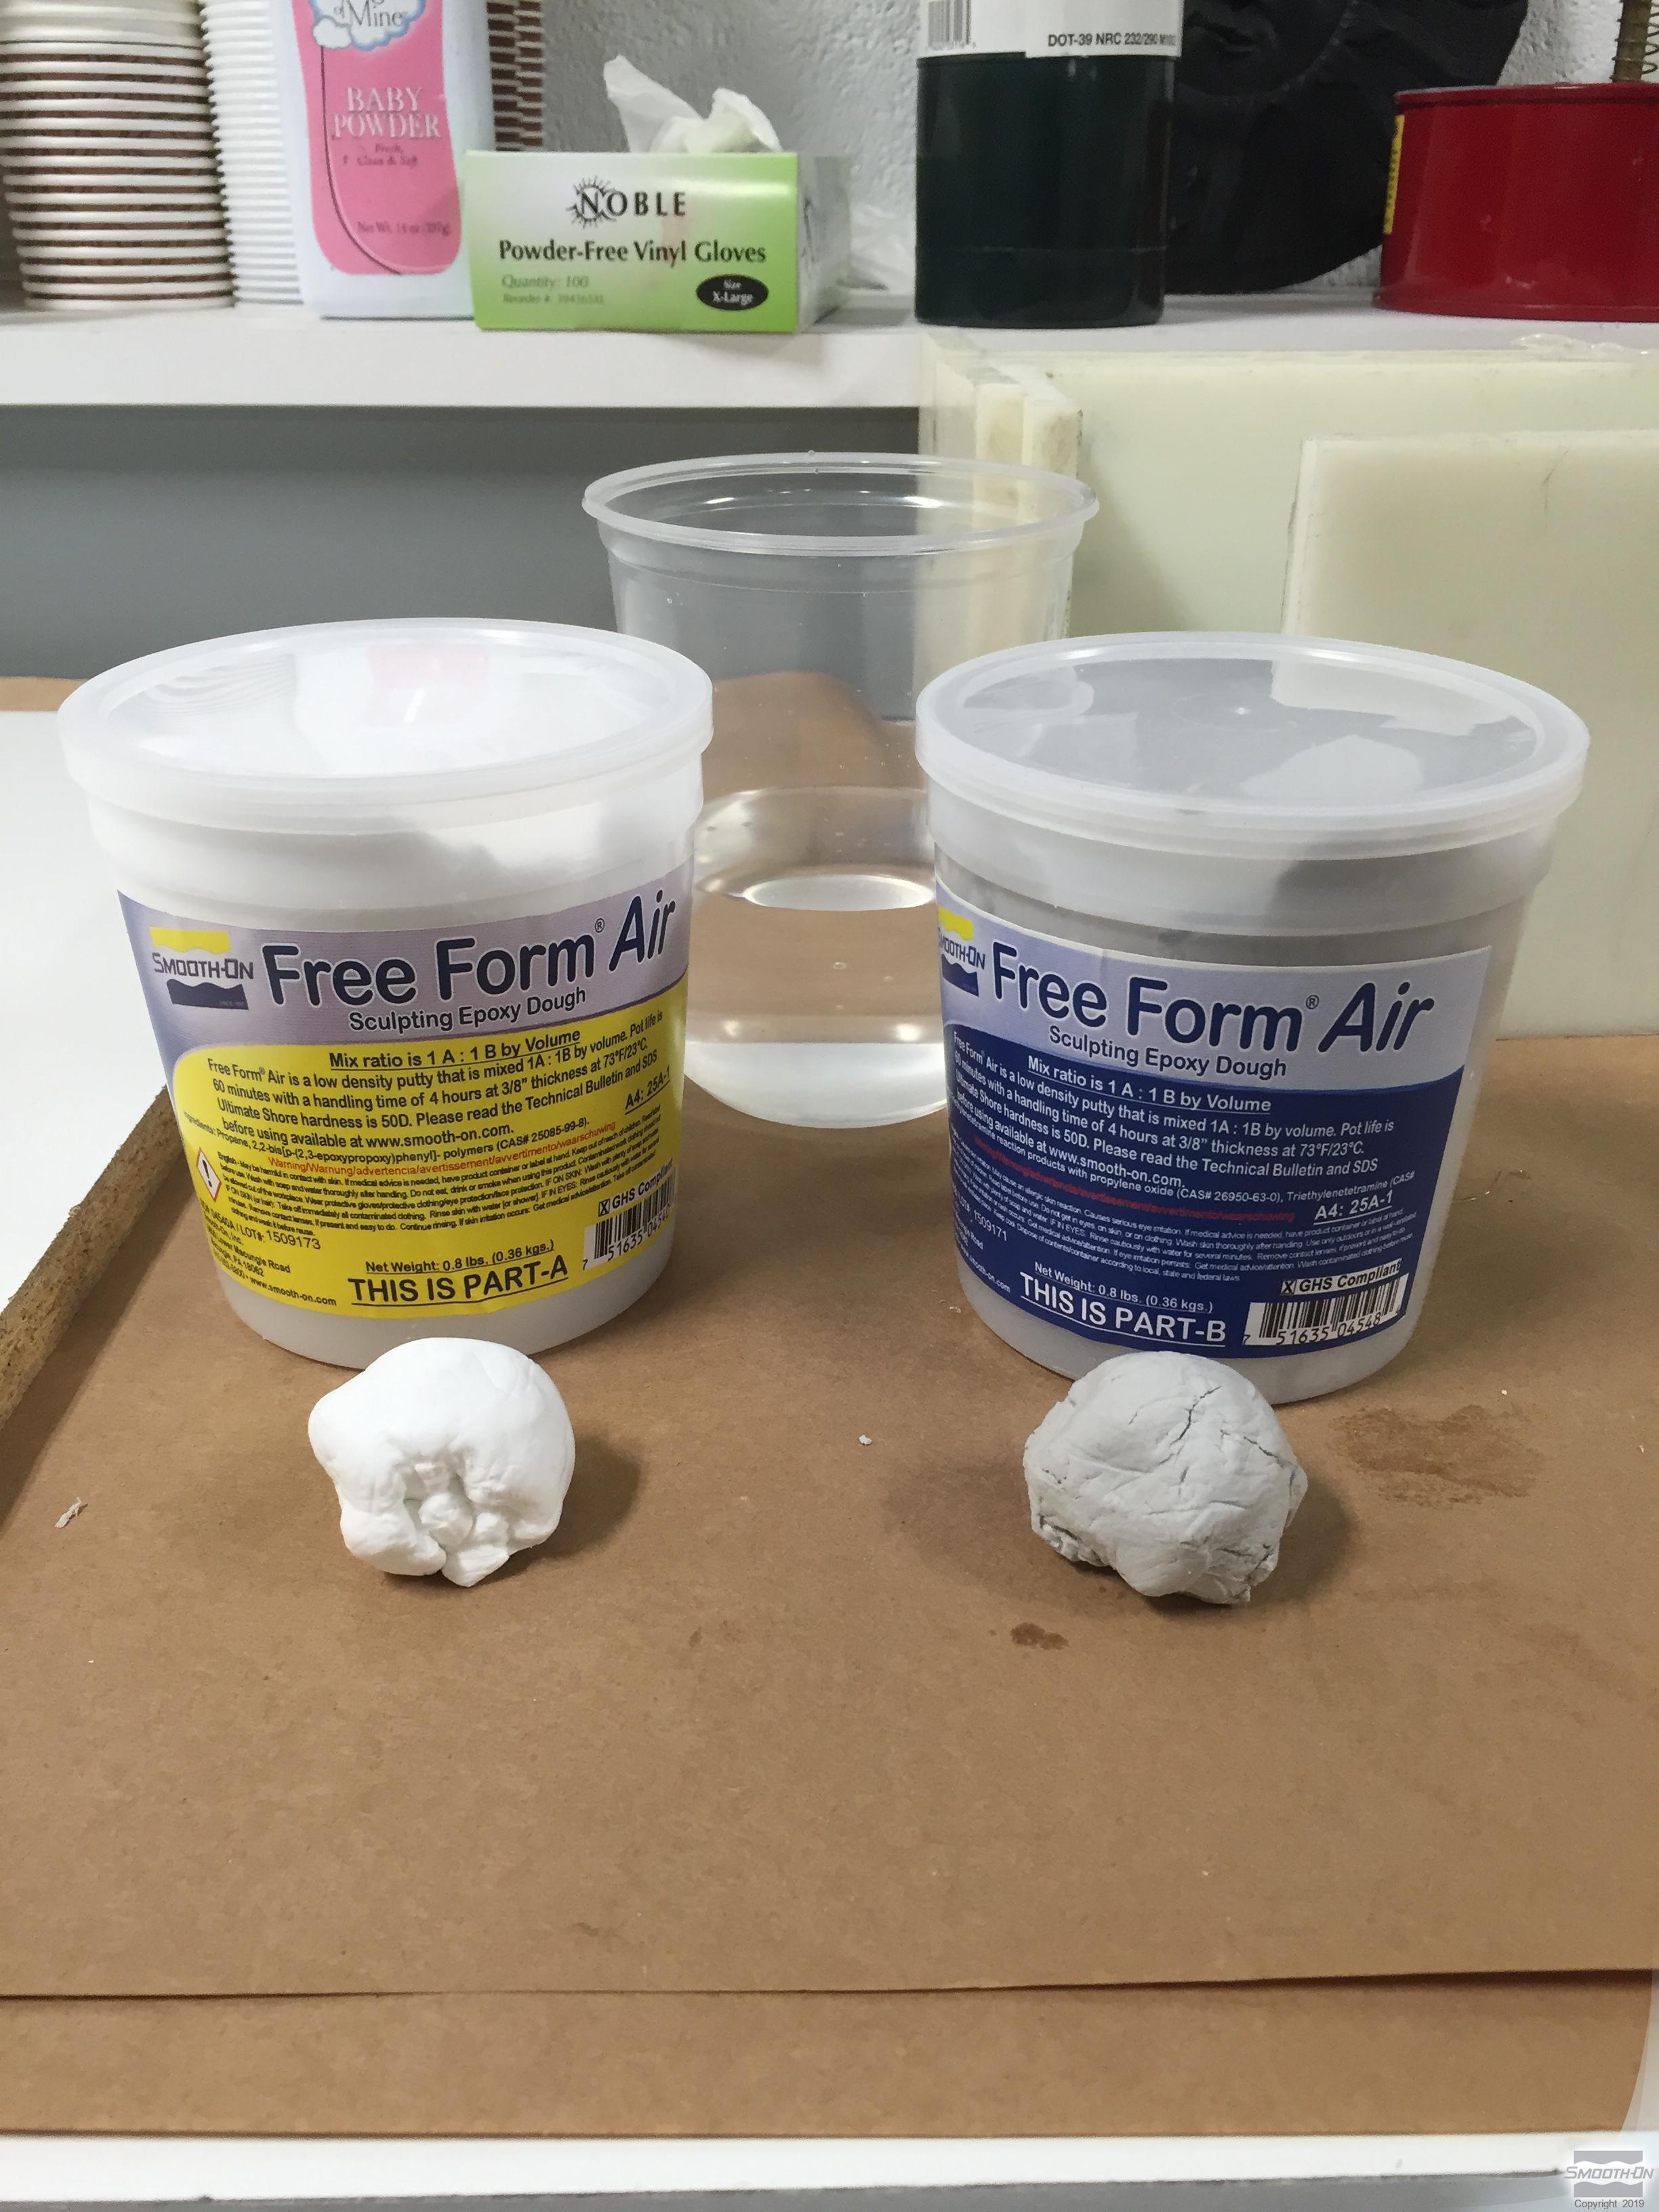
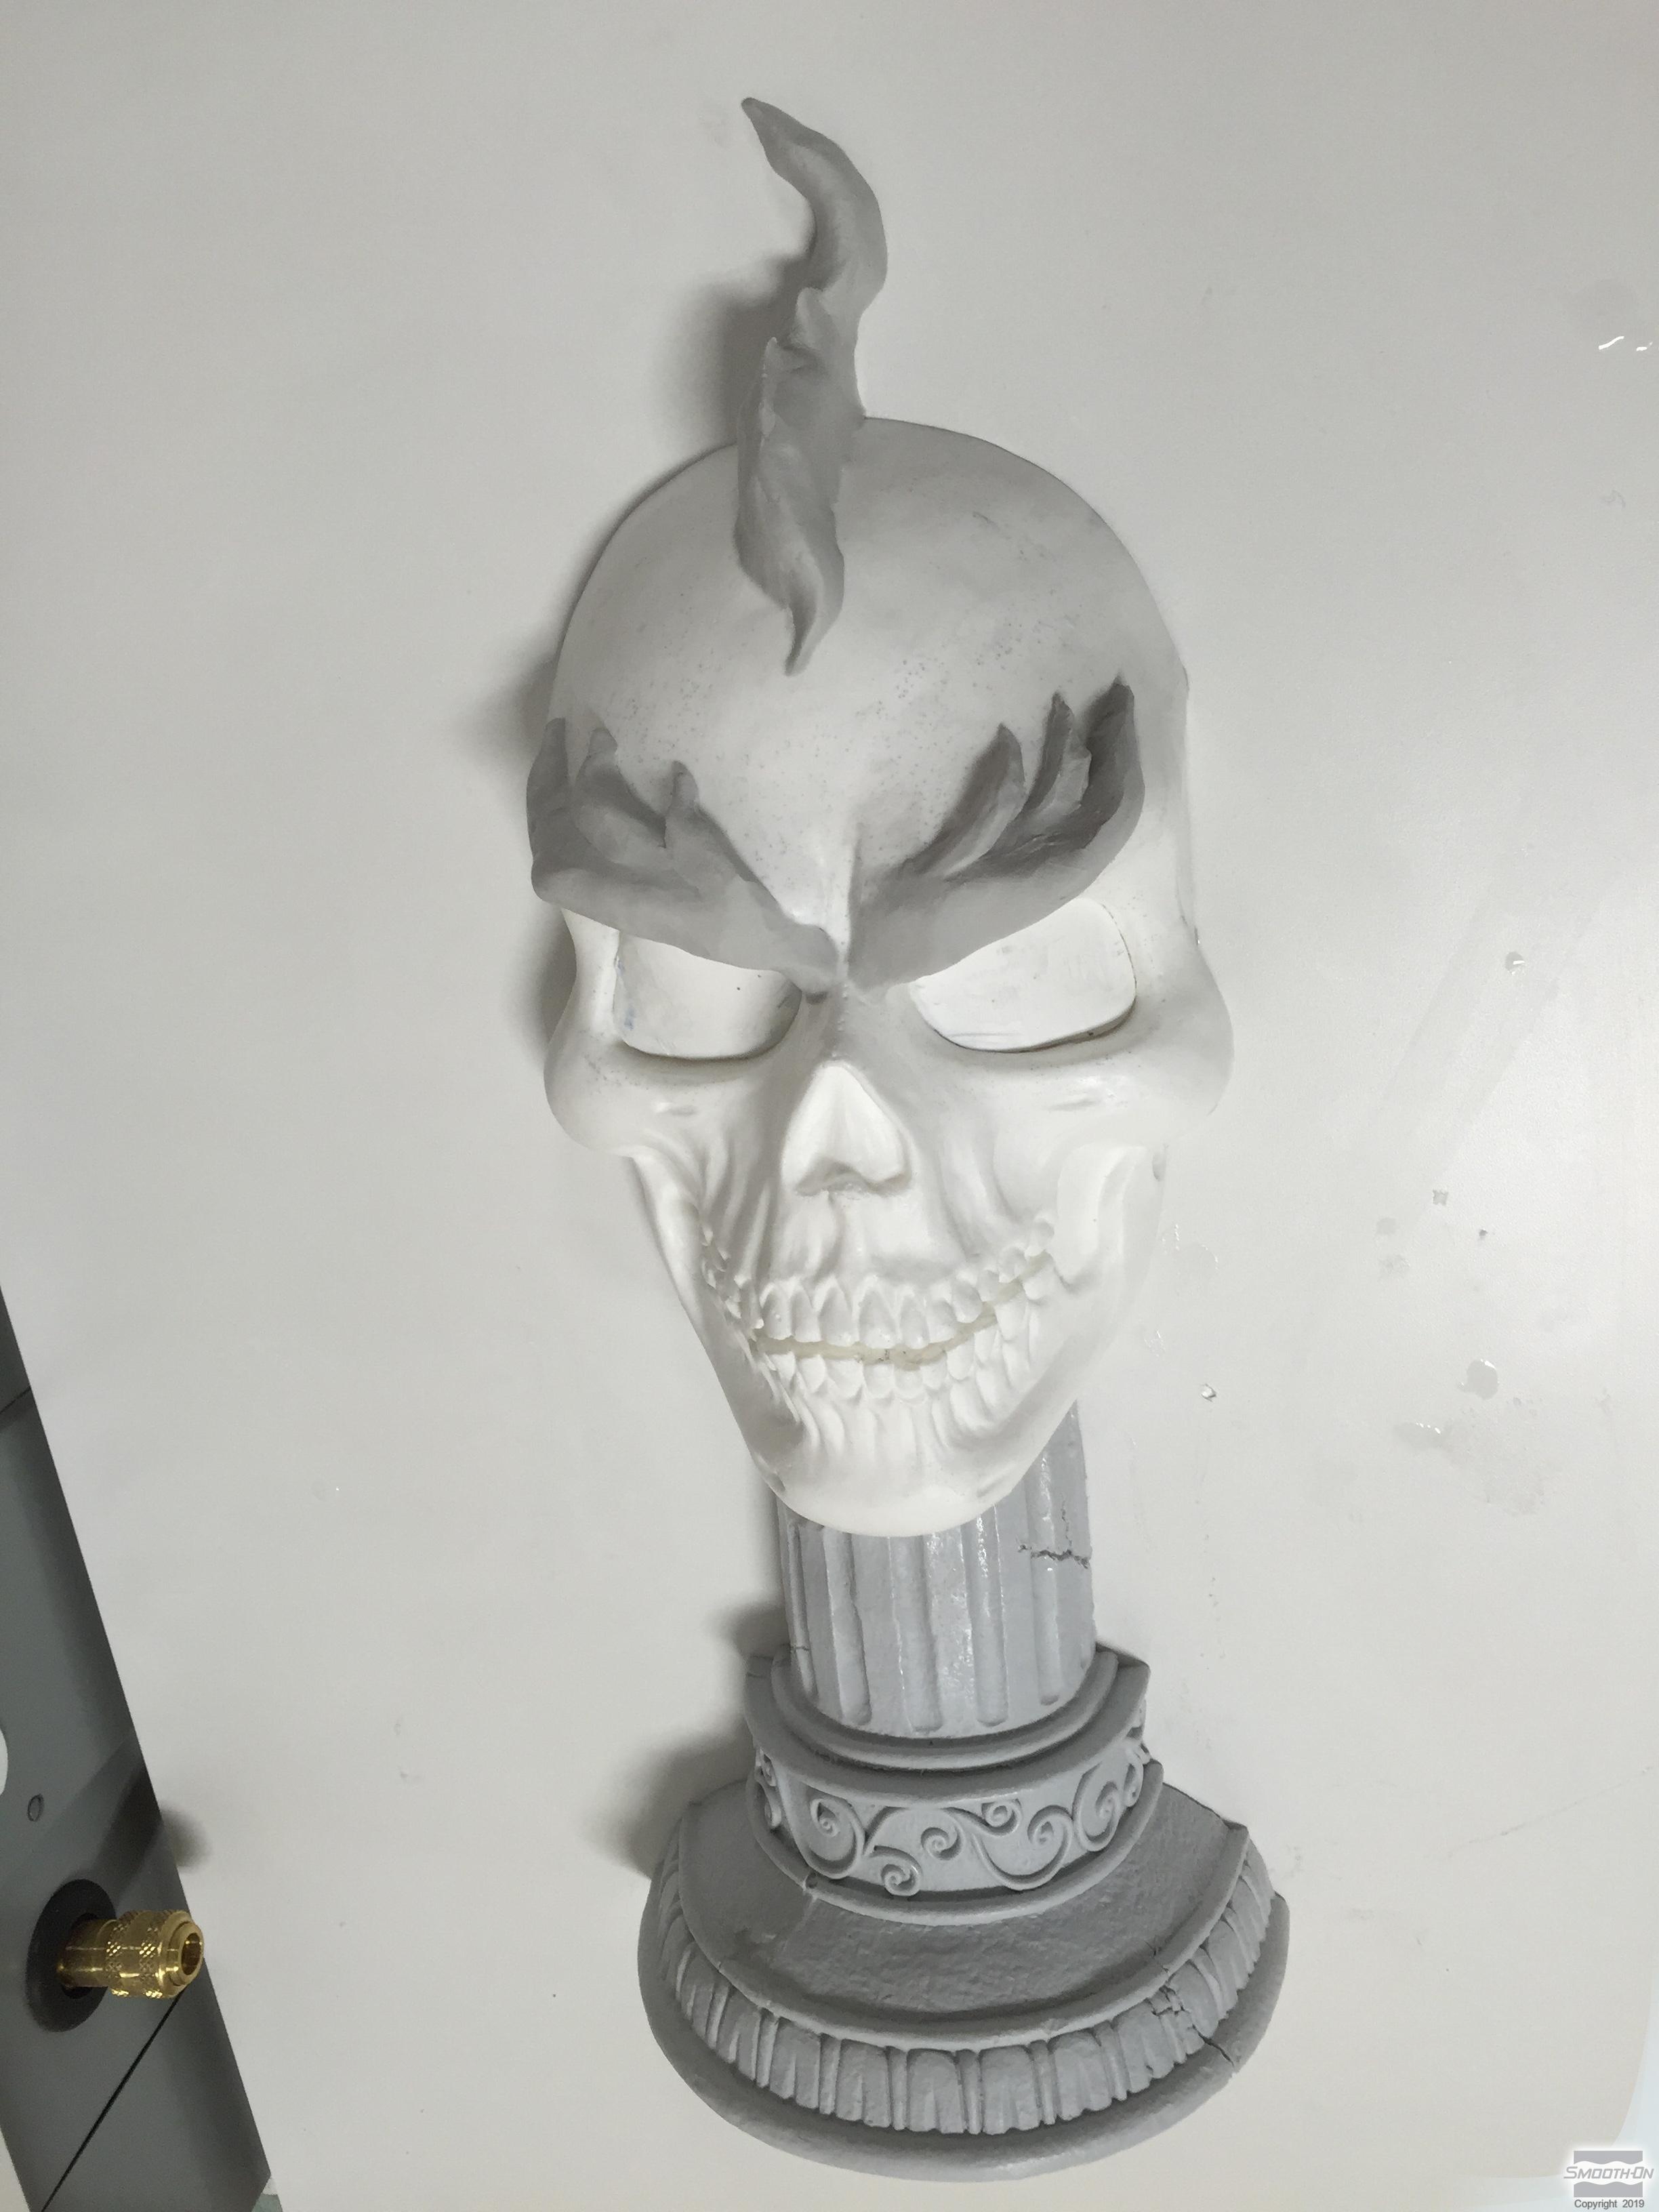
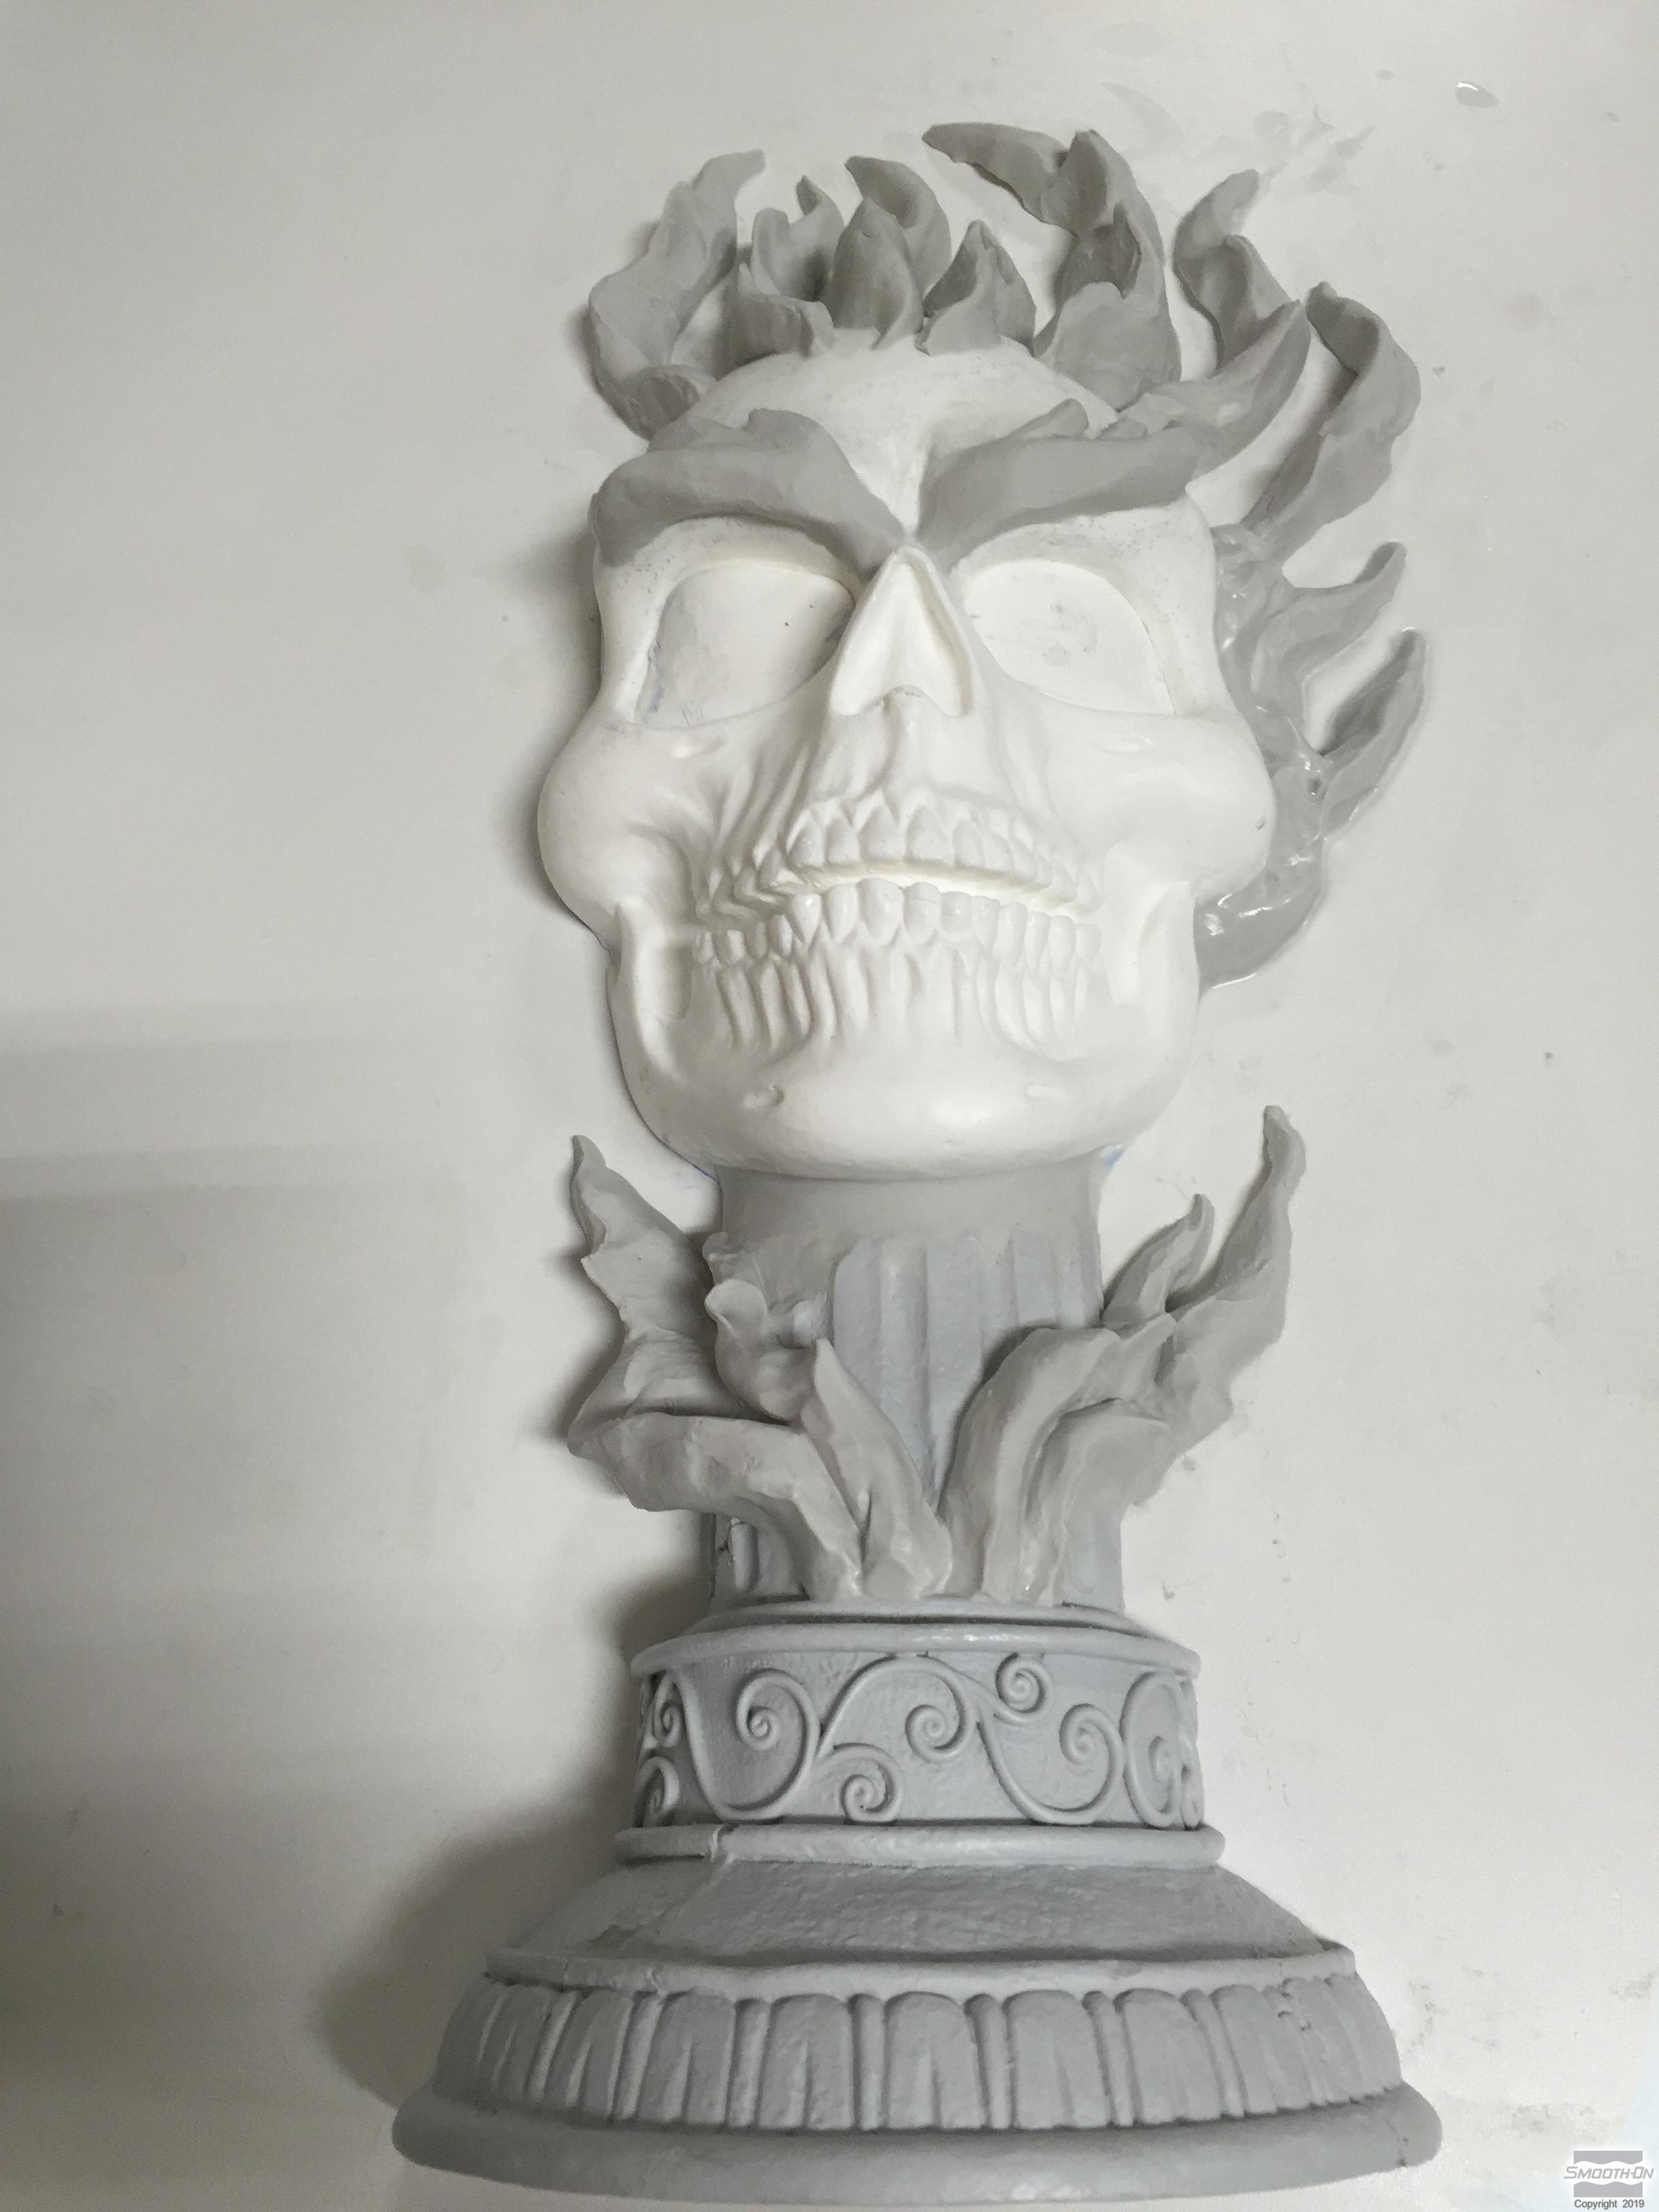
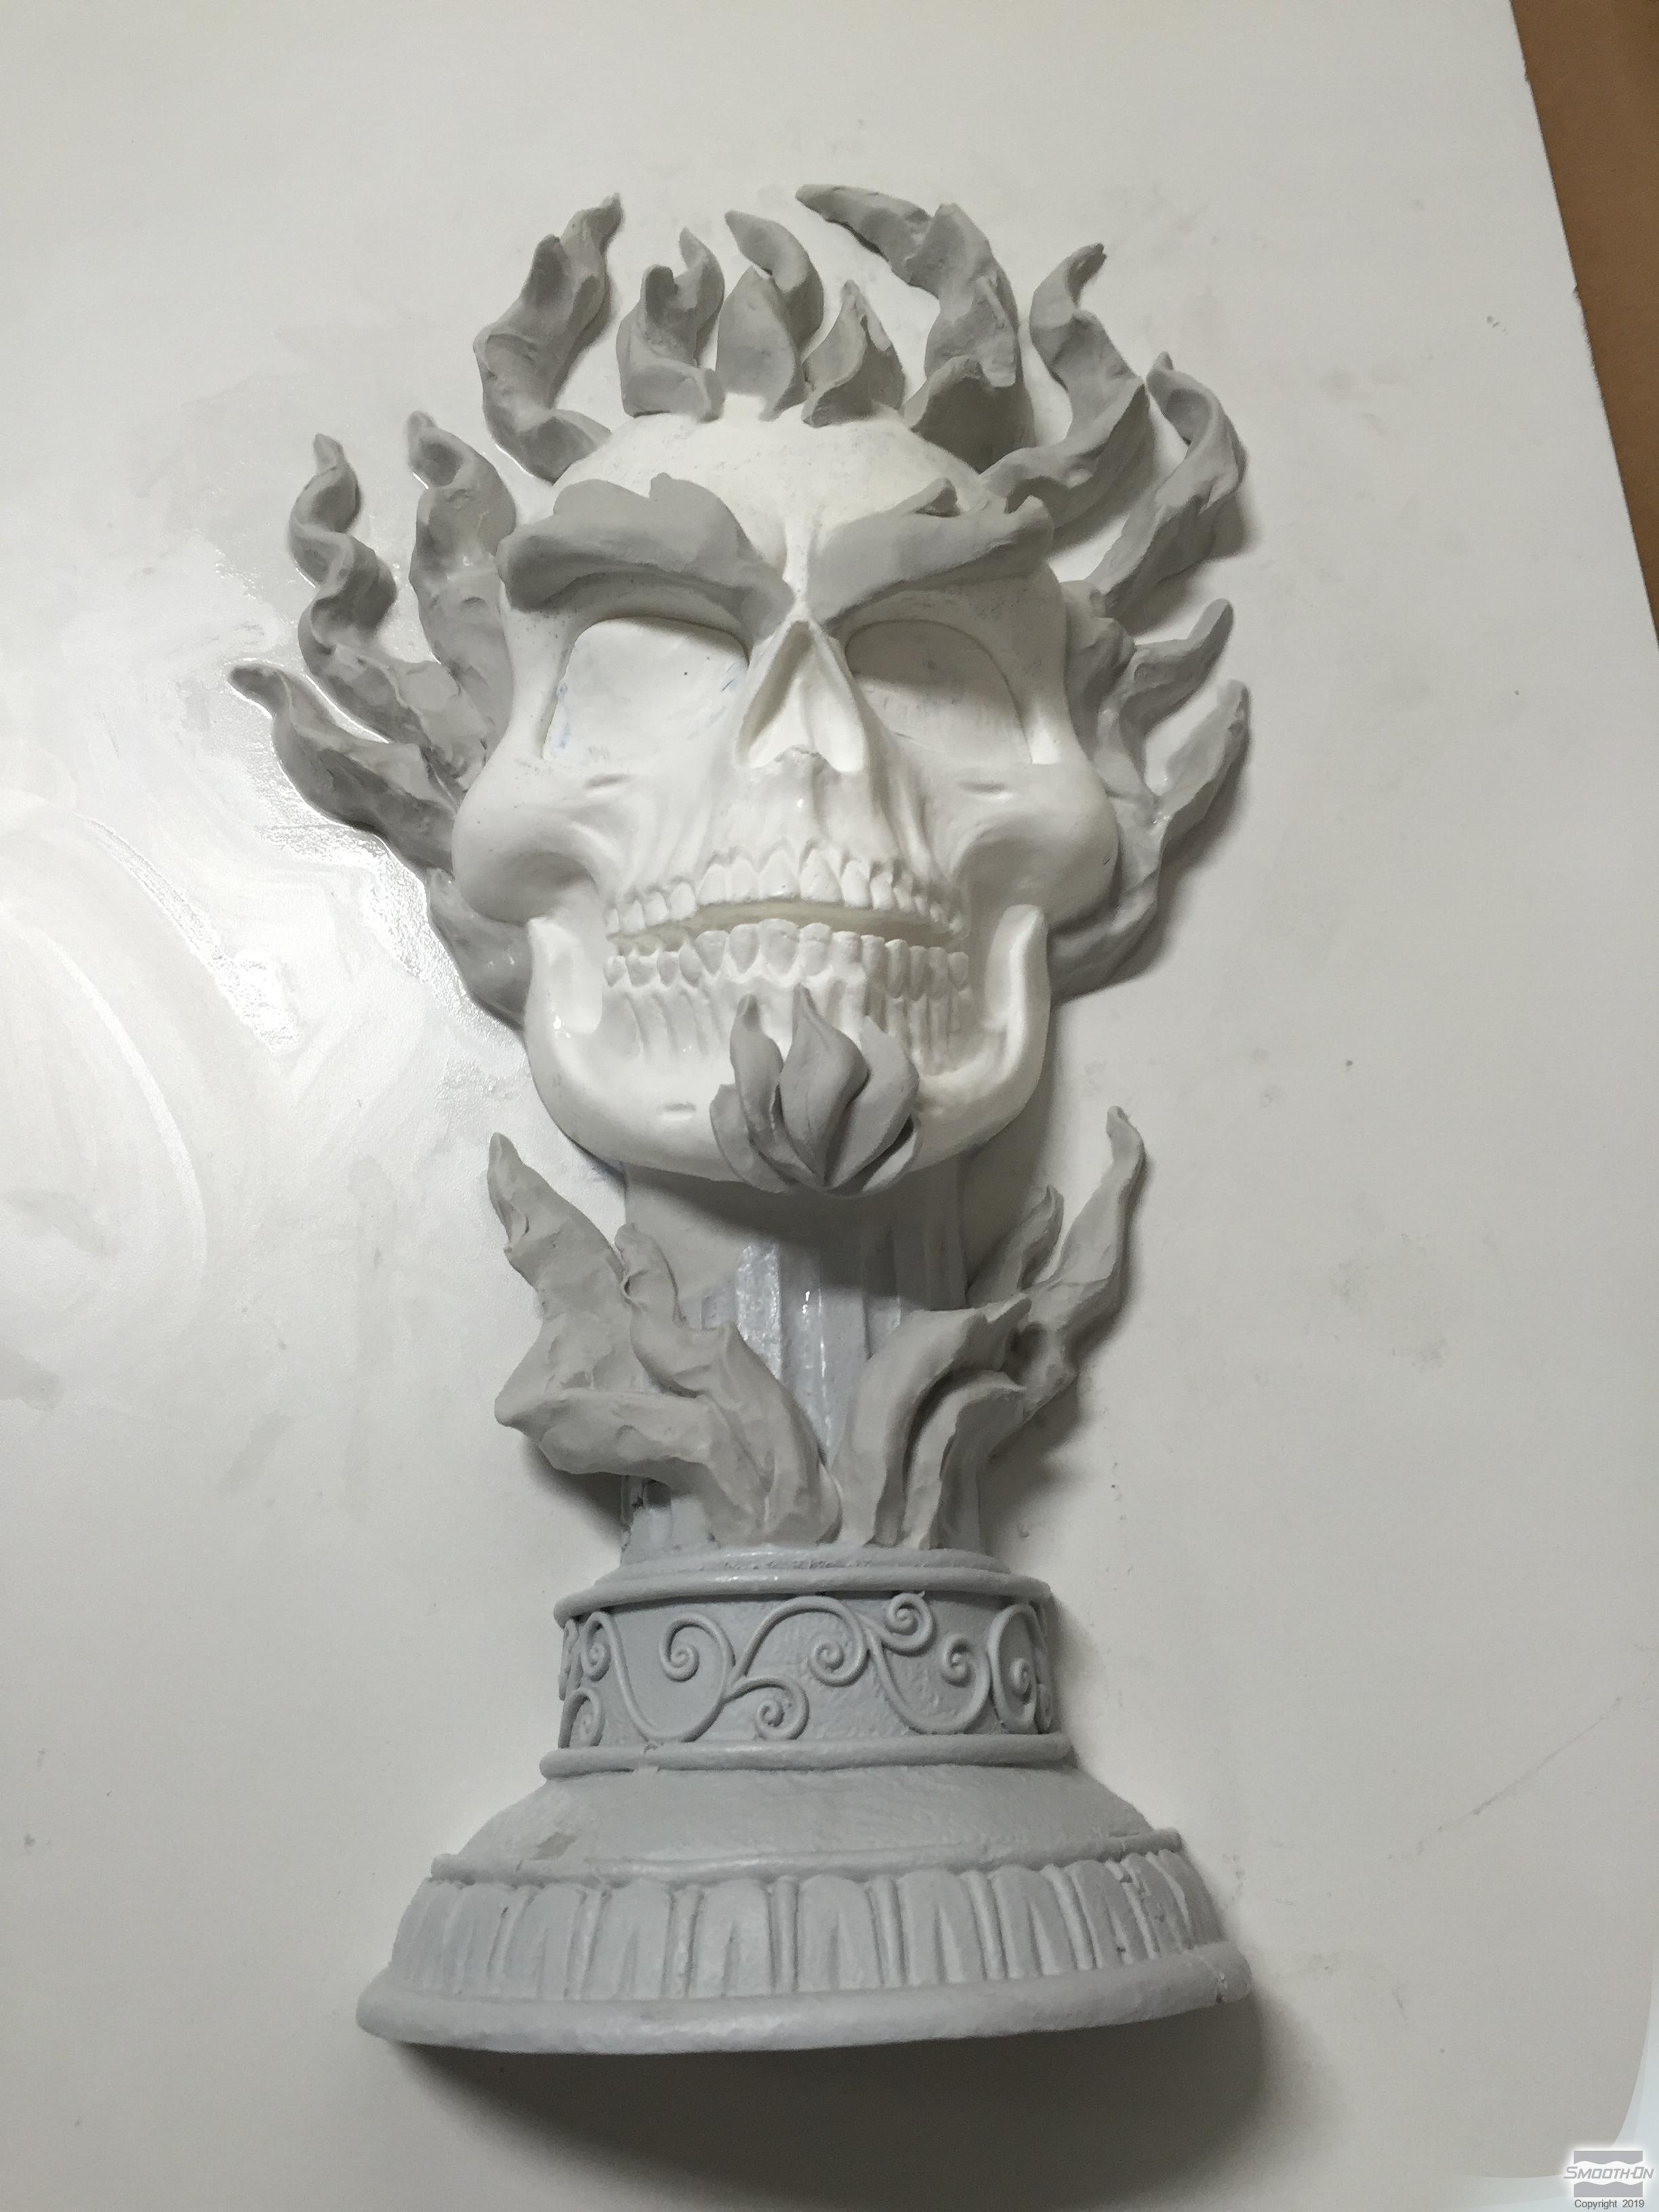
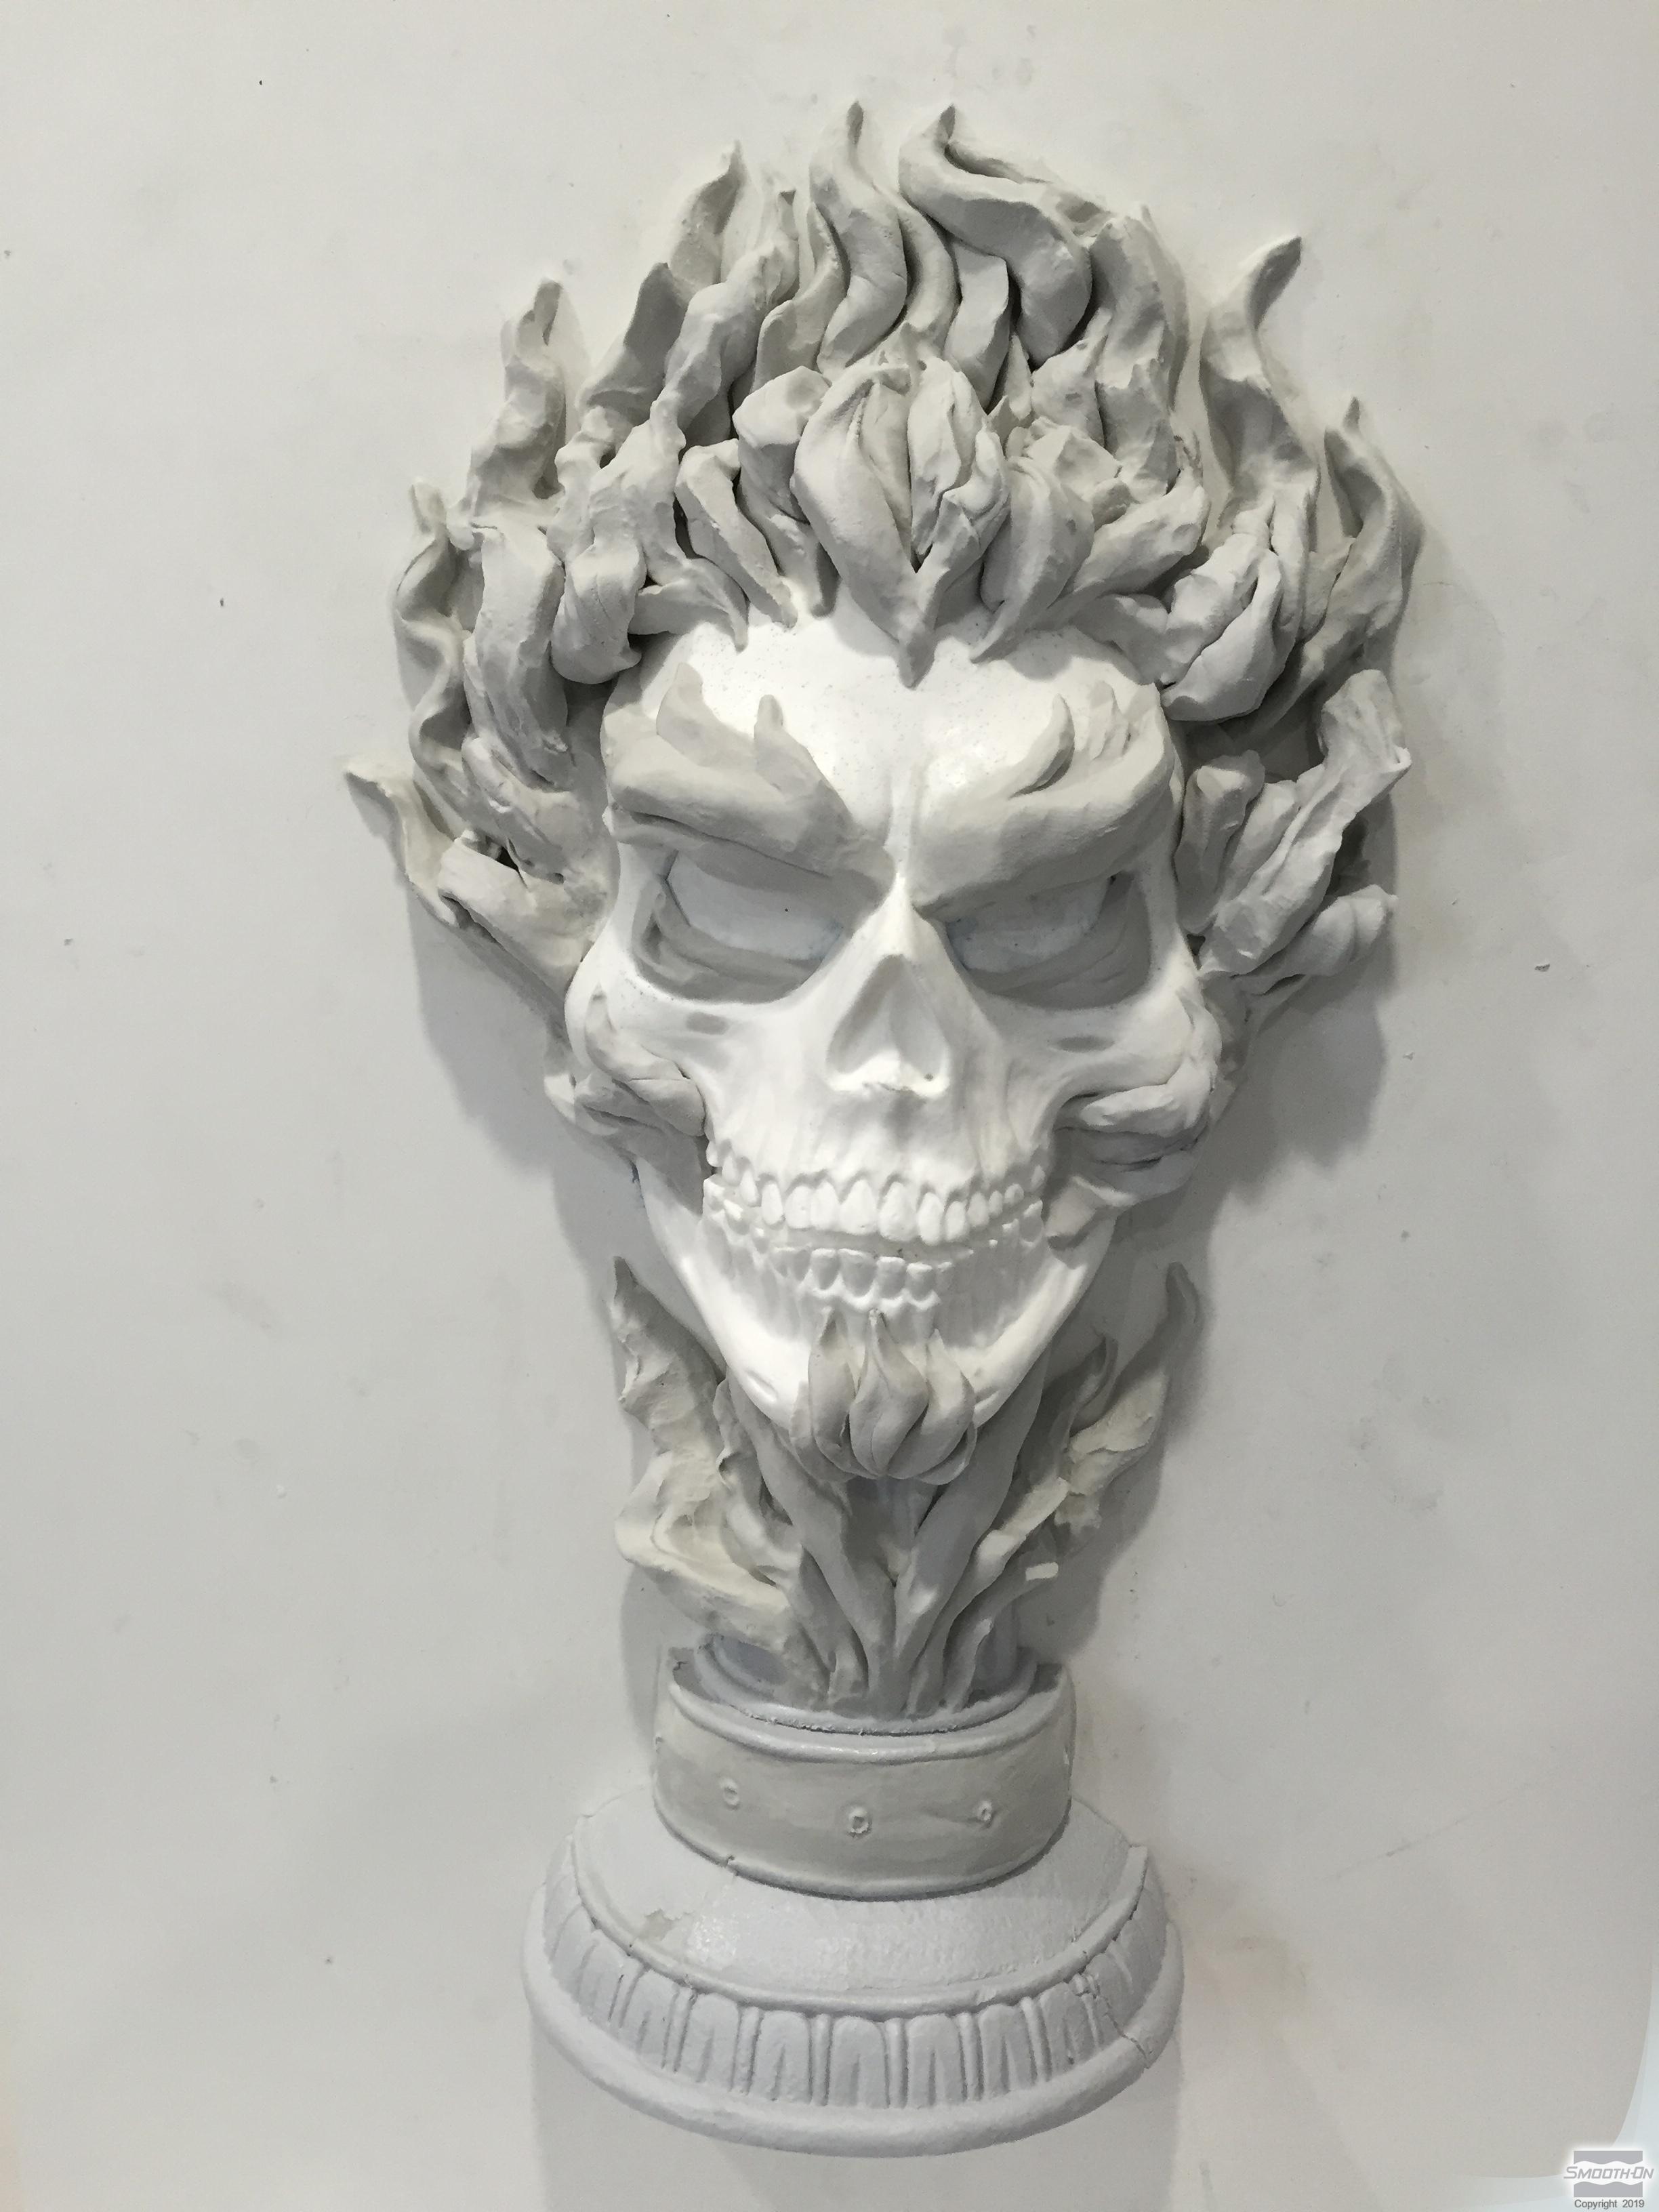
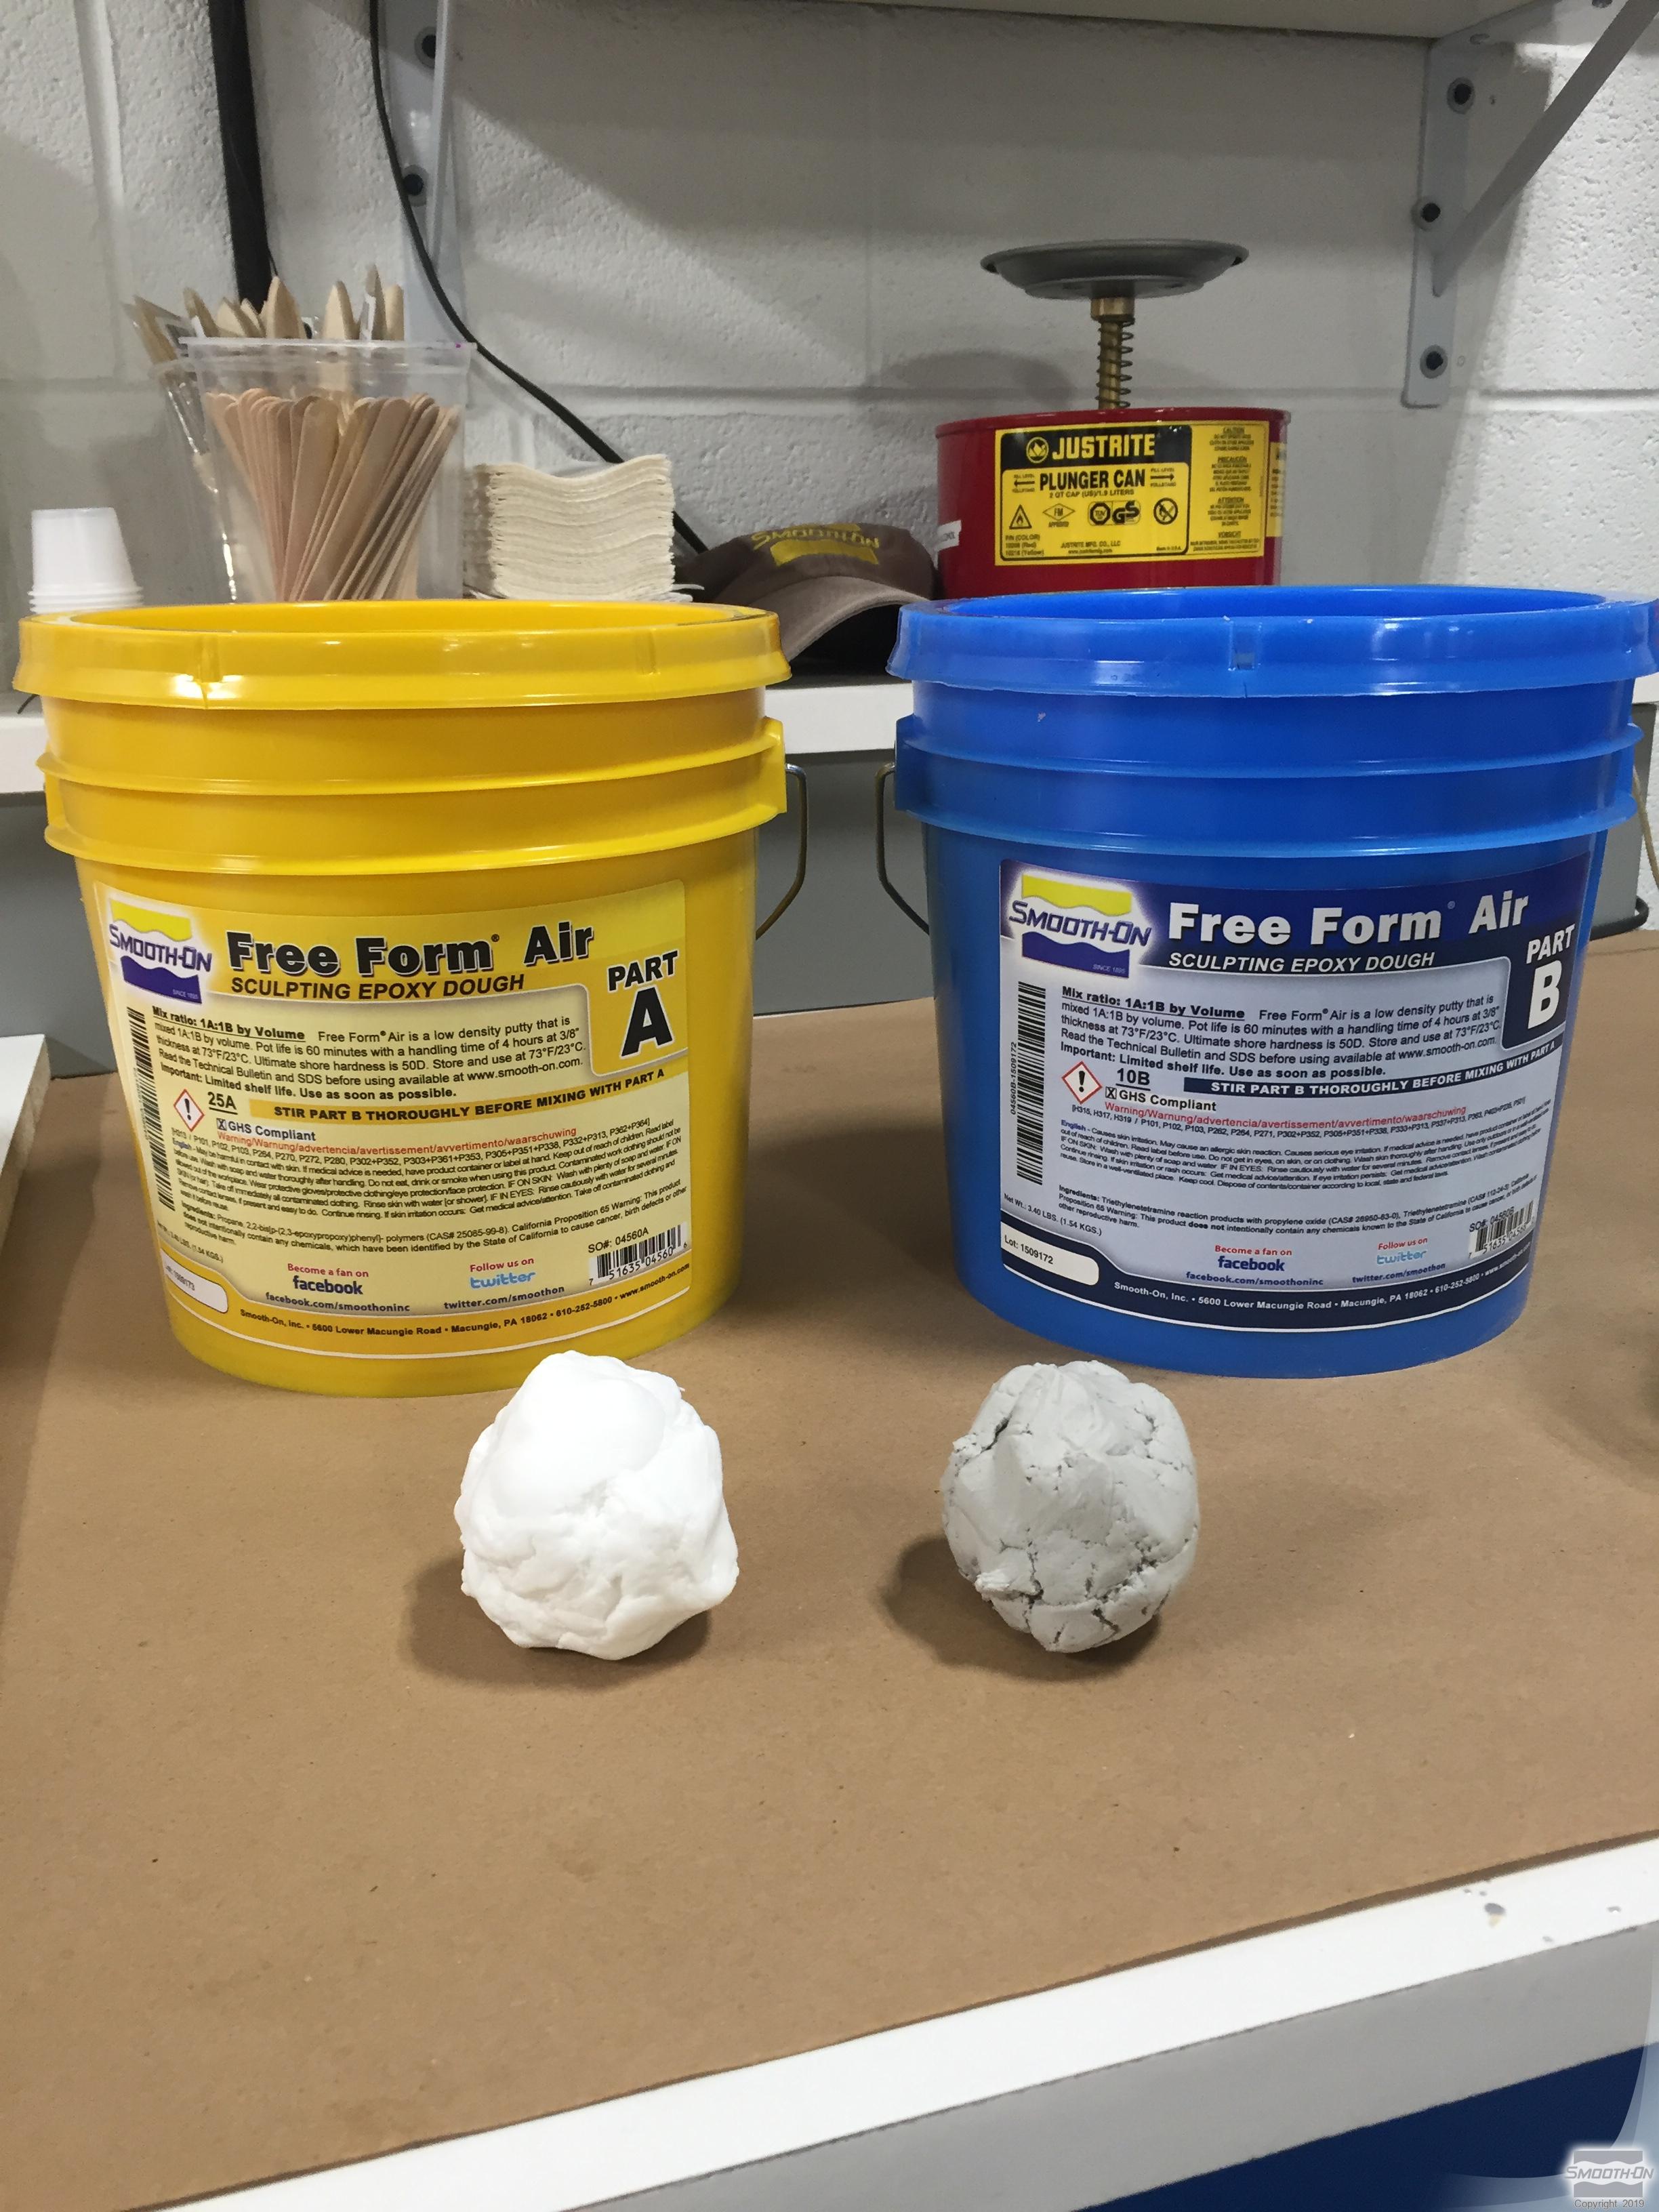
Step 2: Sculpting with Free Form™ AIR
Free Form™ AIR is an extremely lightweight, 1:1 by volume, epoxy putty. Equal parts of putty are dispensed out of the containers. The skull and base are quickly connected using Free Form™ AIR. Additional Free Form™ AIR is applied to the models to create facial features as well as a flames coming from the head. The same process is repeated to smooth and clean the base of the piece.
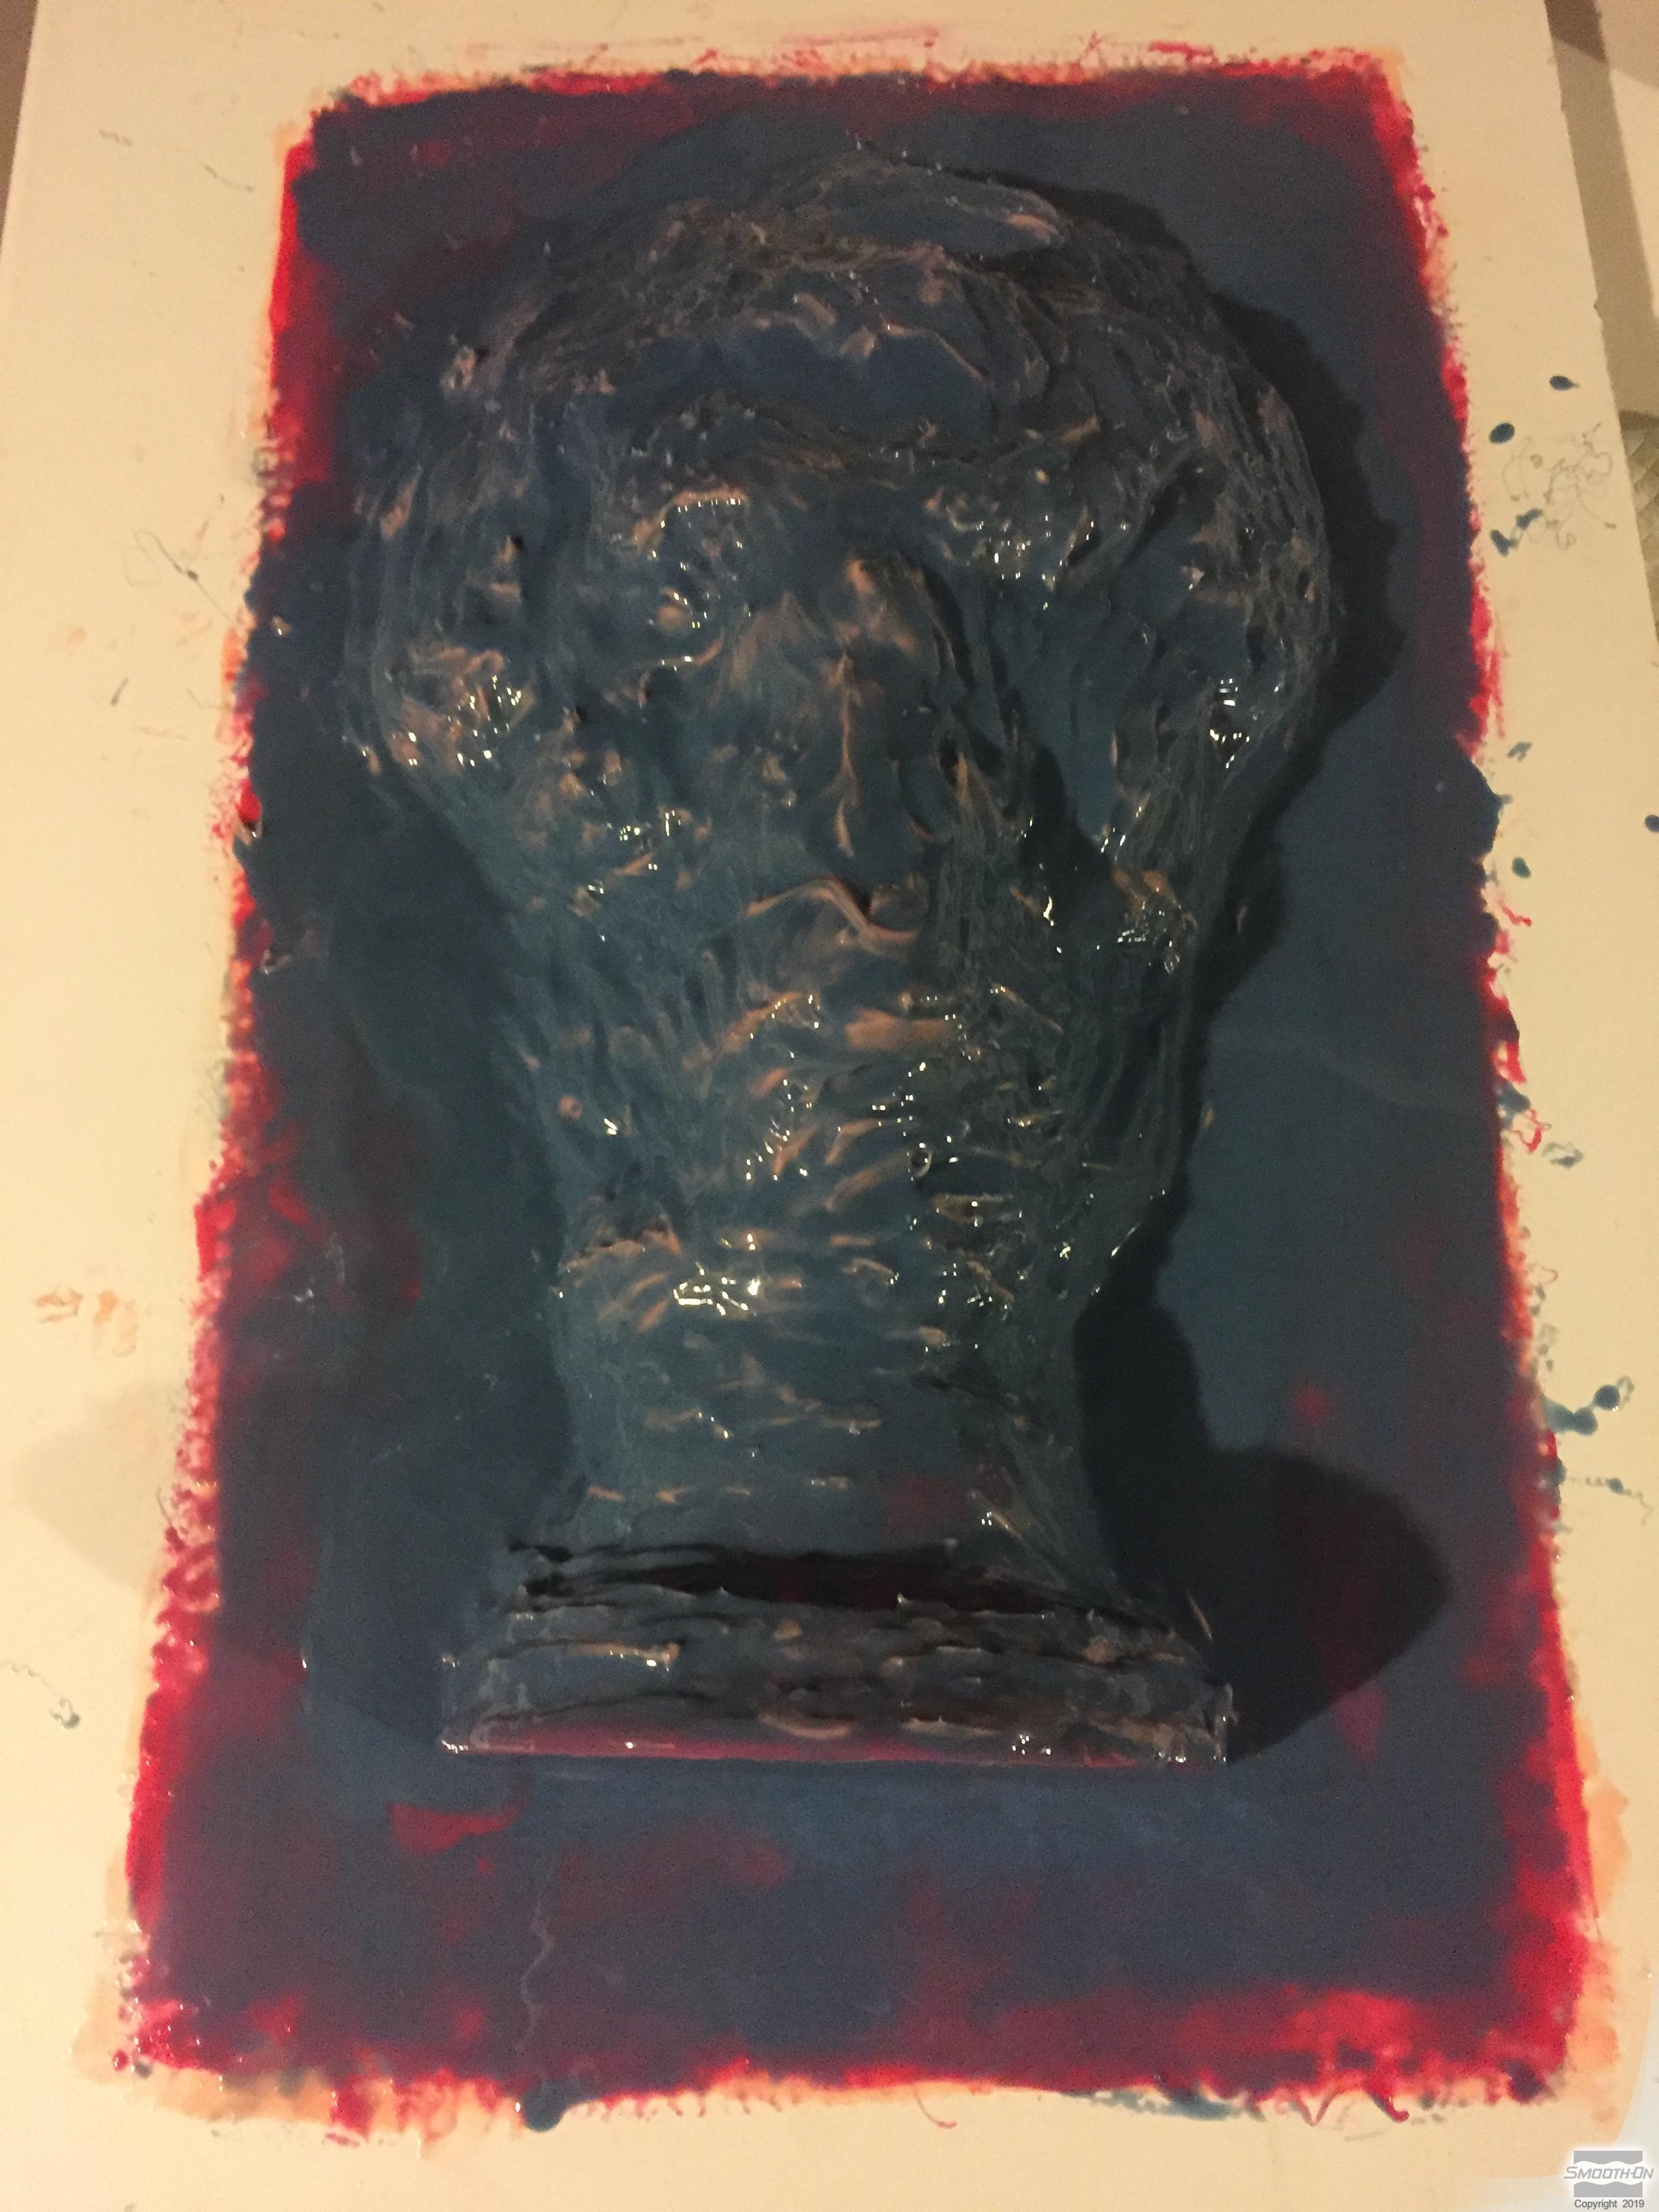
Step 3: Applying Rebound™ 25
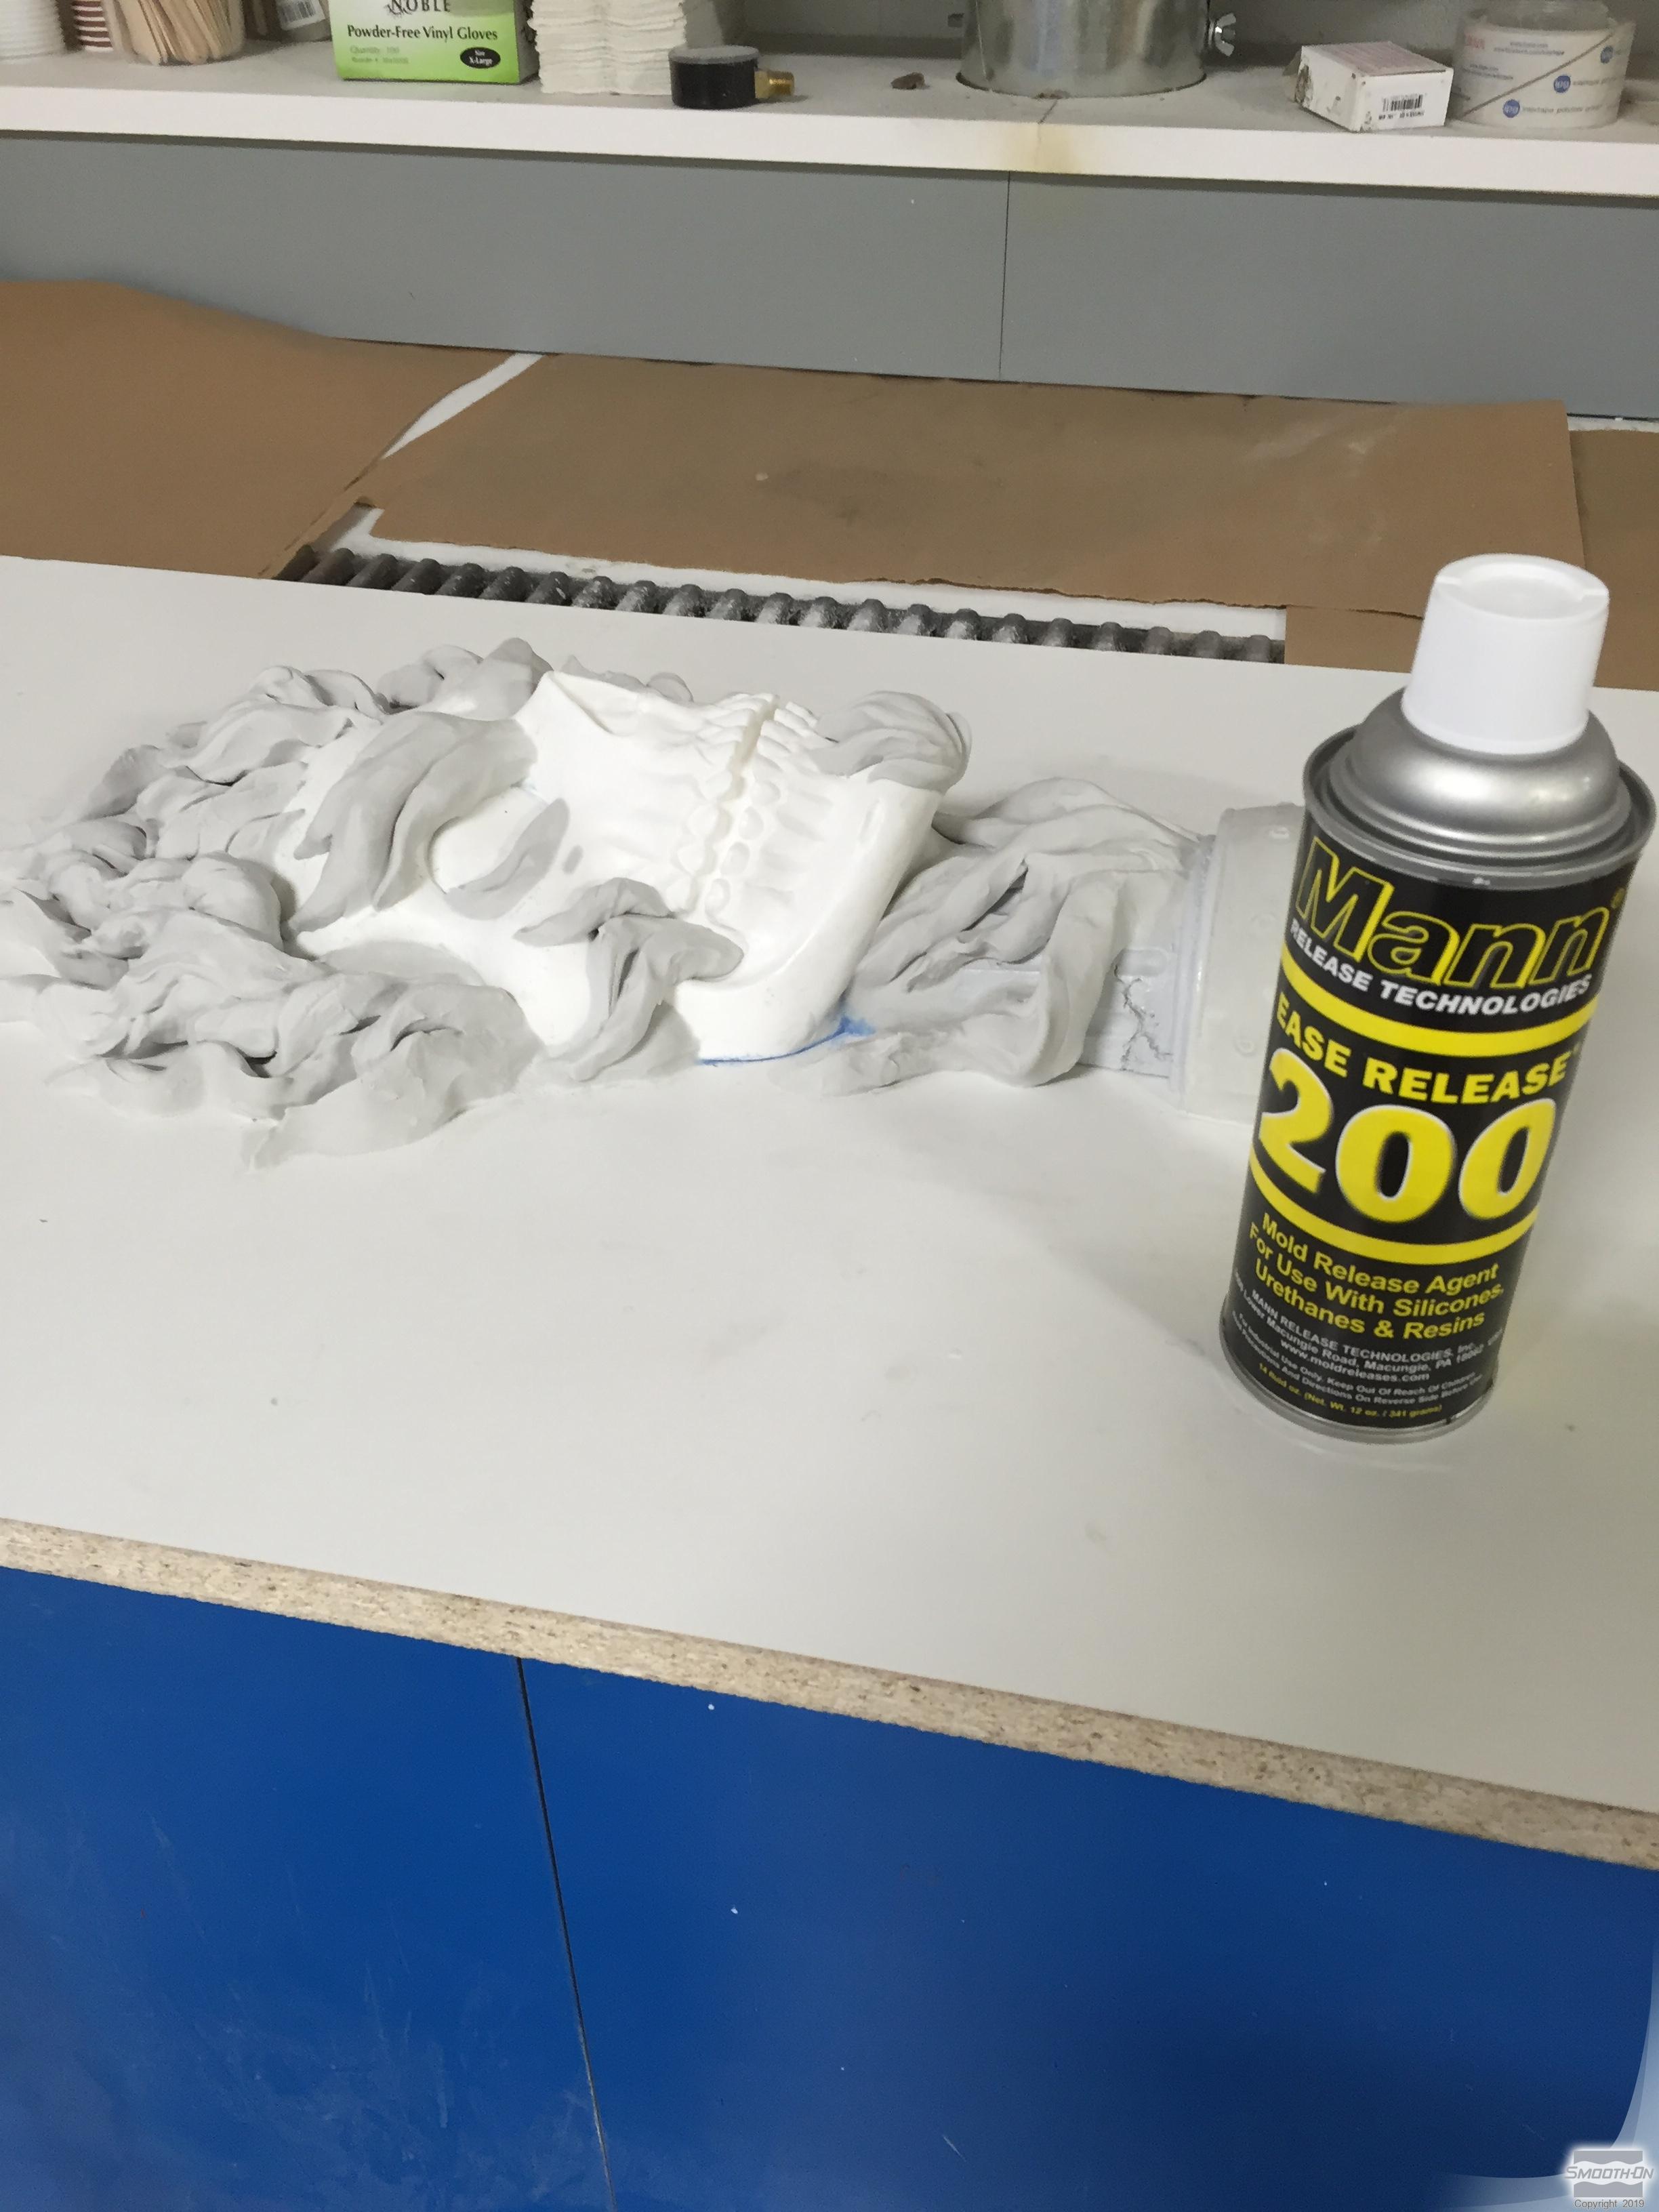
Once the Free Form™ AIR epoxy is cured, Mann's Ease Release™ 200 is applied to the piece and allowed to dry.
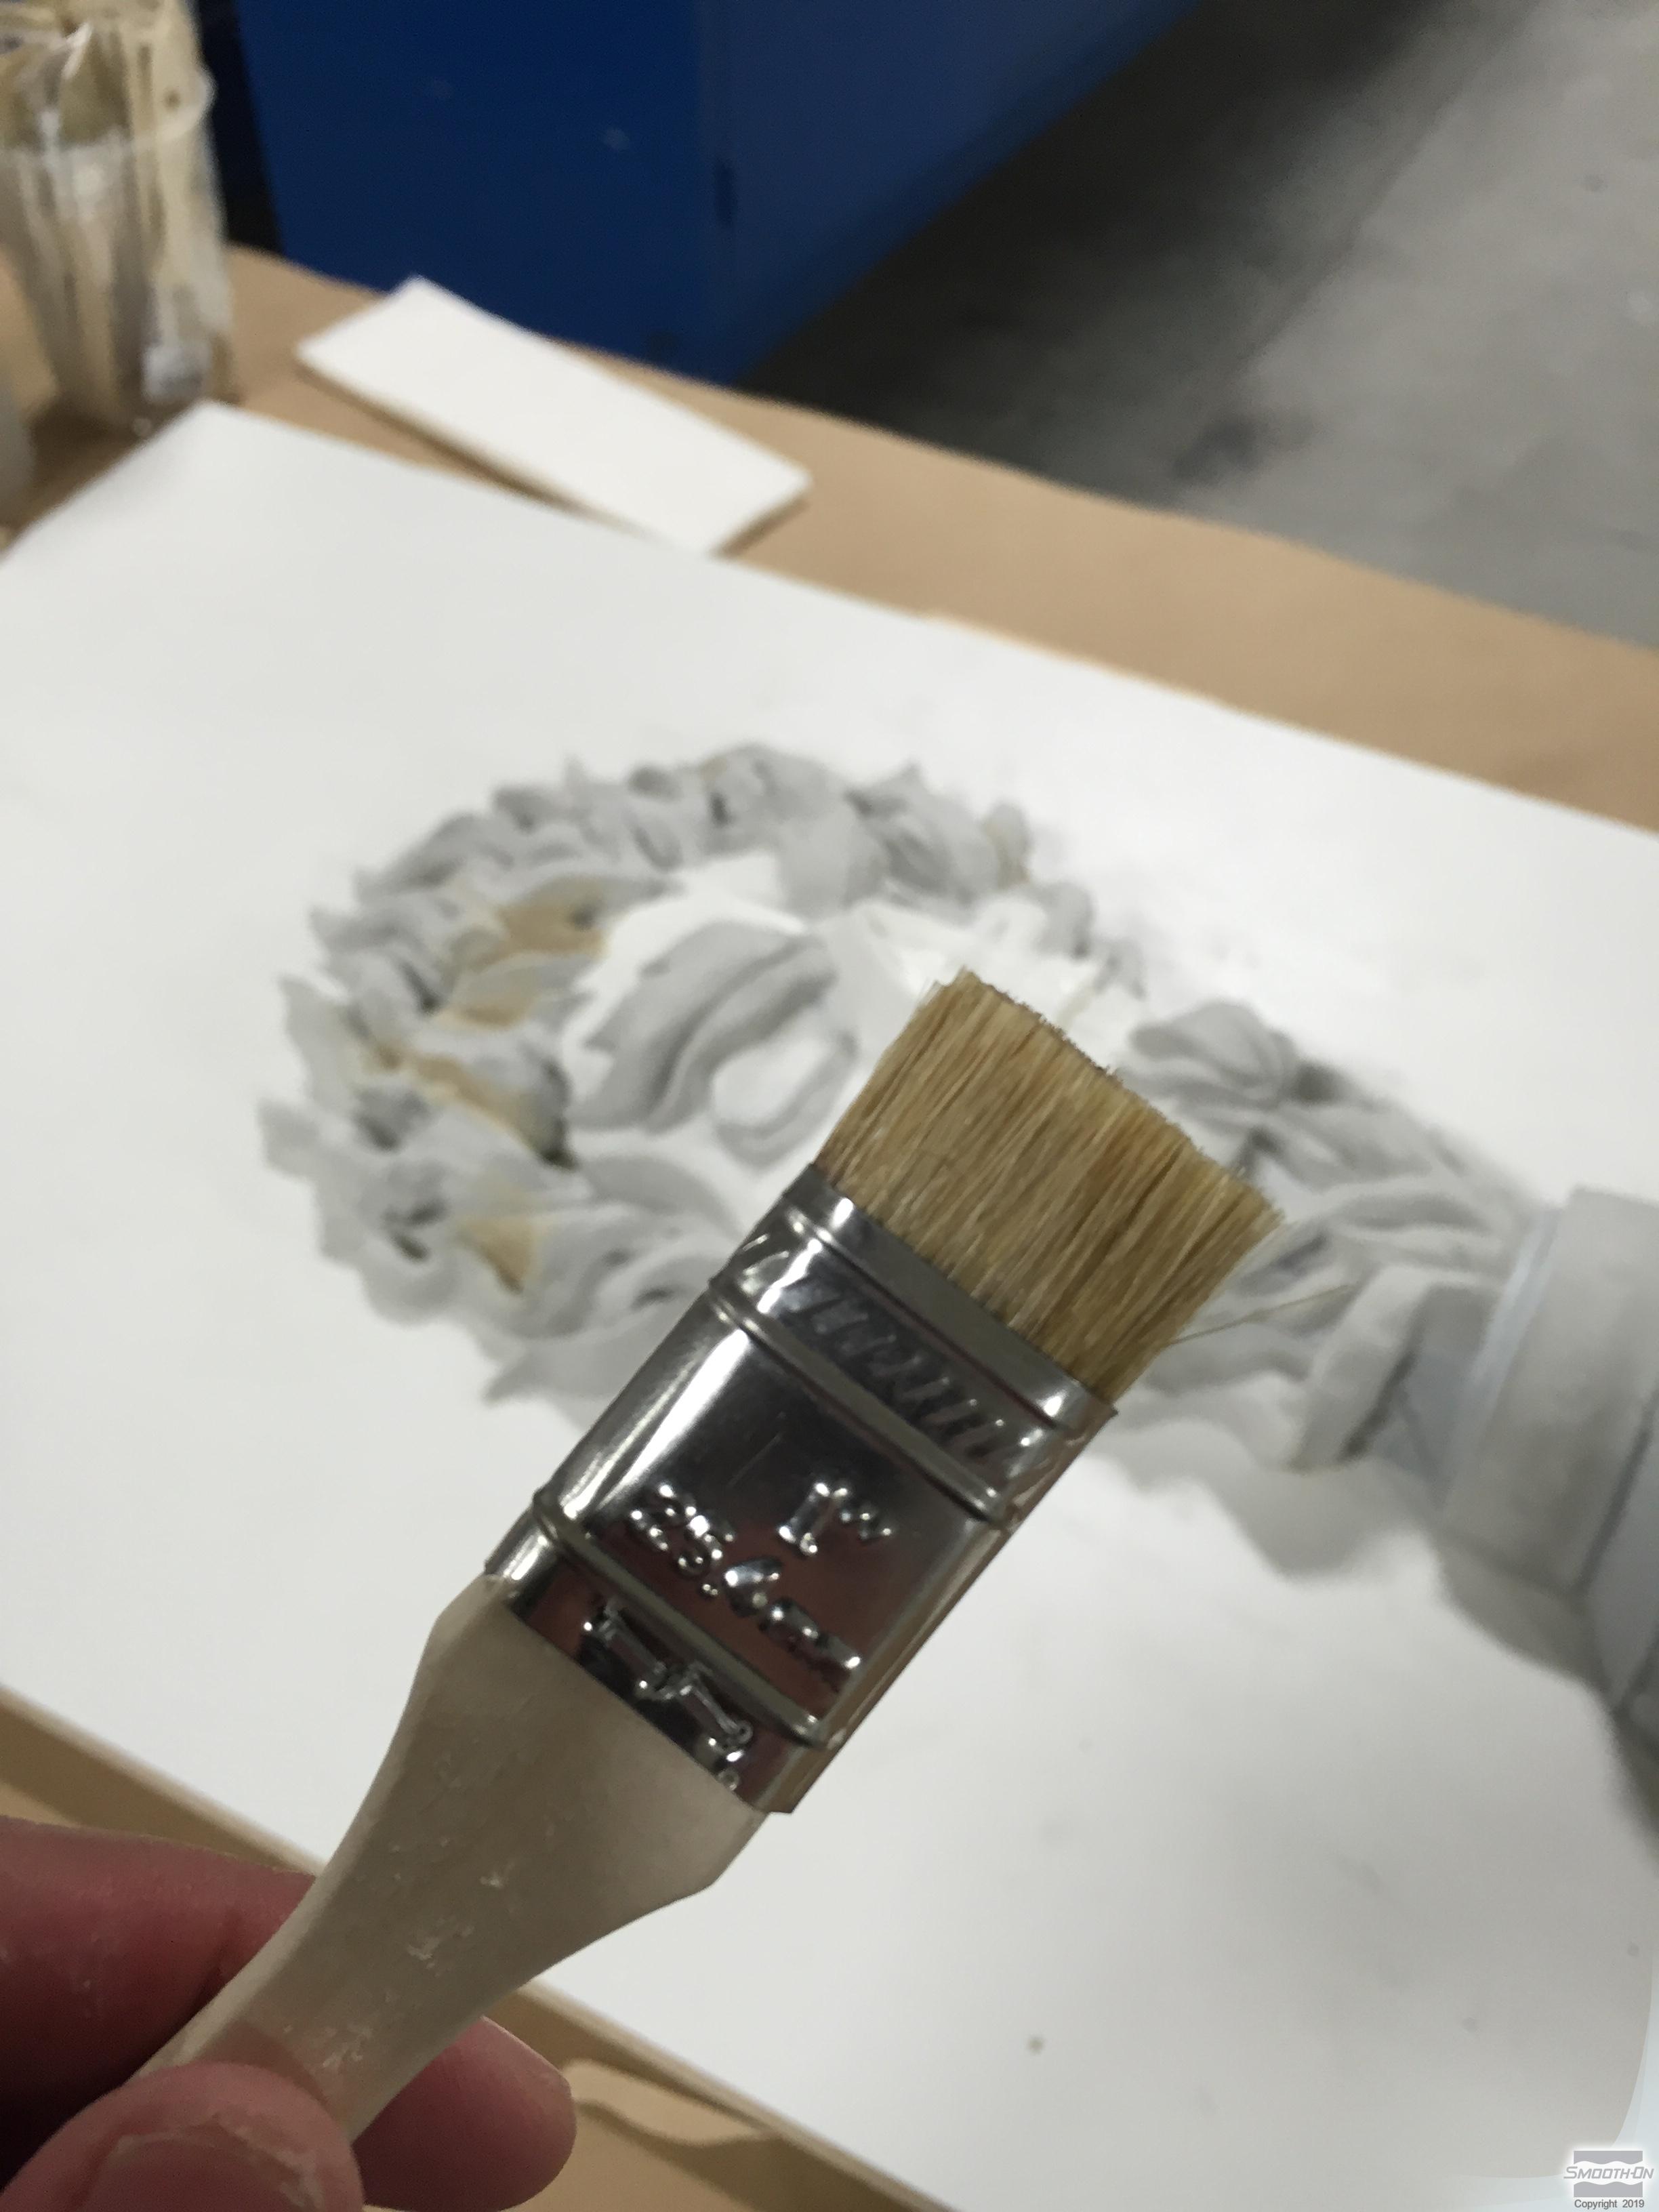
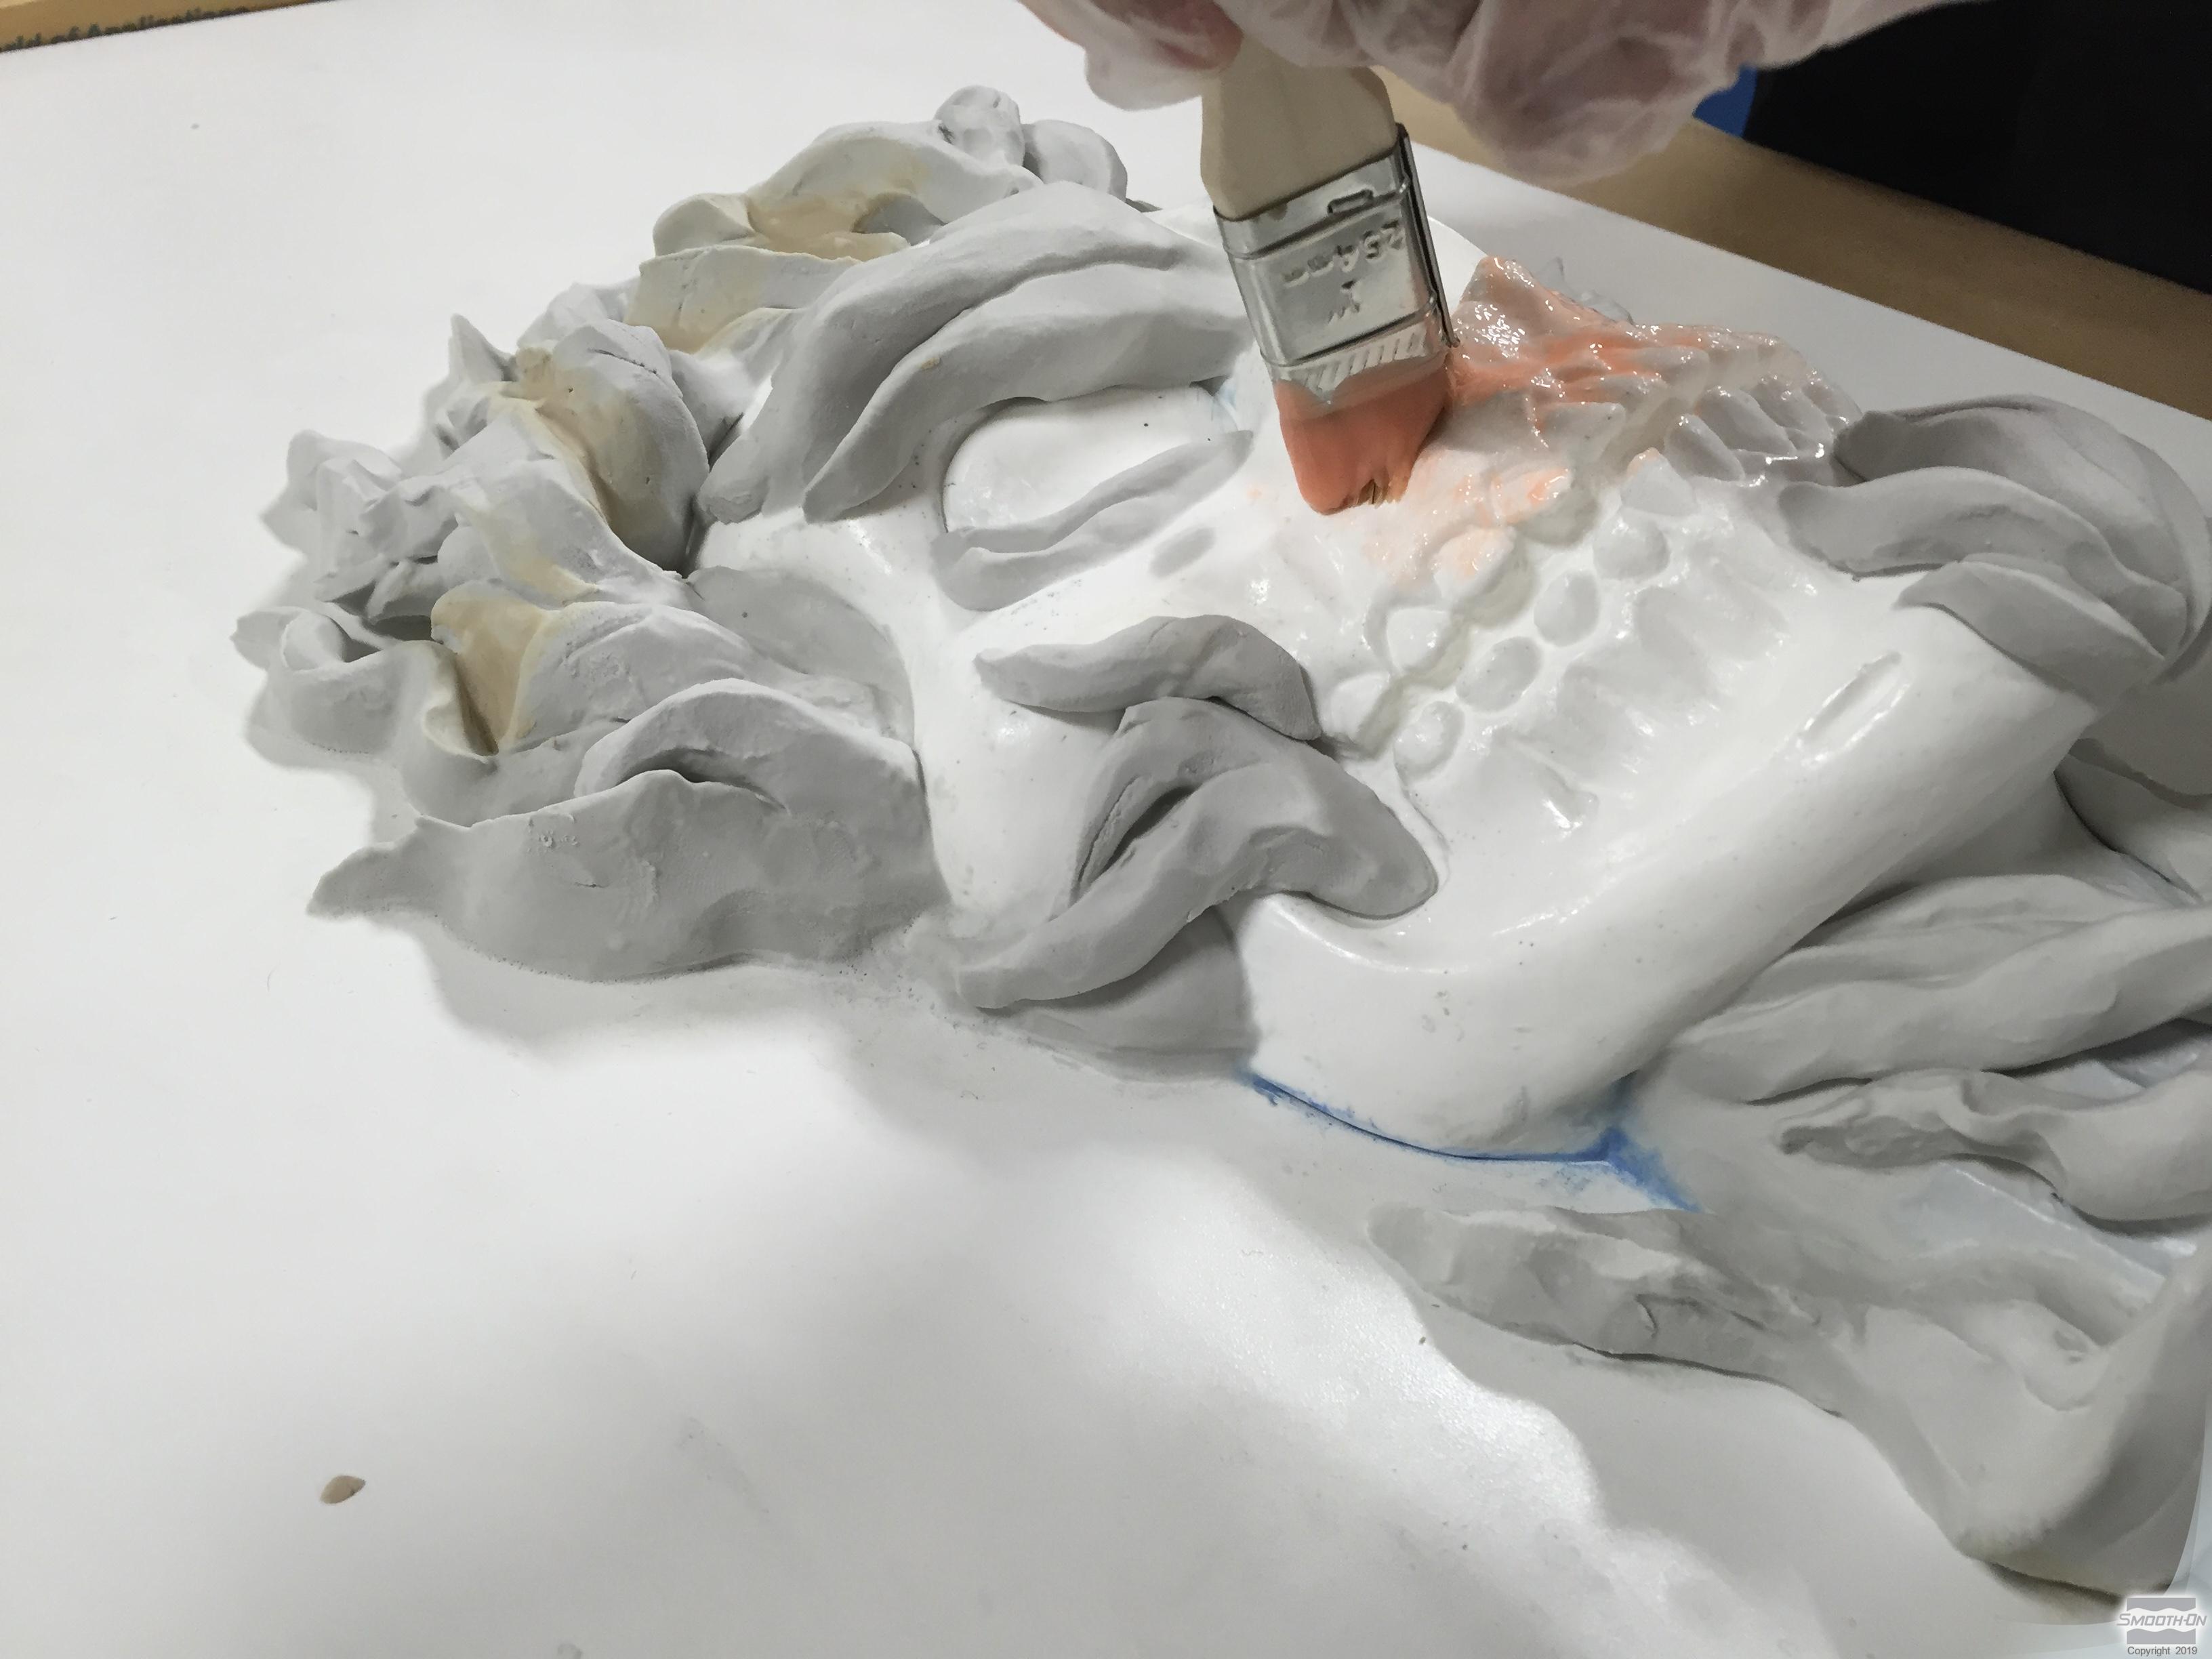
Rebound™ 25 silicone rubber is measured 1A:1B and dispensed into a mixing container. The Rebound™ 25 is mixed for 3 minutes, while scraping the sides and bottom of container many times to eliminate all color streaks.
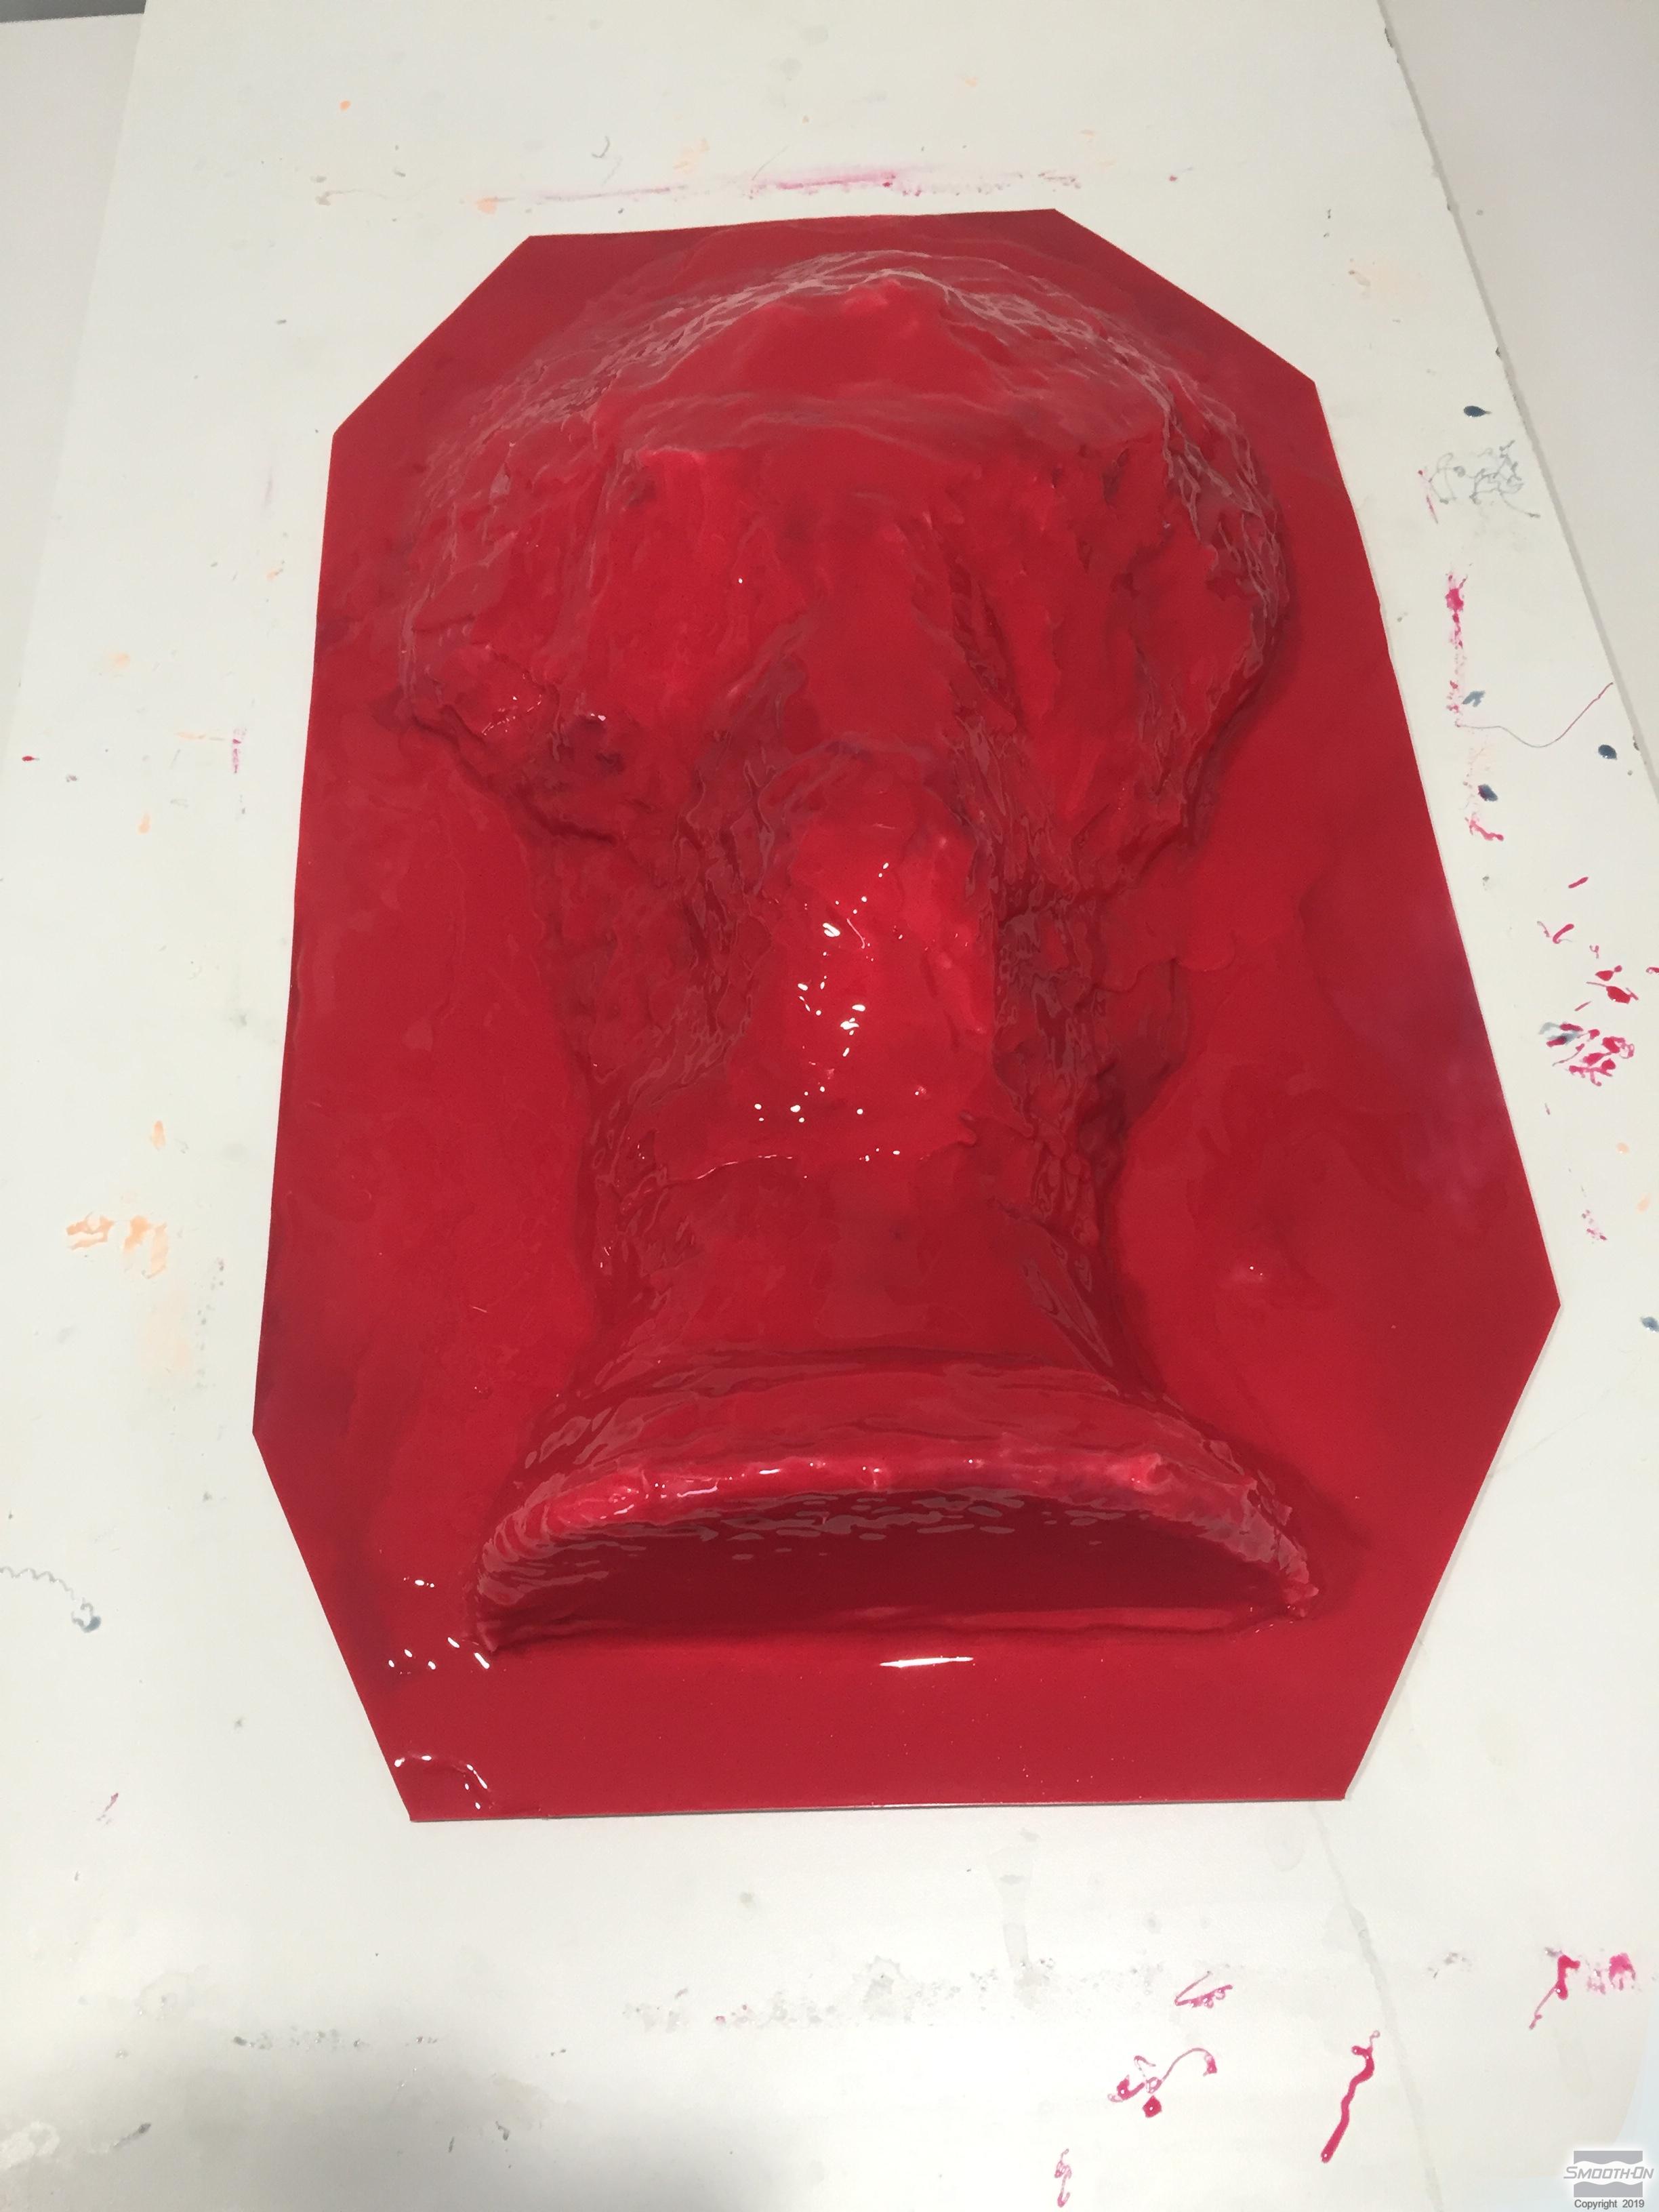
A very thin layer of Rebound™ 25 silice is stippled onto the model. Rubber is worked into fine detail, covering the entire model and creating a 3 inch (7.62 cm) flange in all directions around model. Allow rubber to cure 60 minutes until tacky. Rubber should be sticky to the touch, but does not come off onto a vinyl glove.
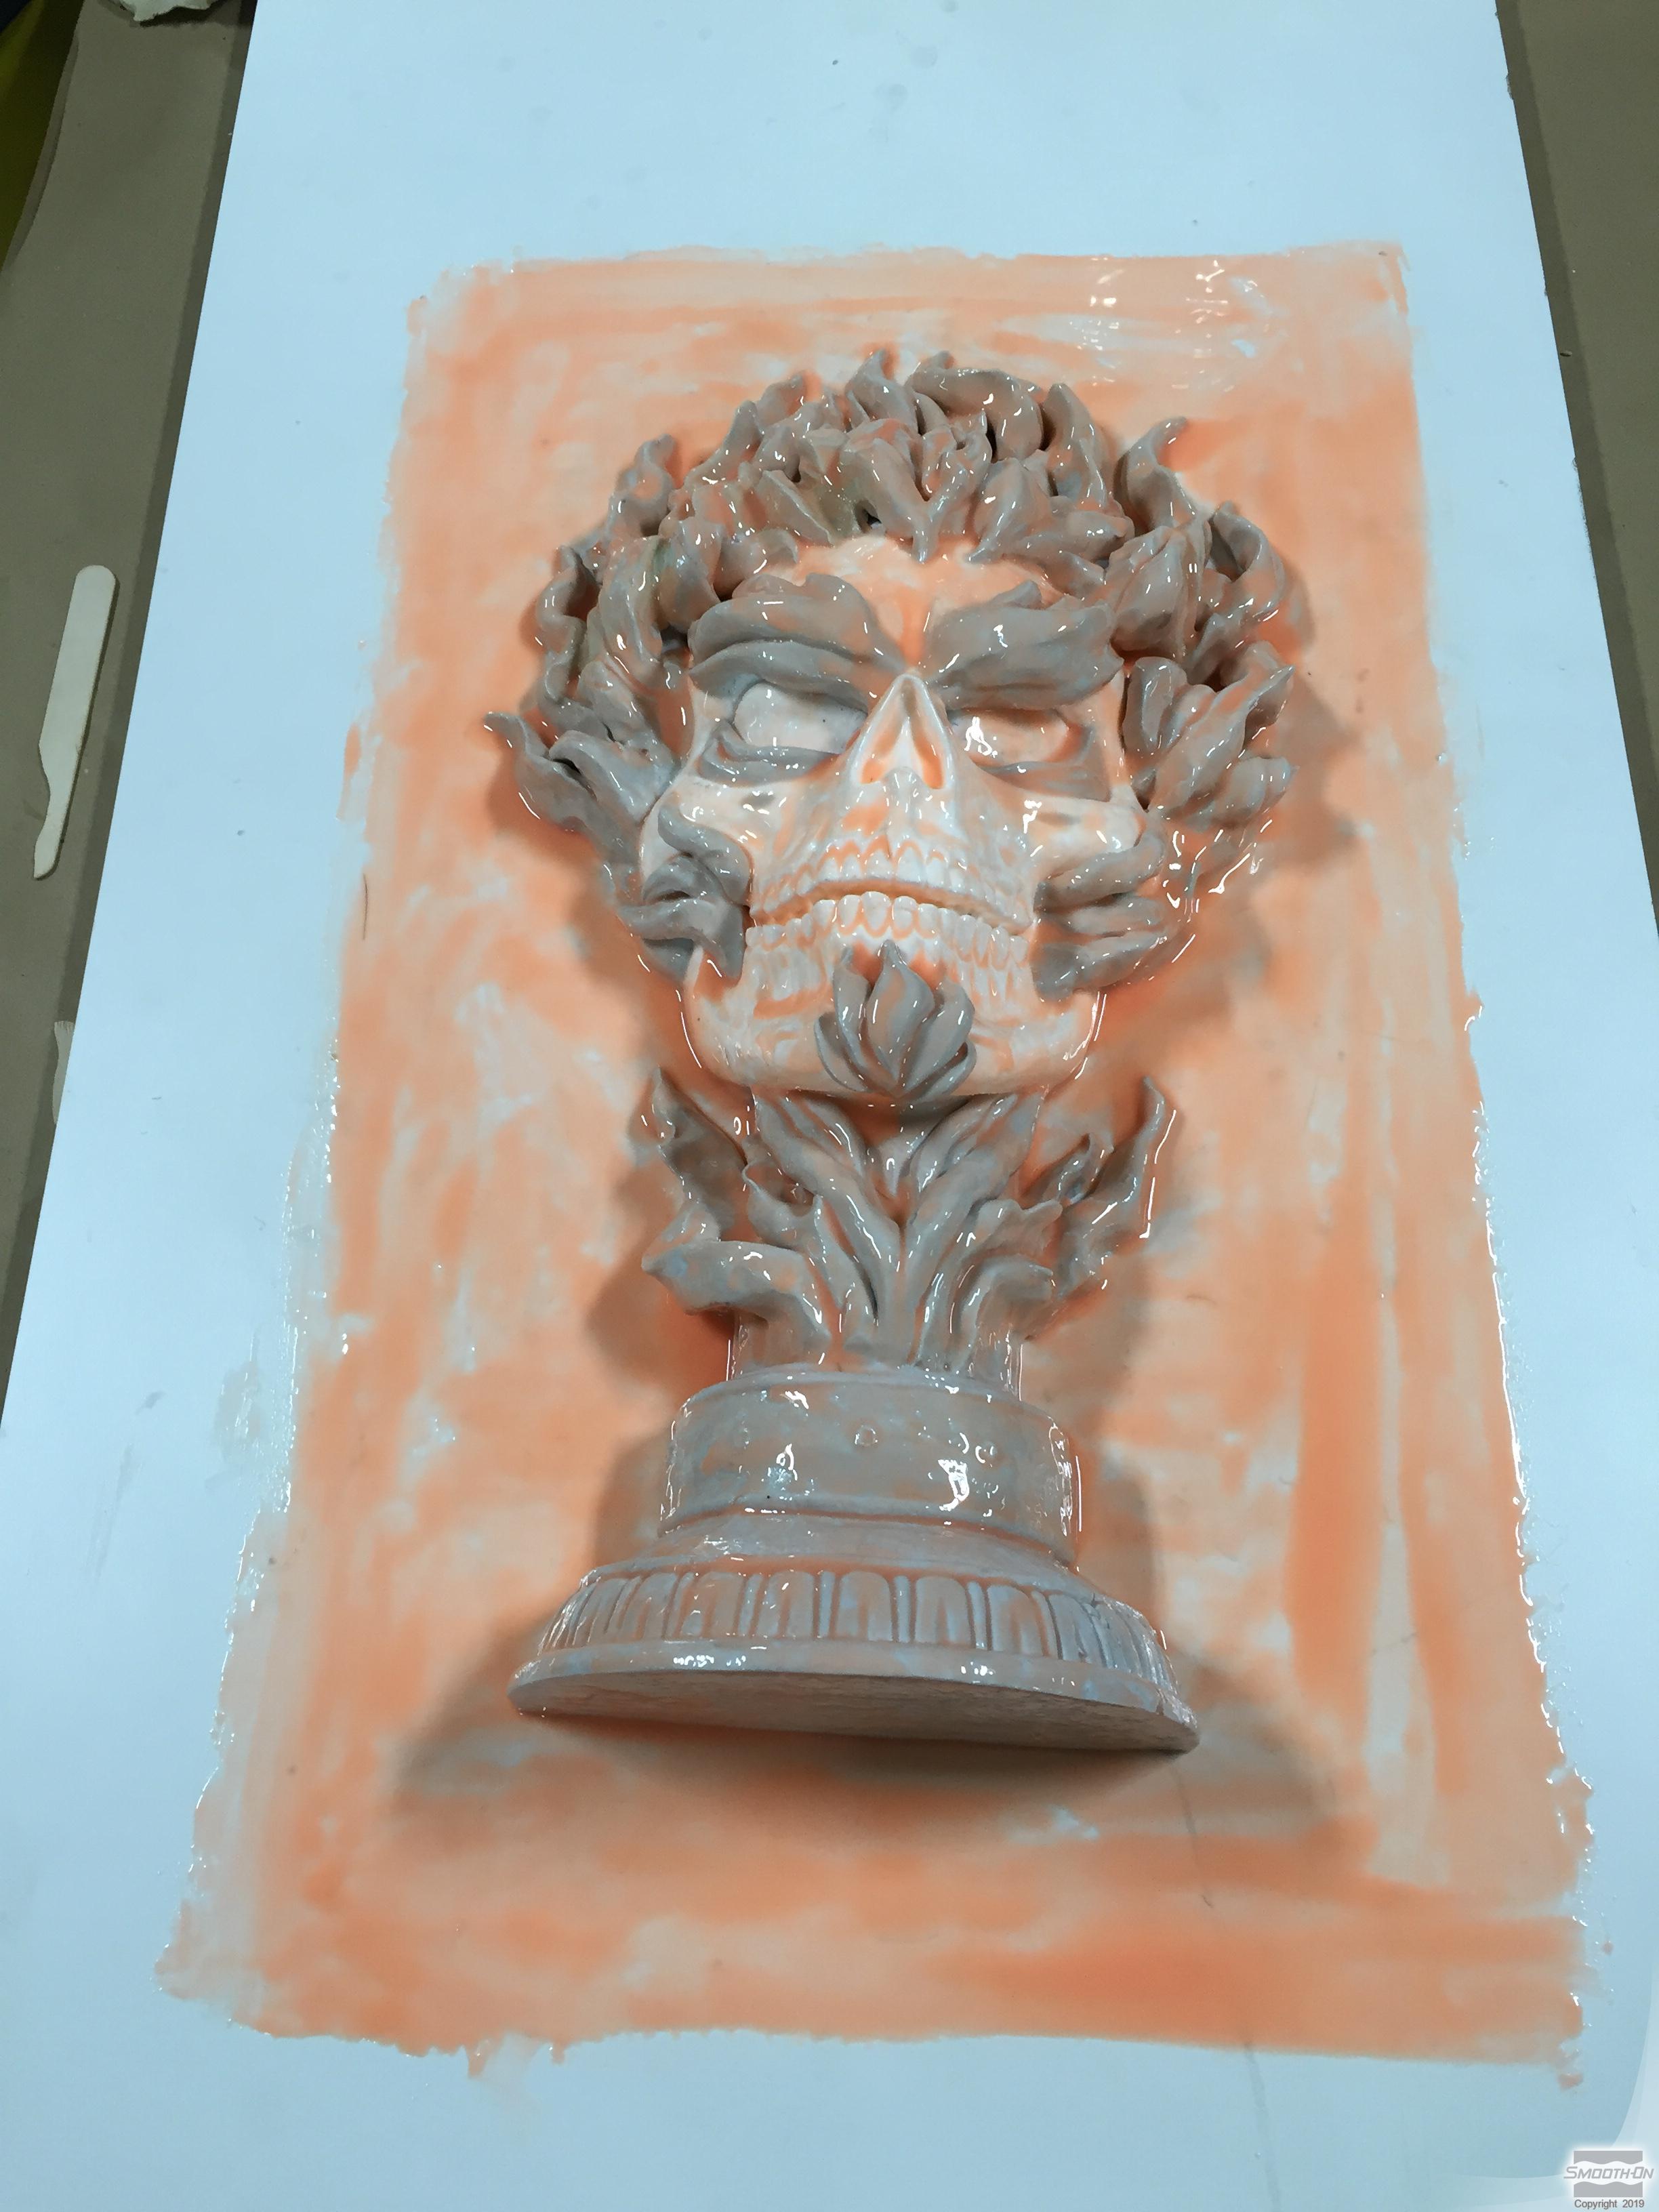
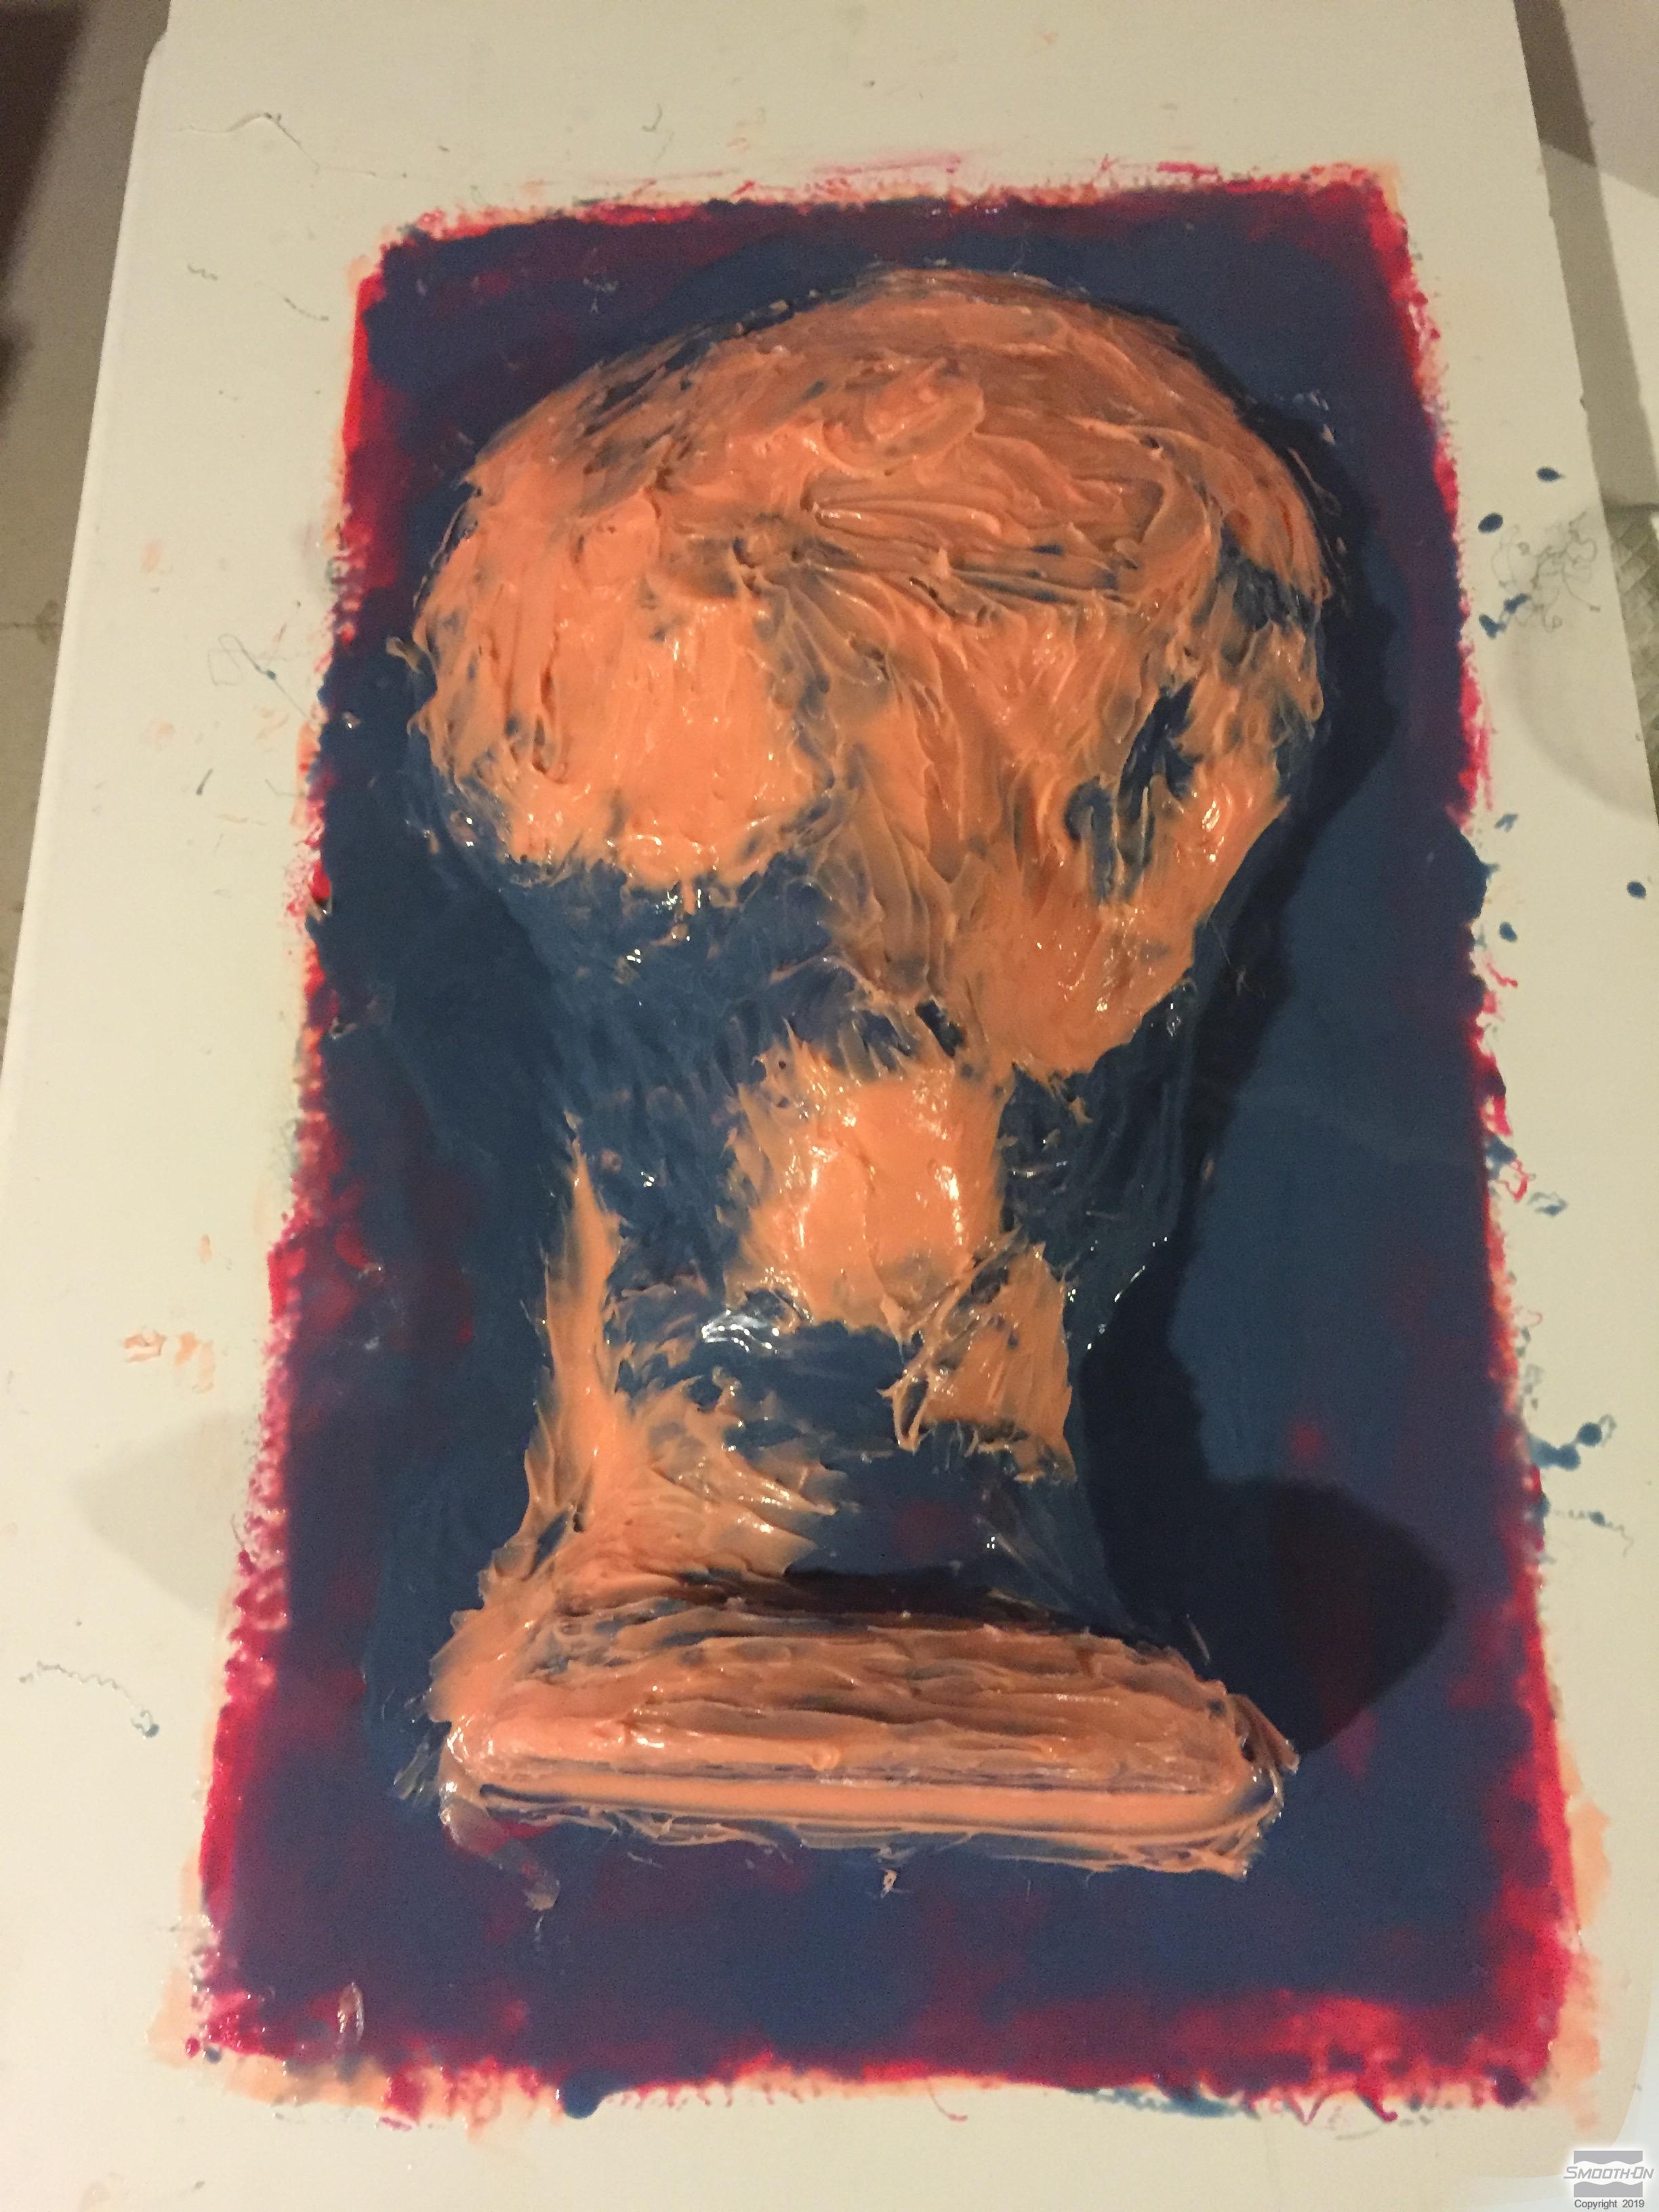
After the first layer is tacky, the second layer of Rebound™ 25 is mixed and applied. After the model and board are covered, let rubber cure for 60 minutes until tacky.
A third layer of rubber is thickened by measuring and mixing a small amount of Rebound™ 25 and adding 4 drops of Thi-Vex thickener to every 1 oz. of mixed Rebound™ 25. The thickened rubber will be used to fill any undercuts.
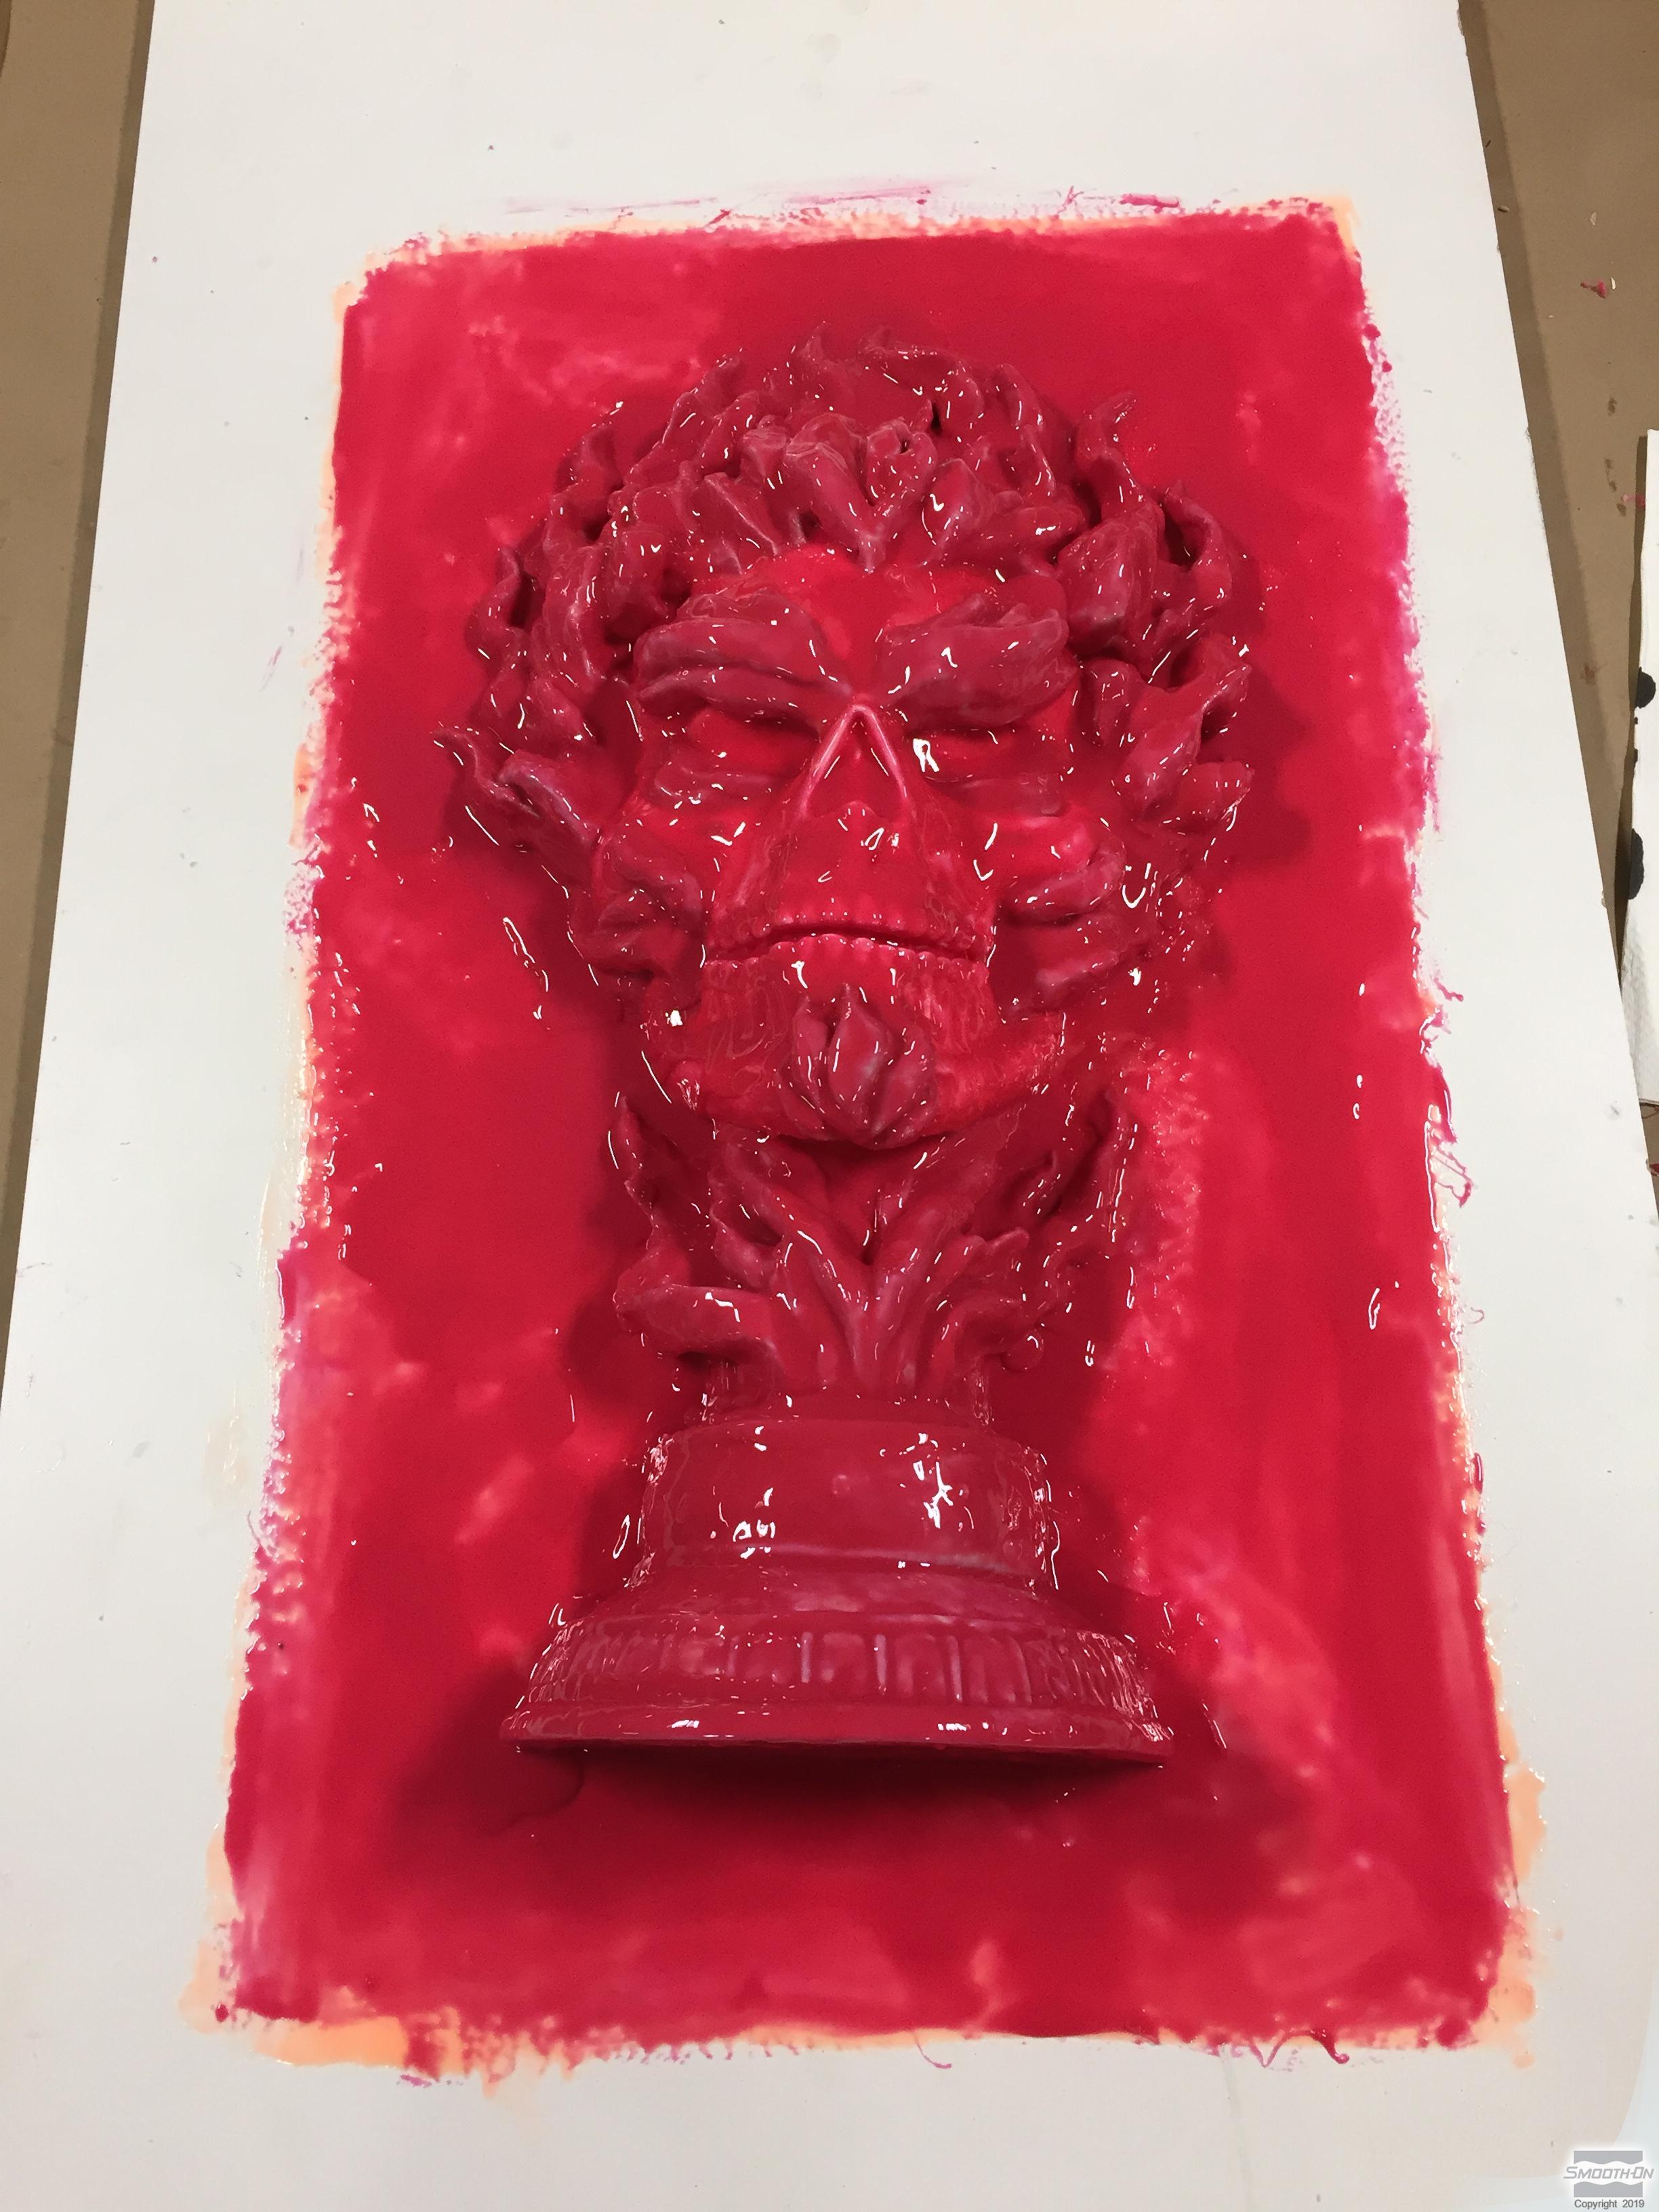
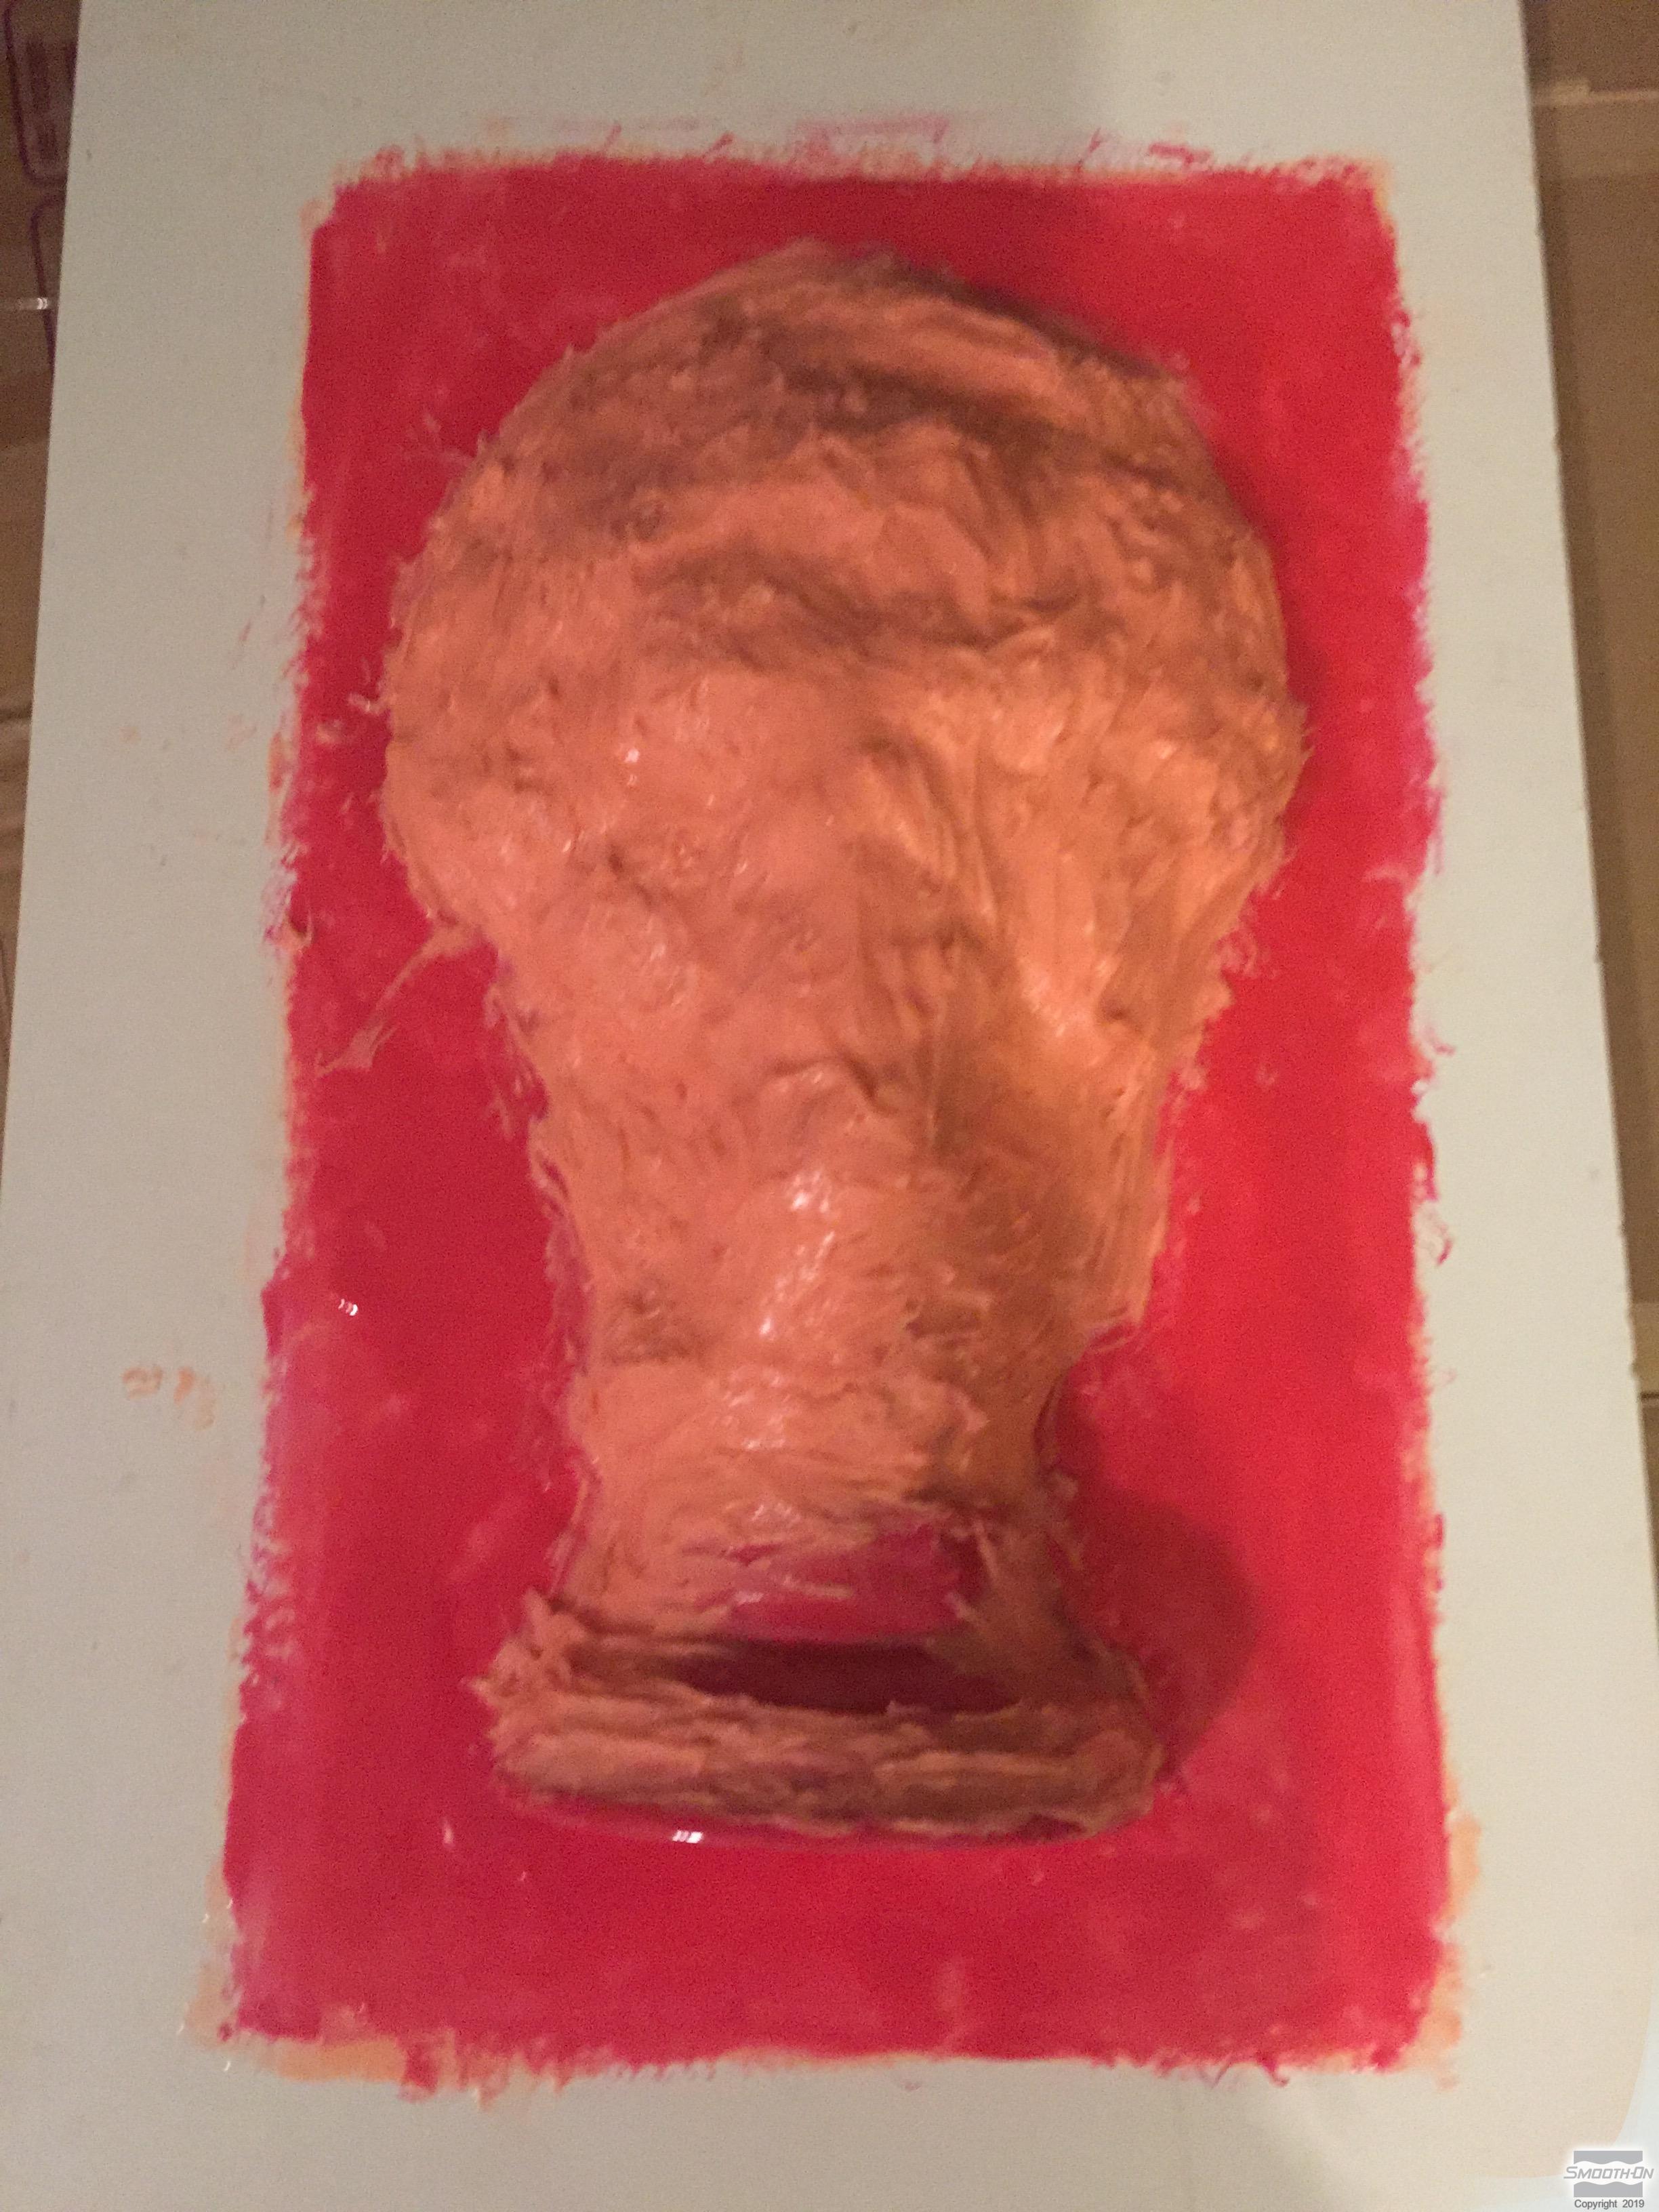
Next, another small batch of rubber is mixed and applied. Again, the rubber is allowed to cure for 60 minutes until tacky
An additional small batch of thickened rubber is applied to further fill in undercuts and reduce sharp angles.
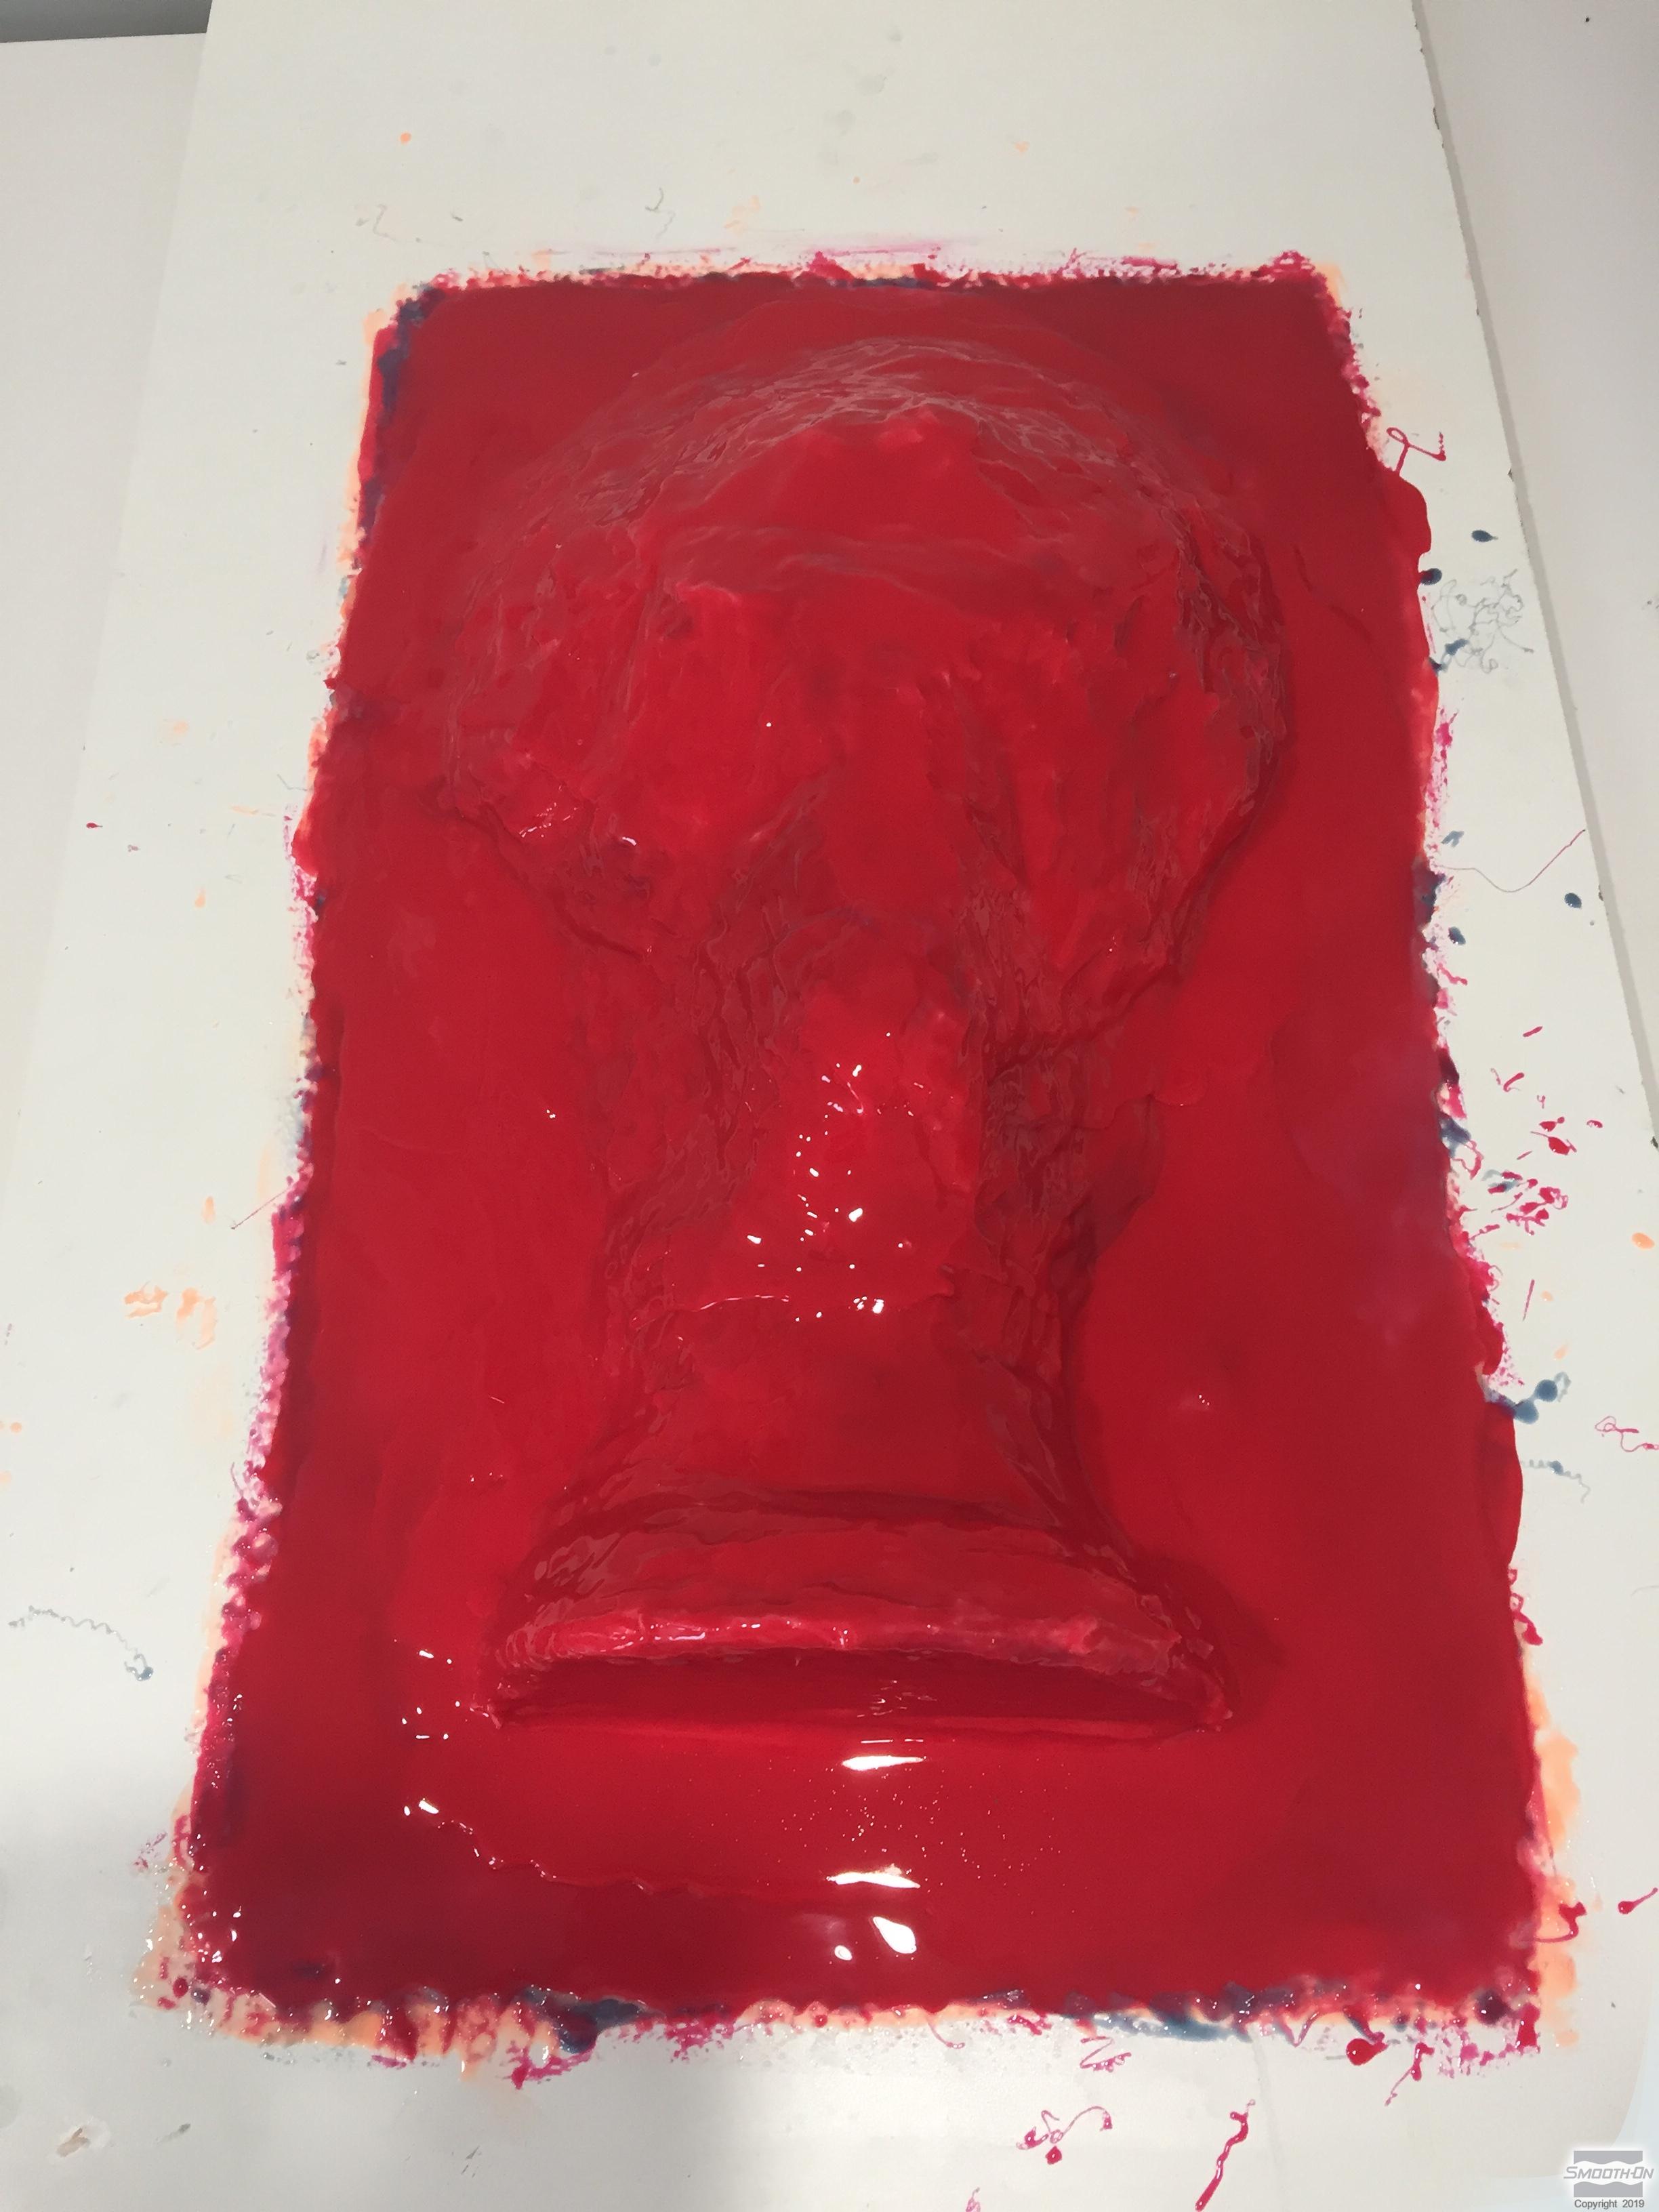
A final layer of Rebound™ 25 is applied and the rubber is allowed to cure for at least 6 hours at room temperature (73˚F/2\3˚C) before applying the Free Form™ AIR support shell.

Step 4: Preparing Mold For Free Form™ AIR
When the rubber is fully cured, a razor knife is used to trim the rubber. Sharp clean edges will help the rubber mold register with the support shell.
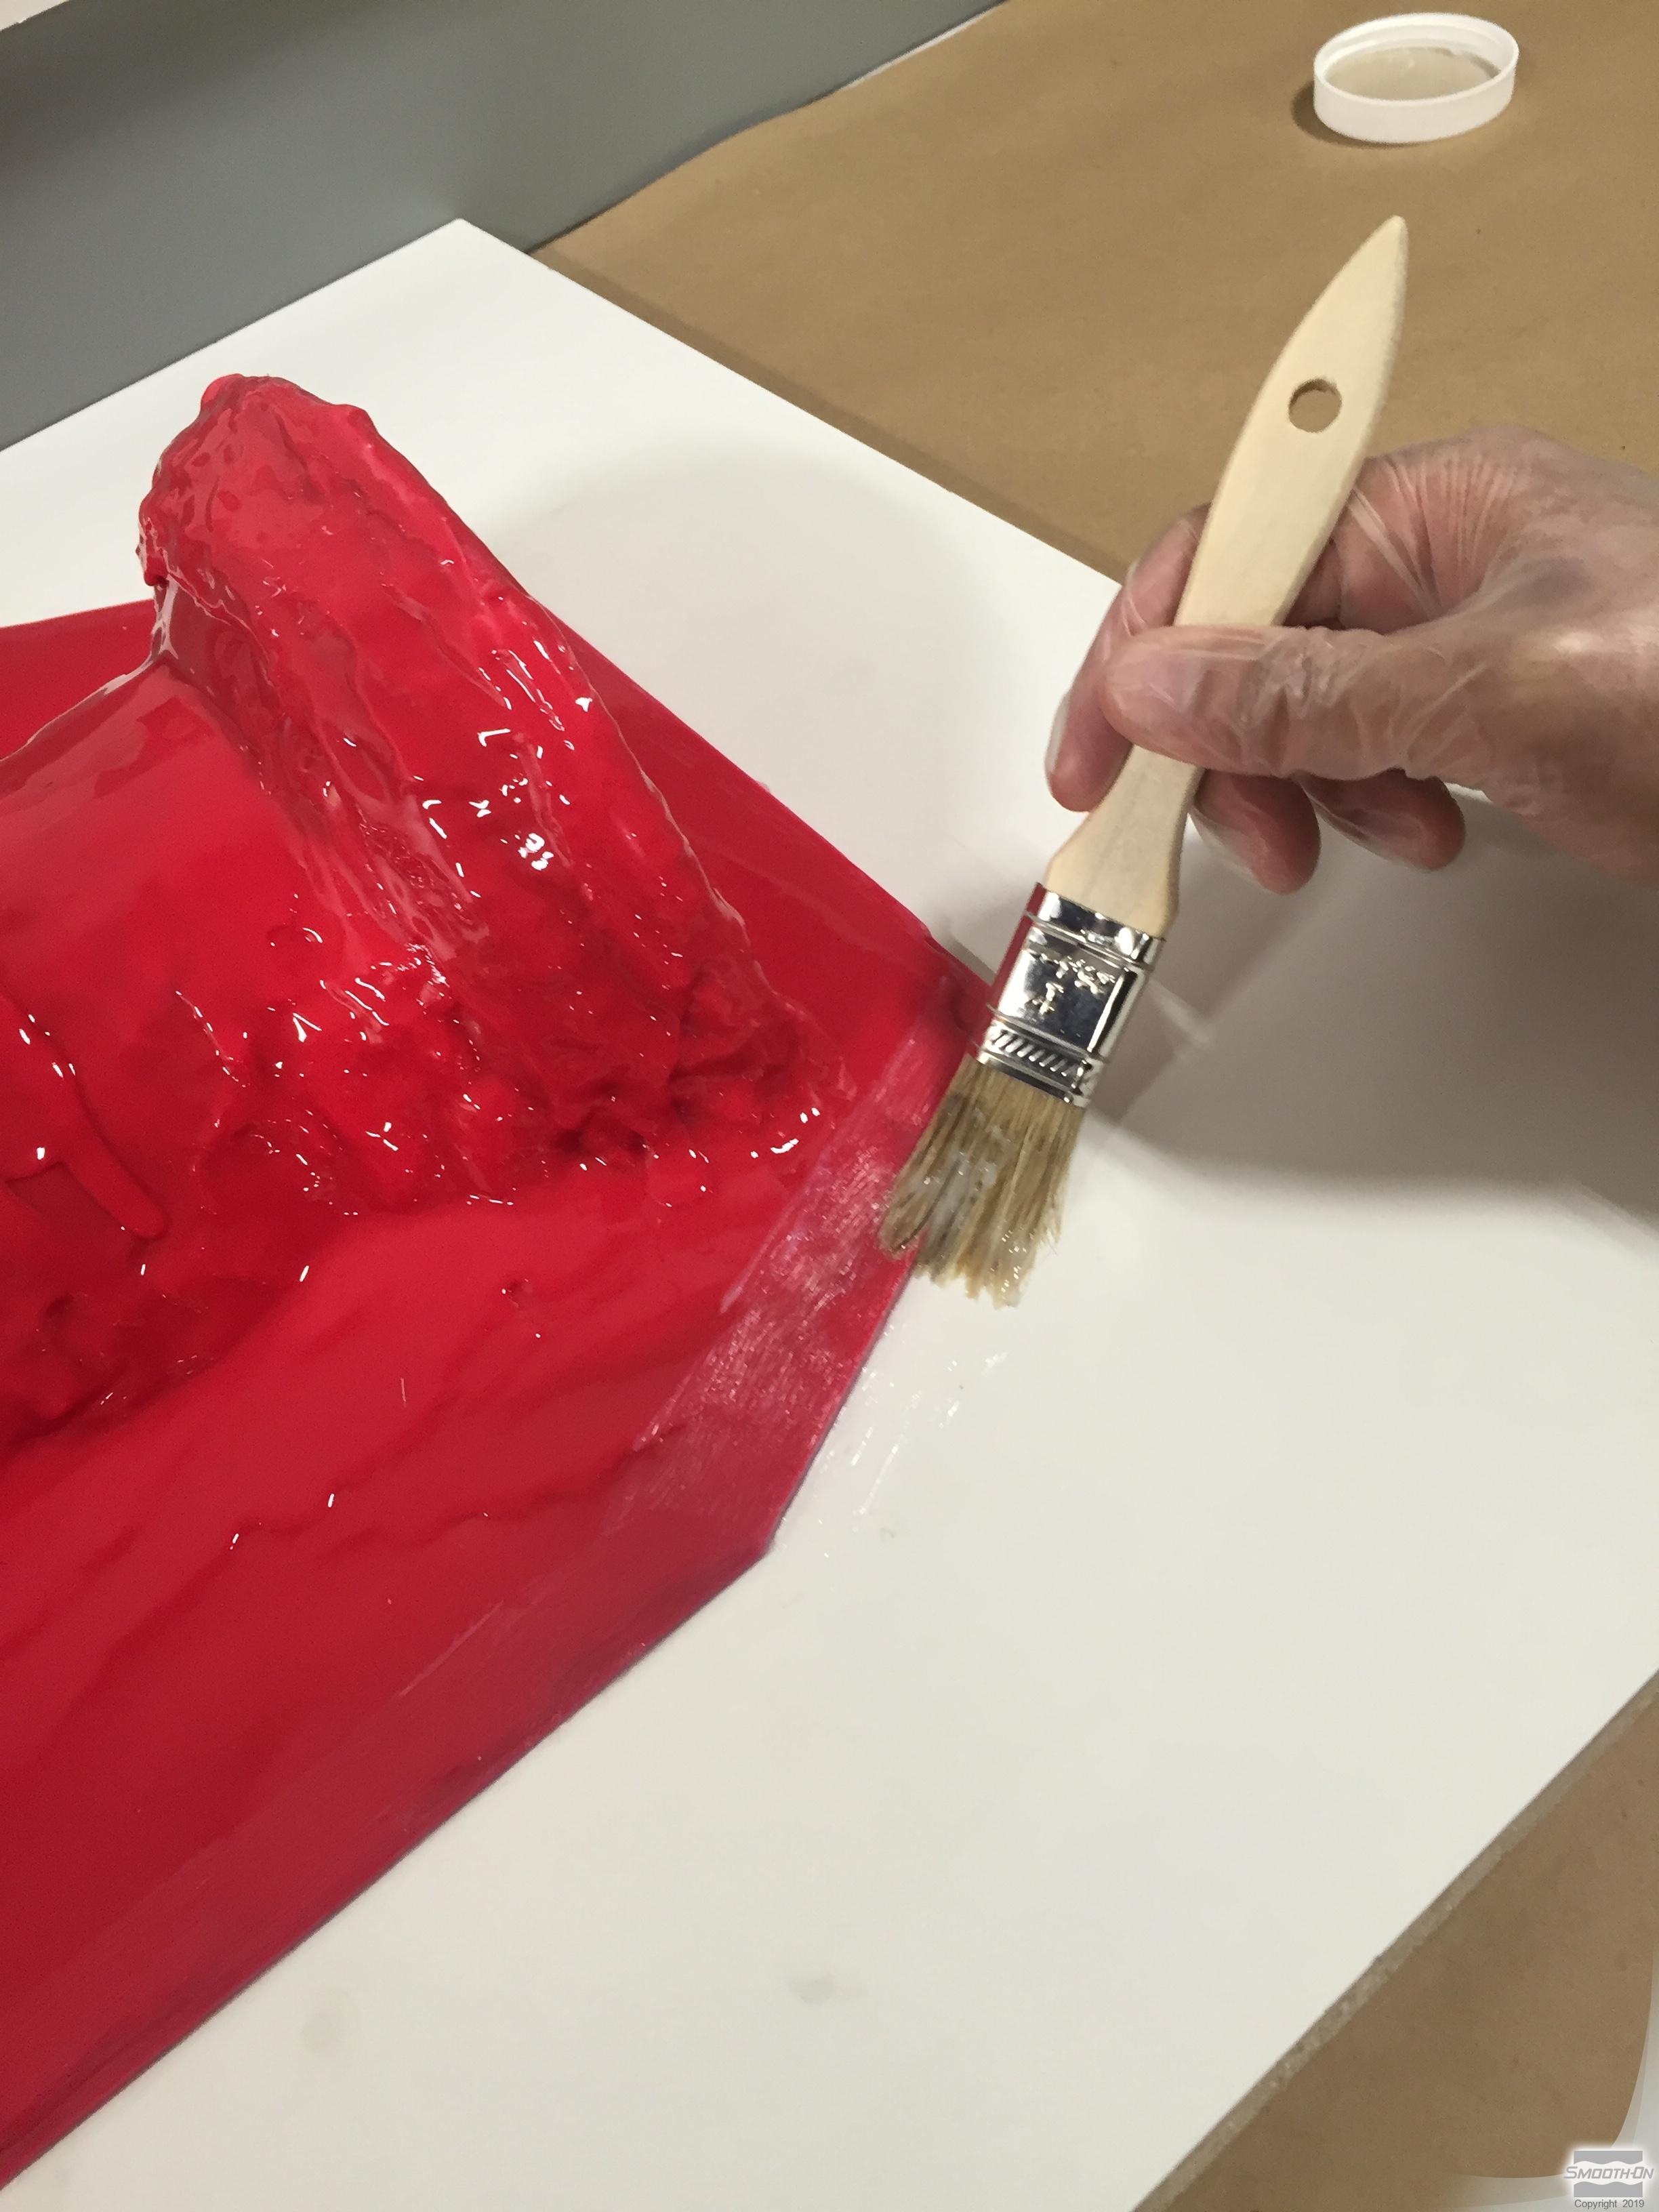
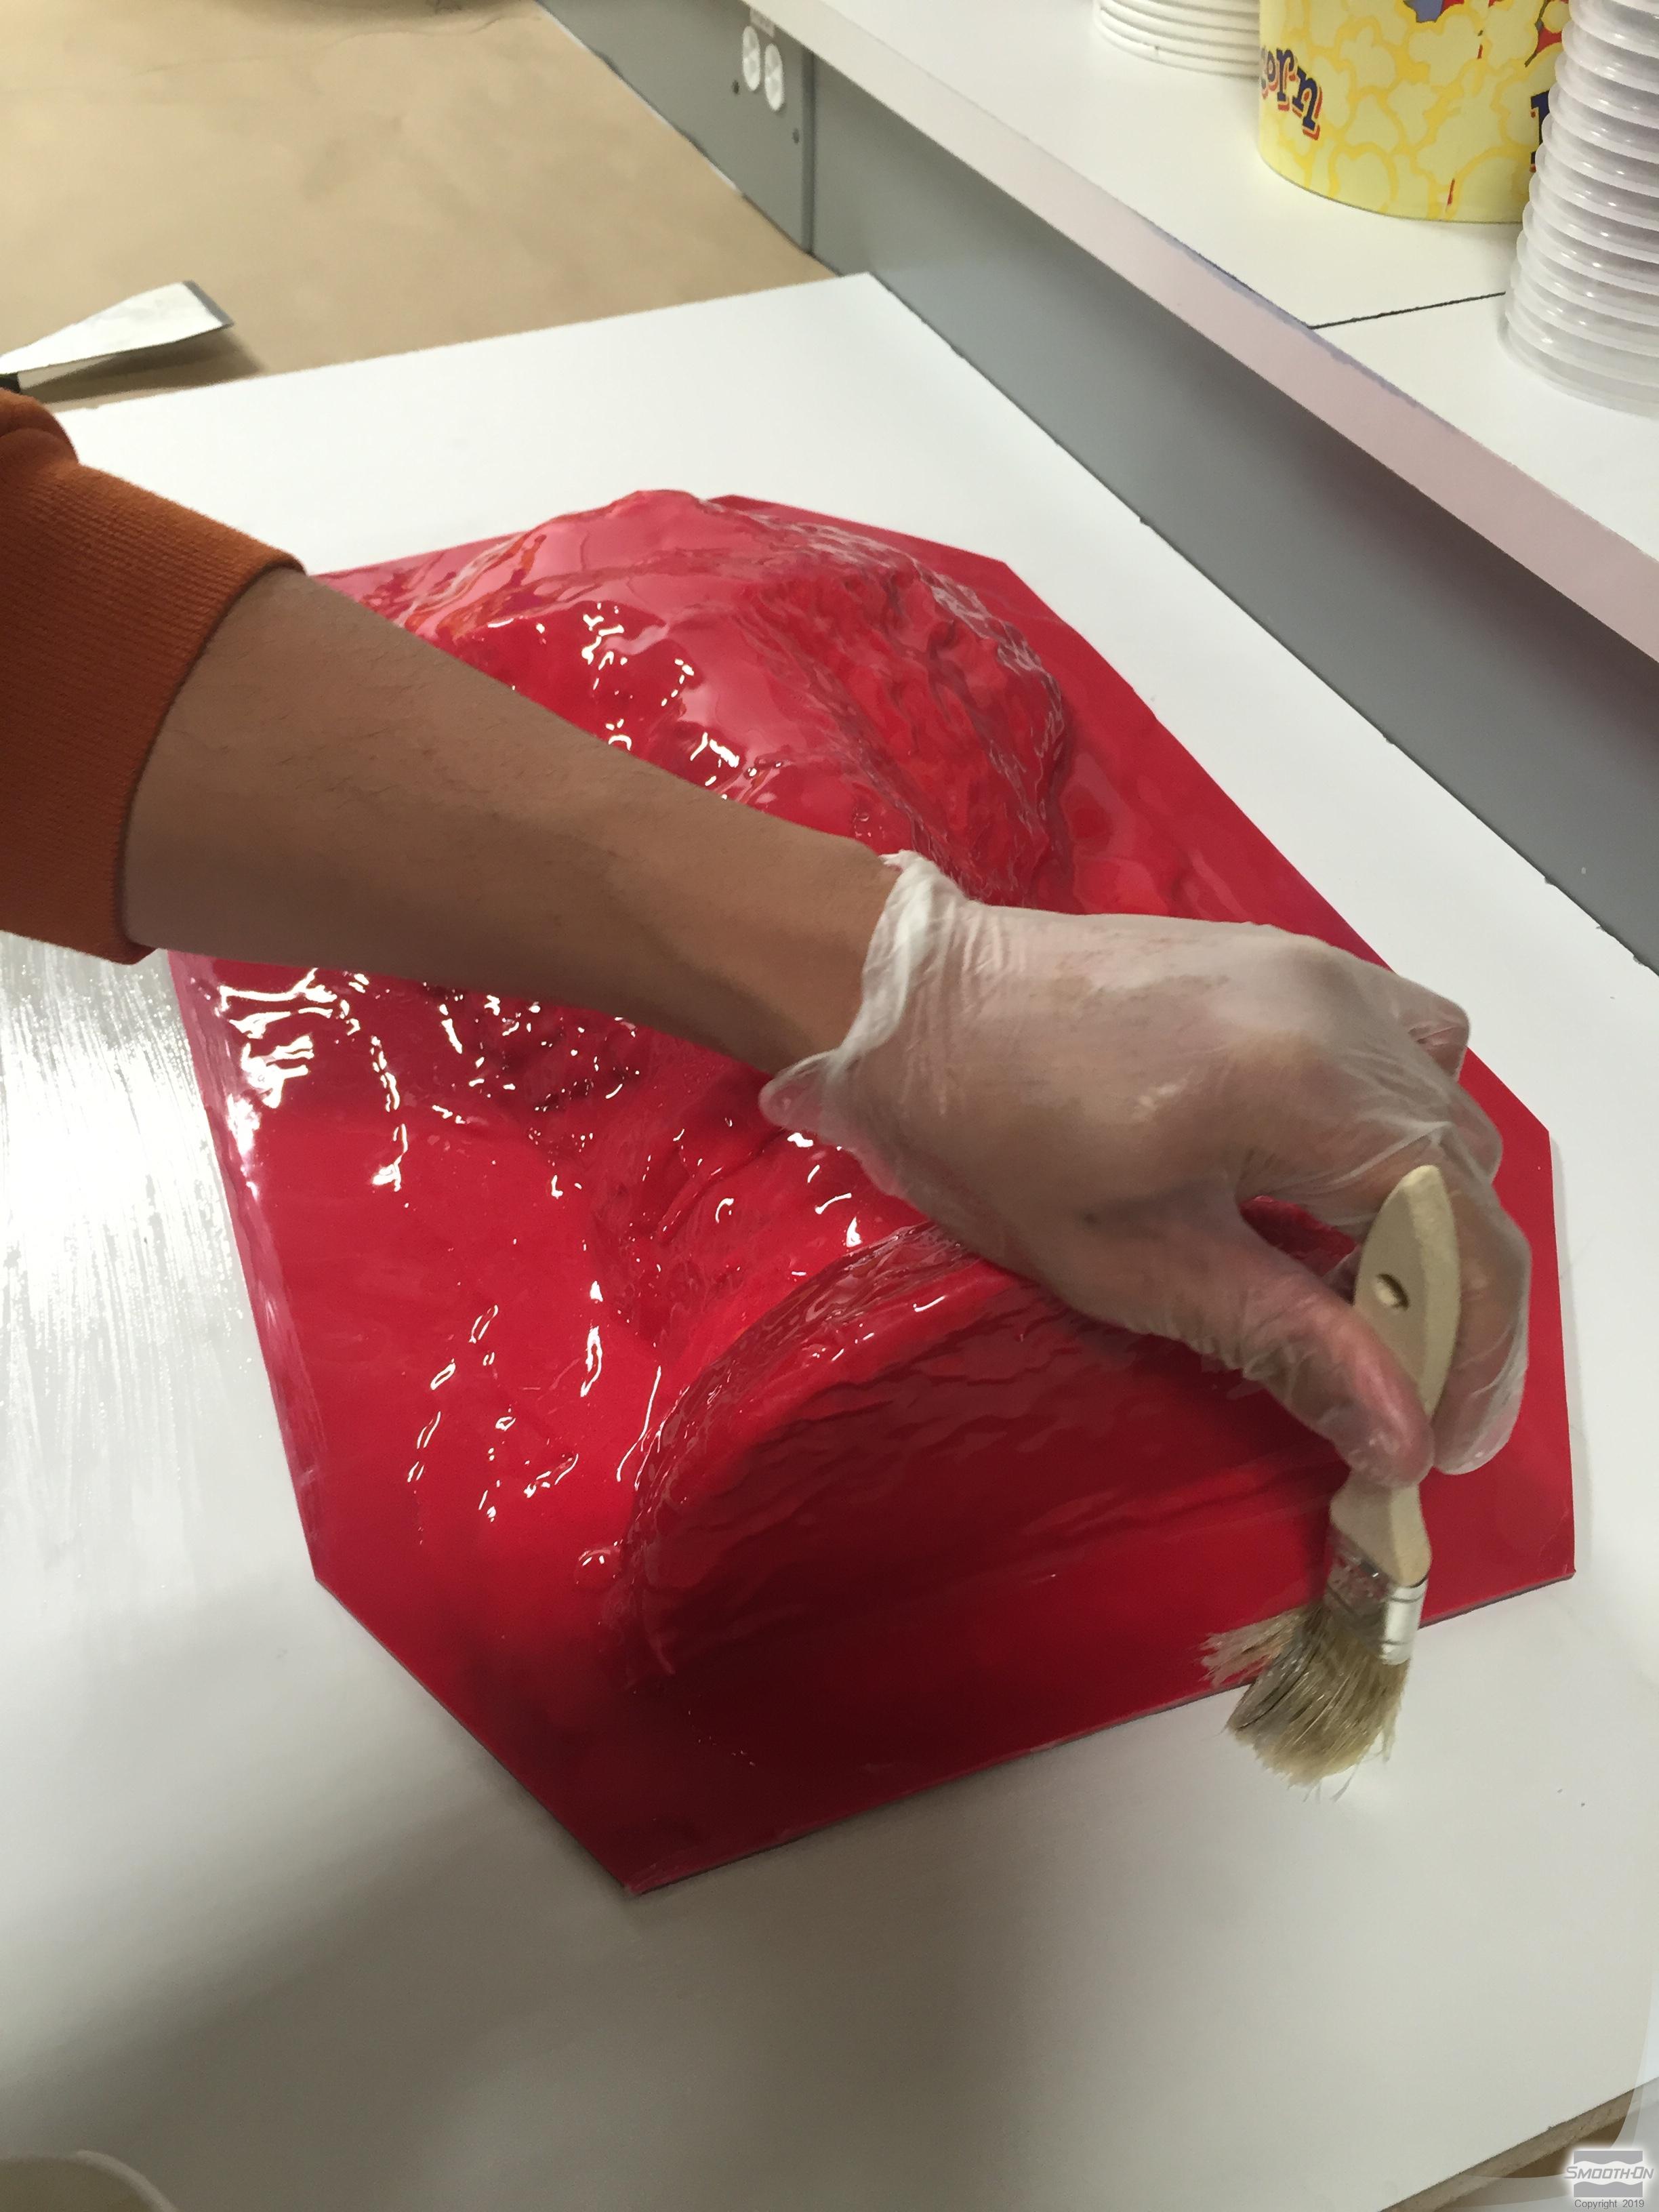
Apply a liberal coat of Sonite™ Wax to the entire surface of the baseboard. Let the Sonite Wax™ dry for 10 minutes and apply a second coat.
Step 5: Dispensing and Applying FreeForm™ AIR to Create Support Shell / Demold
Measure and mix Free Form™ AIR, 1A:1B by volume. Mix the epoxy putty using a hand over hand folding method. Apply Free Form™ AIR over the surface of the mold and platform, to 3/8 inch (0.95 cm) thick; then allow the Free Form™ AIR to cure for at least 24 hours at room temperature (72º F / 22º C).
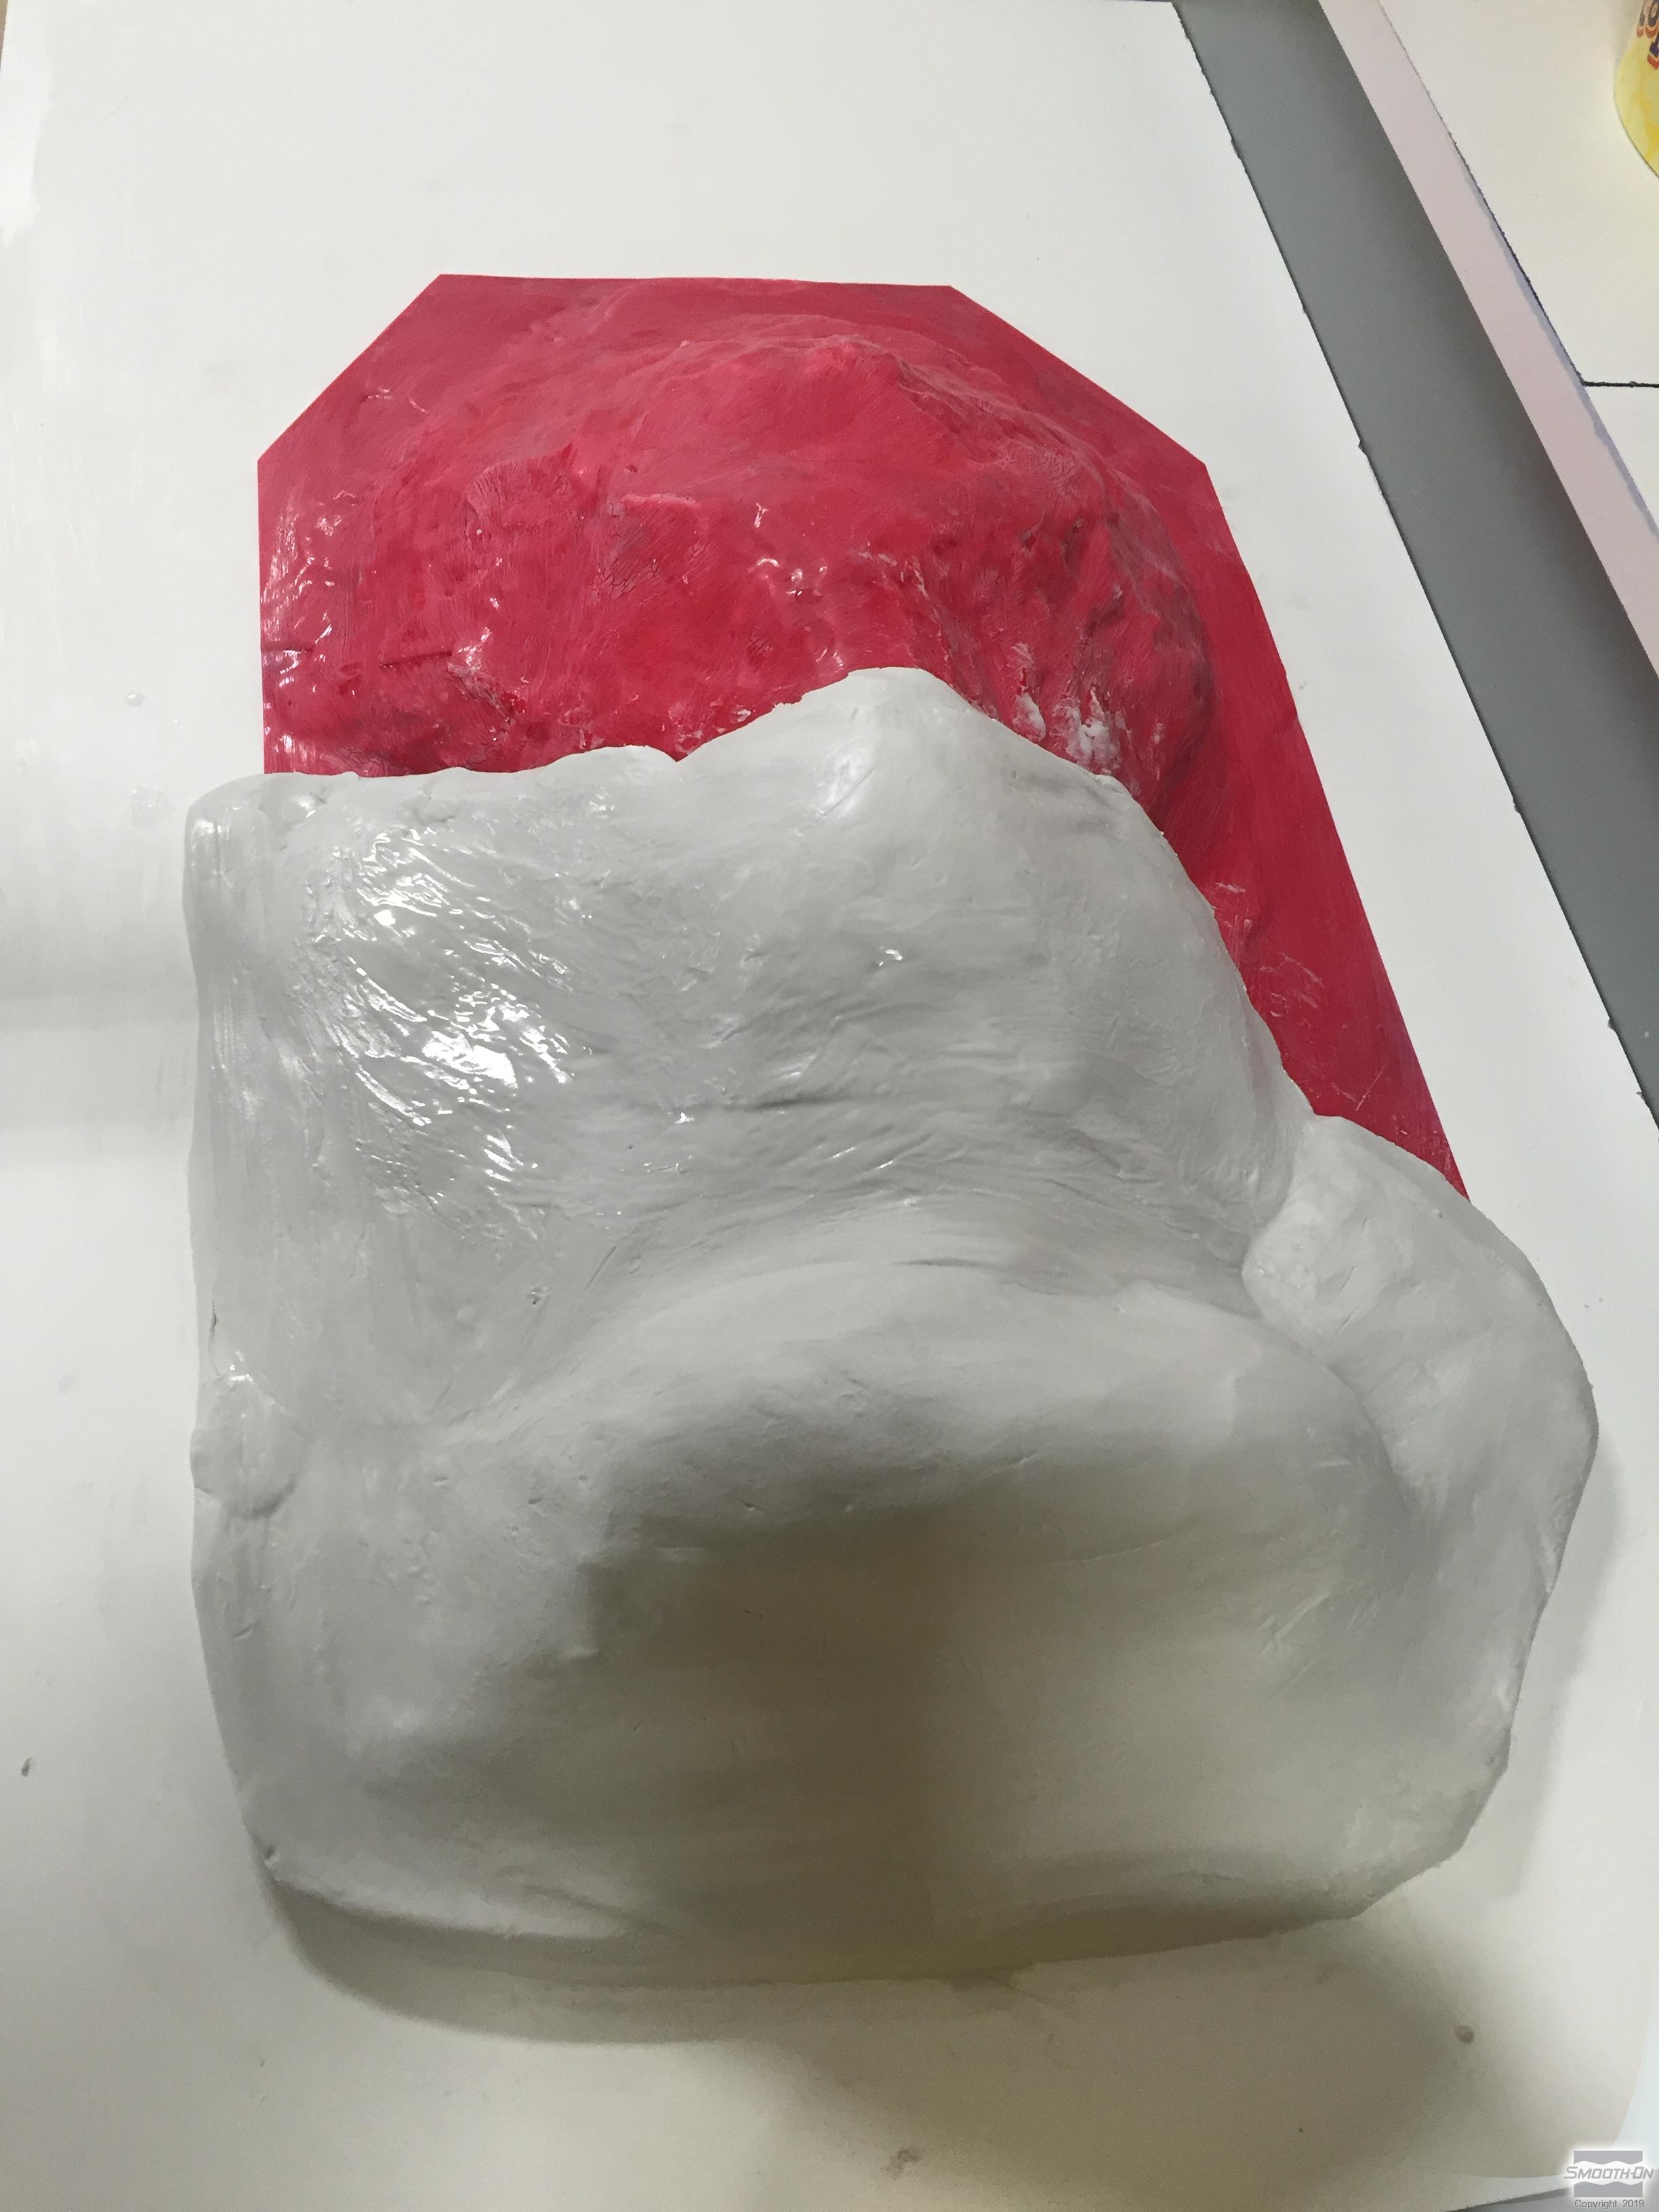
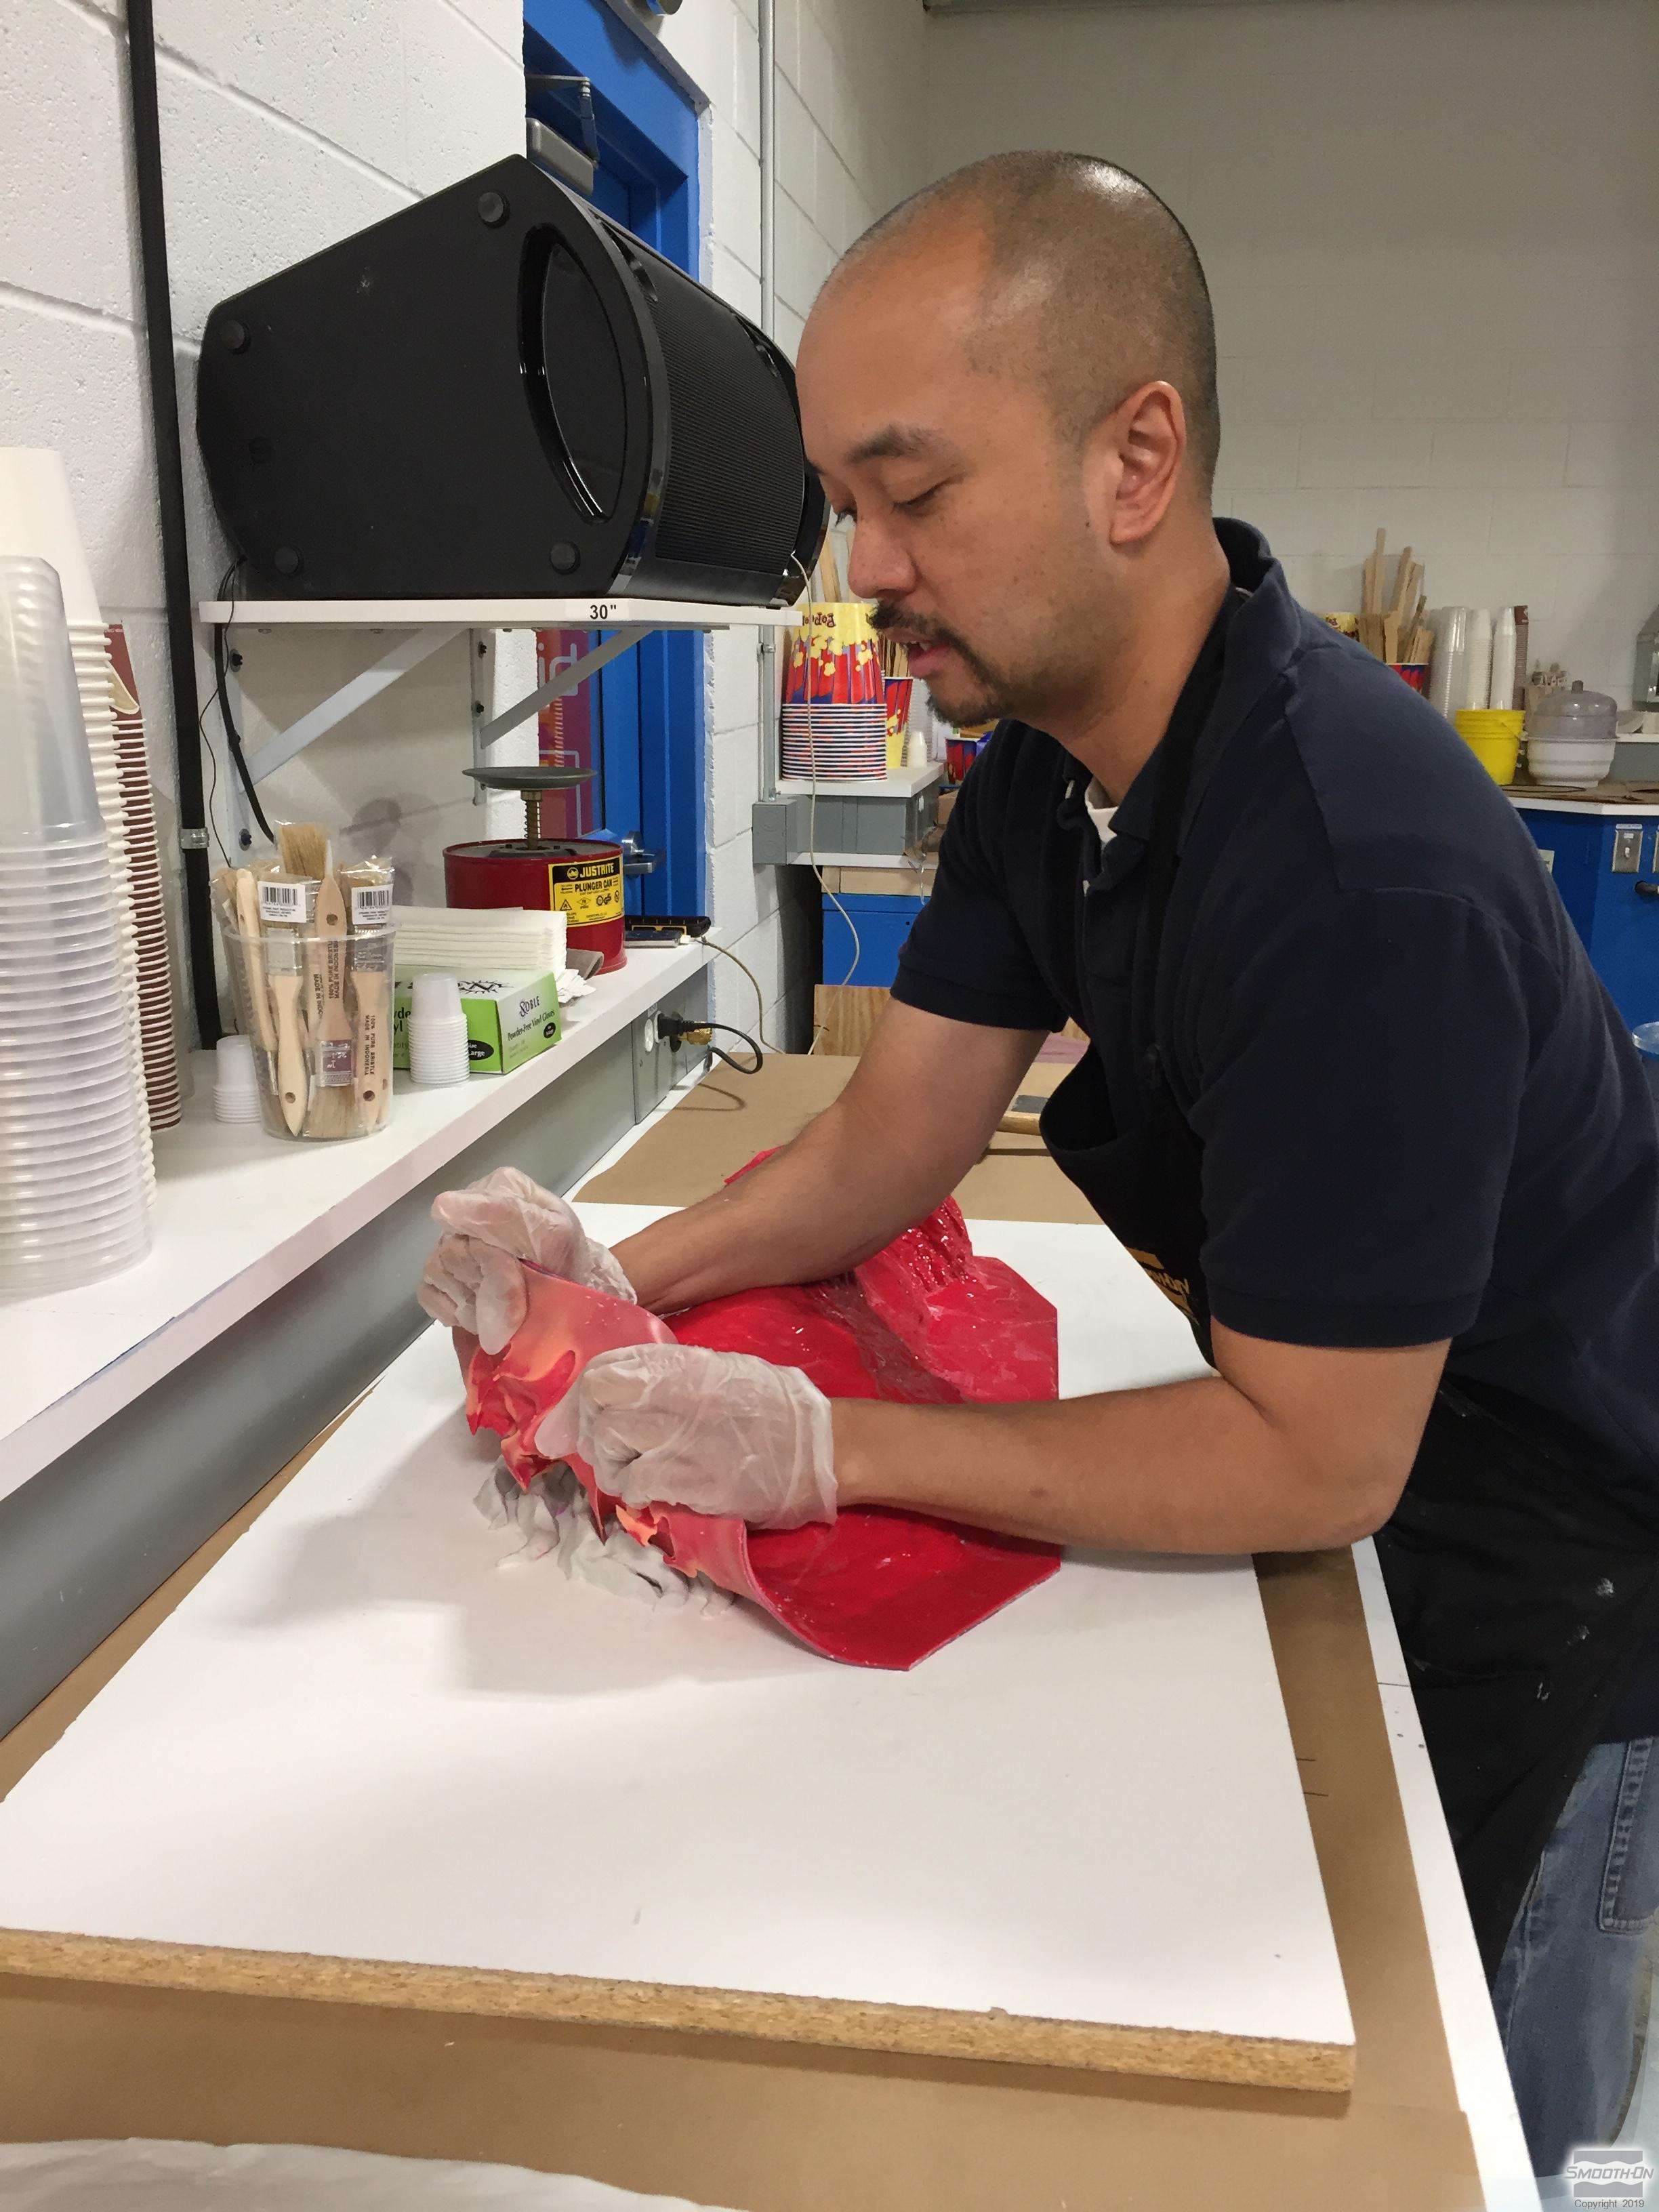
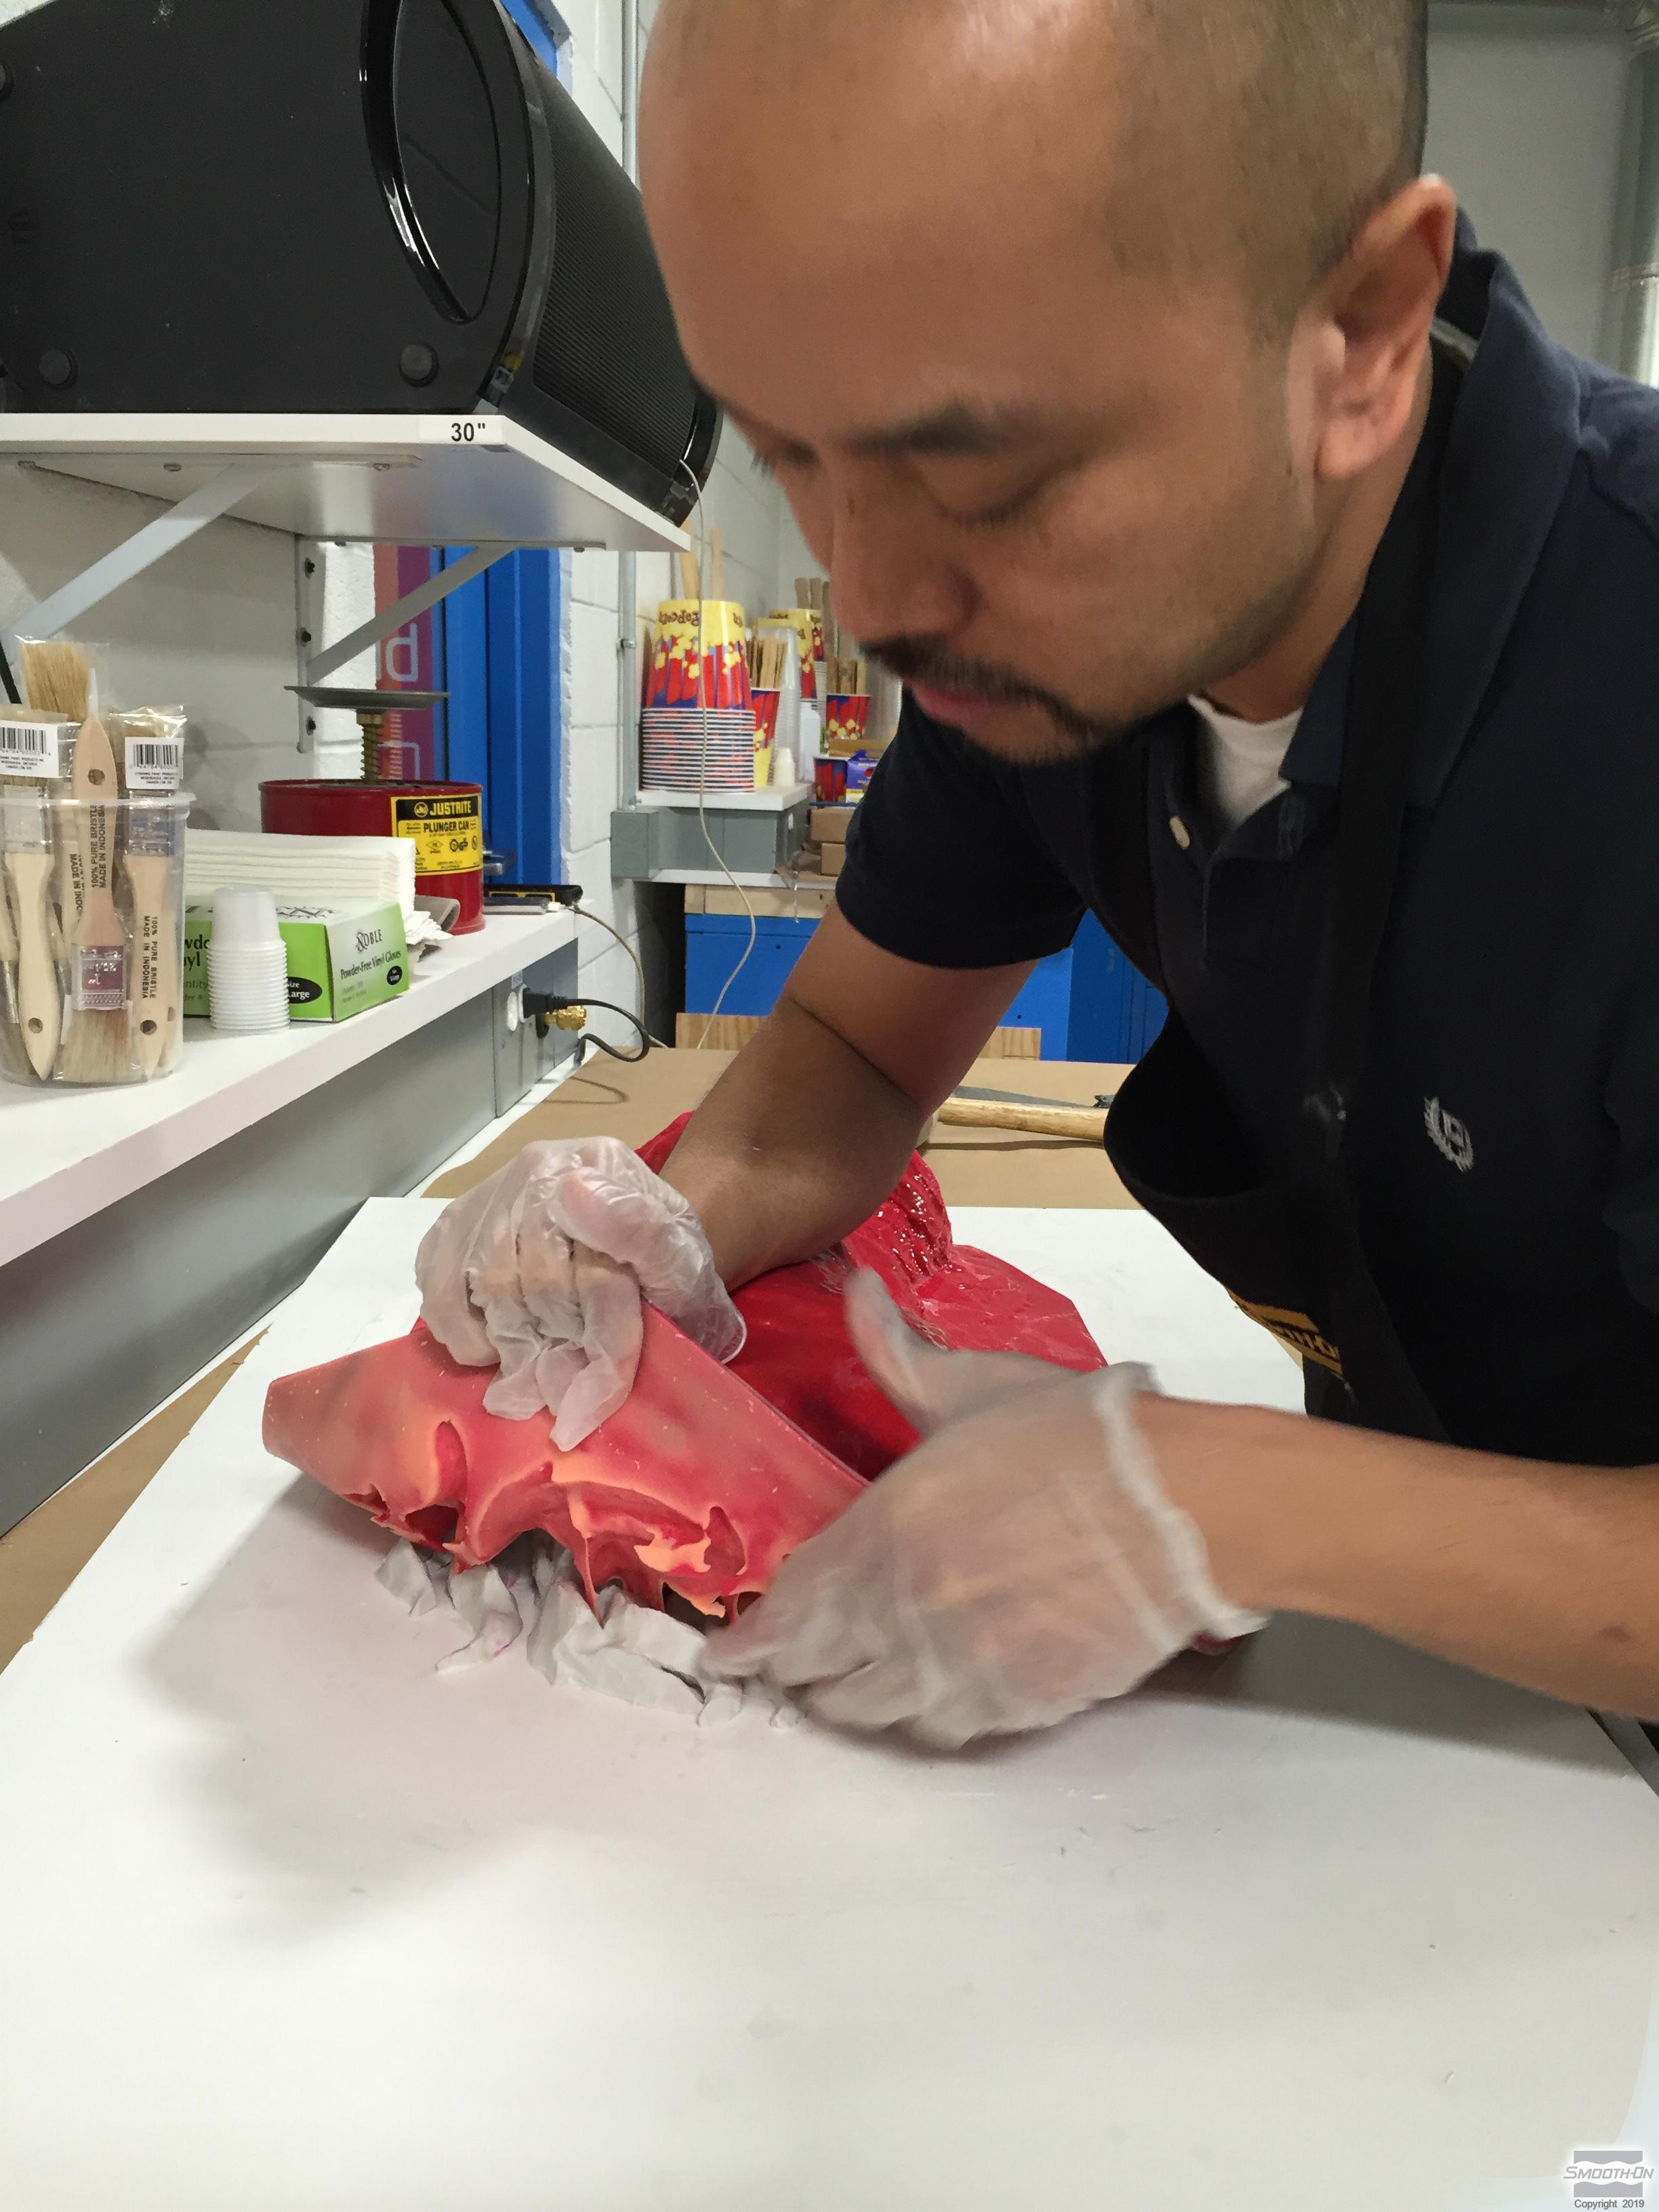
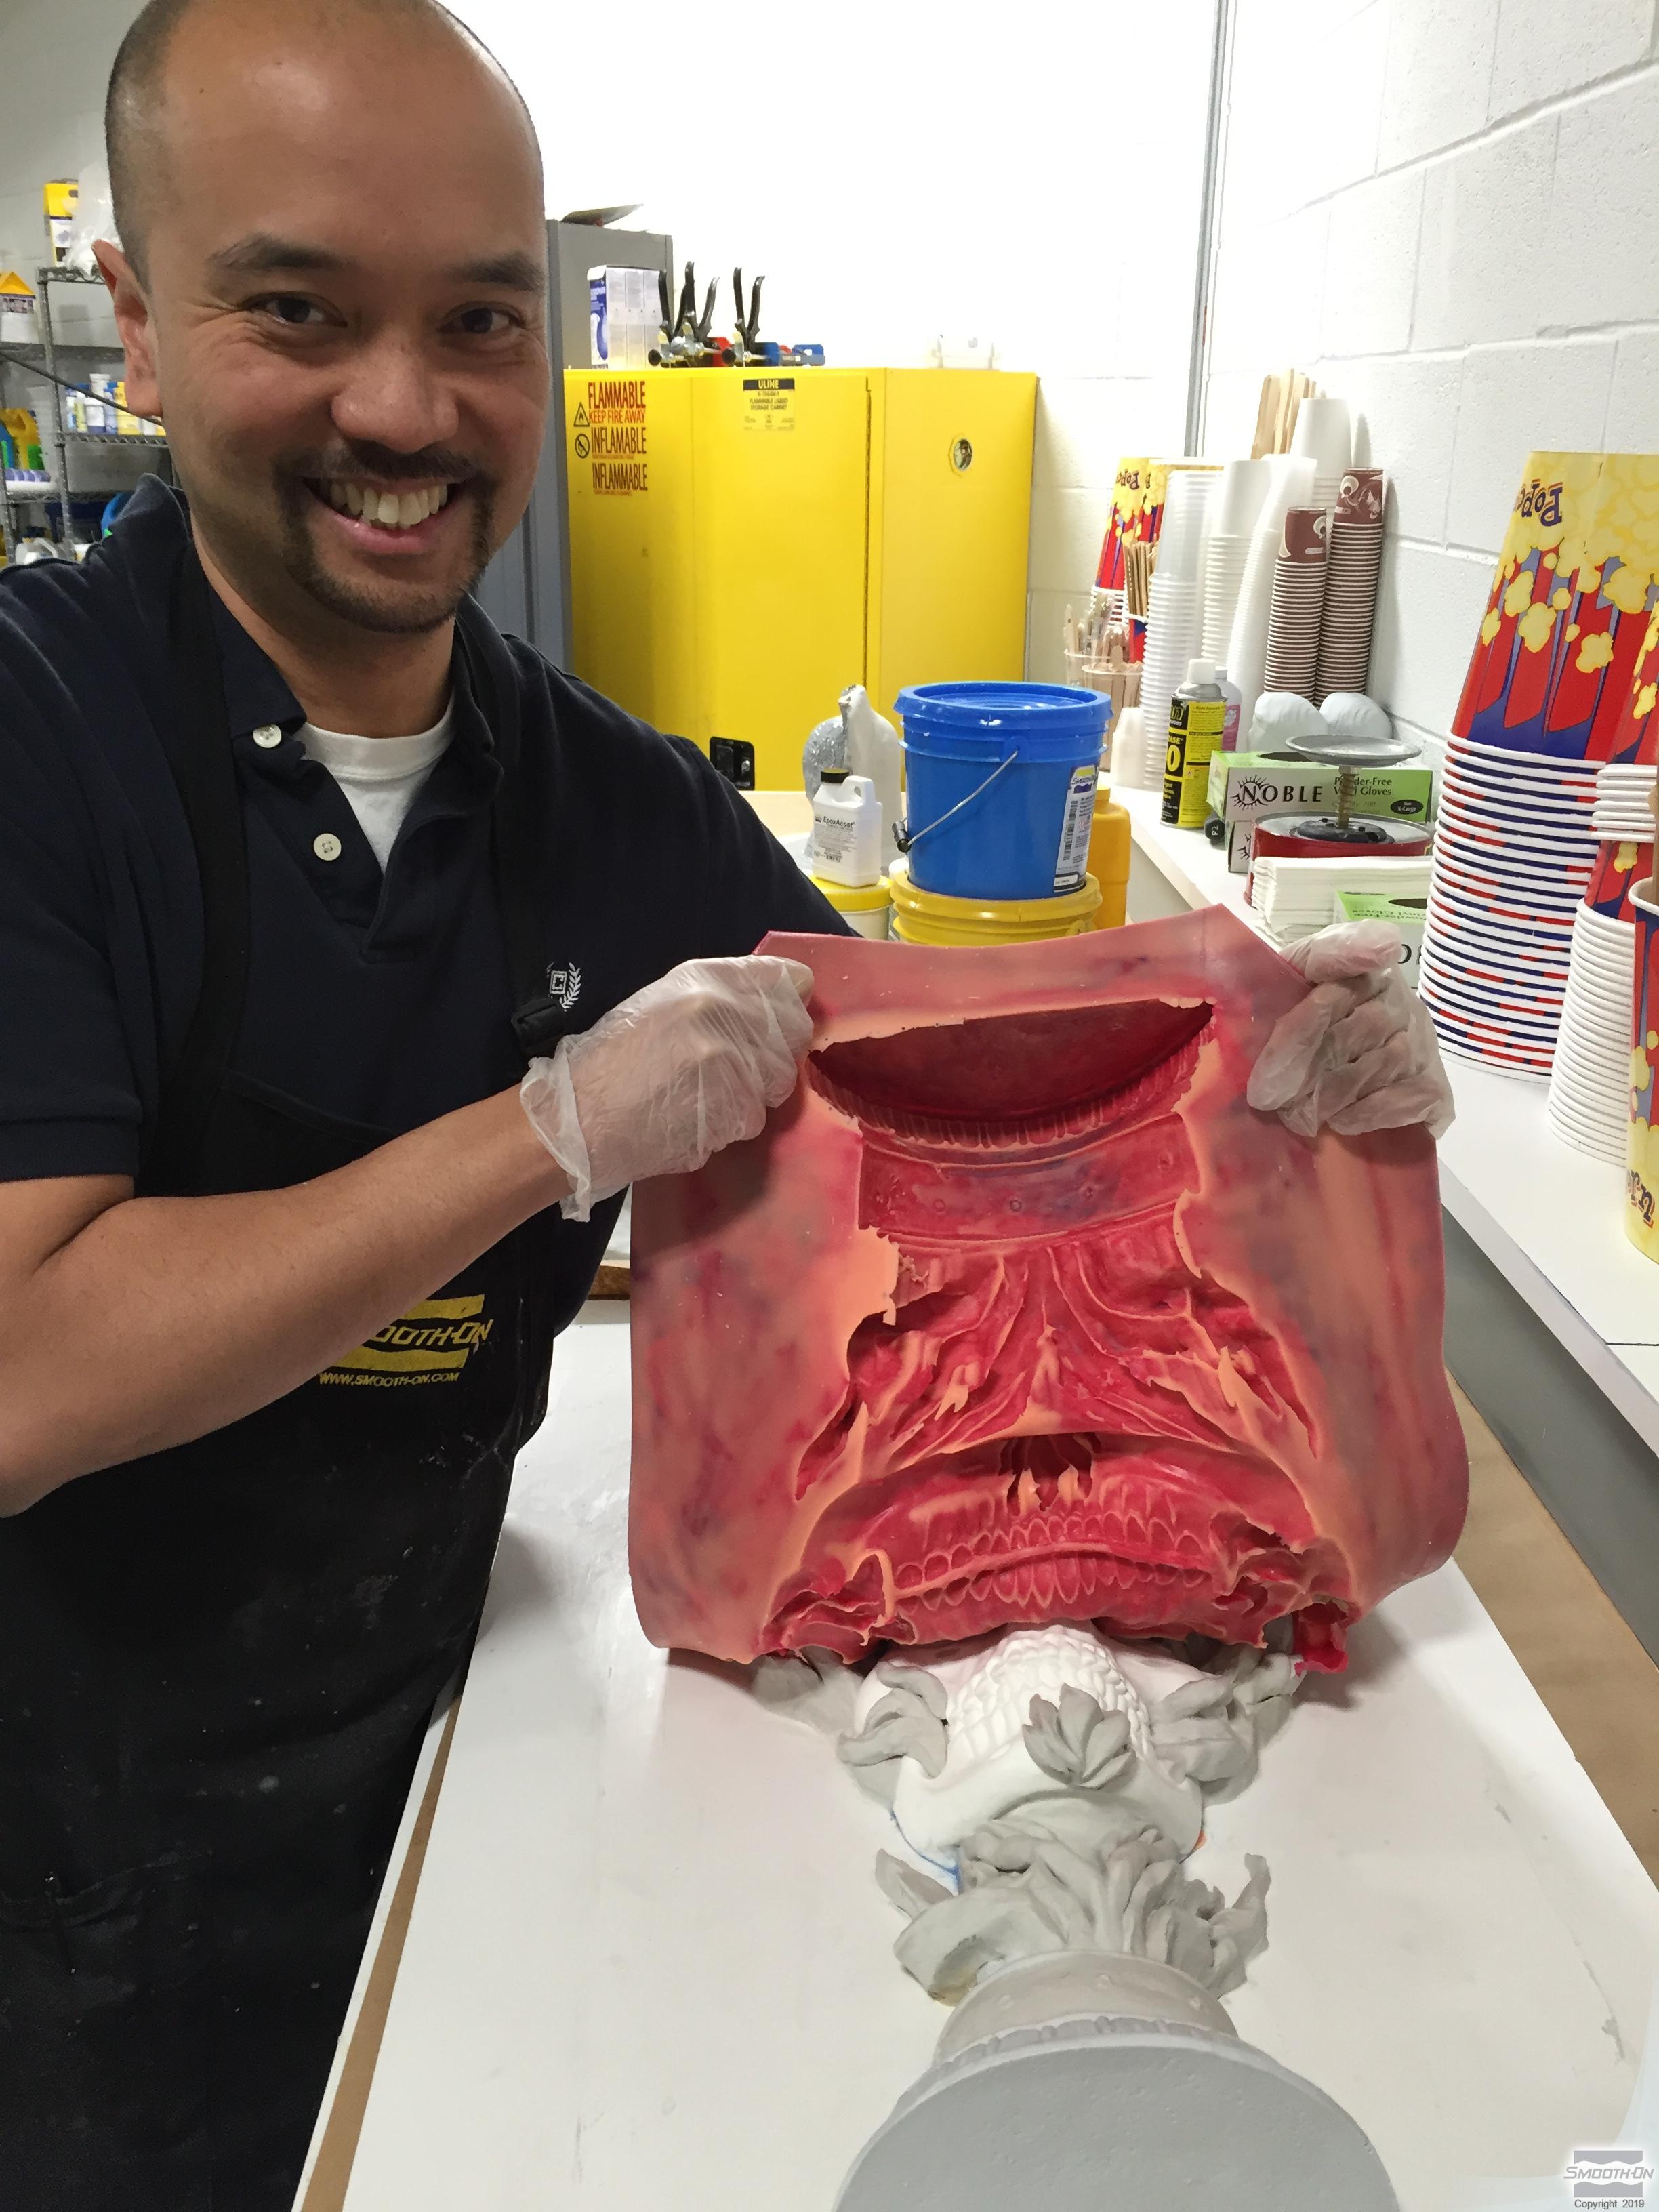
Use a hammer and chisel or screwdriver to slowly pry the support shell apart and release from baseboard. Remove the support shell to expose the rubber mold.
Remove rubber mold by starting at one side and slowly working your way to the other.
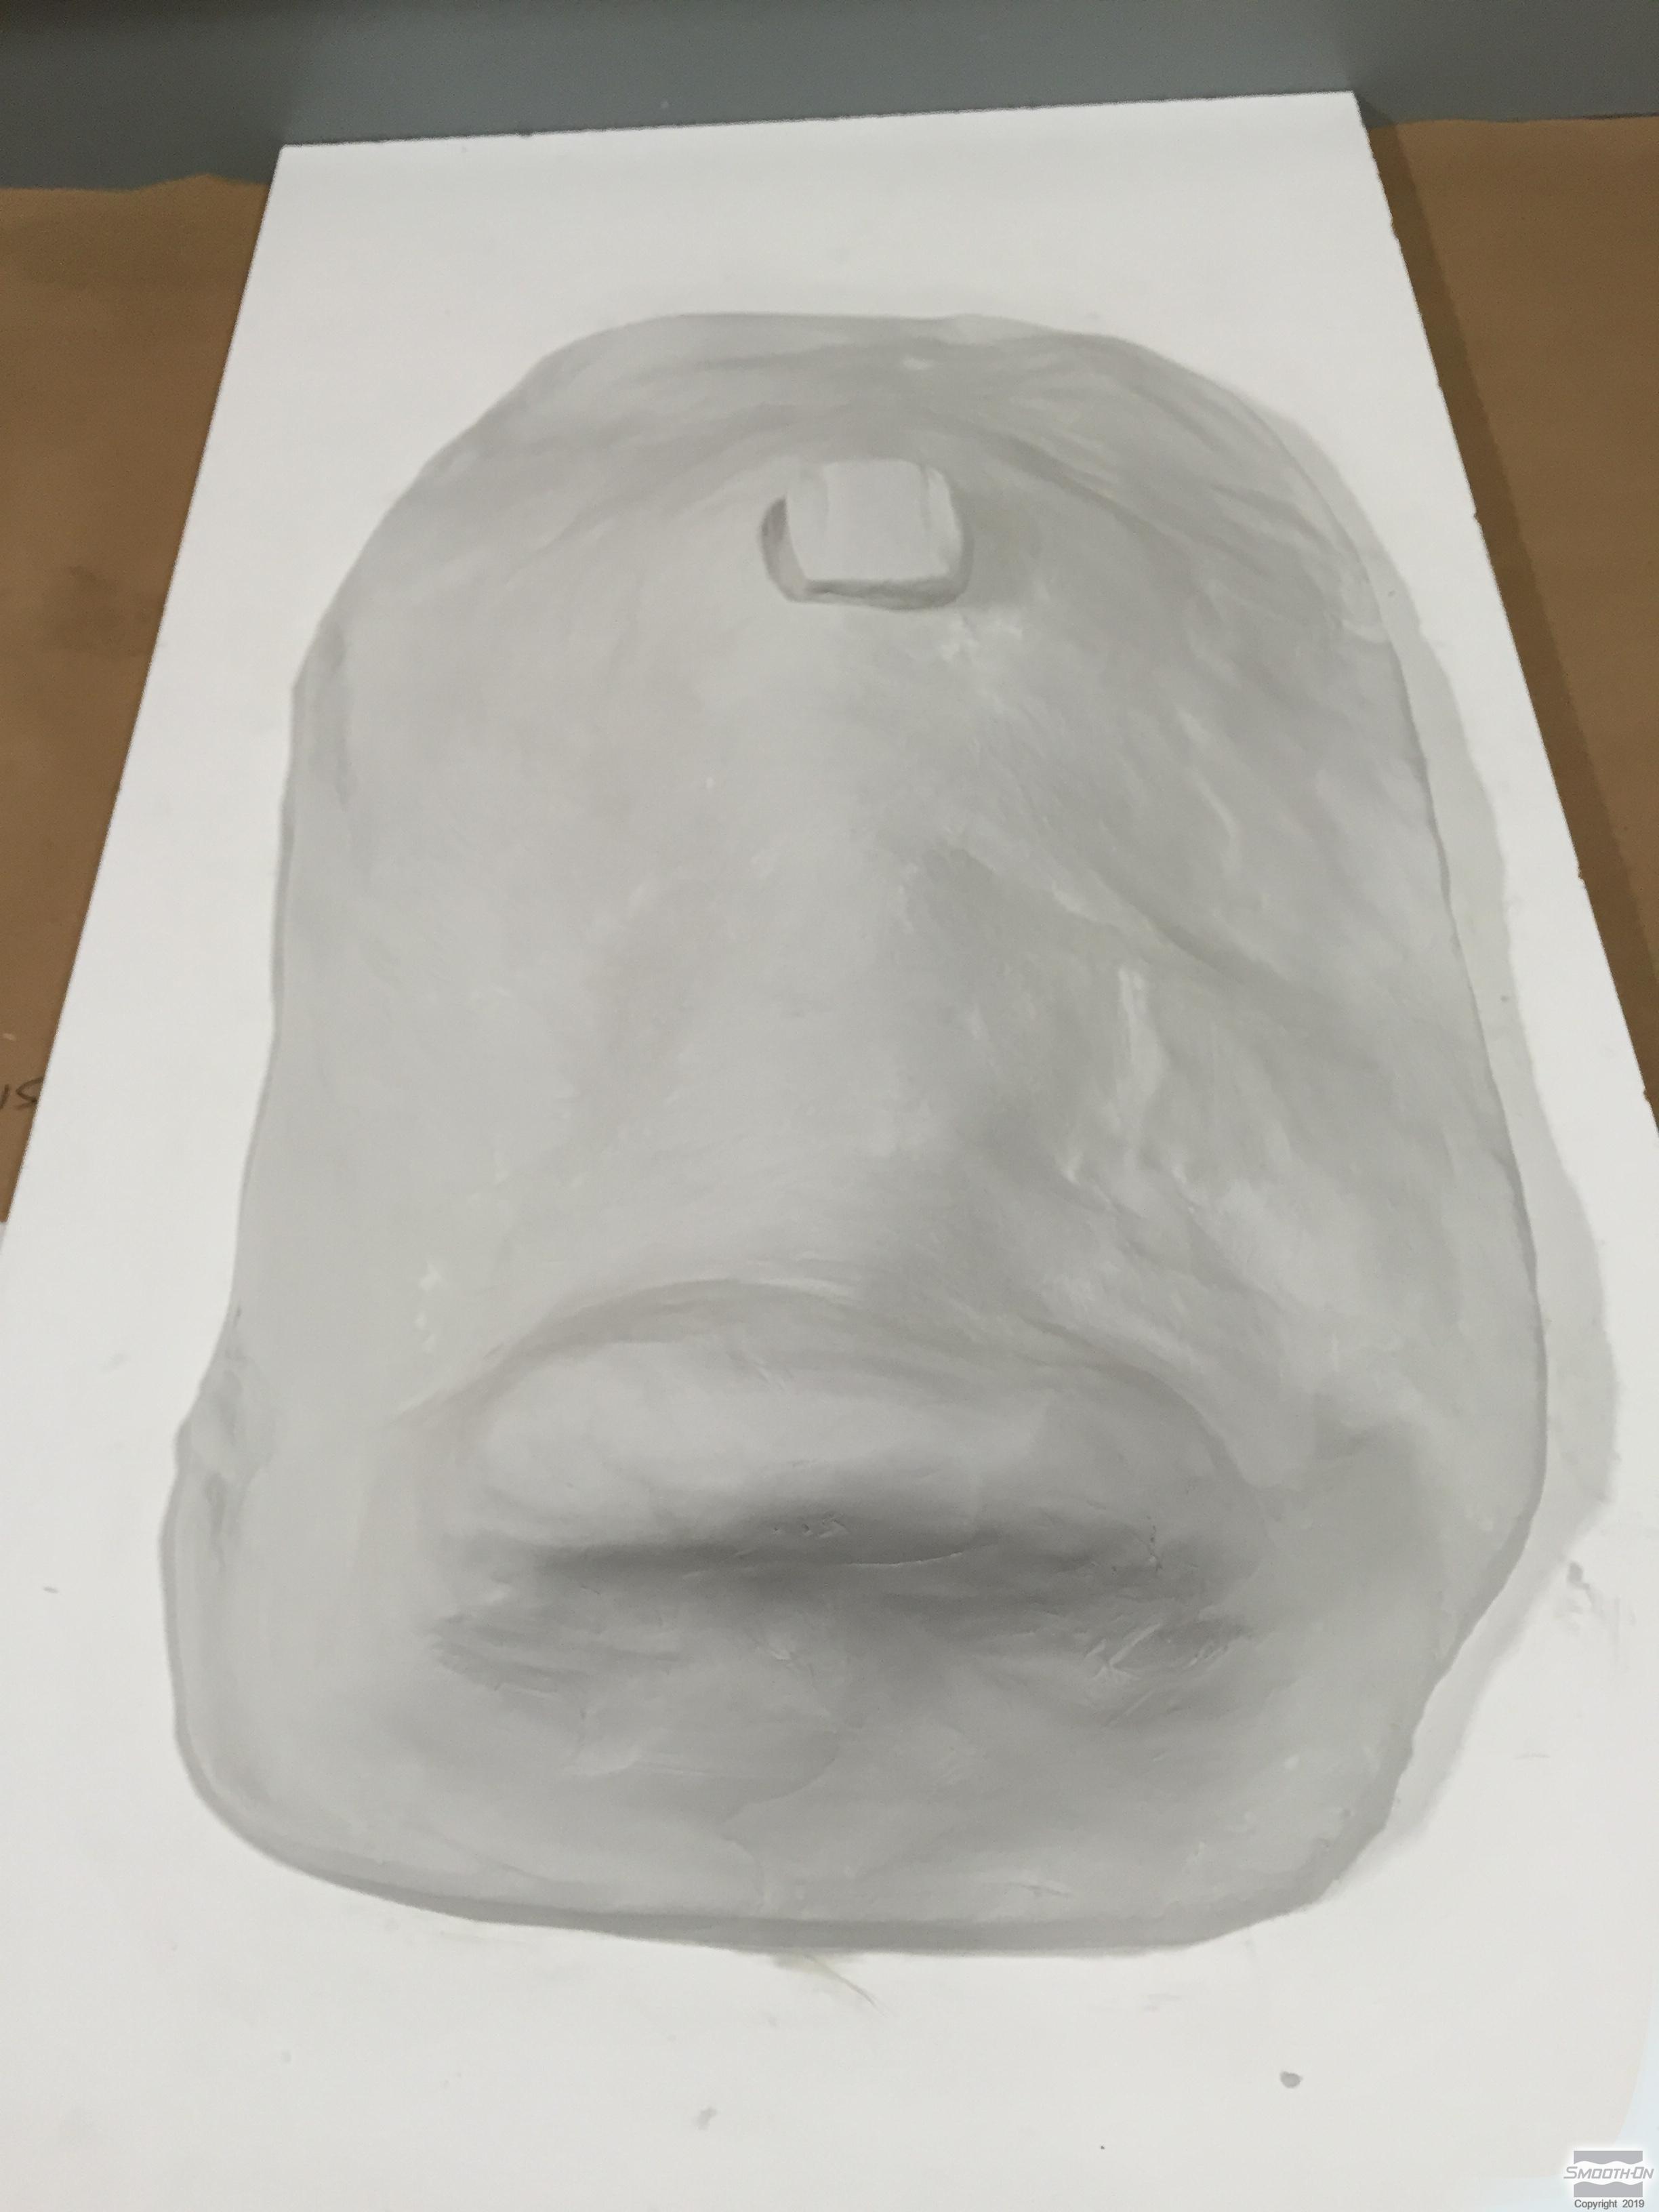


Step 6: Preparing Mold For Casting
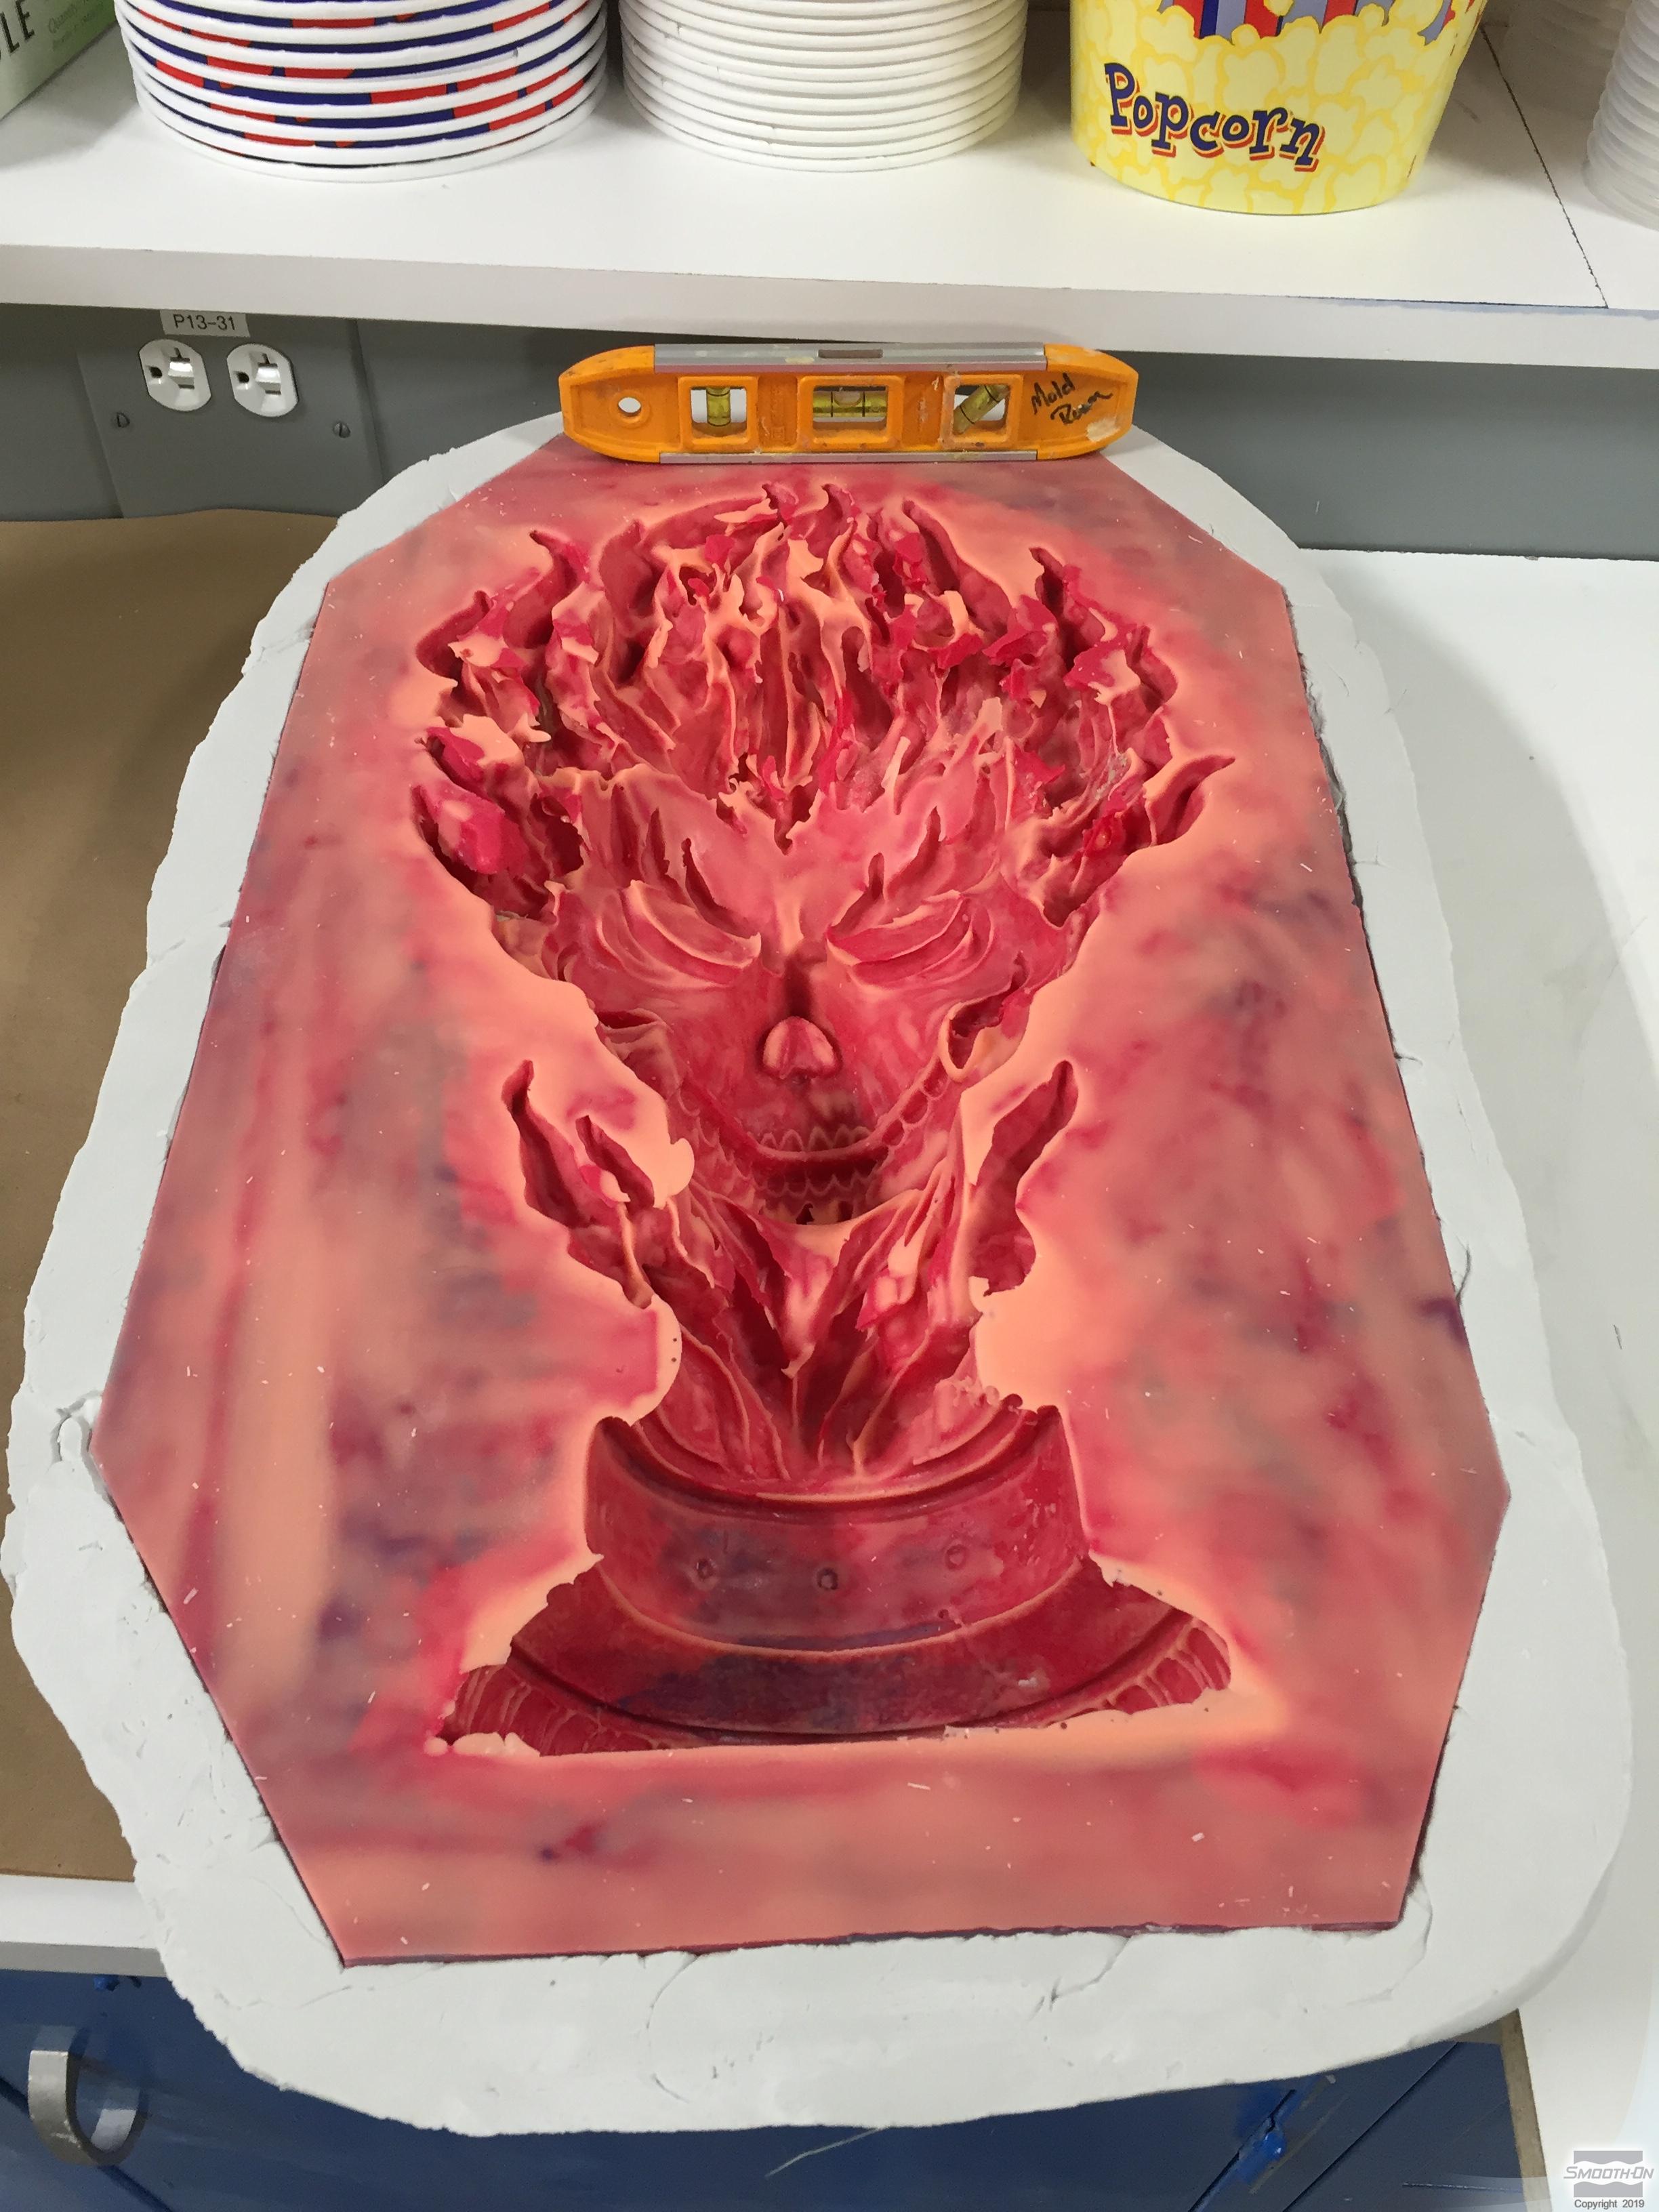
Align and secure the mold into the Free Form™ AIR support shell. The mold is now ready for casting. Place the mold upside down in a bucket for support and stability making sure the mold is level for best results.

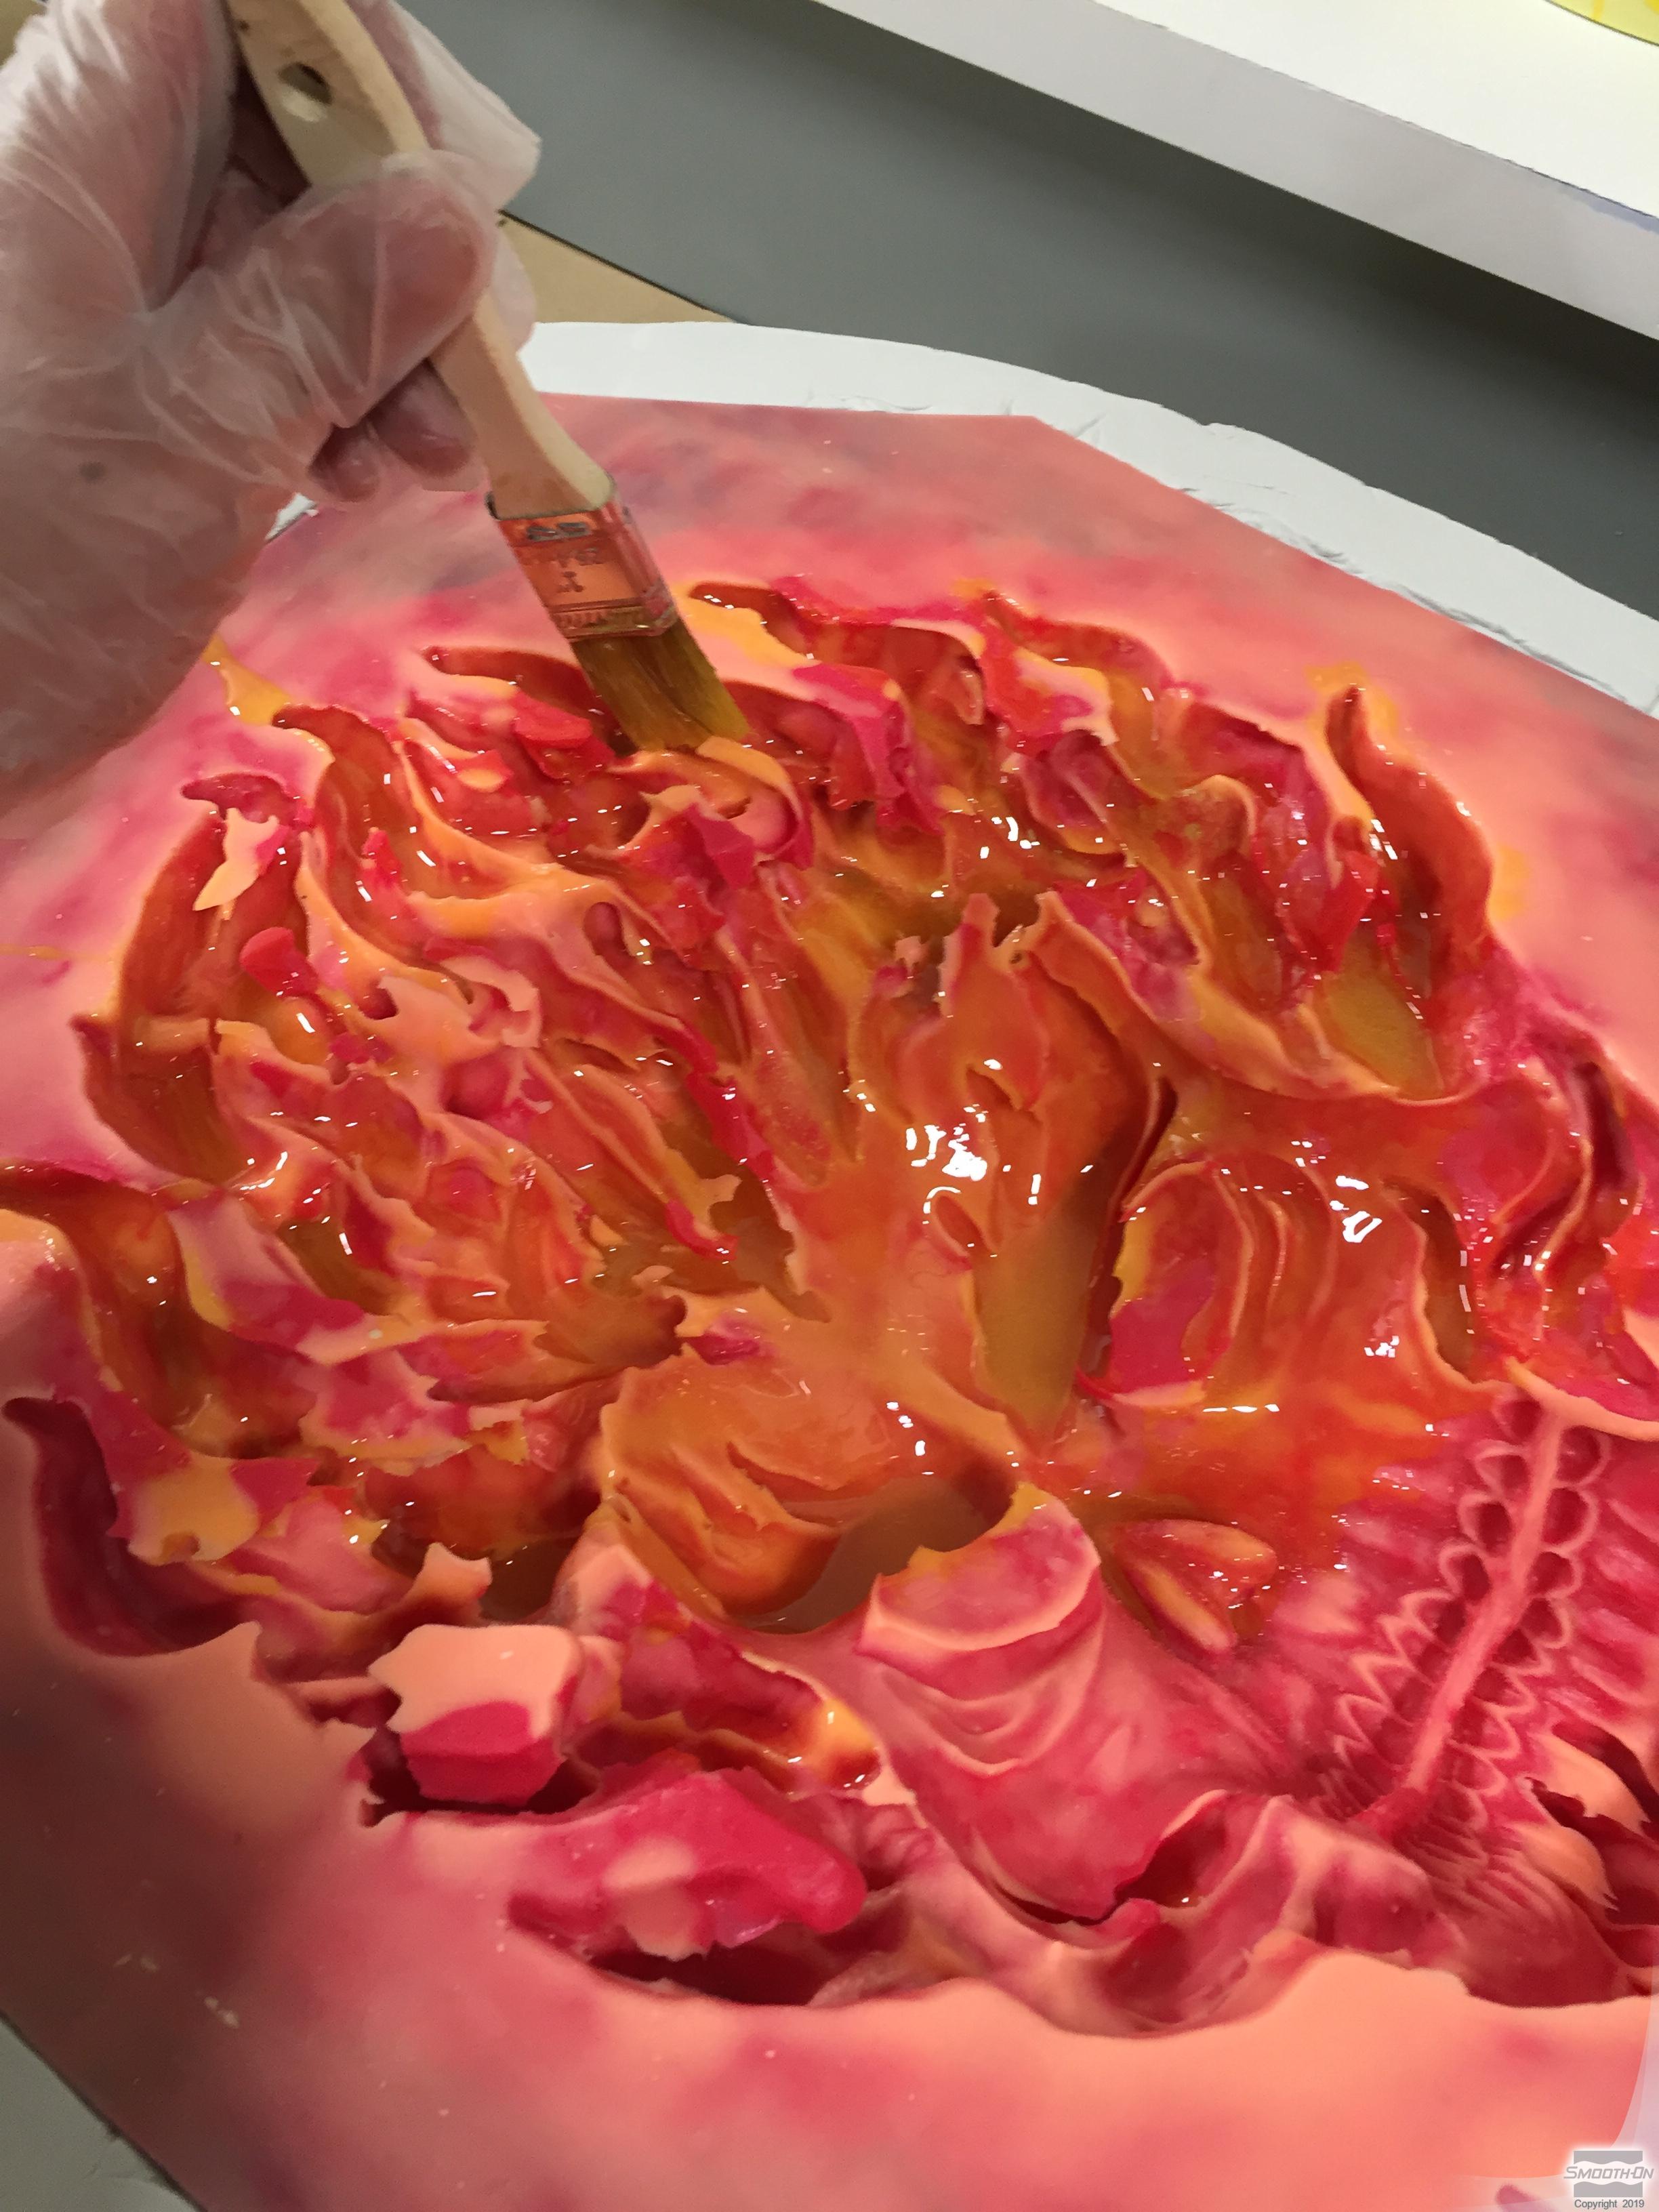
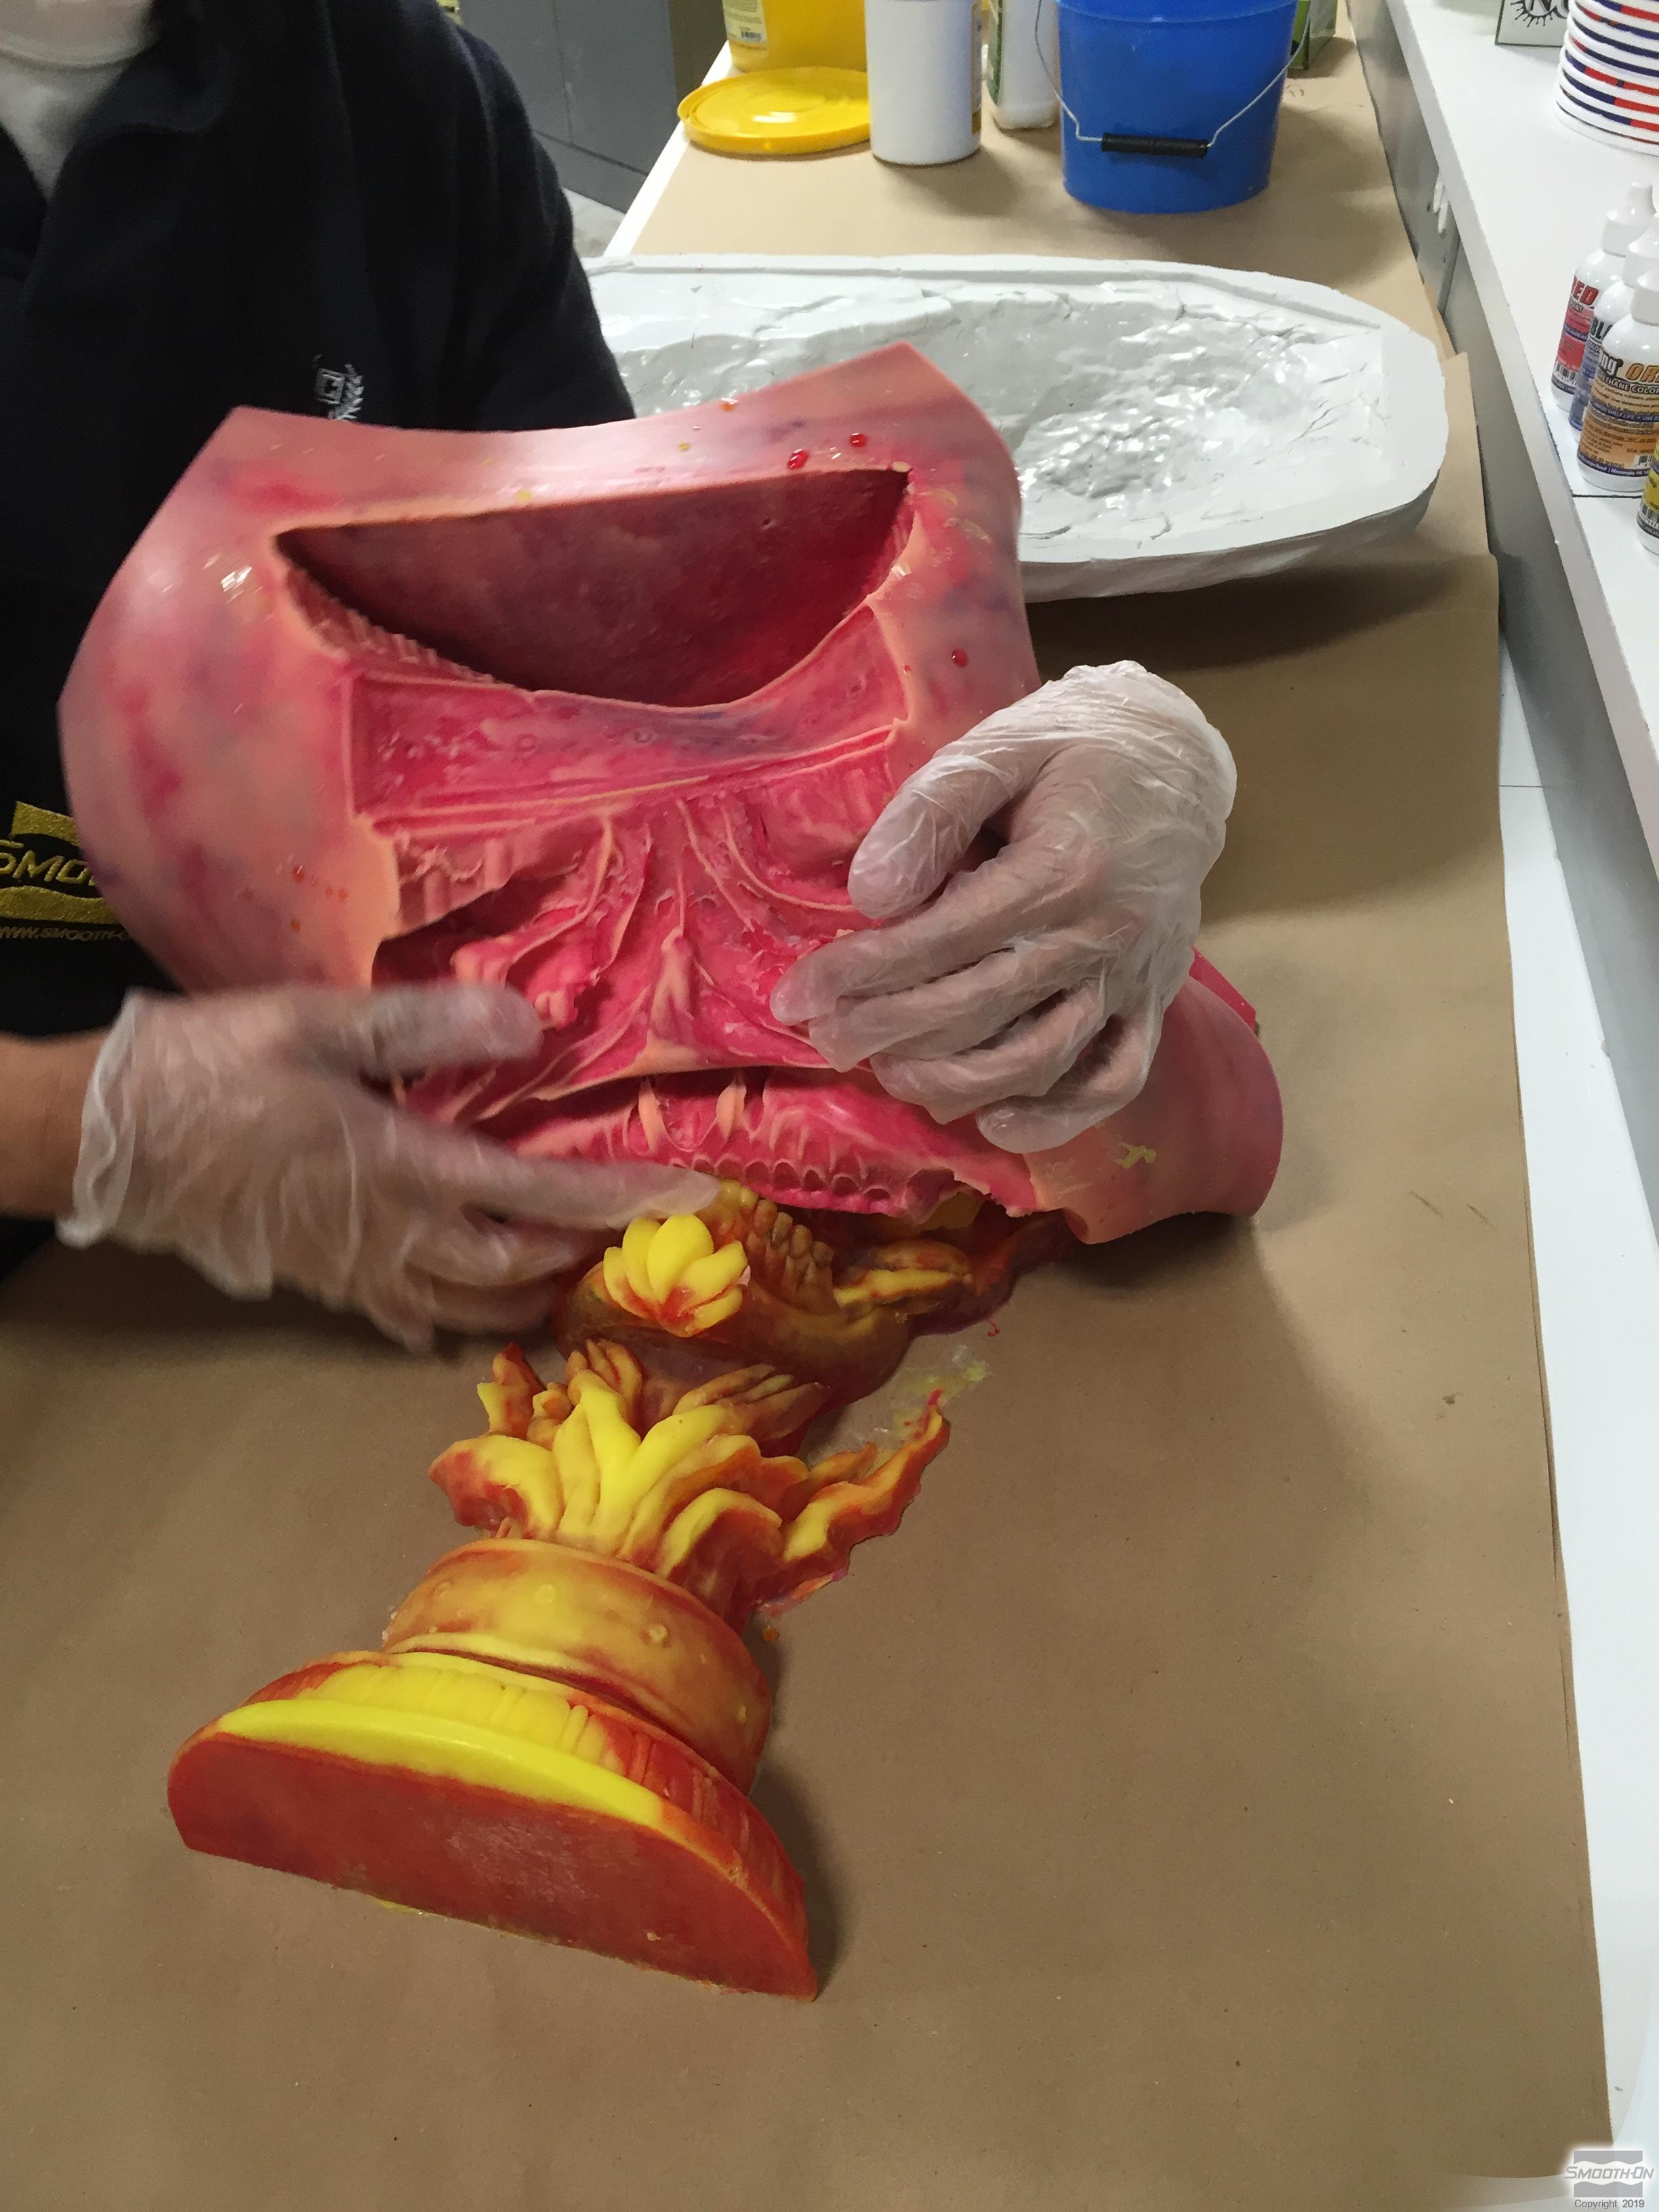
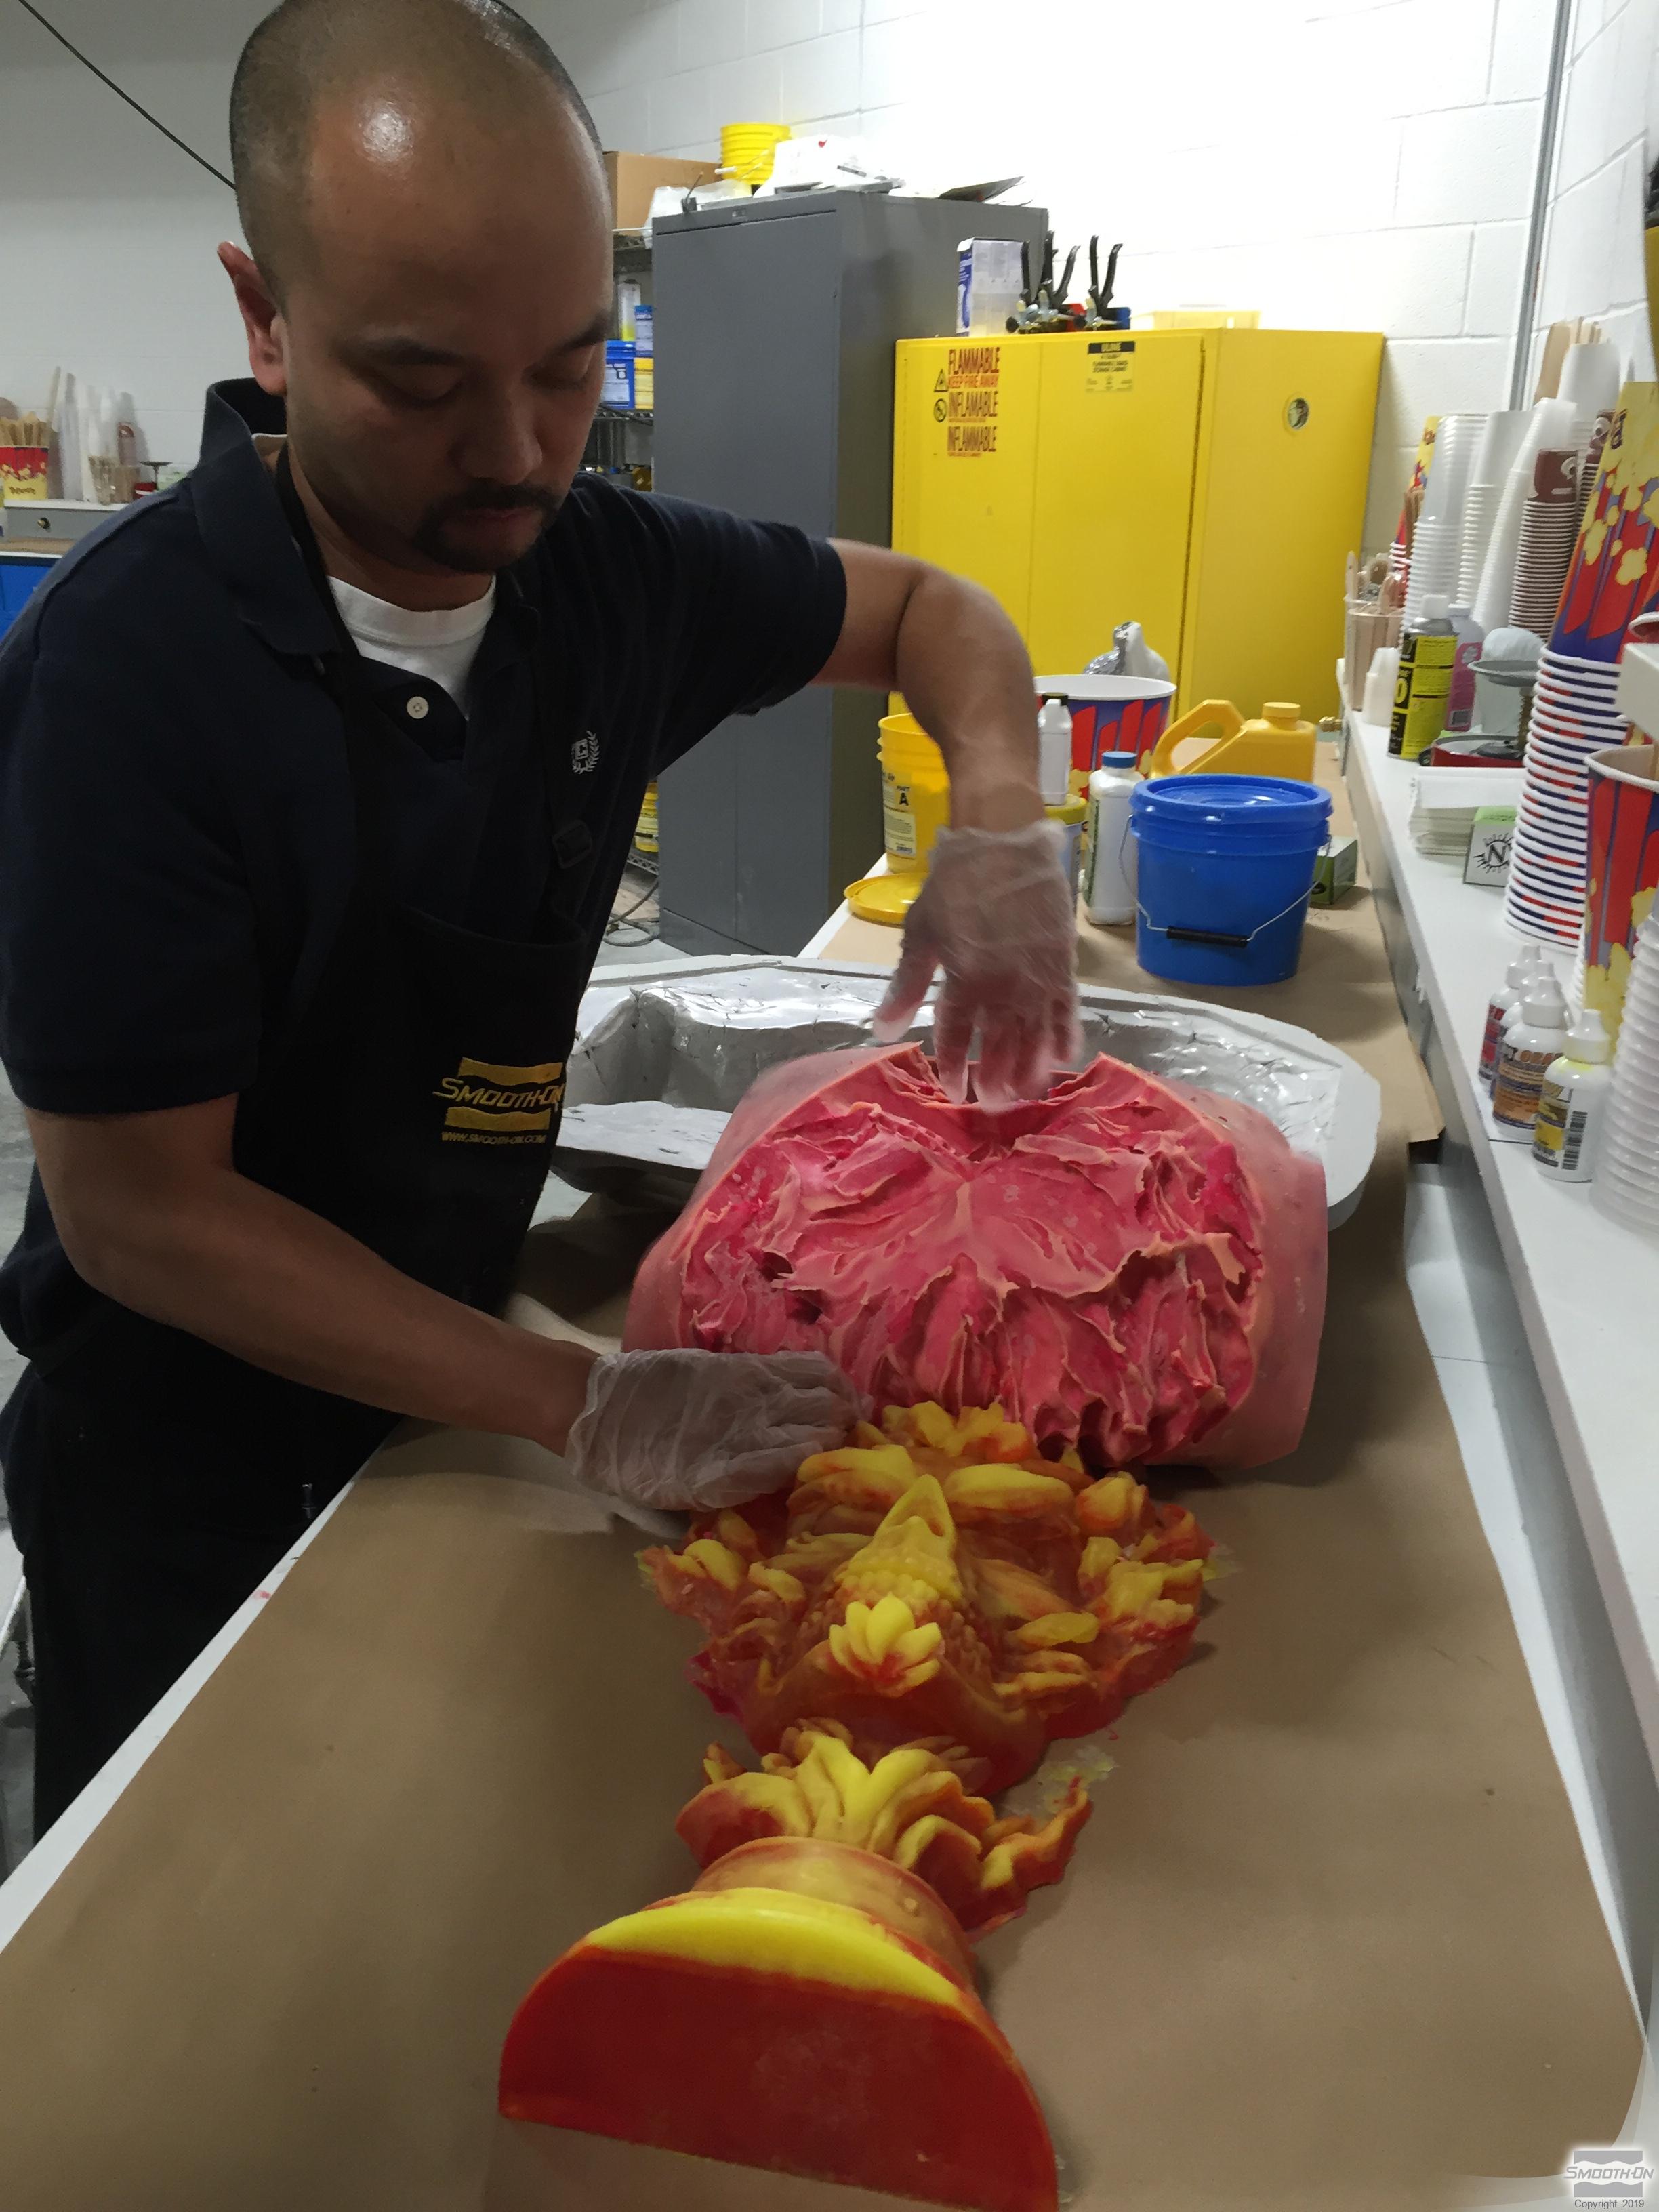
Step 7: Casting and Demolding
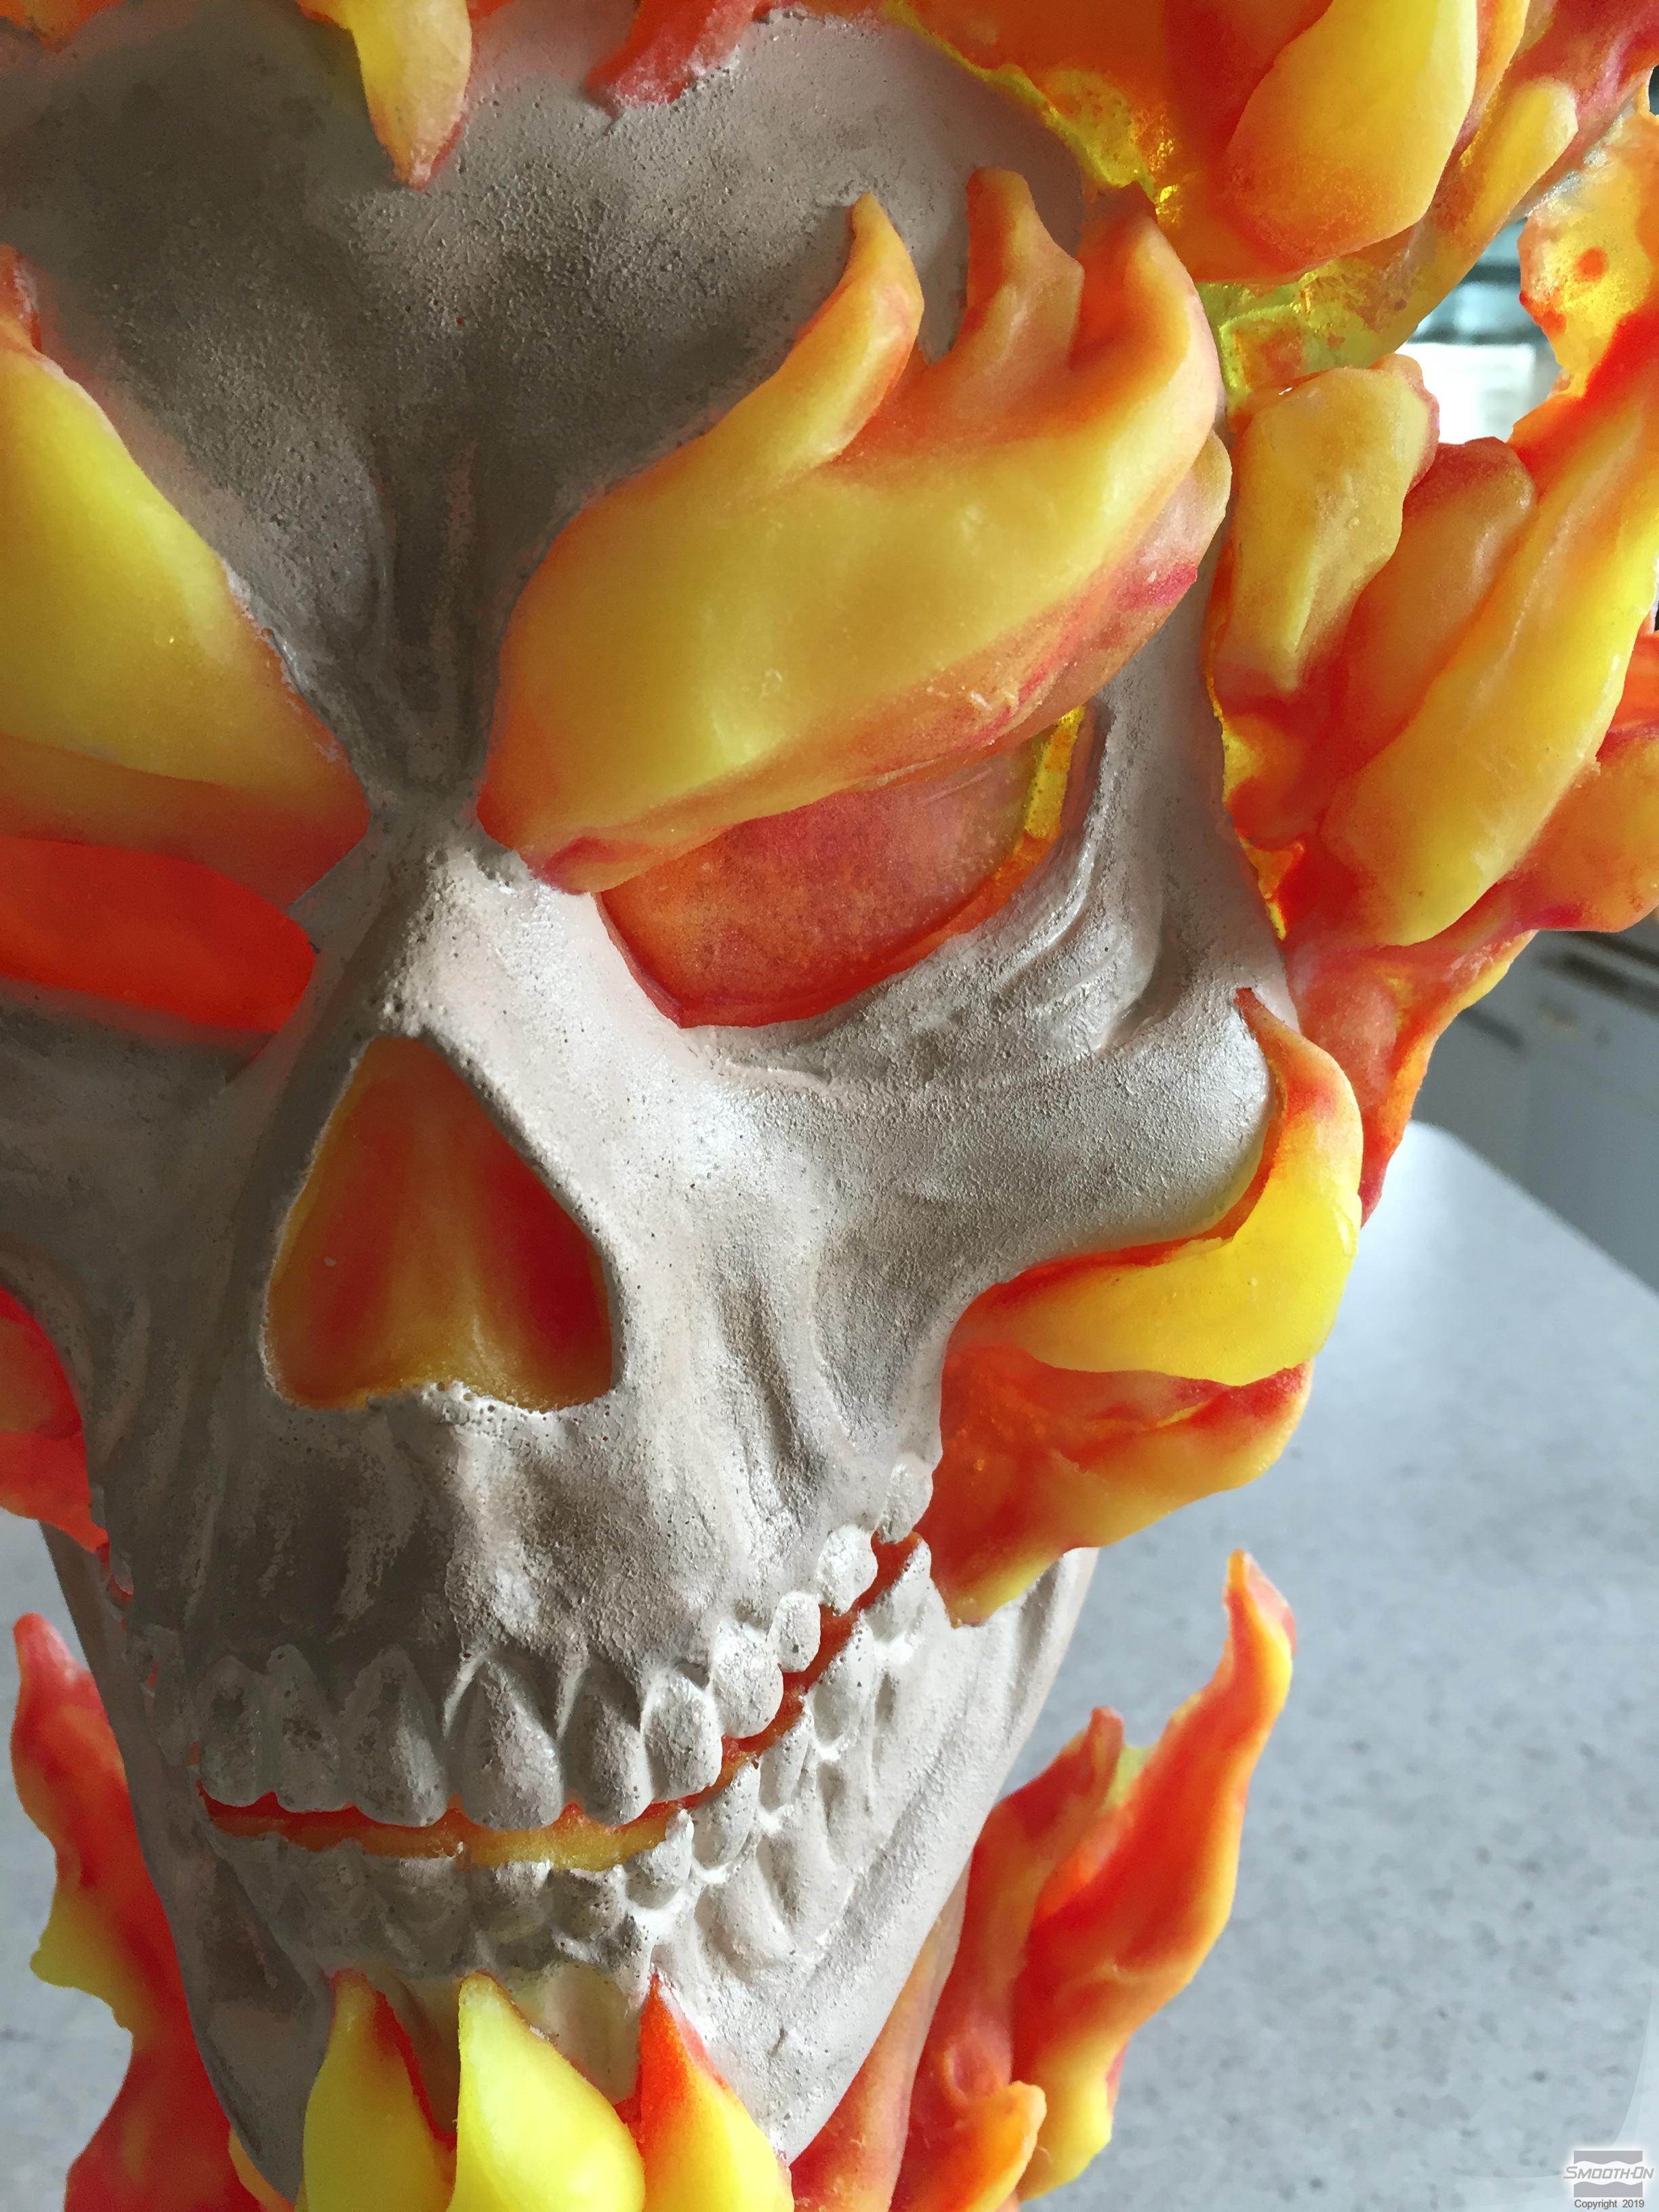
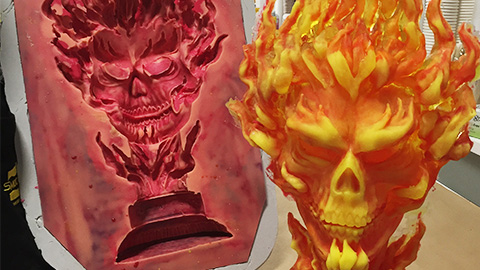
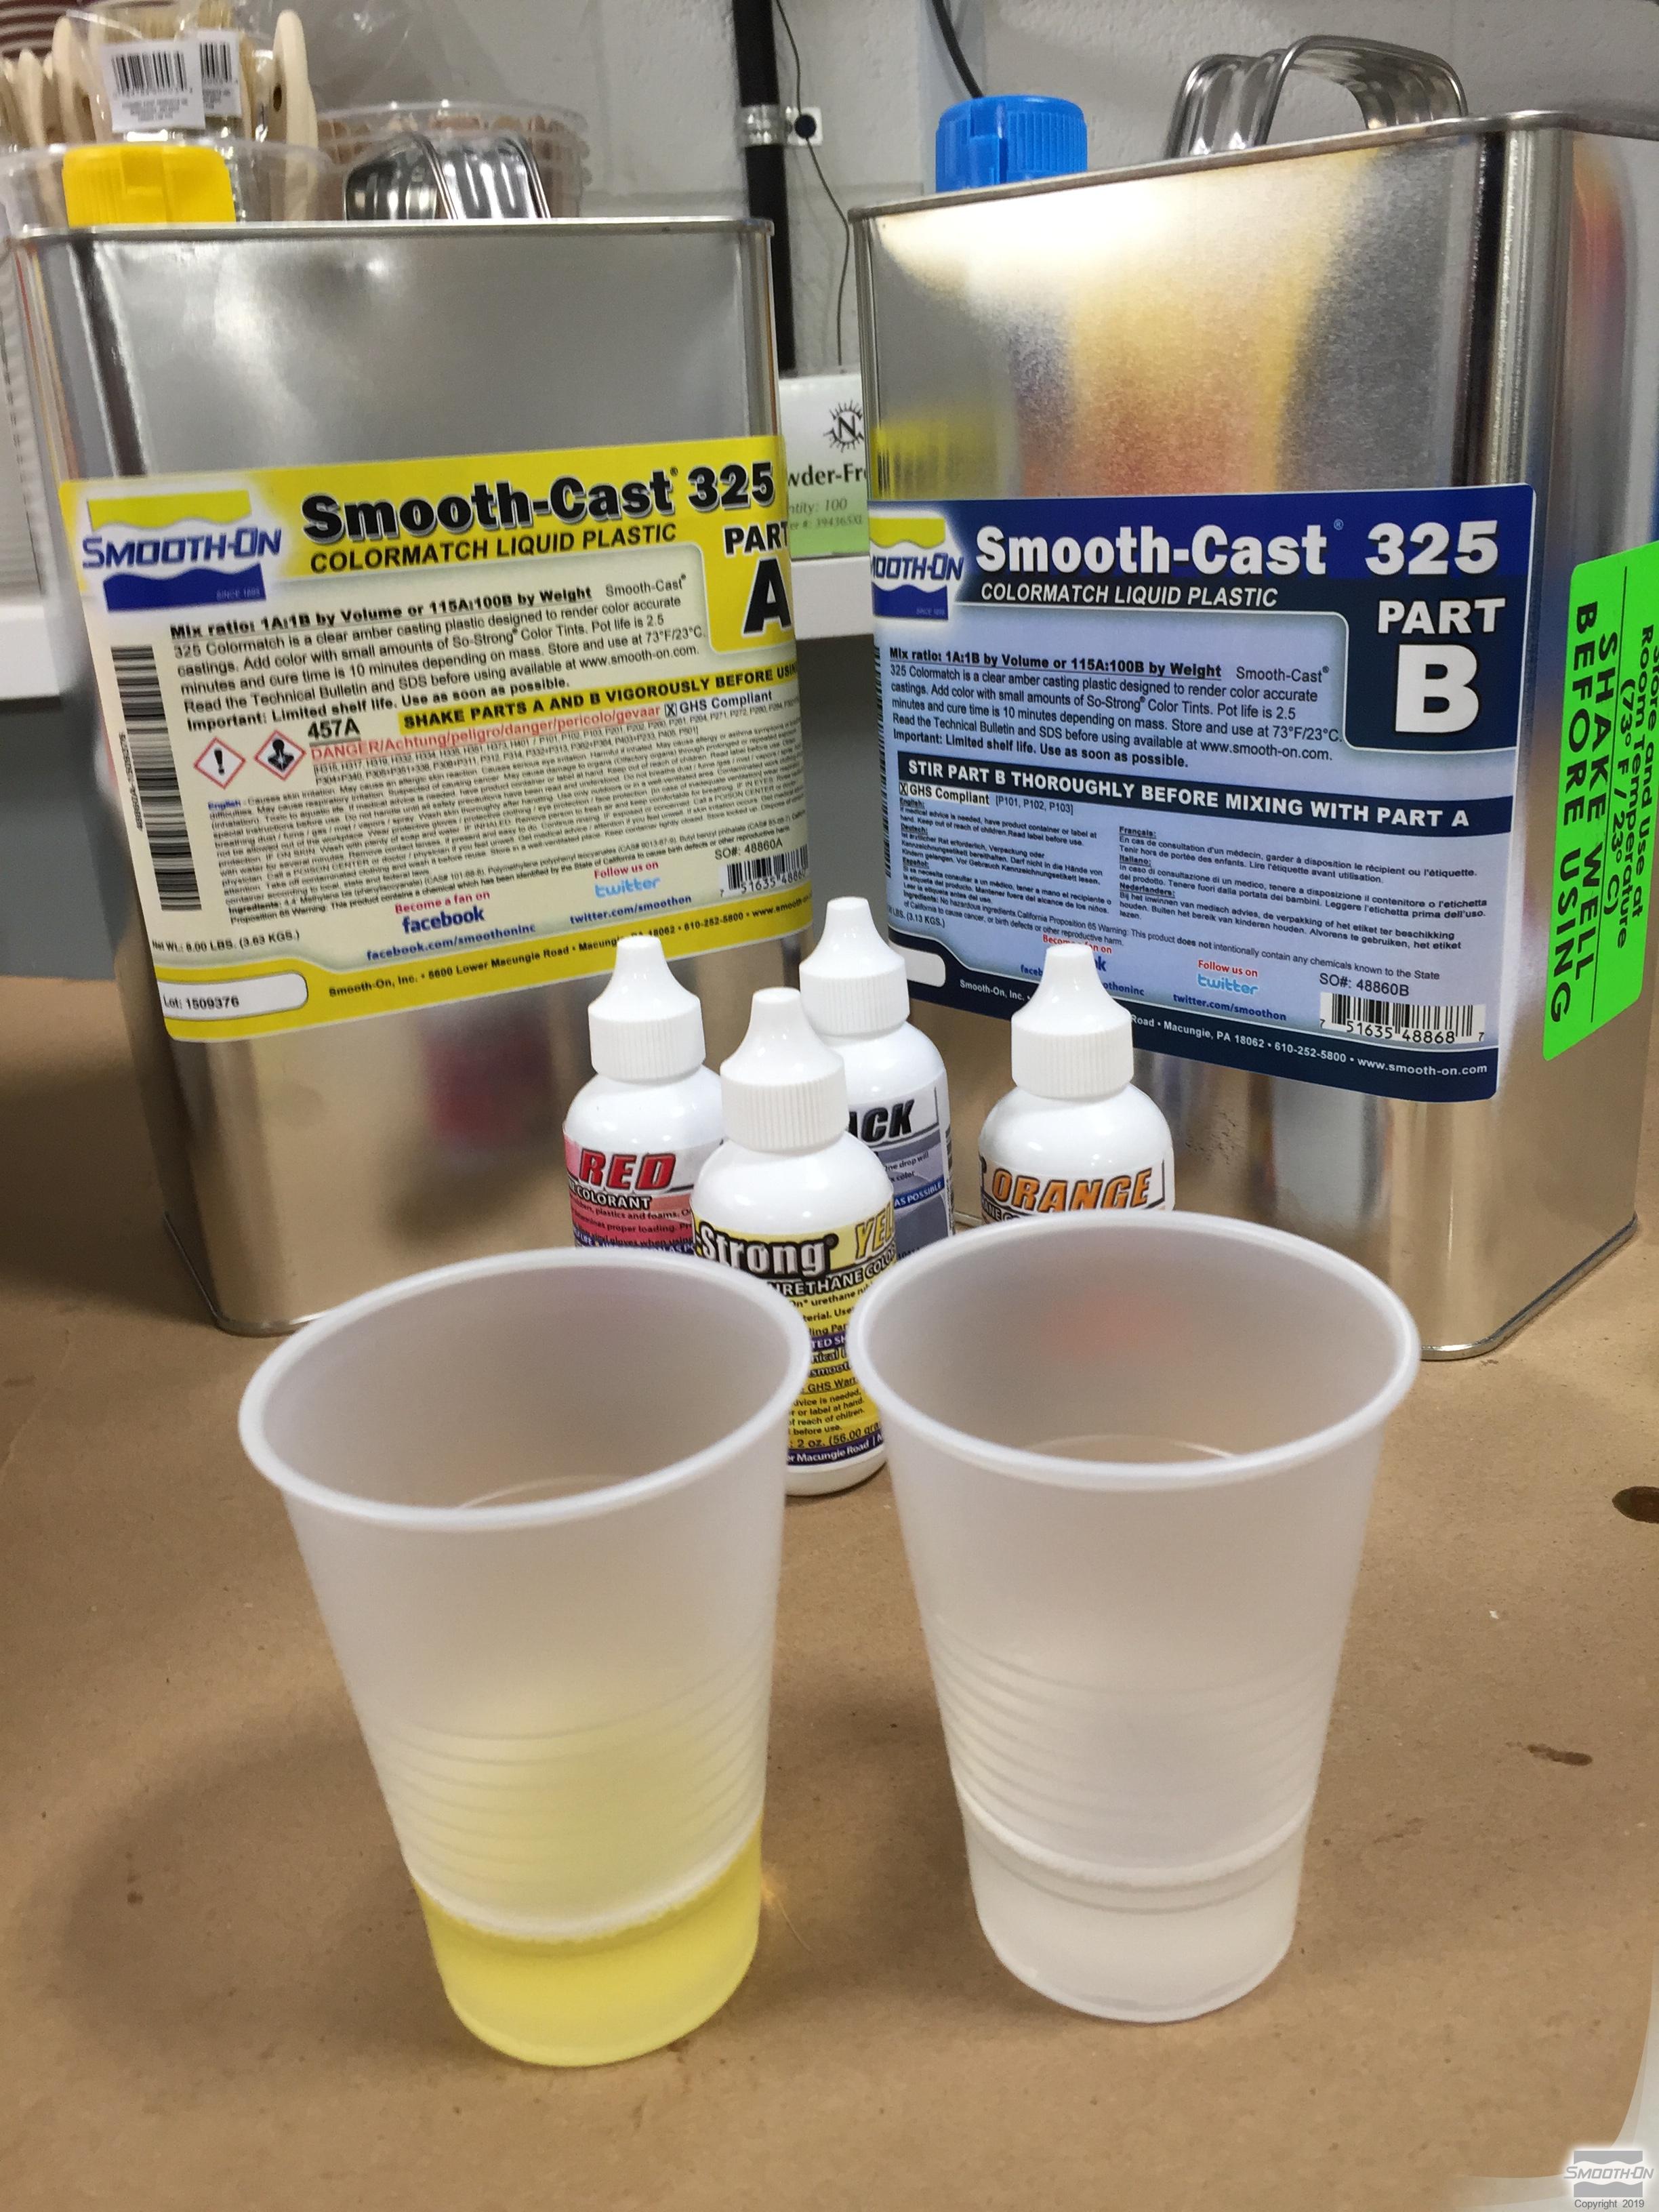
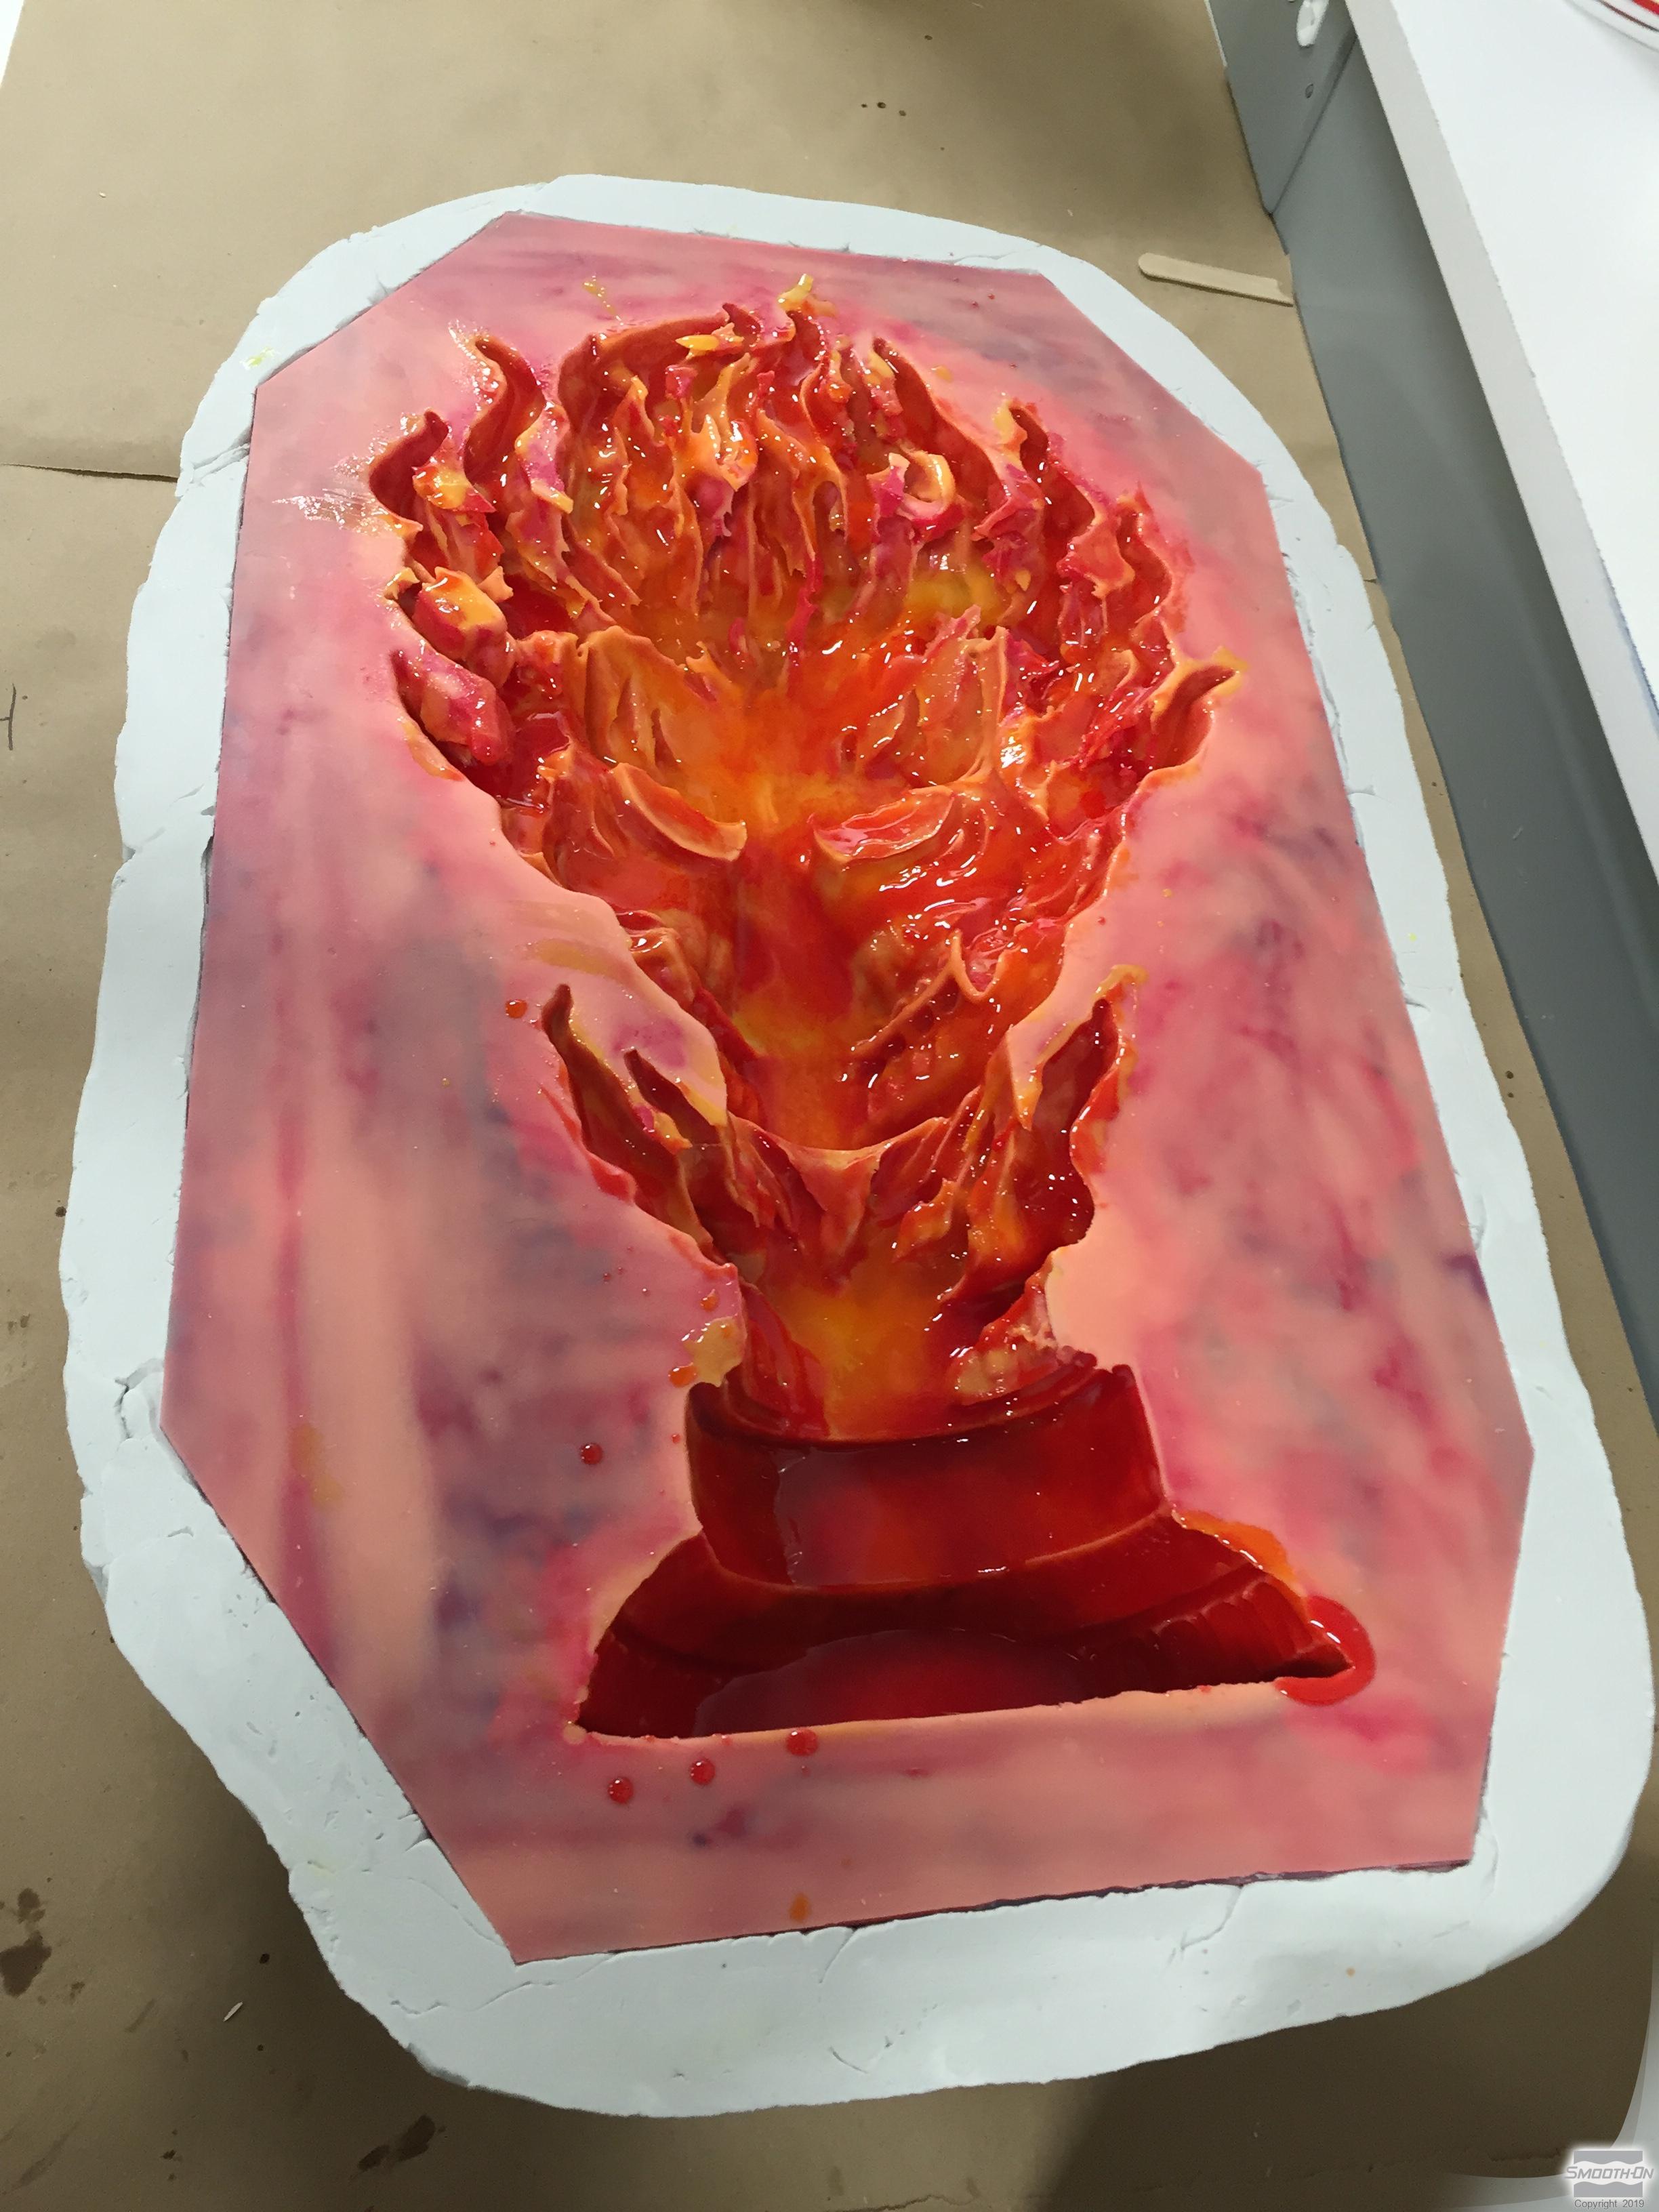
Measure equal amounts of Smooth-Cast™ 325 Part A and Part B. Pre-tint Part B using So-Strong™ Yellow. Mix Part A and Pre-tinted Part B thoroughly, make sure to scrape the sides and bottom of container several times. Apply first layer in a irregular pattern leaving space for other colors.
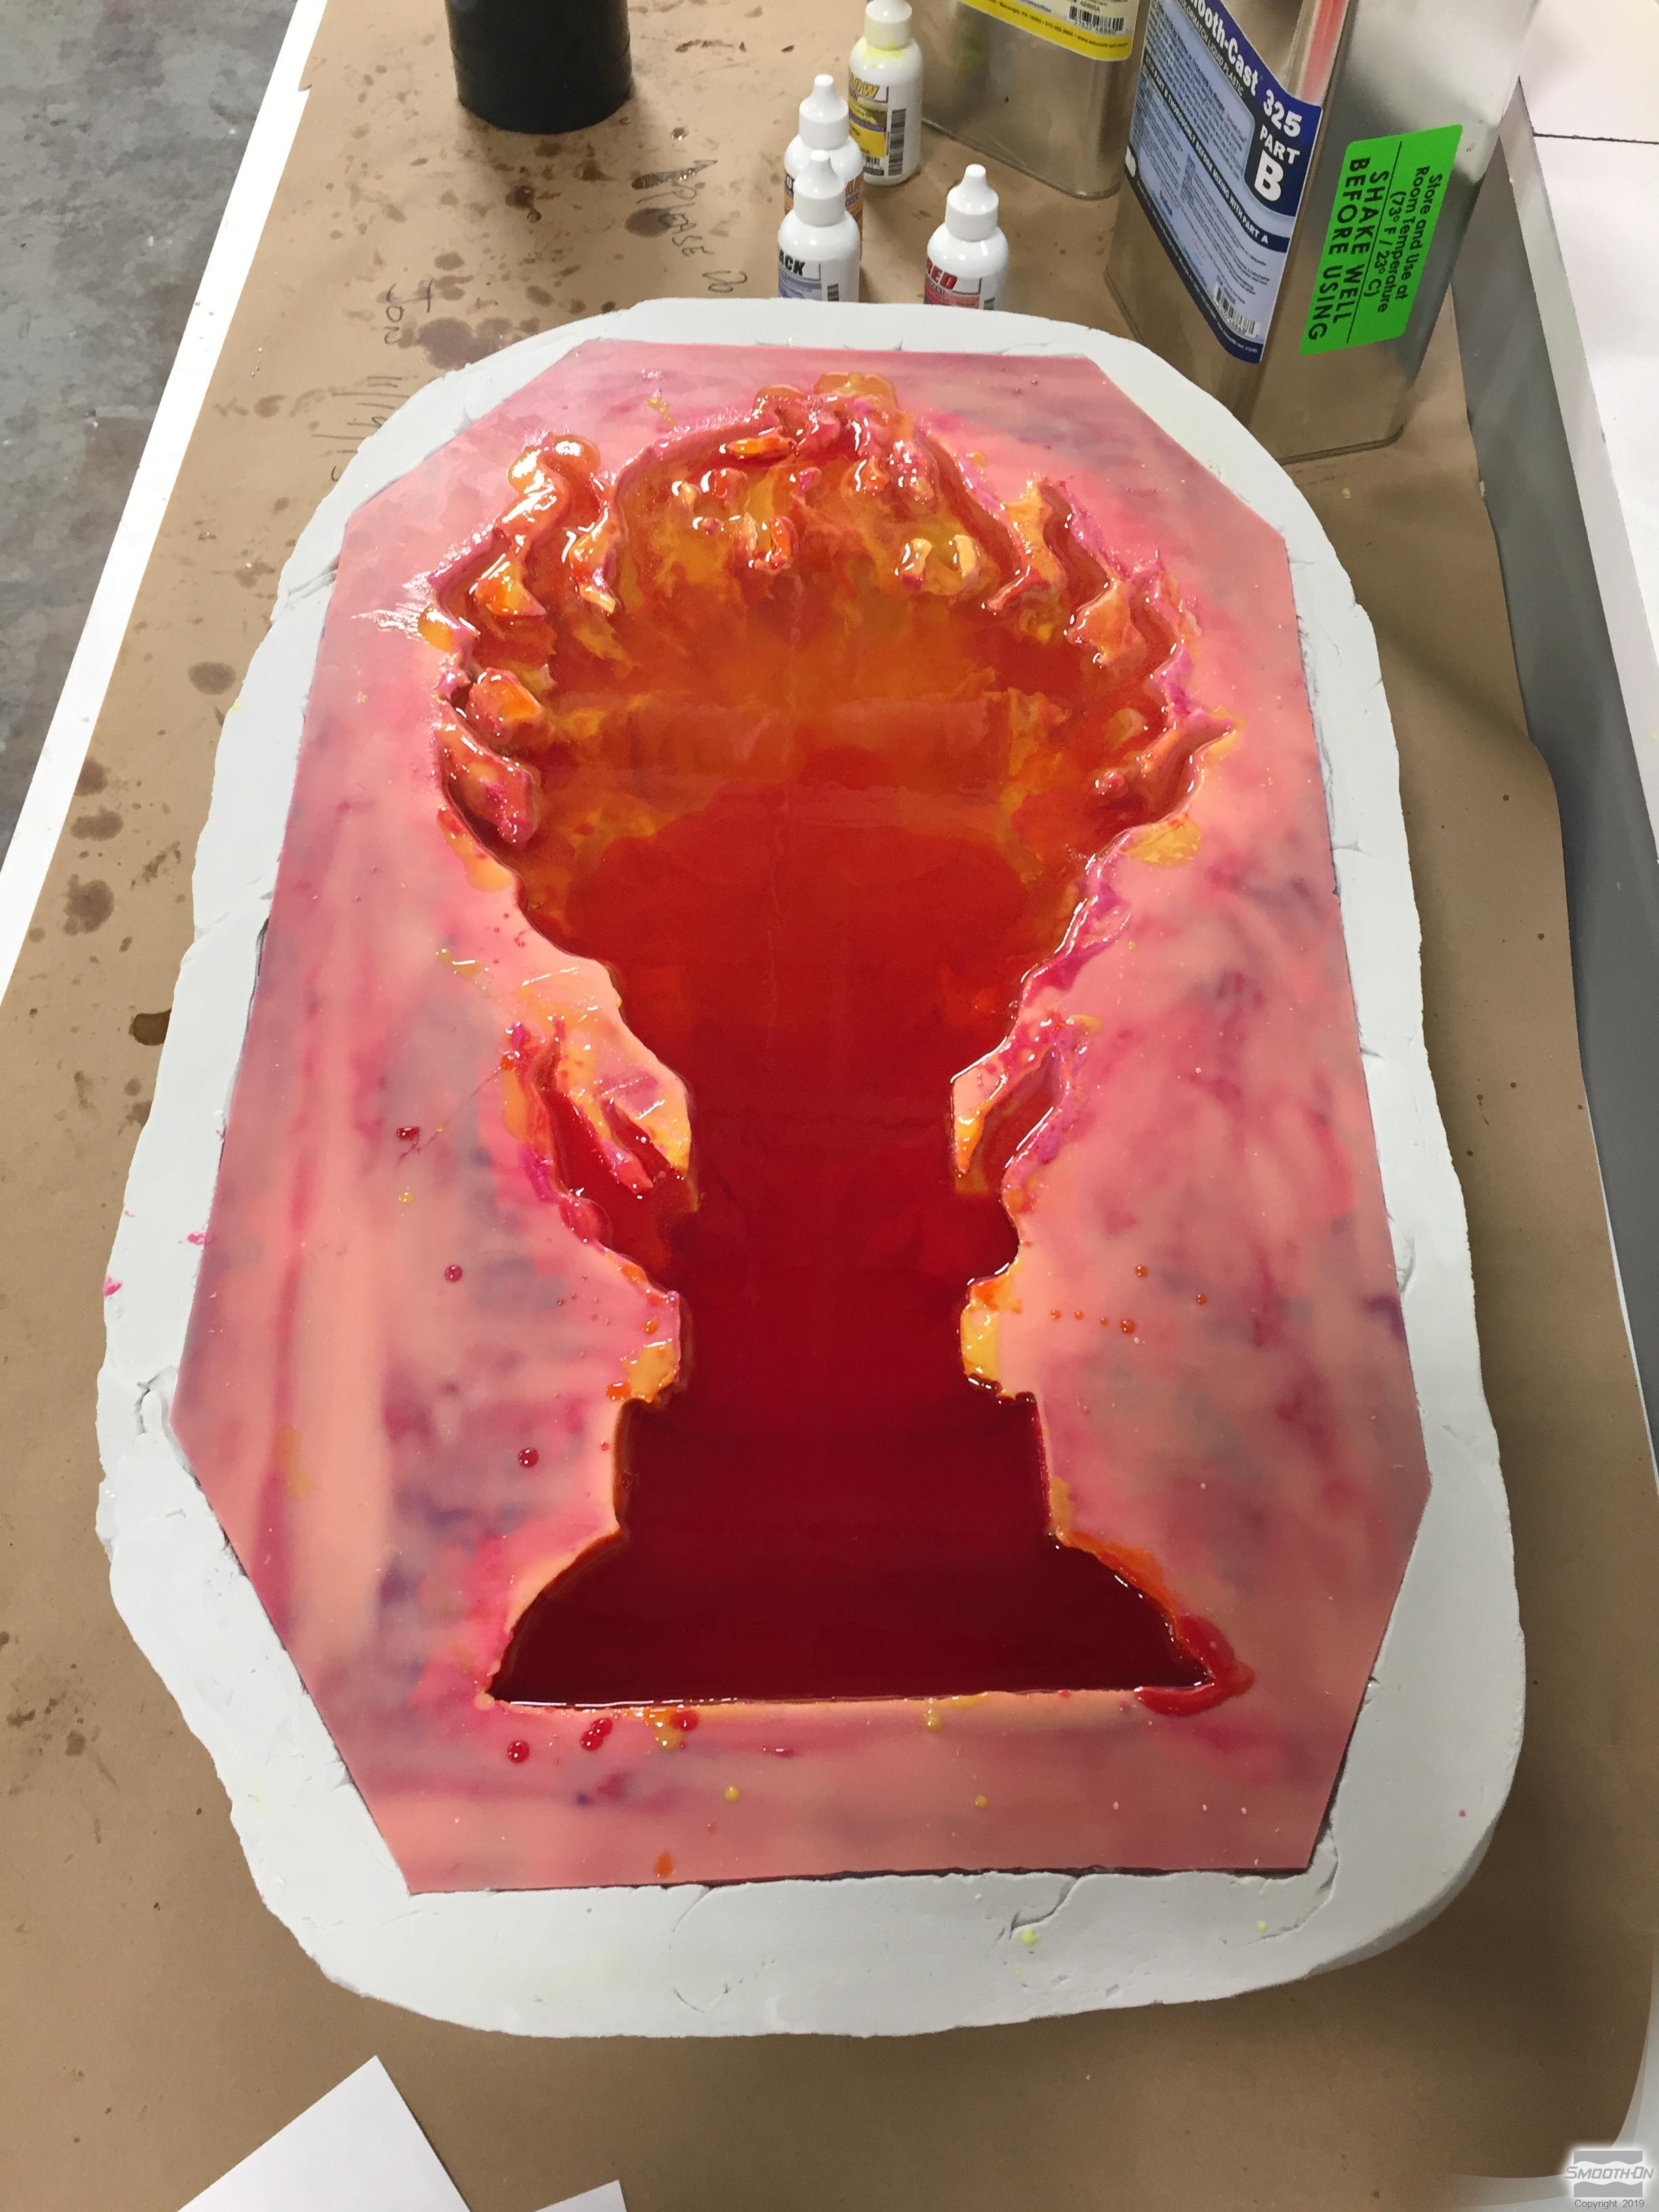
Repeat this step several times using SO-Strong™ Yellow, Red, Black, and Orange. Once detail layers are brushed in and cured, fill the rest of the mold using Smooth-Cast™ 325 slightly tinted with SO-Strong™ Red.
PLEASE NOTE - You can change your colors and results may vary.
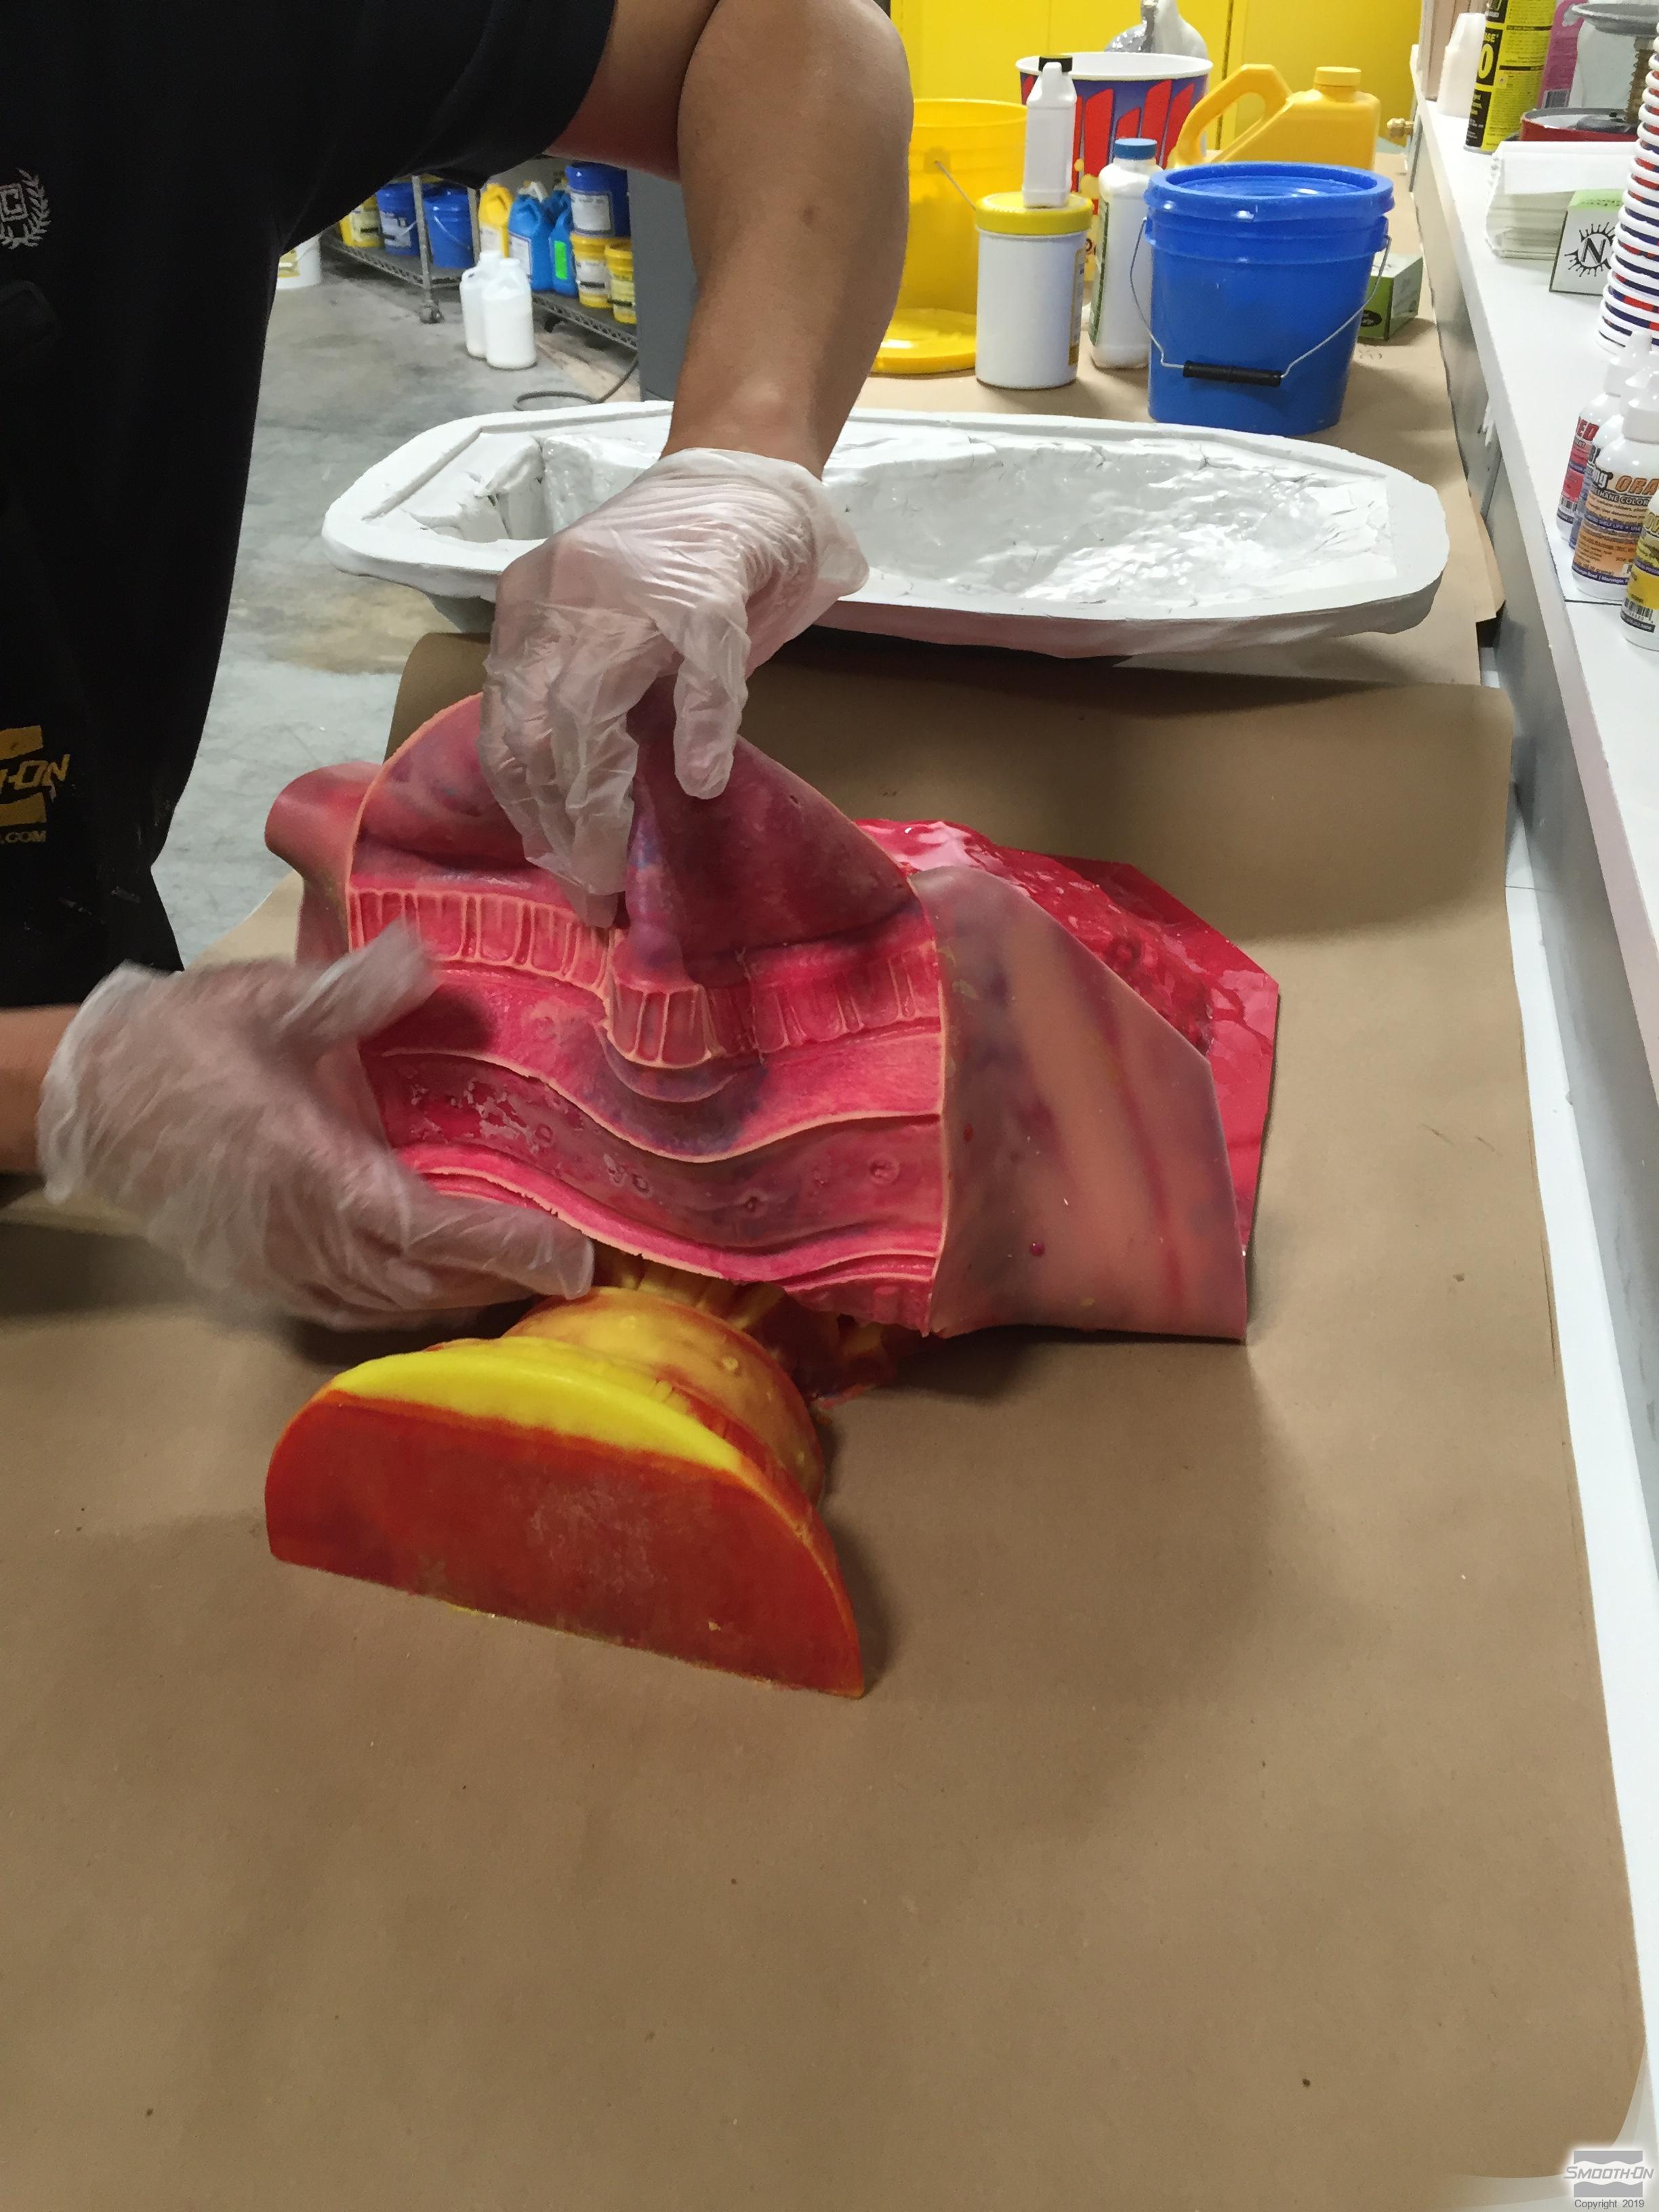
Allow Smooth-Cast™ 325 urethane resin to cure fully before demolding. Remove Free Form™ AIR support shell and slowly demold casting.

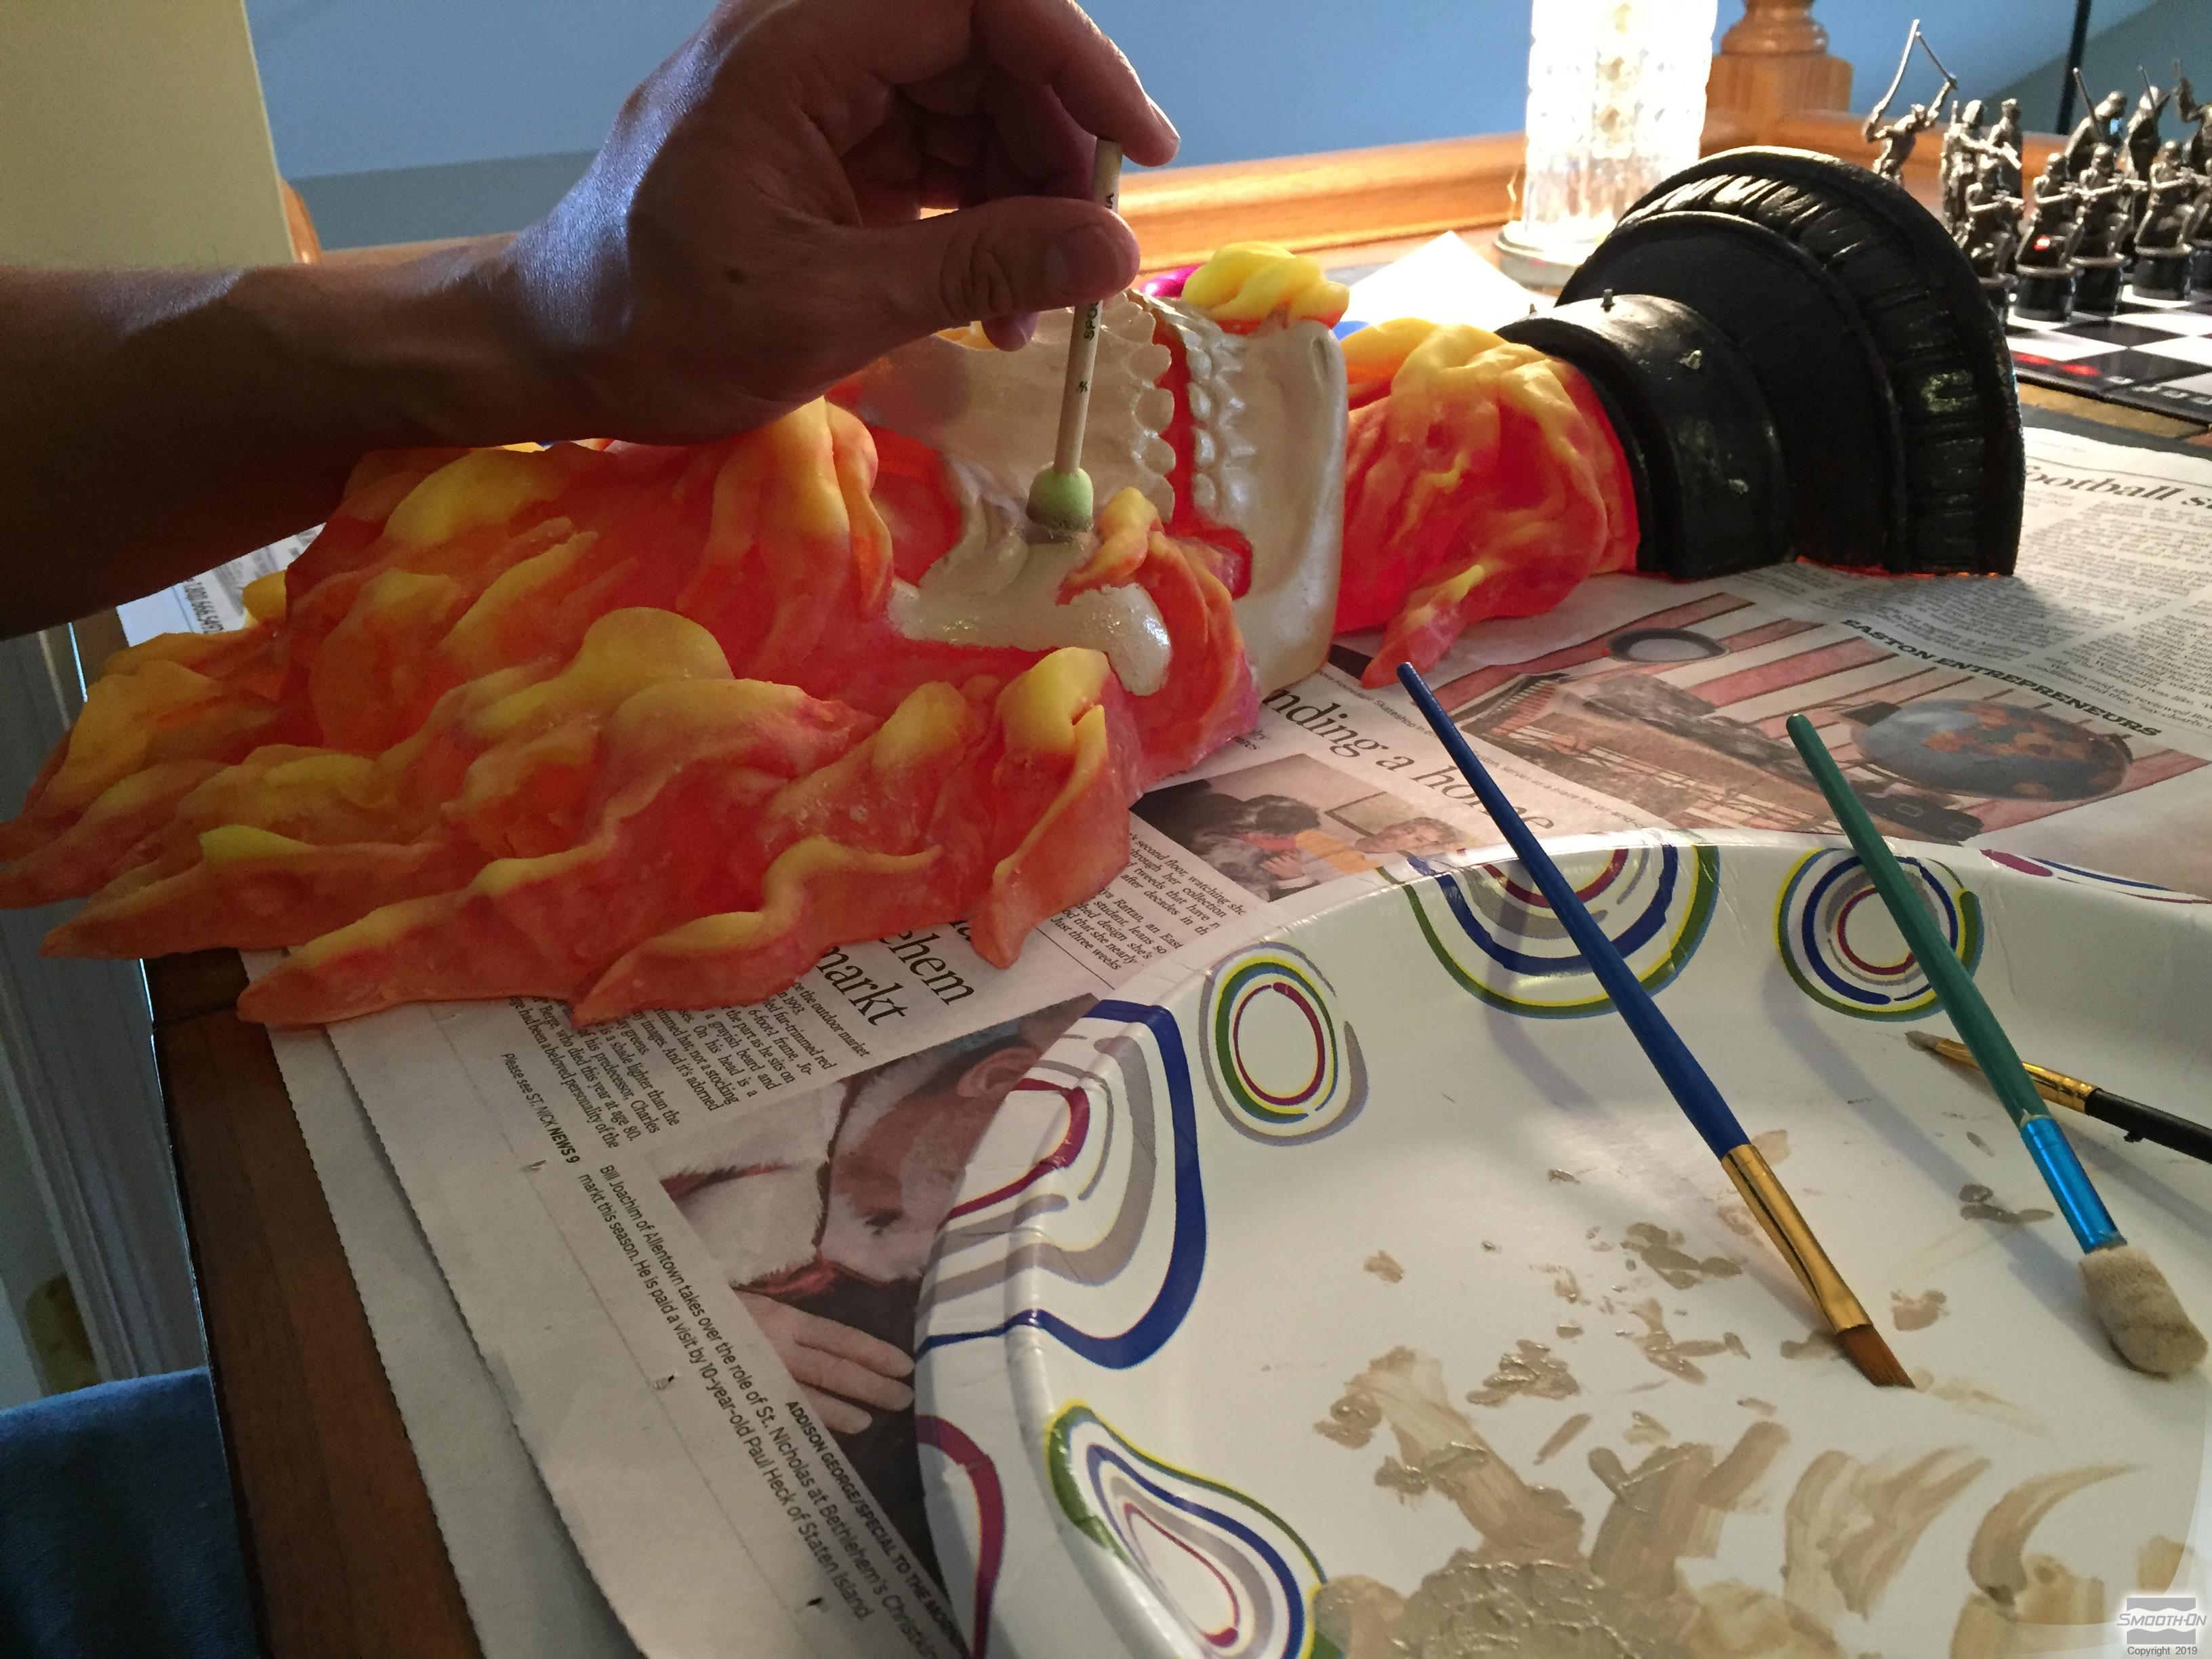
Step 8: Finishing
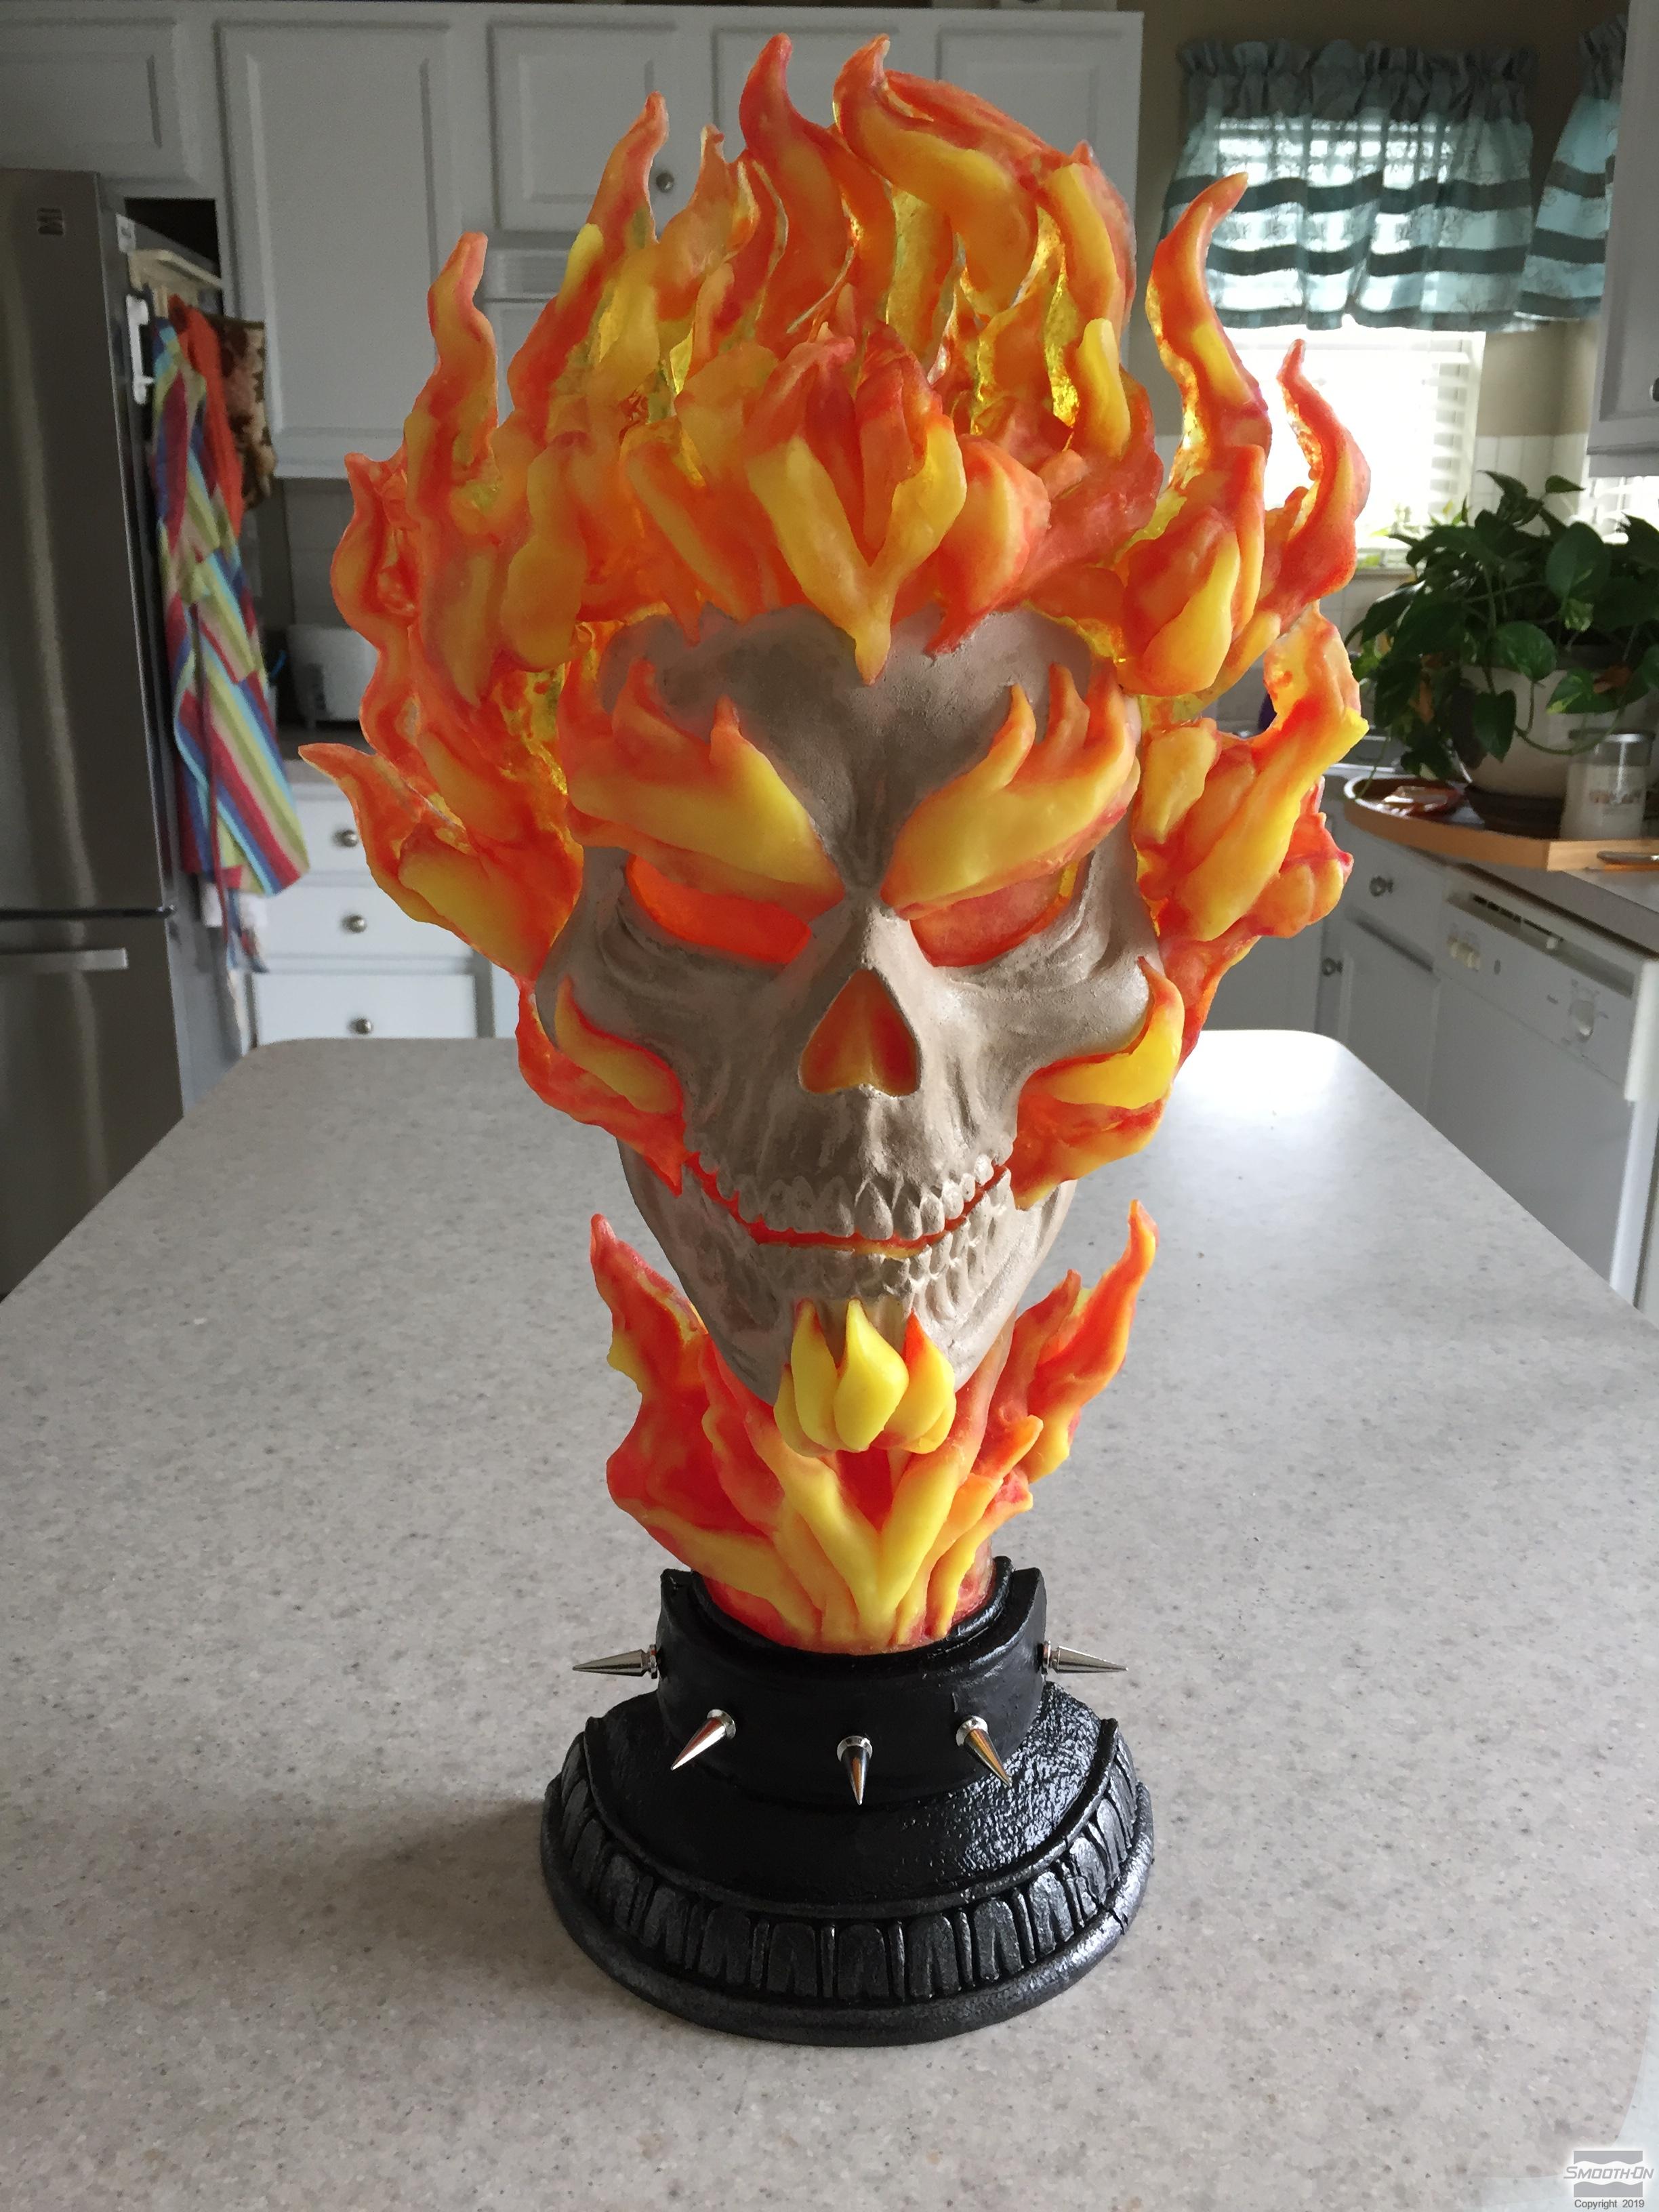
Optional - Apply Black acrylic paint to the base of your casting, using the "Dry Brush" technique. Let the black acrylic paint dry, and recoat until you achieve a uniform black coating. In the meantime, apply Off-White acrylic paint to the face of the casting, using the "Dry Brush" technquie. Let the off-white acrylic paint dry, and recoat until you achieve a uniform coating.
Dry brushing is a painting technique in which a paint brush that is relatively dry, but still holds paint, is used.
After the painting is completed, apply a few layers of a clear acrylic coating (Matte or Gloss). This will protect the paint from chipping off of your model. Next, apply decorative spikes or other pieces to model of your base via Super Instant™ epoxy adhesive. Super Instant™ is a two component, clear amber adhesive designed to provide rapid bonding. When mixed 1:1 - curing takes place quickly enough to permit handling in 5 to 10 minutes at room temperature.
Finished piece is backlit using an LED light.