How To Use a Glue Shim on a Challenging Model
Step 2: Applying Clay For Glue Shim
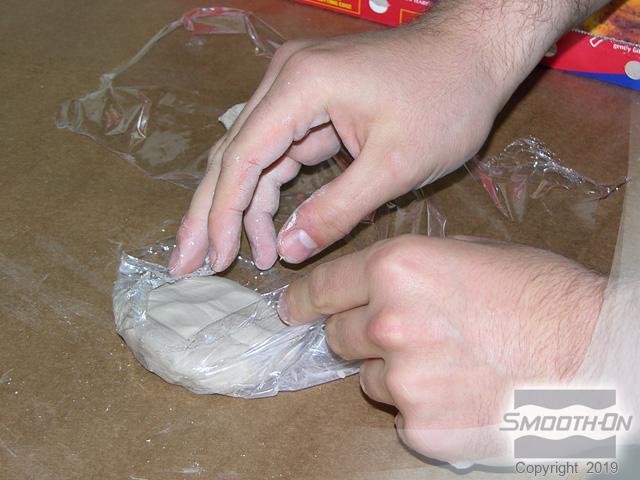
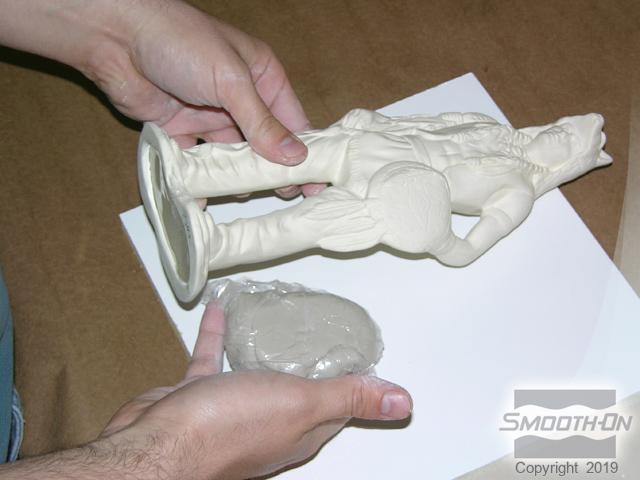
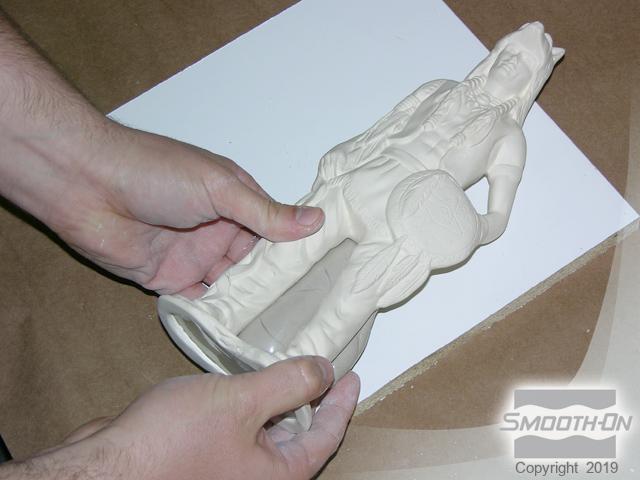
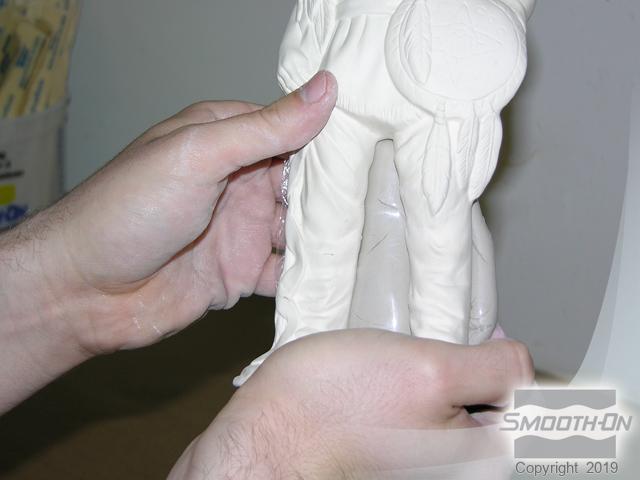
The first step to creating the glue shim is to have a base onto which the epoxy can be applied. Begin by taking a portion of water clay and wrapping it tightly in plastic wrap. Position the plastic wrapped clay behind on the side of the pass-through. Push the clay into the gap. The clay will conform to the shape of the pass-through and fill the void. Then push the clay into any corners or small gaps around the perimeter of the pass-through.
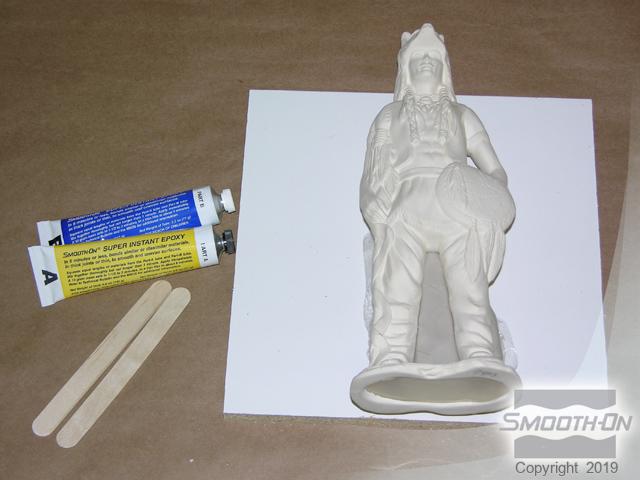
Once the clay has been pushed into all areas, lay the piece down flat in preparation for applying the epoxy glue shim. Smooth-On's Super Instant Epoxy is a very fast setting epoxy, perfect for this type of application.