How To Make a Star Trek Klingon Disruptor with Mold Max™ Silicone and Smooth‑Cast™
Step 3: Finding Cut Seams and Constructing Mold Box
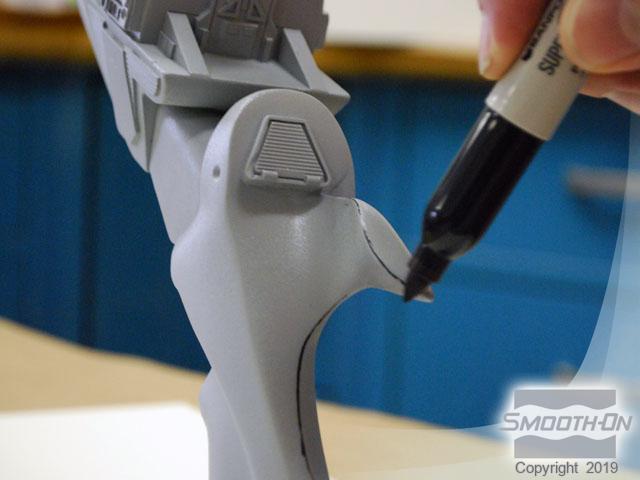
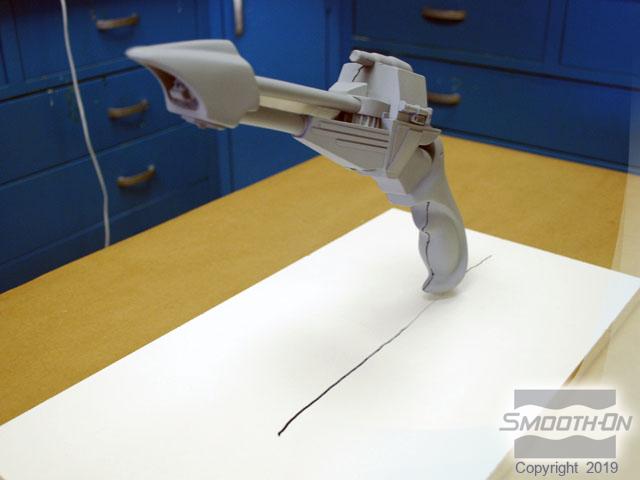
Draw a line, splitting the piece into two sections. This line (shown here highlighted in green) will be a cutting guide when demolding the piece.
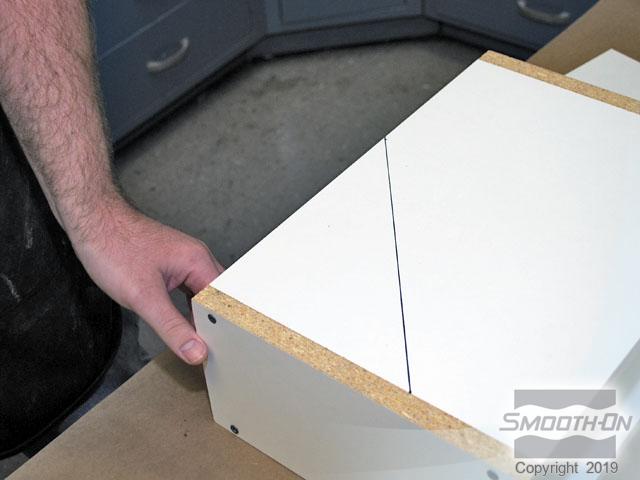
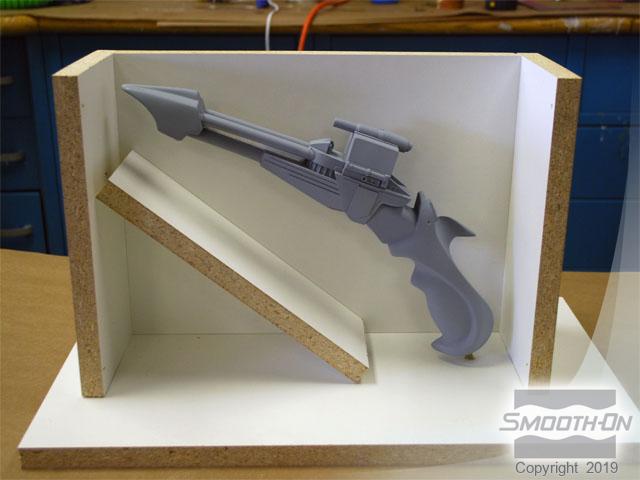
Construct a box to contain the mold rubber and original model. Next, cut a 'spacer board' to size; this board is used to take up space, reducing the amount of wasted rubber. A height and length measurement needs to be taken to determine the location of the 'spacer board' in the mold box.
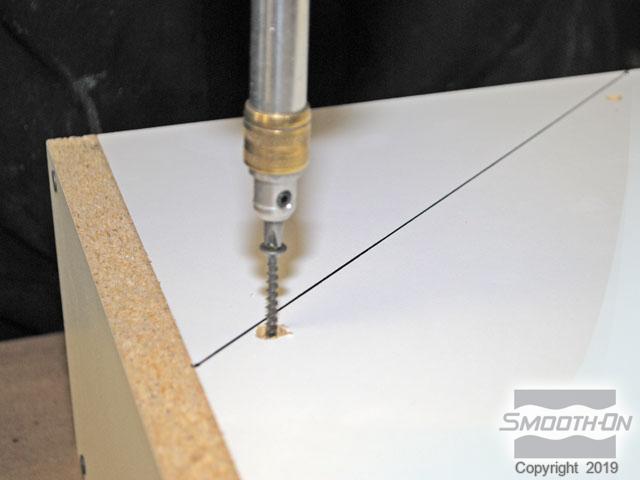
Now, draw a line to indicate the location of the 'spacer board'. This line will reflect the location of screws for the 'spacer board'. The measurements should then be transferred to the edges of the mold box. The 'spacer board' can then be inserted into the mold box.
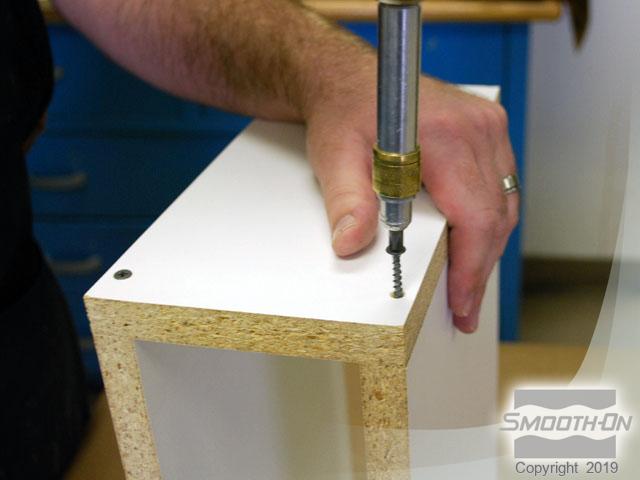
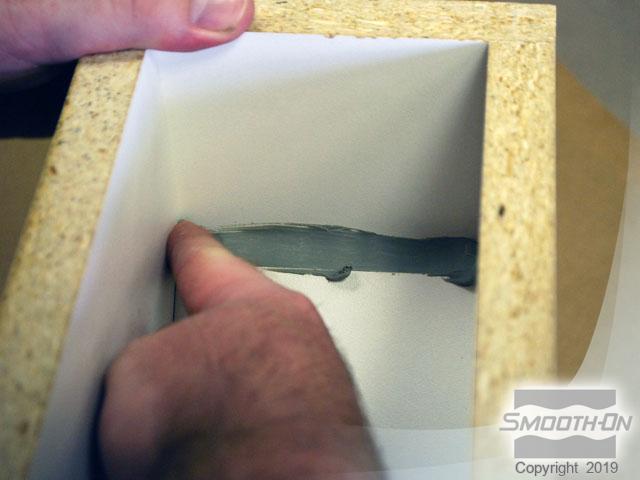
Screws should be used to attach the 'spacer board'. The cutaway view shows how the 'spacer board' takes up space in the mold box. A non-sulfur, oil-based clay can be used to seal the interior and bottom seams of the 'spacer board'.
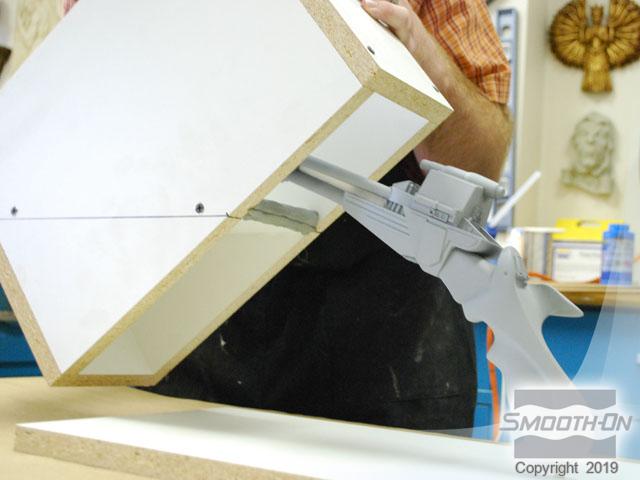
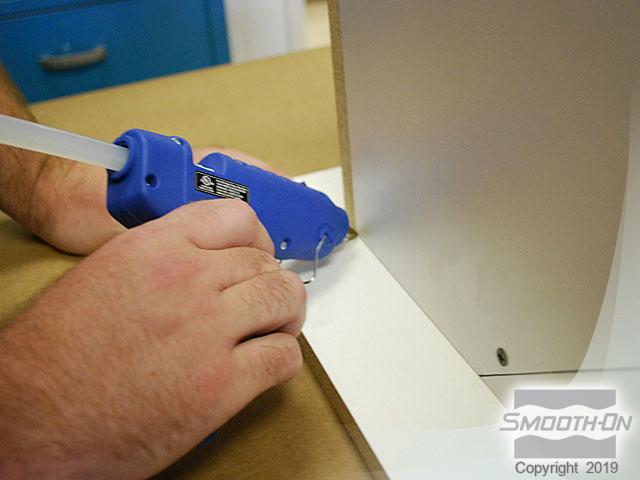
Place the box over the model and use hot glue to seal the external seams.