EpoxAcast™ 690
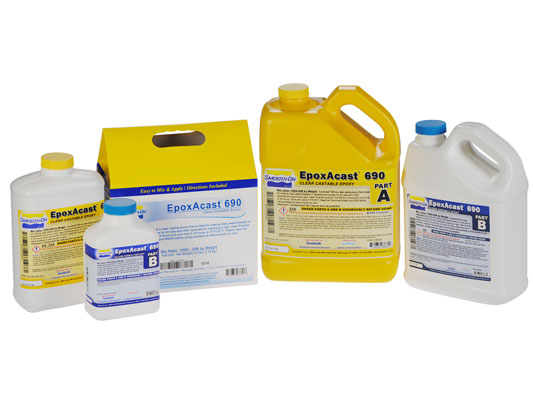
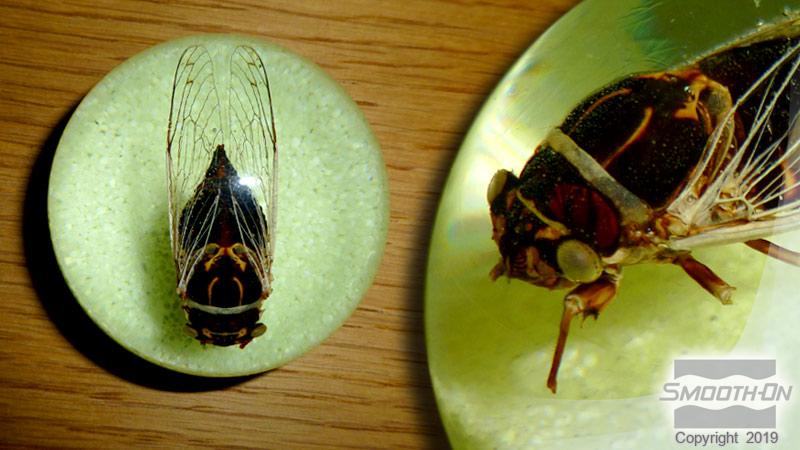
EpoxAcast™ 690 is an UV resistant clear casting epoxy resins suitable for a variety of industrial and art related projects requiring a rigid, clear finished casting. EpoxAcast™ 690 features a very low viscosity for easy mixing and minimal bubble entrapment. Castings cure with negligible shrinkage and are very hard and strong. Resin can be colored with UVO™ or IGNITE™ colorants. Cast Magic™ and Glow Worm™ powders can also be added to create amazing casting effects.
Features
There are 2 ways to process these resins, using standard casting and fan-cooled casting techniques.
Standard Casting - Using a standard casting method, EpoxAcast™ 690 has a maximum casting thickness of 3/8” (0.95 cm.). Material should be poured and cured at an ambient temperature of 70°F / 21°C.
Fan-Cooled Casting - To use a fan-cooled casting method, inexpensive box fans are placed near the curing epoxy to circulate air across the surface of the casting. This assists in cooling the material, allowing for thicker castings. Using a fancooled pouring method, EpoxAcast™ 690 has a maximum casting thickness of 3/4” (1.9 cm). Material should be poured at an ambient temperature of 70°F / 21°C.
See Creating Epoxy Resin Tables Technical Bulletin for details.
› Click here for more EpoxAcast™ resin products.


Instructions
Preparation – Avoid breathing fumes - use in a well ventilated area at minimum. NIOSH approved respirator is recommended. Wear safety glasses, long sleeves and rubber gloves to minimize skin contact.
Materials should be stored and used in a room temperature environment (70°F/21°C). Elevated temperatures will reduce Pot Life. EpoxAcast™ 690 and 692 must be properly measured and thoroughly mixed to achieve full, high-strength, solid-cure properties. Mixing containers should have straight sides and a flat bottom. Mixing sticks should be flat and stiff with defined edges for scraping the sides and bottom of your mixing container.
Because no two applications are quite the same, a small test application to determine suitability for your project is recommended if performance of this material is in question.
Applying A Release Agent – For releasing epoxy from non-porous surfaces such as resin, metal, glass etc., use Ease Release™ 200 or 205 (available from Smooth-On) to prevent adhesion. IMPORTANT: To ensure thorough coverage, lightly brush the release agent with a soft brush over all surfaces of the mold or model. Follow with a light mist coating and let the release agent dry for 30 minutes.
Temperature Is Important - The recommended ambient temperature when using EpoxAcast™ 690 or 692 is 70°F / 21°C. For large mass pours cooler temperature environments are recommended.
Measuring / Dispensing – Stir Part A thoroughly before dispensing. You must use an accurate digital gram scale to weigh Parts A and B properly. Do not use an analog scale or attempt to measure components by volume.
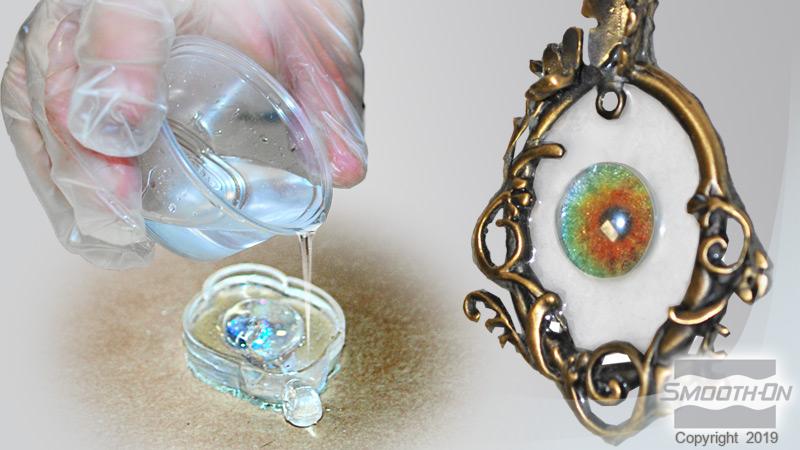
Mixing – Be sure mixing utensils are clean and free of any potential contaminants such as dirt, dust or grease. Mixing should be done in a well ventilated area. Wear safety glasses, long sleeves and rubber gloves to minimize contamination risk.
Combine EpoxAcast™ 690 or 692 resin with the appropriate amount of hardener. Mix thoroughly for 3 minutes making sure that you scrape the bottom and sides of the container several times. Then, pour entire quantity into a new, clean mixing container and do it all over again. When drill mixing, use a “Turbine” mixer to mix material, then follow with hand mixing as directed above to ensure thorough mixing.
IMPORTANT: Do not delay between mixing and pouring. Materials may cure in container with a high exotherm potential. Do not vacuum EpoxAcast™ 690 or 692.
Recommended Batch Size - It is recommended to mix a maximum batch size of 20.8 lbs. (9.43 kg.) of EpoxAcast™ 690 or 112 lbs. (50.80 kg.) of EpoxAcast™ 692 per pour. Increasing batch size may cause high exotherm. Do not delay between mixing and pouring.
Adding Color - EpoxAcast™ 690 or 692 can be colored with UVO™ or IGNITE™ colorants, Glow Worm glow powders or Cast Magic™ Effects Fillers. Pre-mix color or filler with Part A thoroughly and then add Part B. It is recommended to run a small scale color test in advance to ensure that the casting effect is appropriate for your project.
Pouring - Ensure working area is clean, dry, and free of dust and insects. When pouring EpoxAcast™ 690 or 692 in layers, allow previous layer to fully cure before pouring subsequent layers.
Creating Epoxy Resin Tables - As EpoxAcast™ 690 or 692 can be poured in thick layers, they are an excellent choice for “river table” type applications. See Creating Epoxy Resin Tables Technical Bulletin for processing details.
Cure Time - When using a standard casting method poured at an ambient temperature of 70°F / 21°C, the cure time of EpoxAcast™ 690 is 24 hours in a thickness of 3/8 in. (0.95 cm.). When using a standard casting method poured at an ambient temperature of 70°F / 21°C, the cure time of EpoxAcast™ 692 is 72 hours in a thickness of 1 1/2” (3.81 cm.) Castings that are 1/4 in. / 0.64 cm. thickness or less will cure more slowly. Cured material will be hard and unable to be penetrated with a finger nail. When using the fan-cooled casting method, cure times will be considerably longer. Pot Life and Cure Time values are dependent on mass and mold configuration, as epoxies are mass-sensitive.
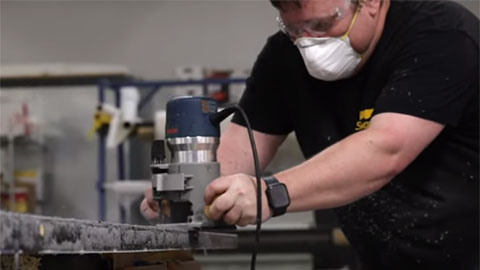
After curing, epoxy can be sanded. If machining or sanding, wear NIOSH approved mask to prevent inhalation of particles.
Performance - Cured epoxy is hard and durable. It resists moisture, moderate heat, solvents, dilute acids and can be machined or bonded to other surfaces (any release agent must be removed). If machining castings, wear dust mask or other apparatus to prevent inhalation of residual particles.
Do not rest hot beverage cups or other containers reaching temperatures above 120°F/49°C on cured EpoxAcast™ 690 or 692, this will cause damage to epoxy surface.
Cured epoxy can be displayed outdoors after painting with an aliphatic urethane clear coat (such as Axalta Imron 3.5 Plus High Gloss Polyurethane Topcoat available at www.axalta.com). Unpainted epoxy will yellow after being exposed to UV light or excessive heat above 100°F/38°C. For longer outdoor UV resistance of an unpainted clear part, Smooth-On’s Crystal Clear™ Urethane Resin may be an option for your application
Removing Epoxy – Uncured / Non-curing epoxy - Scrape as much material as possible from the surface using a scraper. Clean the residue with E-POX-EE KLEENER™ available from Smooth-On, acetone or denatured alcohol. Follow safety warnings pertaining to solvents and provide adequate ventilation.
Related Categories: Epoxy Casting and Laminating Resins
Related Series: EpoxAcast™ Series – Castable Epoxy Resins
How-To Articles
How To Make an Epoxy Table Using EpoxAcast™ 690 Epoxy Resin
Milo shows how he makes a very unique, creative epoxy table top using EpoxAcast™ 690.
How To Make an Epoxy Flexible Using Flexer™ Epoxy Flexibilizer
Flexer® is an additve for Smooth-On epoxies which makes the resultant castings flexible.
How To Make a River Table Using Clear Epoxy Casting Resin and Reclaimed Wood
How to use a piece of reclaimed cedar to create a beautiful river table
How To Make a Colored Pencil Bowl Using EpoxAcast™ 690 Epoxy
Learn how to create a diy epoxy bowl with embedded colored pencils.

How To Make a Waterfall Table Using EpoxAcast™ 690
Learn how to make a waterfall table using EpoxAcast™ clear liquid epoxy
How to Make a Concrete and Epoxy Lagoon Aquarium Table
Learn how to use concrete in combination with clear epoxy resin to create an aquarium table.
How To Make Cherry Burl and Epoxy Rings Using EpoxAcast™ 690
Chris demonstrates how he turns these gorgeous "earth rings" using EpoxAcast™ 690
DIY Embedded Flower Epoxy End Table
Learn this great technique for making your own unique home décor or to sell as handcrafted masterpieces.
How To Make a Custom Charcuterie Cutting Board With EpoxAcast™ 690
Transform a normal cutting board into a unique decorative charcuterie serving board using EpoxAcast™ 690