How To Make a Brush‑On Mold of a 3D Hollow Model
Step 11: Demold & Preparation For Next Casting
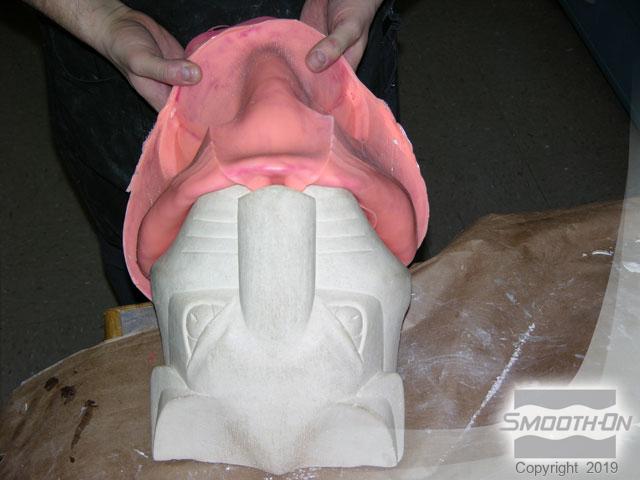
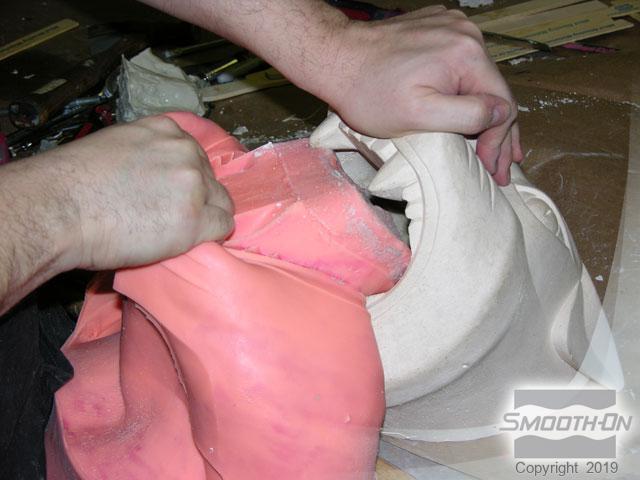
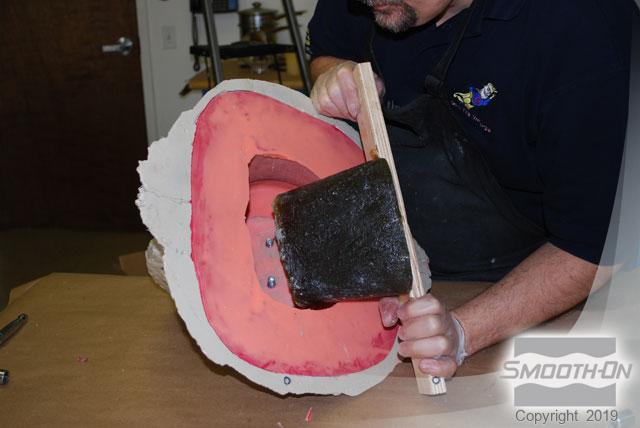
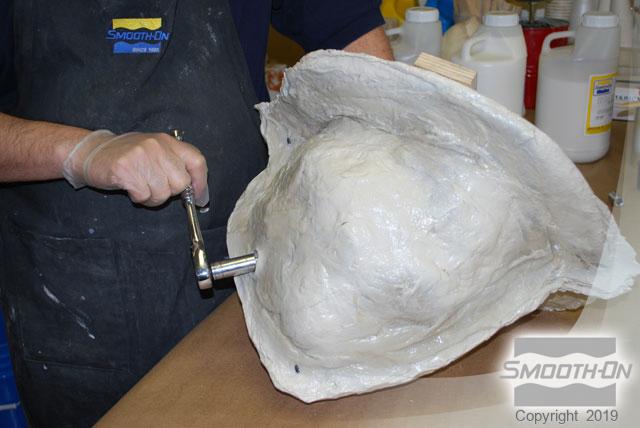
The shape of the model and the configuration of the Rebound 25 mold allowed for the making of a “glove mold” that can now be peeled off without making any cut marks that would leave a seam line that might be visible. Take care to not rip the mold or damage the teeth. Place the mouth core back inside the mouth cavity and seat the mold in the shell half.
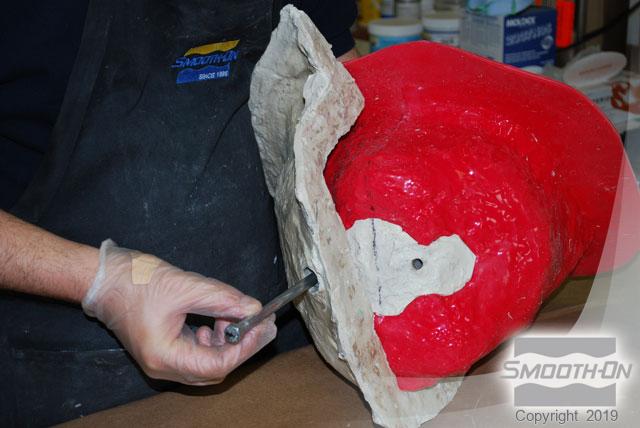
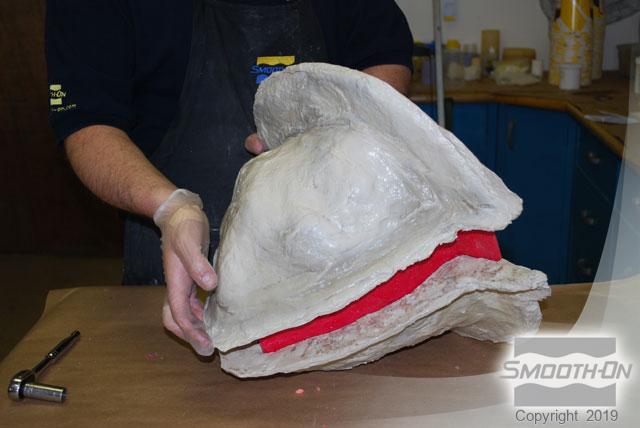
Place the first of the two core holder bolts through the shell and the mouth core holes. Then, place the second half of the shell in place, be careful to align it properly. Next, place the second of the core holder bolts through the shell and the mouth core holes. Replace the drywall screws used to hold the shell firmly together.
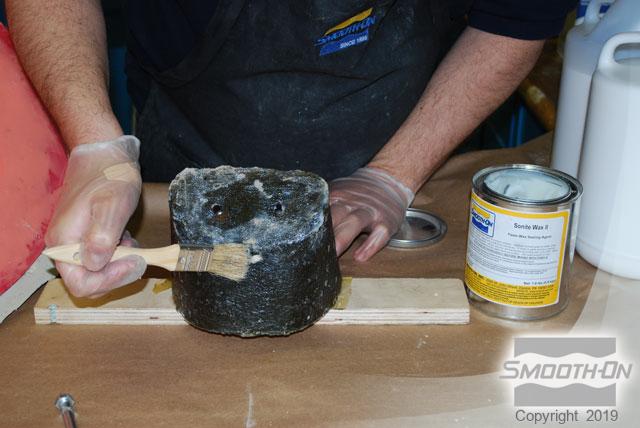
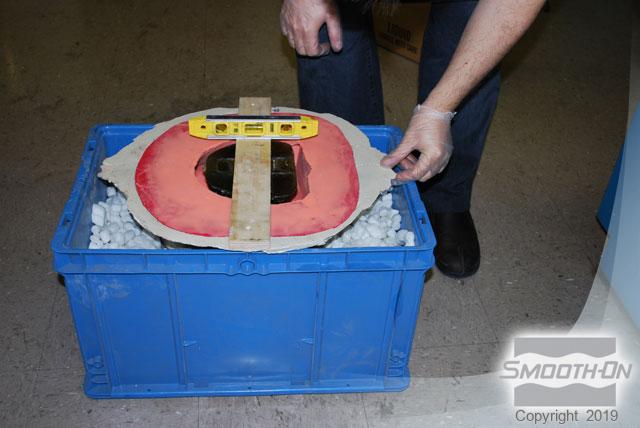
Now you can brush the plug with Sonite® II Wax to keep material from bonding to it. Put the mold plug back into the mold, taking care to align the bolts and nut holes. Tighten the bolts to hold the mold plug firmly into place in the center of the mold. Then place the mold into a box full of packing peanuts and make sure it is leveled out.