How To Make a Brush‑On Mold of a 3D Hollow Model
Step 6: Preparing Mold For Plasti‑Paste Support Shell
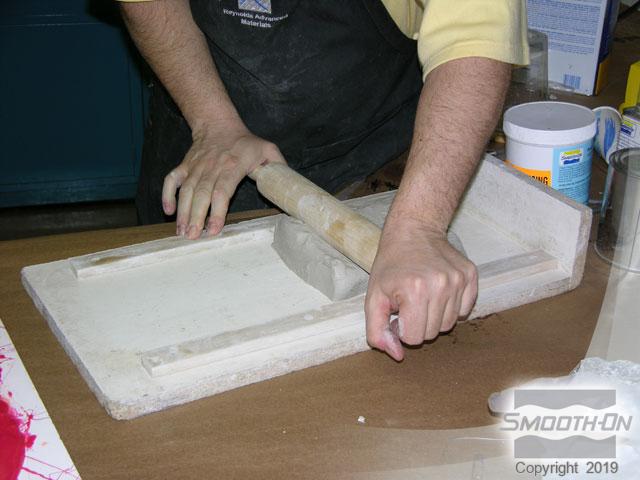
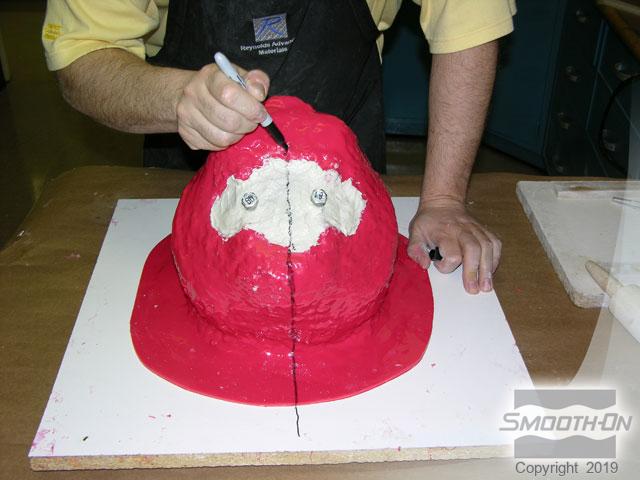
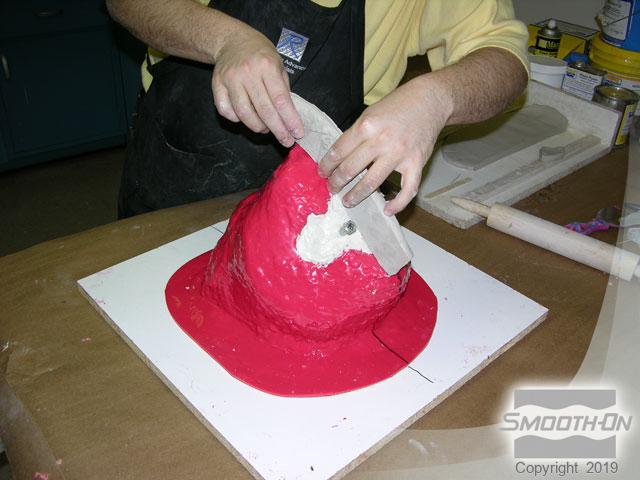
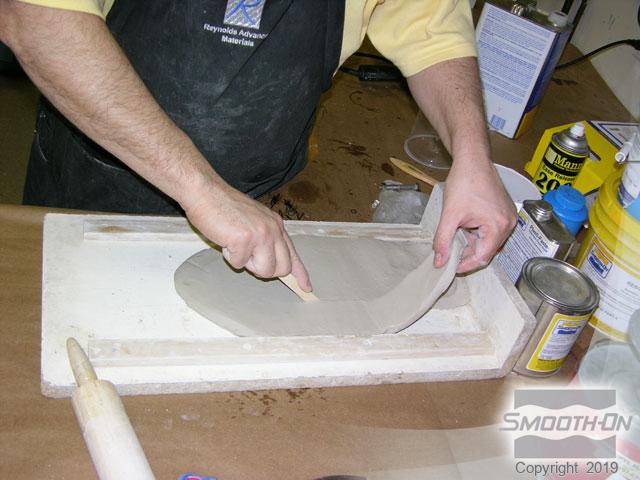
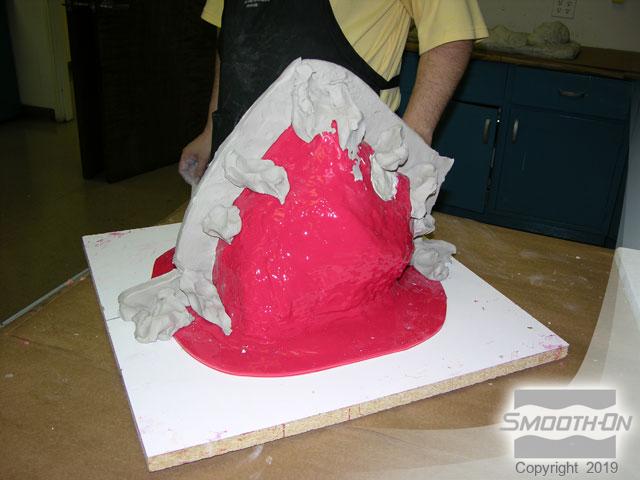
Next, roll out more clay and cut it into strips to make the shims that will divide the mold in half when applying the support shell. Now draw the parting line for the support shell and be careful to watch for mechanical locking.
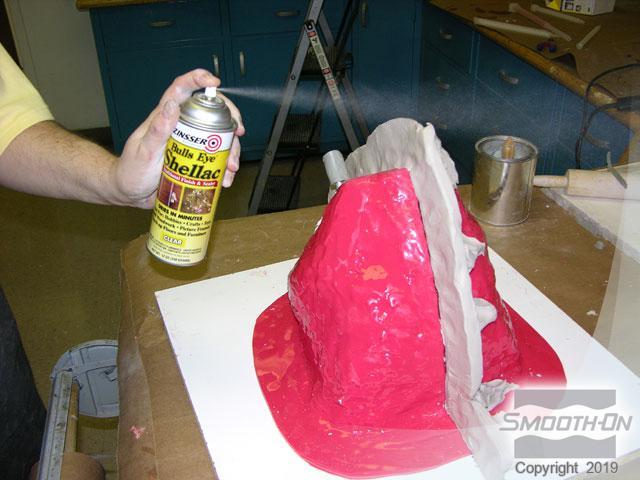
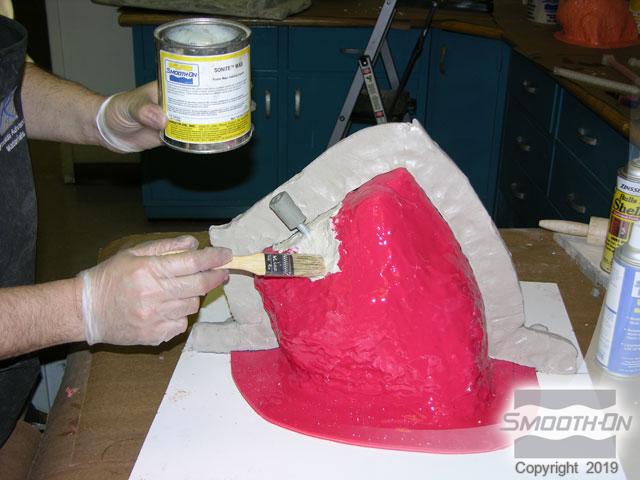
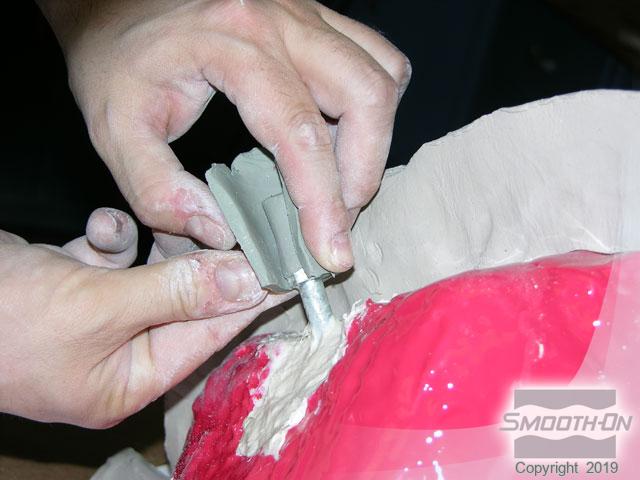
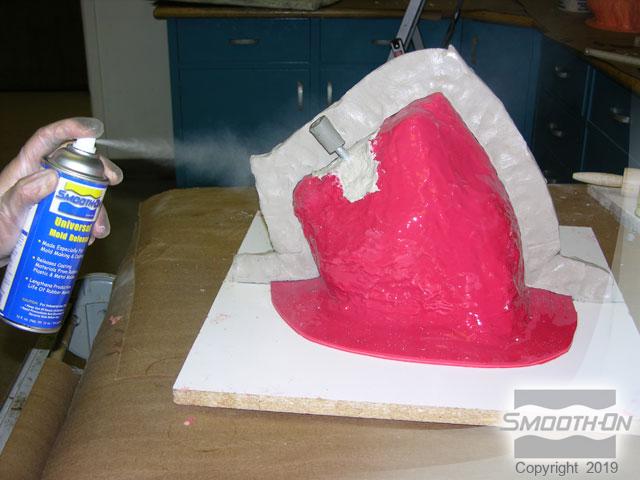
Apply the shim along the parting line across the model and down the board. Use additional clay on the reverse side of the shim to reinforce it so it doesn’t move when Plasti-Paste® is applied. Apply a clay extension to the extended bolt to act as a spacer against the Plasti-Paste®. Seal the bolt extension and clay shim with spray shellac and apply Sonite® II wax to the clayed area. After the Sonite® II wax is applied, apply Universal Mold Release® to the clayed area.