How To Make a 1 Piece Silicone Cut Mold
Step 2: Dispensing Mixing and Applying Mold Star™ 15
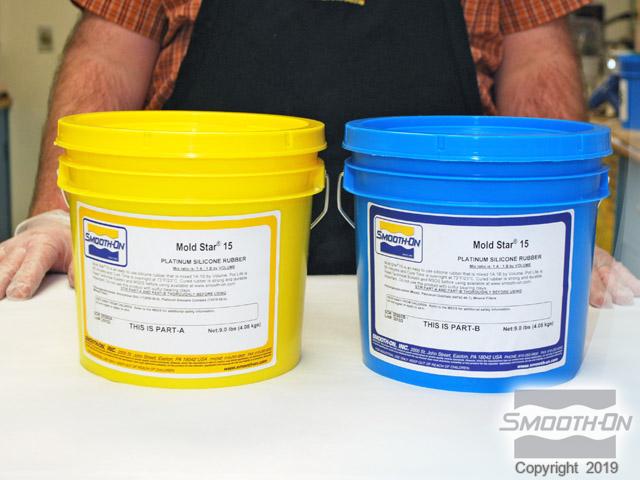
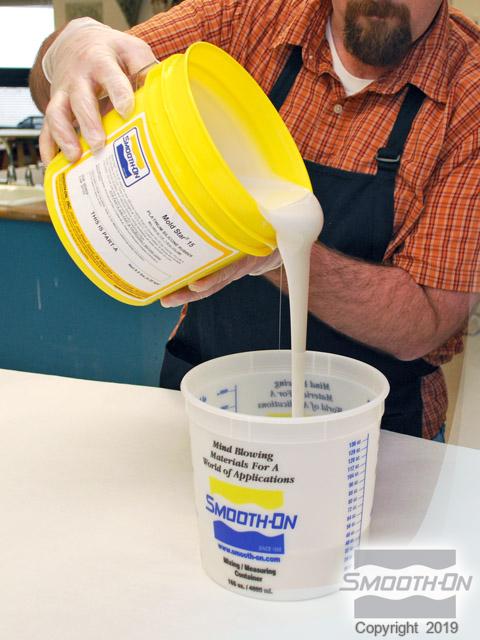
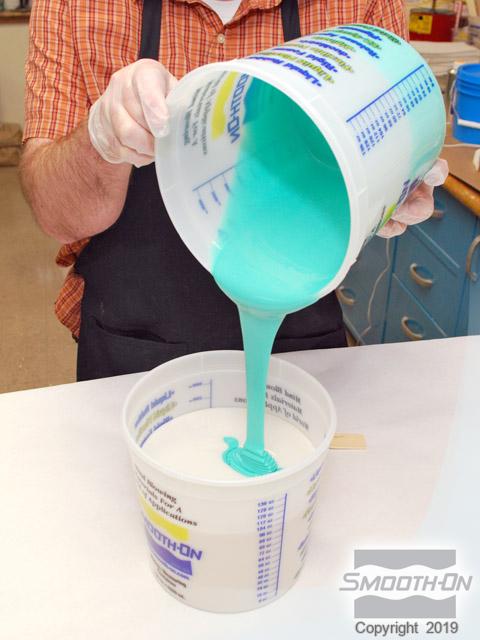
A partial gallon kit of Mold Star™ 15 will be used for the mold. Part A is dispensed into a measuring bucket. An equal amount of Part B is dispensed into a separate measuring bucket. With equal amounts of Parts A and B dispensed, the Mold Star™ 15 can now be combined. Part A is dispensed into a mixing bucket. Part B is added to the mixing bucket with the Part A.
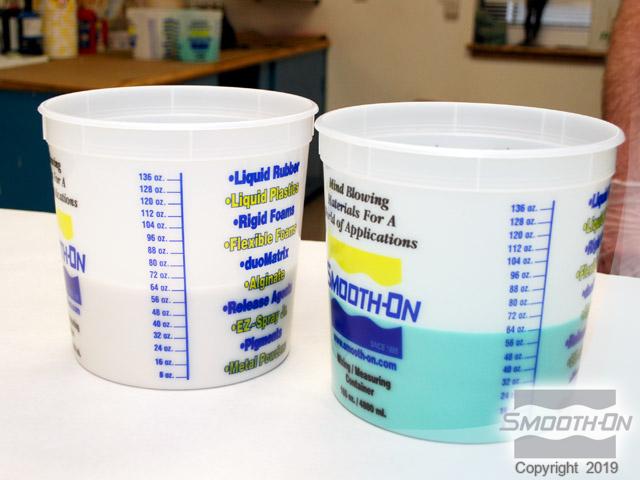
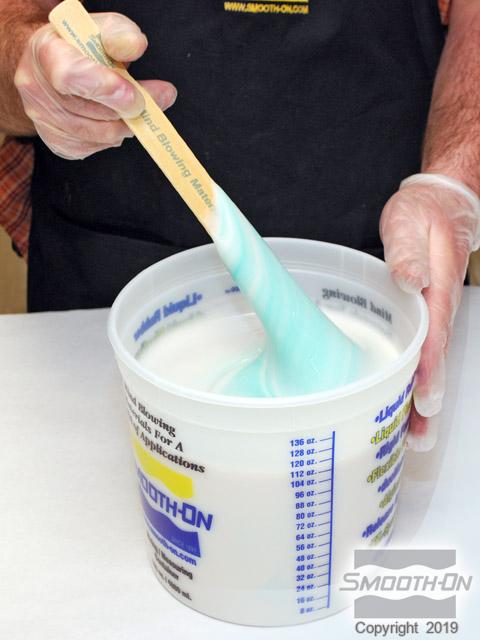
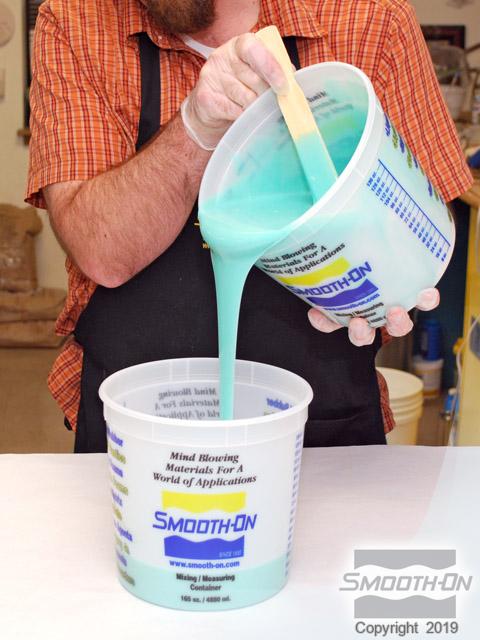
The two components are mixed by hand. Care is also taken to scrape the sides and bottom of the mixing container. As the two components are mixed, the colors of Part A (white) and Part B (green) will combine to a solid light green. To ensure a thorough mixture, the contents are transferred into a second, clean mixing bucket.
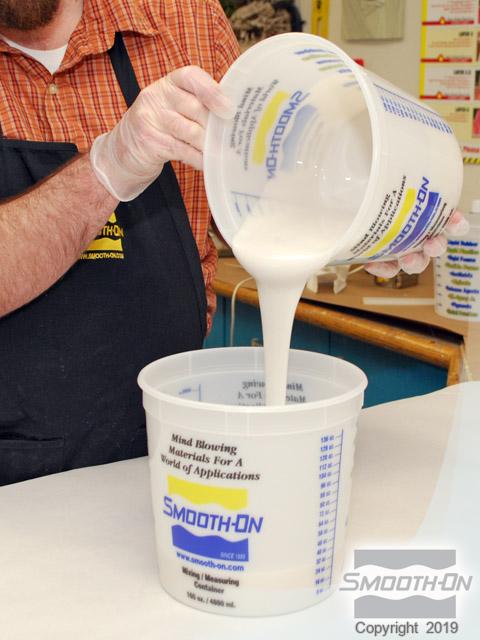
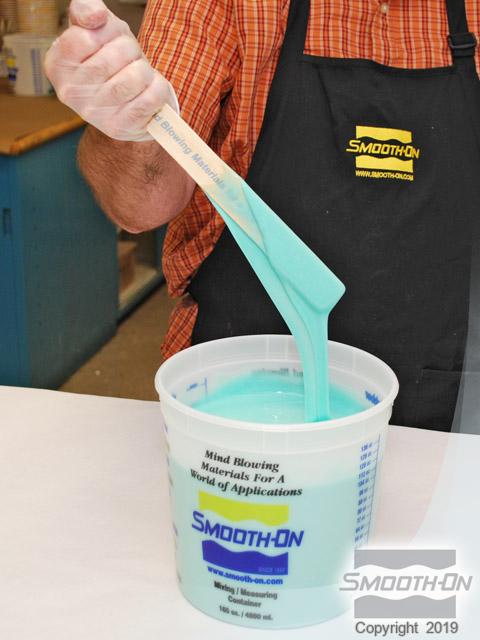
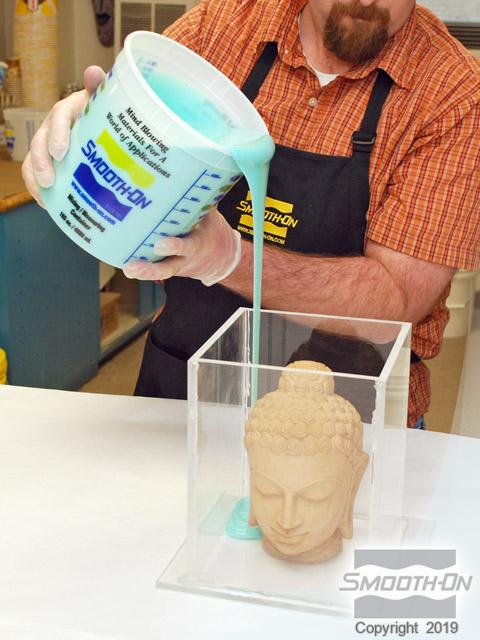
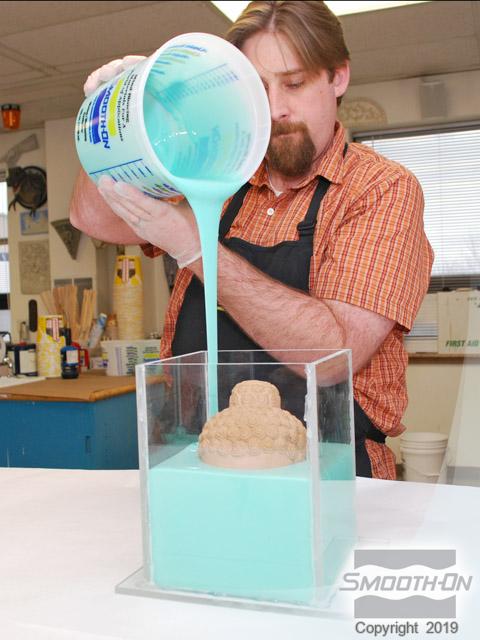
The two components are mixed until the color is uniform with no white or green streaks present. Because Mold Star™ 15 is low viscosity compared to other platinum silicones, vacuum degassing is not necessary. The mixture is poured slowly in the corner of the mold box. The material is allowed to seek its own level over the model. This helps eliminate the potential for entrapped air.
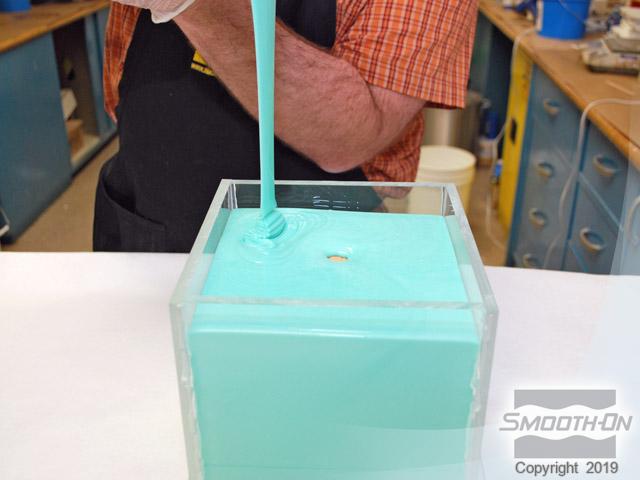
Mold Star™ 15 has a long (45 minute) working time. Not only does this help eliminate bubble entrapment, it also allows the material to be poured slowly or over a large area. Once poured, allow Mold Star™ 15 to cure for 4 hours before demolding.