How To Make a 1 Piece Silicone Cut Mold
Step 1: Preparing Model for Molding
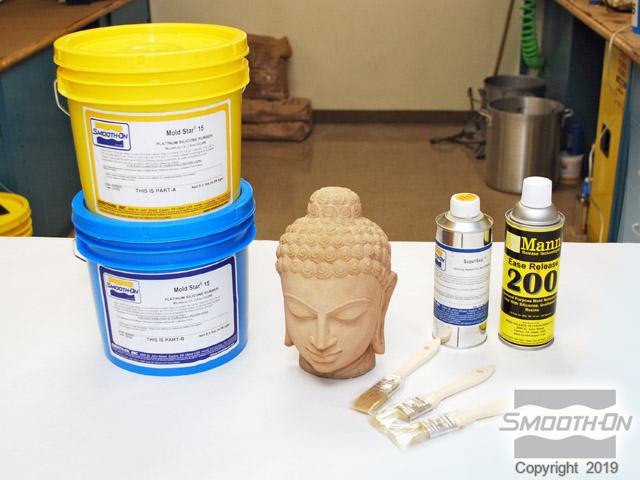
Mold Star® 15 is a Shore 15A platinum silicone that is mixed 1A:1B by volume, with no weighing scale necessary. The original model is a stone sculpture that should be prepared prior to applying mold rubber.
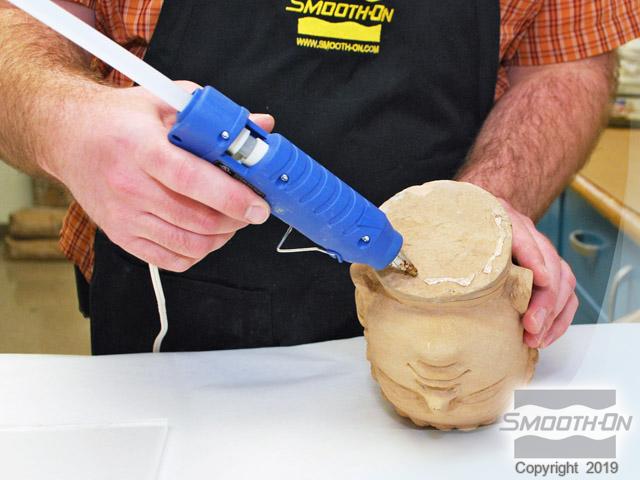
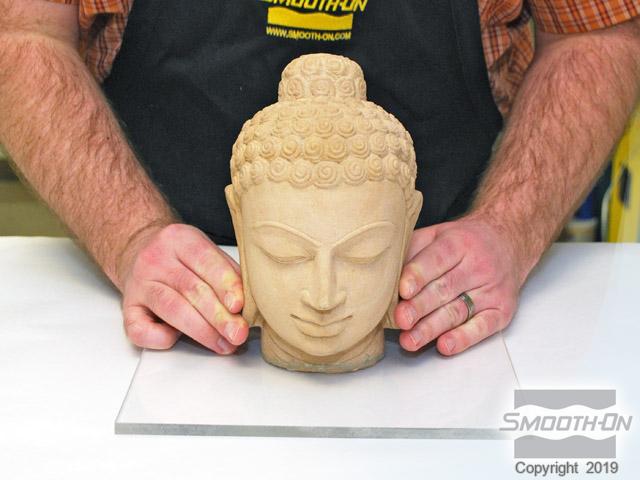
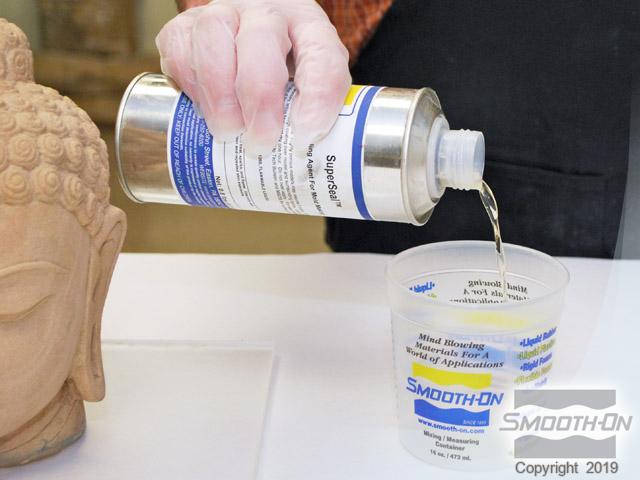
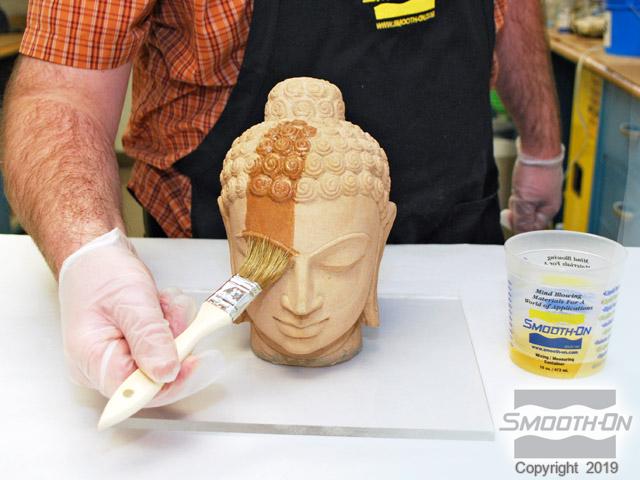
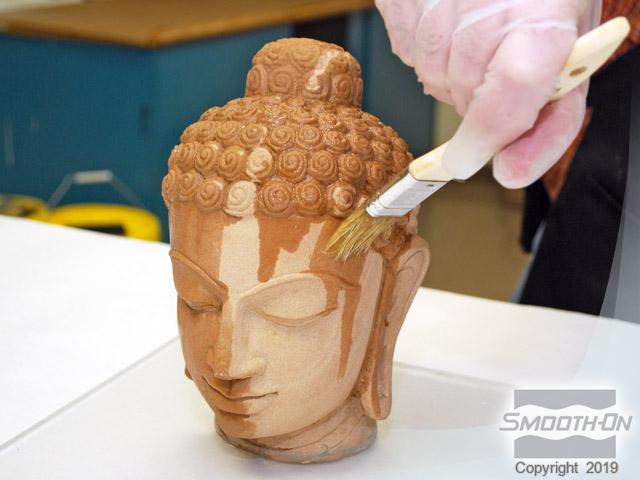
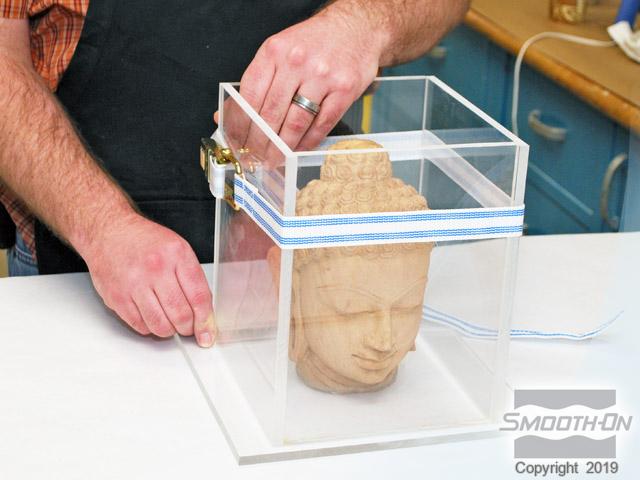
Hot glue is used to secure the model to the base of the mold box. The model is pressed firmly to the base of the mold box and the hot glue is allowed to dry fully. The original model is made of stone and is porous. It should first be sealed prior to applying mold rubber. SuperSeal® is a low-viscosity sealing agent that can be brushed onto the surface without affecting detail. SuperSeal® is applied to the original stone model.
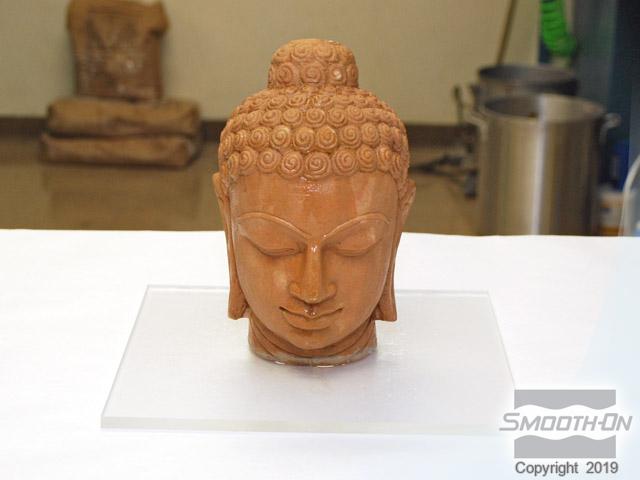
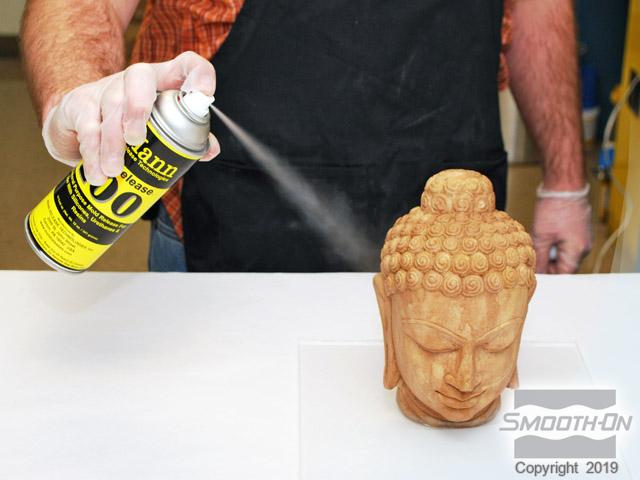
Depending on the porosity of the original model, multiple coats of SuperSeal® may be necessary. Once SuperSeal® has been applied to the entire model, it is allowed to dry for 5 minutes. Optional: Ease Release® 200 is applied over the original model to aid in demolding.
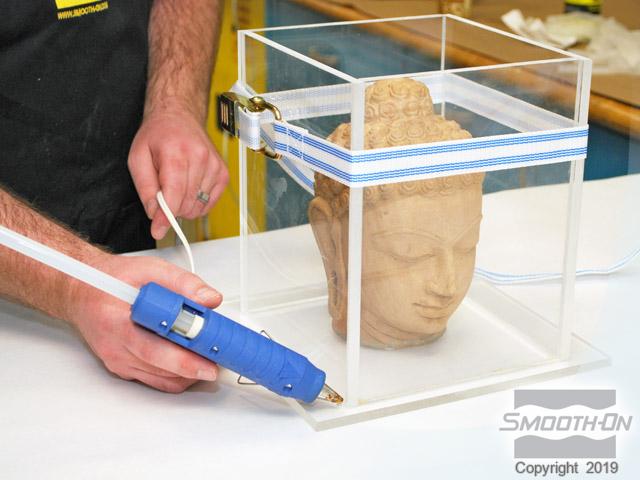
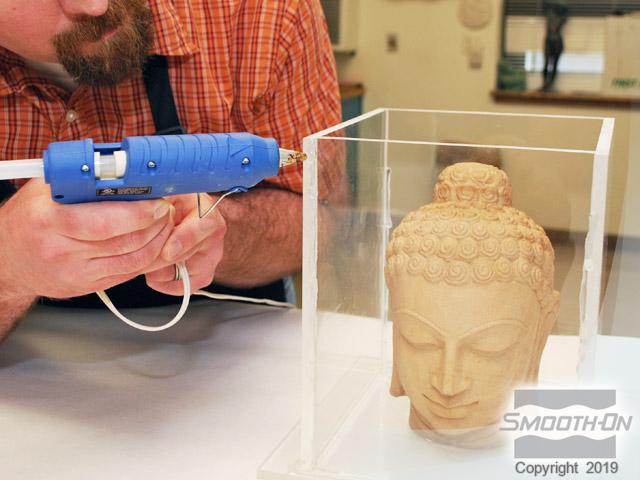
The four walls of the mold box are assembled around the model. They are held in place by a mold strap until hot glue can be applied to all seams. Hot glue is applied to all seams of the mold box. It is important that the box is completely airtight to prevent any leaks. With the model prepped and the mold box fully assembled, Mold Star® 15 can now be poured over the model.